Interior (Front + Rear) Dome Light LED Retrofit (Semi How-To)
 10-16-2013, 01:44 AM
#1
CF Veteran
Thread Starter
Join Date: Oct 2013
Location: Tarpon Springs, FL / Denver, CO
Posts: 2,097
Likes: 0
Received 8 Likes
on
7 Posts
Year: '98
Engine: 4.0 I6
Just put some cheap LED boards into my XJ for a huuuge boost in lighting. I would highly recommend this if you ever wish you could actually see anything with the dome lights on. The reason I soldered everything in is because I have had bad experiences with the crappy adapters they give you (and they didnt really fit well in the XJ bulb holders anyway). This way they will pretty much outlast the Jeep 
Materials:
Soldering Iron (I used a 30w from Harbor Freight)
Solder (pretty much any will do)
Heat Shrink
Wire Cutters/Strippers
Lighter to heat the heat-shrink
Parts:
I am using some ultra cheap 5050 SMD LED boards from Hong Kong. Took about a week and a half to get to me.
After measuring them, I realized that I could fit much bigger boards in the housing, but I bought a 5 pack and figured this size would be more versatile. As a result, I ended up using two panels for the rear cargo area for maximum light, but the front is easily 3x as bright as before, which is enough for now.
I chose to go with warm white LEDS (as opposed to ultra white), because its a little easier on my eyes, and the warmth compliments the tan interior on my XJ.
These are the size lights I bought, but if you hunt on ebay I bought a 5 pack of these for $3.99 Shipped at like 3 in the morning.
http://www.ebay.com/itm/111177981496...84.m1439.l2649
1:
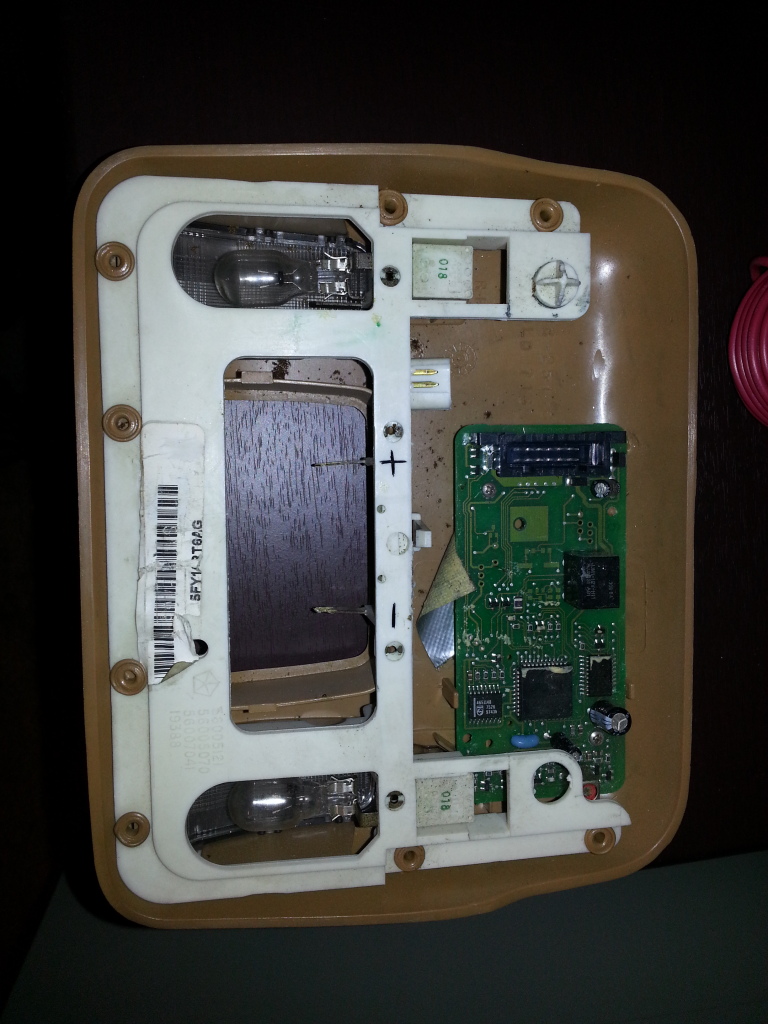
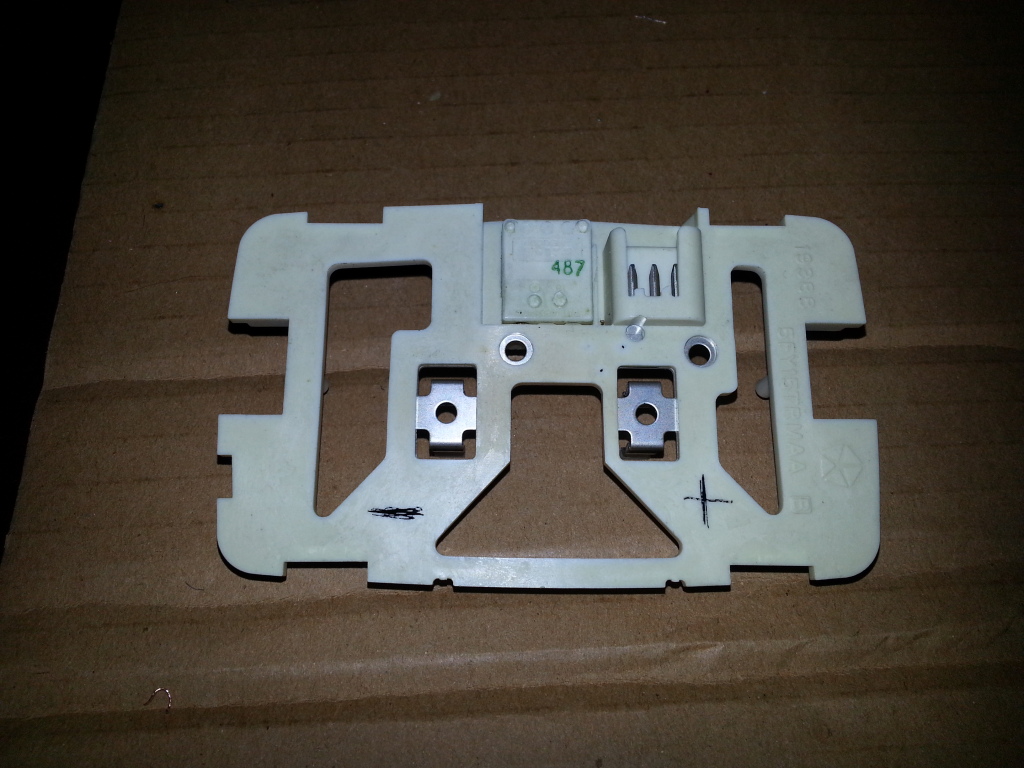
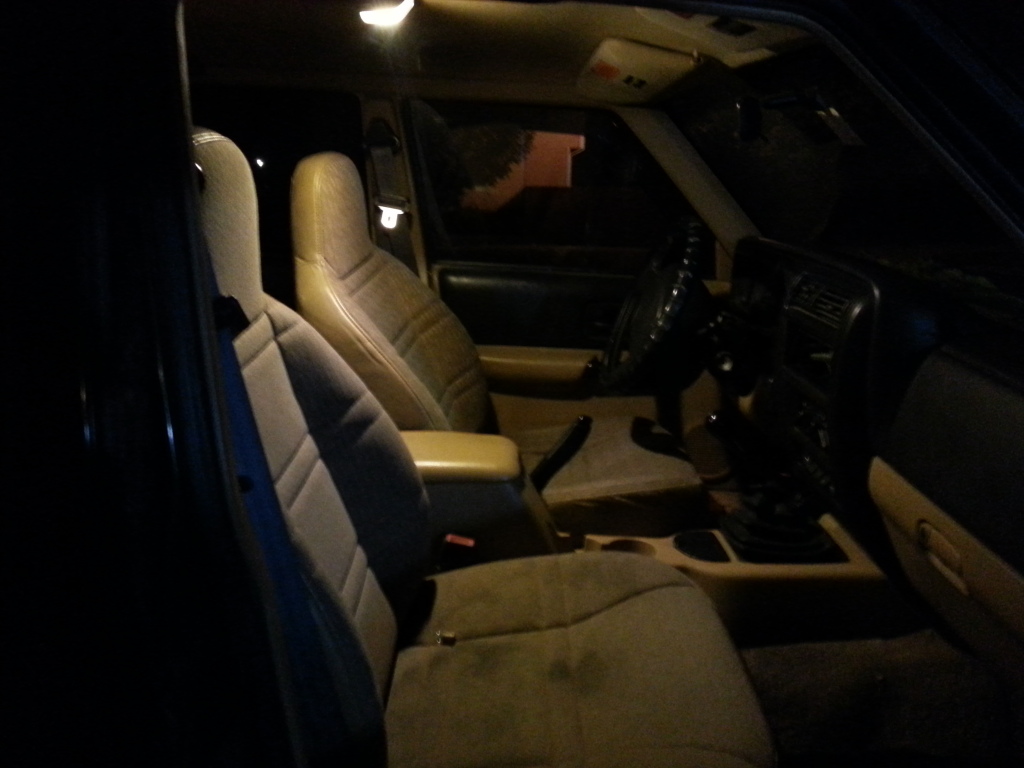
Anyway, first, remove the front and rear dome light and bring them inside. Remove the main bulb (or both), and clean the terminals well. I used some sandpaper to ensure good contact.
Here is the front one with the bulbs removed. I used a multimeter to check for polarity and marked both the enclosures. I assume they are the same on all XJ's but dont yell at me if you fry your LEDs wiring them backwards! Always double check with a multimeter!
Rear:
2:
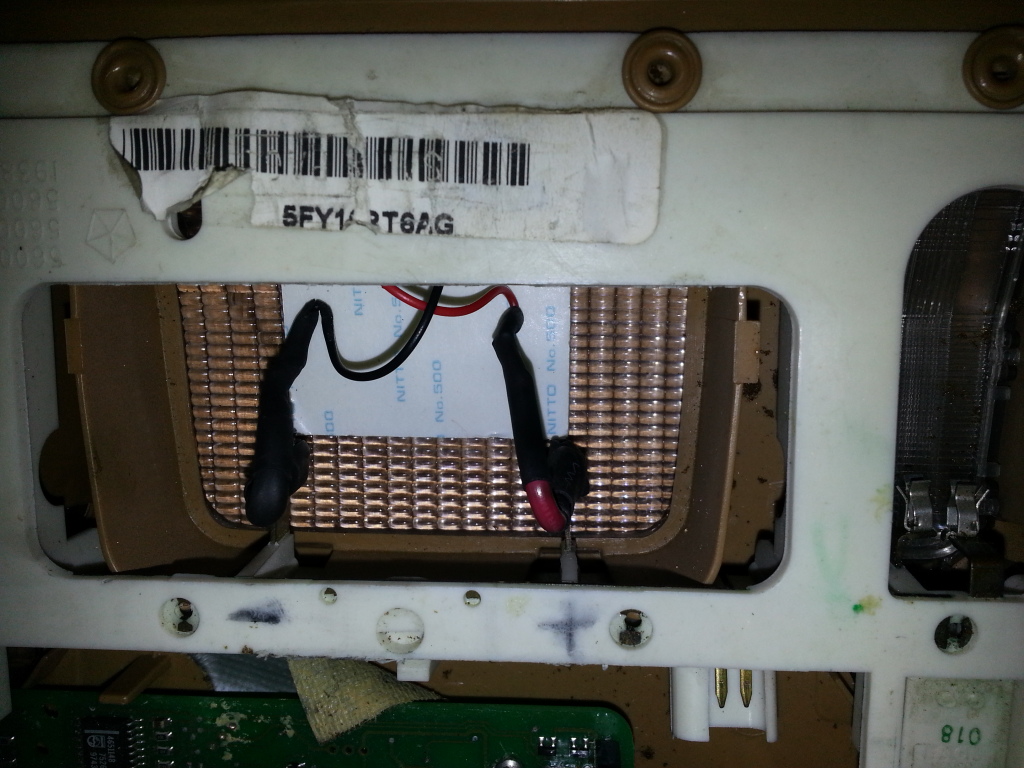
Next, you will want to cut the connector off the LED boards, and solder the wires onto the terminals in the dome light. You can see the size of the LED boards that I used - a much bigger (or at least two of these) will fit in both the housings. I also tacked them in place with some hot glue, but that might not be necessary (I am throwing a subwoofer in the trunk and want to minimize all rattles).
Front:
I forgot to take a picture of the rear but I'll try to grab one tomorrow for yall.
3.
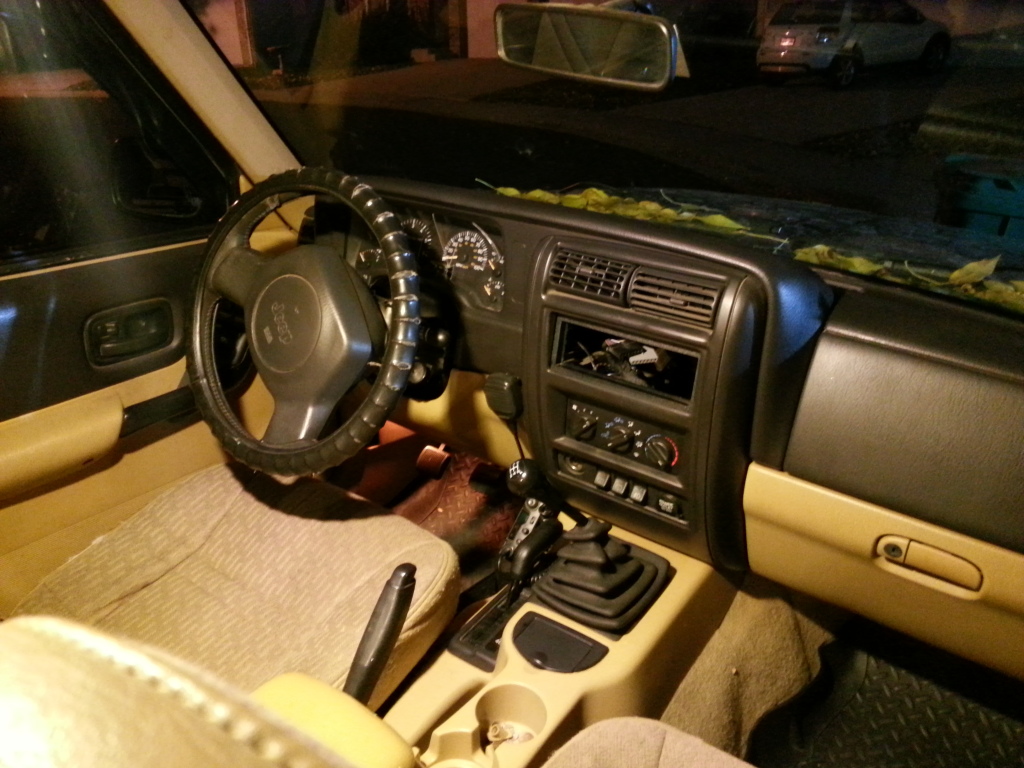
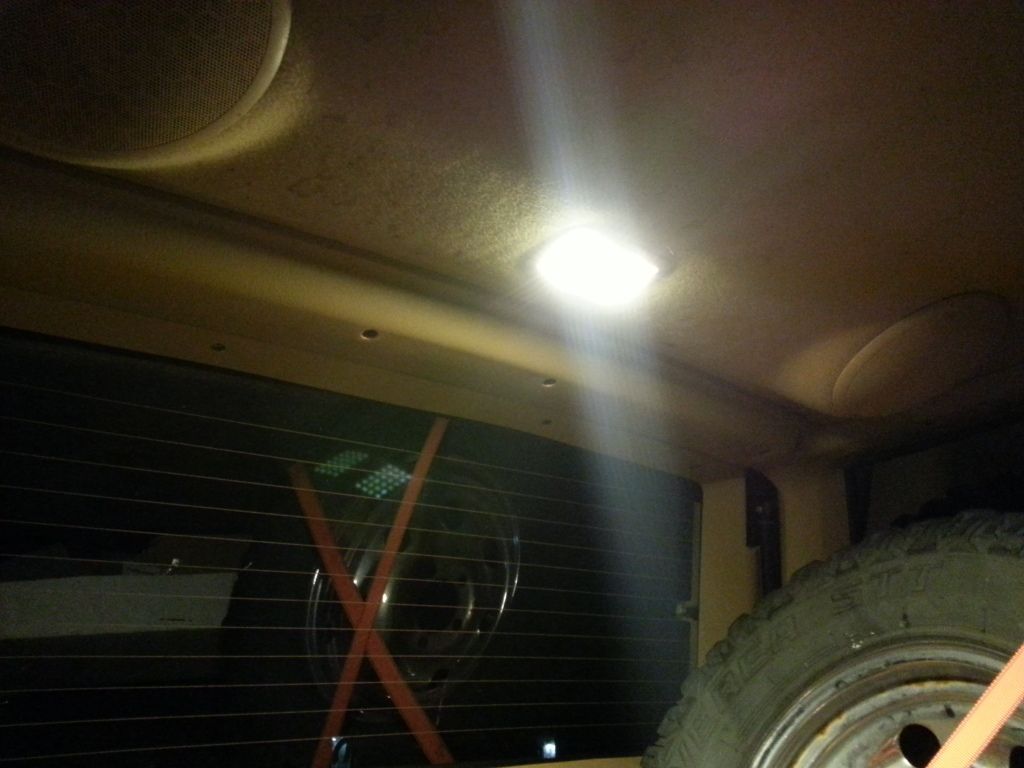
Reconnect the dome lights and clip them back in place. Crack a cold one, and admire the huge upgrade in lighting
Note: I am going to do the same to the front footwell lights and they are unplugged in this picture. My phone camera also sucks so I might bust out the actual digicam and snap some proper pics (it looks way brighter in person). You can see how dismal the drivers side footwell light looks in comparasion to the new LED dome light (only one panel up front, might I remind you )
)
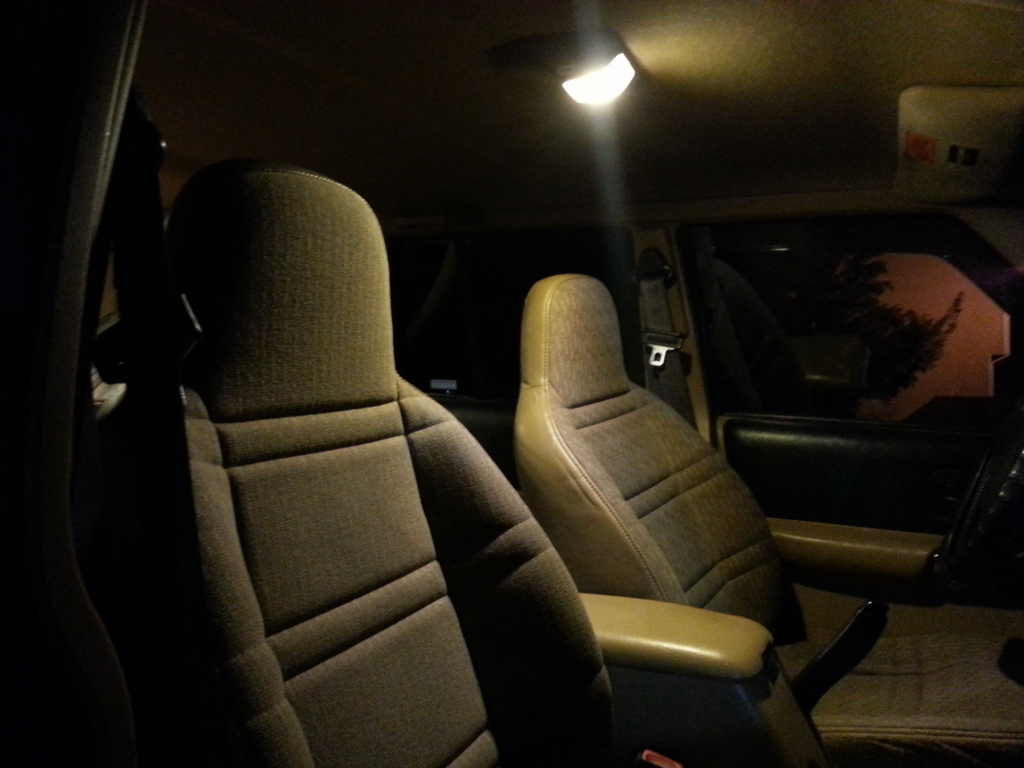
It looks much much brighter than the picture shows here;
Check the panel reflection in the window (you can kind of see the two panels I put in the rear dome light).
Next up:
1.
Wiring the two extra boards into the footwell lights, and one more into the engine under-hood light
2.
Wiring some ultra white LEDs to the map lights (I might just go with drop in bulb replacements because they will fit better. Ultra-white for maximum visibility when looking at paper charts on the highway and such.
3.
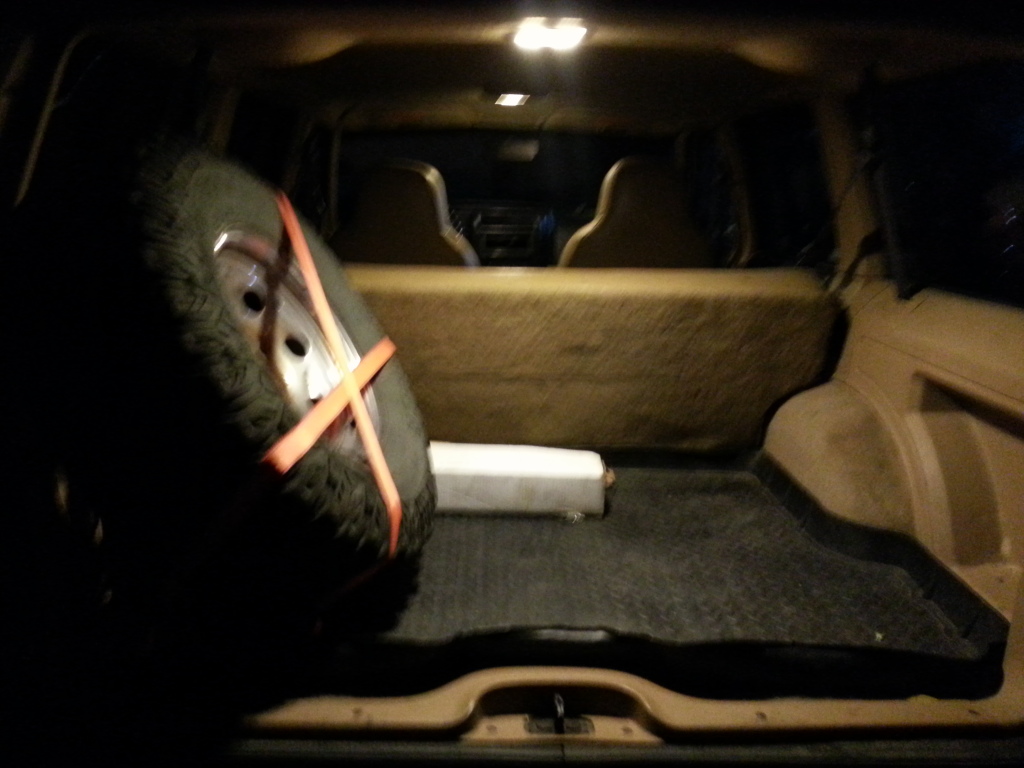
I also noticed how much room there is in the dome housing, and the lack of lighting on the rear bench seat. Still deciding on what to do about the rear lights (I will probably put some more LED boards under the front seats to light the rear footwells, and drill some 5mm LEDs into the dome housing to light the rear bench (with a separate switch to control it independently when passengers want a map light).
Im also going to throw some lower powered red LEDs into the dome light, for forward "covert" lighting (wired to a switch for when you want it on). Might make this multiple brightness with a 3-way switch as well for high and low brightness red lighting. There is a 12v constant hot source that makes these possible up there (might just use a wire tap, but I am a huge proponent of soldering things properly).
Anyway, hope you guys like the mod (my first real contribution to CF)!
Materials:
Soldering Iron (I used a 30w from Harbor Freight)
Solder (pretty much any will do)
Heat Shrink
Wire Cutters/Strippers
Lighter to heat the heat-shrink
Parts:
I am using some ultra cheap 5050 SMD LED boards from Hong Kong. Took about a week and a half to get to me.
After measuring them, I realized that I could fit much bigger boards in the housing, but I bought a 5 pack and figured this size would be more versatile. As a result, I ended up using two panels for the rear cargo area for maximum light, but the front is easily 3x as bright as before, which is enough for now.
I chose to go with warm white LEDS (as opposed to ultra white), because its a little easier on my eyes, and the warmth compliments the tan interior on my XJ.
These are the size lights I bought, but if you hunt on ebay I bought a 5 pack of these for $3.99 Shipped at like 3 in the morning.
http://www.ebay.com/itm/111177981496...84.m1439.l2649
1:
Anyway, first, remove the front and rear dome light and bring them inside. Remove the main bulb (or both), and clean the terminals well. I used some sandpaper to ensure good contact.
Here is the front one with the bulbs removed. I used a multimeter to check for polarity and marked both the enclosures. I assume they are the same on all XJ's but dont yell at me if you fry your LEDs wiring them backwards! Always double check with a multimeter!

Rear:

2:
Next, you will want to cut the connector off the LED boards, and solder the wires onto the terminals in the dome light. You can see the size of the LED boards that I used - a much bigger (or at least two of these) will fit in both the housings. I also tacked them in place with some hot glue, but that might not be necessary (I am throwing a subwoofer in the trunk and want to minimize all rattles).
Front:

I forgot to take a picture of the rear but I'll try to grab one tomorrow for yall.
3.
Reconnect the dome lights and clip them back in place. Crack a cold one, and admire the huge upgrade in lighting
Note: I am going to do the same to the front footwell lights and they are unplugged in this picture. My phone camera also sucks so I might bust out the actual digicam and snap some proper pics (it looks way brighter in person). You can see how dismal the drivers side footwell light looks in comparasion to the new LED dome light (only one panel up front, might I remind you
)It looks much much brighter than the picture shows here;
Check the panel reflection in the window (you can kind of see the two panels I put in the rear dome light).
Next up:
1.
Wiring the two extra boards into the footwell lights, and one more into the engine under-hood light
2.
Wiring some ultra white LEDs to the map lights (I might just go with drop in bulb replacements because they will fit better. Ultra-white for maximum visibility when looking at paper charts on the highway and such.
3.
I also noticed how much room there is in the dome housing, and the lack of lighting on the rear bench seat. Still deciding on what to do about the rear lights (I will probably put some more LED boards under the front seats to light the rear footwells, and drill some 5mm LEDs into the dome housing to light the rear bench (with a separate switch to control it independently when passengers want a map light).
Im also going to throw some lower powered red LEDs into the dome light, for forward "covert" lighting (wired to a switch for when you want it on). Might make this multiple brightness with a 3-way switch as well for high and low brightness red lighting. There is a 12v constant hot source that makes these possible up there (might just use a wire tap, but I am a huge proponent of soldering things properly).
Anyway, hope you guys like the mod (my first real contribution to CF)!
Last edited by investinwaffles; 10-16-2013 at 02:12 AM.

 10-16-2013, 08:23 AM
#3
Member
Join Date: May 2012
Location: Oklahoma City
Posts: 238
Likes: 0
Received 0 Likes
on
0 Posts
Year: 2001
Model: Cherokee
Engine: I6 4.0L 242
10-16-2013, 02:21 PM
#4
CF Veteran
Thread Starter
Join Date: Oct 2013
Location: Tarpon Springs, FL / Denver, CO
Posts: 2,097
Likes: 0
Received 8 Likes
on
7 Posts
Year: '98
Engine: 4.0 I6
Well, the reason I went with panels is because the Led boards off eBay are much cheaper, and have a higher lumen to price ratio. Each panel does about 400 lumens, which is a lot for a small space like the inside of a car.
It was mainly the price tho, all 5 panels cost me less than $4 shipped, though I had to wait a little while and solder them in (they do come with bulb adapters but I opted for a more permanent install)
If I was going to do it again, I would actually just order 10 panels to help dial in the brightness. I want to put Em in on the underside of the doors too as "puddle" lughts

Thread
Thread Starter
Forum
Replies
Last Post
Jooman07
Modified XJ Cherokee Tech
25
08-28-2015 02:25 PM
Waynerd
Stock XJ Cherokee Tech. All XJ Non-modified/stock questions go here
2
08-25-2015 11:34 AM
Currently Active Users Viewing This Thread: 1 (0 members and 1 guests)