

Did my Bushwacker cutout install today. It only took about 4 hours of drinking beer and taking time. The front install is super easy, which most say it is. But the back is made out to be some huge PITA and it is really not bad at all. I used a grinder, hammer, punch, drill, sanding disk, and a handful of sockets. Cut off the bottom lip, put slits every 4 inches all of the way to the top of the area raised where the factory bolts run, folded it back, hammered if all as flush as i could, sanded it, and sprayed it with rustoleum rubberized undercoat spray. mocked them up with masking tape, drilled holes, installed. That easy. Love the way it looks. I took a lot of pics, I will post those up tomorrow when I have more time. 

Junior Member
I installed mine last week, they were pretty simple to do. How do you like yours so far? The first day I put mine on we went wheeling and I knocked one off, so I had to re-do some of the screw holes on that one. Other than them not being flexible they do there job very well.
I didn't do any pics on the front because the fronts are super easy and there are a million different threads on the fronts. Here is the process on the rears.
Before the install, fronts were already cut. Stock flares on rear.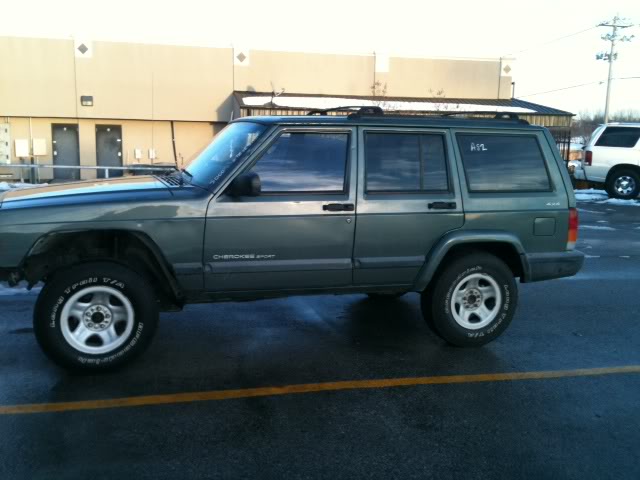
Next step take off fender flares and mounts, takes a 10mm deep well and a 7/16 deep well. After removed should look like this.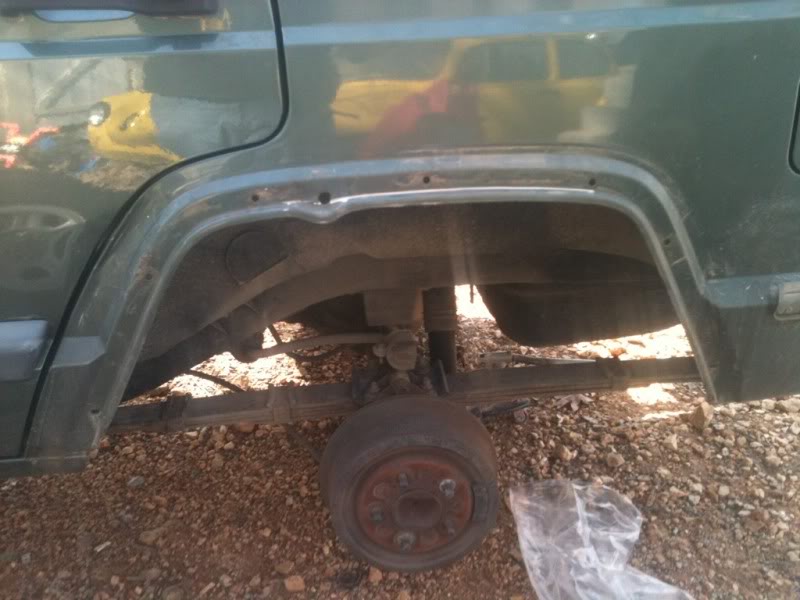
Next cut off lower lip all of the way around.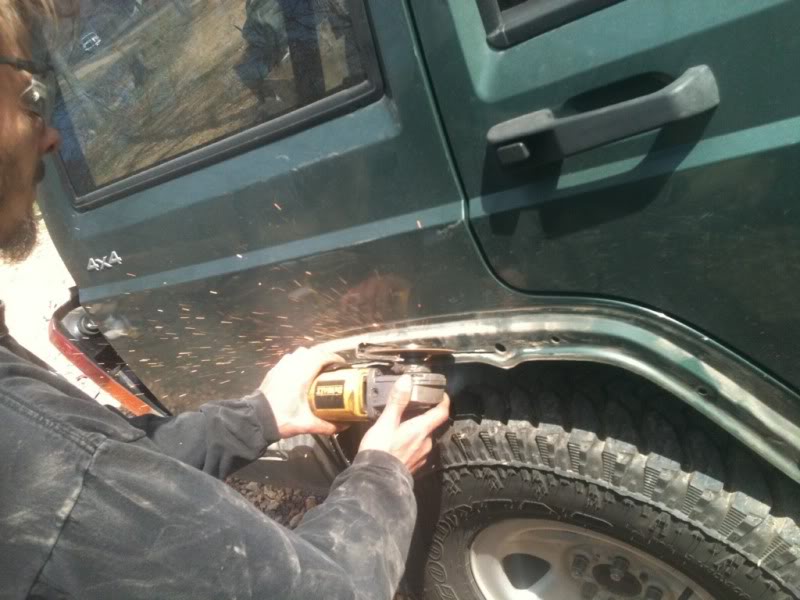
next cut notched up to the end of the second lip about 4" part and extra where the body has bends.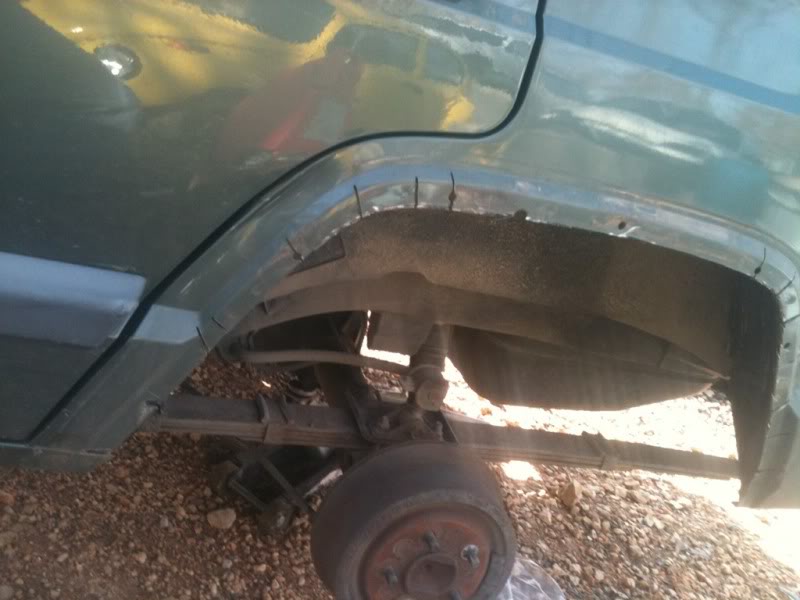
Start to hammer it in.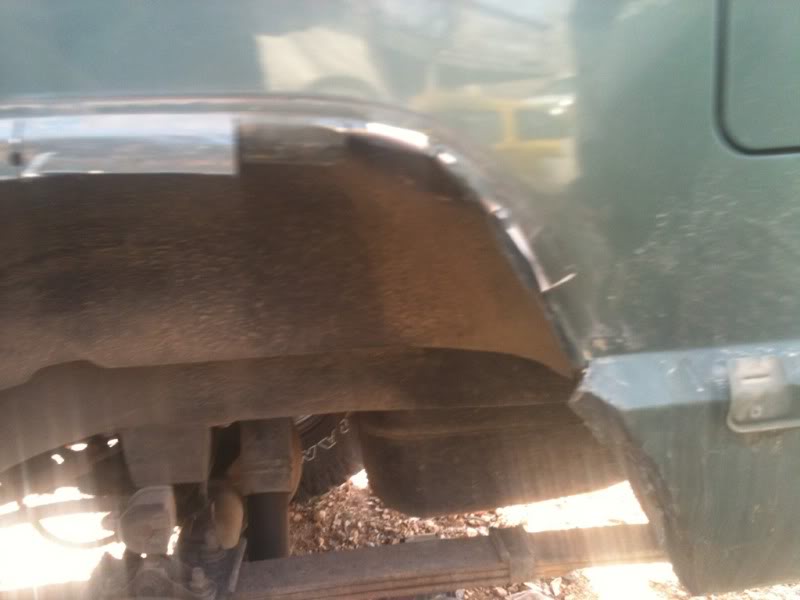
Pound it flat against the top and sides of the inner fenders.
then sand and spray with rustoleum undercoating spray. Make sure to cover all of the bare metal and help seal it all up.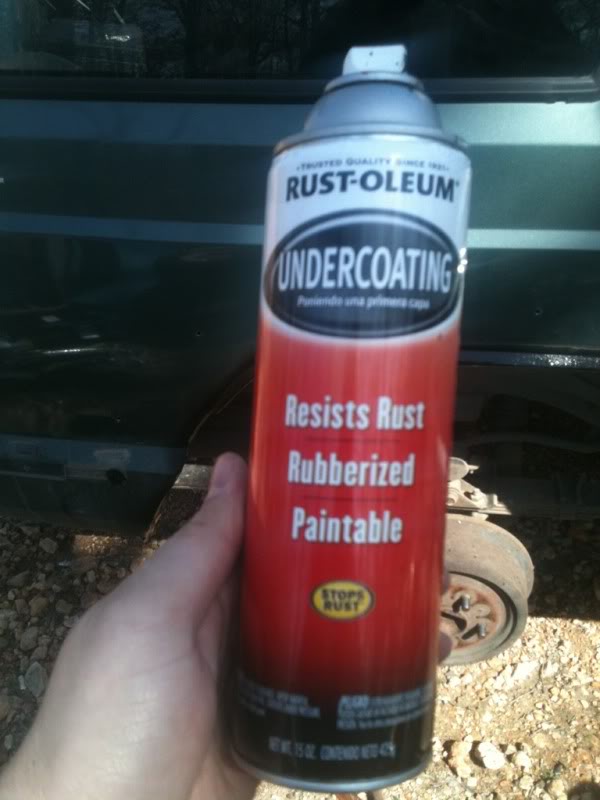
Mut remove part of the side bracket that holds on the rear bumper side panel. Drill rivet out then cut off.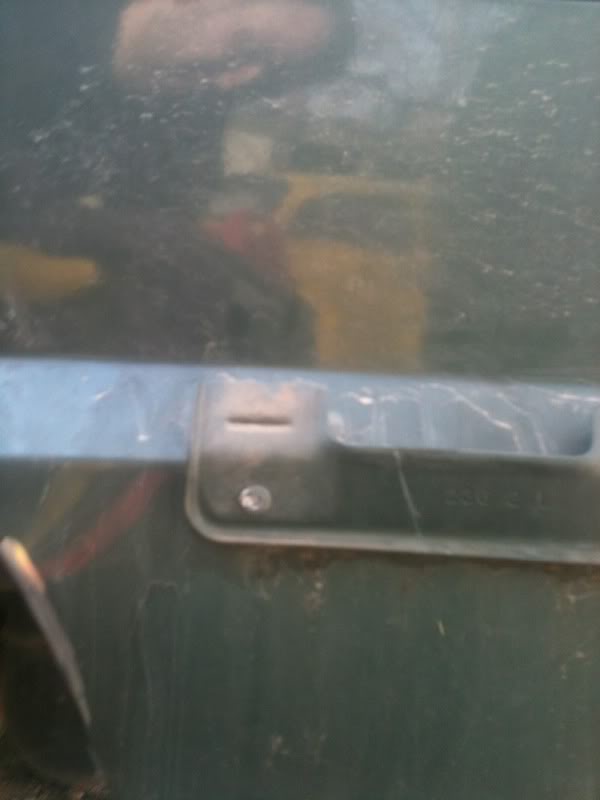
Mock up the fender flares using tape or have someone hold them in place. Make sure everything is straight. Use a grease pen to mark holes, drill with a 3/16th bit. and install.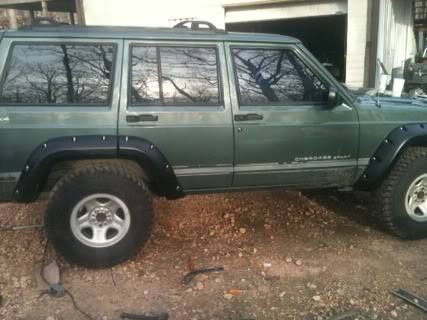
Then the most important part. Place the bushwhacker custom badge somewhere on the body. Use alcohol to clean the surface before install.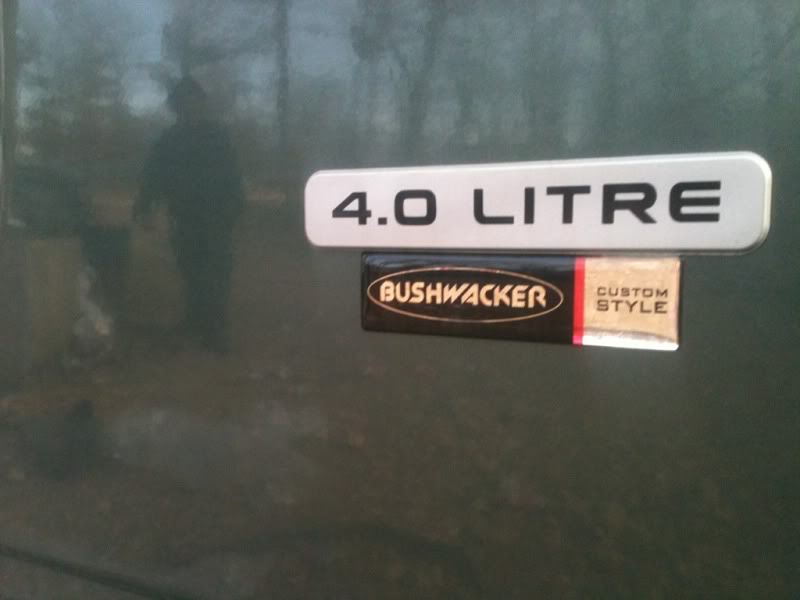
Before the install, fronts were already cut. Stock flares on rear.
Next step take off fender flares and mounts, takes a 10mm deep well and a 7/16 deep well. After removed should look like this.
Next cut off lower lip all of the way around.
next cut notched up to the end of the second lip about 4" part and extra where the body has bends.
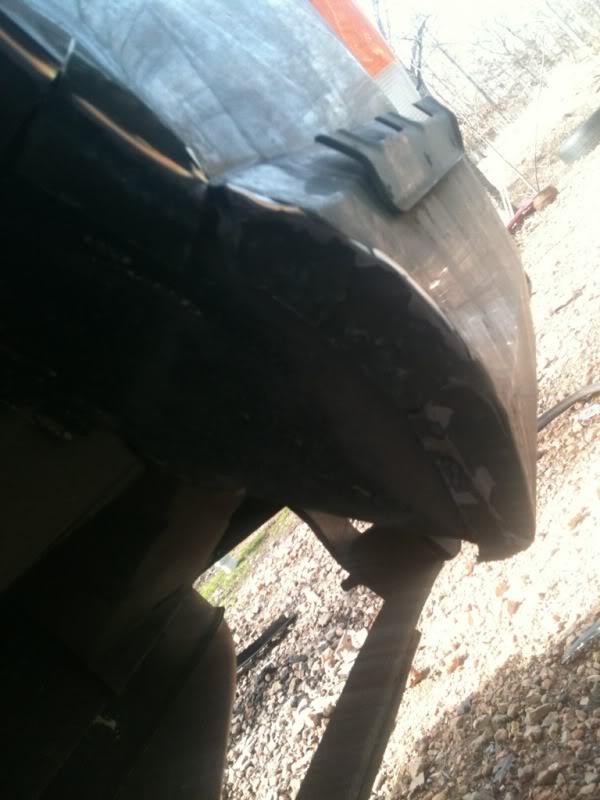
Start to hammer it in.
Pound it flat against the top and sides of the inner fenders.
then sand and spray with rustoleum undercoating spray. Make sure to cover all of the bare metal and help seal it all up.
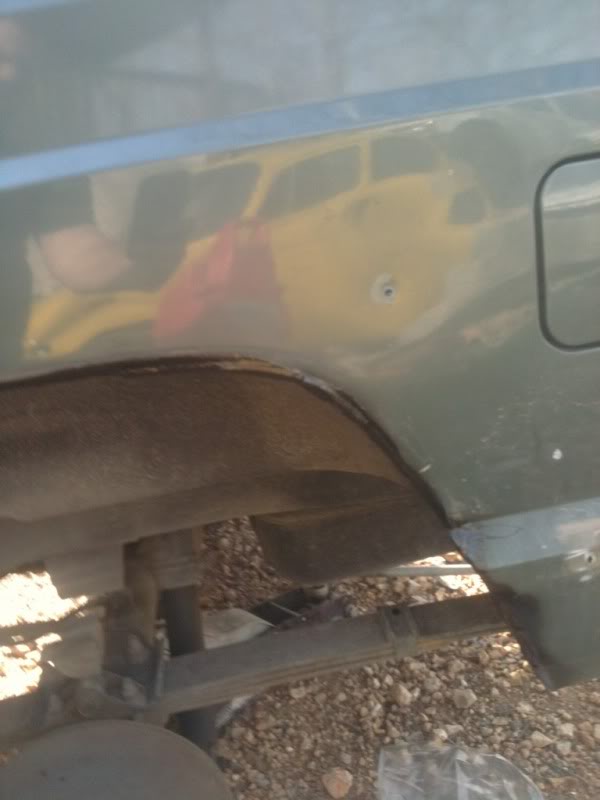
Mut remove part of the side bracket that holds on the rear bumper side panel. Drill rivet out then cut off.
Mock up the fender flares using tape or have someone hold them in place. Make sure everything is straight. Use a grease pen to mark holes, drill with a 3/16th bit. and install.
Then the most important part. Place the bushwhacker custom badge somewhere on the body. Use alcohol to clean the surface before install.
31x10.5 on the factory wheels. Lots of clearance. I will take pics with a real camera soon. All of toss were taken with my Iphone. It is just a 2" kit, spacers front and shackles rear. Need new leafs but it will do for now.