
Rear bumper

Thread Starter
Junior Member
Joined: Jun 2011
Posts: 45
Likes: 0
From: south jersey
Year: 2001
Model: Cherokee
Engine: 4.0L
So me and my friend had some free time yesterday. We're both 18 an I think we did a pretty nice job. Went and picked up the steel got started around 1030 an finished around 5 ish.
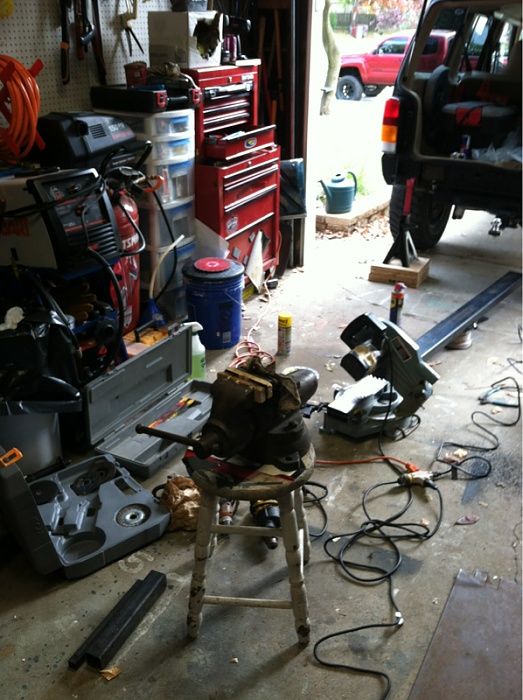
Here is the start of it. Chopped the 2x4x3/16 square tubing to size first.
I used 1/4 inch plate for my supports to be welded to and bolted in.
The brackets to hold the bumper to the plate is 2x2x3/16
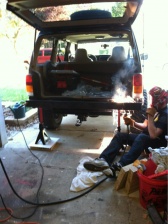
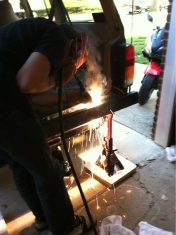
We welded the brackets on first than held the bumper up and tacked it on.
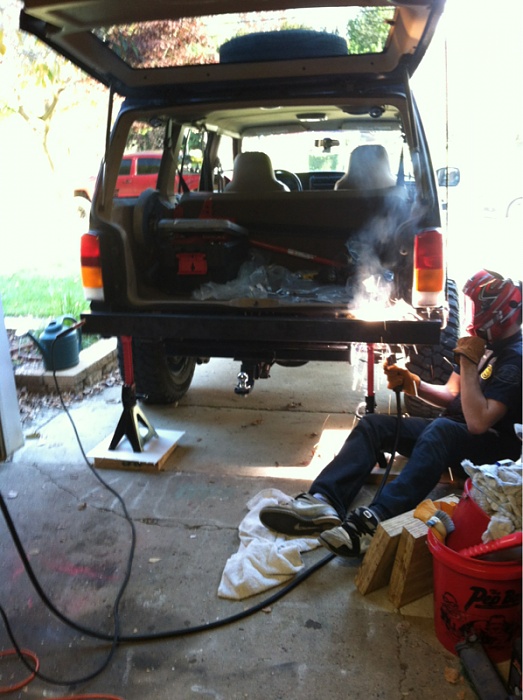
After it was tacked together we unbolted it an finished up the welds.

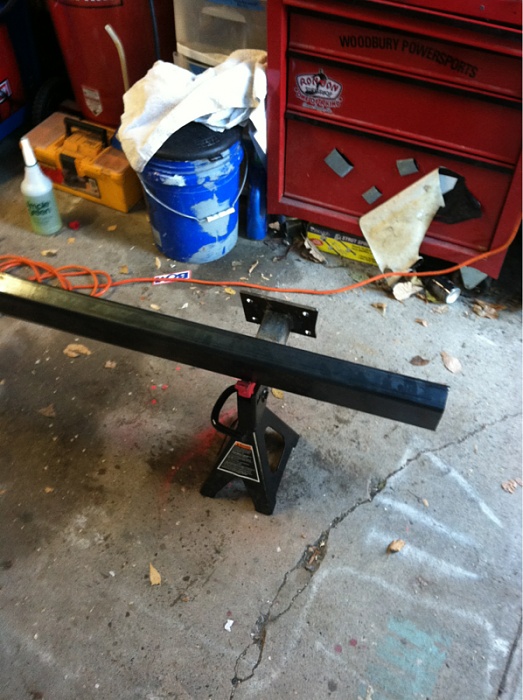
We also added 1x1 square tubing as angle supports of the plate but I didn't get any pictures
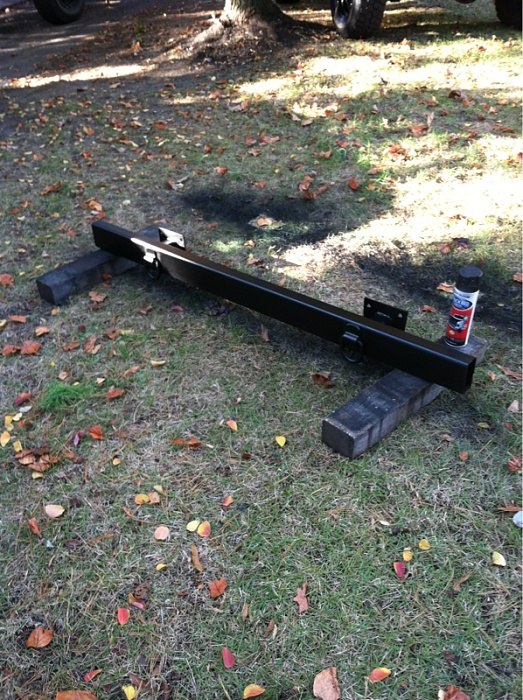
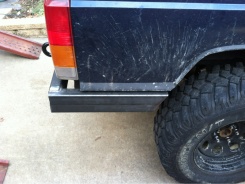
Than I added some bed liner
And here is the outcome. It's not done I also want to add a few more things.
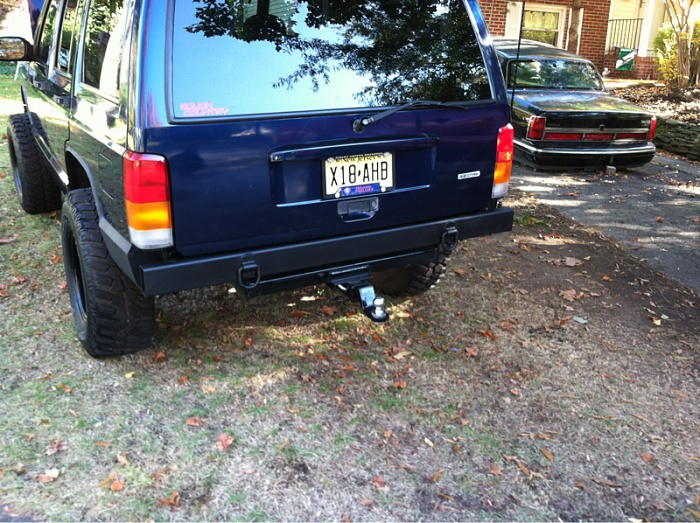

Didn't get to get all the pictures I wanted to in the process. But this is the basics of what I did. Let me know what you think

Here is the start of it. Chopped the 2x4x3/16 square tubing to size first.
I used 1/4 inch plate for my supports to be welded to and bolted in.
The brackets to hold the bumper to the plate is 2x2x3/16
We welded the brackets on first than held the bumper up and tacked it on.
After it was tacked together we unbolted it an finished up the welds.

We also added 1x1 square tubing as angle supports of the plate but I didn't get any pictures

Than I added some bed liner
And here is the outcome. It's not done I also want to add a few more things.
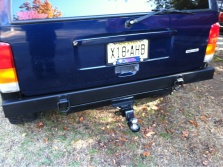
Didn't get to get all the pictures I wanted to in the process. But this is the basics of what I did. Let me know what you think
Junior Member
Joined: Nov 2011
Posts: 73
Likes: 0
Model: Cherokee
looks like a good budget bumper to me.... i am doing the same thing to mine... a bar with some tabs on it... simple but effective... only thing is that i would of capped the ends for longevity, mud and water gets in there and stays in there... next thing you know you got a pile of rust
CF Veteran
Joined: Oct 2010
Posts: 1,889
Likes: 2
From: Long Island N.Y.
Year: 1999
Model: Cherokee
Engine: I6 4.0
Liking it alot simple and effective is my modo lol if you dont mind me asking how much did you pay for that steel im looking to build a bumper my self

Registered Users
Joined: Aug 2009
Posts: 791
Likes: 0
From: Ny
Year: 1995
Model: Cherokee
Engine: 4.0ho
its still bolted to thin factory sheet metal
I wouldnt do any heavy recovery with it without adding unibody tie ins into the unibody channels.
nice work for your first build tho, anything is better than stock
I wouldnt do any heavy recovery with it without adding unibody tie ins into the unibody channels.
nice work for your first build tho, anything is better than stock
Thread Starter
Junior Member
Joined: Jun 2011
Posts: 45
Likes: 0
From: south jersey
Year: 2001
Model: Cherokee
Engine: 4.0L
yeah i wasnt looking to use it for recovery. just make it look a little nicer and i will be capping the ends. i cant decide if i wanna cap the ends or continue the bumper and have it run up the side. the steel and tabs and d rings cost me 48 dollars
Trending Topics

Thread Starter
Junior Member
Joined: Jun 2011
Posts: 45
Likes: 0
From: south jersey
Year: 2001
Model: Cherokee
Engine: 4.0L
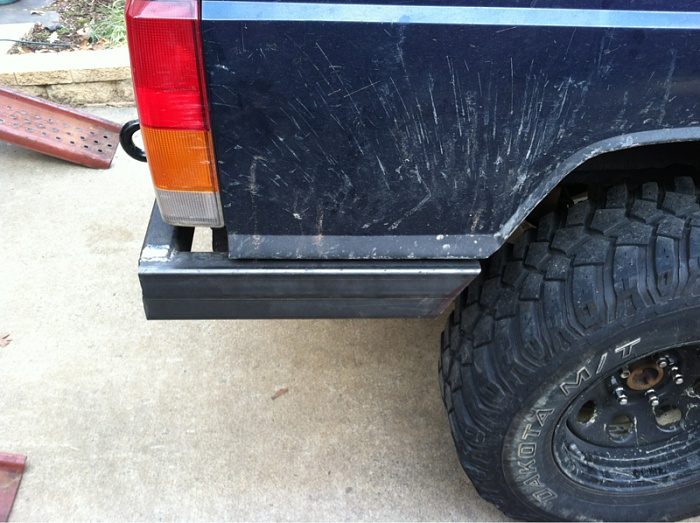
Well it's been a little while but the bumper is almost finished. I did the cut and fold method for the read lower quarter panels. Rivet them in and sealed it up and bed linered it. From there we just continued our plan.
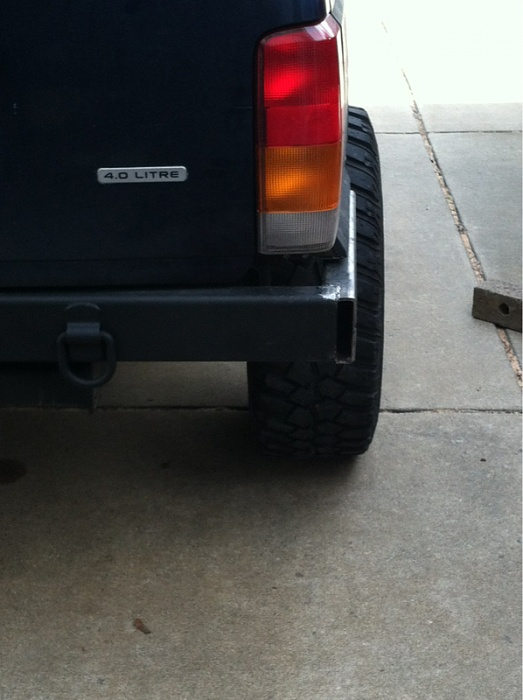
Started by building the side pieces. Wanted to have them continue to run in the same line as the fender.
Than we added 1x1 square tubing to attach it to the body an the bumper.
Once that was done we worked on filling the gap under the tail lights. Had some scrap pieces laying around todo that.
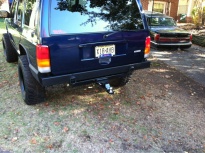
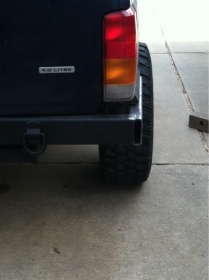
Than we capped all the pieces off. Runnin out of time we cleaned up the welds real quick and threw a few coats of bed liner on it. Here's how it turned out.
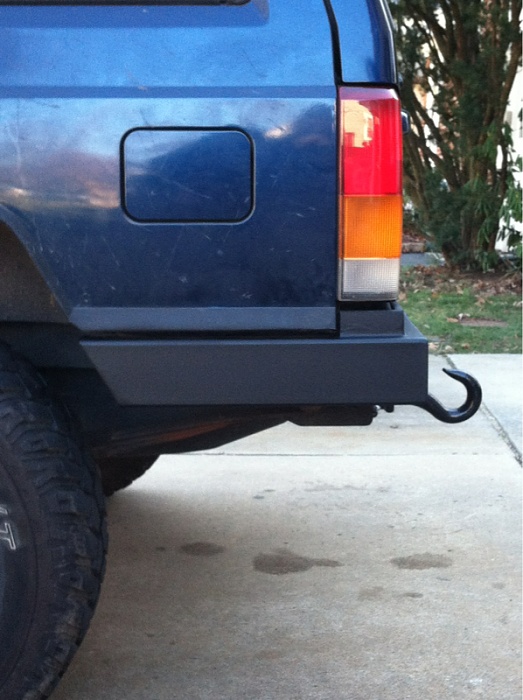
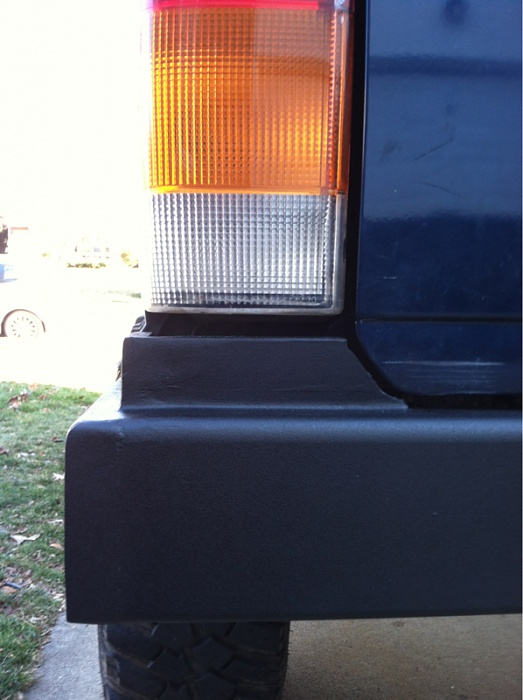
Still wanna do a few small things and clean up a few spots a little better with the grinder. But I think it looks good so far
Started by building the side pieces. Wanted to have them continue to run in the same line as the fender.
Than we added 1x1 square tubing to attach it to the body an the bumper.
Once that was done we worked on filling the gap under the tail lights. Had some scrap pieces laying around todo that.
Than we capped all the pieces off. Runnin out of time we cleaned up the welds real quick and threw a few coats of bed liner on it. Here's how it turned out.


Still wanna do a few small things and clean up a few spots a little better with the grinder. But I think it looks good so far
Last edited by JerseyJeep'n; Jan 17, 2012 at 11:39 PM.

 how much did it run you to do all that, thinkin bout a rear bumper myself

Thread Starter
Junior Member
Joined: Jun 2011
Posts: 45
Likes: 0
From: south jersey
Year: 2001
Model: Cherokee
Engine: 4.0L
i do have it tied into the unibody at points. the corners do look very large in the picture but in person it looks nice. i like the boxy look of it. in the end i would say it ran me about 65-75 at the very most. including the d rings and tabs. not to bad at all
