
New Spare Tire Carrier

Thread Starter
CF Veteran
Joined: Aug 2008
Posts: 6,588
Likes: 495
From: Chico, CA
Year: 1986
Model: Cherokee
Engine: 4.3L with headers and full 3" exhaust system
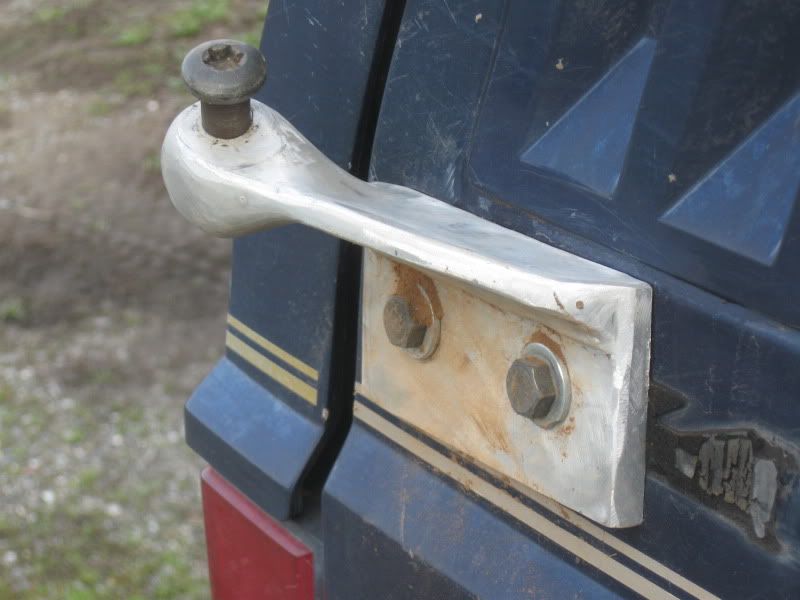
Worked on my spare tire carrier today. I started with a OEM carrier I got for $25 from the pick and pull. The way I figured it, If I didn't use any more than the latch, which would be hard to build, I was ahead of the game. I brought all the pieces home and have been thinking about this for probably a good year or so. Don't want to get in a hurry here. The thing is that I have an aluminum bumper on the rear that I built for a winch also. So I couldn't use the entire stock setup anyway. So I started out with just the brackets. I had to raise the whole thing up and slant i forward on the top and kick the top out. So I made this top bracket that is just like the original cast iron bracket, accept it is upside down on the mounting surface.
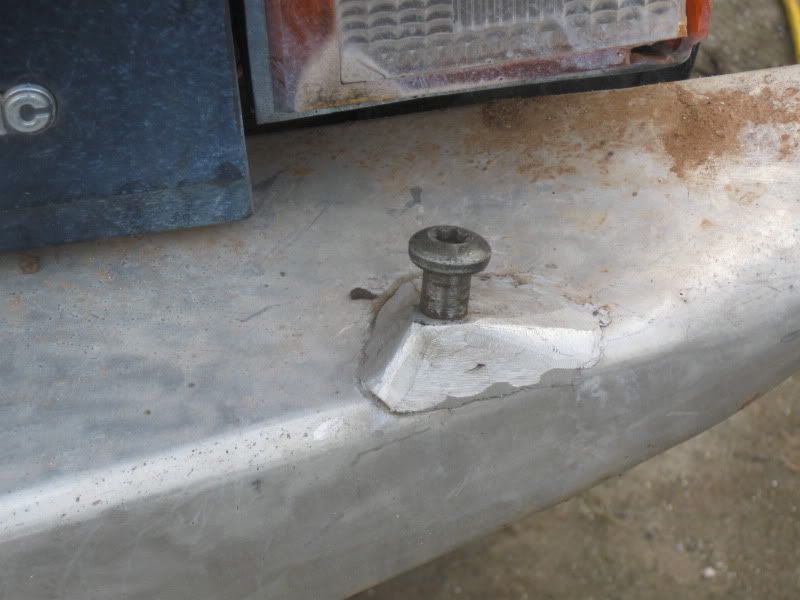
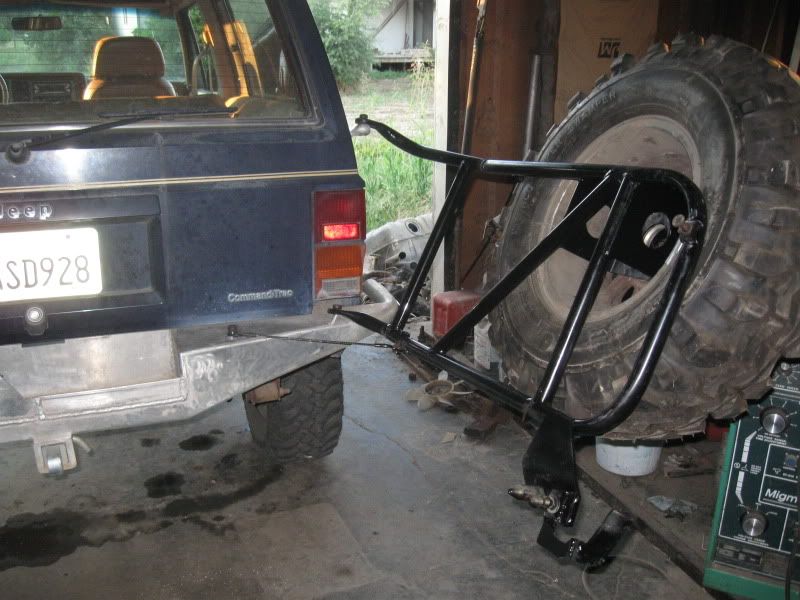
The bottom bracket is a cast piece that bolts into the factory bumper. My bumper sticks out farther to accommodate a winch, so after raising it up I made this mounting point on the bottom.
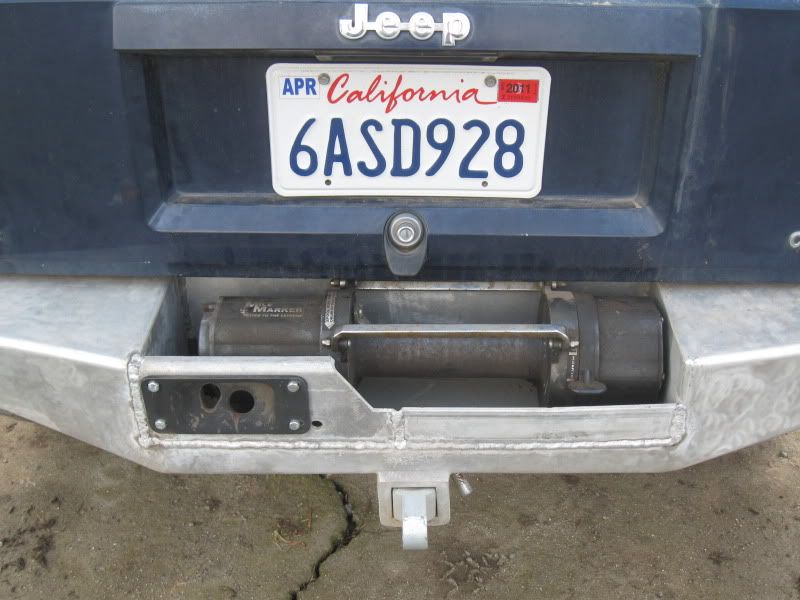
Here is a pic of the winch sitting in its intended spot and the latch receiver welded in place. Not much room left here.
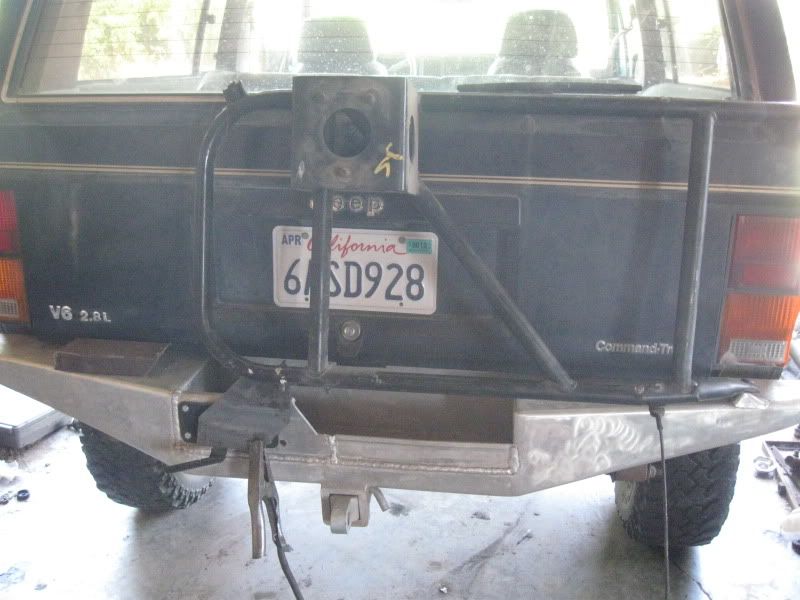
Then I made some cuts in the tubing and rewelded so it had some more curve to it. I don't have any pics of this. But the bracket had to be repositioned so it was time to cut a little steel and start welding

I also repositioned the handle so it would not be so exposed to getting hit. This carrier also uses a top rubber bumper. The one that came with it was a little thrashed, so I pulled out an auxiliary spring snubber I have been carrying around for too many years now through two moves and mounted it to this aluminum plate.
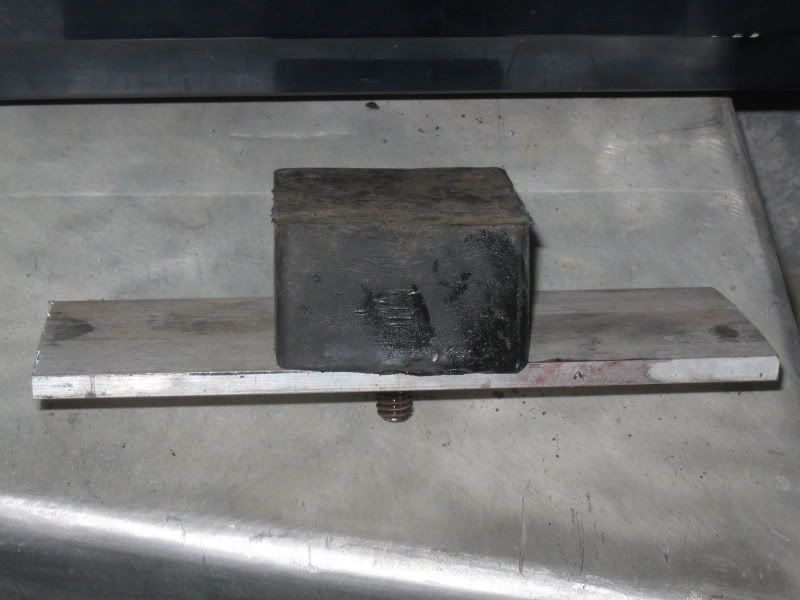
I spaced it out and screwed and JB Welded it to the fiberglass tailgate. I also repositioned the adjustable snubber bolt.

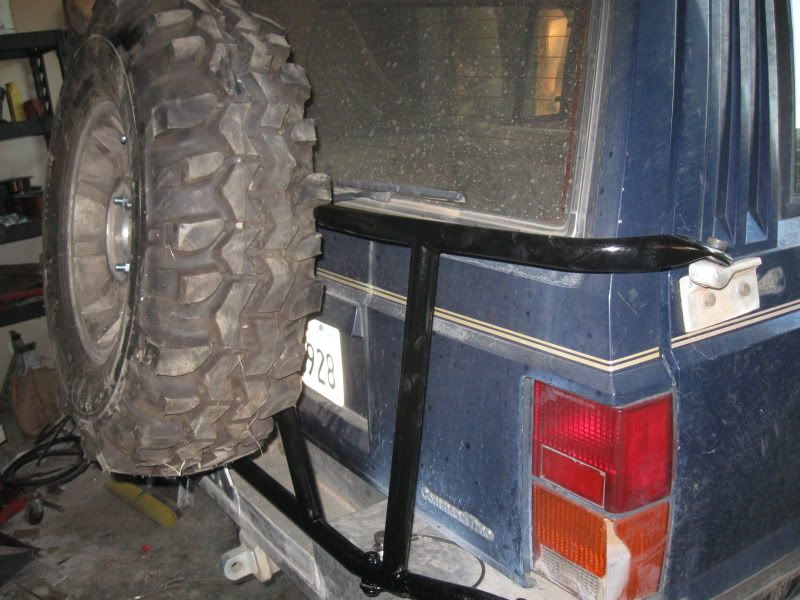
Well, now it is on, but still has some uglies that need to be smoothed up and painted. Tomorrow I have to move the license plate and make a lighted frame to fit inside the spare. Will post some more tomorrow.
Finallt got it done, as least for right now. I managed to loose the special shoulder bolts and had to get some more, which did not fit exactly. So I had to ream out the brass spherical joints in the hinge, which was a pain because they are impregnated with oil and don't ream very fast. But I got some paint on it and got the tire on it too.
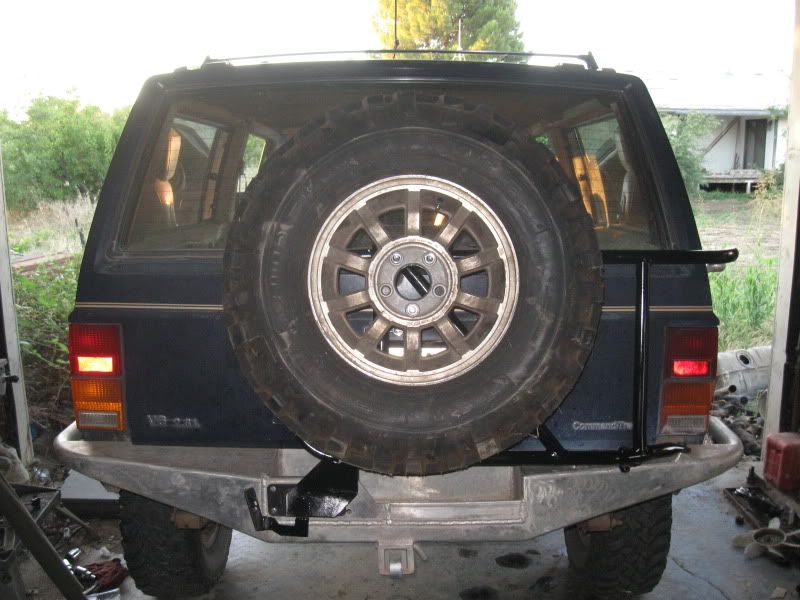
I also relocated the license plate from behind the tire, but no pic of that. I suppose I should shine up that wheel, but later. Lots of other things to do before going to the rocks.
The bottom bracket is a cast piece that bolts into the factory bumper. My bumper sticks out farther to accommodate a winch, so after raising it up I made this mounting point on the bottom.
Here is a pic of the winch sitting in its intended spot and the latch receiver welded in place. Not much room left here.
Then I made some cuts in the tubing and rewelded so it had some more curve to it. I don't have any pics of this. But the bracket had to be repositioned so it was time to cut a little steel and start welding
I also repositioned the handle so it would not be so exposed to getting hit. This carrier also uses a top rubber bumper. The one that came with it was a little thrashed, so I pulled out an auxiliary spring snubber I have been carrying around for too many years now through two moves and mounted it to this aluminum plate.
I spaced it out and screwed and JB Welded it to the fiberglass tailgate. I also repositioned the adjustable snubber bolt.
Well, now it is on, but still has some uglies that need to be smoothed up and painted. Tomorrow I have to move the license plate and make a lighted frame to fit inside the spare. Will post some more tomorrow.
Finallt got it done, as least for right now. I managed to loose the special shoulder bolts and had to get some more, which did not fit exactly. So I had to ream out the brass spherical joints in the hinge, which was a pain because they are impregnated with oil and don't ream very fast. But I got some paint on it and got the tire on it too.
I also relocated the license plate from behind the tire, but no pic of that. I suppose I should shine up that wheel, but later. Lots of other things to do before going to the rocks.
Thread Starter
CF Veteran
Joined: Aug 2008
Posts: 6,588
Likes: 495
From: Chico, CA
Year: 1986
Model: Cherokee
Engine: 4.3L with headers and full 3" exhaust system
CF Veteran
Joined: Jun 2009
Posts: 1,059
Likes: 0
Model: Cherokee
good design and all, but I wouldent trust that just bolts to the body with a 33 or bigger. As it really is only sheet metal. Maybe if you add some quarter guards then weld it to it to beef it up a little. Just my .02
Trending Topics

Thread
Thread Starter
Forum
Replies
Last Post
Currently Active Users Viewing This Thread: 1 (0 members and 1 guests)