
Installing Detours A~Pillar Light Brackets-


Thread Starter
Cherokee Forum Vendor
Joined: Feb 2010
Posts: 737
Likes: 2
From: Black Diamond Foothills, KY.
Year: Multi
Model: Cherokee
The following is a suggested install for Detours A~Pillar Light Bracketry. (XJ)
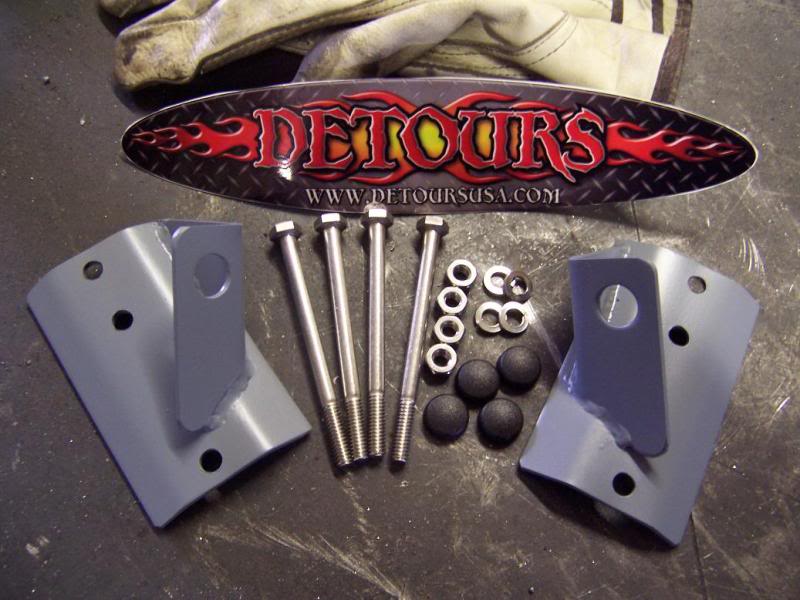
Prior to installing, be sure to paint your brackets with a quality product, we suggest Duplicolor or Plasticoat brand products.
1. Decide how high or low you want to mount your brackets. (this install is 4 inches from the bottom of the a-pillar)
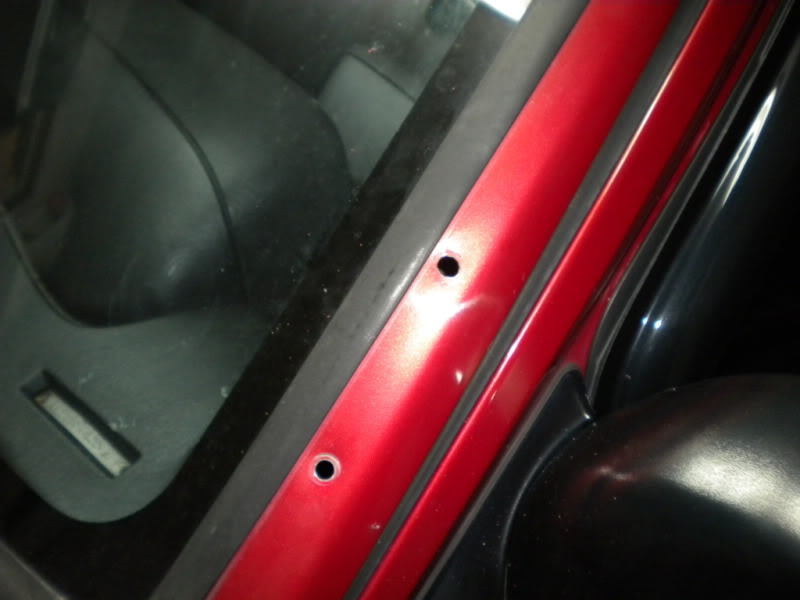
2. Position bracket on a-pillar in the desired location. Mark the holes using a marker or punch.

3. Drill the holes. Start with a smaller bit and work your way up to a size 1/4” size bit. Make sure the drill bits you have are long enough to go through the entire a-pillar.
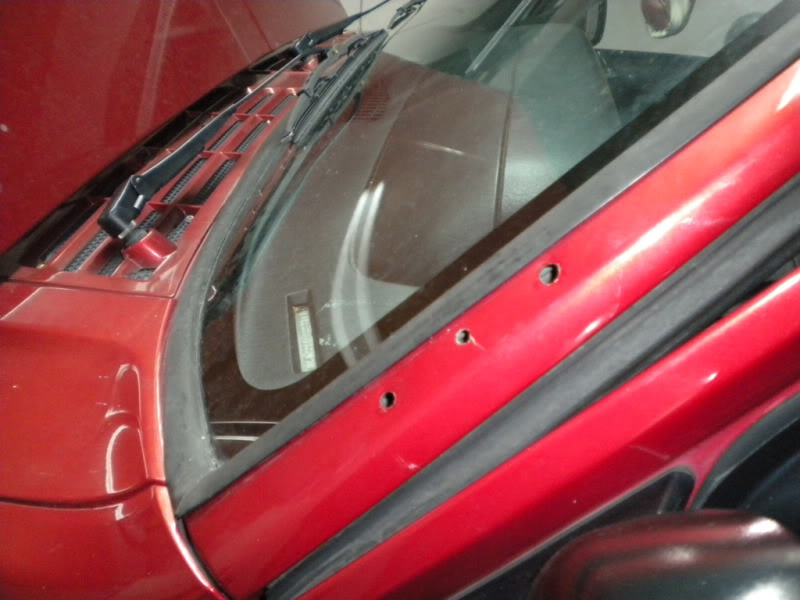
4. Do a quick test fit to make sure everything lines up with the brackets and the holes you just drilled.
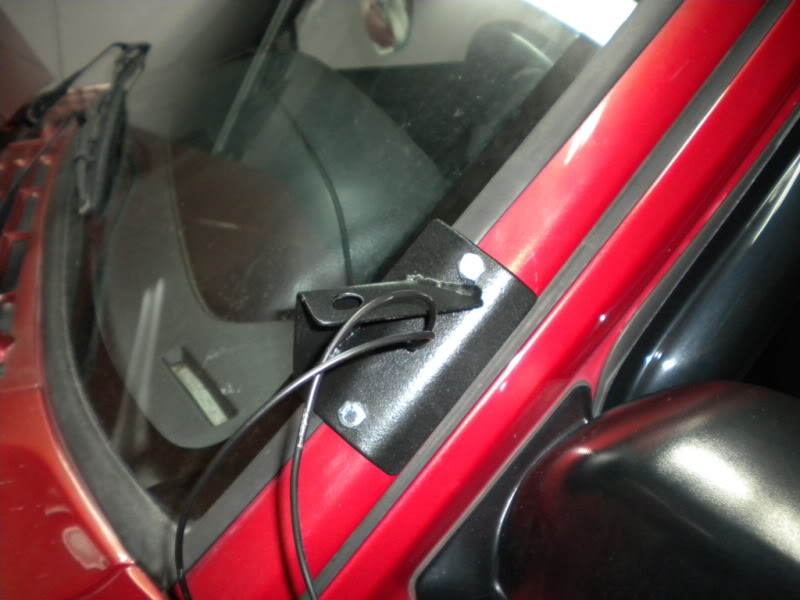
6.The center hole within the bracket is provided so that you can run your wires down thru the a pillar. After checking fitment, drill this hole if you choose to run your wiring in this manor.
7. It is a good ideal to use some type of paint to touch up the 3 holes drilled into the a-pillar just as a good precautionary step to assure you will not have any rust problems down the road
8. You now need to run the wires through the middle hole in the a-pillars and then slide the wires through the bracket and go ahead and mount the bracket but do not tighten.
9. Tuck all the excess wires behind the plastic trim inside the cabin of your XJ as you reinstall your interior trim.
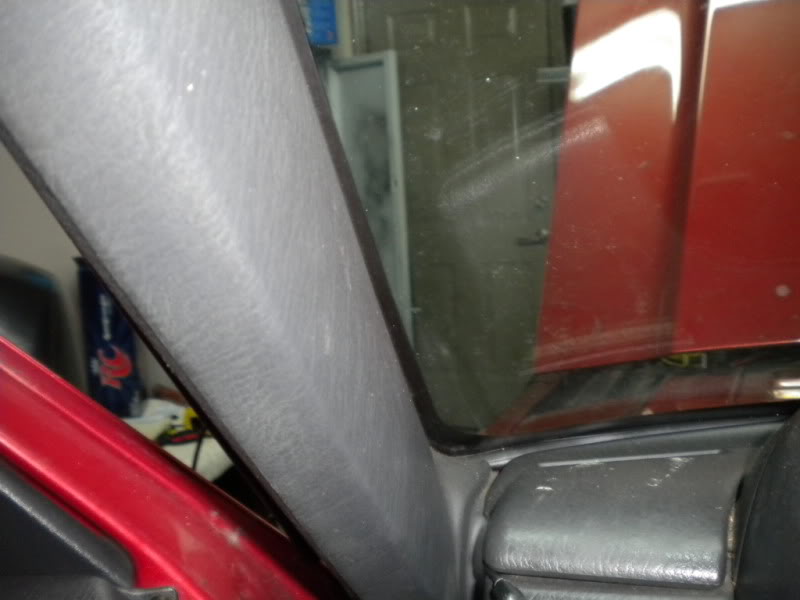
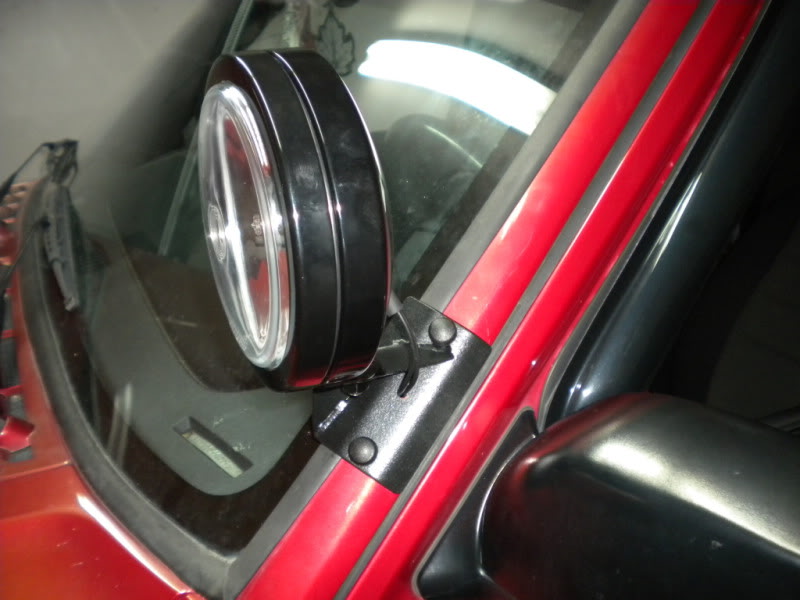
10. Run a thin coat of silicone on the edges of the bracket. (You will need to remove the bracket but should not have to re run the wires through the bracket because you should have plenty of play in the wires. Mount the bracket back on and tighten down the bolts.
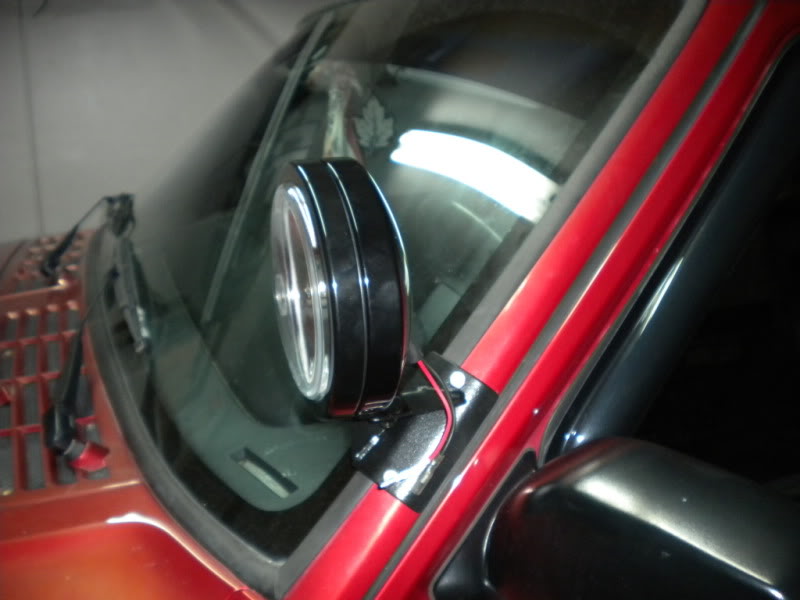
Install light and continue on to the other side.
This install has proven to be weather tight after testing in rain/snow/freezing conditions over a 4 month period, it continues to be weather tight. Please take your time and measure twice, drill once. Follow all lighting manufacturers wiring instructions.
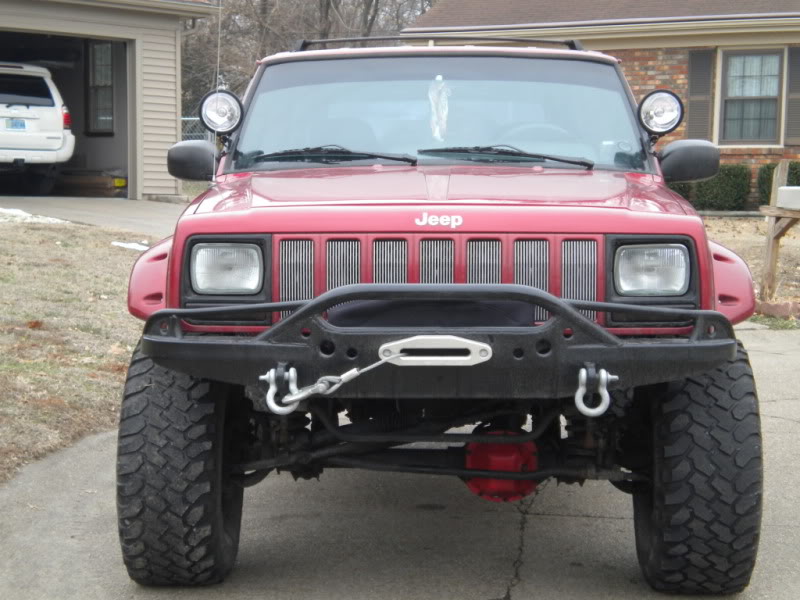
Completed installs-

Prior to installing, be sure to paint your brackets with a quality product, we suggest Duplicolor or Plasticoat brand products.
1. Decide how high or low you want to mount your brackets. (this install is 4 inches from the bottom of the a-pillar)
2. Position bracket on a-pillar in the desired location. Mark the holes using a marker or punch.
3. Drill the holes. Start with a smaller bit and work your way up to a size 1/4” size bit. Make sure the drill bits you have are long enough to go through the entire a-pillar.
4. Do a quick test fit to make sure everything lines up with the brackets and the holes you just drilled.
6.The center hole within the bracket is provided so that you can run your wires down thru the a pillar. After checking fitment, drill this hole if you choose to run your wiring in this manor.
7. It is a good ideal to use some type of paint to touch up the 3 holes drilled into the a-pillar just as a good precautionary step to assure you will not have any rust problems down the road
8. You now need to run the wires through the middle hole in the a-pillars and then slide the wires through the bracket and go ahead and mount the bracket but do not tighten.
9. Tuck all the excess wires behind the plastic trim inside the cabin of your XJ as you reinstall your interior trim.
10. Run a thin coat of silicone on the edges of the bracket. (You will need to remove the bracket but should not have to re run the wires through the bracket because you should have plenty of play in the wires. Mount the bracket back on and tighten down the bolts.
Install light and continue on to the other side.
This install has proven to be weather tight after testing in rain/snow/freezing conditions over a 4 month period, it continues to be weather tight. Please take your time and measure twice, drill once. Follow all lighting manufacturers wiring instructions.
Completed installs-
Last edited by Detour; Mar 27, 2011 at 05:32 PM.

Thread
Thread Starter
Forum
Replies
Last Post
clark40
Stock XJ Cherokee Tech. All XJ Non-modified/stock questions go here
1
Aug 28, 2015 07:11 AM
Currently Active Users Viewing This Thread: 1 (0 members and 1 guests)

