
DIY: Adapting a Renix TPS onto an HO throttle body.

Thread Starter
CF Veteran
Joined: Apr 2011
Posts: 1,146
Likes: 0
From: Clayton, NC
Year: 1988
Model: Cherokee
Engine: 4.6L I6 Stroker with port matched +99 intake and 62mm TB
HO blocks are commonly swapped in to Renix era MJs and XJs. They're more easily found than Renix 4.0's and to me personally, a better choice for replacement anyway. The swap is fairly straightforward, but the TPS can be a tricky part to adapt. Sure, you could buy Hesco's aluminum spacer/adapter if you like sparing limbs or first-borns... If you're like me, cheap yet effective will always be my go-to choice.
Without further ado...
Parts:
- Nylon spacer, 1/2" outer diameter x 1" long
- Metal sleeve, 1/2" inner diameter, x 1" long
- 3/16" threaded rod
- Some angle iron, not too thin, not too thick
- Bolts, nuts and washers (I forget the specs, but make sure they're not too big around for the lobes of the TPS)
Tools:
- Drill
- Dremel or cutoff saw
- Welder or JB weld
- Tap & Dye set (optional)
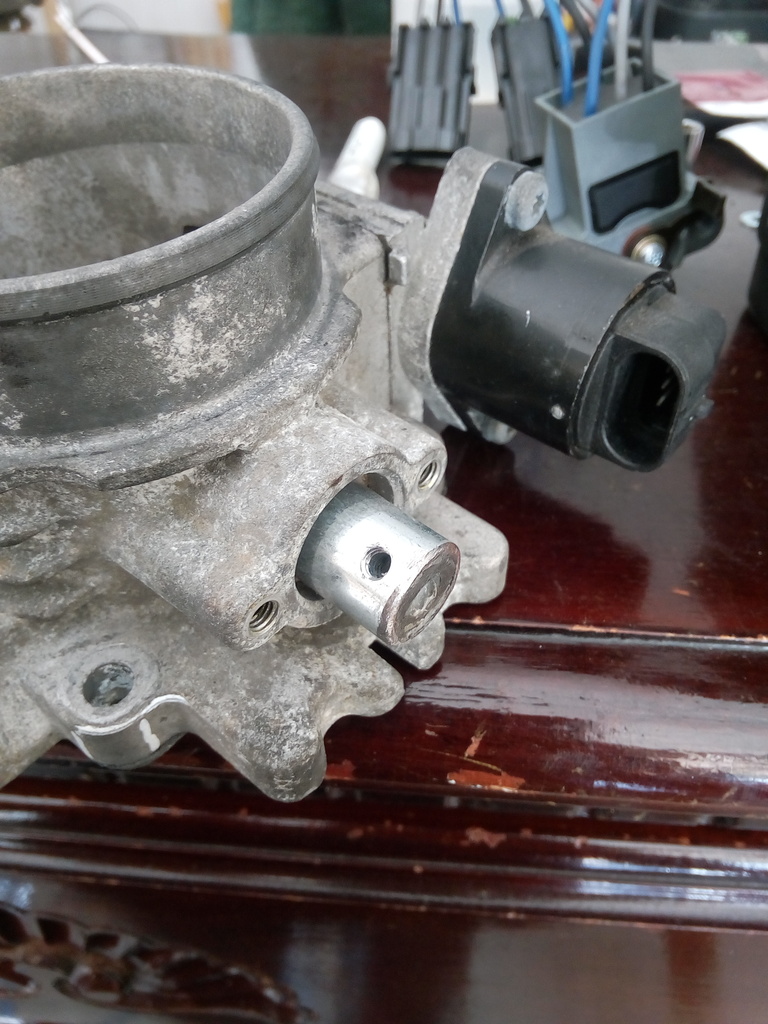
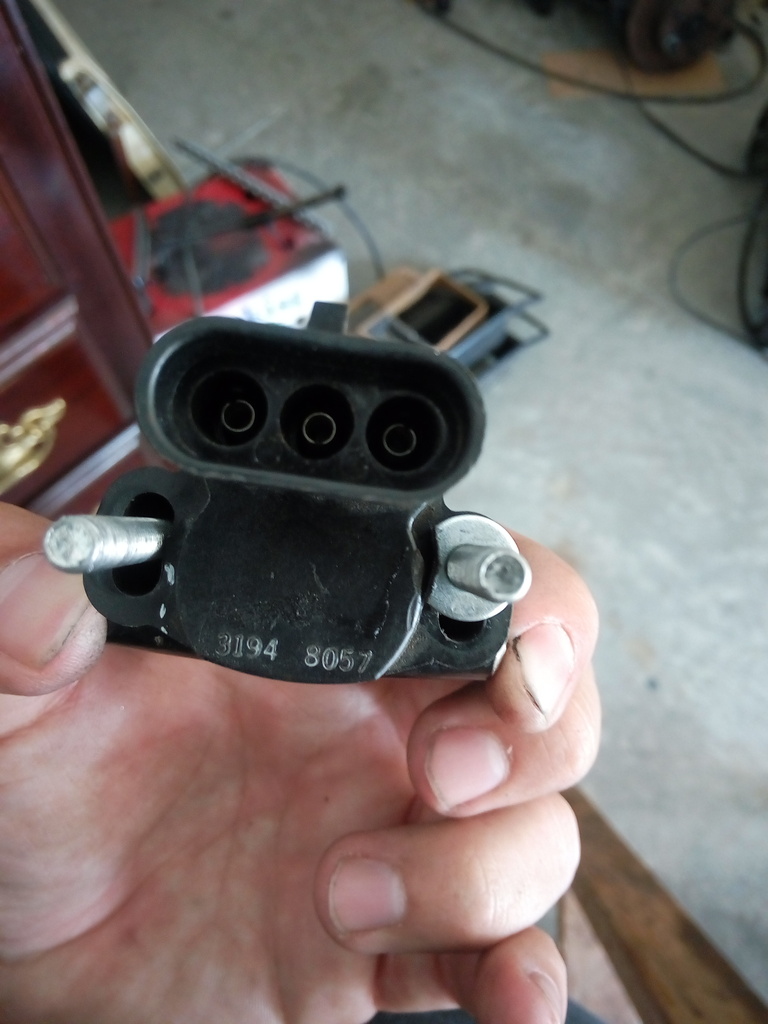
Step 1:
Cut slit (not too wide and not too deep) in nylon spacer:
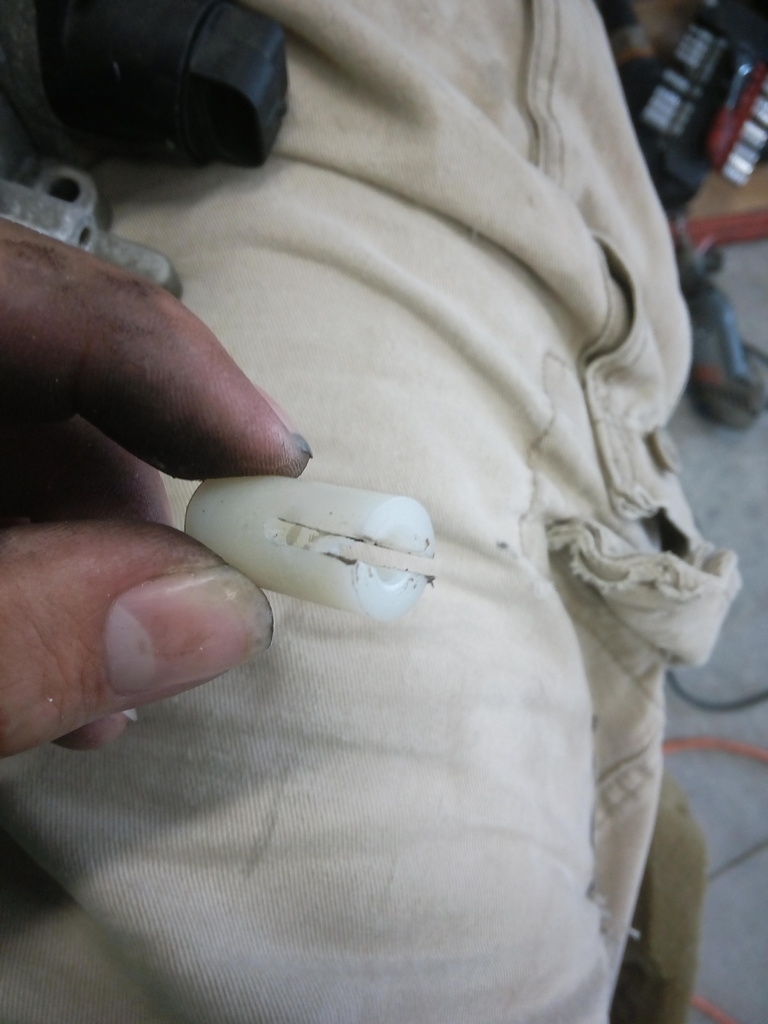
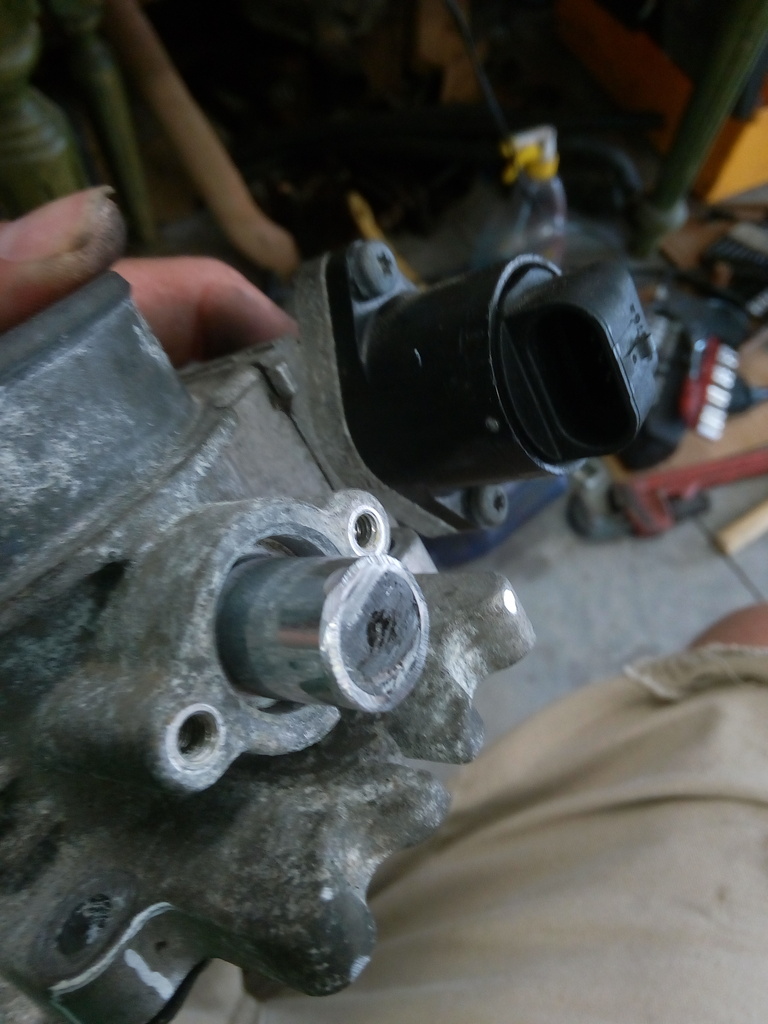
Slide over flat protrusion on TB:
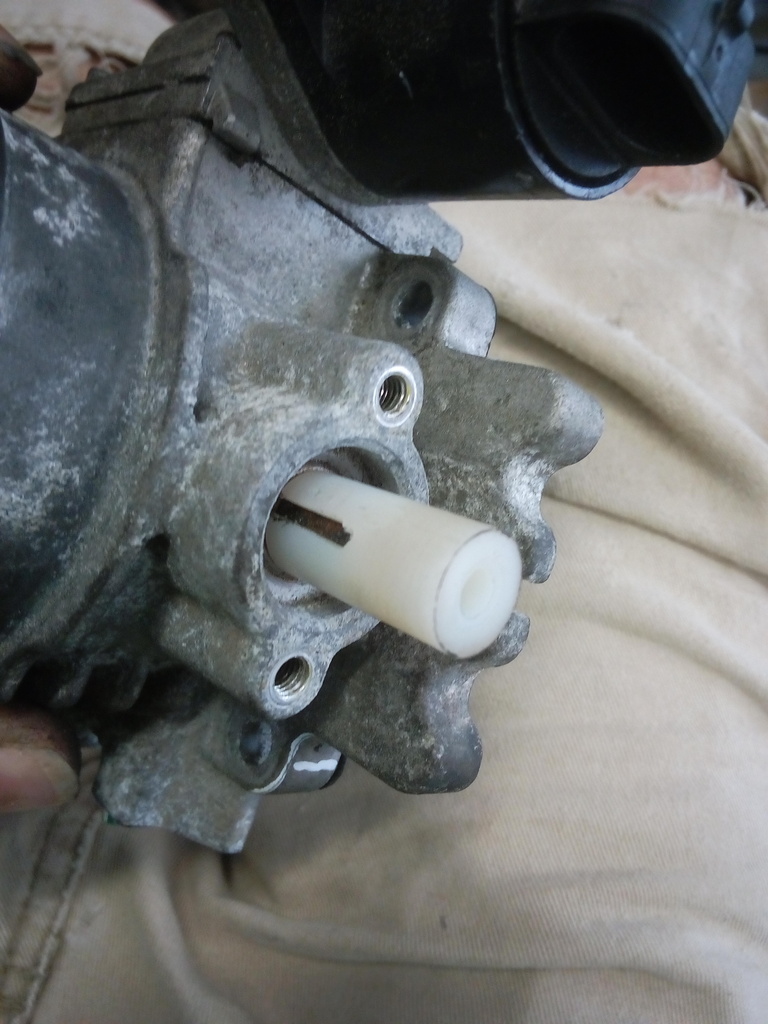
Slide metal sleeve over:
Once you determine you're satisfaction is met, put a dab of super glue in the slit, over the nylon spacer, and slide the metal sleeve over, allowing the glue to dry. Proceed to Step 2.
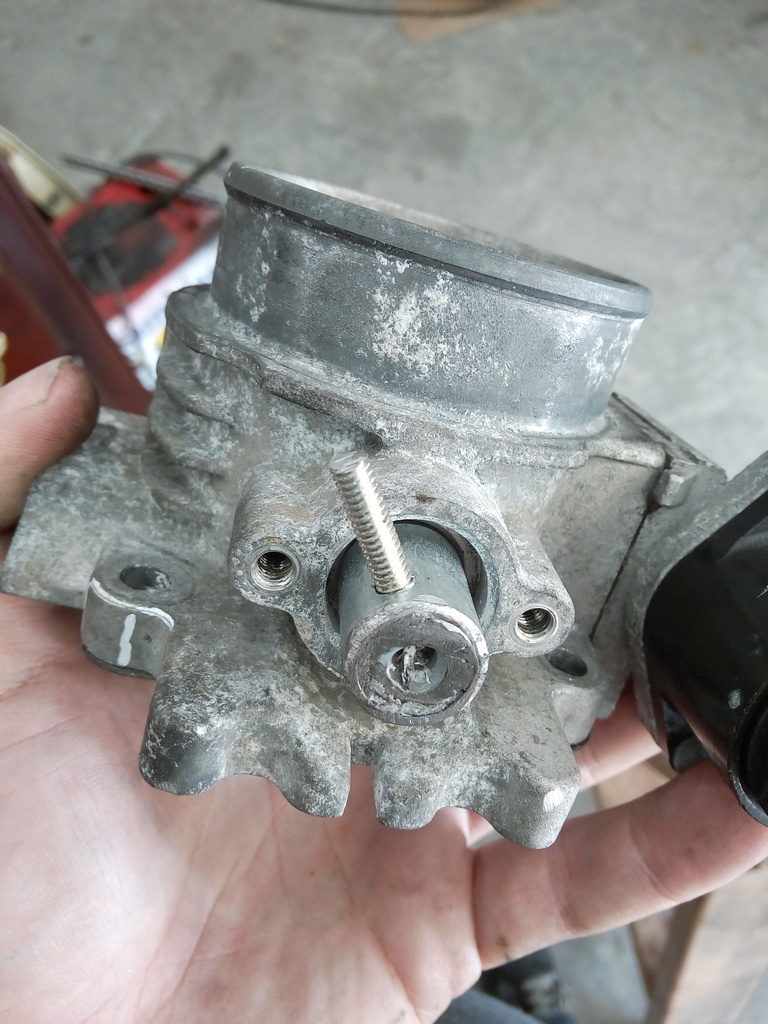
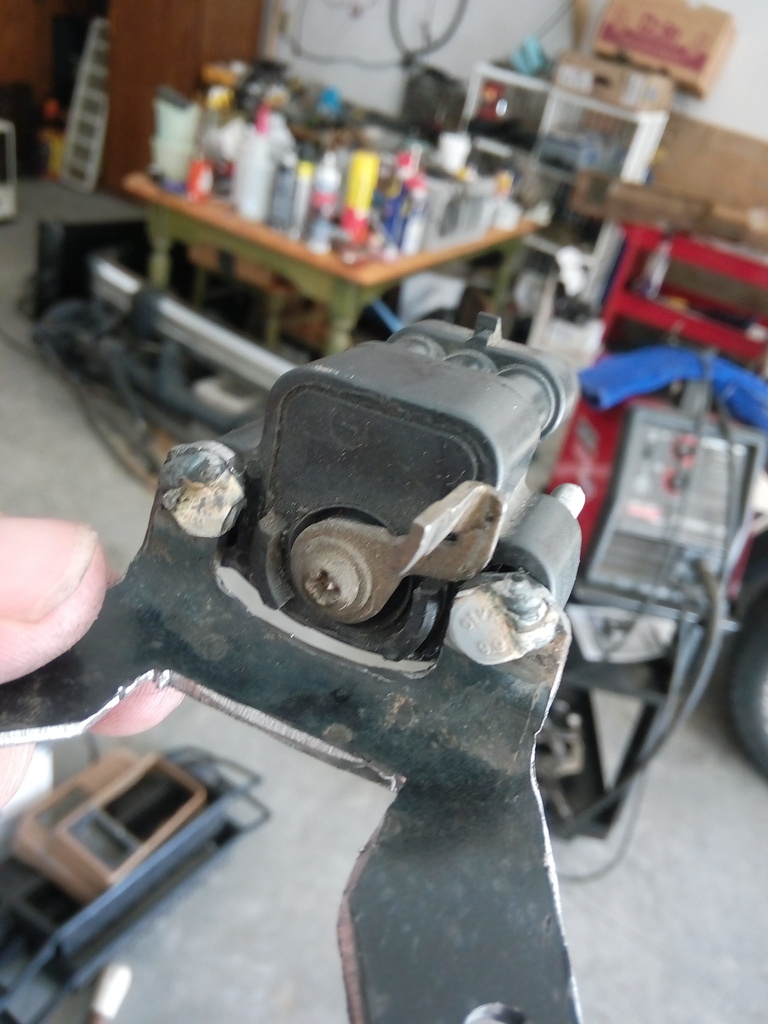
Step 2:
Make your bracket. I don't have a template or dimensions, just looks at the picture below:
Step 3:
Cut the excess off (amount needed to be cut off will be dependent on how you've made your bracket, but ensure there is enough sticking out to allow for the threaded rod arm)
Step 4:
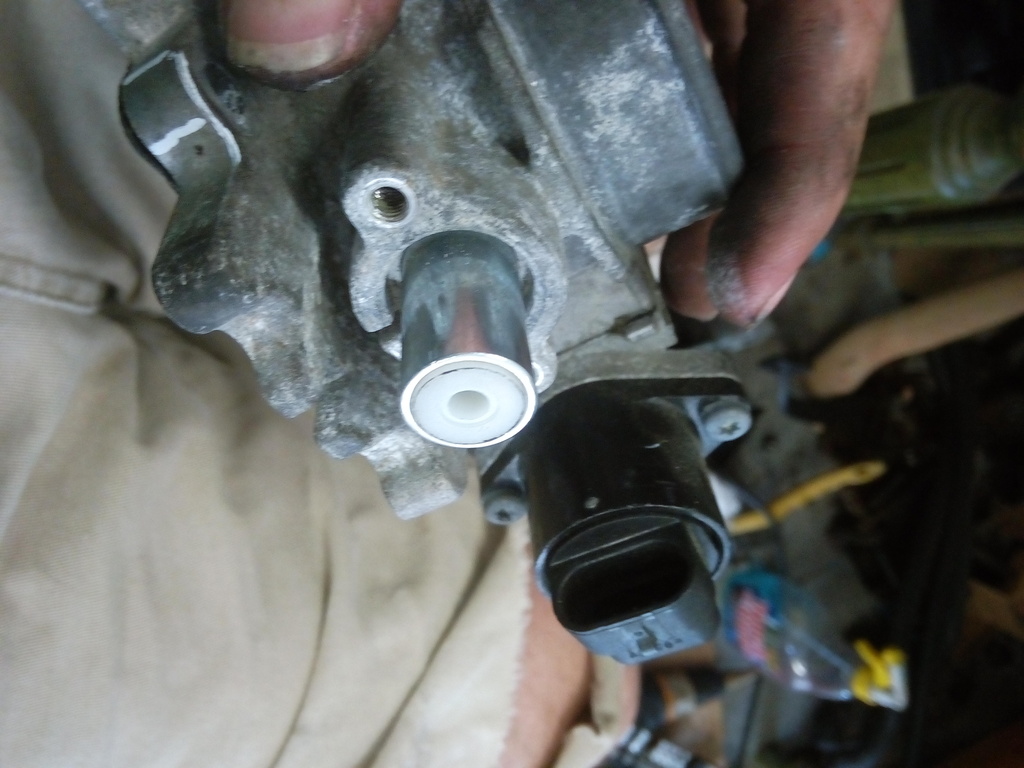
Drill a small hole in the sleeve/spacer. I drilled mine between the 10 & 11 o'clock position:
If you want, get your tap & dye set and tap the hole to accept the threaded rod:
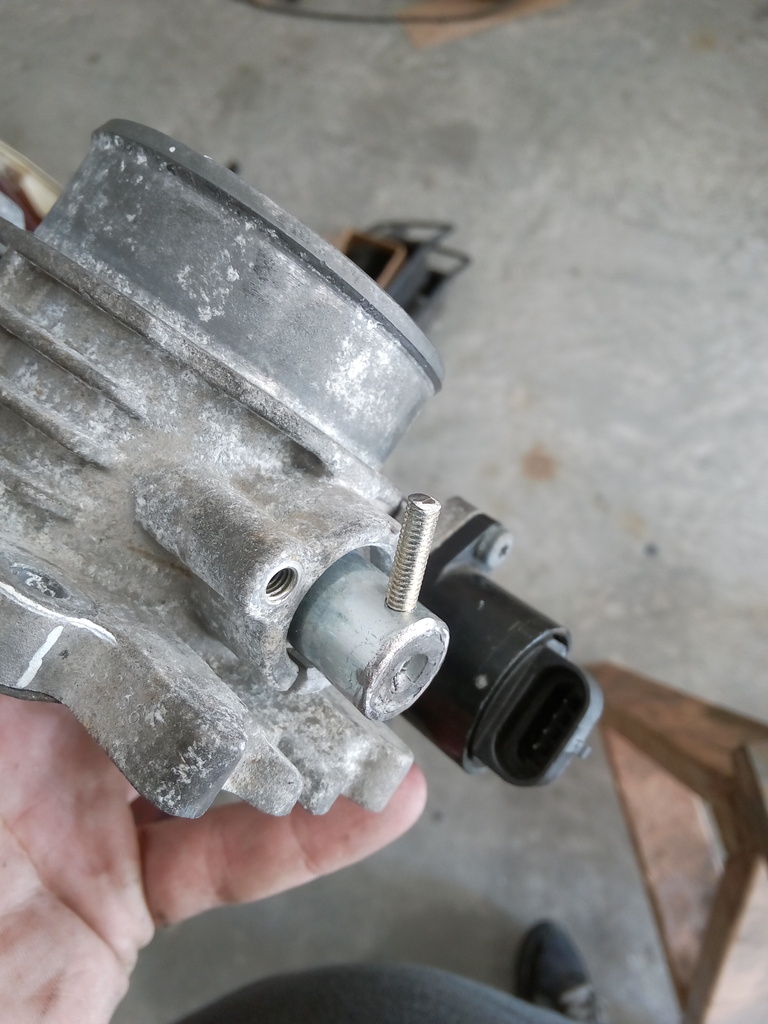
Step 5:
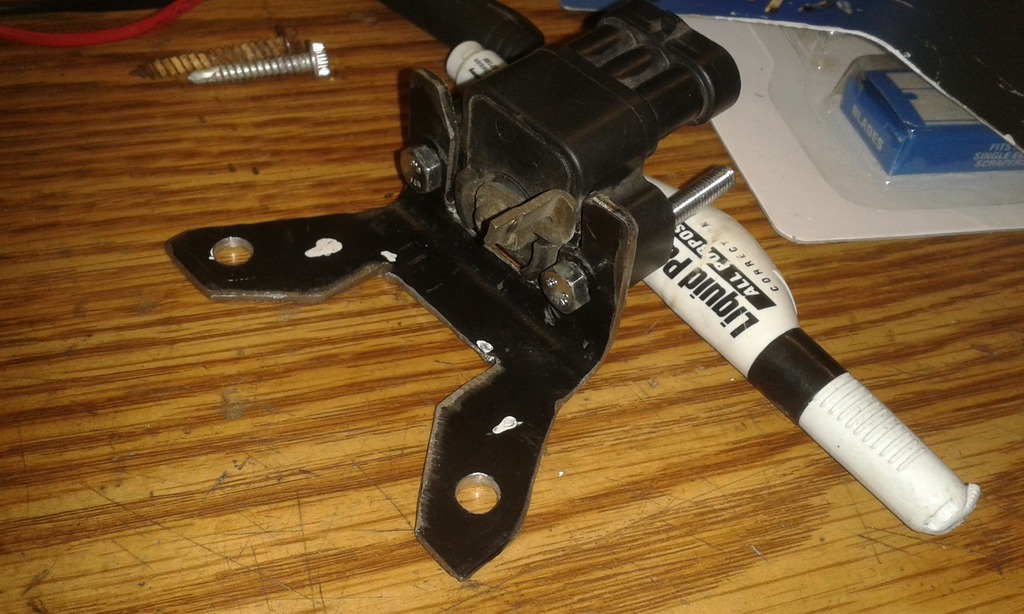
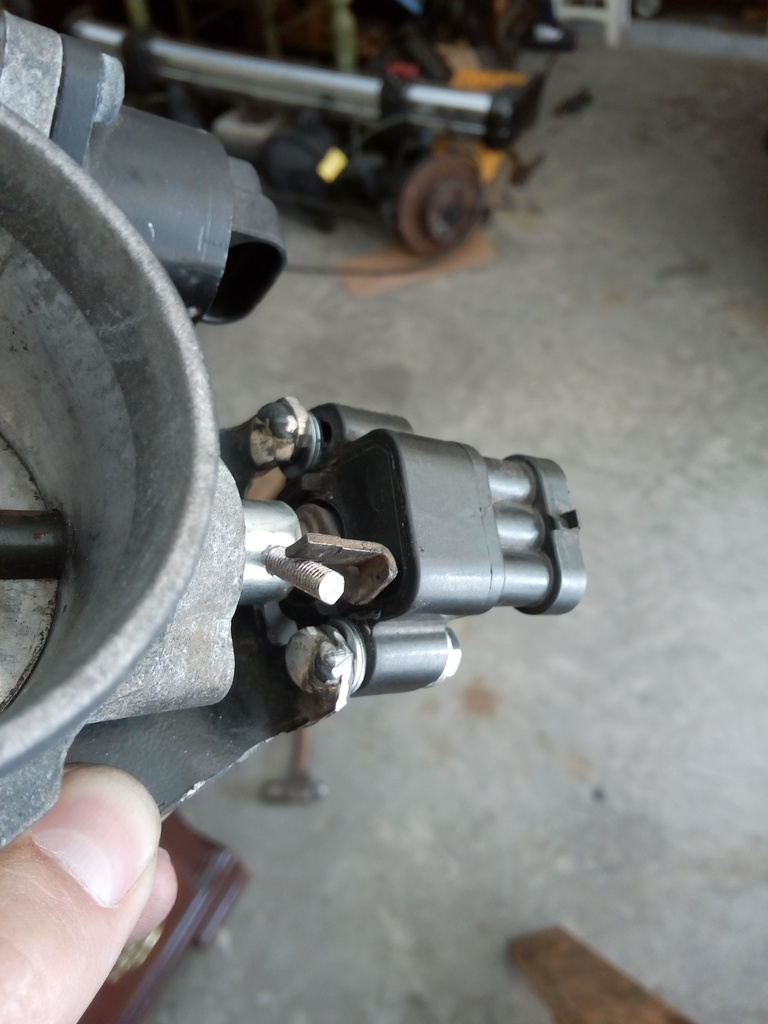
Finalize your bracket. Weld (or JB weld) the bolt heads to the bracket, notch a handful of washers with a grinder, and cut the bolts to length after you get a loose fit. See below:
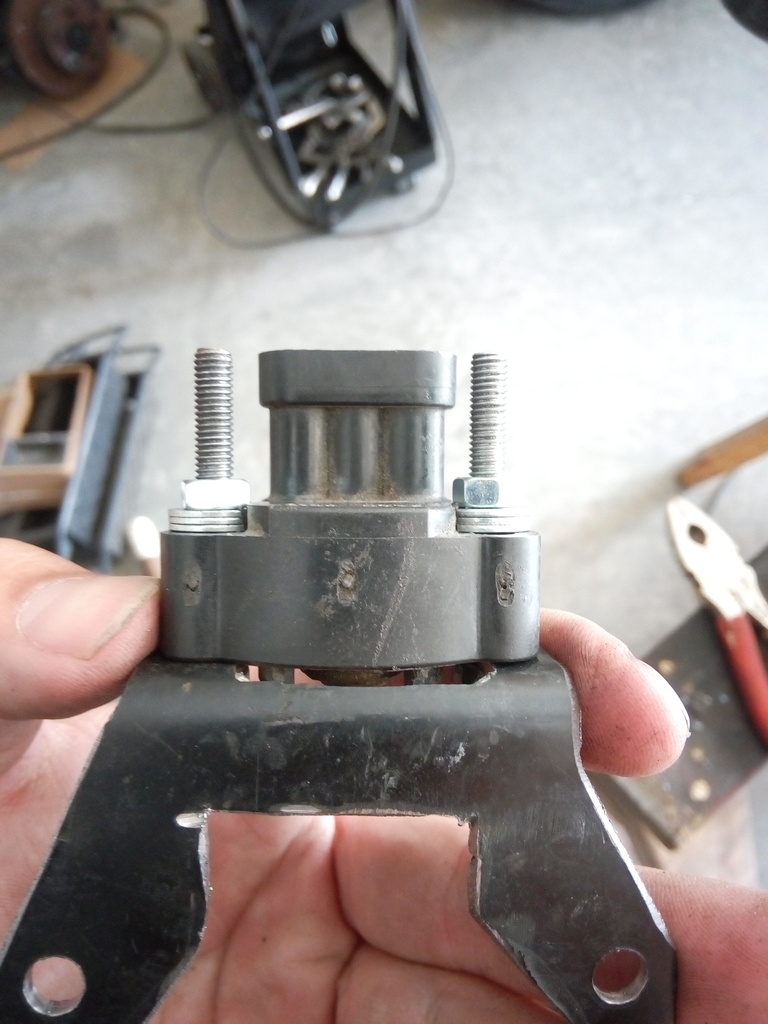
Final product should look like this:
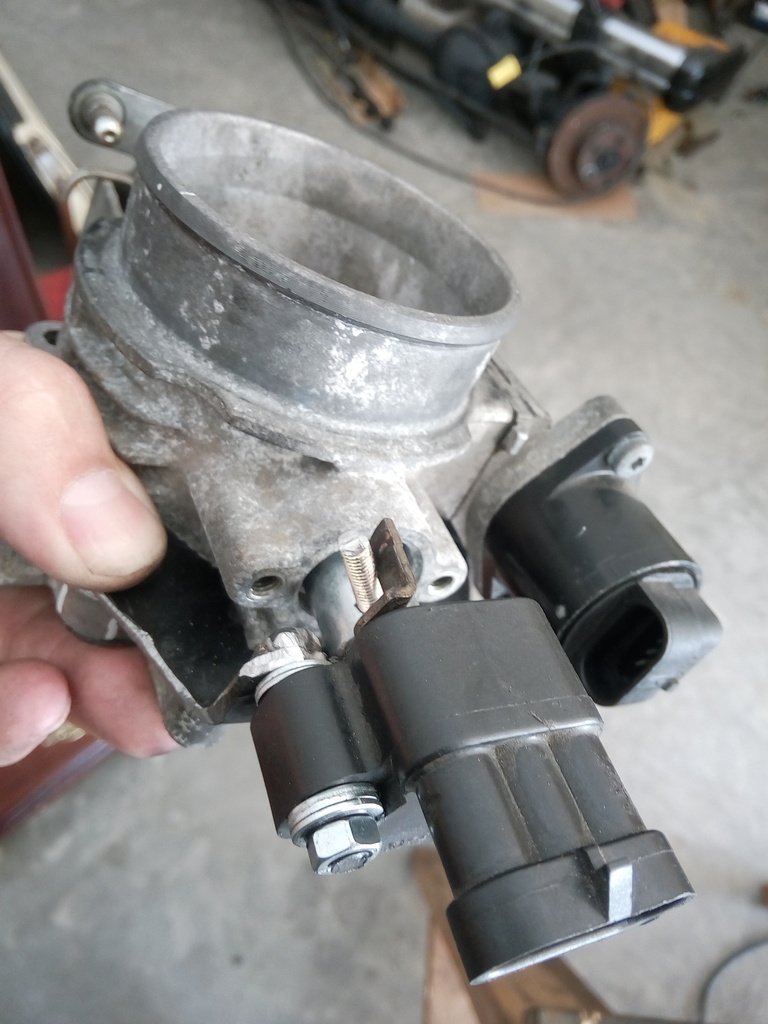
Step 6:
Install the whole assembly onto the intake manifold, and adjust your TPS in accordance to Pete's (aka Cruiser54) Mostly Renix Tips.
Video of it in action:
Without further ado...
Parts:
- Nylon spacer, 1/2" outer diameter x 1" long
- Metal sleeve, 1/2" inner diameter, x 1" long
- 3/16" threaded rod
- Some angle iron, not too thin, not too thick
- Bolts, nuts and washers (I forget the specs, but make sure they're not too big around for the lobes of the TPS)
Tools:
- Drill
- Dremel or cutoff saw
- Welder or JB weld
- Tap & Dye set (optional)
Step 1:
Cut slit (not too wide and not too deep) in nylon spacer:
Slide over flat protrusion on TB:
Slide metal sleeve over:
Once you determine you're satisfaction is met, put a dab of super glue in the slit, over the nylon spacer, and slide the metal sleeve over, allowing the glue to dry. Proceed to Step 2.
Step 2:
Make your bracket. I don't have a template or dimensions, just looks at the picture below:
Step 3:
Cut the excess off (amount needed to be cut off will be dependent on how you've made your bracket, but ensure there is enough sticking out to allow for the threaded rod arm)
Step 4:
Drill a small hole in the sleeve/spacer. I drilled mine between the 10 & 11 o'clock position:
If you want, get your tap & dye set and tap the hole to accept the threaded rod:
Step 5:
Finalize your bracket. Weld (or JB weld) the bolt heads to the bracket, notch a handful of washers with a grinder, and cut the bolts to length after you get a loose fit. See below:
Final product should look like this:
Step 6:
Install the whole assembly onto the intake manifold, and adjust your TPS in accordance to Pete's (aka Cruiser54) Mostly Renix Tips.
Video of it in action: