
XJ makeover, One tons and 40's.


Thread Starter
Former Sponsor
Joined: May 2010
Posts: 2,181
Likes: 0
From: meriden Ct
Year: 2000
Model: Cherokee
Engine: 4.0
That unfortunately was there when I got it. I don't think I would ever have a need for one. And it would most likely end up getting broken I think.
Thread Starter
Former Sponsor
Joined: May 2010
Posts: 2,181
Likes: 0
From: meriden Ct
Year: 2000
Model: Cherokee
Engine: 4.0
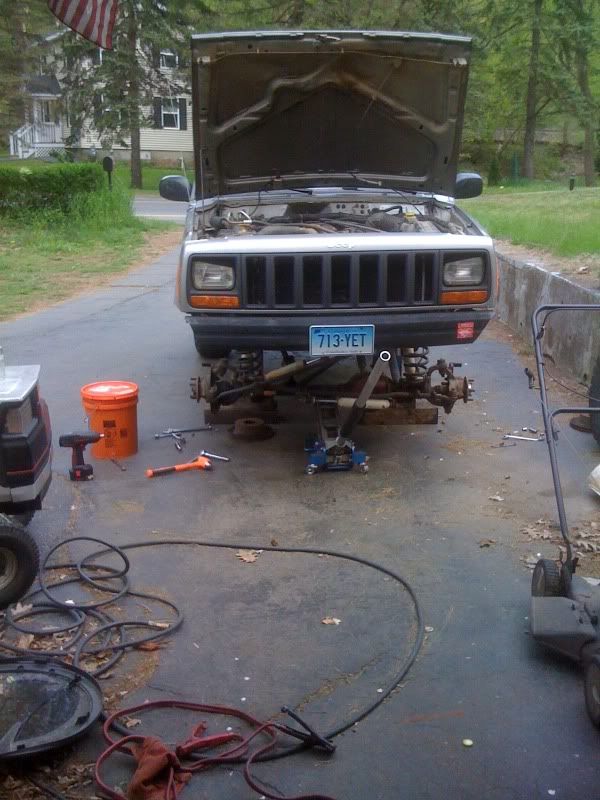
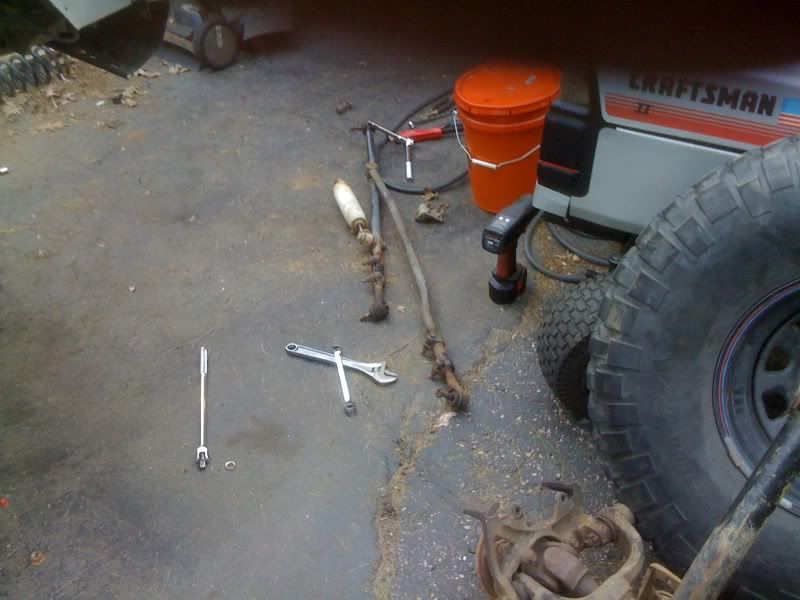
I unfortunately took no pics today. was flying through doing the front axle and I diddnt want to stop to take pics. and i was pretty dirty and hate getting my camera dirty.
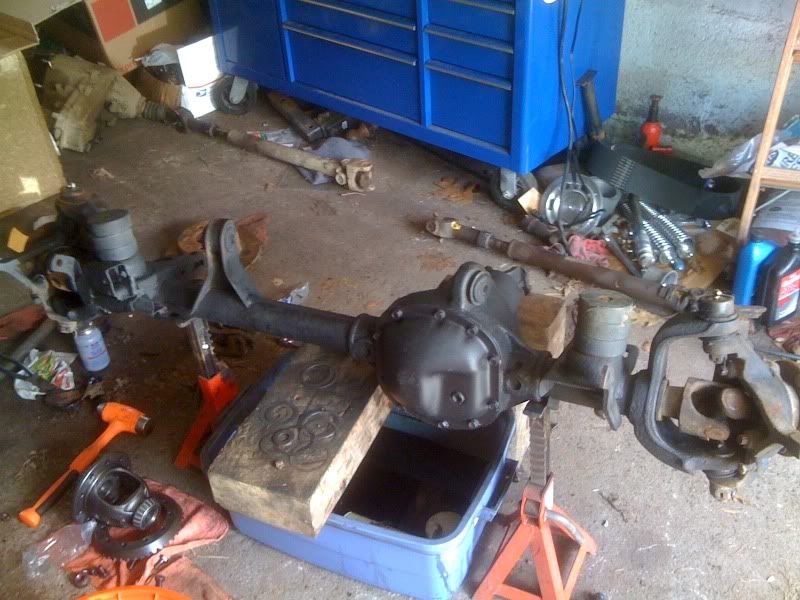
But I did get the front end build. Ill have some pics of it complete anyway. I had to drive a half hour each way to work to use my press to get the pinion bearing on. I couldnt find anything at the house to fit to drive it on. using the original inner bearing shims to set depth and starting with the original outer shims I set the bearing preload.
I had to remove one shim about .002" to get proper preload.
after this I installed mock up bearings on the new carrier that I assembled using the factory side gears and cross shaft.
I set the carrier in with no shims and pushed the ring gear right agains the pinion. then I selected the shims required to take the space up on the ring gear side of the carrier. Then did the same for the other side.
Removed the carrier, installed shims. found it to be pretty loose, and had excessive backlash. removed carrier and added shim to the ring gear side only. backlash felt ok, little tight. perfect. I then shimmed the other side until my preload was good, then remeasured backlash. I did not have a good tool to hold the pinion but I came up about .007-.008" backlash. Good for me. then I ran some compound on the ring gear and spun her around.
Pattern looked good!
removed carrier one more time, installed new bearings and reassembled. rechecked pattern. still good!!!
after this I also Installed the pinion seal, and new washer and lock nut.
Then I installed the axles and wheel bearings with plenty of anti seize.
I reinstalled the cover with some silicone and snugged up the bolts. They still need a final cranking once its dry.
I gave it a good coat of black paint and looked everything over.
Now I just have to figure out when I can do the rear. Supposed to rain all week and Ill have to do the rear outside. Really not looking forward to removing the stupid c-clip from the aussie. I had a lot of problems putting it in. I know its not gonna be fun. I hope it doesnt take me all day to remove the carrier.
Thread Starter
Former Sponsor
Joined: May 2010
Posts: 2,181
Likes: 0
From: meriden Ct
Year: 2000
Model: Cherokee
Engine: 4.0
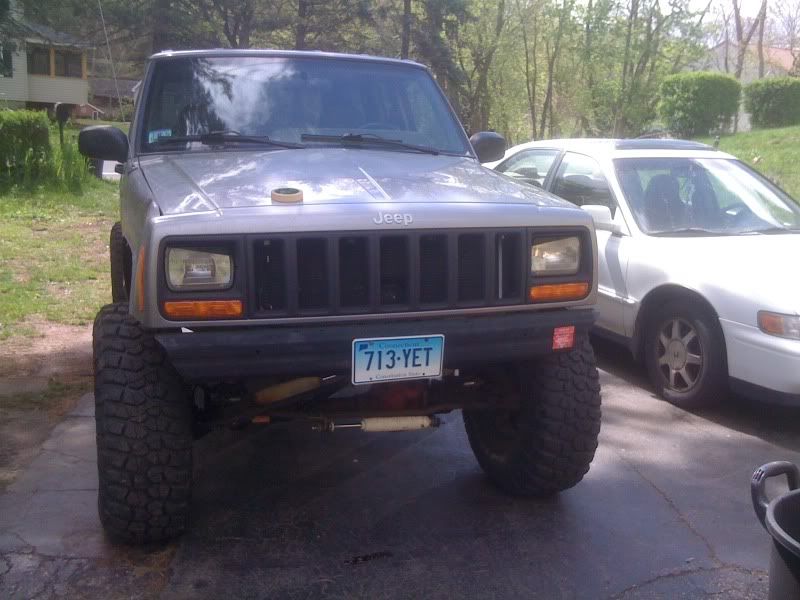
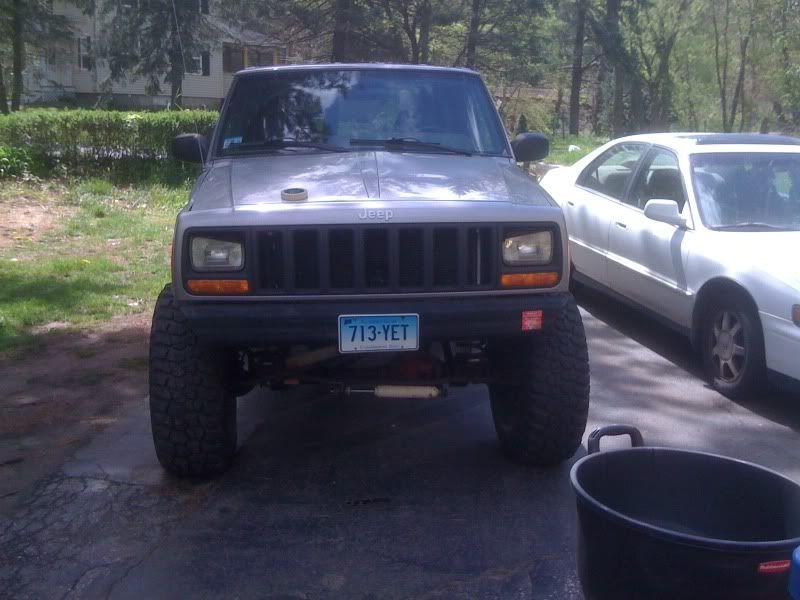
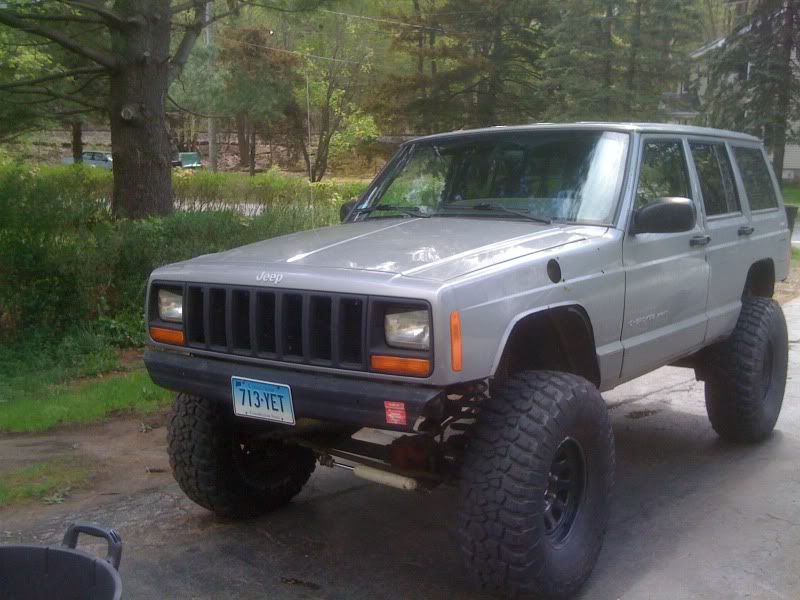
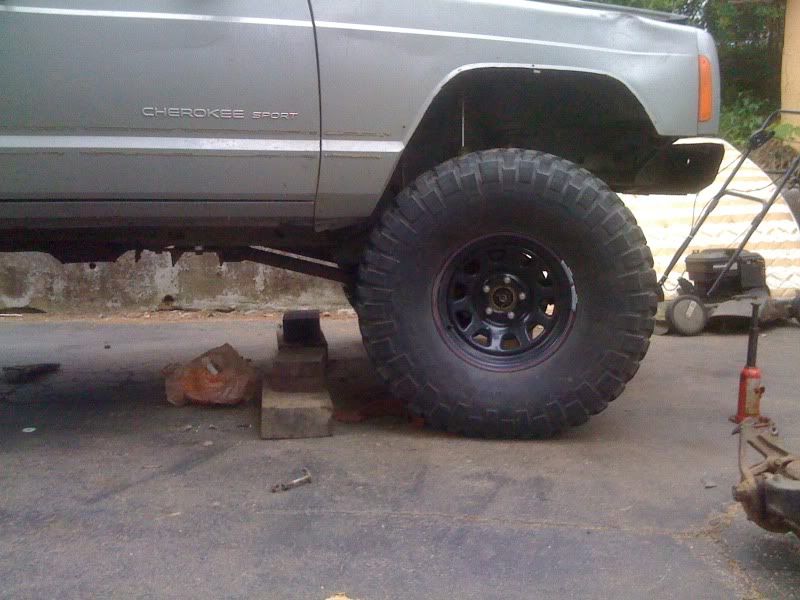
well small update. I have been debating changing the look a little. Finally just did it today, very glad I did
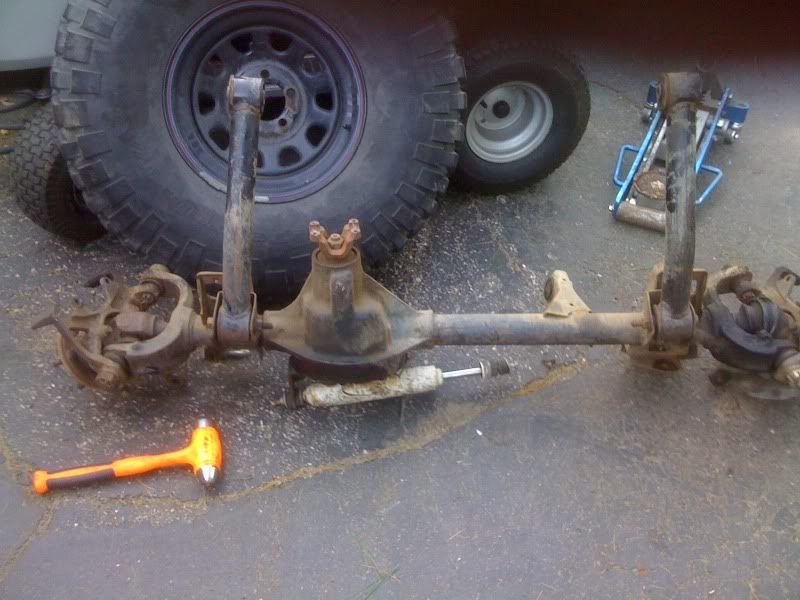
heres the completed front
and heres what I decided to do. I like it
heres the completed front
and heres what I decided to do. I like it


Thread Starter
Former Sponsor
Joined: May 2010
Posts: 2,181
Likes: 0
From: meriden Ct
Year: 2000
Model: Cherokee
Engine: 4.0
yeah, I usually work by myself. Ill be working on it tomorrow after I get home from the gym so like1-1:30. gonna get the longarm crossmember bolted in and get the other axle in. I should be able to get it all installed tomorrow.
After that all I have left is to regear the rear.
I would have had it done already but I know getting the c clip out with the aussie is going to be a nightmare. when I put it in I decided if I had to take it out I would sell the axle lol. I hope its not too bad. the gears will be the easy part.
After that all I have left is to regear the rear.
I would have had it done already but I know getting the c clip out with the aussie is going to be a nightmare. when I put it in I decided if I had to take it out I would sell the axle lol. I hope its not too bad. the gears will be the easy part.
Thread Starter
Former Sponsor
Joined: May 2010
Posts: 2,181
Likes: 0
From: meriden Ct
Year: 2000
Model: Cherokee
Engine: 4.0
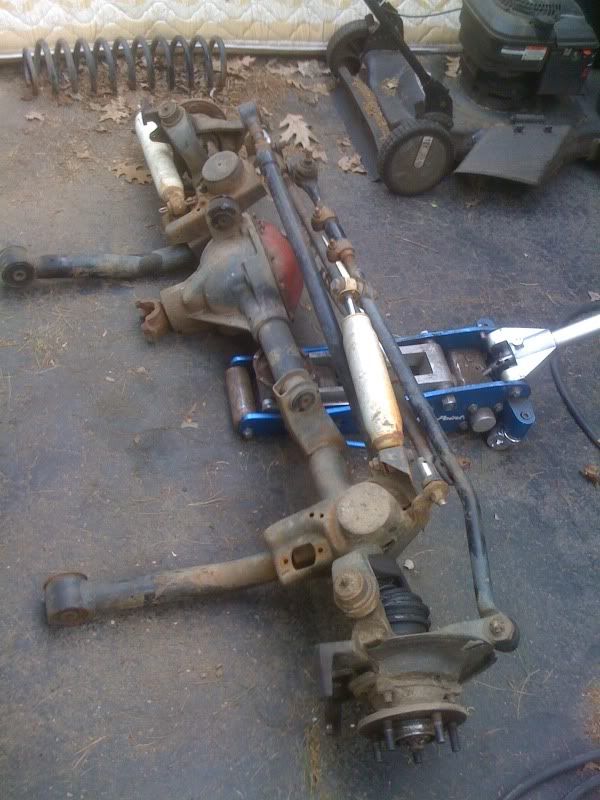
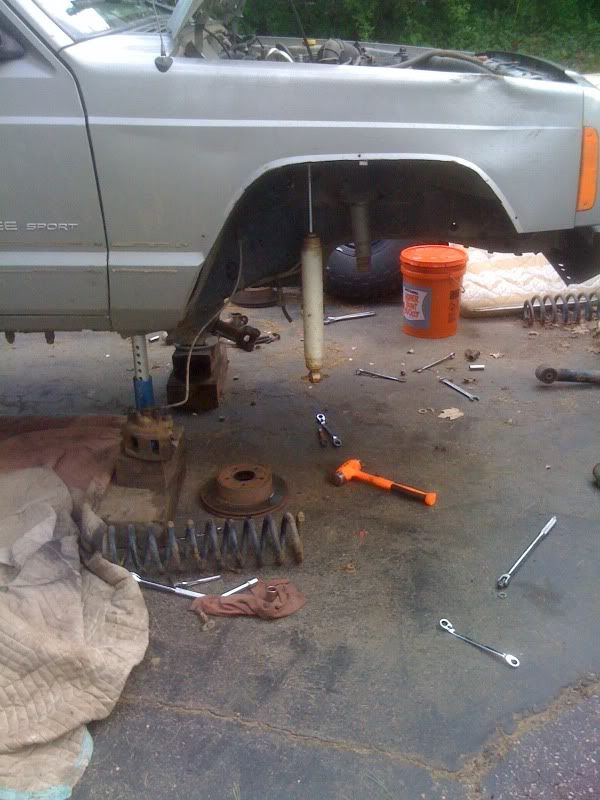
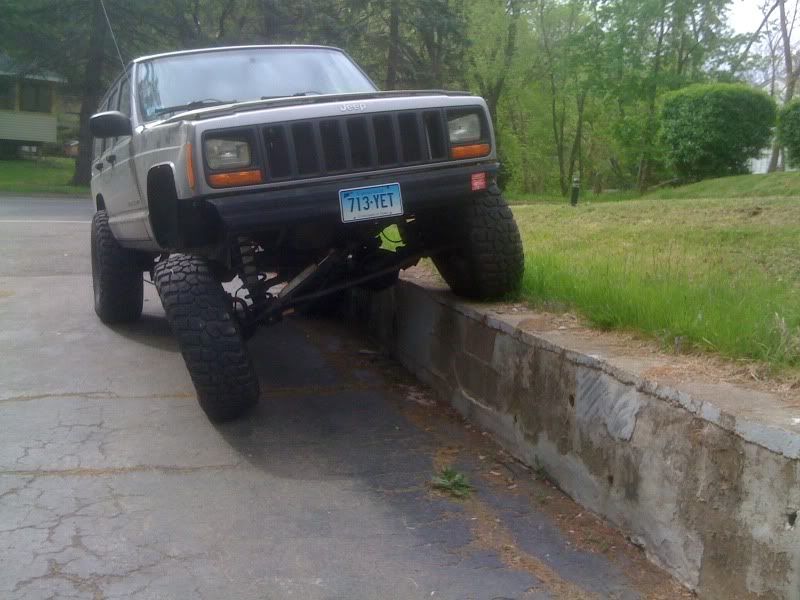
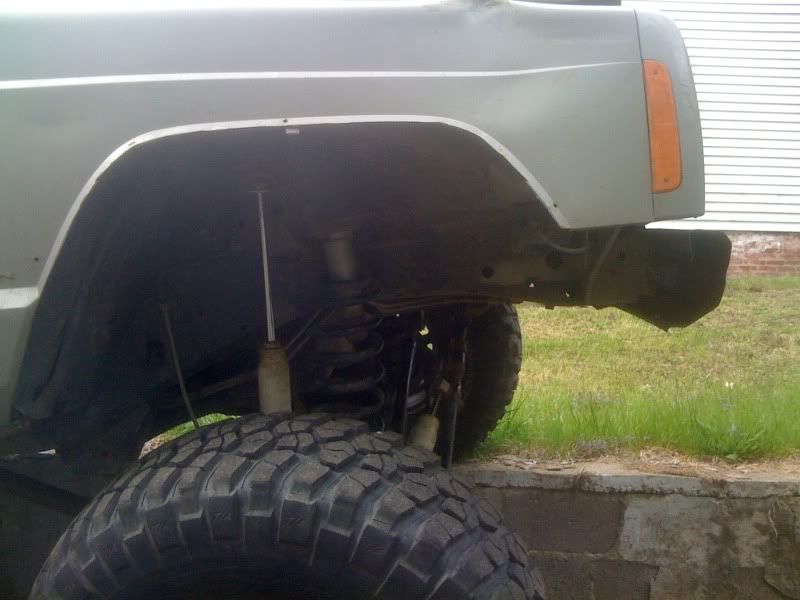
got some work done today
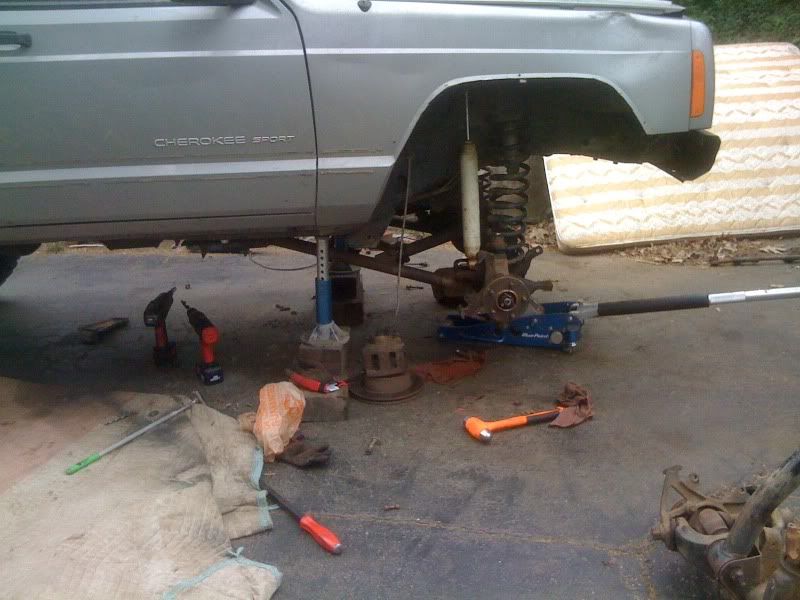
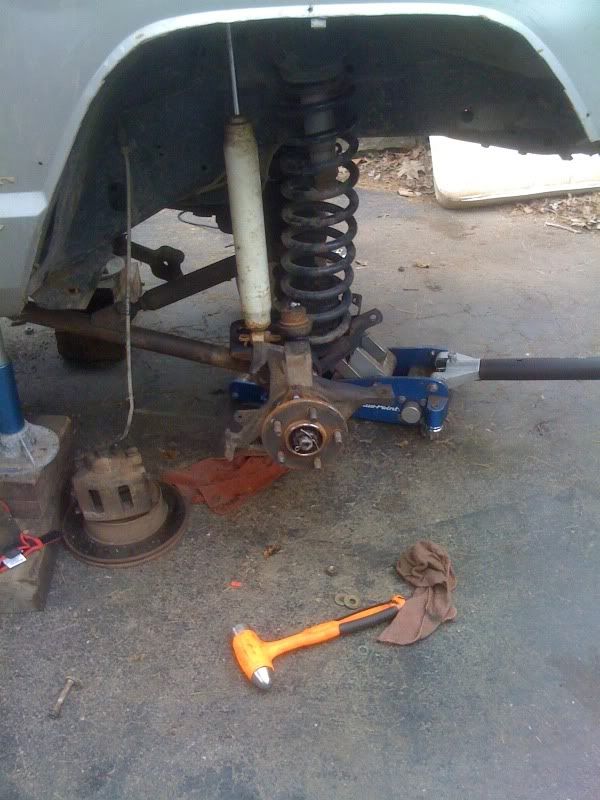
shes got some droop! this was without steering so I thoughtI would lose some. once I got everything on it drops just as much. cant wait to really flex it out.
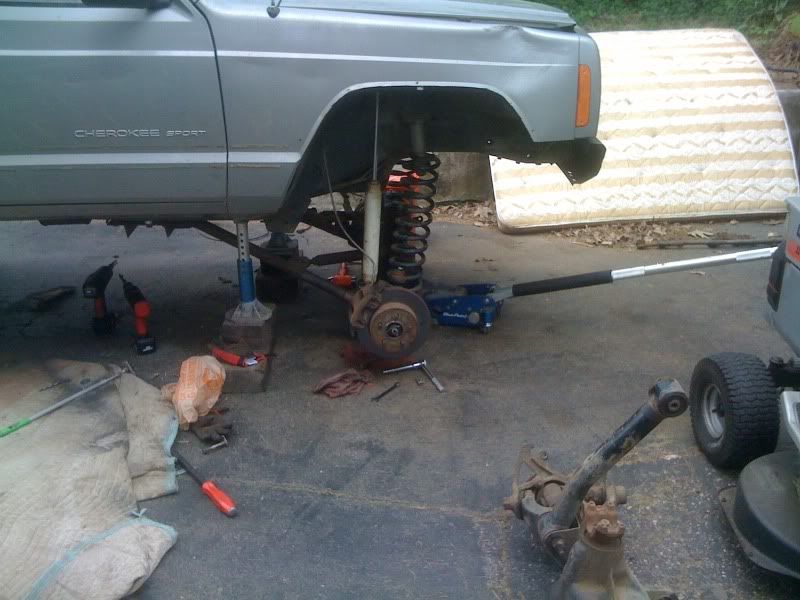
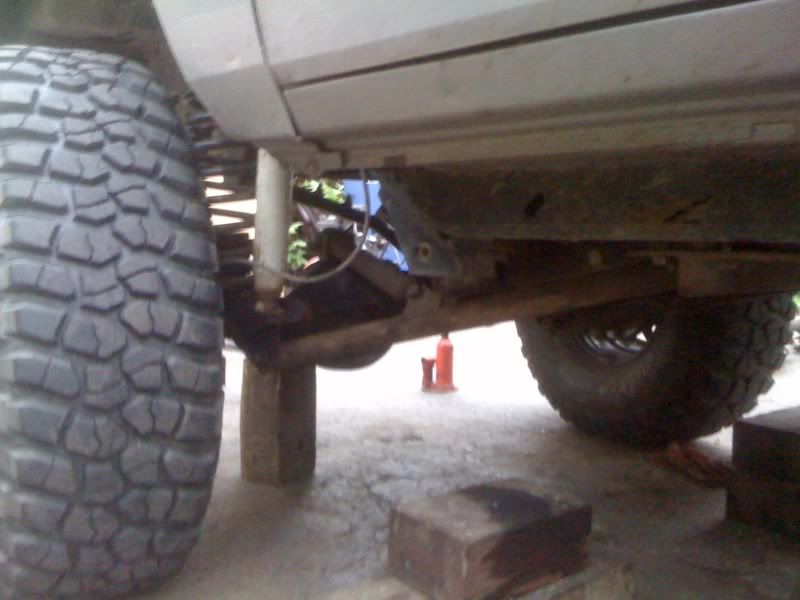
shes got some droop! this was without steering so I thoughtI would lose some. once I got everything on it drops just as much. cant wait to really flex it out.
Thread Starter
Former Sponsor
Joined: May 2010
Posts: 2,181
Likes: 0
From: meriden Ct
Year: 2000
Model: Cherokee
Engine: 4.0
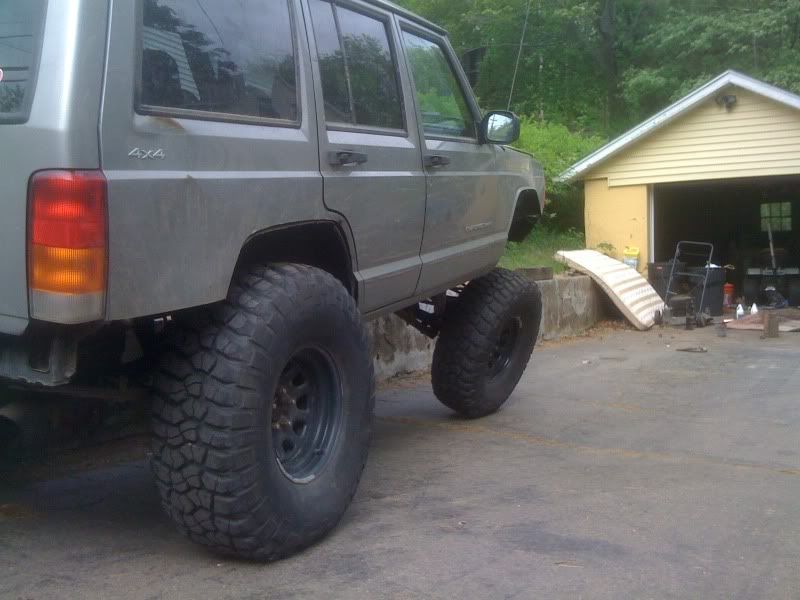
got the rear gears done. buttoned up a couple things and took her down the road. somehow after removing the tie rods and drag link to not disturb anything the toe is WAY off. so out came the tape measure.
drove down the road. seems pretty good.
Had a clunking noise, so I put a wrench back on every bolt I touched. trac bar was a little loose. I assumed it was that.
drove it to work. still had clunk. and exhaust is rubbing cross member.
What is funny is with the gears, at speed the trans is in one gear higher than it was with stock gears. for instance, when it would shift from 1-2 is now when it shifts 2-3. almost exactly.
anyway, once I got to work I looked everything over. I saw my bumper was a little crooked. I grabbed the end that looked low and its not connected to anything lol. just flapping in the breeze
so I think I found my clunking noise. although I havent driven it again, Im pretty confident. so other than the noise from the exhaust rubbing and needing to beef up my x member she works! Ill have pics of it being wheeled ASAP!