When you click on links to various merchants on this site and make a purchase, this can result in this site earning a commission. Affiliate programs and affiliations include, but are not limited to, the eBay Partner Network.
Think about the rear panels like this. They have 2 layers of metal, the outside layer that you see and an inside layer that is welded to the outside layer. They join together a little bit past the factory flare mounting holes. If you cut too much off the fender lip, you will separate this seam (cutting past the point at which they are welded together). Then your outside metal will not touch the layer on the inside leaving you with a nice little gap. At that point, you will have an opening to the inside of the body. This will lead to rust in a very bad spot as well as making the body structure weaker.
Once you pop the factory flare off, just take a look at the inside of the wheel well and you will see the seam. Dont cut past the seam. Like you did on the front, you will slot the seam and fold it over with a hammer.
This was pretty much my final product after cutting and folding. Notice only the top flat section is cut, everything on the sides is folded.
Think about the rear panels like this. They have 2 layers of metal, the outside layer that you see and an inside layer that is welded to the outside layer. They join together a little bit past the factory flare mounting holes. If you cut too much off the fender lip, you will separate this seam (cutting past the point at which they are welded together). Then your outside metal will not touch the layer on the inside leaving you with a nice little gap. At that point, you will have an opening to the inside of the body. This will lead to rust in a very bad spot as well as making the body structure weaker.
Once you pop the factory flare off, just take a look at the inside of the wheel well and you will see the seam. Dont cut past the seam. Like you did on the front, you will slot the seam and fold it over with a hammer.
This was pretty my final product after cutting and folding. Notice only the top flat section is cut, everything on the sides is folded.
Okay I think I see what you're saying now. So basically I'll make more of the perpendicular notches going up the sides to fold over rather than cutting as far down?
Okay I think I see what you're saying now. So basically I'll make more of the perpendicular notches going up the sides to fold over rather than cutting as far down?
Correct. But when you cut the horizontal notches, you cant go further then the pinch seam (which you cant see from the outside). You will cut right up to the spot weld but not any farther. Once you pop the flare off and look at it, it should all be pretty straight forward.
Correct. But when you cut the horizontal notches, you cant go further then the pinch seam (which you cant see from the outside). You will cut right up to the spot weld but not any farther. Once you pop the flare off and look at it, it should all be pretty straight forward.
I really do appreciate all of the help and advice fellas, it made the process a lot easier.
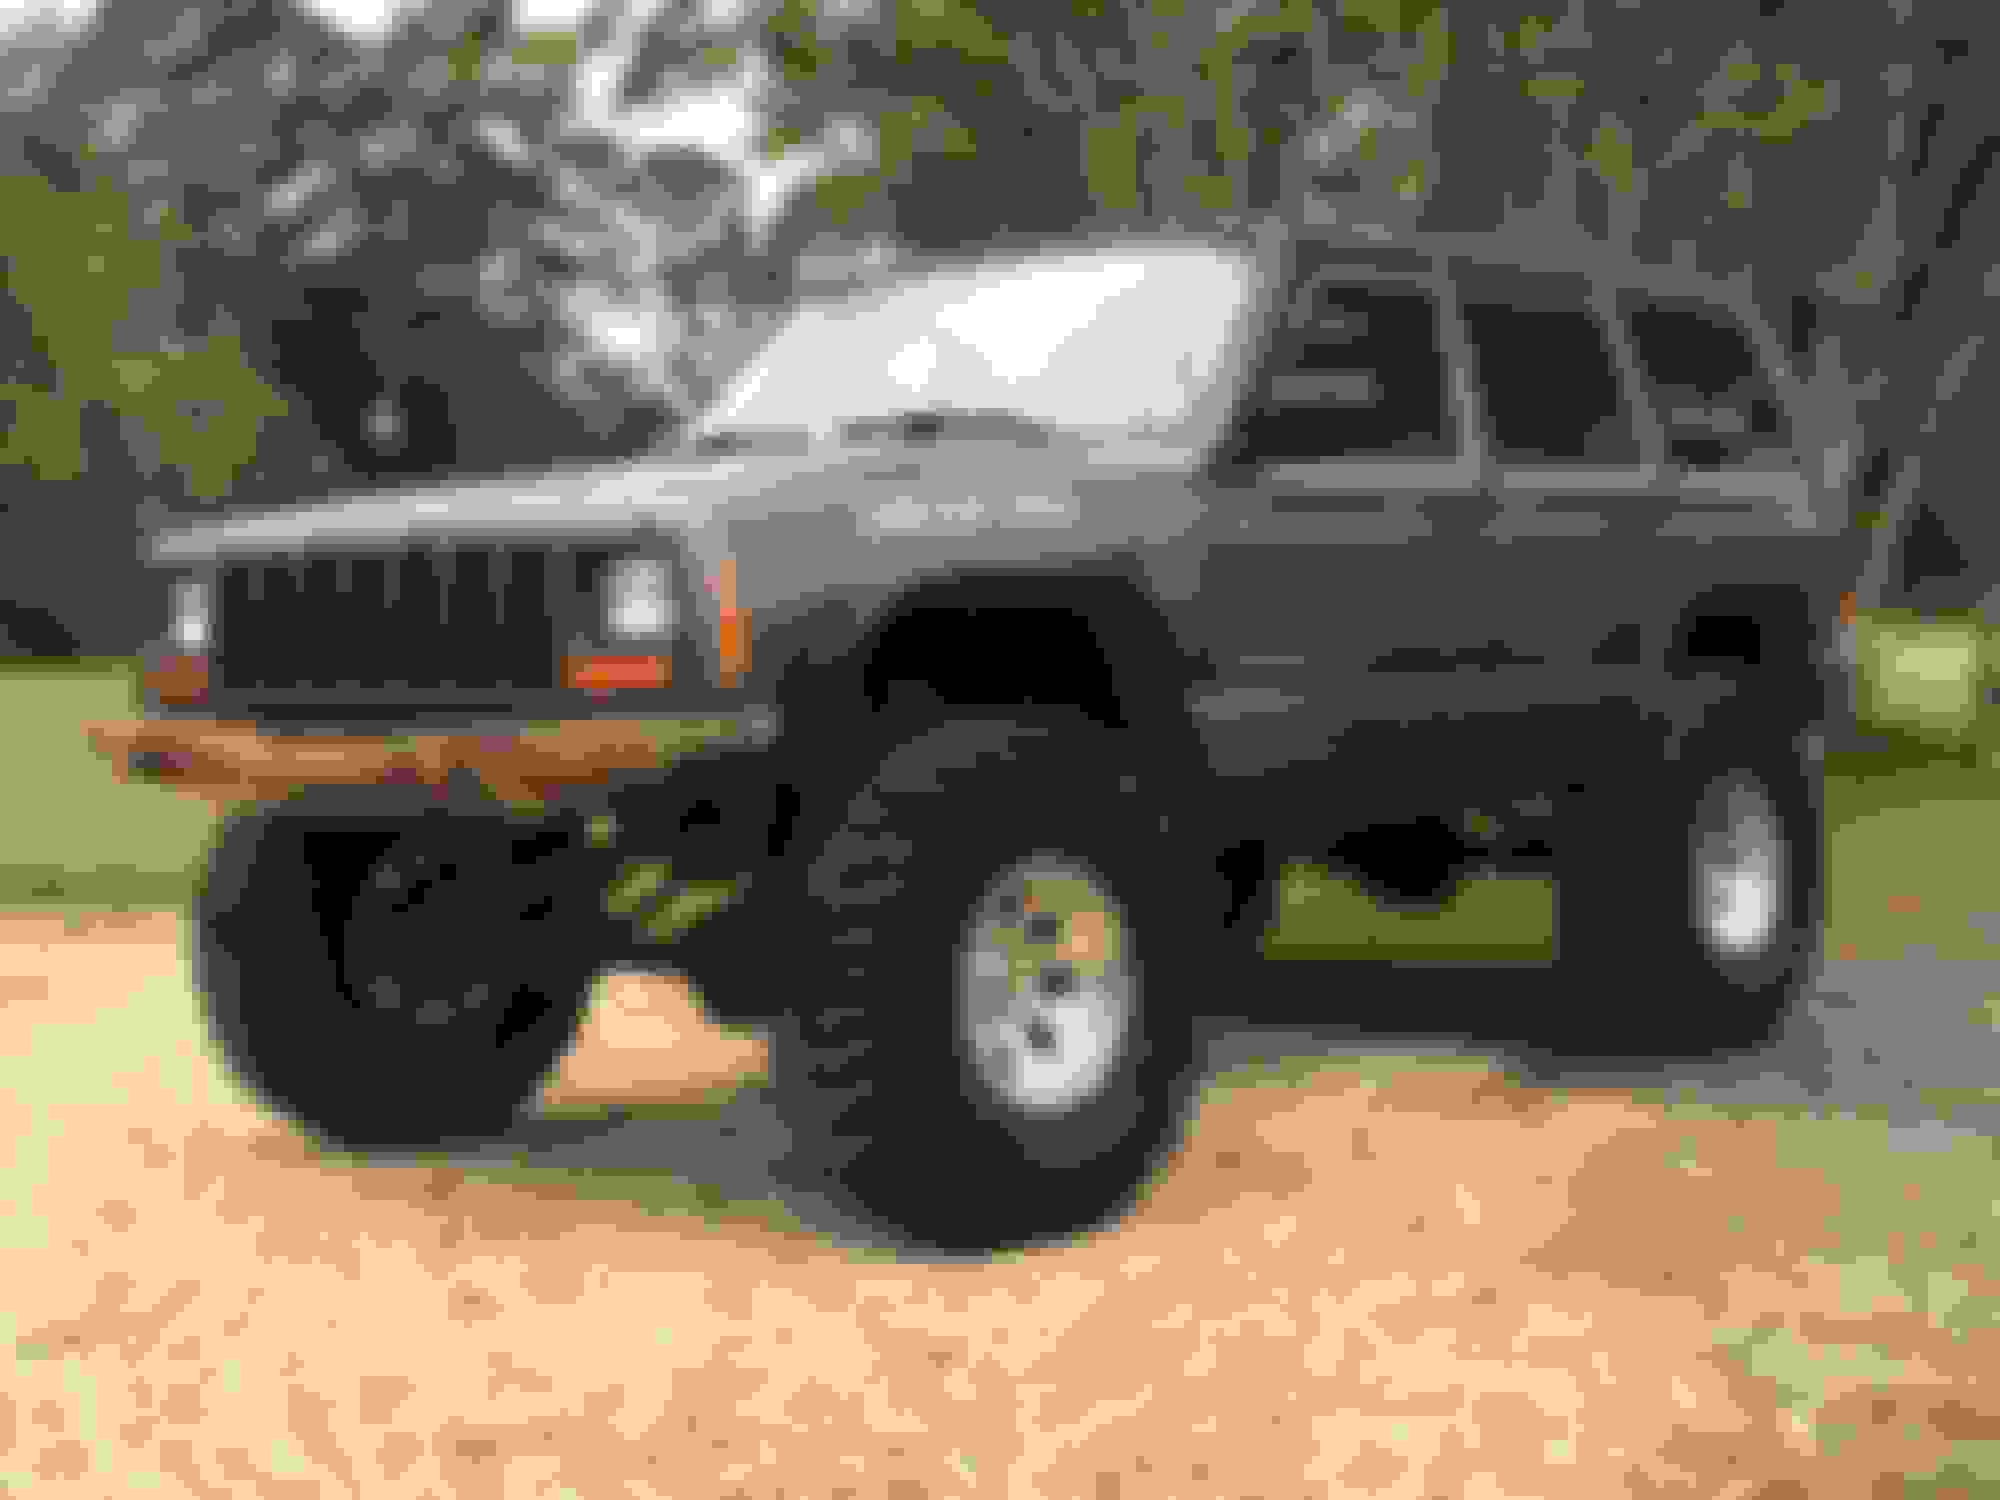
I finished up the rears (I was able to do the rears with just using a jigsaw) and got them all mounted up. I didn't "finish" installing them with the edge trim tape since I'll have to take them off soon to go to paint. It was so nice to pull it out of the garage and turn without the tires rubbing. We took it out to get a little dirty and flexed it to test the new clearances. I can definitely see an improvement.
I really do appreciate all of the help and advice fellas, it made the process a lot easier.
I finished up the rears (I was able to do the rears with just using a jigsaw) and got them all mounted up. I didn't "finish" installing them with the edge trim tape since I'll have to take them off soon to go to paint. It was so nice to pull it out of the garage and turn without the tires rubbing. We took it out to get a little dirty and flexed it to test the new clearances. I can definitely see an improvement.
Looks good for sure. Bump stop it before you do any damage (like I did)! I am doing 1.5" longer on mine. Hopefully that is enough to not rub.
Nice! Looks good! Looks like you need some bump stops up front.
Originally Posted by 5-Speed
Looks good for sure. Bump stop it before you do any damage (like I did)! I am doing 1.5" longer on mine. Hopefully that is enough to not rub.
Thanks guys. I'm going to be putting bump stops soon, our reason for going out there to play around was to see how much more clearance we had gained and how much we didn't.
When it comes to my vehicles I am a glutton for punishment... so I'm probably going to offload these 33's and move up to 35's just because I can fit 'em now. Once I get those I'll measure for new bump stops.
I wouldn't go up to 35's until you can re-gear. 33's are bad enough on 3.55's (not awful, but pretty crappy). If you plan on 35's I would regear to 4.88's.
I wouldn't go up to 35's until you can re-gear. 33's are bad enough on 3.55's (not awful, but pretty crappy). If you plan on 35's I would regear to 4.88's.
I was wanting to regear and lock anyway, if it drives like hell when I put 35's on in then I'll be forcing myself to do all of that sooner It doesn't get driven much as it is and everything is flat around here, so I should still be able to putt around town until I get it done. I was originally planning on going with 4.56, but now that I'm for sure going 35's and I've done some more research I'm pretty sure that I will go with 4.88 as you've recommended.
So I've gone back through the entire build thread and put all of the pictures back in. I had always posted by placing the HTML link through photobucket, and when I got back on last week the forum would only show the links, not the image. So they're all now uploaded to the forum and shouldn't be going anywhere. That took a lot of work, but now the build thread is complete again.
Well it's been quite a while since I've posted, so I'll give an update. I haven't done anything else to the Jeep, I've just been enjoying it. But now it's time for phase II of the build. My area was hit pretty hard by the flooding from Hurricane Harvey, and I put the Jeep through hell during the whole ordeal. The most water I put it through was about 3 feet deep, but that was my only way to go access supplies and move people around. I thought I was going to lose it a few times, but it keep on going every time. After the water went down I park the Jeep and took my truck from that point on, so now it's time to give it some love.
I purchased some axles a few months back that will be going in soon. They are the same Chrysler 8.25 and Dana 30 that are on it now, but they already have 4.56 gears, lockers, rear disc brake conversion, all new ball joints and HD steering. I've got some Riddler diff covers on the way and they'll be ready to be sealed up. I'm still having issues with the front sagging on the RE 4.5" coils and .75" coil spacers, so I'm going to install RE 5.5" in their place and see how that works out. While I've got it apart I'm going to go ahead and weld the frame stiffeners on, install the SYE, measure and order a new driveshaft. I'm going to go back with 35" Goodyear Wrangler MT/Rs now that I've got the gearing for it.
I ordered Ares Fab front and rear bumpers yesterday, and will probably pull the trigger on some JCR sliders this week as well. When all of that gets in I'll pull the fender flares and send them all to be painted to match the body color. In the mean time here are a few pics:
We took a little day drive to hit a few places that way off the beaten path
A buddy of mine snapped a cool picture a Jeep meet
This was the first time I made it to "town" to see my family after Harvey hit. The water had already receded at least 3 feet at this point. Keep in mind those Humvees roll on 37" tires
The "new" axles
The real reason the Cherokee hasn't gotten any love in a while. Drove to Missouri in late Spring to pick up another toy
The "new" axles didn't work out. I had a local trusted differential shop run through them and found a few issues, so now I've got 4.88s, Lockrite locker for the front, limited slip for the rear all ordered and and scheduled for install in a couple of weeks. In the mean time I installed the rear Ares Fab bumper and started on the front. I had some issues last night trying to get everything to line up on the frame tie ins, specifically the bolts for the steering box. So I'll give it another try today. Ares Fab quarter panel armor and JCR sliders are on the way. Once I get them all mocked up I'll send the bumpers, armor, sliders and fender flares to paint to get body matched.
I got few more things done over the last week. The Ares Fab front bumper is installed, but I haven't tackled the rear quarter panel armor or the JCR sliders yet. I swapped the sagging RE 4.5" springs with 3/4" spacers for RE 5.5" and man did it make a difference. On paper that should have been a 1/4" increase, but after measurements were taken it was a 1.5" increase. The MT/Rs came in and I had them mounted Friday. It looks great and rides great, I'm very pleased so far. Gears, locker, LSD and diff covers are getting installed tomorrow! That should really wake it up.
It still needs a little adjusting (and obviously paint), but it looks great so far. I'm very pleased with the quality of the fabrication
I've been wanting to change these out for a long time. I still can't believe the 4.5s were so soft
Dirty-fives!!!
Not easy stuffing 5 - 35" tires and the 33" spare in this thing
5.5" springs installed, 33" Dick Cepeks vs. 35" Goodyear MTR
4.5", 33" Dick Cepeks and factory flares vs. 5.5" springs, 35" Goodyear MTRs and Bushwacker flat flares
 01-27-2017, 11:36 AM


 It doesn't get driven much as it is and everything is flat around here, so I should still be able to putt around town until I get it done. I was originally planning on going with 4.56, but now that I'm for sure going 35's and I've done some more research I'm pretty sure that I will go with 4.88 as you've recommended.