
Trail Buggy XJ

Thread Starter
Junior Member
Joined: Nov 2015
Posts: 51
Likes: 3
From: Central Arkansas
Year: Started as a 1987
Model: Cherokee
Engine: 4.0 Renix
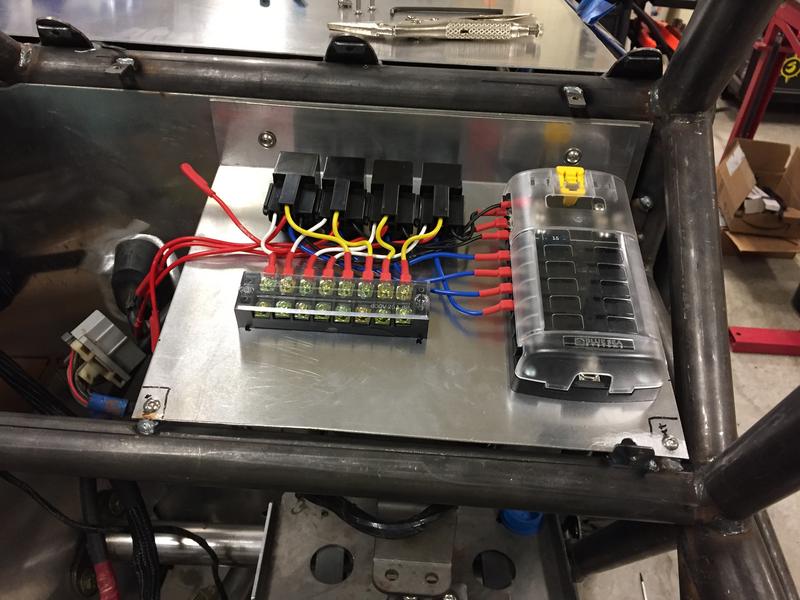
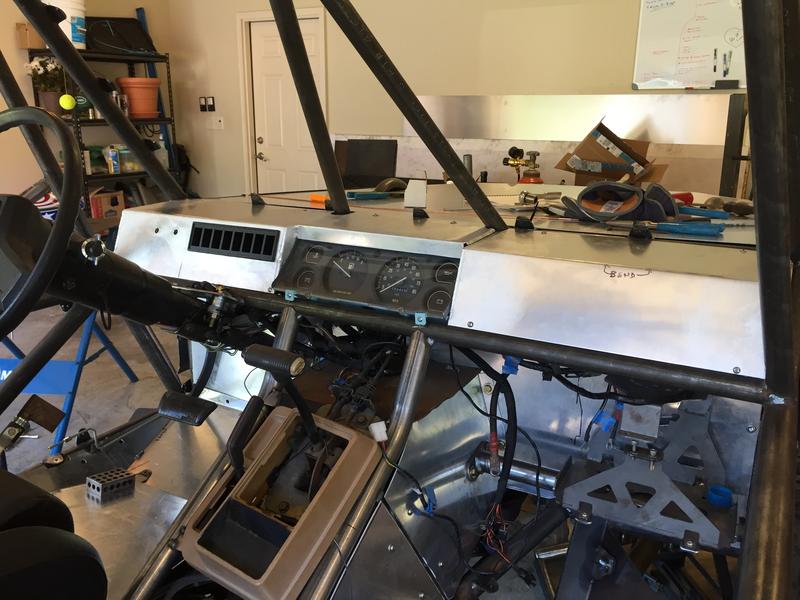
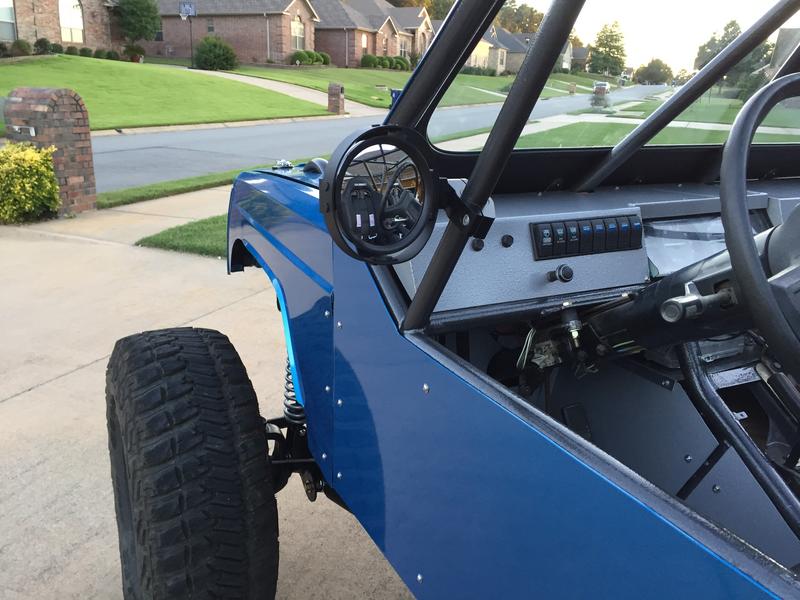
Here is some work on the dash and, auxiliary fuse block, and relays. The dash is all .060” aluminum.

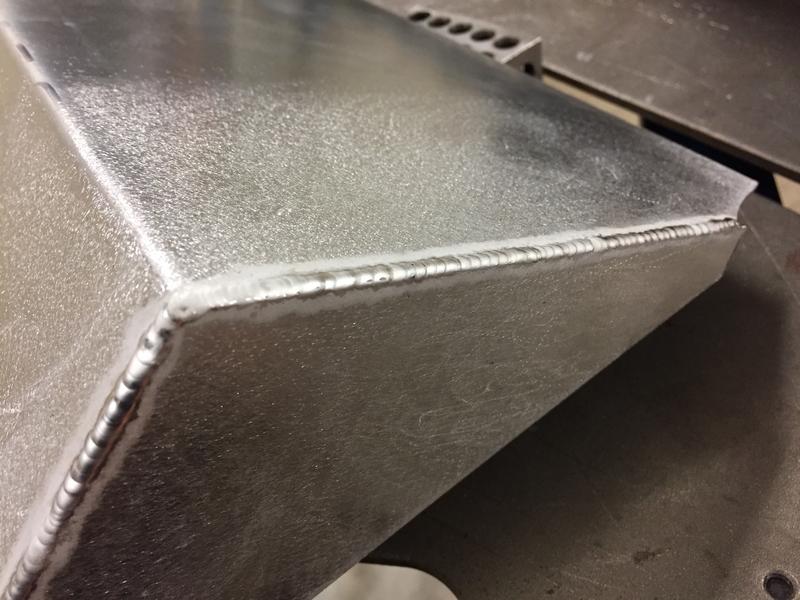
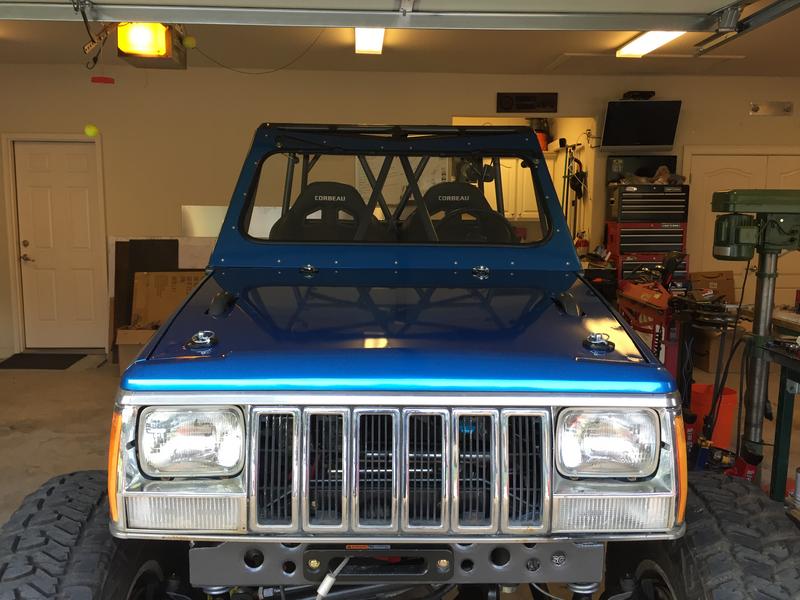
Hood finished. It is .060” aluminum with a .125” aluminum angle frame.
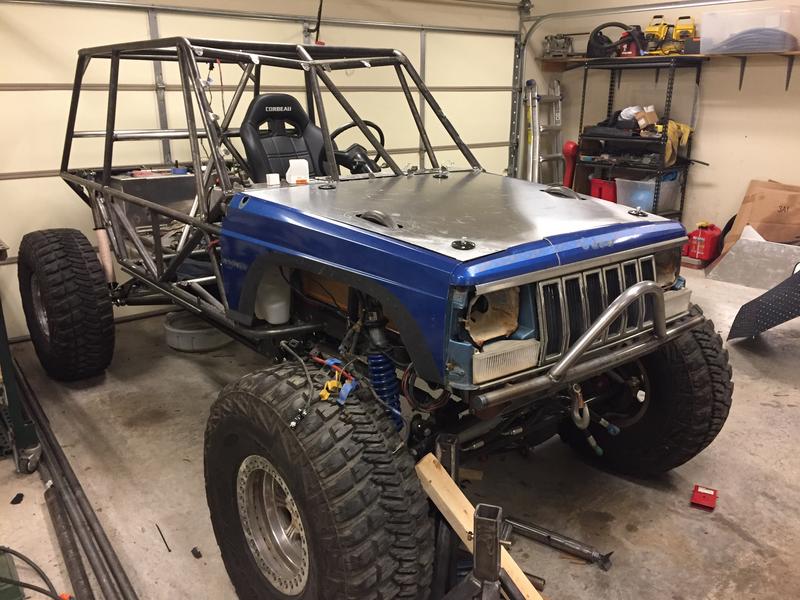
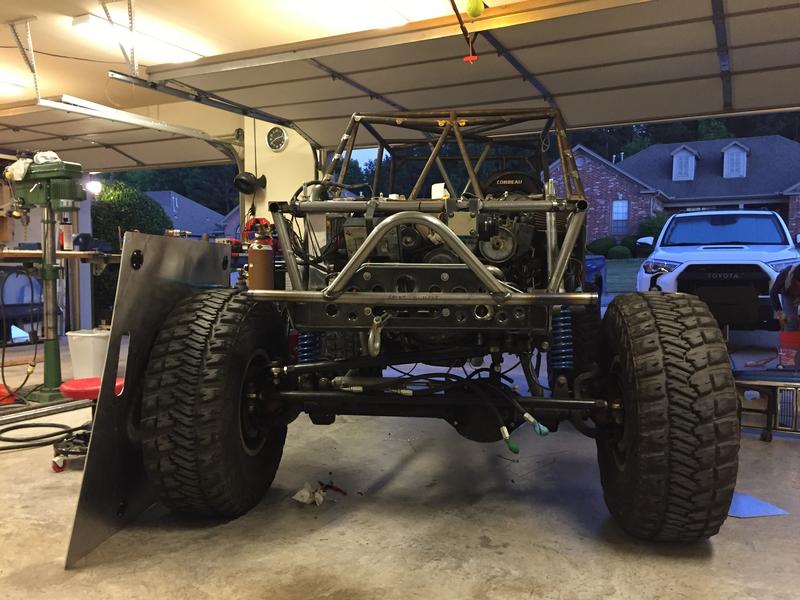
Random front end pic with the ARB compressor and winch relay mounts.
Thread Starter
Junior Member
Joined: Nov 2015
Posts: 51
Likes: 3
From: Central Arkansas
Year: Started as a 1987
Model: Cherokee
Engine: 4.0 Renix
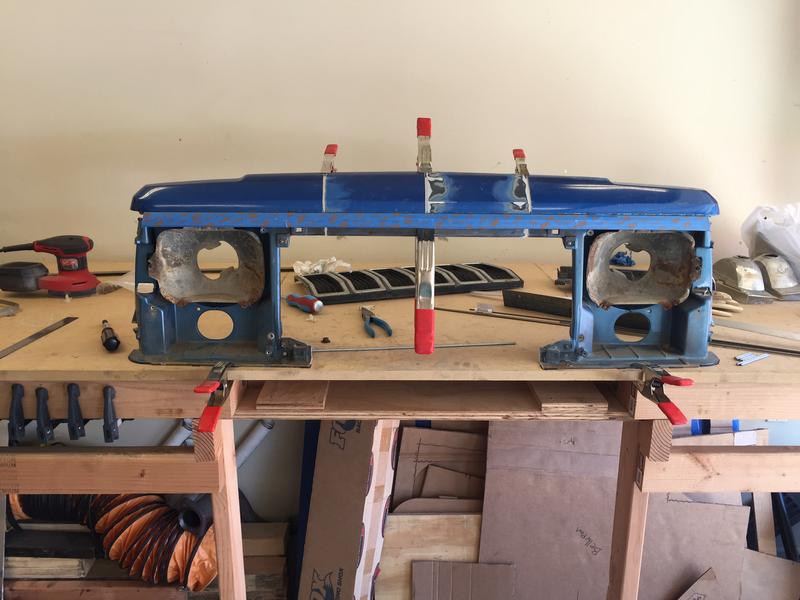
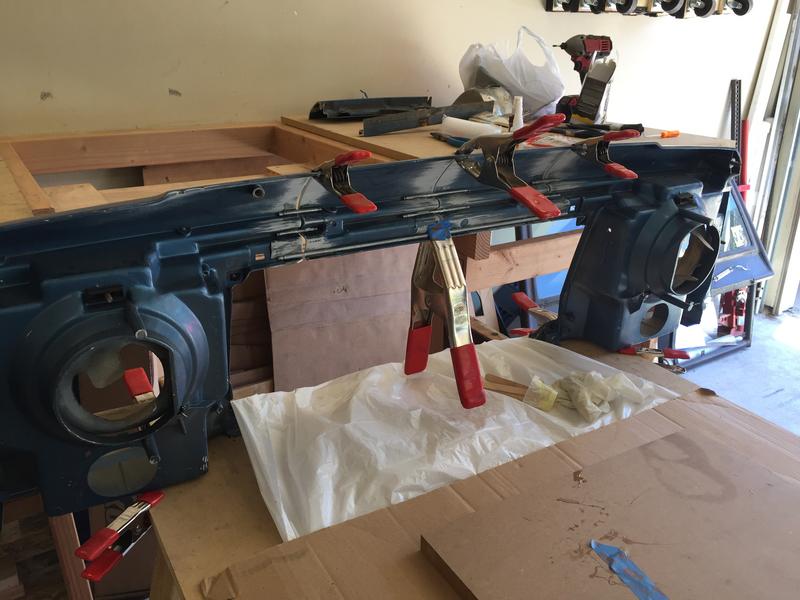
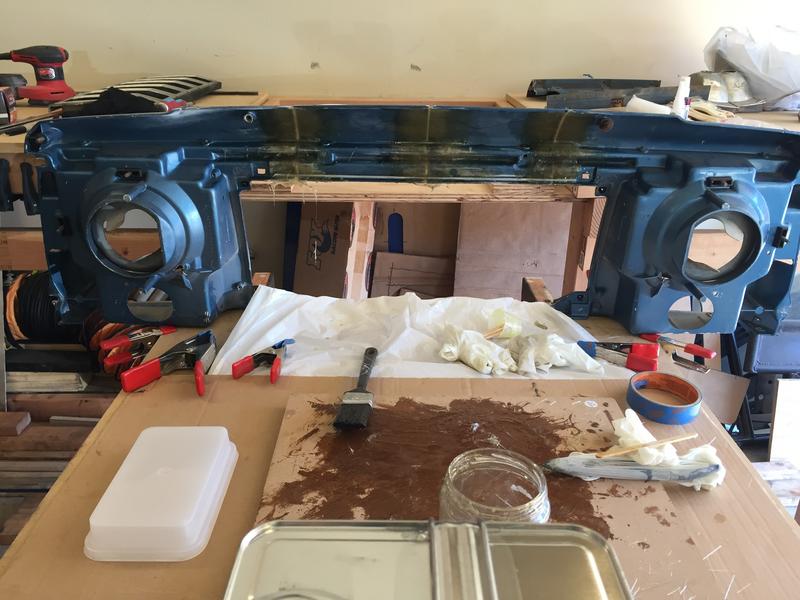
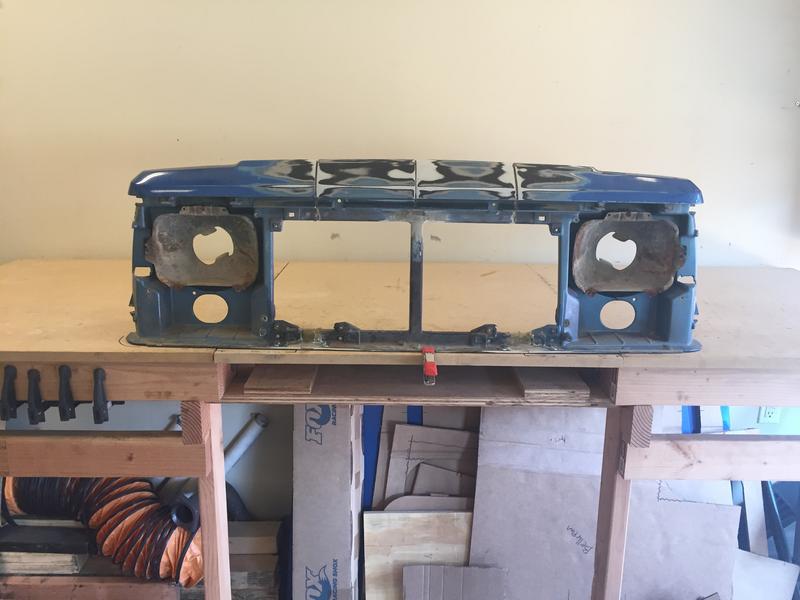
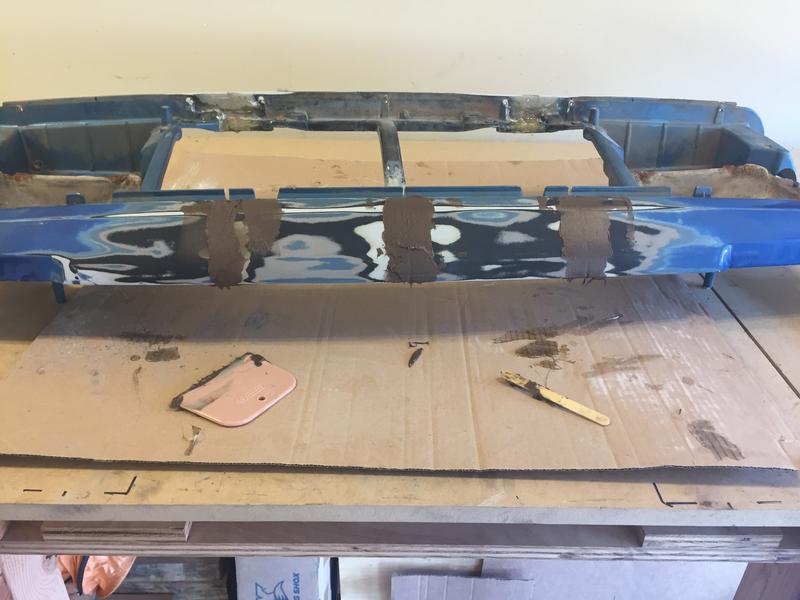
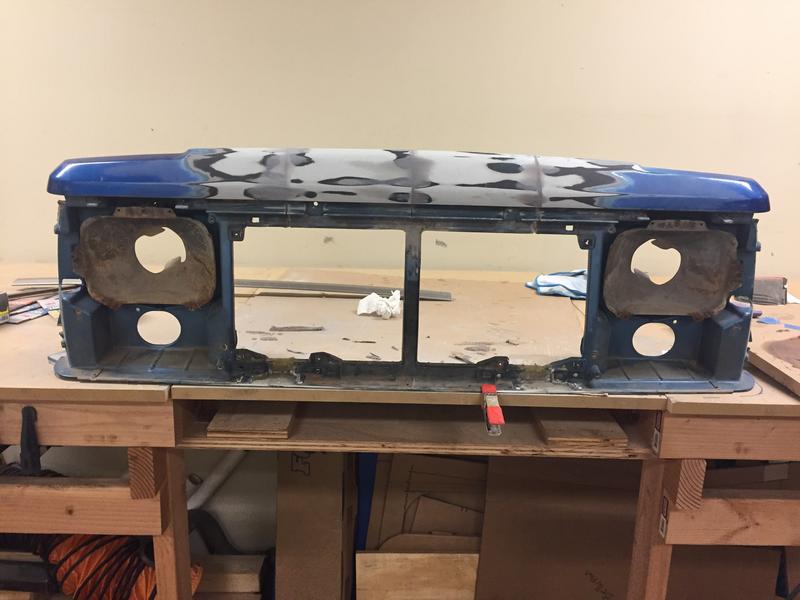
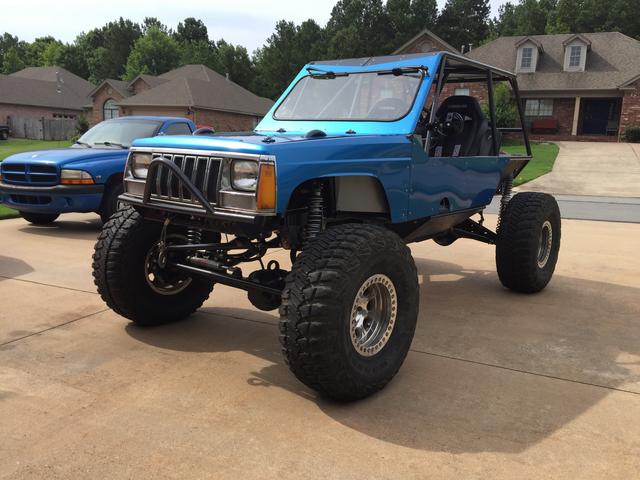
Finally fiber glassing the grille back together. My brother came over to help me get started and then I finished it. This is my first fiberglass project and I am sure some of you pros out there may think differently but it turned out good to me.
Here is how I figured out tire clearance for the new front fenders. Once I had the cardboard trimmed, I laid it across the new fender and trimmed an opening that didn't look as goofy.
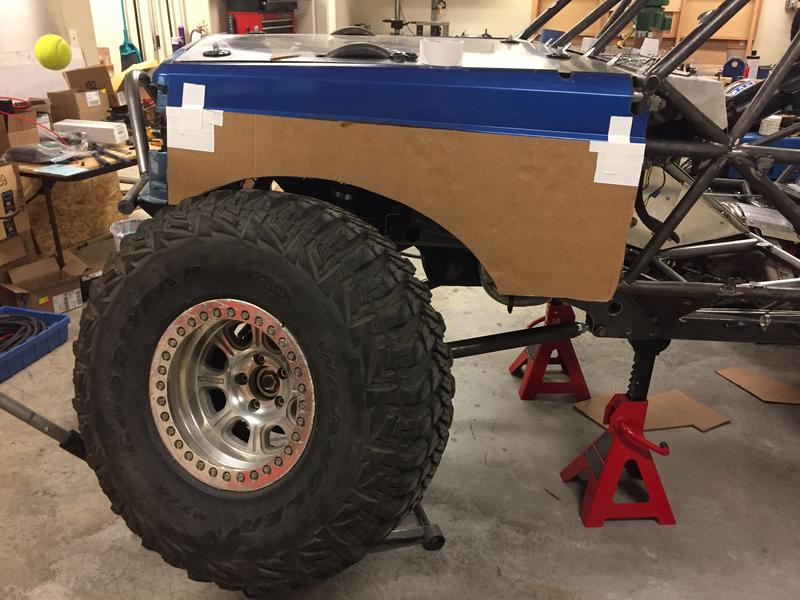
Here is how I figured out tire clearance for the new front fenders. Once I had the cardboard trimmed, I laid it across the new fender and trimmed an opening that didn't look as goofy.
Thread Starter
Junior Member
Joined: Nov 2015
Posts: 51
Likes: 3
From: Central Arkansas
Year: Started as a 1987
Model: Cherokee
Engine: 4.0 Renix
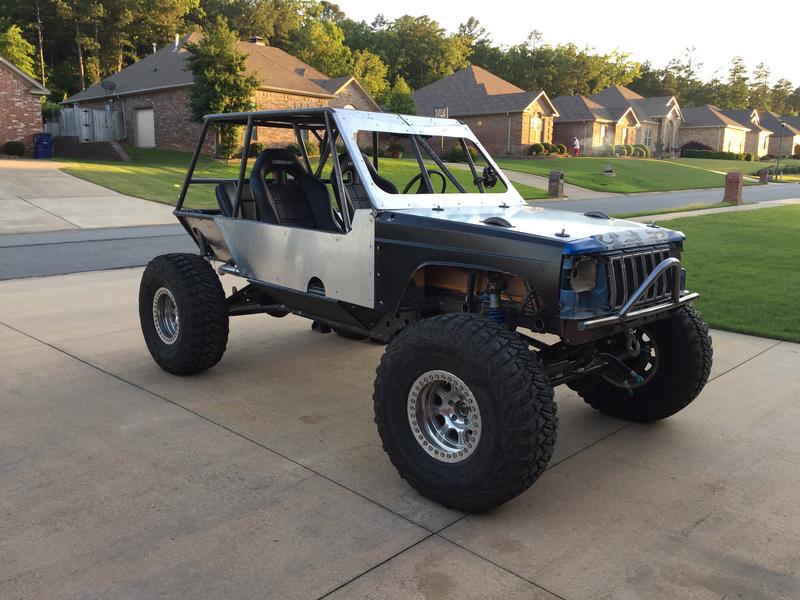
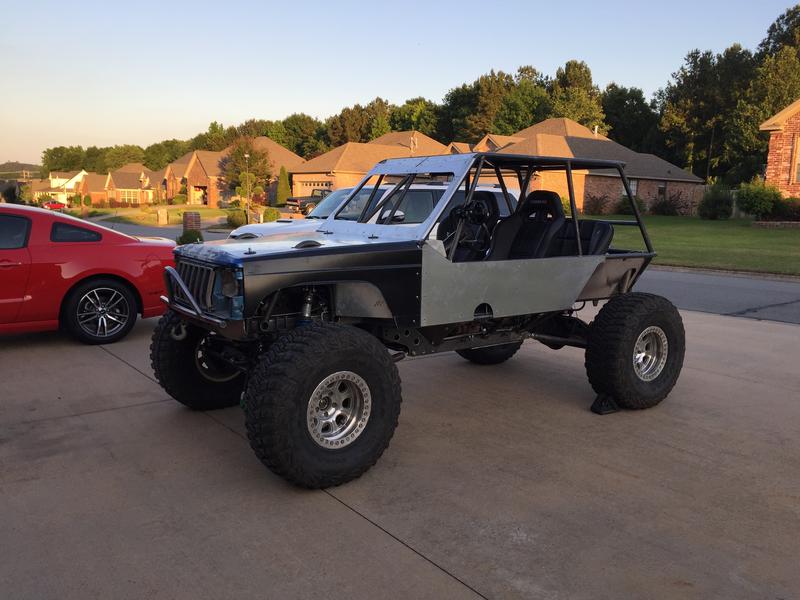
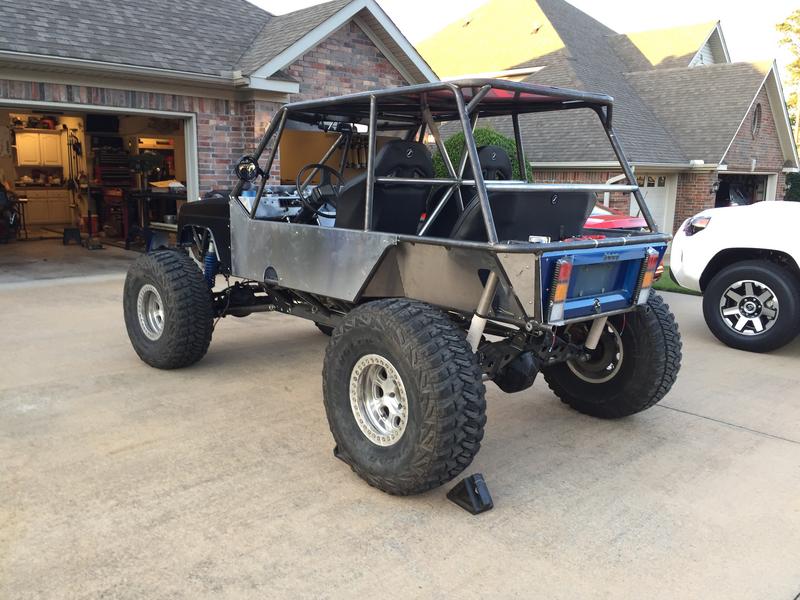
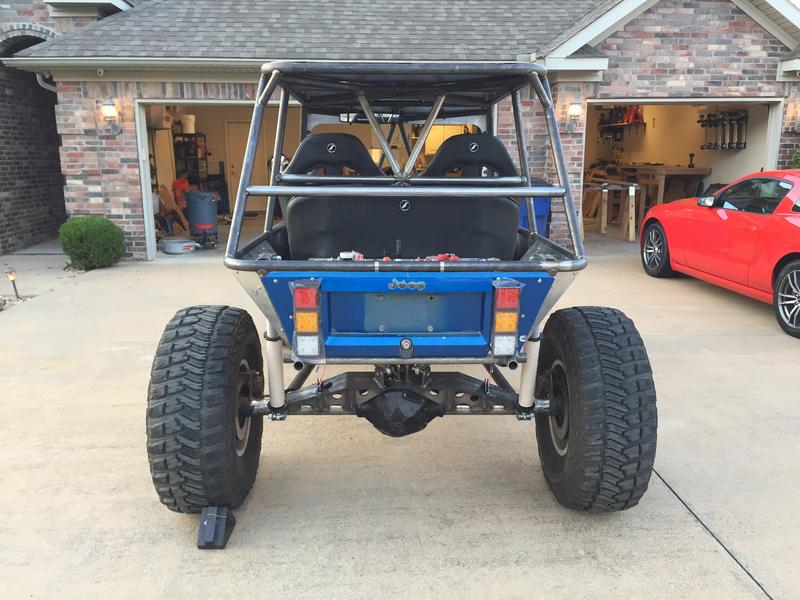
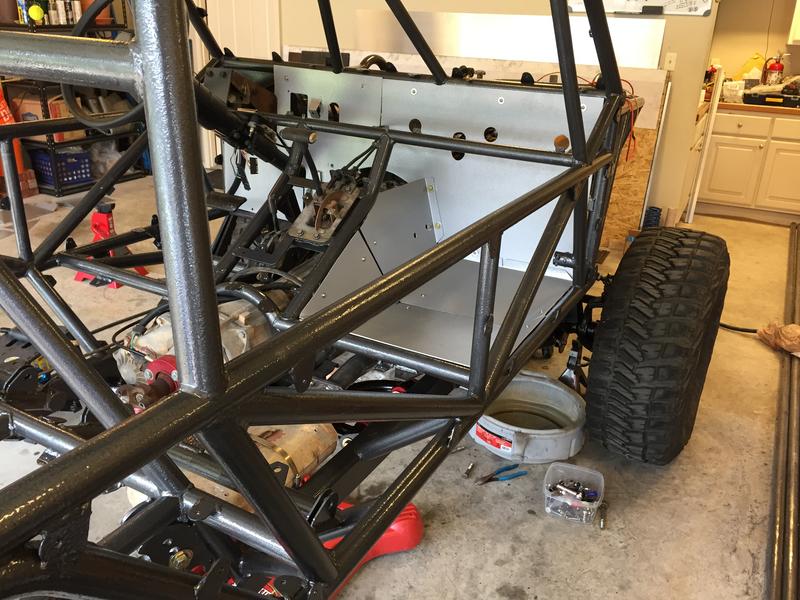
I threw everything else on the buggy and rolled it out to the driveway for some final shots before I tore it all apart.
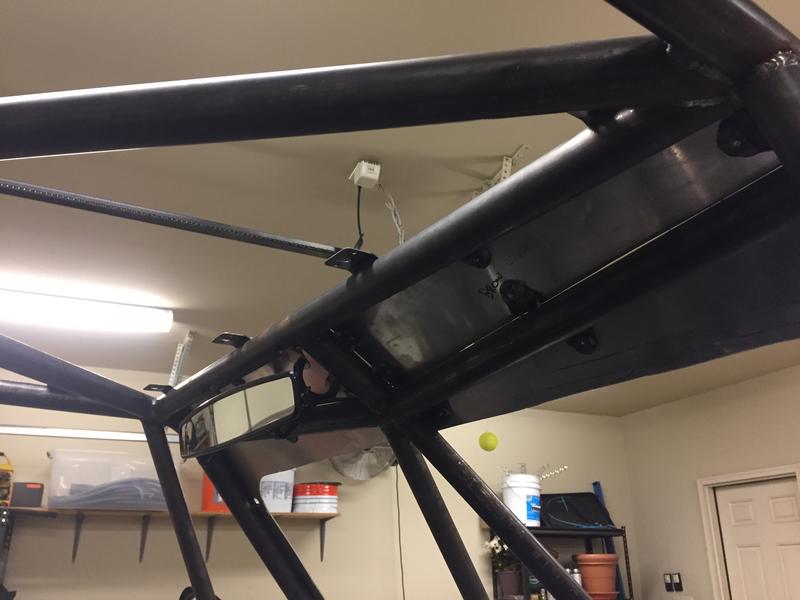
Rear view mirror is also a UTV part.
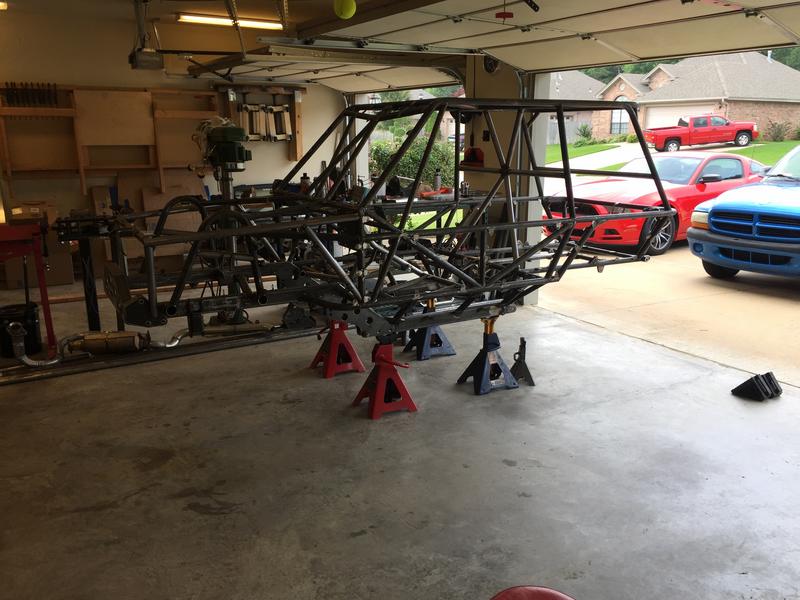
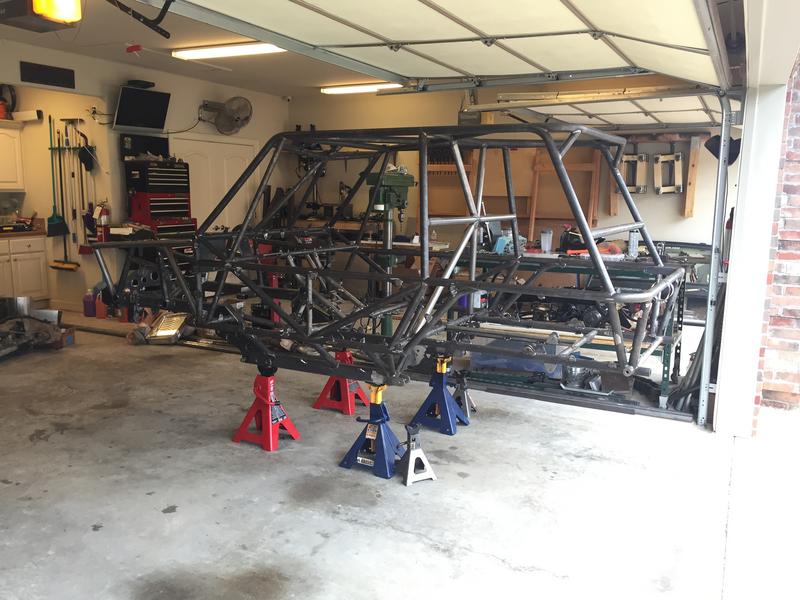
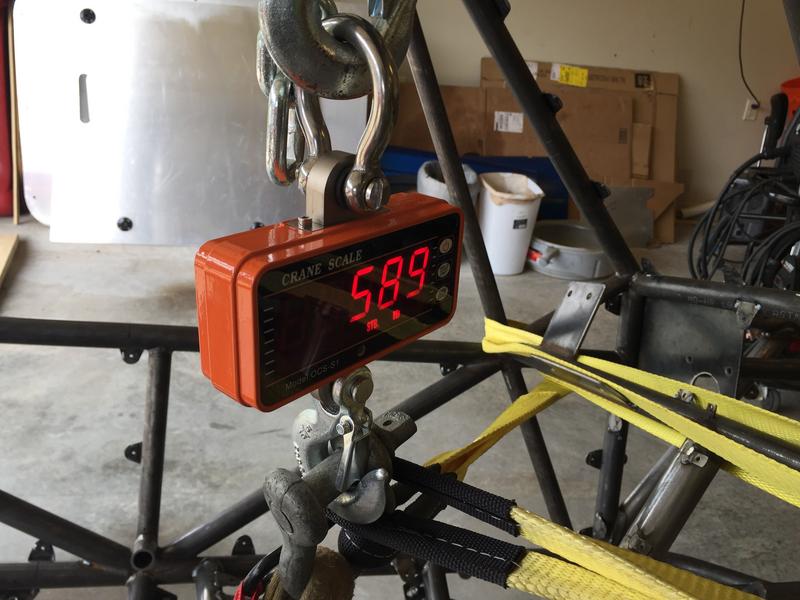
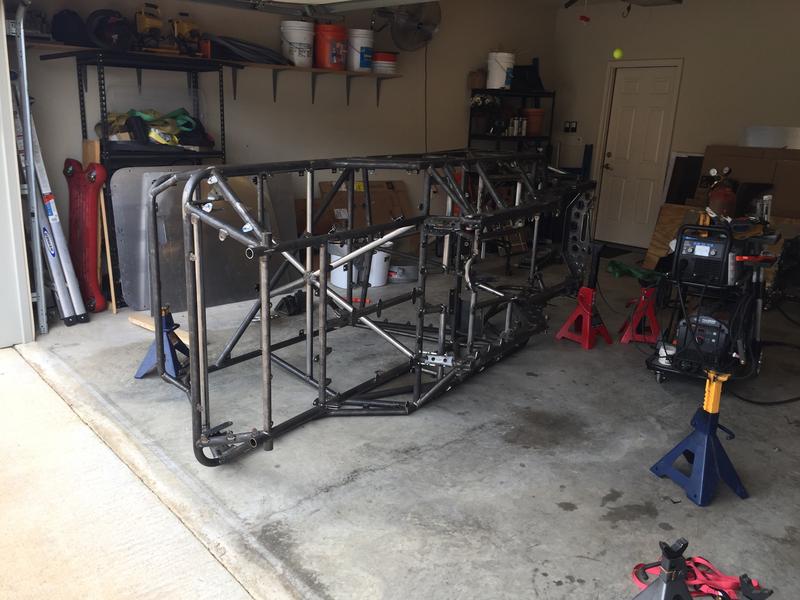
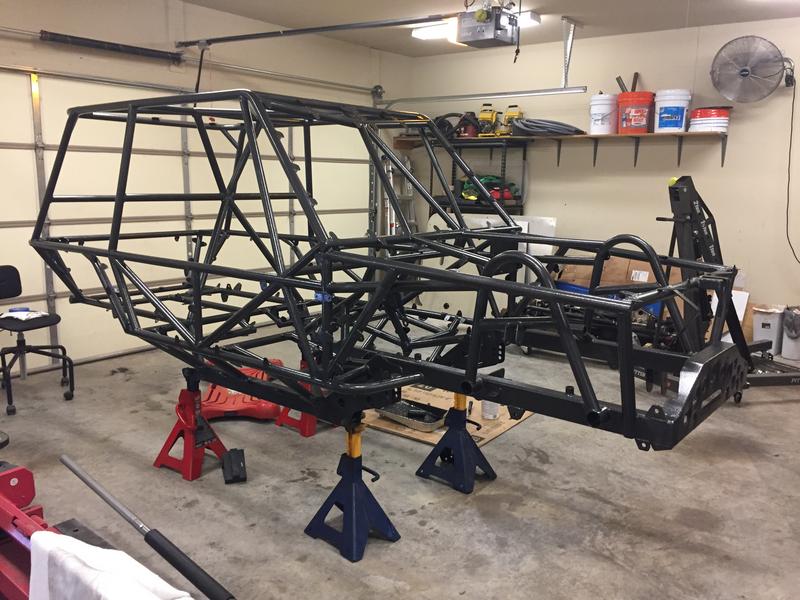
Here is the chassis all stripped down and ready for paint. I also weighed the chassis and it came out to 589 lbs. I added some recovery points and some additional gussets after I weighed it, so I am going to call it 600 lbs.

Rear view mirror is also a UTV part.
Here is the chassis all stripped down and ready for paint. I also weighed the chassis and it came out to 589 lbs. I added some recovery points and some additional gussets after I weighed it, so I am going to call it 600 lbs.
Thread Starter
Junior Member
Joined: Nov 2015
Posts: 51
Likes: 3
From: Central Arkansas
Year: Started as a 1987
Model: Cherokee
Engine: 4.0 Renix
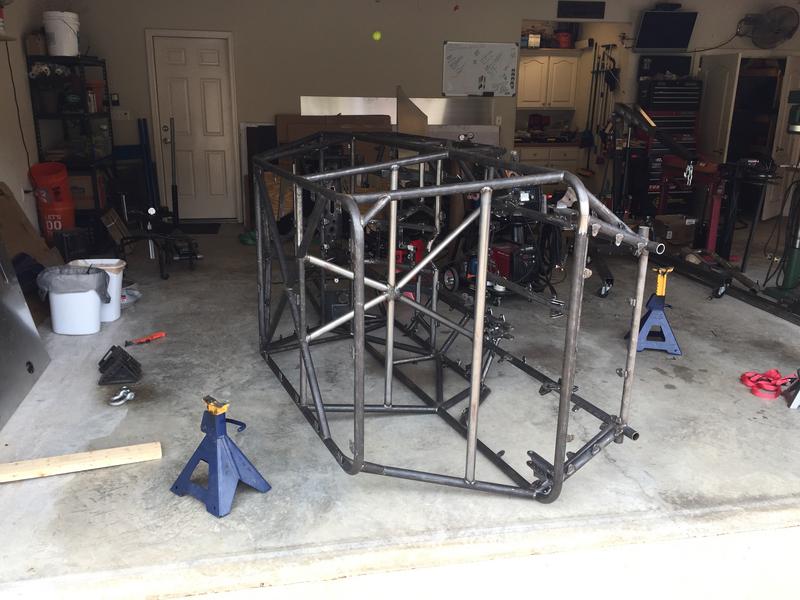
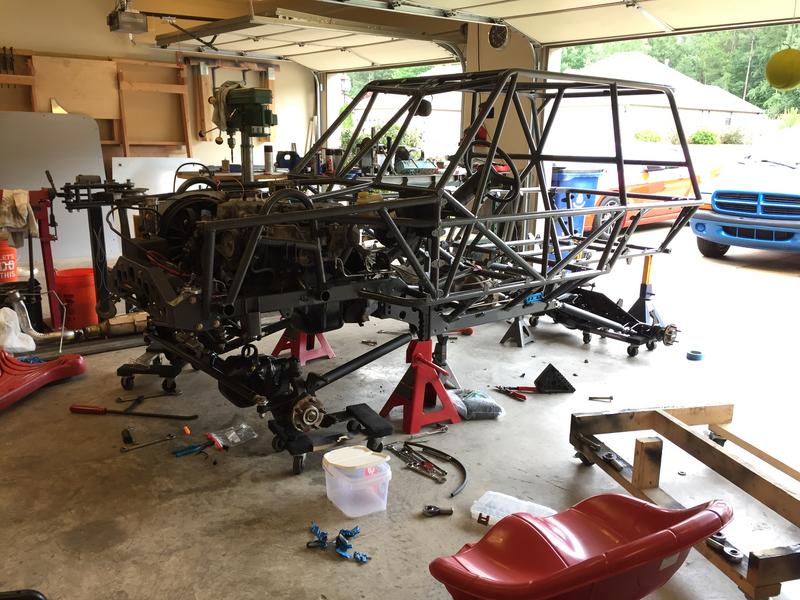
Rolling the chassis around to weld it up.
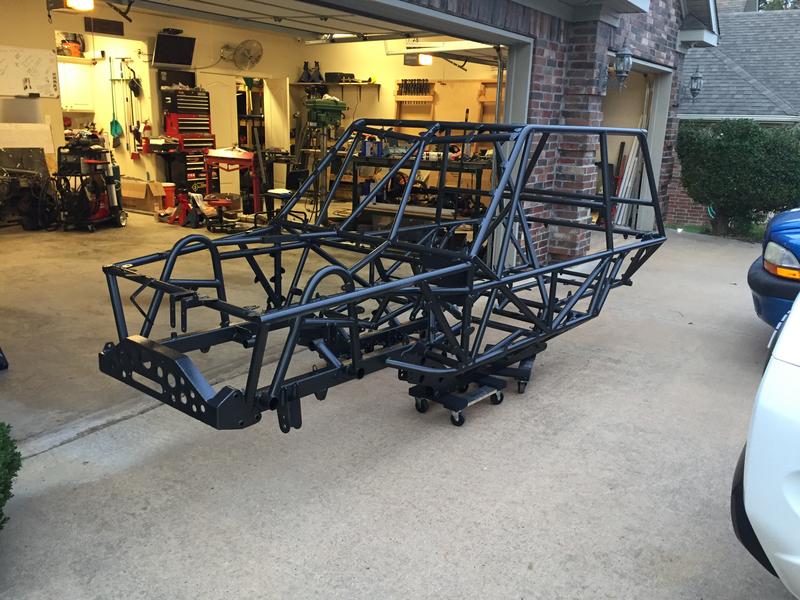
All welded up, ready to prep and paint.

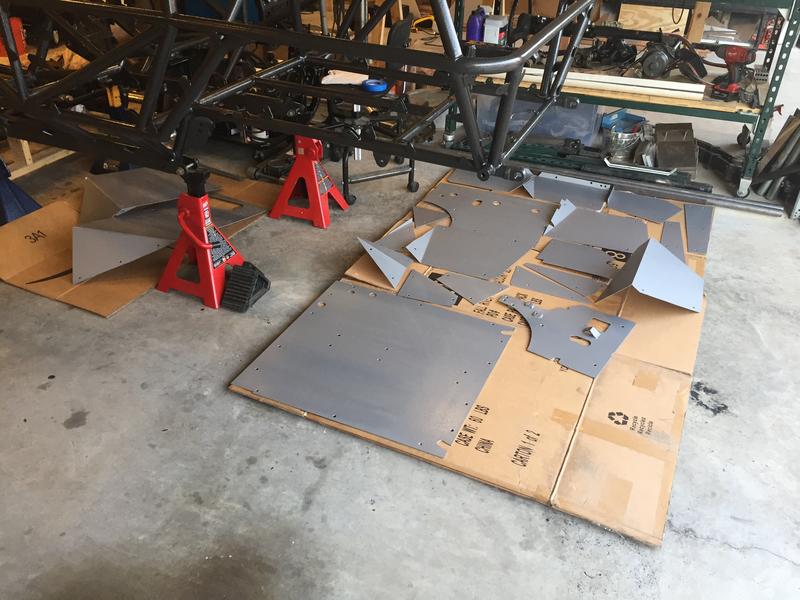
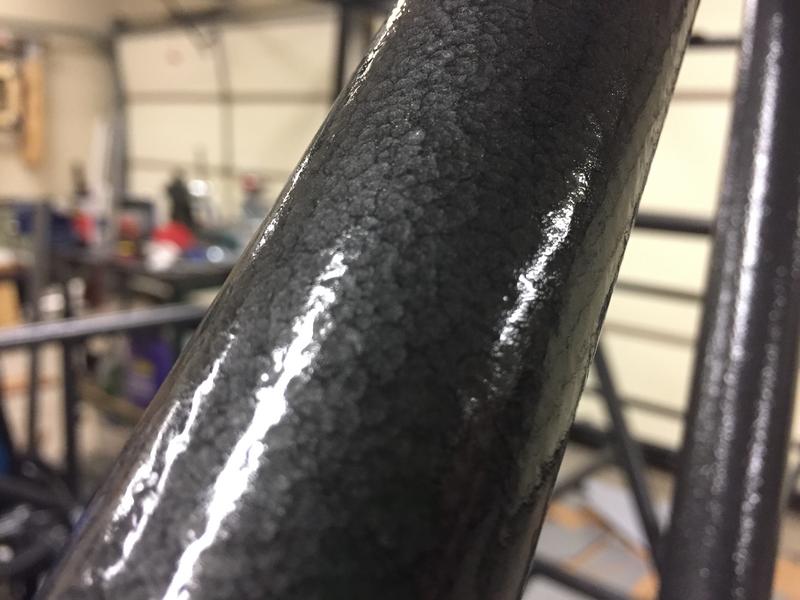
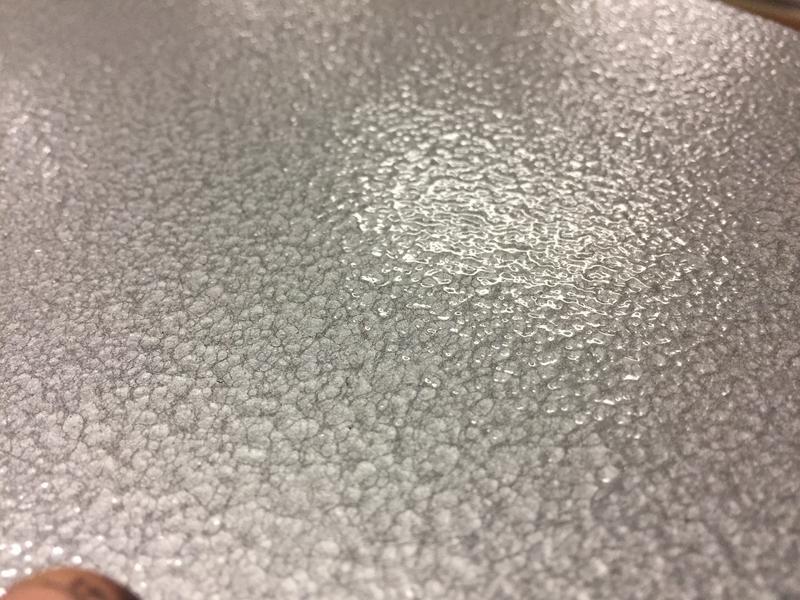
I used 4 quarts of Rustoleum hammered black for the chassis. Three of those quarts were sprayed through a Wagner spray gun and 1 quart was brushed on by hand to get the bottom and any spots that I missed. The floor and interior panels are Rustoleum hammered silver.
I sprayed all of the paint un-thinned through the Wagner gun. The paint came out of the gun in a mist with large drops. The large drops would probably make any other paint look like crap, but I think they actually helped out the hammered finish.

All welded up, ready to prep and paint.
I used 4 quarts of Rustoleum hammered black for the chassis. Three of those quarts were sprayed through a Wagner spray gun and 1 quart was brushed on by hand to get the bottom and any spots that I missed. The floor and interior panels are Rustoleum hammered silver.
I sprayed all of the paint un-thinned through the Wagner gun. The paint came out of the gun in a mist with large drops. The large drops would probably make any other paint look like crap, but I think they actually helped out the hammered finish.
Thread Starter
Junior Member
Joined: Nov 2015
Posts: 51
Likes: 3
From: Central Arkansas
Year: Started as a 1987
Model: Cherokee
Engine: 4.0 Renix
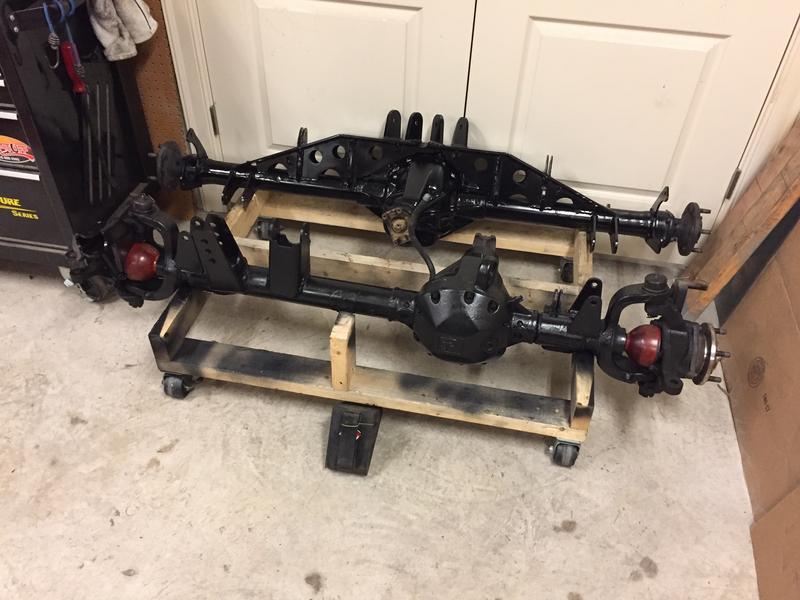
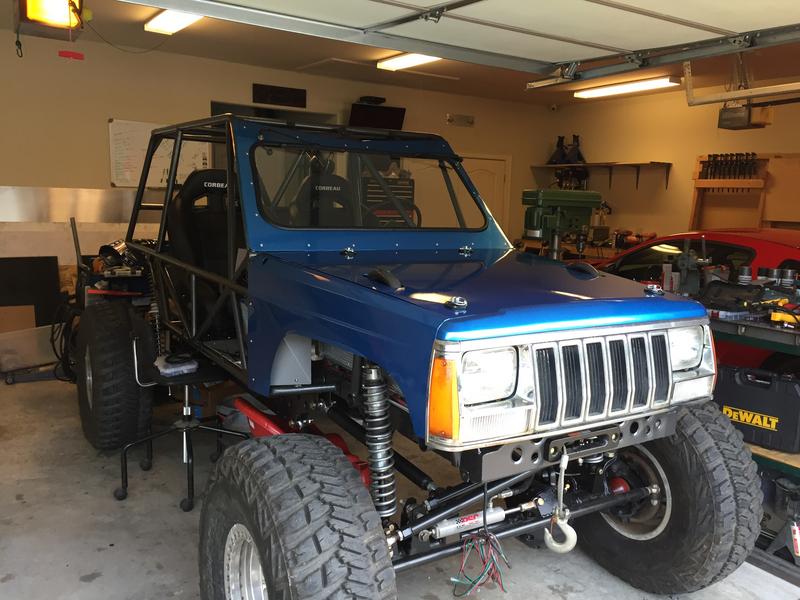
I painted the axles and started re-assembly.
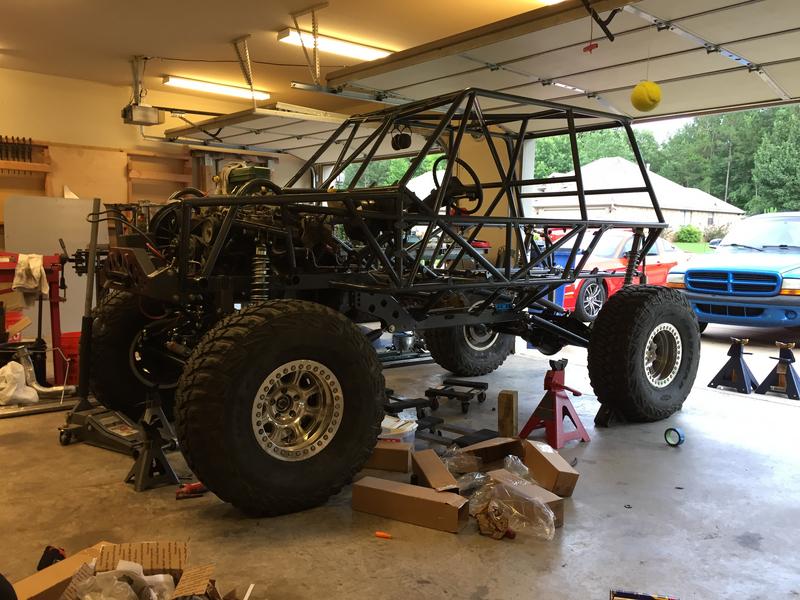
I made the buggy a roller again. It is sitting about 4 inches to high with no preload on the springs. I am hoping that the buggy settles down to the correct ride height once the rest of the parts are added.
My brother came over and routed the edges of the UHMW for the boat sides.
I installed the firewall panels and some of the floor.
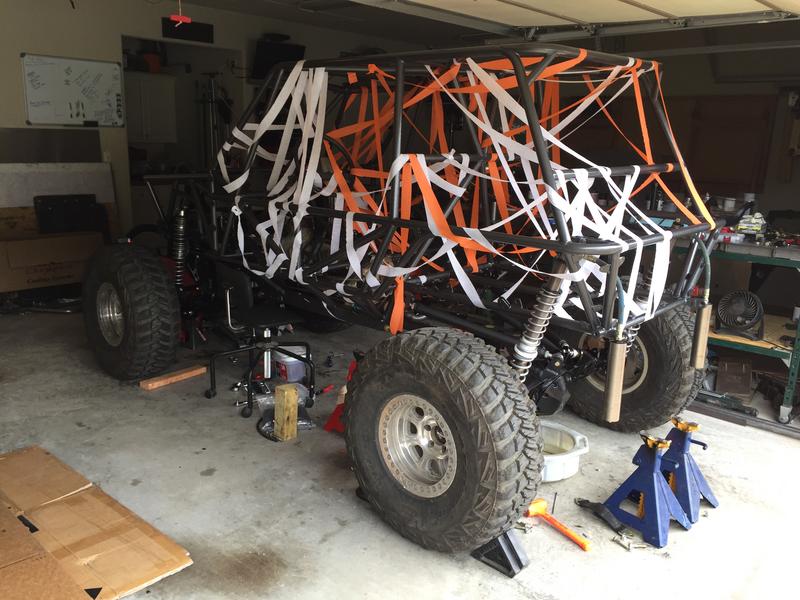
My wife likes to prank me on my birthday and this is what I came home to after running some errands one day.
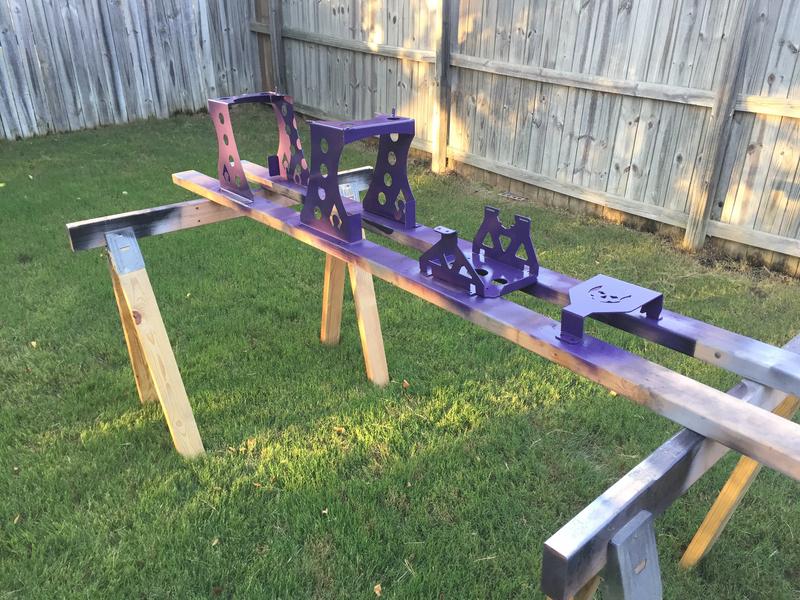
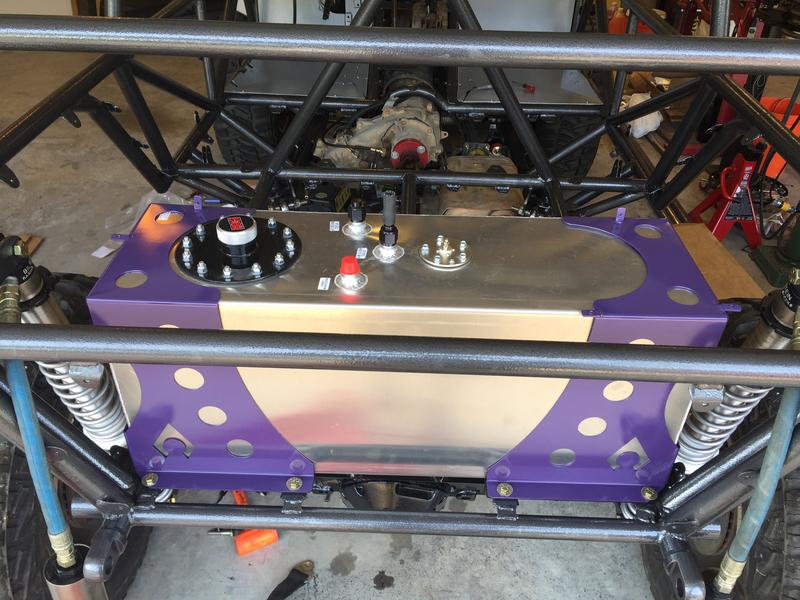
My wife also requested that some part of the buggy be purple. I am painting the fuel cell and battery mounts purple.
I made the buggy a roller again. It is sitting about 4 inches to high with no preload on the springs. I am hoping that the buggy settles down to the correct ride height once the rest of the parts are added.
My brother came over and routed the edges of the UHMW for the boat sides.
I installed the firewall panels and some of the floor.
My wife likes to prank me on my birthday and this is what I came home to after running some errands one day.
My wife also requested that some part of the buggy be purple. I am painting the fuel cell and battery mounts purple.
Thread Starter
Junior Member
Joined: Nov 2015
Posts: 51
Likes: 3
From: Central Arkansas
Year: Started as a 1987
Model: Cherokee
Engine: 4.0 Renix
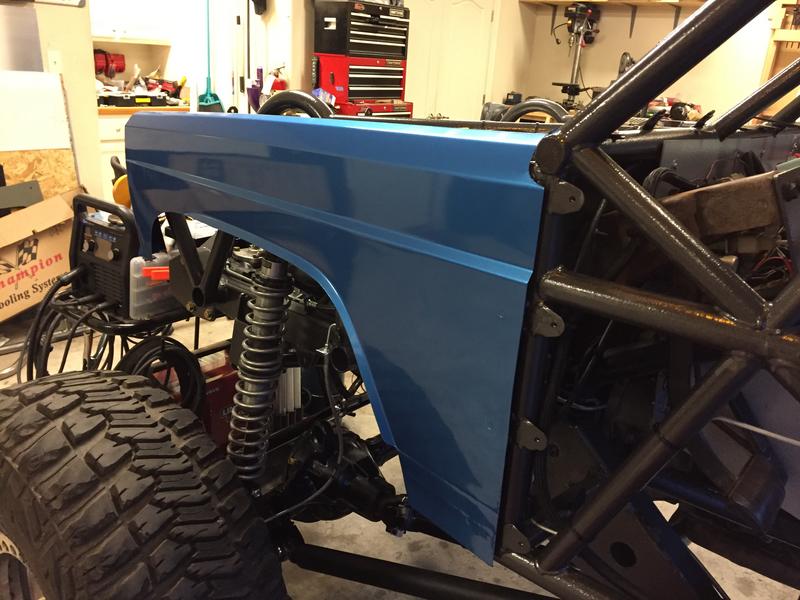
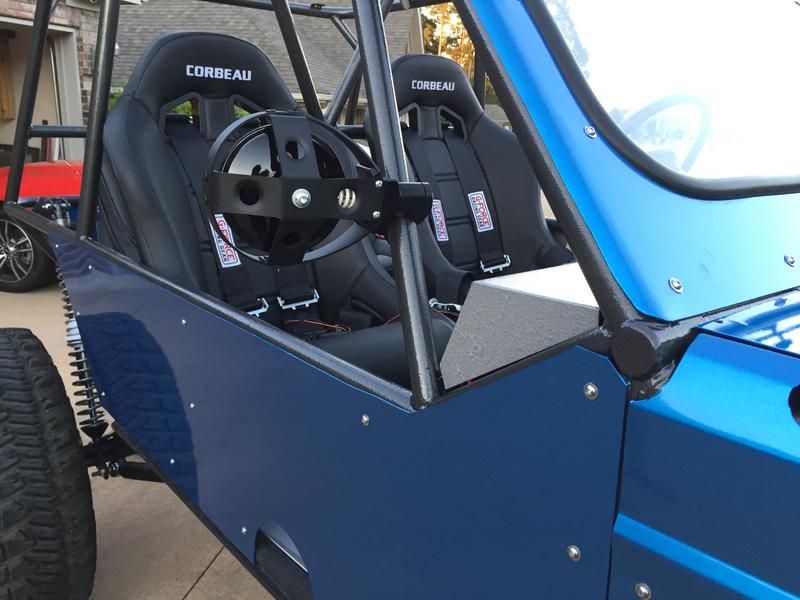
I have the majority of the panels wrapped and I have made quite a bit of progress on reassembly.
For the wrap, I am using Avery Dennison gloss metallic bright blue. Some panels will be wrapped with satin black.
Here is how the plum purple turned out on the fuel cell mount.
For the wrap, I am using Avery Dennison gloss metallic bright blue. Some panels will be wrapped with satin black.
Here is how the plum purple turned out on the fuel cell mount.
Thread Starter
Junior Member
Joined: Nov 2015
Posts: 51
Likes: 3
From: Central Arkansas
Year: Started as a 1987
Model: Cherokee
Engine: 4.0 Renix
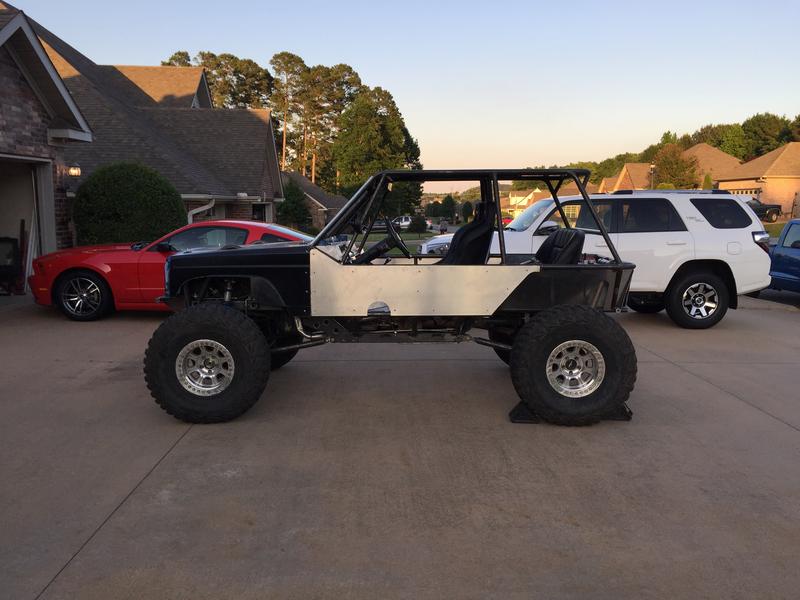
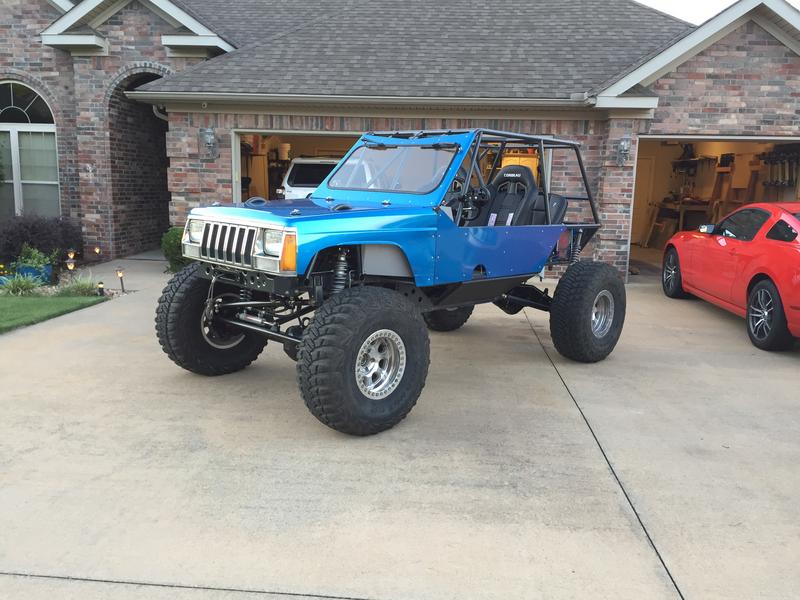
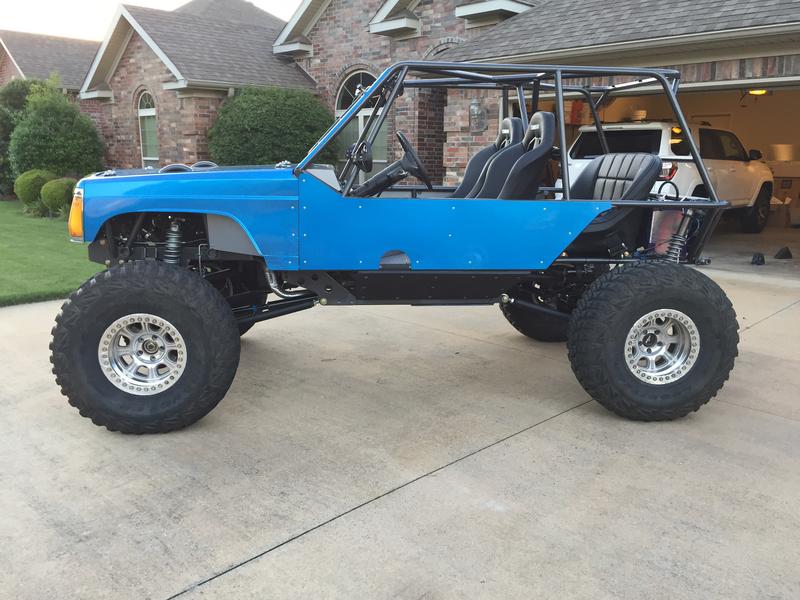
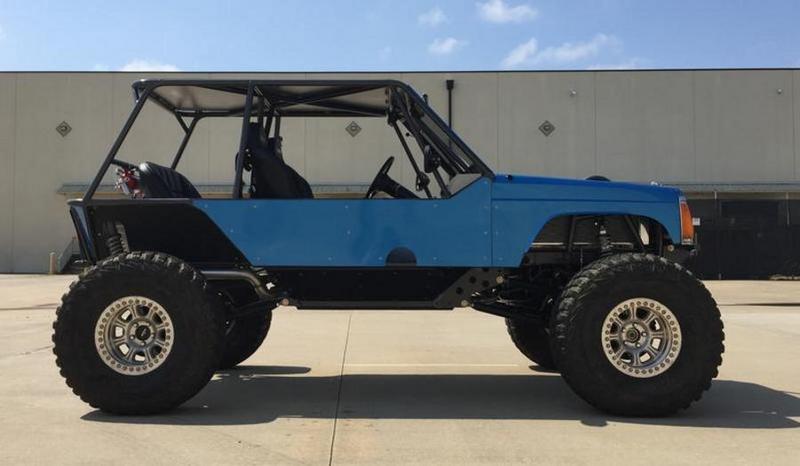
I got the side panels put on and pulled the rig out into the driveway for some better pics. In these photos I still had a few more things to put on.
These Race Mirrors are really nice.
Here is a nearly done photo.
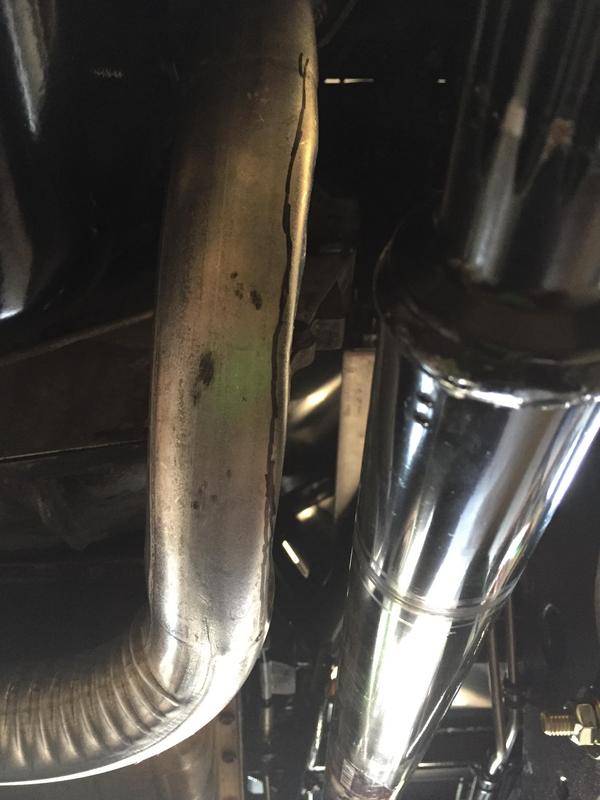
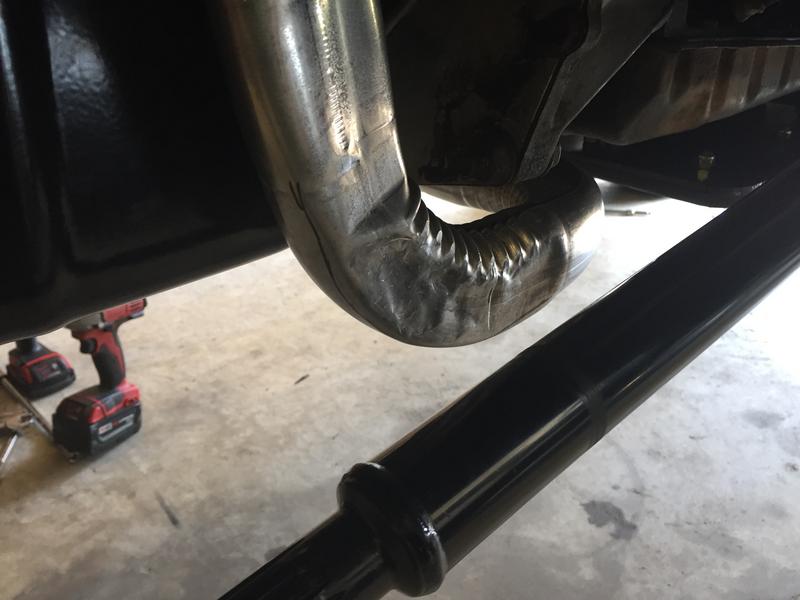
Here is an update on the exhaust/front driveshaft clearance. As expected there was a small amount of rubbing. I ended up just beating in the pipe so that the existing driveshaft clearance dent continued all the way down to the bend.
Before
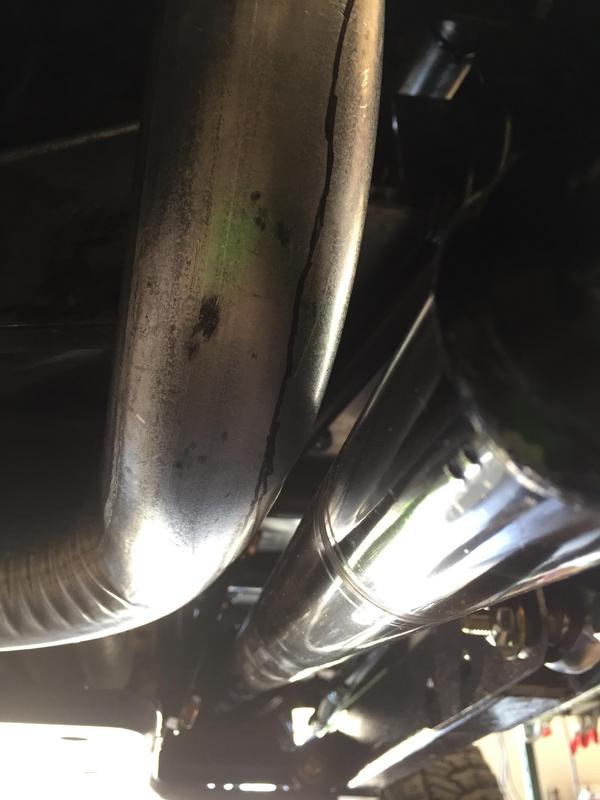
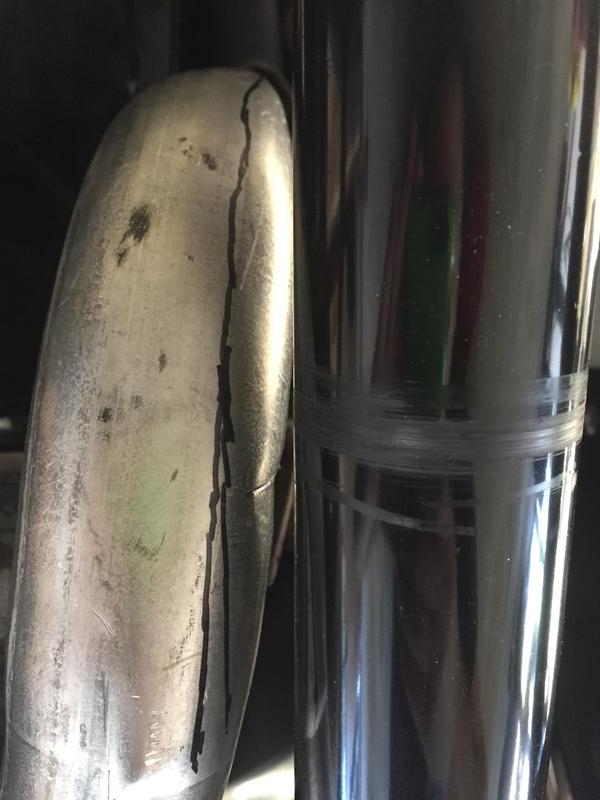
After

These Race Mirrors are really nice.
Here is a nearly done photo.
Here is an update on the exhaust/front driveshaft clearance. As expected there was a small amount of rubbing. I ended up just beating in the pipe so that the existing driveshaft clearance dent continued all the way down to the bend.
Before
After
Thread Starter
Junior Member
Joined: Nov 2015
Posts: 51
Likes: 3
From: Central Arkansas
Year: Started as a 1987
Model: Cherokee
Engine: 4.0 Renix
The buggy is now street legal and I have put over 100 miles on it. I get a lot of looks driving this thing on the road. One guy almost drove off the road when he was watching me instead of paying attention to his own driving.
I took it for its first street drive about a few weeks ago and it did alright around town but had a lot of body roll. I put on a Currie Antirock sway bar before last weekend and it made a world of difference. Before the sway bar the buggy would lean hard in turns, especially u-turns. Now it feels just as good or better than a normal SUV in the turns.
I did some light trail riding at a local part. The park is more of a mud park but it has some trails and an "obstacle" course that is made up of concrete blocks and old tractor tires. I was able to flex the suspension out and the only rubbing issue I had is from the last minute sway bar install rubbing on the inner fender. The buggy felt great and rode way better than the Jeep did on the rough rutted out roads. The view that I have of the tires is great. Driving this thing is so much more fun than driving the Jeep as it use to be. Hopefully I can get the buggy out on some real trails soon. I feel like a kid waiting for Christmas morning while I wait to be able to take the buggy out again.
I have had the buggy up to about 65 or 70 on the highway and the temps stay around 210 except for on long grades. Once I hit a long grade, the temps start to creep up. I am pretty sure the rising temps are because I am just running the transmission cooler lines through the radiator ports. I am going to install a separate transmission cooler and see if it helps out. I am also going to try to use a heat gun to make sure the dual temp switch for the fans is kicking on for high speed.
There is also a lot of heat coming from under the floor. It isn't too bad on the drivers side but it will cook the passenger. I have ordered some heat shielding wrap to reduce the heat radiating from the exhaust. I am going to try shielding the exhaust first and then move to shielding floor if it is still too hot.
This project took about 11 months from when I first started talking with the chassis builder to when I could drive the buggy on the street. 4 months of that time was waiting my turn in line so that the chassis could be built. Then, once I received the chassis, I spent nearly every weekend and most nights after work in my garage, trying to finish this before summer ended. Then I spend a month where all I could do was look at it in my garage while all of the different forms and paperwork had to be filled out and approved so that I could legally drive it on the road.
Through all of this, my awesome wife helped some and put up with all of my “greasiness” as she calls it. She has fun riding around town in it and has driven it once and had a huge smile on her face the entire time.
Here are a few more specs about the rig.
104" wheelbase
20" belly height
29.5" to the top of the rockers
It weighs 3420 lbs with a full tank of gas and no passengers. The weight over the front tires is 1920 lbs and the weight over the rear tires is 1500 lbs.
Here are some pics.


Thread Starter
Junior Member
Joined: Nov 2015
Posts: 51
Likes: 3
From: Central Arkansas
Year: Started as a 1987
Model: Cherokee
Engine: 4.0 Renix
Thanks guys!
For registration I had to title the buggy as a "homemade, assembled vehicle, dune buggy". This was the legal way of doing it. The reason, at least in Arkansas, is because the VIN belongs to the frame and not the body. Sure you could argue that with the Cherokee the body is the frame but going the homemade route eliminates confusion and possible legal issues in the future.
For insurance, it is insured as a "homemade, assembled vehicle, dune buggy". Insuring it as a homemade dune buggy also gets around the modified suspension limitations that many insurance companies have.
For insurance, it is insured as a "homemade, assembled vehicle, dune buggy". Insuring it as a homemade dune buggy also gets around the modified suspension limitations that many insurance companies have.

Thread Starter
Junior Member
Joined: Nov 2015
Posts: 51
Likes: 3
From: Central Arkansas
Year: Started as a 1987
Model: Cherokee
Engine: 4.0 Renix
Thanks. If you decide you really need one, look up "Action Fab" on Pirate4x4. He is the guy that built the chassis and plans on selling them. Since I finished mine, he has had more intrest in them and also has plans for a 2 seater version.
Also, to be clear, I am not affiiated with Chris and I am not trying to advertise. I am just very happy with the product (chassis) that I received and would recommend Chris to anyone looking to do a similar build.
Also, to be clear, I am not affiiated with Chris and I am not trying to advertise. I am just very happy with the product (chassis) that I received and would recommend Chris to anyone looking to do a similar build.
Thread Starter
Junior Member
Joined: Nov 2015
Posts: 51
Likes: 3
From: Central Arkansas
Year: Started as a 1987
Model: Cherokee
Engine: 4.0 Renix
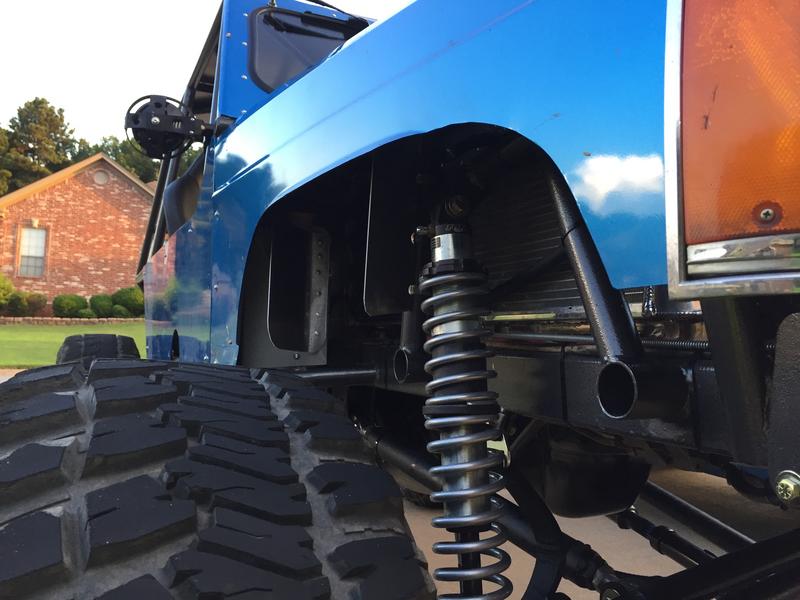
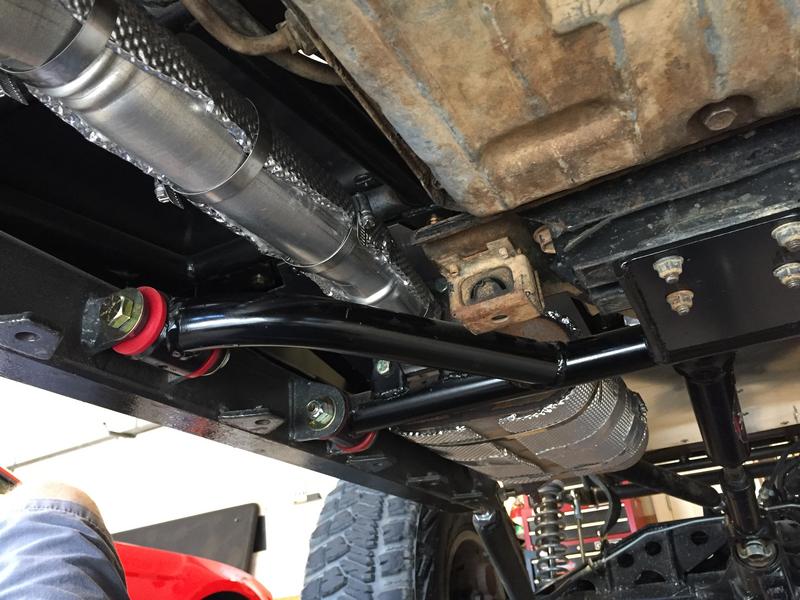
Here is a little bit of an update on the buggy. I installed an auxiliary transmission cooler, installed some fins to duct air into the side mounted radiator, began reducing the amount of heat that gets into the passenger compartment, and finally took this thing out for its first real trail ride.
Here is a photo that shows the fins and transmission cooler. I also put some Purple Ice in the radiator and rewired the electric fans so that they are always on at low speed and then kick on to high speed when the temperature switch is triggered. With the fins added, I tested it out by running up longish grades on the highway in 95+ temps and the temperature gauge fluctuates between half and 3/4, which I assume is less than 235.
For heat reduction, I removed the air-bake pan that I had on the muffler and replaced it with some Heatshield Products exhaust wrap. The wrap has a fiber fill material that is backed with aluminum. This didn't totally eliminate the heat in the passenger compartment but it did reduce the heat coming off of the muffler from 450 degrees to 140 degrees. I also put the wrap on the exhaust tubing that is under the floor.
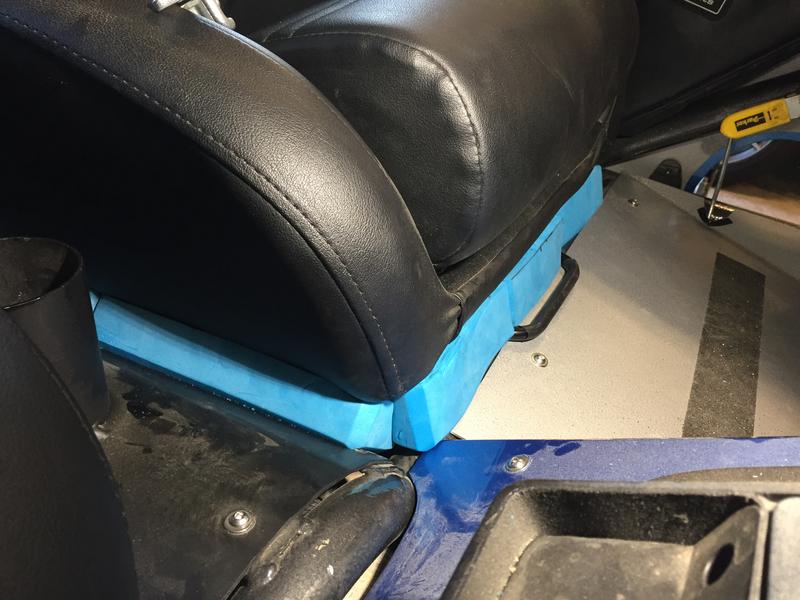
There also isn't a full floor pan under the seats. This means that the hot air still blows up and right on your legs. This makes for a very hot ride, especially the passenger. To begin to remedy this, I purchased some foam yoga blocks and began cutting them to fill up the space. Yes it looks crappy right now but was just to prove out a concept. I will be getting some heat/flame resistant black foam and making one large seal/gasket to fit around the bottom of the seat.
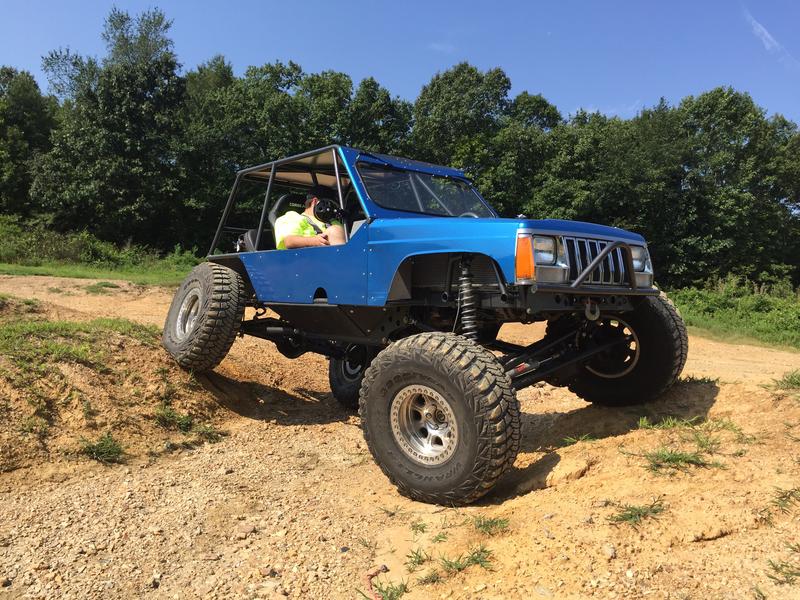
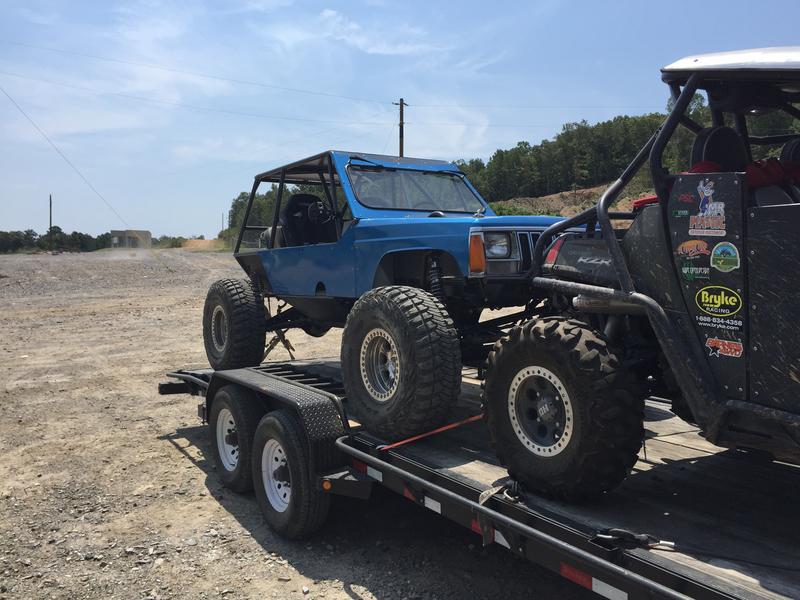
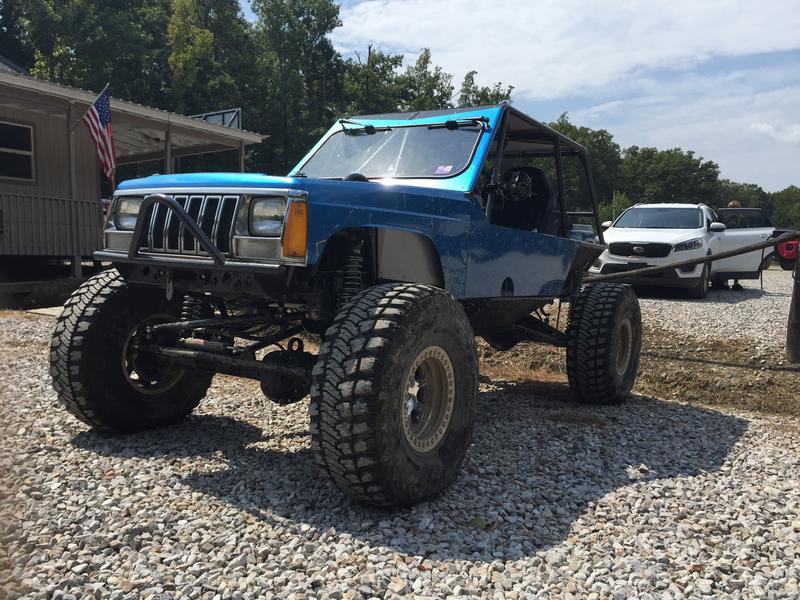
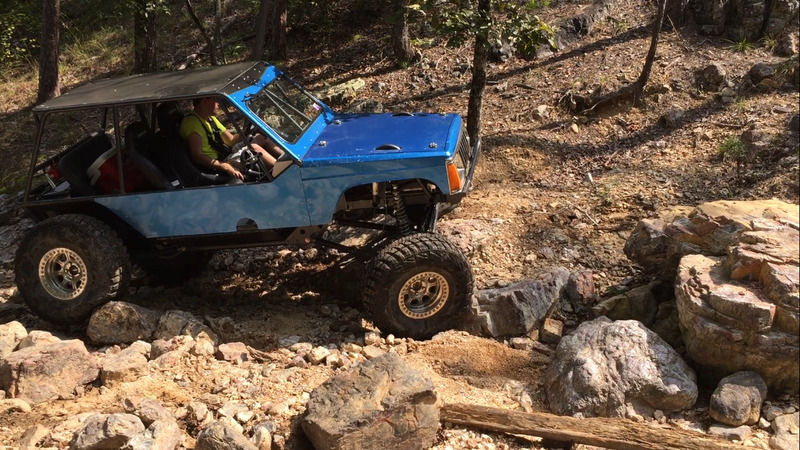
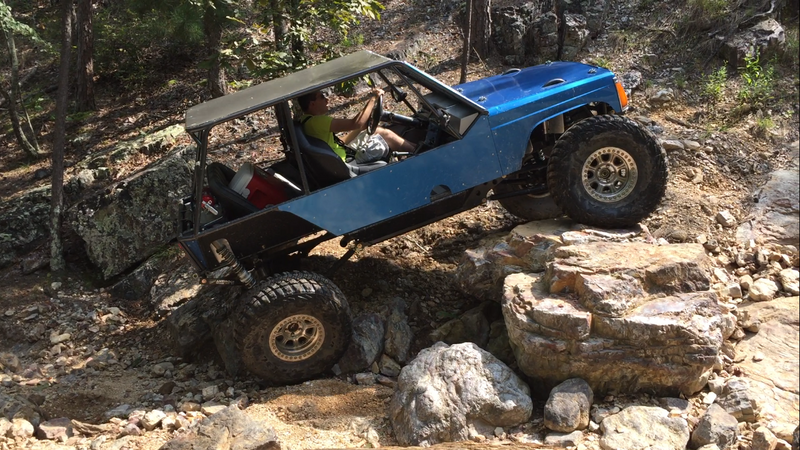
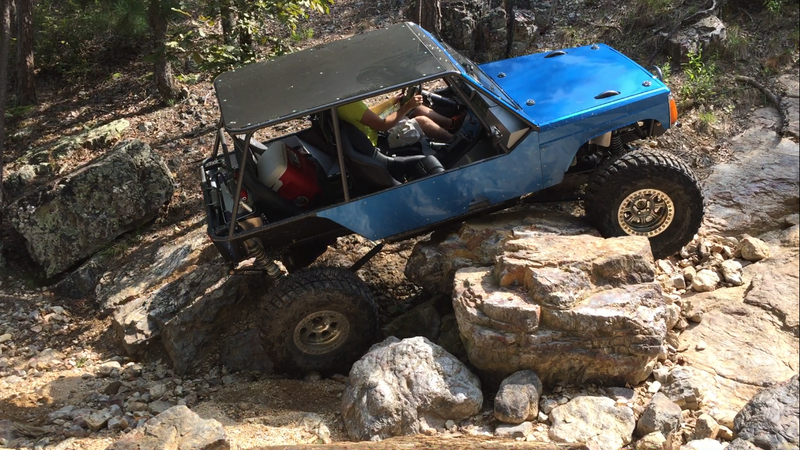
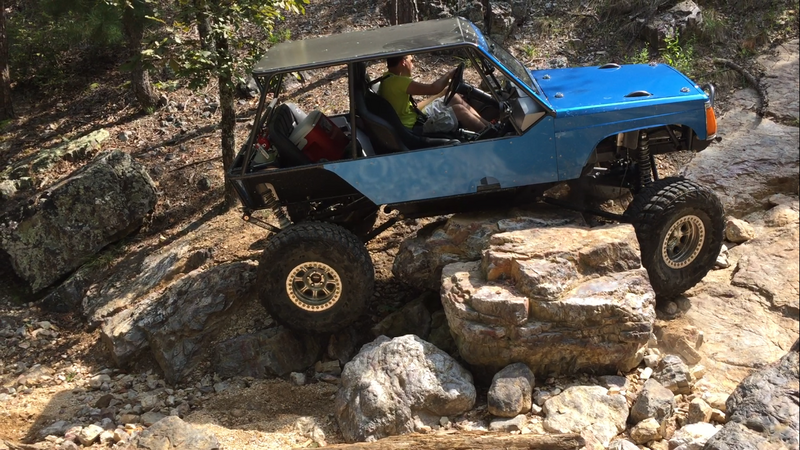
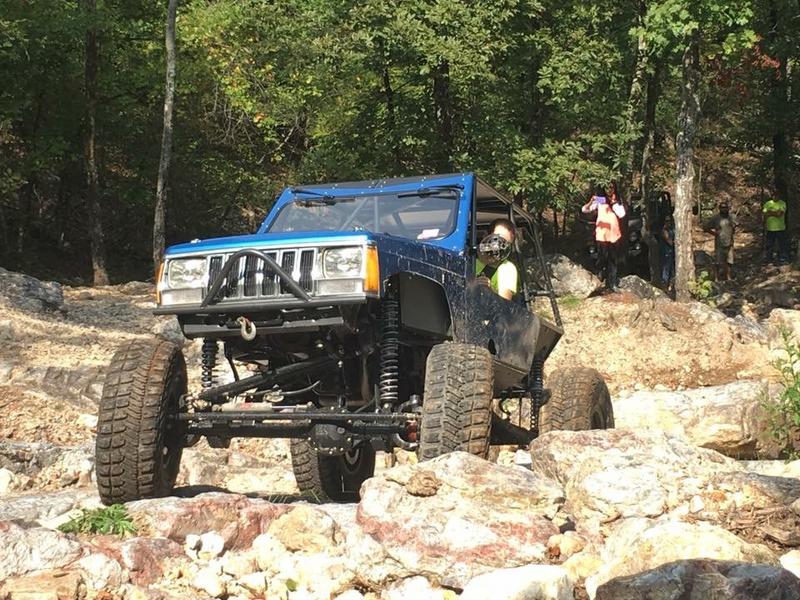
Now for the fun part, the trail ride. My wife and I took the buggy down to Hot Springs Off Road Park. Since the goal with this buggy was to build something that could be driven on the street, we drove it to the park. The drive 1 way is about 60 miles, with most of it being high way. I was very happy with how the buggy handled on the way there. I drove it at speeds up to 70mph and it handled even better than the Jeep ever did. Once we got to the park, we ran trails for around 3 hours before heading home. On the trail, the buggy worked awesome! With the axles still being Jeep axles, it fits places a normal Jeep will but with the narrow chassis and that this only weighs about 60lbs more than a bone stock XJ, it feels more nimble when maneuvering around obstacles. To compare it to how the Jeep performed, I ran trails that I had run in the Jeep before. The buggy powered through obstacles that normally slowed the Jeep down. Where the Jeep was limited by suspension travel and would teeter on larger rocks, the buggy would climb right over them without issue. The flat belly and tall rockers/boat sides also helped a lot. The Jeep would always be dragging the rock sliders and skidplate but the buggy only got hung up once and that was because slid over on a rock big enough to fully droop the suspension and only leave 2 tires barely on the ground. In this situation, I was able to work the steering wheel, back the buggy up, hit the obstacle again and move on down the trail. With only running a few trails, I didn't get many pictures, but here are the ones that I did end up with, including nearly high-centering.
Here is a photo that shows the fins and transmission cooler. I also put some Purple Ice in the radiator and rewired the electric fans so that they are always on at low speed and then kick on to high speed when the temperature switch is triggered. With the fins added, I tested it out by running up longish grades on the highway in 95+ temps and the temperature gauge fluctuates between half and 3/4, which I assume is less than 235.
For heat reduction, I removed the air-bake pan that I had on the muffler and replaced it with some Heatshield Products exhaust wrap. The wrap has a fiber fill material that is backed with aluminum. This didn't totally eliminate the heat in the passenger compartment but it did reduce the heat coming off of the muffler from 450 degrees to 140 degrees. I also put the wrap on the exhaust tubing that is under the floor.
There also isn't a full floor pan under the seats. This means that the hot air still blows up and right on your legs. This makes for a very hot ride, especially the passenger. To begin to remedy this, I purchased some foam yoga blocks and began cutting them to fill up the space. Yes it looks crappy right now but was just to prove out a concept. I will be getting some heat/flame resistant black foam and making one large seal/gasket to fit around the bottom of the seat.
Now for the fun part, the trail ride. My wife and I took the buggy down to Hot Springs Off Road Park. Since the goal with this buggy was to build something that could be driven on the street, we drove it to the park. The drive 1 way is about 60 miles, with most of it being high way. I was very happy with how the buggy handled on the way there. I drove it at speeds up to 70mph and it handled even better than the Jeep ever did. Once we got to the park, we ran trails for around 3 hours before heading home. On the trail, the buggy worked awesome! With the axles still being Jeep axles, it fits places a normal Jeep will but with the narrow chassis and that this only weighs about 60lbs more than a bone stock XJ, it feels more nimble when maneuvering around obstacles. To compare it to how the Jeep performed, I ran trails that I had run in the Jeep before. The buggy powered through obstacles that normally slowed the Jeep down. Where the Jeep was limited by suspension travel and would teeter on larger rocks, the buggy would climb right over them without issue. The flat belly and tall rockers/boat sides also helped a lot. The Jeep would always be dragging the rock sliders and skidplate but the buggy only got hung up once and that was because slid over on a rock big enough to fully droop the suspension and only leave 2 tires barely on the ground. In this situation, I was able to work the steering wheel, back the buggy up, hit the obstacle again and move on down the trail. With only running a few trails, I didn't get many pictures, but here are the ones that I did end up with, including nearly high-centering.