When you click on links to various merchants on this site and make a purchase, this can result in this site earning a commission. Affiliate programs and affiliations include, but are not limited to, the eBay Partner Network.
Looks good, way better welding then mine. Which steel yard do you use?
Thanks!
This place called Logan Steel in Meriden, CT. They have a big tent area called the "Bargain Barn" where steel is $1 per pound and aluminum is $5 a pound. Well organized, simple, and the barn has basically anything a DIY guy could want.
Just grab what you need, toss it on the big scale, and tell the guy in the office how much your load weighs...pretty sweet!
Checked the oil pressure today just to see if there was any noticeable damage after running the engine with antifreeze in the oil. I'm using a mopar filter and the Rotella T6 5w-40 diesel oil. Here's the deal:
Pressure was at about 54-55 when I first started it up. Then once the jeep got up to operating temp, the gauge read 38.
So not to bad from what I understand. What I was happy to see was that the needle didn't bounce around at all. It was nice and steady.
From what I read on CF, the pressure should not be less than 13 psi at idle when warm, and between 37-75 psi over 1600 rpms. So it looks like I'm in the clear.
While I was at it, I also serviced most of the fluids in the XJ:
Changed the gear oil in both diffs, T-Case oil, and started to flush out the old power steering fluid. I'm basically emptying the reservoir and then diluting the system with new fluid. Mix it all up, suck the reservoir dry, and then repeat the process.
Left the transmission fluid alone for now. Will do another slow "poor mans flush" soon.
This place called Logan Steel in Meriden, CT. They have a big tent area called the "Bargain Barn" where steel is $1 per pound and aluminum is $5 a pound. Well organized, simple, and the barn has basically anything a DIY guy could want.
Just grab what you need, toss it on the big scale, and tell the guy in the office how much your load weighs...pretty sweet!
Ive been there too, but Im up by the CT/MA border so Meridens a bit of a ride. I try and wait til Ive got a couple projects then go to make it worth it.
Ive been there too, but Im up by the CT/MA border so Meridens a bit of a ride. I try and wait til Ive got a couple projects then go to make it worth it.
Understandable. The weight of the metal adds up quickly too - I always seem to spend more than I anticipated. I'm just like a kid in a candy store there
Understandable. The weight of the metal adds up quickly too - I always seem to spend more than I anticipated. I'm just like a kid in a candy store there
Agreed. Tho the last time I was there buying SS for work the guys old guy just rounded down. Like way down. Should have bought way more!
So...the time has come! The jeep is finally road worthy
Thought I would post up a few pics showing what the XJ looks like right now. It doesn't look like much - and that's because it's not (yet). I've got a list going with the upgrades/mods I'd like to do, but it seems like for every small project I finish...five more ideas come up. There's a lot I'd like to do to it.
Shes coming along well, and now I'll be able to give her a test run once shes registered. The jeep handles perfectly except for a small vibration due to not having it aligned. I plan to bring it to the local guys at the shop nearby so that they can do it right. I could do a quick alignment in the garage, but accuracy is key when it comes to a big hunk of metal and rubber rolling down the road.
The interior is back in for the most part. There's no rug anymore, and I plan to drill a few small holes in the floor pans for drainage purposes. I don't want any more (structural) rust issues in the future.
It looks like the garage threw up in the rear of the jeep. I'm **** about being prepared...so I tossed in a few things I thought I might need. I'll be wheeling with a friend most of the time, but I don't want to have to rely on someone else. I've also been building a smaller vehicle as a "Plan B" which can fit in the rear of the jeep...I'll post that up once it's close to being finished though. It's a surprise...
And yes, that's a tool box mounted to the floor with four screws (two on each side). It was my first toolbox, which has now become the "beater" box. It's really just turned into a catch-all at this point, so I emptied it and stuck it in the jeep. One of the guys at NAPA was telling me how someone swiped all the tools out of his old Bronco...so I'm tempted to put a padlock on the box and tack weld it to the jeep. We'll see.
Building up a front and rear bumper is one of the next priorities for me. This piece of rebar is a backup in case something happens. I'm not going to purposefully throw myself into a bad situation without recovery, but at least with this rebar someone could give me a small pull in the right direction. I don't trust the stock bumper at all.
Again, this is temporary. The plan is to build up both a front and rear bumper. I'd like to put a receiver in both bumpers, and then wire the jeep up so that I can put a winch on either side of the truck. If I'm thinking winch bumpers, then I might as well weld them to the frame. Or at least weld up some mounts to the frame for a bumper to mount to.
If I'm welding up bumpers to the jeep, then I should also start thinking about stiffening parts of the subframe. You see how my head works? One project being completed = 5 more projects on the way.
Here's the jeep as it sits. Right now, it's basically a stock xj with a semi-gutted interior, 3" lift, and cut front fenders. Like I said, there's a lot I want to do with it. I'd like to take the plastics off, fix the rust on the doors, and bedline it up until the body line under the windows.
She'll be on the road very soon. Besides the alignment, the XJ is mechanically sound. Runs very well, handles like a new vehicle, and I'm happy with how it's come out so far. There also aren't any vibrations from the stock drive shaft setup. I'm very skeptical about it working out though. I don't trust it, and it's always possible that my stock drive shaft could pop out of the TC. So an SYE is definitely in this jeeps future along with axle shims.
As I've said before, this will be mainly a woods truck/weekend toy. Next update, she'll have plates!
Nice to see all your hard work is paying off. The only thing I don't like about having a week-end worrier is not driving it enough and having trust issues when it comes time to go up wheeling it. If I drove it daily it would be easier to pin-point trouble.
Nice to see all your hard work is paying off. The only thing I don't like about having a week-end worrier is not driving it enough and having trust issues when it comes time to go up wheeling it. If I drove it daily it would be easier to pin-point trouble.
That's one of my big concerns, it's why I've been a little **** and decided to toss a bunch of tools in the back. Can't say I trust this Jeep for any long distance driving...but it will definitely be nice to have a second vehicle to fall back on if need be.
That's one of my big concerns, it's why I've been a little **** and decided to toss a bunch of tools in the back. Can't say I trust this Jeep for any long distance driving...but it will definitely be nice to have a second vehicle to fall back on if need be.
We just got back Monday from a 6hr trip down (one way) to Ouray, found out that my auxiliary fan was not coming when we climbed Monarch pass. I saw my temp was rising so I pulled off. Let it cool down and remover my winch cover and turned on my heat for more calculation and made it to our destination. I had some heavy gauge wire so we hard wired the fan and went wheeling anyway with the fan on all the time (worked great). I will wire a switch with a relay for my next outing.
We just got back Monday from a 6hr trip down (one way) to Ouray, found out that my auxiliary fan was not coming when we climbed Monarch pass. I saw my temp was rising so I pulled off. Let it cool down and remover my winch cover and turned on my heat for more calculation and made it to our destination. I had some heavy gauge wire so we hard wired the fan and went wheeling anyway with the fan on all the time (worked great). I will wire a switch with a relay for my next outing.
Funny you mention that. I've been to a few local boneyards looking for odd parts, and one of them is a backup electric fan. Read a build thread a while back about wiring the aux. fan to a switch in the cabin, and another one about switching to a dual electric fan setup.
She's on the road!
The heap has plates and is now serving as my daily for now. I've also got a surprise upgrade this post. I've noticed a few things since registering it though:
1) Driveline vibes once I get up to speed. So now the jeep is a front wheel drive truck right now...if you catch my drift.
2) The headlights on this thing are about as useless as a pedal-powered wheelchair. Looking to upgrade them soon, but I hate those annoyingly bright LED/HID lights.
3) The DAY AFTER the XJ passed the emissions test, an O2 sensor code popped up! Looks like it pays to not procrastinate
So the upgrade I just did was an attempt to fix the driveline vibes. I'm not a fan of the TC drop kits because of my motor mounts being stressed. It's also possible that I may throw in a bigger lift in the future...so I opted to install an SYE. I just finished the job tonight, and there's no guarantee it will solve the issue. If it doesn't, I'll have to order some axle shims and new U-bolts for the rear axle. No biggie.
It was an all-day job simply because of a dentists appointment, and the fact that I was paranoid about stripping/breaking off these New England bolts. Why you ask? Take a look:
You can see two things in this picture. My sweet Comanche Rockauto magnet, and three studs with the nuts rusted on. Instead of wasting time and patience breaking rusty nuts off all the studs, I went ahead and started working on the TC inside of the vehicle. There was only one snag, and it was nothing too terrible.
This is where that one 10mm 12-point bolt sits. There were a lot of threads exposed on the backside of the TC, which proved to be its demise. I must have spent at least 10 minutes on this bolt alone trying to work the rust off and get it out. In the end, a chunk of the casting split right off, leaving only half of the threads in tact. Welding the chunk back on isn't really an option either...It's cast, I don't know what type of metal it is, and I'd run the risk of messing up the threads completely. That...and the heat could damage the casting further.
I'll just have to roll with it. The RTV and other bolts will keep the case together. I'm also not worried about leaks - this bolt is on the top of the TC.
Back to the SYE install:
This is the stock output shaft. I didn't see any evidence of the chain hitting the TC, so I kept the factory one.
Luckily I won't be re-using these! When you don't have a puller handy, you work with what you've got.
Stock output shaft is the longer one to the left. The new Advanced Adapters shaft is next to it for comparison.
Gears installed without the plastic speed-o gear
That's it! No leftover parts, busted knuckles, broken tools, or big problems. All in all, it was pretty straight forward. The kit comes with an instruction booklet which gives detailed instructions and torque specs.
Going to wait until tomorrow to fill her up, and maybe go grab that O2 sensor. The front driveshaft (for the rear) is all set to go, I'm just waiting for a replacement spring to show up in the mail. It's the spring that sits inside the joint in the "H" shaped portion of the assembly. But for now, it's time to relax.
Hey all, new update. Definitely feels rewarding to have this truck driving around. Haven't noticed any problems so far! Lets hope it stays that way.
So after the SYE install, I thought that I might have to shim the axle...but as it turns out, the angle was almost perfect! From what I understand, with the stock (2 joint) drive shaft, the angle of your rear axle yoke should look like this (Not my pictures):
While with the front CV-type (3-joint) shaft, your setup should look like this:
After the lift, my pinion angle looked like this with the stock shaft:
Its not exactly like the second diagram, but it's much closer to the angle I need and the first one.
So the rear drive shaft is now in with new joints and a new spring in the CV joint end of it. Stupid me lost the original, so I had to wait for a replacement to show up in the mail. Here it is!
While I was down there, I figured it would be a great opportunity to install some U-bolts in the rear yoke instead of the stock straps. They were $4 each...and it took about 5 minutes to drill out the threads. So why not?
So that's about it. I took the jeep for a quick wheeling test today and was satisfied. All of the mud spots I would usually go to were either all dried up or filled with gravel...so I didn't bother to take any pics today.
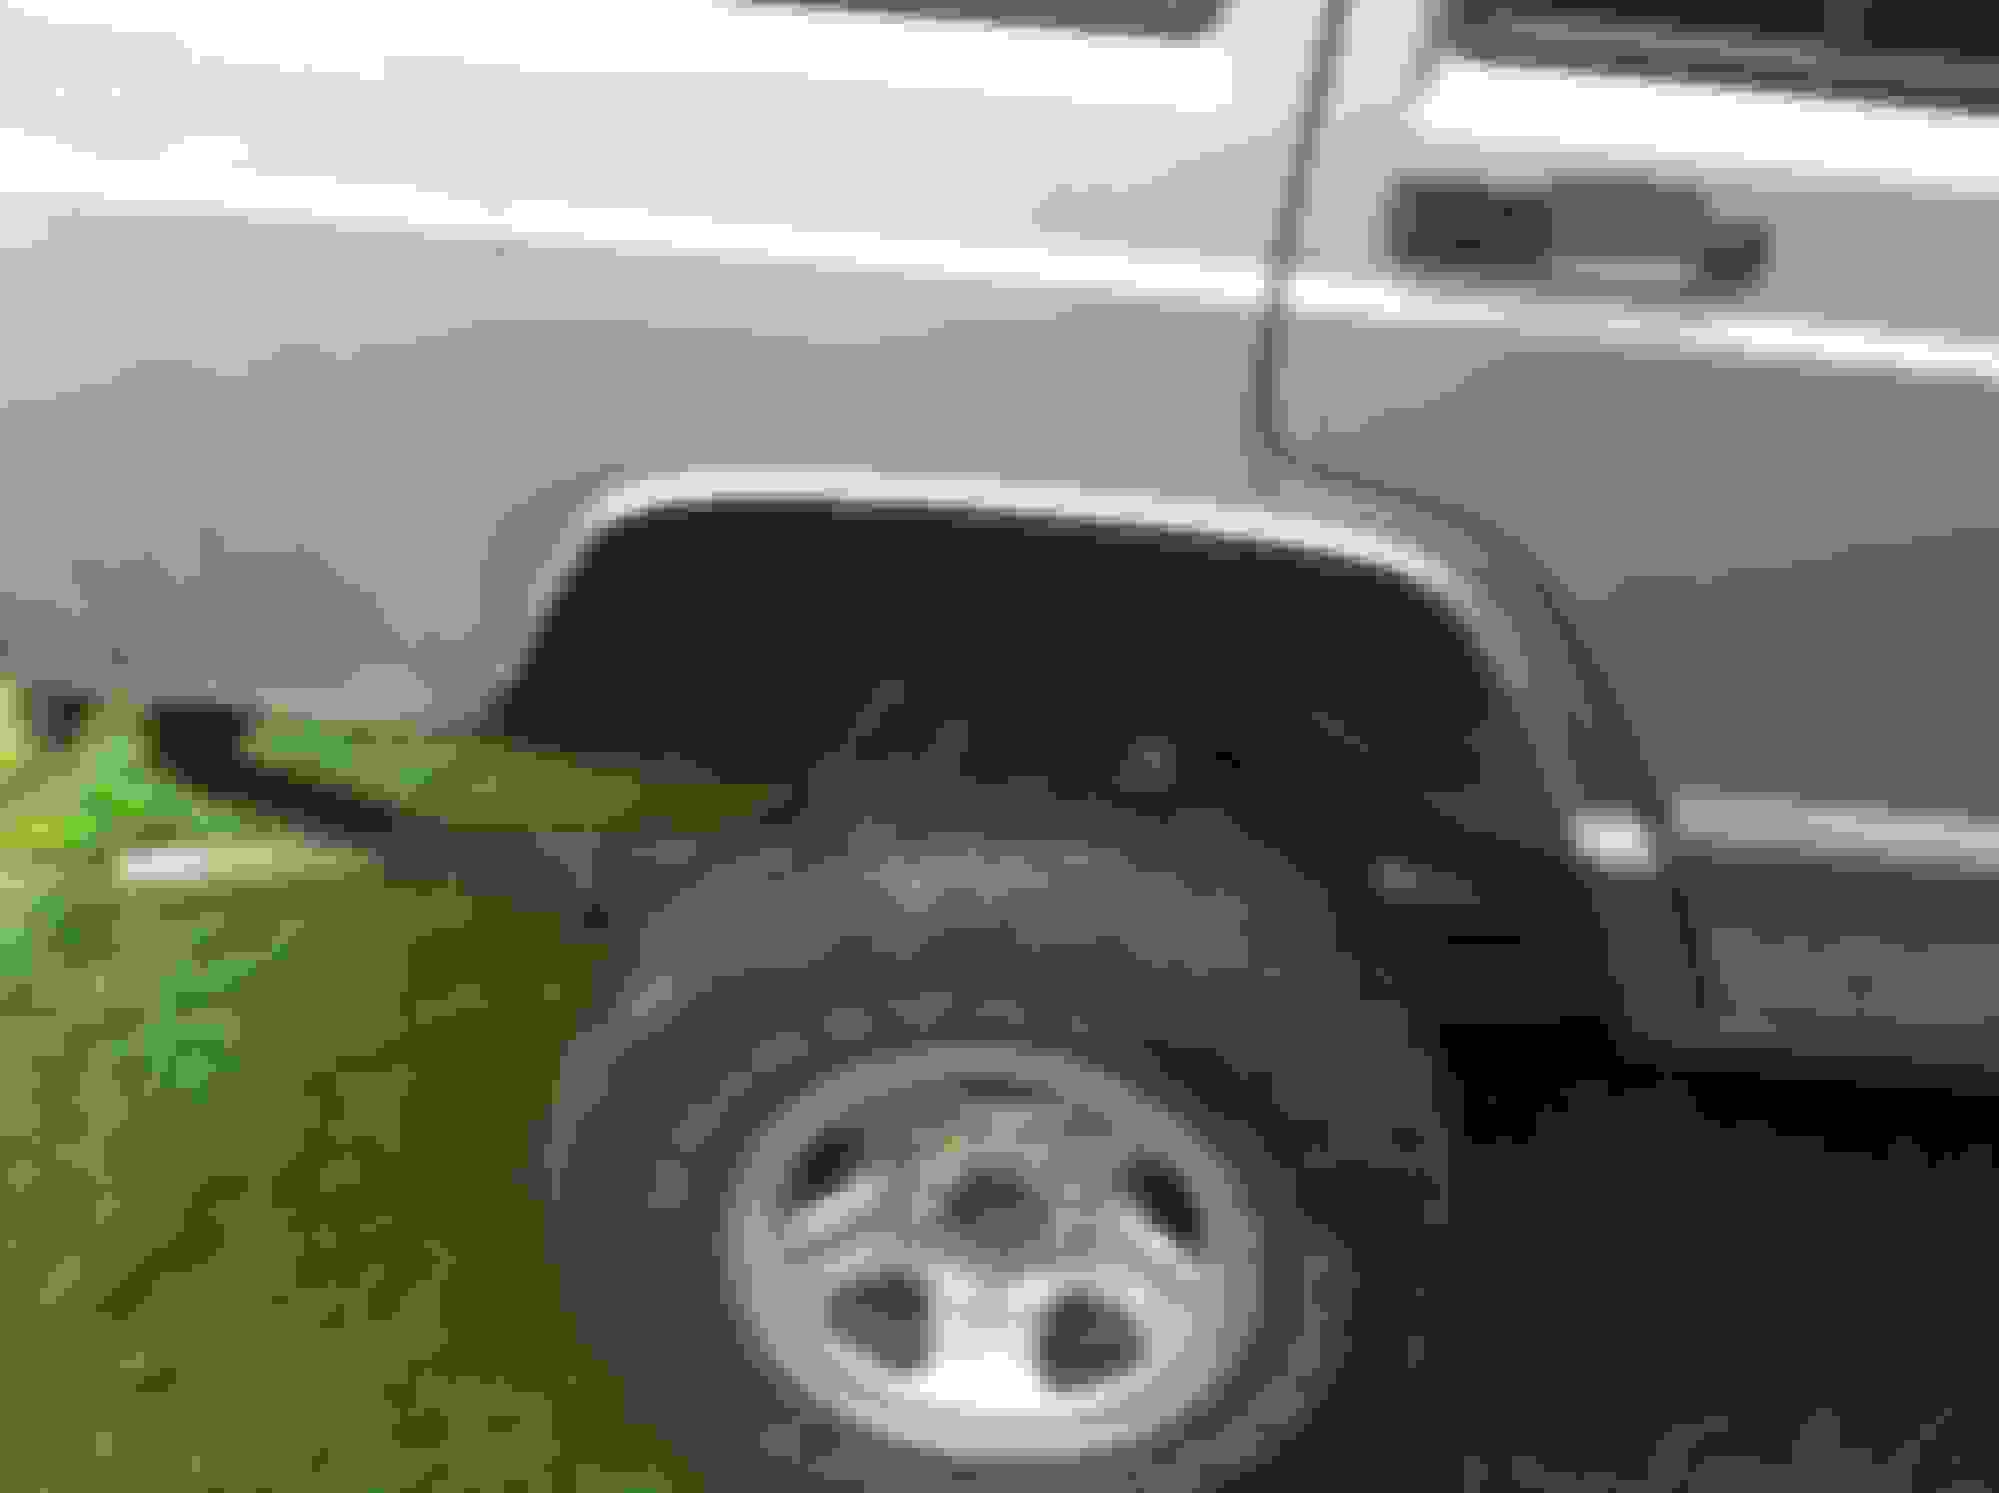
Picked up some new tires today. 33" Mud Terrains with rims included for $400. They have about 50% tread left, but the fact that the rims were included sealed the deal. I can keep the stock tires as a backup set for now. Also cut/folded the rear fenders. Will probably have to trim the fronts a bit more...I'm pretty close to rubbing.
Cut the bottom lip off first, made my cuts along the fender, and pounded all of the tabs back with my trusty scrap hammer. Took a half hour to cut and fold, then another half hour to run and grab paint from the store, and then a few more minutes to get them temporarily painted. The plan is to get rid of the Jeeps plastics and bedline from the body line down.
The final result:
God my exhaust is hanging low...looks like that's just one more thing on the list to fix! The next priority is getting a recovery point ready. I may take down the tank this weekend and weld on some mounts for a rear bumper if nothing comes up.
For anyone who's curious about upgrading to 33's, here's a comparison:
They're not terribly different from stock. It's definitely noticeable that my braking isn't as great as it is with stock tires, but there's no dramatic changes.
Gas mileage may suffer a little, takeoff is still easy, and I'm not having any trouble keeping the jeep up to speed. Although I haven't taken it on the highway yet.
Hopefully the next update the jeep with either be dirty, or I'll be making a rear bumper. Maybe both? We'll see...
I've been working on a recovery point every chance I get. Lately I've been busy helping work on other people vehicles. It seems like I've become peoples go-to exhaust guy since I'm the only one they know who can stick metal together. I did make a little progress since the last update, and have some ideas to fix the small death wobble problem I have.
I only get slight DW around 40-50 MPH when I'm on bumpy roads. It never gets out of control though, which is nice. That might be because of the new ball joints and track bar. The jeep is also correctly aligned, so now I'll be picking through possible causes later in the post. Before that though, some pics:
I got a chance to get the jeep dirty. Didn't want to push it too hard since I have no proper recovery points. Now I've just got to find more wheeling spots...there's not many around here that I know of. Also found out that the tires rub when flexing and turning. So I cut the fenders some more.
It helped a bit, but I could only go as far as the windshield wiper reservoir. The 2000 and 2001 XJs house the reservoir inside the drivers side panel instead of in the engine bay. Maybe I could relocate it inside the vehicle? Under the hood isn't very roomy. The real solution might be to get some adjustable lower control arms. Right after installing the larger tires, it was easy to tell that my front axle was pretty far back. I've been reading about DW before I even lifted the XJ. This source sums it up pretty well for anyone interested: http://www.yuccaman.com/jeep/dw.html
Correct bump stops in the front could also prevent any more tire rub, but I'm not very familiar with them. I remember reading that people glue hockey pucks to the bump stop plate at the bottom of the coil spring...? Makes sense.
Used some 3/16" plate to make a quick nut strip that utilizes 4 of the 5 mounting points in the sub frame. I cut out another 3 strips a bit longer than the first which will serve as the bottom portion where the tow hook will sit. I'll probably just use some more of my scrap rebar since it's easily accessible.
Followed the advise of an online diagram before drilling the holes...ended up not matching up correctly. Maybe it was me. That's why you see two extra holes. It's not a major issue though. Pictures of the finished product soon, just have to find a chance to complete it.
Didn't get a chance to start on my rear bumper either, which was disappointing. I'd like to drop the tank and weld on some nice, thick plates on the sub frame rails for the bumper to bolt to (I'd like it to be easily removable). While I have the tank down, it would also be a good idea to cut an access panel in the floor to get to the fuel pump easier in the future. I want to squeeze some more life out of it.
Picked up some longer front brake lines at NAPA as well. Went longer than needed in case I lift it higher in the future.