When you click on links to various merchants on this site and make a purchase, this can result in this site earning a commission. Affiliate programs and affiliations include, but are not limited to, the eBay Partner Network.
Bought myself a 2000 XJ last fall as a project truck. This isn't meant to be a restoration project...the goal is to have a fun toy for woods adventures once all is said and done. As long as it's reliable, it doesn't have to look pretty! This is also the second Cherokee I've owned. First was a black '01 when I was 16, and now at 19 I've got this XJ along with a reliable daily driver.
I work more than enough to keep feeding this Jeep parts, but the key thing to remember is that I won't throw money at it. I make sure to diagnose problems before spending any of my hard-earned bucks. Being young, I'm setting aside money for classes and putting money into savings before upgrading the Jeep. Priorities first! I want this Cherokee to be mechanically sound before taking it on the roads.
Picked it up for $1,000 and thought it was an alright deal. I started working on it once winter came along, and took pictures as I went. The body was in pretty good shape, it had over 200K on the odometer, and ran great. Here's a picture of it the day we towed it home:
After buying it, I looked over everything top to bottom. I'm living in Connecticut, so rust is a constant problem. I'm certified in vertical MIG and have some sheet metal lying around that I plan on using for patching up rust spots. Right from the beginning, here was the list of things to fix:
-Remove trailer hitch and check for rust/rot underneath
-Exhaust leaks in a few spots. Considering replacing the whole exhaust (It's pretty rusted out)
-Floor pans in the front could use some work (Rusty)
-Could use new brake lines
-Brake hardware in the rear drums should all be replaced. Possible rear disc conversion in the future
-Rear hatch doesn't open from the outside. PO rigged it to open with a shoelace from the inside
-U-joints, front wheel bearing assemblies, and ball joints should all be replaced for peace-of-mind
-Cooling system will need a tune-up
-Bump stops and stock suspension were in bad shape (Lift it?)
-De-rusting and undercoating of the undercarriage should be done
-Had an intermittent starting issue (Narrowed it down to the NSS. Cleaned it up, and it worked like new)
-Fan shroud was broken. That should be replaced.
-Change all fluids
-Inspect diff. gears (Ended up having a nice little surprise with his one!)
-Leaking freeze plug
-Small odds and ends like cleaning up grounds, cleaning TB sensors, corrosion on battery terminals, etc.
-Needs a new battery
-Condensation in engine? Jeep had been sitting for a few years before I bought it.
I've put in a lot of work since buying it, and will update the thread every few days until I'm all caught up. I've got a spreadsheet going with all the problems that need to be addressed, the plans I have for the jeep, and all of the prices for parts that I've replaced. So lets get started...
Before I bought the Jeep, I made sure that there were no problems with the head/head gasket. I looked under the oil cap while the jeep ran at operating temp to make sure that the head wasn't cracked, looked for bubbles in the radiator, paid attention to the exhaust, all that fun stuff. It was a big concern for me (for a good reason). The only weird thing I noticed was what looked like condensation under the valve cover. The PO said that the jeep has been sitting for two years at his house. It had only been driven around the yard. Since I didn't see a crack in the head when it was at operating temperature, I didn't worry about it. A pressure test also told me that the head gasket was fine. Turns out that I should have worried more.
At this point you probably know what happened next:
This is a picture of the foamy crud that was on the cap before I let the jeep run for a while. After burning off what I thought was condensation, I thought I was in the clear. After starting it up again and looking into the valve cover as the jeep ran, I saw a few small teardrops of green coolant coming up from a crack that wasn't even visible. It turns out that there was a hairline crack in the head between cylinders 3 and 4 that only opened up once the jeep became hot enough for a length of time.
I don't give up that easily. Cue the head swap.
I was basically a three step process...
1.) Take off the old head. I ended up welding a handle that attached to the passengers side of the head with the valve cover bolts. I left both the intake manifold, exhaust manifolds, and pre-cats attached to the old head. It was easier removing them on a bench than in the jeep.
2.) Put on the new head. The 2000s have built-in alignment dowels on the block. This kept the head gasket in place, and made the whole job a lot easier.
3.) Reassemble!
I made sure to take my time and do it right. Torque specs, new head bolts, all new gaskets, new water pump, and new fuel injector o-rings. I went with a reman. head from J & C Enterprises. It cost me $285 with shipping and core return included.
Not everyone may agree with the re-manufactured head. My reasoning was that with the amount of miles on this XJ, it's days are numbered. I understand that these inline 6 engines can last a long time, but I had no idea how long the PO drove it with a cracked head. I looked into getting a new casting from Alabama Cylinder Heads, but apparent they are no longer in business. Clearwater had such bad reviews online that I didn't feel comfortable spending the money on a new head from them.
The head swap wasn't a difficult job, and if I have to do it again I will go with a new casting for sure. There are a few small problems that I tackled while swapping the head, but I'll get into that in the next update.
There were a couple things that were taken care of while the head swap was being worked on.
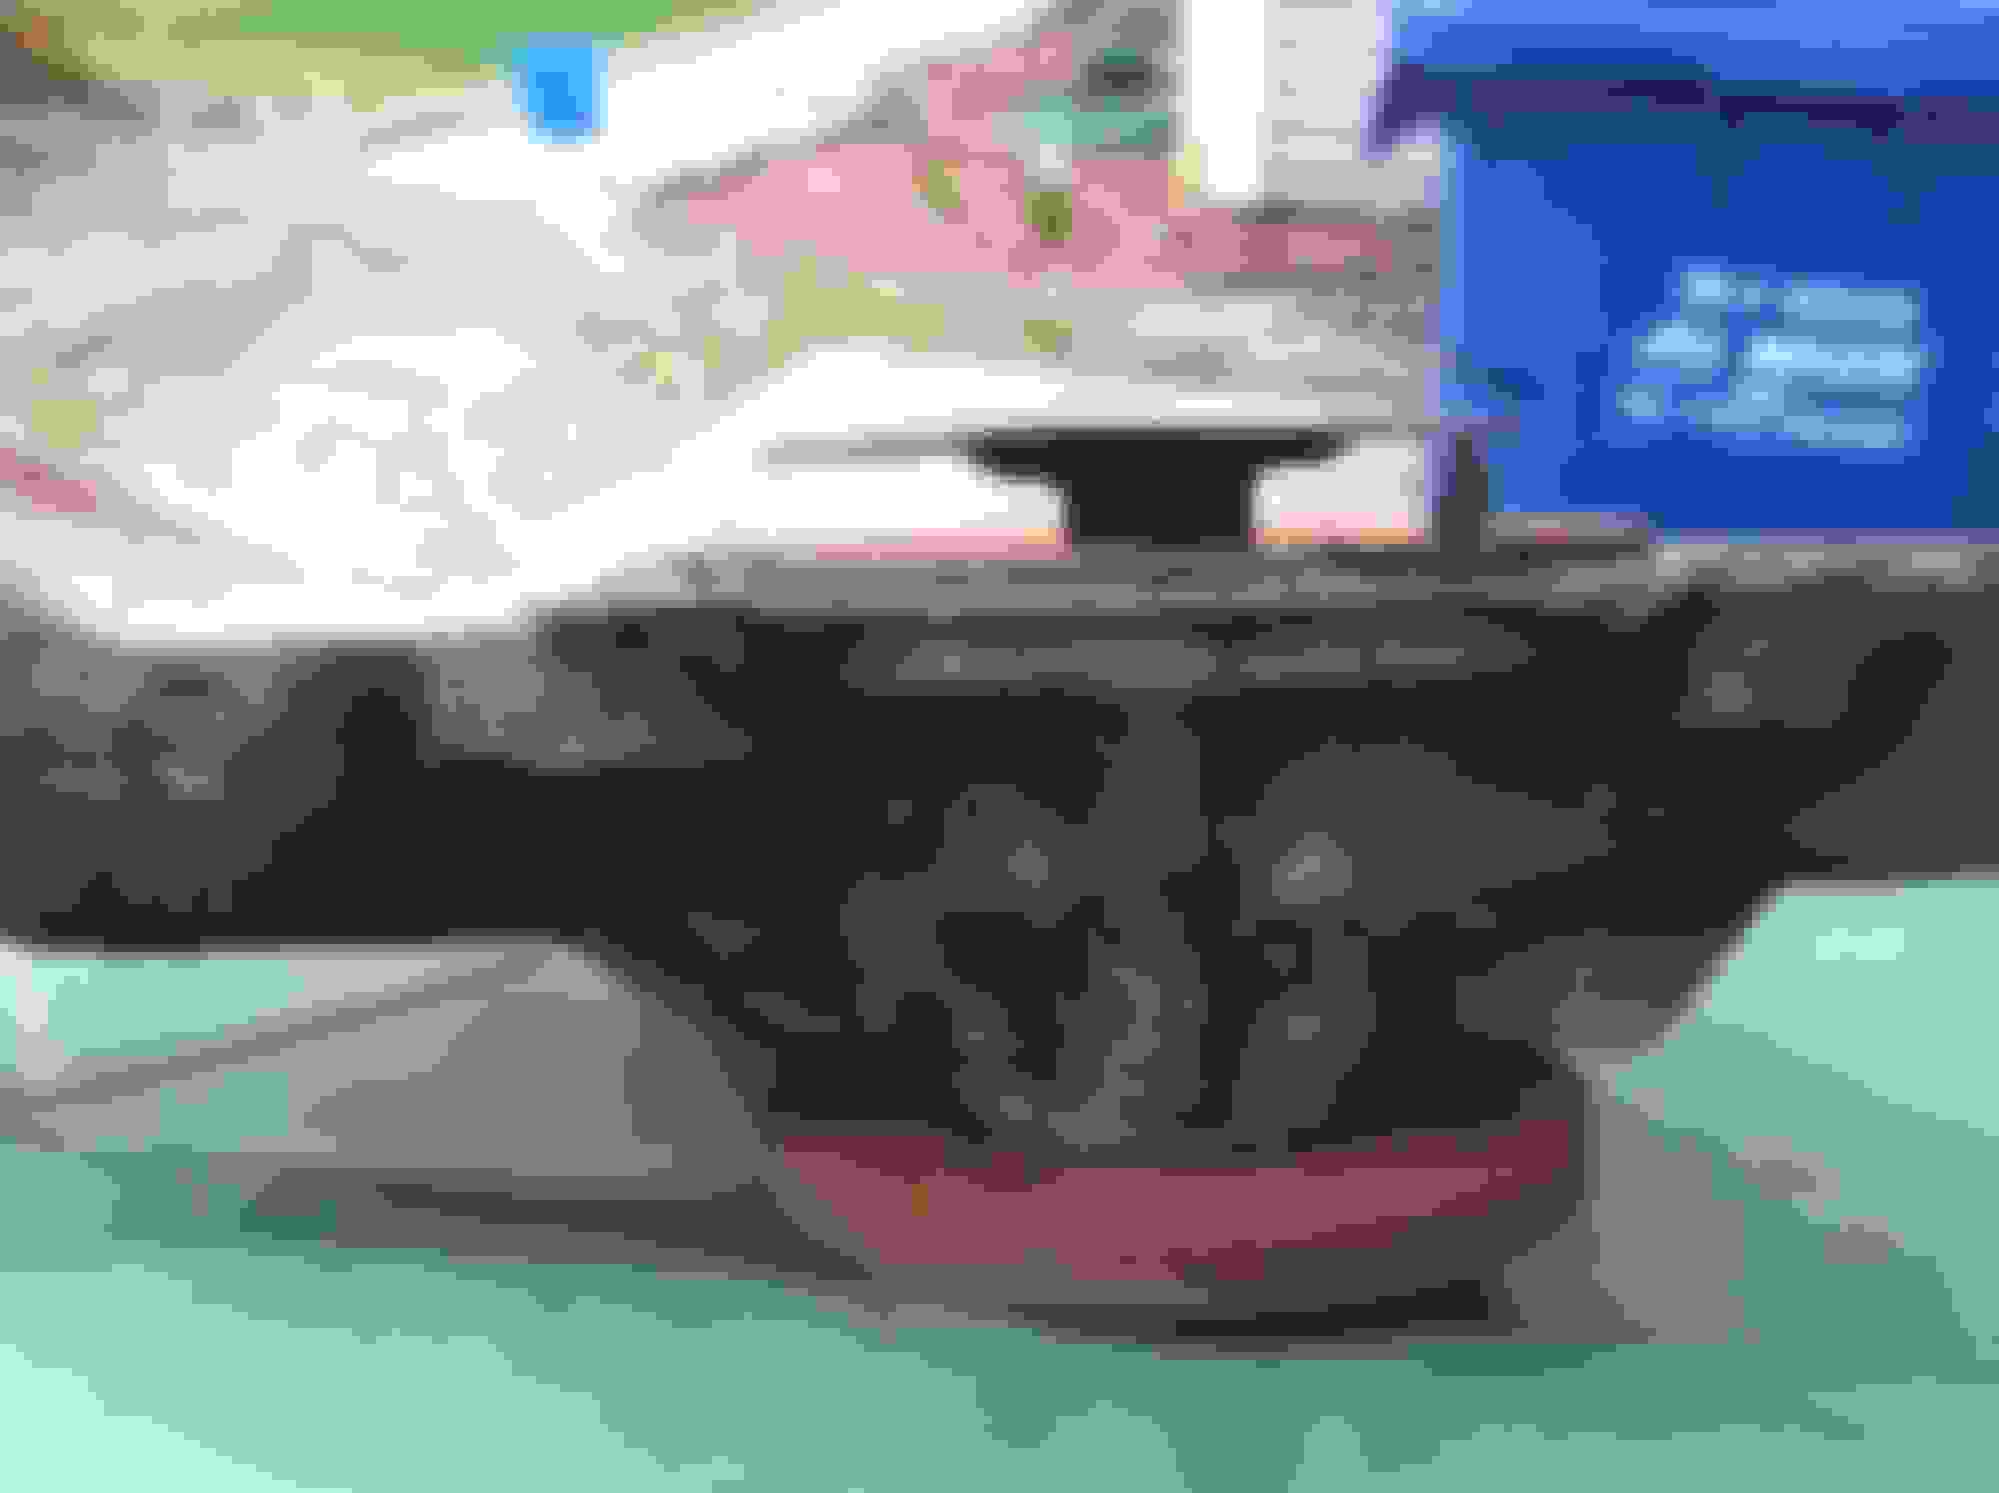
Having the manifolds and head off of the jeep gave me a lot of room to change out the old freeze plugs and replace the drain plug. Only one expansion plug was leaking, but there's no sense in leaving the old plugs in if I have easy access to them. The only one that was left was the plug right behind the motor mount.
Took out the old plugs, sanded down the mating surfaces, and then applied "The Right Stuff" sealant before installing:
With changing the freeze plugs came a flush of the entire cooling system along with a checking the water pump. This is what the old pump looked like...
That's right. I ended up picking pieces of water pump out of the block. Replaced it with a new pump and new inlet tube. This old pump was doing absolutely nothing for me!
In addition to the water pump replacement, I also took some time to:
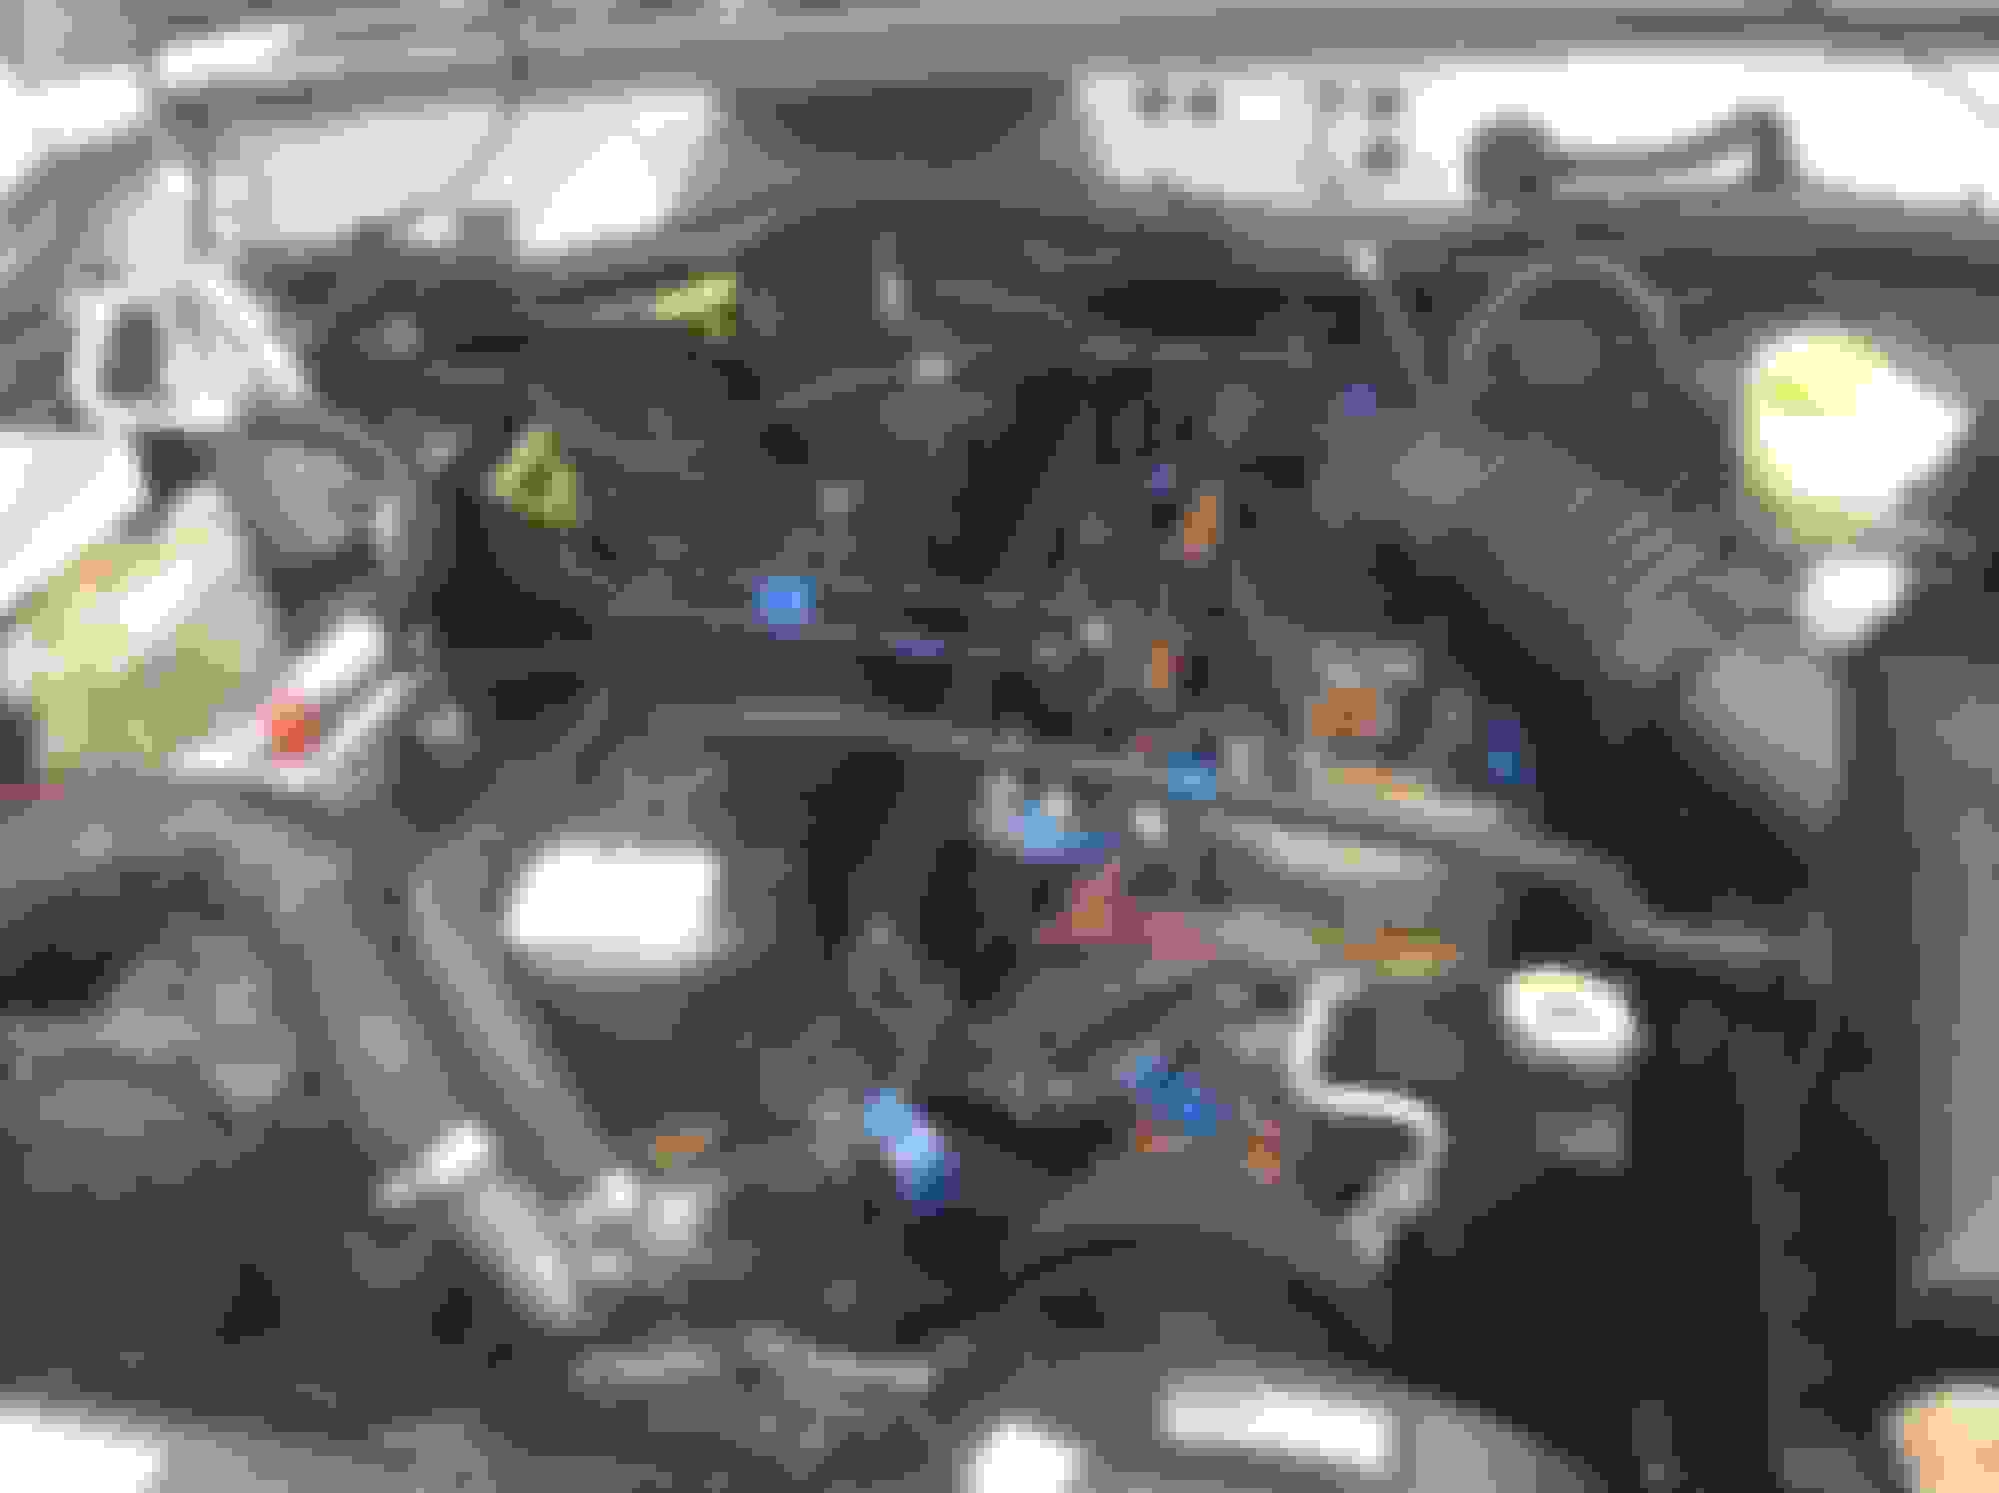
-Clean up all of the grounds in the engine bay
-Clean the TB sensors
-De -grease the inside of the intake manifold
-Anti-sieze everything I took apart
-Replace the nasty old battery terminals
Sorry about the lack of pictures...A lot of these smaller jobs didn't seem worthy enough. I've got plenty of pictures of more interesting jobs on my computer that I have yet to post!
Once the head was replaced, I decided the next job to tackle was all of the rust in the rear end. This was a pretty big project, but the truck cleaned up well and shouldn't have any more rust issues in the rear. I was able to get a set of new Rustys 3" spring packs and 3" coils for a good price, so I decided to replace the (very) worn out stock suspension with some cash I set aside in the "Jeep Fund". If it's all coming apart anyways, there's no sense in putting the old stuff back on!
The plans were to:
1- Remove carpet
2- Drop the gas tank and service it
3- Remove rear axle/drive shaft
4- Remove leaf springs/shackles
5- Remove trailer hitch
6- Patch up any rust spots or grind to bare metal
7- Undercoat and paint
8- Reassemble!
I may split this project into more than one update. It was a big job. So here goes:
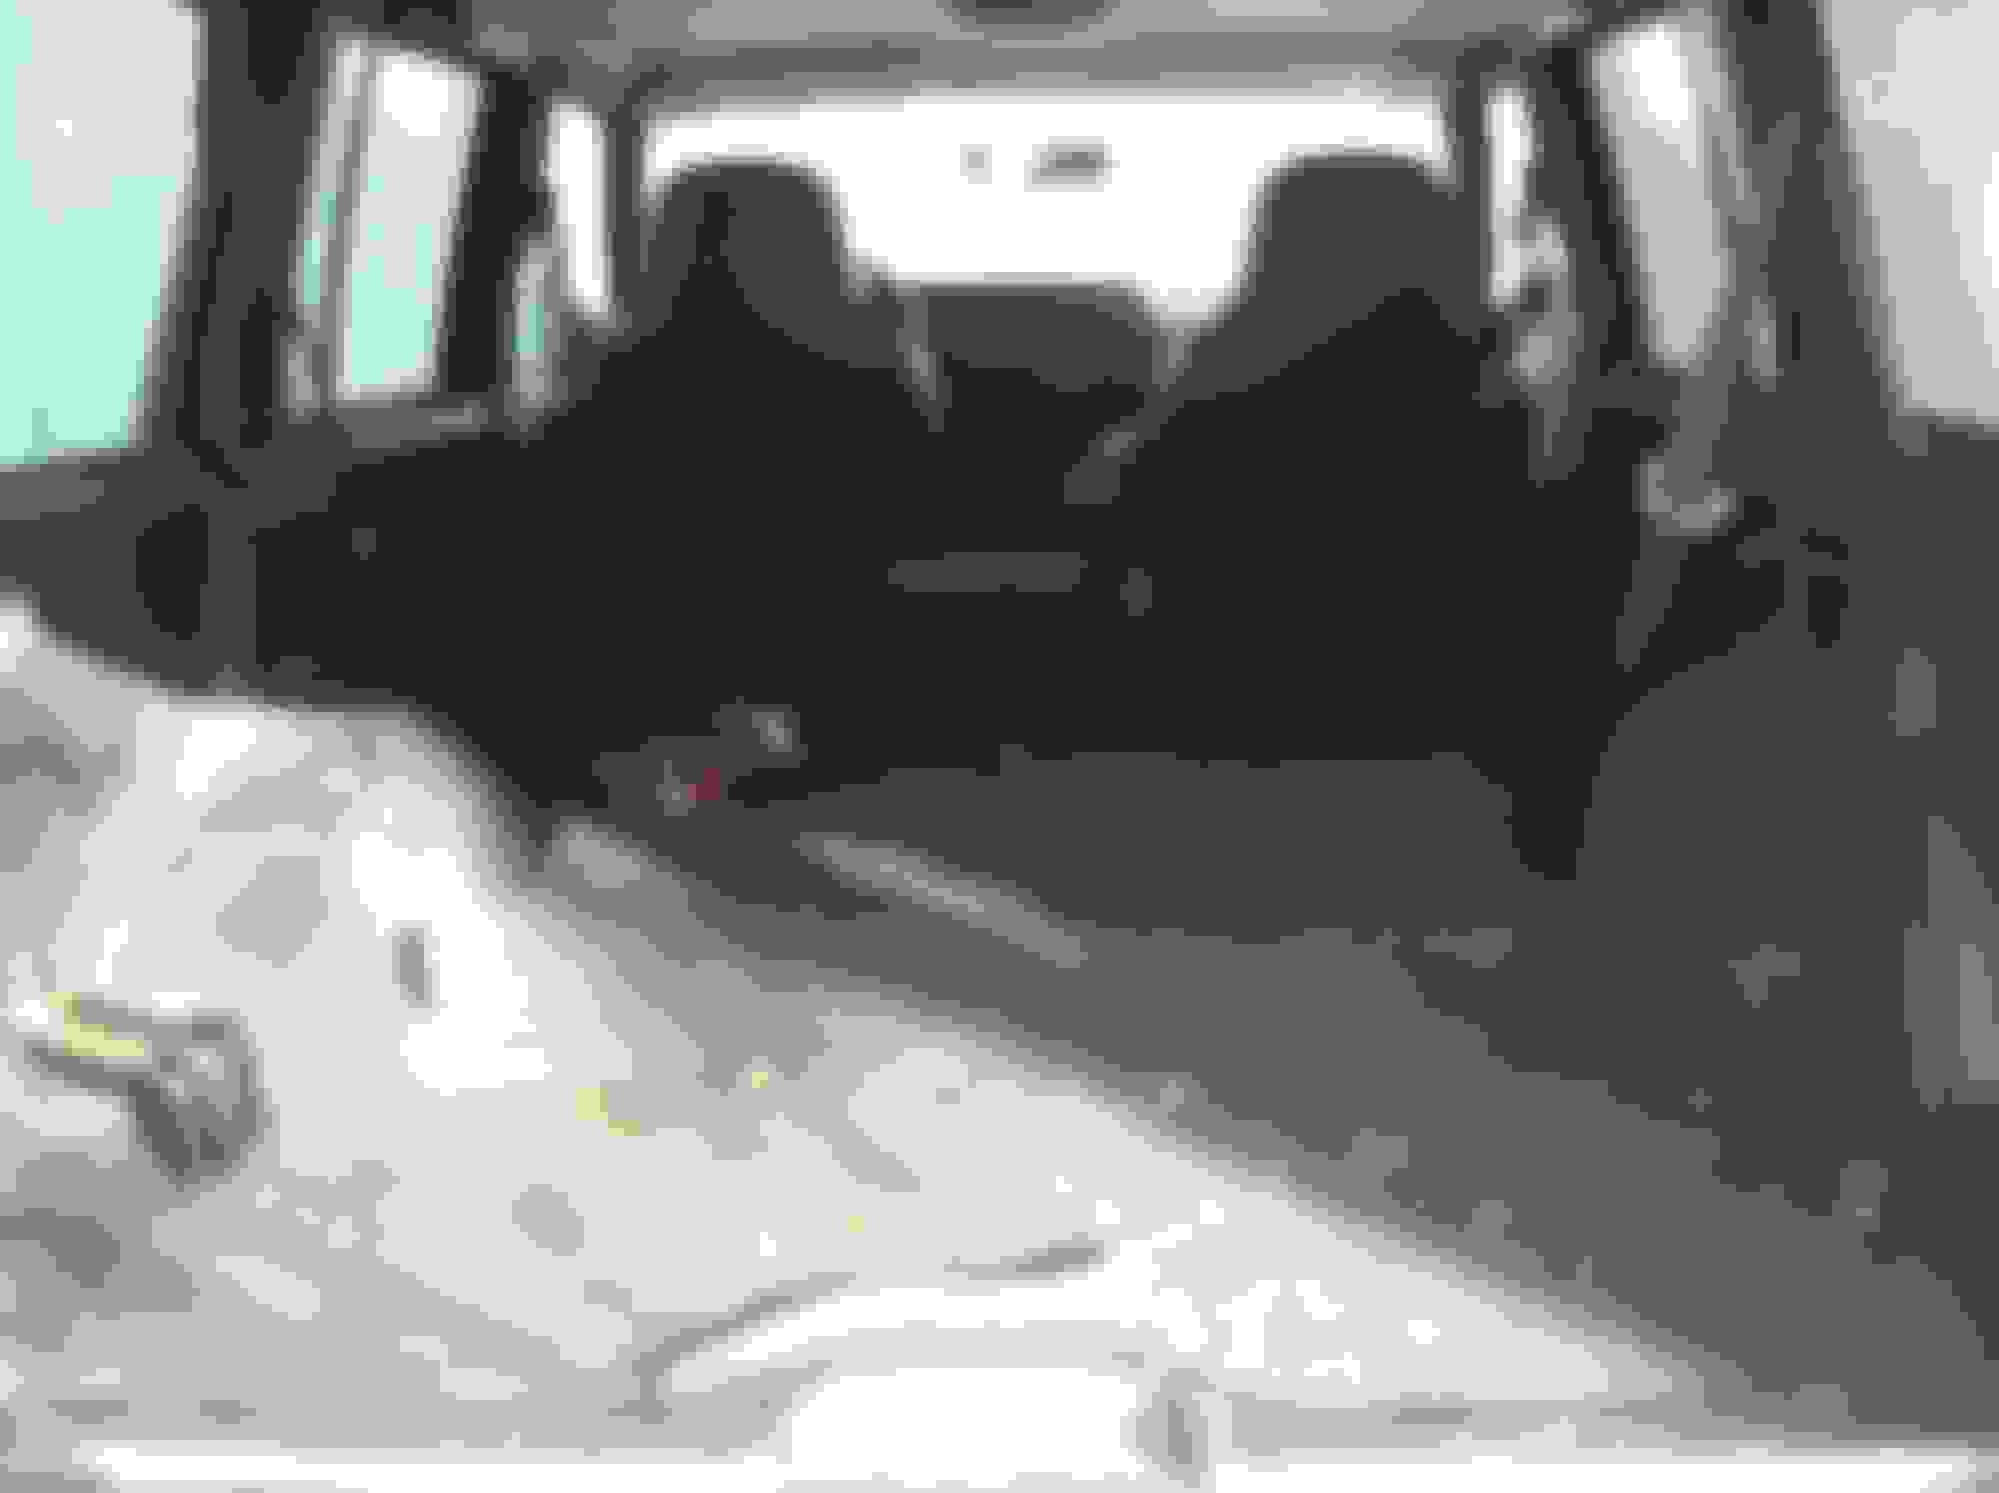
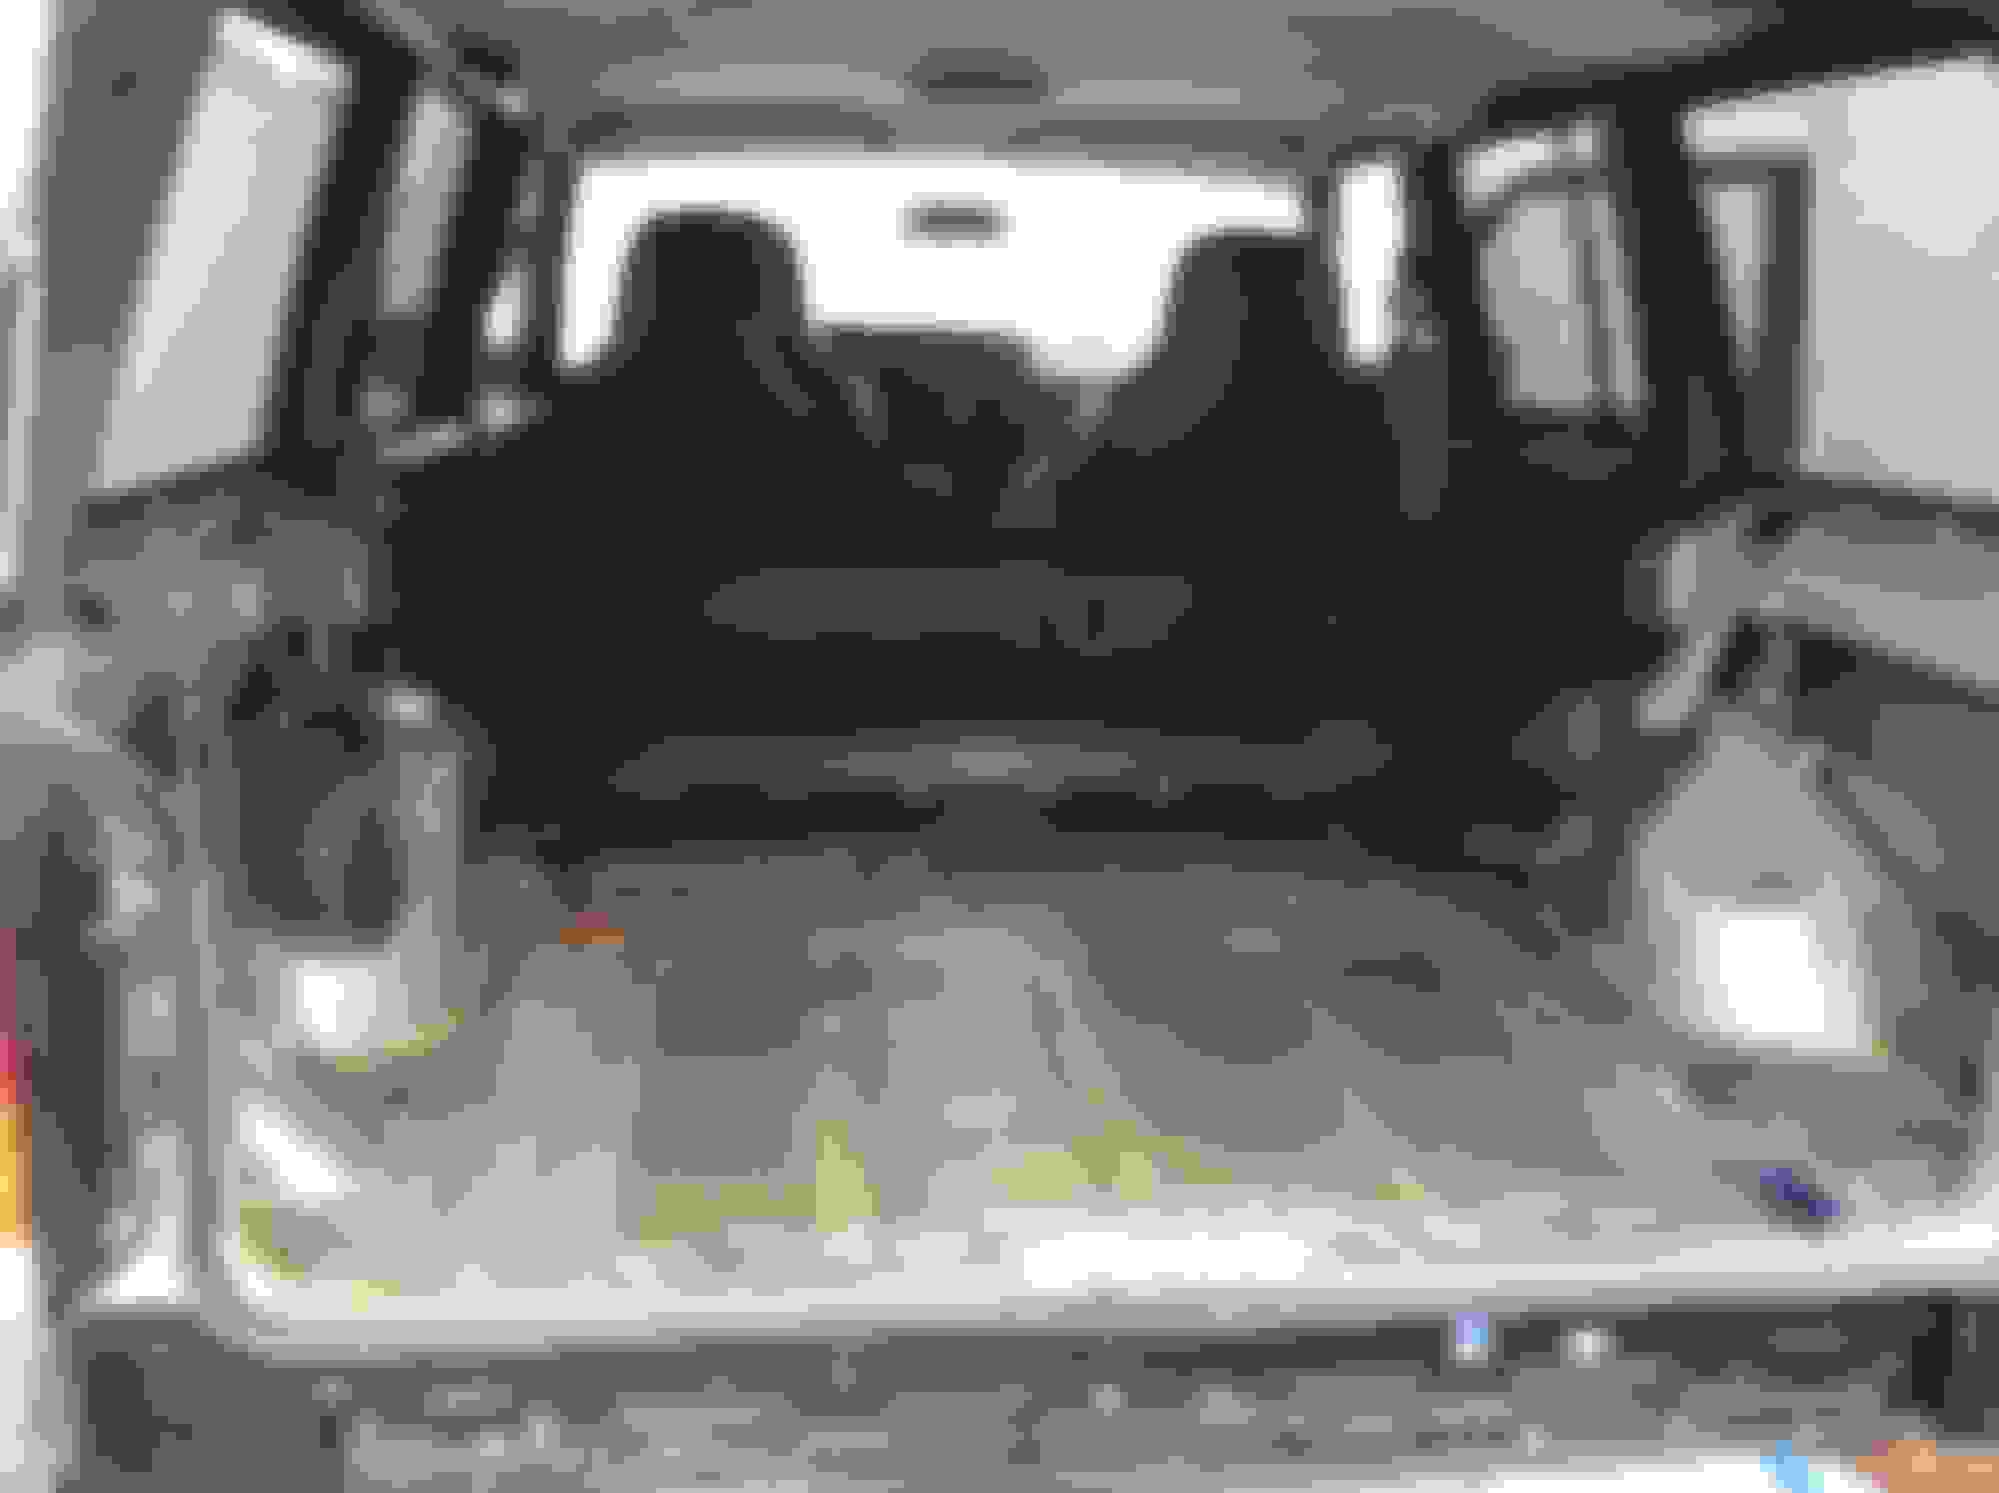
1a.) Jeep with carpet:
1b.) No carpet! Not too rusty on the surface...
1c.) The inside of the subframe rails. As you can see, I had a lot of work to do. There were a few sections that I wasn't comfortable keeping, so I decided to cut them out and weld patches. The drivers side wasn't as bad as the passengers. Patching up the subframe was definitely a better option than leaving spots of rotting metal.
Stiffening the unibody seems tempting...I've read about it and think that it may be a project for next winter. We'll see how it goes.
2.) Remove the gas tank for servicing. First on the list was draining out the old gasoline and cleaning the tank. To get the gas out (1/2 of a tank), I rigged the fuel line to spray into a garbage basket. Turned the ignition on and off repeatedly, which caused the fuel pump to shoot a small amount of gas each time. Decided to drop the tank once 1/4 tank was drained.
There were brown corn flakes in the bottom of the tank after it was drained
After scrubbing the inside of the tank, replacing the fuel "socks" was next on the list. Ignore the messy work area...it's usually less cluttered.
3a.) Remove rear axle. This is also the point when winter rolled around. When working under the jeep, I had the jack under the rear just as a plan B in case the jeep were to fall. It was supported by jack stands resting on wide slabs of brick. The bricks were wide/thick enough so that they didn't sink into the ground. Front wheels were also fixed in place.
When removing the old leaf springs, the eyes towards the front of the vehicle literally fell off because of how rusted they were. One of the bolts that mounts to the frame was seized in place. Had to get creative to remove it...Glad I didn't drive this jeep home.
Pretty rusty. After wire-wheeling the axle, I coated it with some thick enamel paint quickly. The axle will be pulled out again in the future. While inspecting it, I pulled out the spider gears and realized that one of the thrust washers was almost split in two. Lucky it was caught before driving it too much. Gear oil was changed also.
Below is a picture of the drivers side of the jeep where the leaf pack would mount to the subframe. As it turns out, the welded nut that the bolt seized in was not actually in the frame.
The factory welds a nut inside of a pocket on the outside of the subframe...Which means that if the bolt gets stuck, you can cut open this "pocket" and use an air hammer to remove the welded nut.
After breaking off that nut and removing the old bolt, I re-pained everything to slow down the rust. Replaced all of the hardware for mounting the leaf packs.
3b.) Removing the driveshaft. The U-Joints and clips that hold them in were seized in there pretty well. After trying some other less destructive methods, I resorted to cutting out the joints, being careful not to damage the shaft. The C-clips eventually gave up when I used a screwdriver to chisel them out. Pics:
Cleaned up the parts and painted them with a few more coats of enamel. I'd like to switch to an SYE/front driveshaft setup if I get any vibrations.
4.) Remove Leaf springs/Shackles...I don't have any pics of this, but it wasn't too interesting anyways. Had to cut up the eye of one spring because the bolt that goes into the frame was seized in there.
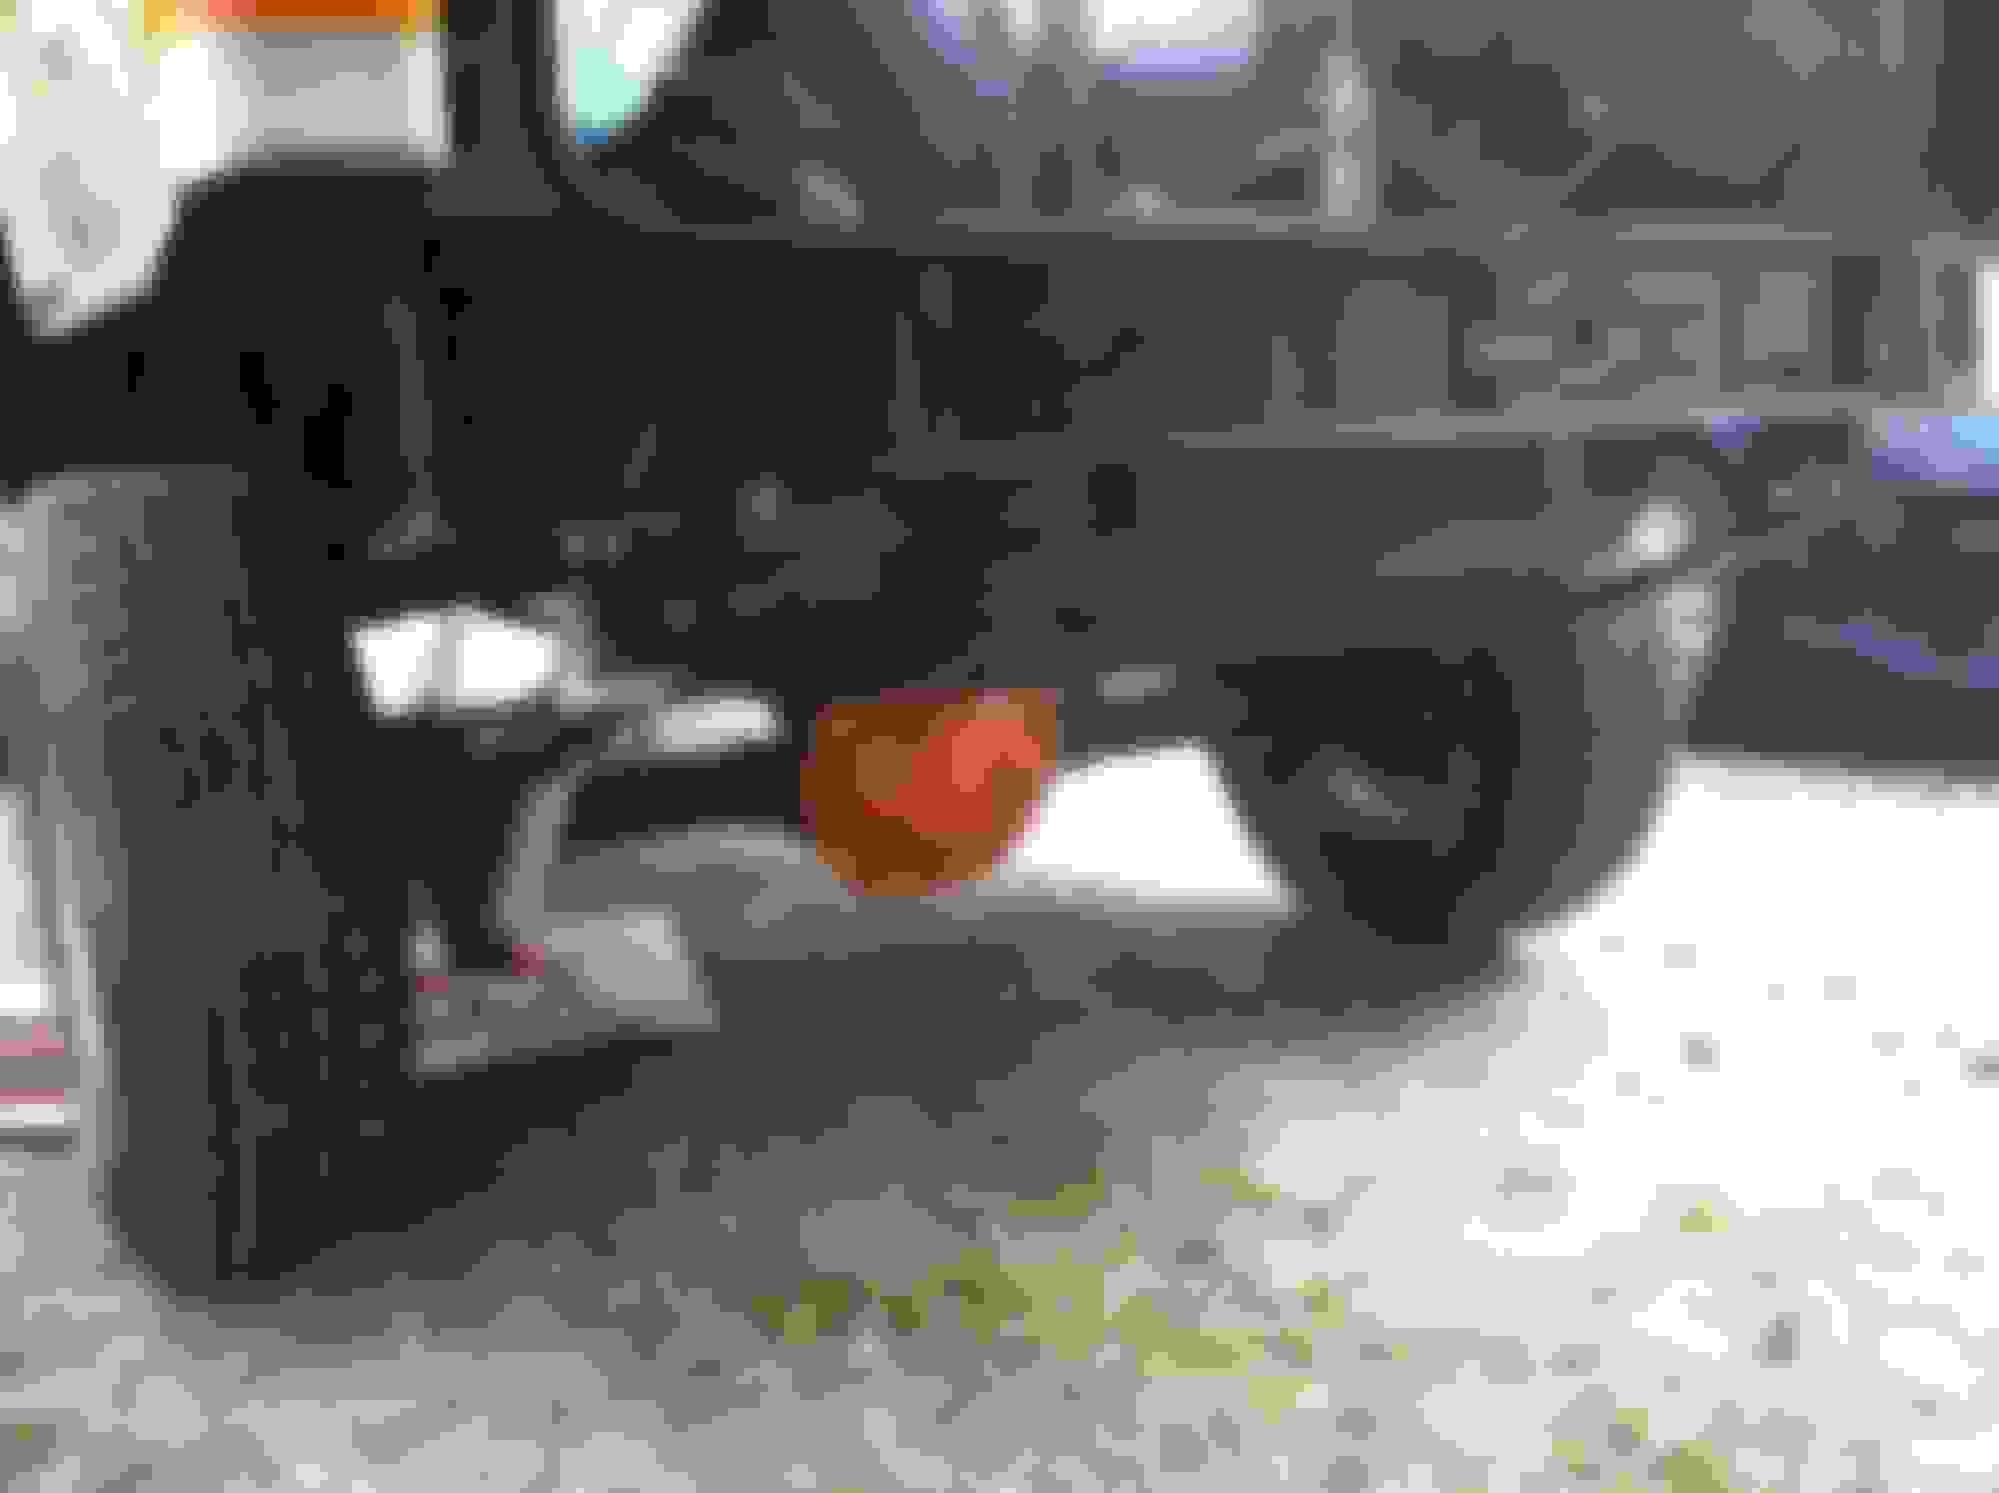
5a.) Remove Hitch:
I got it off...but it wasn't too happy about it. I bent up the nut strips in the process, and even had to cut one bolt with the abrasive wheel. I'll have to make up some more strips soon. That's a bottom of the barrel task though.
6.) Patch up rust spots. This was the most time consuming task on the list. You've already seen some pictures of the frame rails, so here's some other spots:
This is why I was dead set on getting down to bare metal. Cut out parts of the rails and other sections if I thought that they weren't thick enough.
Welding up your jeep can be dangerous and could possibly fail if not done carefully. In a case like this, anything is better than leaving rot in your vehicle. On structural parts of your vehicle, you need to get good penetration and move around a lot to avoid heating up any one section too much. It can be a challenge to weld this thin sheet metal, but it can be done. Welding thicker to thinner is much easier. In my case, my patch metal was some 1/8" plate I had around.
The nuts that are welded to the subframe also gave me a lot of trouble. Two of the rear sway bar nuts snapped off, and I ended up using an air hammer to shear off the bump stop nuts. Here's some pictures of the replacement mounting hardware before grinding/painting:
Sorry about the bad picture quality in the second one. The welds aren't the prettiest, but neither am I...so I guess it's alright! Like the title says: Quick n Dirty!
So After removing the rust from inside of the frame rails and painting it with chassis saver/enamel paint, I had to weld the cut-outs back in. This proved to be a little tricky, but I learned a great trick at the end. Next time I open up the floor panels, I'll replace the metal with 1/8" plate. This metal was very very thin...I could have taken a bite out of it if I were hungry enough.
So my first welds weren't top-notch, and there was more burn through than I would have liked. Luckily, I figured out a little trick towards the end:
I found that a good way to weld this thin sheet metal was to continuously tack weld the edges, making sure to move around constantly. Building up the thickness with weld metal made it easier to join the two sides. I was able to get great penetration while also keeping the surface area of the welds smaller.
Here's another little project I decided to do since I had all of the equipment out:
Purdy. I didn't like how that stock rubber plug leaked oil. No leaks now!
Here's what the rear of the jeep looked like after patching it back up:
Orange juice explosion And some bondo to cover up the holes where rubber plugs used to be.
My next post will be some pics of the undercoating and the cut-off rear lower quarter panels. They were rusty...So instead of fixing it like a civilized person, I just chopped them off and stuck on some new metal!
After the rust issue was tackled in the rear of the vehicle, this is what it looked like:
-No more rust back there
-Spots have been patched up with new metal
-Cut the rear quarter panels
-No bumper for now
-Fender flares removed
-Gas tank serviced
-New rear drum hardware
-New copper brake lines
-3" lift with .75" extended shackles
-Modified diff. cover (plus new thrust washer and gear oil)
-New rear driveshaft U-joints
-Gutted interior (inside plastics not installed in the pic.)
-New bump stops/hardware
-New rear shock hardware
-Rear axle breather extended into gas tube area/filler compartment
My shackle angle is pretty bad, honestly. I'm considering making up some shackle relocation brackets, but I also have to add my ride height into the equation (It's already way off). We'll see how it plays out.
The undercoating was made up of two coats of Chassis Saver and then two coats of some thick, brush-on Rustoleum enamel paint that I found at Walmart. I found that while chassis saver definitely did its job at keeping rust at bay, I was pretty fragile. The enamel paint provided a nice layer of protection. Only the best for my heap.
Next update will probably be what I did with the new exhaust setup. It was a fun one.
On to the next pain: the exhaust problem. The Jeep itself really wasn't too bad rust wise. A little crusty, but nothing a scraper and wire wheel couldn't fix. The exhaust was a different story.
In an effort to save some cash, I decided to re-use the old cats (which still worked just fine). The only problem? The bolts holding everything together were so rusted that they literally became part of the flanges. Sweet.
Cue me cutting the exhaust apart with the angle grinder. Now, instead of wasting my time and patience trying to drill out the nine rusty bolts, I came up with a different plan. I bought a piece of exhaust tubing to go between the two cats, and welded it all up as one assembly. My thought was that with the mileage on this Jeep, there's no telling if these cats will last much longer. I can toss the whole assembly when the time comes, or chop it all up if I think that it would be worth the time.
Clamping it all up in preparation for welding:
The assembly in the vise:
And yes, that's a spare tire welded to a piece of pipe. It's my one-wheel-drive vise.
Getting ready to install it:
As you can see, one of the downsides to welding it all together is that to install it, I had to prop up the tranny and drop the crossmember. Getting it all back together was a little frustrating, but it got done. No leaks, and the Jeep sounds great. It sounded like a harley before-I was moving it around the yard with open headers (plus the collectors/cats).
I ended up buying the Dynomax Turbo exhaust, which doesn't sound at all like he name implies. That's a good thing in my book. I don't want the whole neighborhood knowing that I'm going for a drive. It sounds a little louder than stock without being too noticeable.
I can't say I'm thrilled about the exhaust tubing I welded the cats to. It will restrict flow from what I understand, but the price was right.
So I'm almost caught up with my progress! There's just a few more problems to address before the jeep is road-worthy (In order):
1) I'll definitely need a new track bar. Just going for a short drive up and down the street has told me that there's a lot of vibration. It feels as though it's in the front end, which I haven't worked on much yet. The jeep tried to throw me off the road a few times...
I'm looking at an adjustable track bar from Teraflex: http://www.quadratec.com/products/16191_901_07.htm
I don't want to skimp, and this seems like a quality part. It's even adjustable after installation.
2) Front bearing assemblies, U-joints, and ball joints should all be replaced. Not just because the jeep is lifted, but because they were worn to begin with. These things could easily be what is causing my vibrations. The front sway bar bushings are also pretty worn, which might not be helping me.
3) I think that an SYE is in order. After the lift, the rear was raised about 4 inches. Possibly more since the leaf packs haven't settled in yet. Even if some people can run lifts that high with no problems, I feel like doing the job right will pay for itself later on. Especially if I end up lifting it more in the future. I also may need to shim the axle, but I want to wait until the SYE is decided/installed before buying any parts.
This will be the last thing I fix on that list though. I'd like to know if those vibrations are really from the front end before throwing in an SYE.
So because I don't want to make a post without any pictures, here's what I did the past couple days. It's a short little project, but I think that it's going to add character to the jeep:
Primed, painted, decorated, and re-greased a JY front drive shaft in preparation for the future SYE.
I called up the local junkyard looking for a fan shroud, backup electric fan, rear hatch handle, and front drive shaft. Surprisingly, all they had was the drive shaft. Told them I would stop by the next day to pick it up. After 3 new u-joints, it'll be ready to roll.
Did you just use the chassis saver over the rubber undercoating on the wheel wells?
I did paint over the factory undercoating, but not with chassis saver. The texture give it away?
There were a few rust spots that I had to clean up with he grinder before painting in the wheel wells. Didn't see any harm in painting over the factory undercoating though. I ended up using the thicker enamel paint in the wells...figured that anything else would just get knocked loose by gravel and whatnot.
Another small project I've been working on while putting together money for the next few upgrades. It's Jeep related, and should be pretty useful:
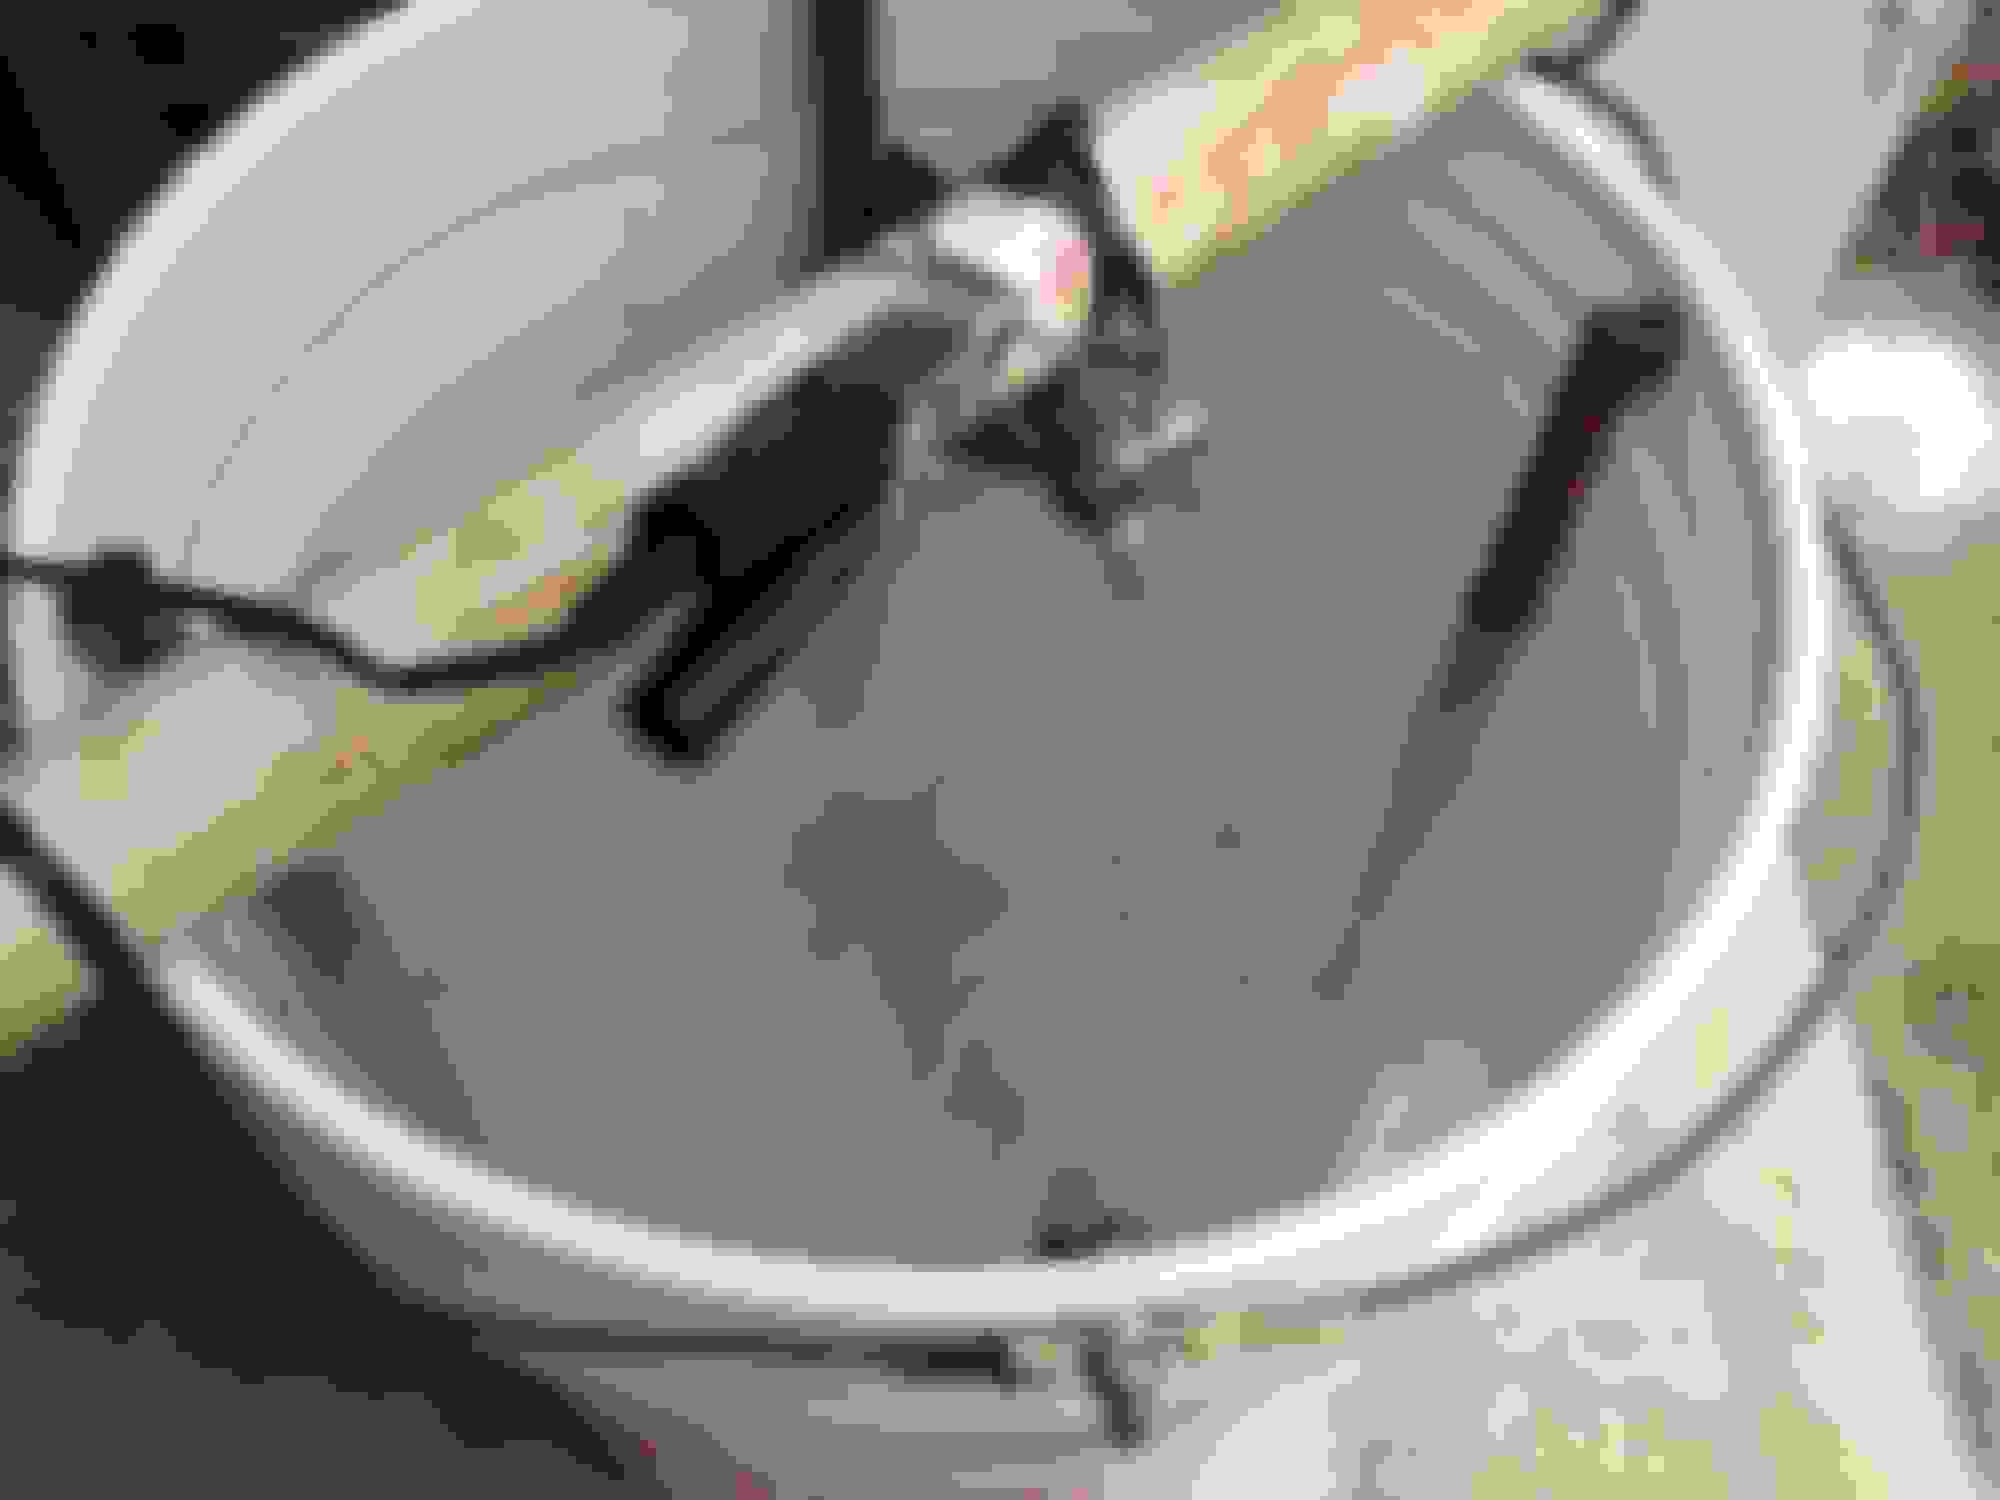
It's an Electrolysis Bucket. They're used for removing rust from metal without any abrasives. Sure, using a wire wheel or sandblasting is a quick way to remove rust and corrosion, but this method should be useful for pieces that have small cavities that I cant reach with a grinder. The only downsides are that it takes a long time (days) to get good results, and the byproducts of electrolytic rust removal are hydrogen and oxygen. Both of which can be very flammable if you have enough of them in a confined space...so this is a tool to be used outside. Or at least in a shed/garage space.
I tested out the bucket on a small clamp-on vise I picked up for a few bucks at a tag sale, and some sort of old scrap metal sword I found in the woods. They were rusted to the point where barely any paint existed anymore. Once I dipped the vise in the bucket, bubbles immediately started to appear over its whole surface. Within minutes, the clear water was tinted with rusty nasty stuff. The plan is to use this to clean smaller parts like brake calipers. That is, if they're not too far gone.
The bath stripped the entire vise of rust and paint. All I was left with was a black film, which was easily removed by hand under running water. Similar results with the scrap metal sword, which was previously brown and flaky with rust:
The process will expose all of the pitting that the rust caused, and from my understanding, will start to eat away at the metal if you forget to check up on it at least once a day. The entire process took 2-3 days of soaking to get good results. So this is a good rust-removal method only if you're not in a rush. I read about an old man who supposedly used a kiddie pool to soak entire body panels of an old tractor he was fixing. Cool stuff.
Basically, you suspend your workpiece in a mixture of washing soda and water (1 tablespoon per gallon). Make up a few "anodes" (my rebar), and use them as your positive charge. Suspend your metal workpiece in the mixture, and make it your negative charge. Hook up a battery or charger as your power source.
Since in DC, power flows from negative to positive, the current will travel from your workpiece (negative) the the anodes (positive). Some sort of chemical reaction occurs next (I'm no scientist), which begins to strip the workpiece to bare metal, while the rust is attracted to the anodes. After a few days, your left with a brand-new looking piece of metal. Or whatever the rust didn't eat away.
It's a great and clean way to remove rust. With a wire wheel, you're stuck launching rust dust into the air. While with this method, it's all confined to the bucket. If you want to learn more, you'll have to do some Googling (noggin-pokin?). Like I said, I'm no scientist...but I do know that this works pretty well.
New ball joints, wheel bearing assemblies, front axle shaft u-joints and adjustable track bar...baby handles like a new vehicle
Also made this extremely complicated tool to scrape the rust from the insides of my axle tubes:
I call it: "Tagsale-golf-club-with-washer". Teenage ingenuity at its finest.
Also started chopping out sections of the interior that were rusty. Ground down/painted the inside of the subframe rails in the front of the Jeep as well. Will be running to grab some scrap sheet metal when I get a chance to patch it all up. More pics soon!
Back with an update. Cut out the rust in the floor and patched in some new metal. This is the last step before the Cherokee hits the road.
Here's what the floors looked like:
The drivers side wasn't as bad as the passengers, but it cant be ignored. Do it right the first time.
Pics of the floors all chopped up:
All patched up:
All done on the cheap with some scrap metal. Steel is $1.00 per pound at the semi-local metal yard. also found this guy while I was there picking through some stuff!
I think I'll weld it to a thick piece of plate/square stock so that I can put it into a receiver for recovery down the road. I suppose I should build some new bumpers before doing that though...
So now she's road-worthy! Next thing to do will be fluid changes and checking the oil pressure. Might also start to trim/fold the fenders.


 I ended up picking pieces of water pump out of the block. Replaced it with a new pump and new inlet tube. This old pump was doing absolutely nothing for me!


 And some bondo to cover up the holes where rubber plugs used to be.