


Project: Keepin' it clean

Thread Starter
Senior Member
Joined: Nov 2011
Posts: 795
Likes: 0
From: Snowville, PA
Year: 1998
Model: Cherokee
Engine: 4.0 I6 torque monster w/ a supercharger

That comment worries me!!!!!!!!!!!!!! lol
I have the Zone Offroad Nitro's on. Little bouncy for me. On my Wrangler YJ I had the Bilstein 5100's and I thought it was a little boaty on the highway.
How would you describe them before I sleep on the couch to get them? lol!!!!!!
I have the Zone Offroad Nitro's on. Little bouncy for me. On my Wrangler YJ I had the Bilstein 5100's and I thought it was a little boaty on the highway.
How would you describe them before I sleep on the couch to get them? lol!!!!!!

The Rough Country white shocks and Zone Nitro's are basically the same shocks.
I have no clue how the Fox shocks would perform on a street biased tire (I'd presume quite well), but a lot of the harshness in my suspension is from the off road tires and cheapy RC springs. The Fox/BDS shocks did make a noticeable difference over the RC ones (smoother/less harsh ride).
How would I describe them?... Well; they're not "boaty" on the highway, they handle spirited street driving quite well (i.e taking corners as if the XJ was a sports car), they handle the bumps and potholes well, umm... idk what else. Have any specific questions about them?
Senior Member
Joined: Aug 2010
Posts: 893
Likes: 0
Model: Cherokee
Worries you?...
The Rough Country white shocks and Zone Nitro's are basically the same shocks.
I have no clue how the Fox shocks would perform on a street biased tire (I'd presume quite well), but a lot of the harshness in my suspension is from the off road tires and cheapy RC springs. The Fox/BDS shocks did make a noticeable difference over the RC ones (smoother/less harsh ride).
How would I describe them?... Well; they're not "boaty" on the highway, they handle spirited street driving quite well (i.e taking corners as if the XJ was a sports car), they handle the bumps and potholes well, umm... idk what else. Have any specific questions about them?
The Rough Country white shocks and Zone Nitro's are basically the same shocks.
I have no clue how the Fox shocks would perform on a street biased tire (I'd presume quite well), but a lot of the harshness in my suspension is from the off road tires and cheapy RC springs. The Fox/BDS shocks did make a noticeable difference over the RC ones (smoother/less harsh ride).
How would I describe them?... Well; they're not "boaty" on the highway, they handle spirited street driving quite well (i.e taking corners as if the XJ was a sports car), they handle the bumps and potholes well, umm... idk what else. Have any specific questions about them?
My tires are A/T. So, that sounds good to hear.
Sounds like what I am looking for.
Do they have to be rebuilt every so often? I thought I read that?
Thread Starter
Senior Member
Joined: Nov 2011
Posts: 795
Likes: 0
From: Snowville, PA
Year: 1998
Model: Cherokee
Engine: 4.0 I6 torque monster w/ a supercharger
I'm sure their service interval is longer than my supercharger. Gotta change the oil in that thing every 12k...

Yeah. My tires are Goodyear MTRs. Very chunky tires. Lol.

Thread Starter
Senior Member
Joined: Nov 2011
Posts: 795
Likes: 0
From: Snowville, PA
Year: 1998
Model: Cherokee
Engine: 4.0 I6 torque monster w/ a supercharger
LMAO! Thanks.
YAY!!!
Update (I think)
Dropped the Jeep off at the shop to have the axle shims installed, mech fan idler pulley replaced, and hopefully have my a/c sorted out (assuming it won't cost an arm and a leg). Just waiting for them to call back with a price quote...
YAY!!!
Update (I think)
Dropped the Jeep off at the shop to have the axle shims installed, mech fan idler pulley replaced, and hopefully have my a/c sorted out (assuming it won't cost an arm and a leg). Just waiting for them to call back with a price quote...
Thread Starter
Senior Member
Joined: Nov 2011
Posts: 795
Likes: 0
From: Snowville, PA
Year: 1998
Model: Cherokee
Engine: 4.0 I6 torque monster w/ a supercharger
Okay. Here's a bunch of pics that I've been stockpiling for the last week or so... (I like build threads with lots-O-pics. Lol) 
Oh, and............... I'M A SUPPORTING MEMBER!!!!!!!!!!!! WOOHOO!!!! YEAHHHHH!!!!!!!

I also got a photobucket pro account since I was running out of pic space here. Hopefully they show up properly...
Anywho... The first three pics are just because I was bored one day. Lol.
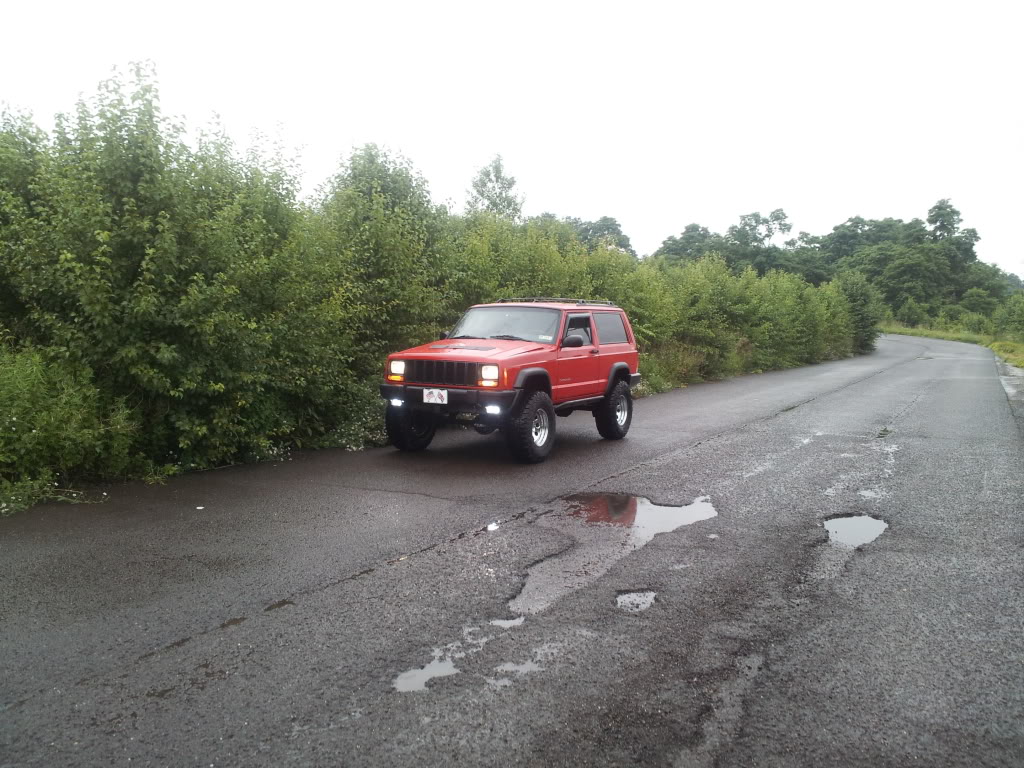
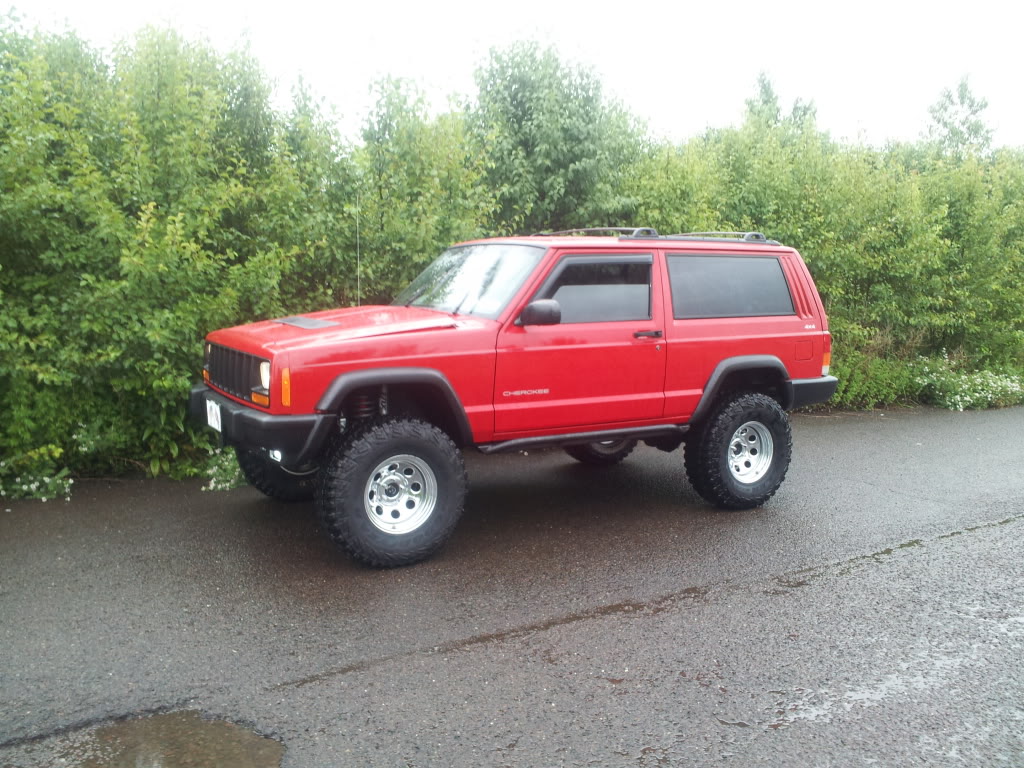
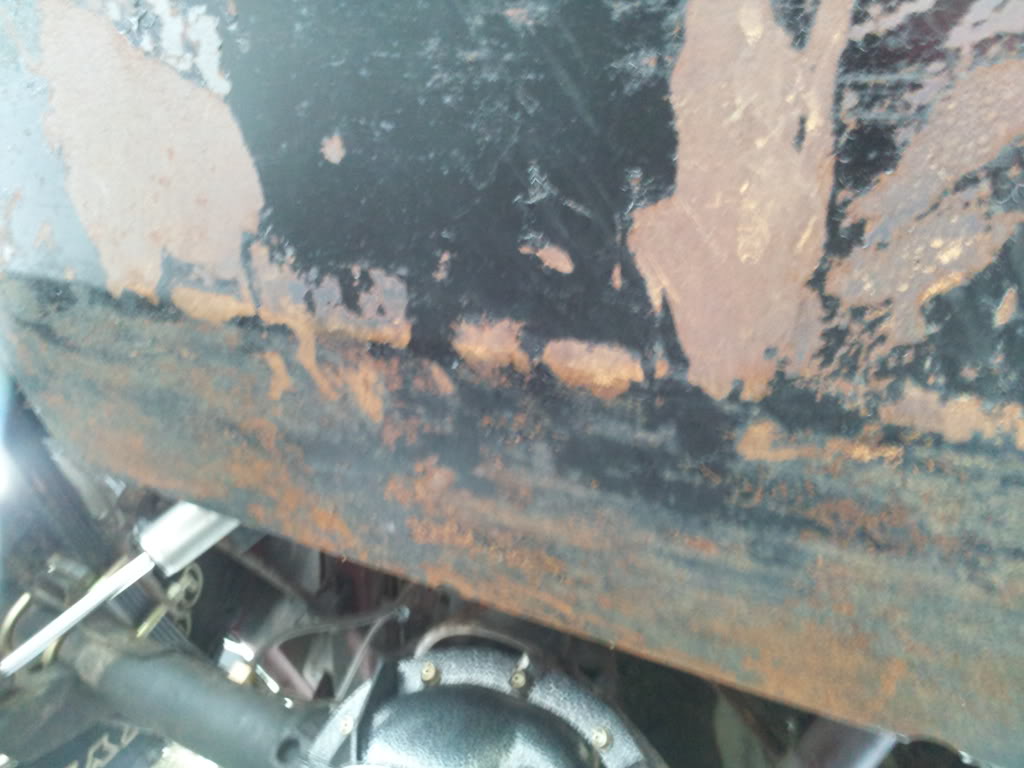
Word to the wise. NEVER use Valspar latex based enamel brush-on paint as it will peel and look like this. I now swear by Rustoleum black oil based brush-on paint.
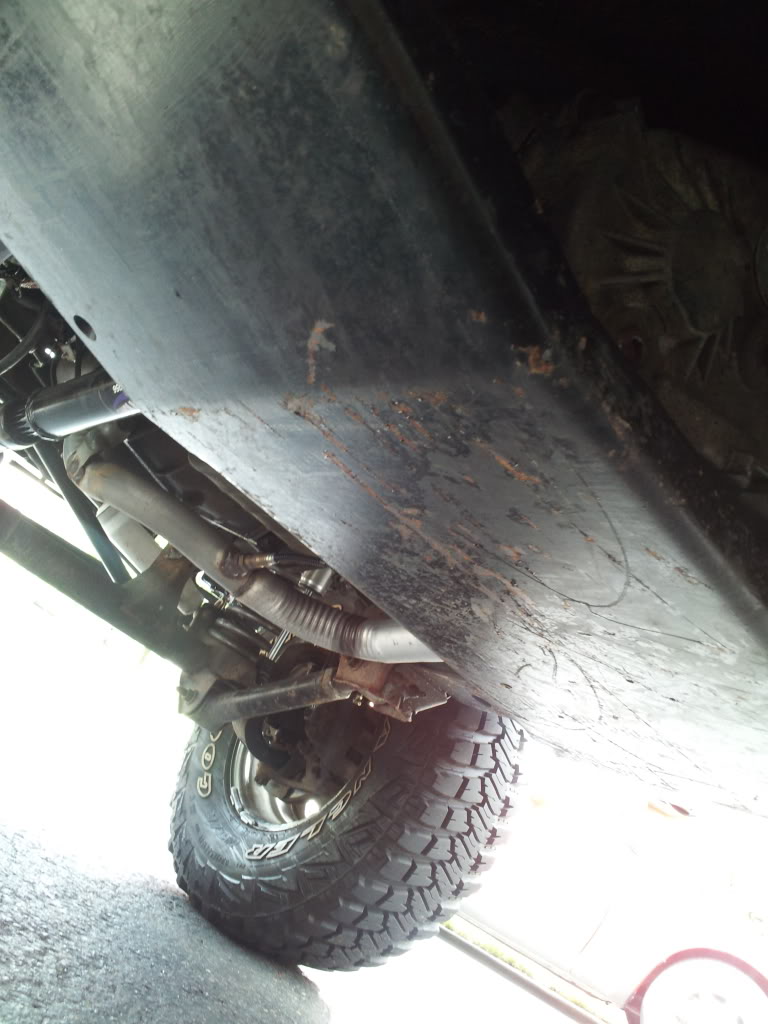
TC skidplate could use some love after being beaten up a little at Rausch a few months back..
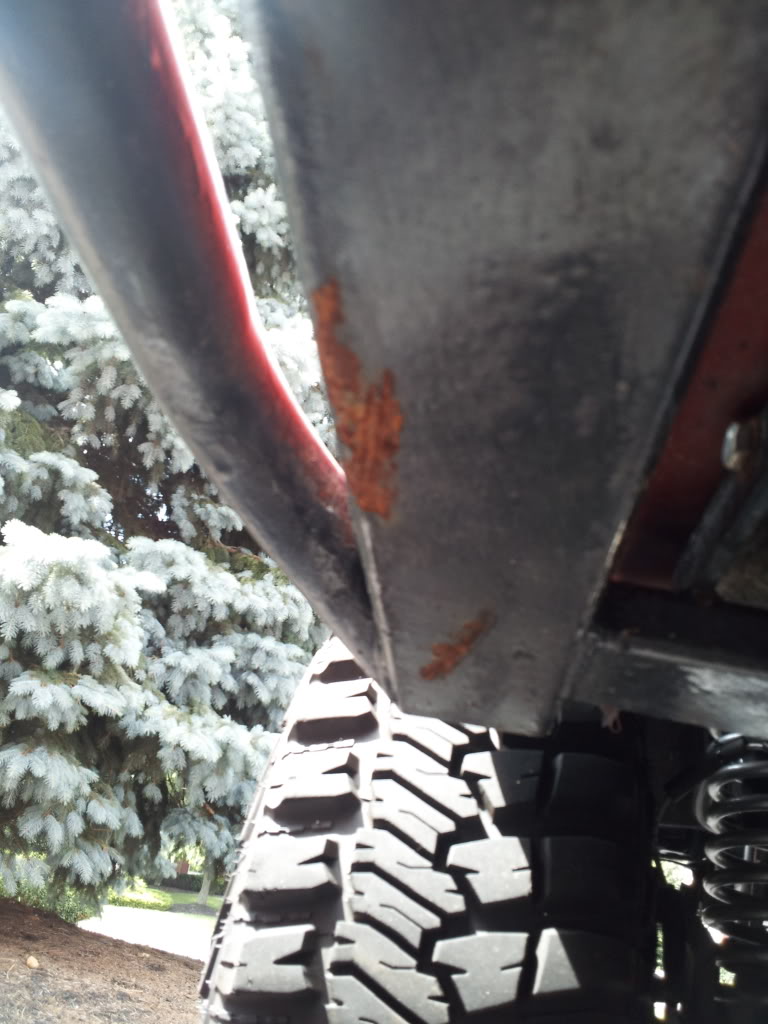
Rocksliders got little bit of a workout too. Lol.
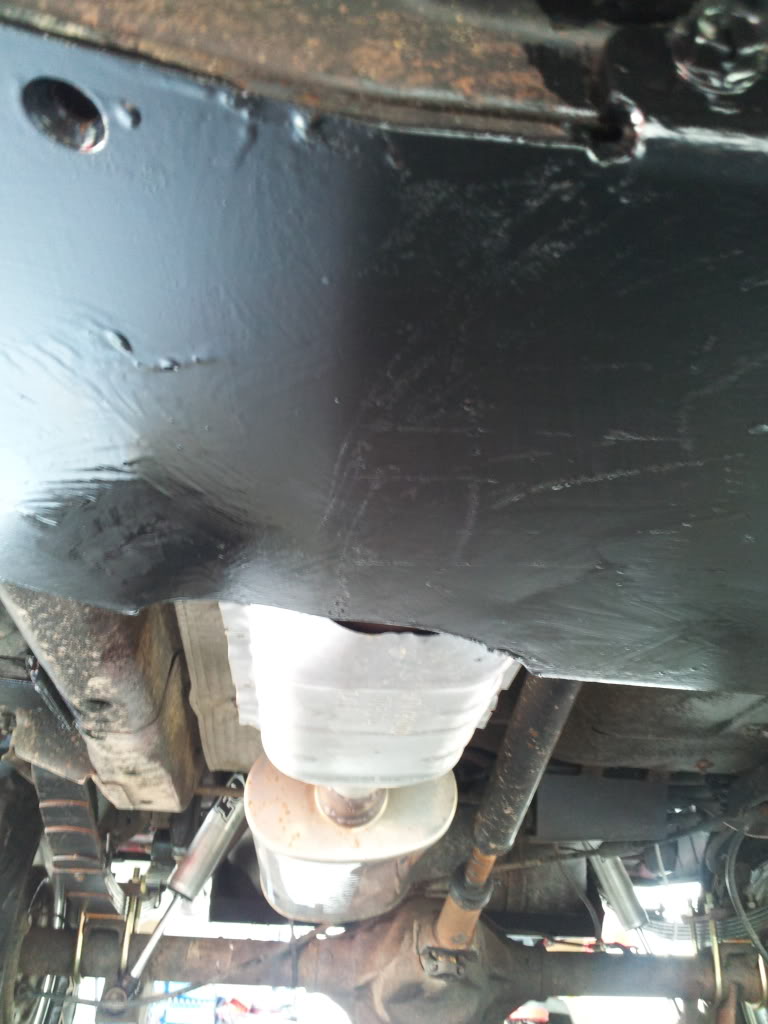
TC skidplate painted.
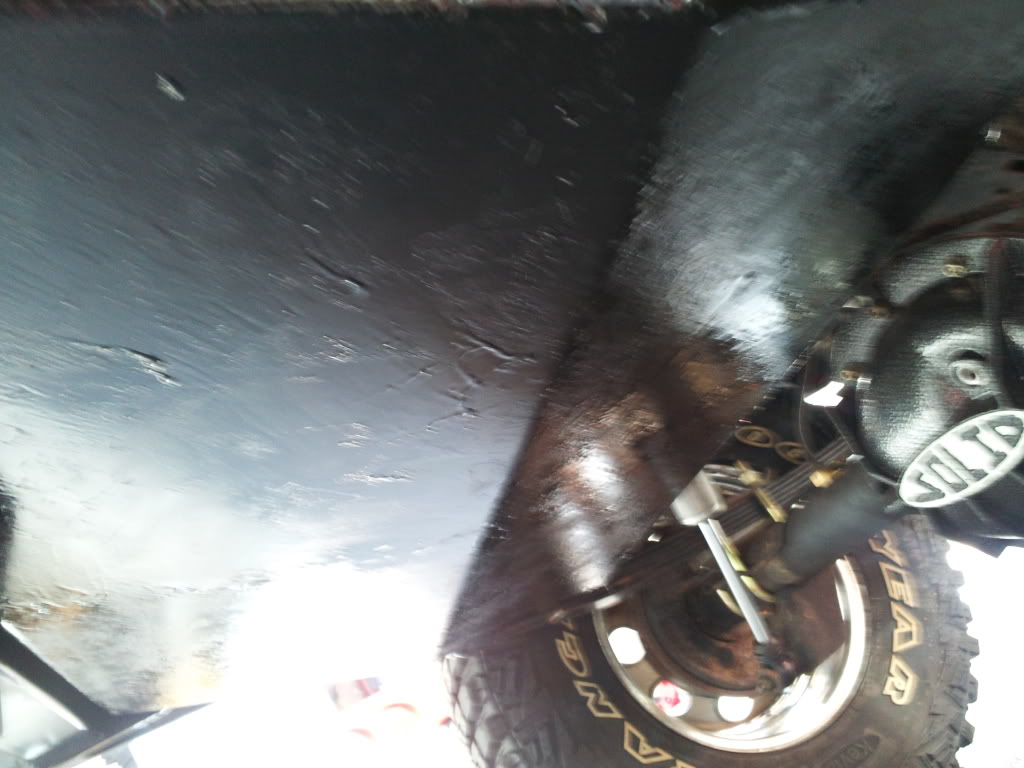
Gas tank skidplate painted (1st coat. added a second thicker coat after I took this pic).
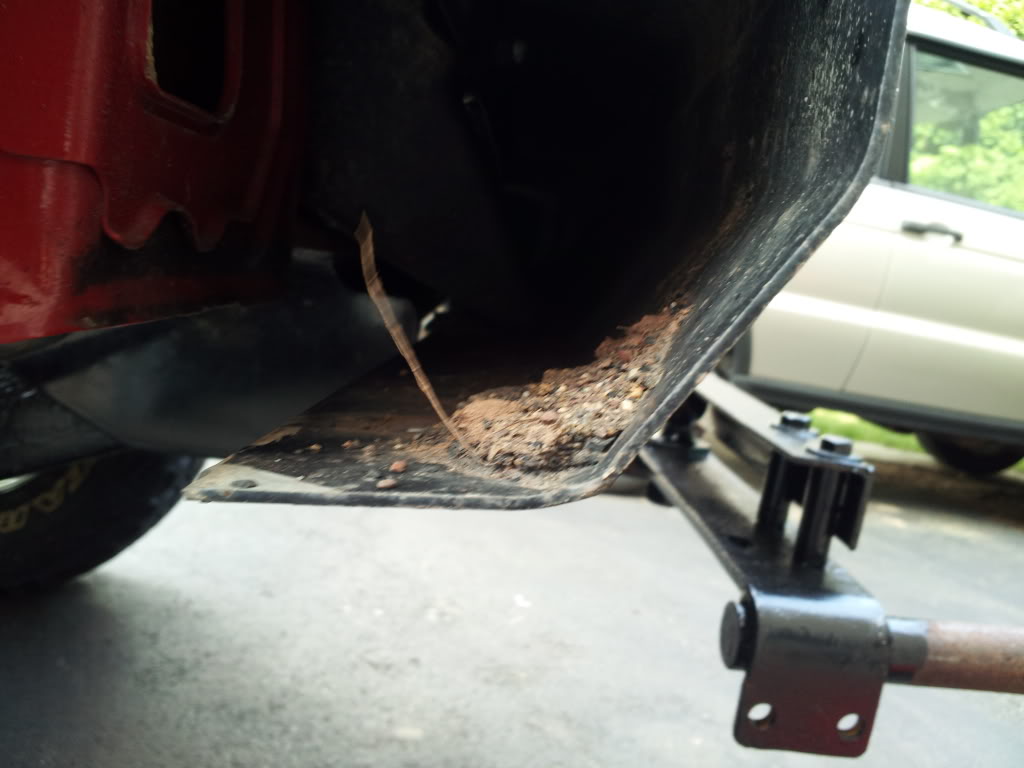
Hmm... Dirty.
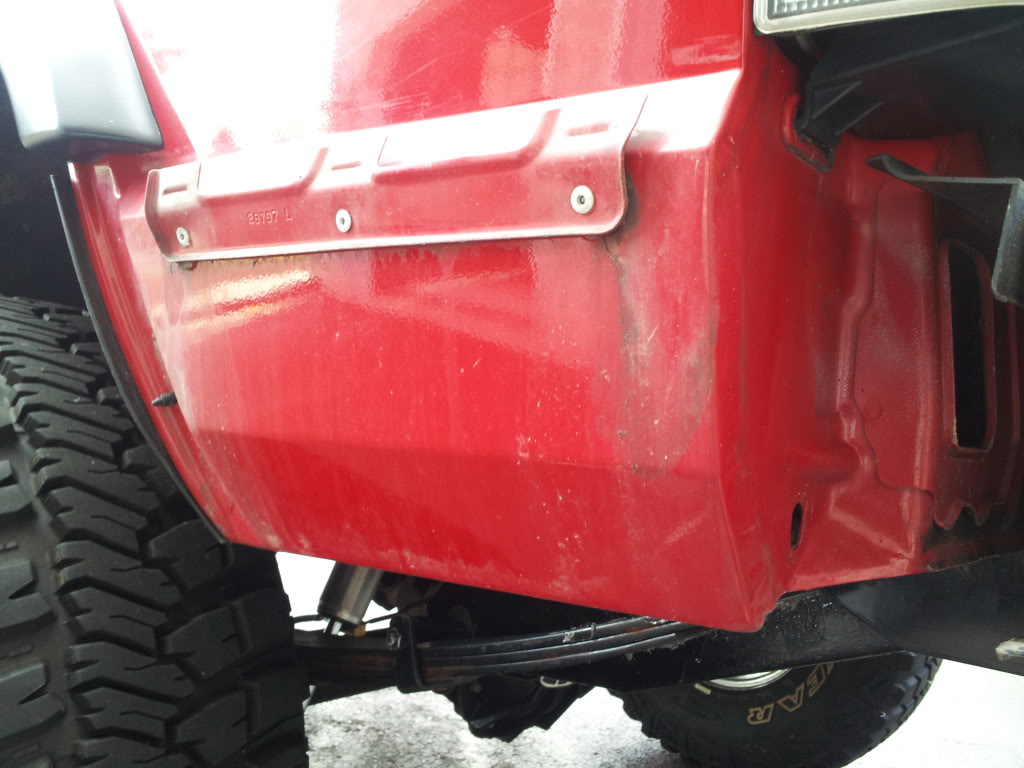
NO RUST!!!!!!! YAY!!!!!!!
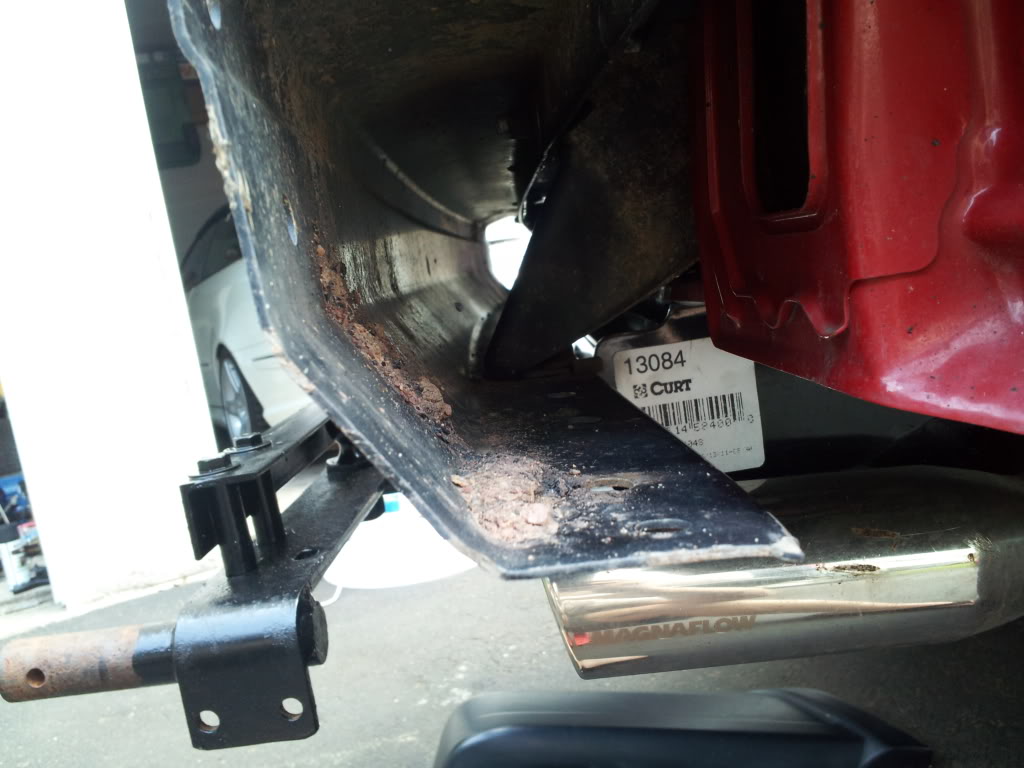
That big hunk of steel is my hitch mounted snow plow idea I've been working on for a while... Almost done. Lol.
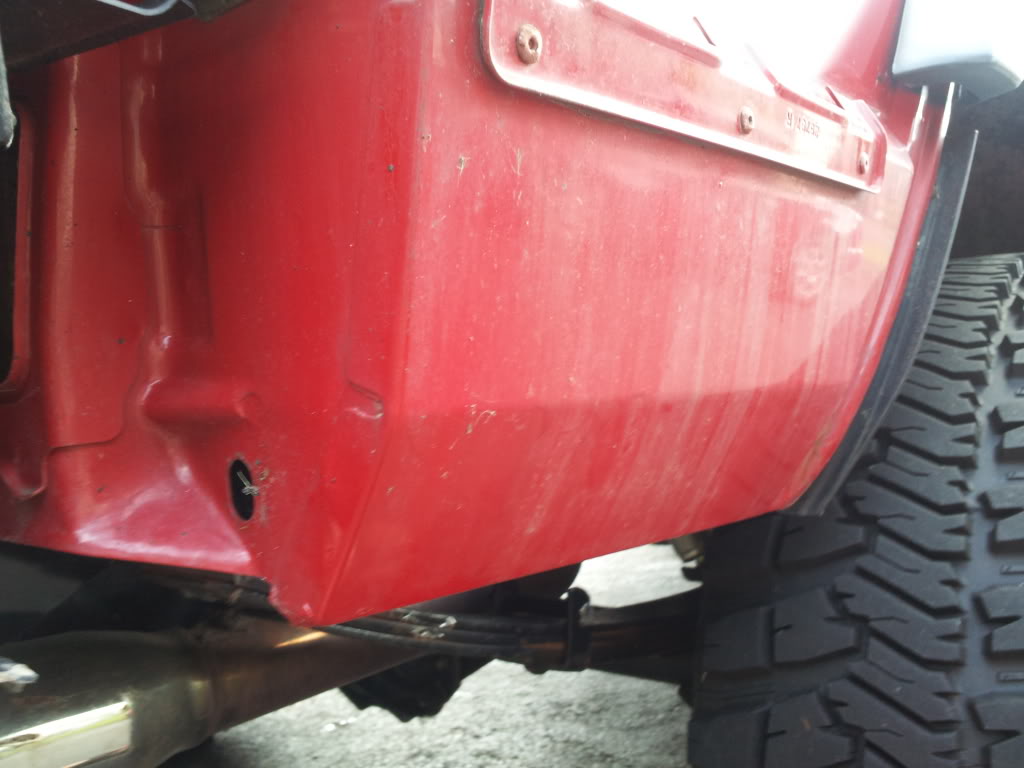
THIS ONE IS RUST FREE TOO!!!!!!!!!!
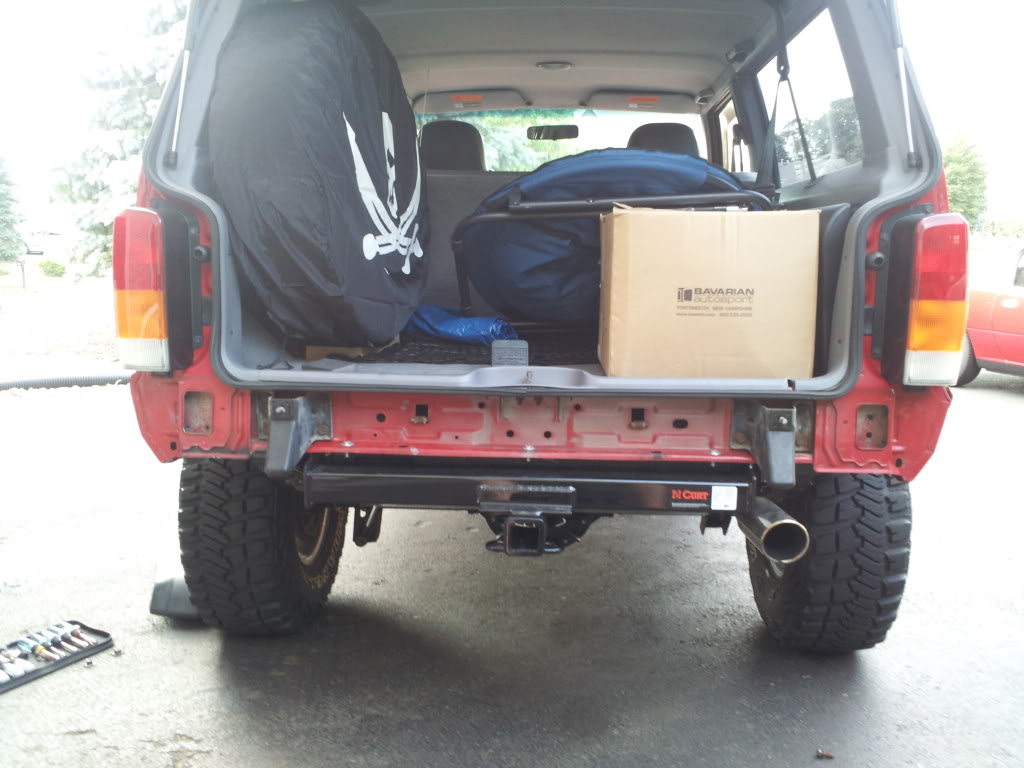
Time to paint the bumper and endcaps.
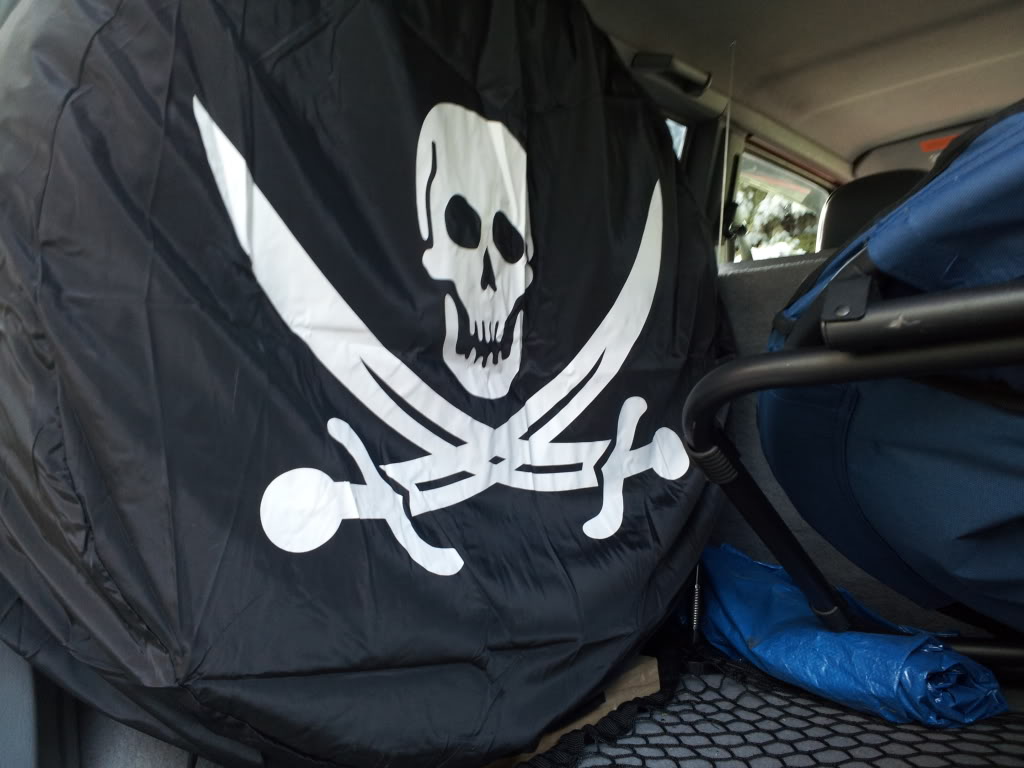
Figured I'd take a better pic of my spare tire cover.
It's not "full-sized" (BFG 31x10.5 KM2), but it's good enough since I don't really plan on using it often since I have a patch kit in my trail bag. Lol.
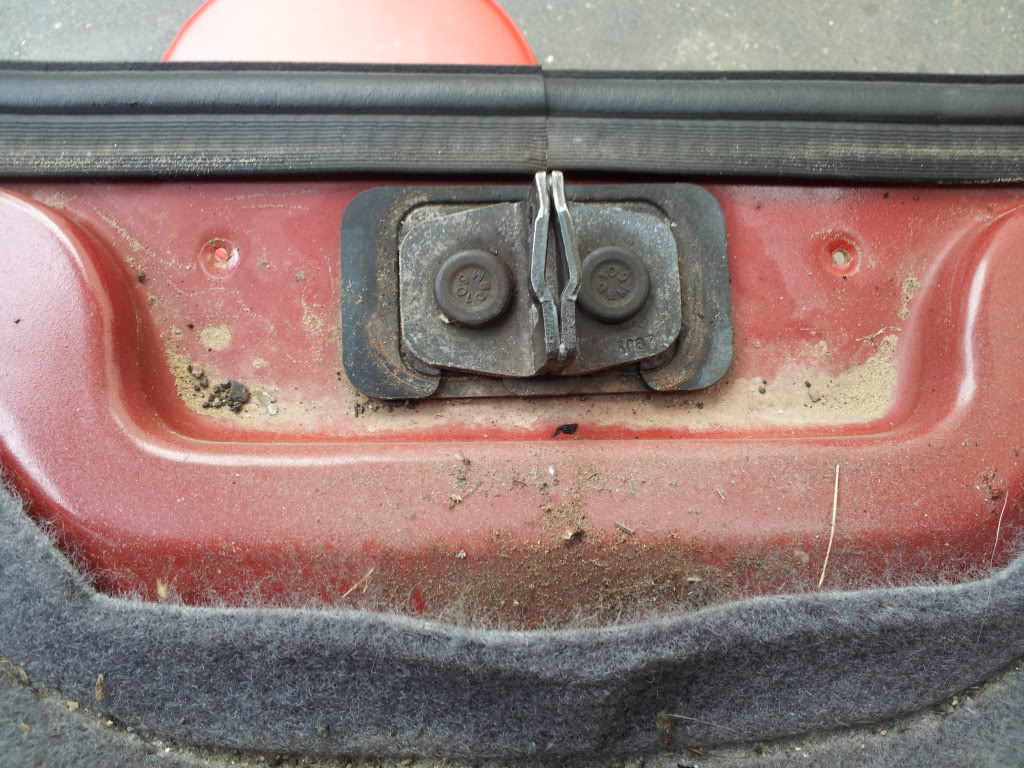
Sand...The PO must have taken my Cherokee to the beach at some point..
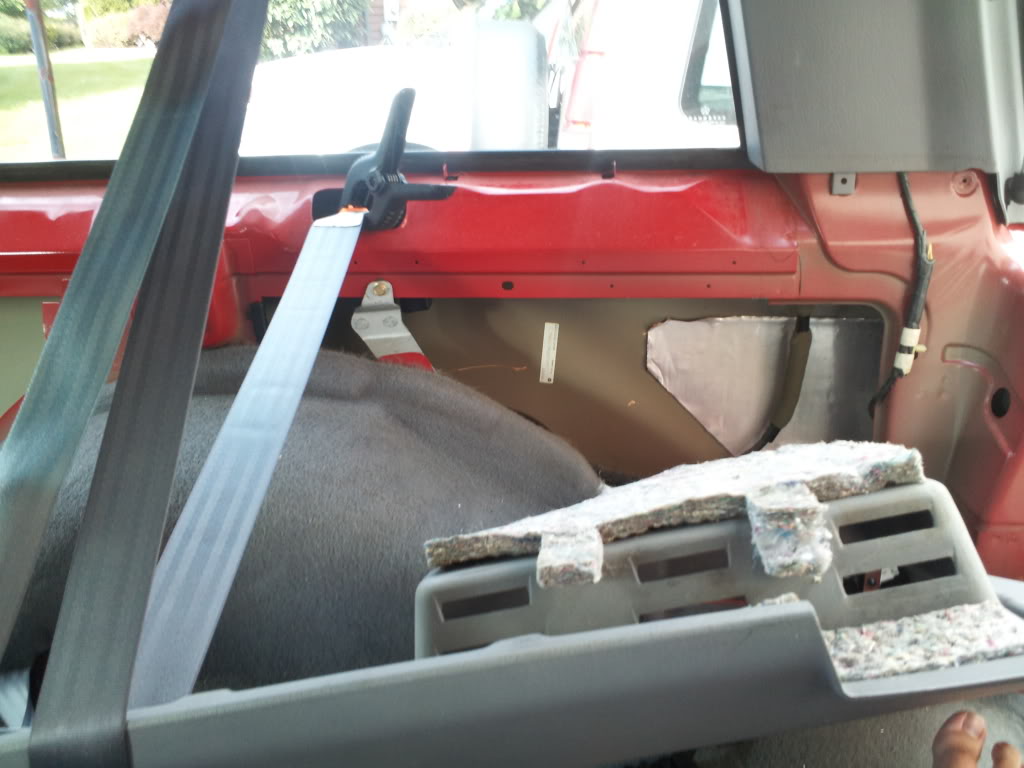
Started to install my XJ Pod subwoofer.
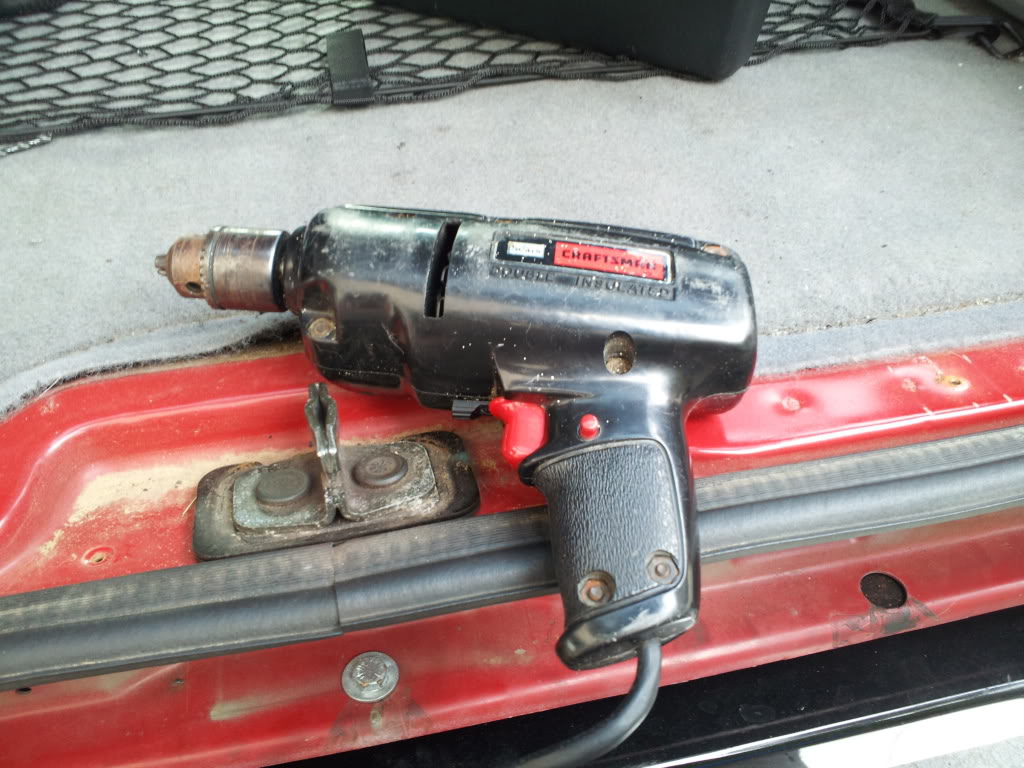
My dad's epic drill. Works great!
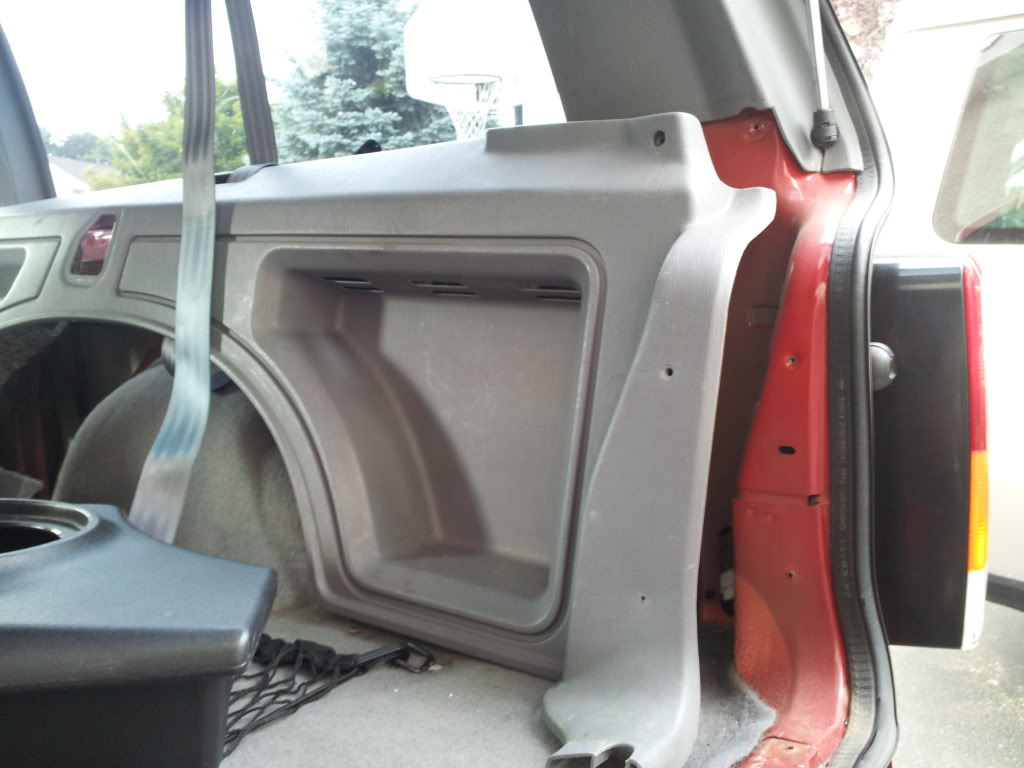
XJ Pod peeking in on this pic. I don't have pics of it attached to the grey trim piece yet... Kinda ran into a wiring headache with the amplifier that I'm using. No prob. Easy fix. Just gotta finish it...
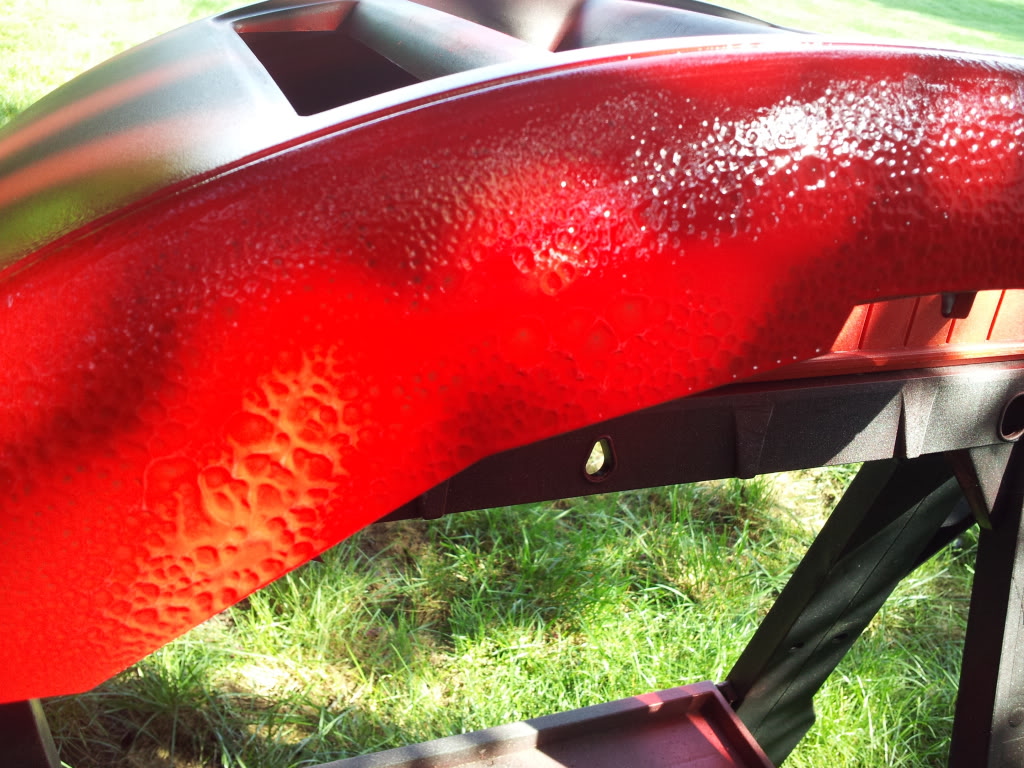
Decided to paint my center bezel red... Kinda messed up just a little bit.

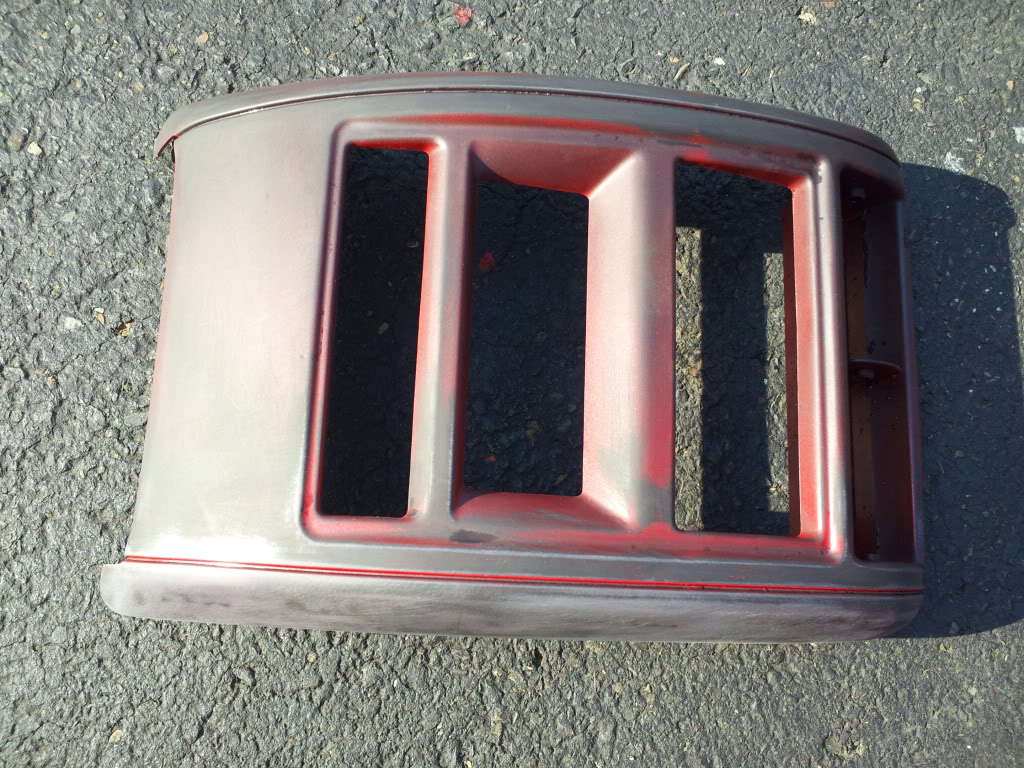
Final result after sanding that mess-up off. Took FOREVER.
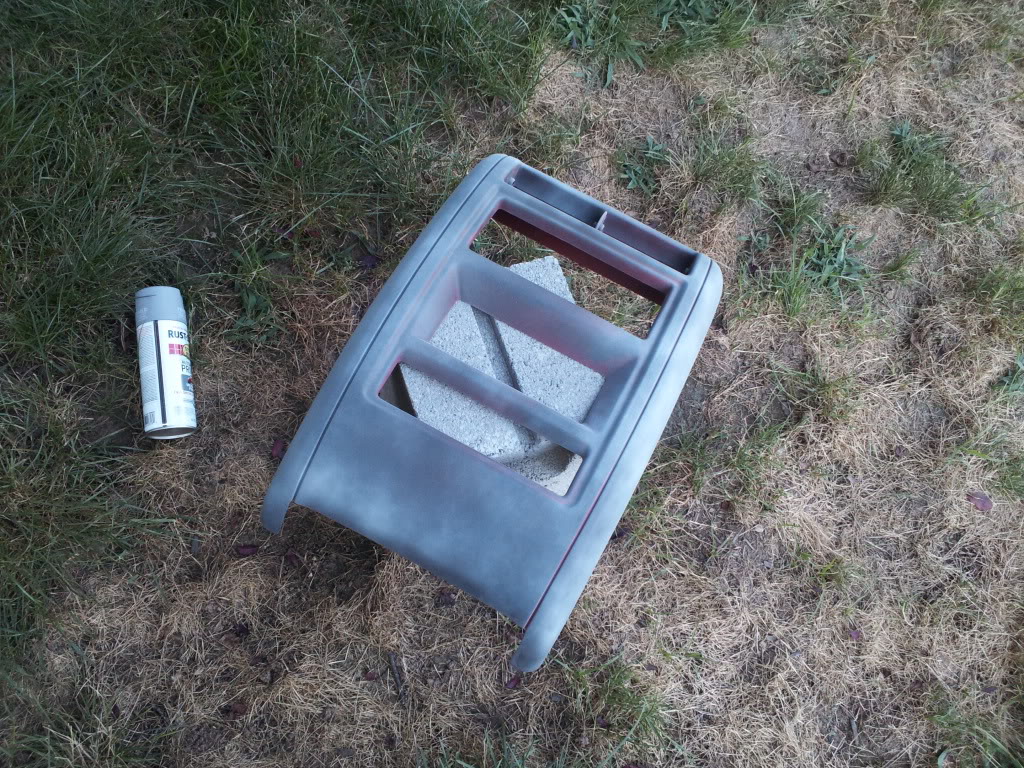
Decided to use primer this time. (this is only a very light first coat)
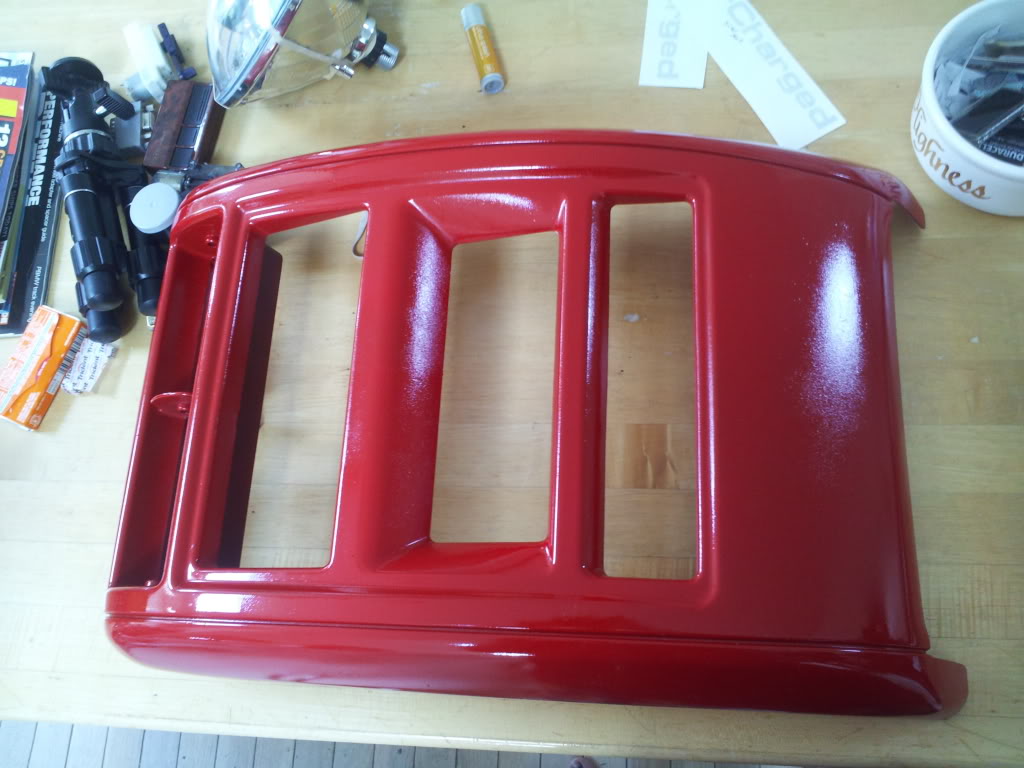
My dad was nice enough to paint it for me.
(he also added a second coat after this one) Just gotta go to Lowes and get some gloss clear to protect the paint.
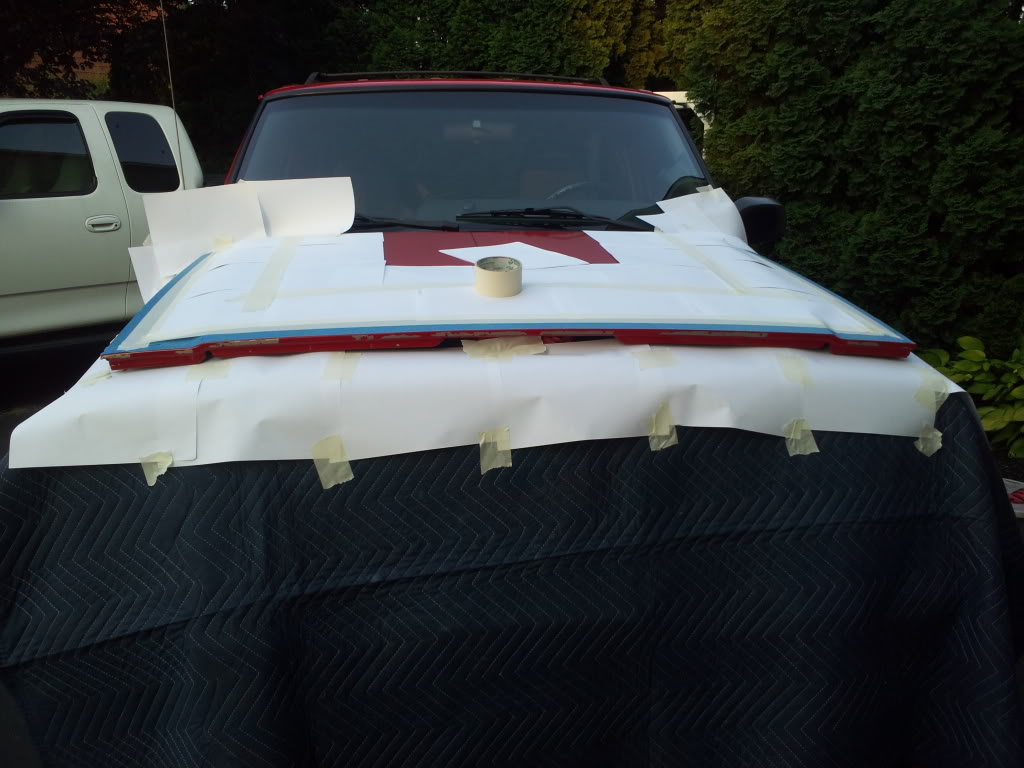
Had to touch-up the edges of my (junkyard) hood. Kinda went overboard with the paint protection but.... THERE IS NO SUCH THING AS OVERKILL!!!!!
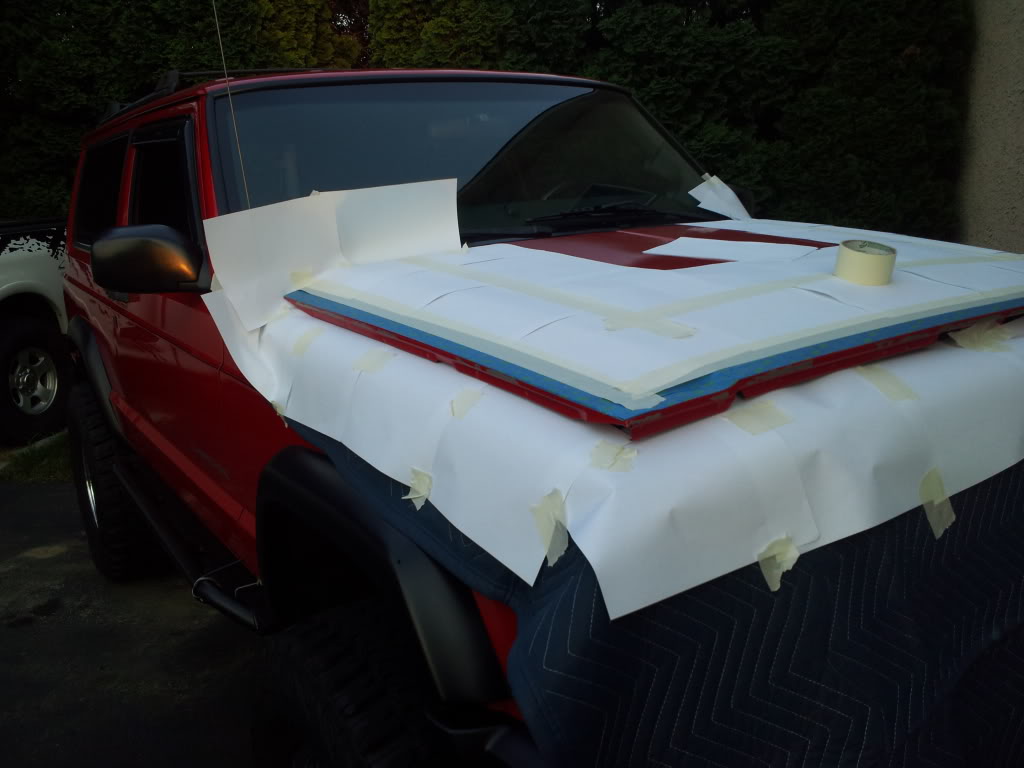
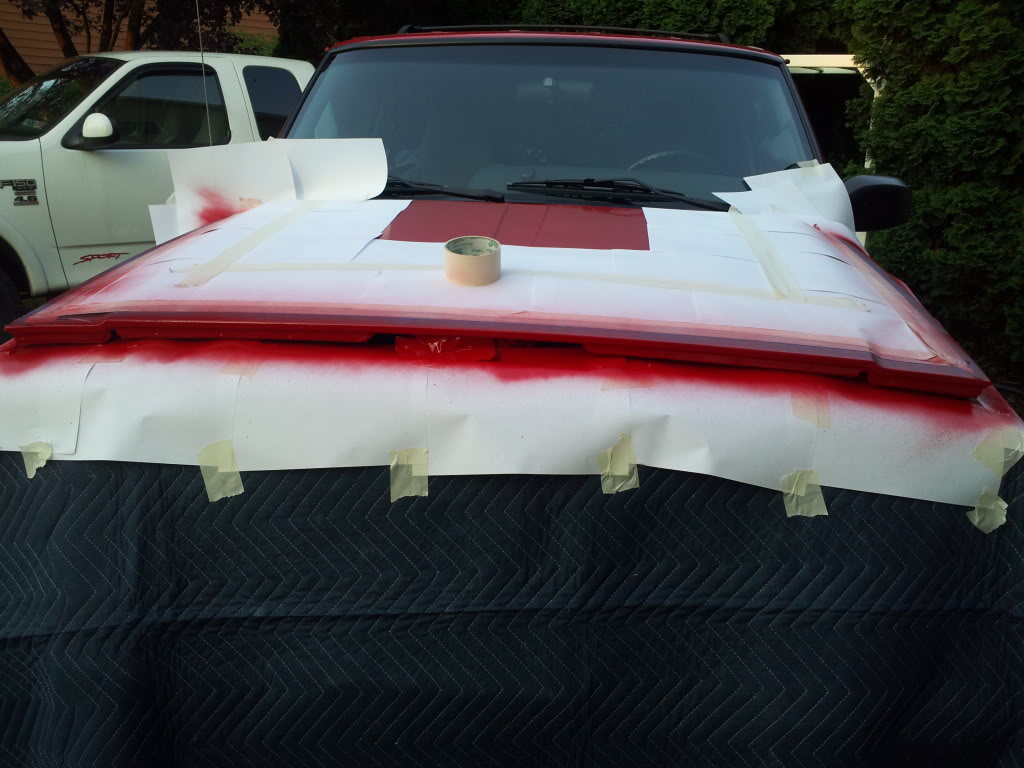
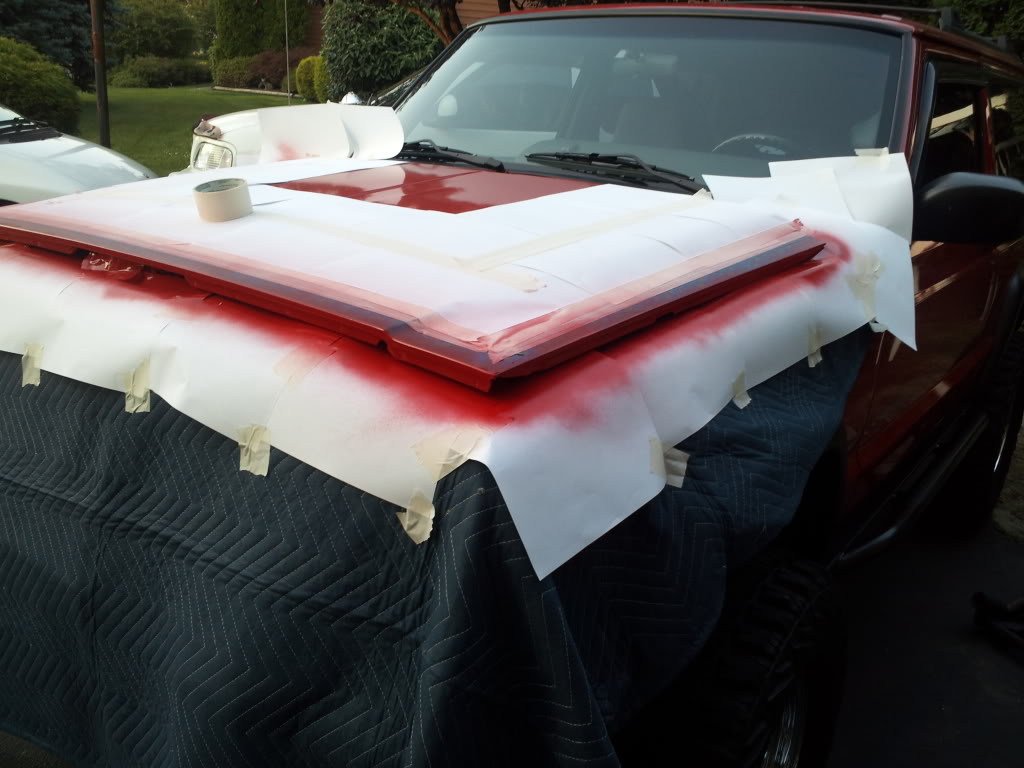
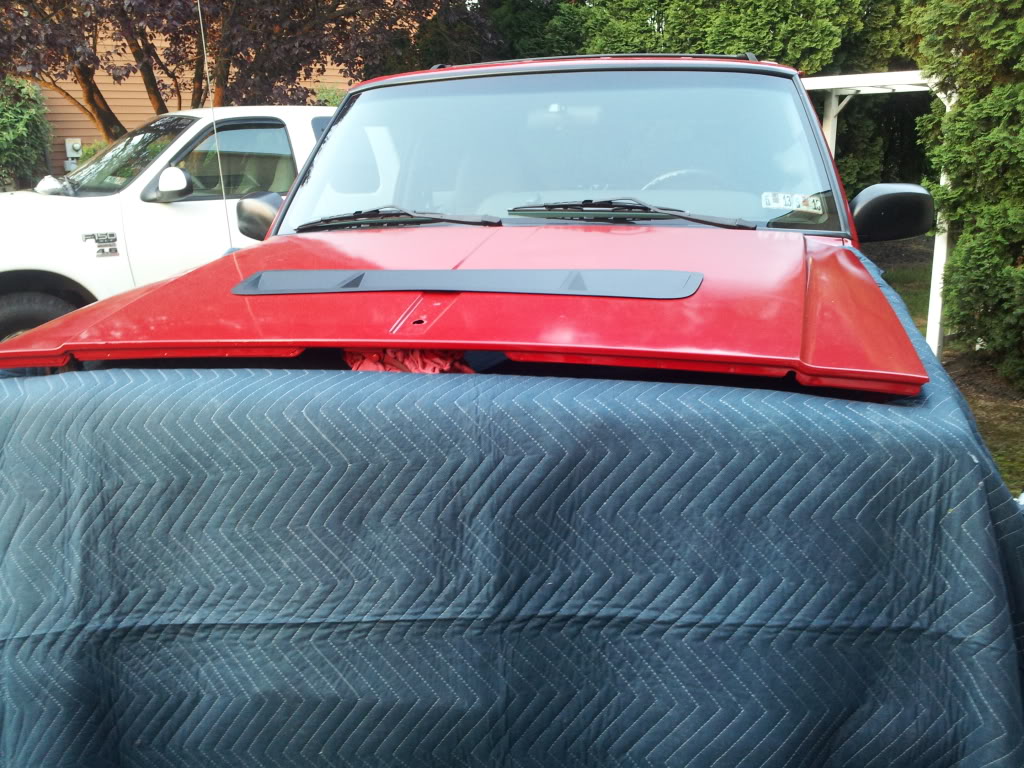
Purdy.
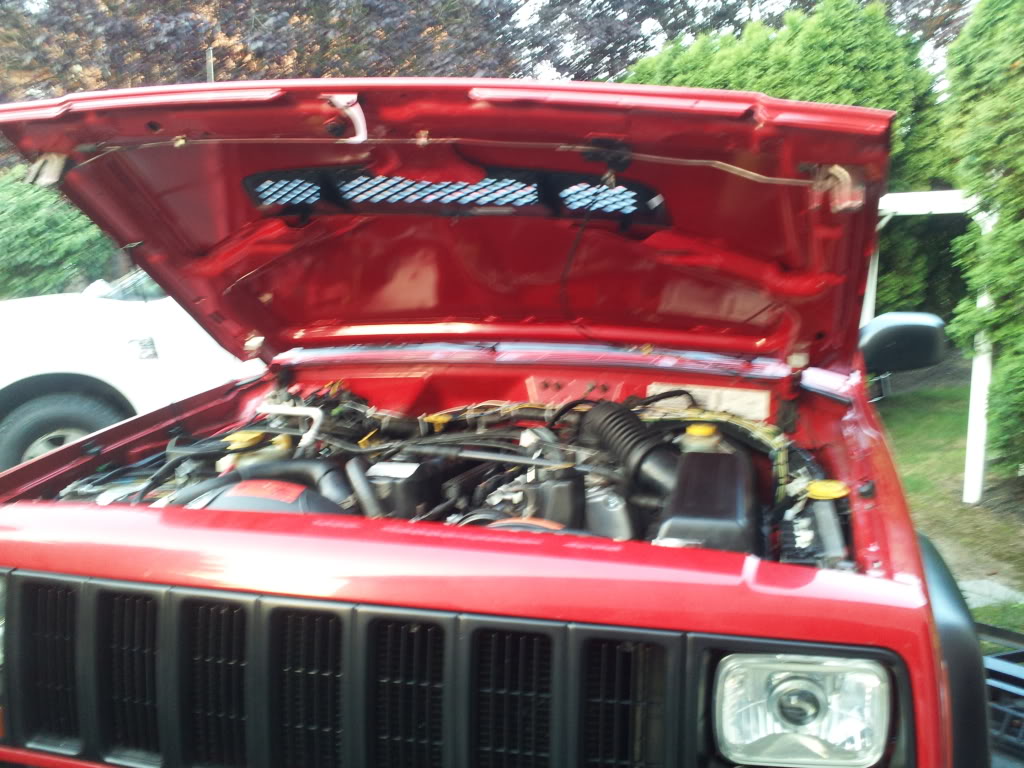
Still surprised how well this paint matches the OEM paint.
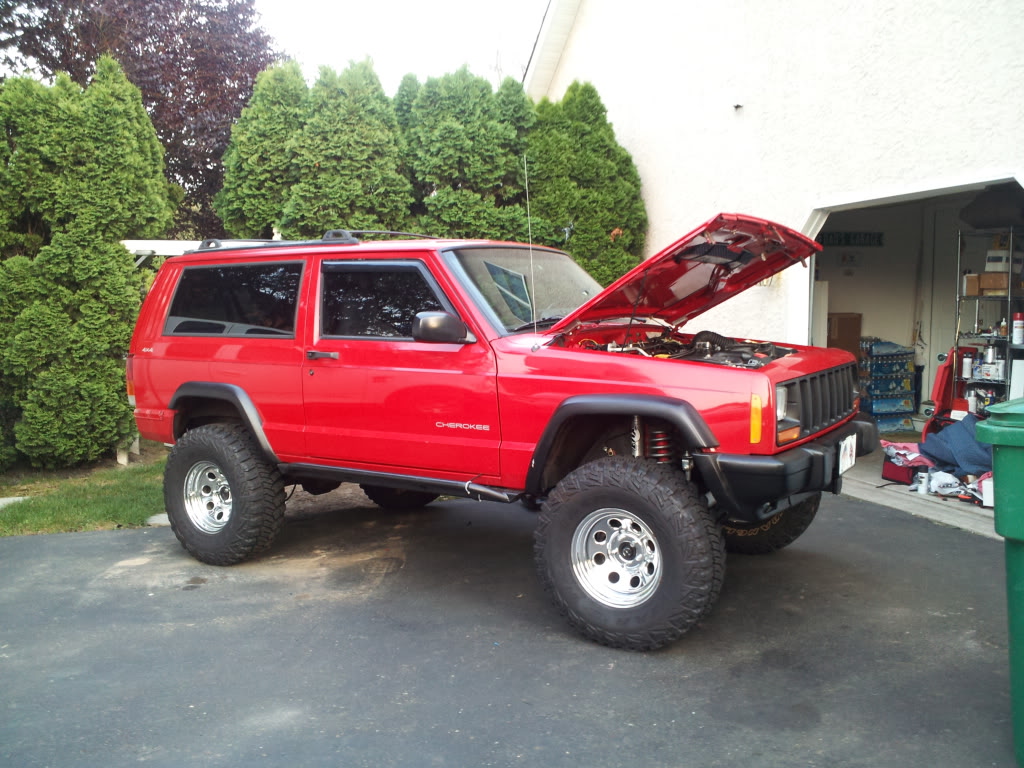
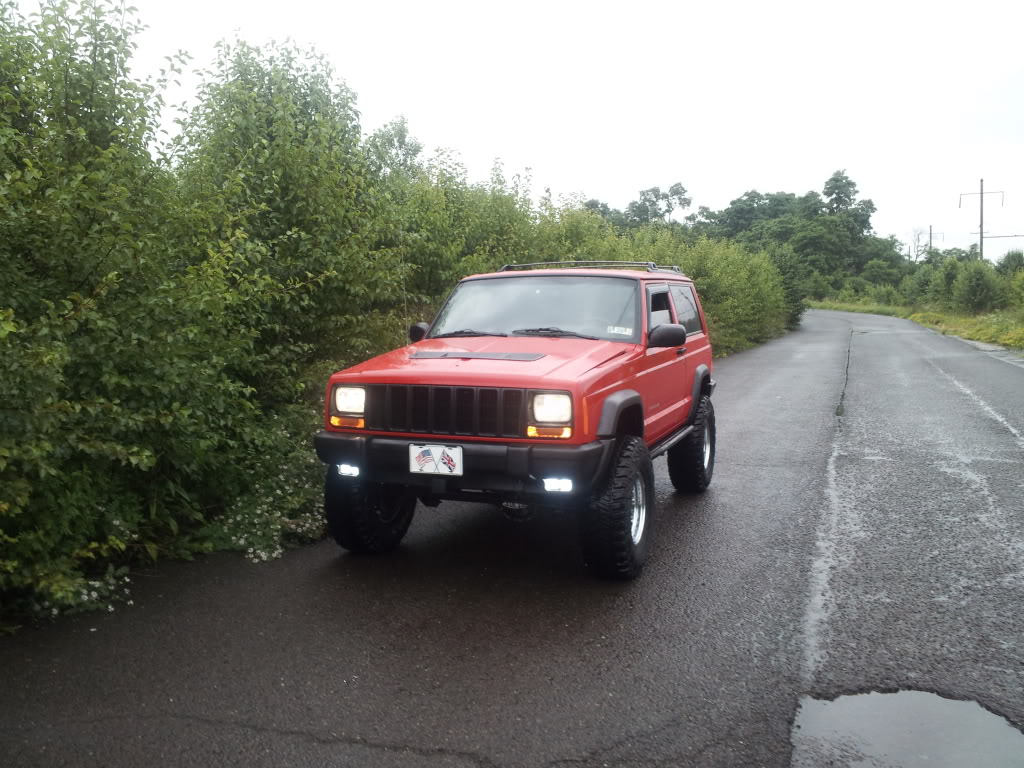
How she sits as of right now.
Oh, and............... I'M A SUPPORTING MEMBER!!!!!!!!!!!! WOOHOO!!!! YEAHHHHH!!!!!!!
I also got a photobucket pro account since I was running out of pic space here. Hopefully they show up properly...
Anywho... The first three pics are just because I was bored one day. Lol.
Word to the wise. NEVER use Valspar latex based enamel brush-on paint as it will peel and look like this.
I now swear by Rustoleum black oil based brush-on paint. TC skidplate could use some love after being beaten up a little at Rausch a few months back..
Rocksliders got little bit of a workout too. Lol.
TC skidplate painted.
Gas tank skidplate painted (1st coat. added a second thicker coat after I took this pic).
Hmm... Dirty.
NO RUST!!!!!!! YAY!!!!!!!
That big hunk of steel is my hitch mounted snow plow idea I've been working on for a while... Almost done. Lol.
THIS ONE IS RUST FREE TOO!!!!!!!!!!
Time to paint the bumper and endcaps.
Figured I'd take a better pic of my spare tire cover.
It's not "full-sized" (BFG 31x10.5 KM2), but it's good enough since I don't really plan on using it often since I have a patch kit in my trail bag. Lol.
Sand...The PO must have taken my Cherokee to the beach at some point..
Started to install my XJ Pod subwoofer.
My dad's epic drill. Works great!
XJ Pod peeking in on this pic. I don't have pics of it attached to the grey trim piece yet... Kinda ran into a wiring headache with the amplifier that I'm using. No prob. Easy fix. Just gotta finish it...
Decided to paint my center bezel red... Kinda messed up just a little bit.
Final result after sanding that mess-up off. Took FOREVER.
Decided to use primer this time. (this is only a very light first coat)
My dad was nice enough to paint it for me.
(he also added a second coat after this one) Just gotta go to Lowes and get some gloss clear to protect the paint.
Had to touch-up the edges of my (junkyard) hood. Kinda went overboard with the paint protection but.... THERE IS NO SUCH THING AS OVERKILL!!!!!
Purdy.
Still surprised how well this paint matches the OEM paint.
How she sits as of right now.
Last edited by bpas328xi; Jun 22, 2012 at 01:37 AM.

Thread Starter
Senior Member
Joined: Nov 2011
Posts: 795
Likes: 0
From: Snowville, PA
Year: 1998
Model: Cherokee
Engine: 4.0 I6 torque monster w/ a supercharger
Your Cherokee is lookin' great!
It's the chrome rims that are making you jealous. Isn't it? :P
Congrats on the MTRs!!! I gotta see what the pressures in mine are so I can drop a couple psi to make them ride smoother (I'm way under their load rating). Although the weather here is kinda making that difficult to do... 95+ one minute and doing this the next... Neither of which are muy bueno.

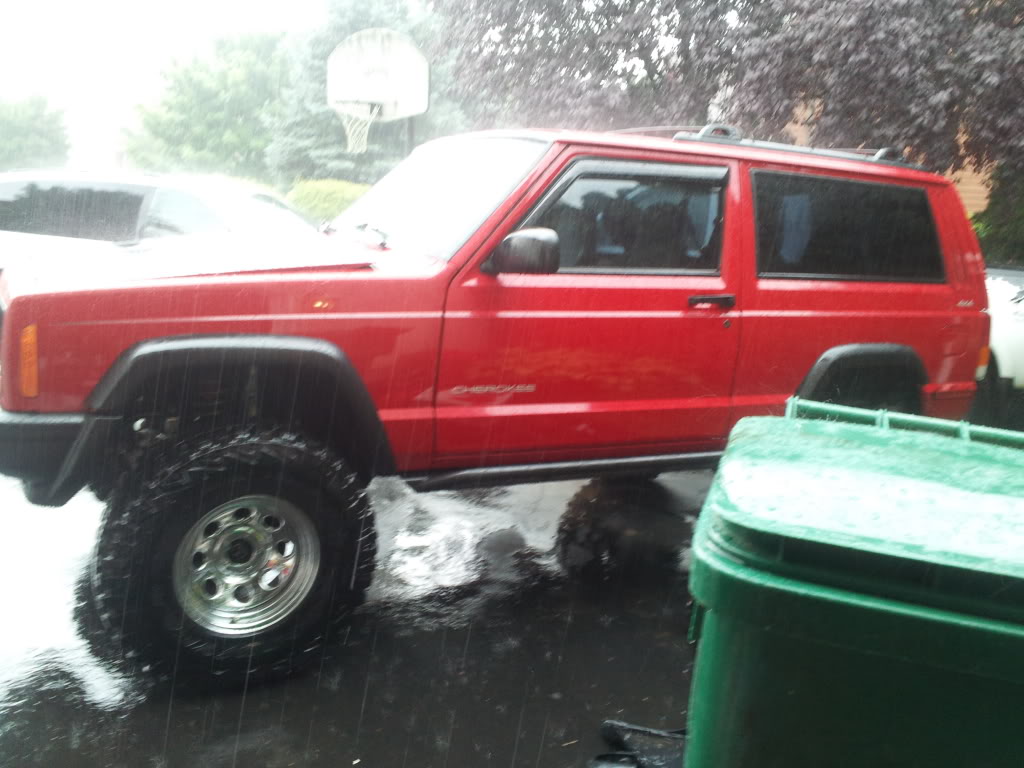
XxXJ99xX, I just realized something... YOUR CHEROKEE IS A TWO DOOR!!!!!!!!!!!!!!! AND YOU HAVE RAIN SHADES (?) JUST LIKE MINE!!!!! TWINS!!!!!!!
Btw. Are my pics showing up?
**EDIT**
Cruising CF since I'm bored and can't really do anything to the Jeep while it's raining... And I found this in relation to a grenade shift ****:
And yes i have played pranks of people with it... had a kid come up and try to make me give him my money... until I asked him to hold the pin and he watched the spoon go flying. Needless to say he went wide eyed and ran... leaving me yelling to come back and help me find the pin for it... great times.


Now I know what my next mod is going to be.

Last edited by bpas328xi; Jun 22, 2012 at 09:07 PM. Reason: because i'm a noobcake.
Thread Starter
Senior Member
Joined: Nov 2011
Posts: 795
Likes: 0
From: Snowville, PA
Year: 1998
Model: Cherokee
Engine: 4.0 I6 torque monster w/ a supercharger
Well... Finally got my amp and subwoofer working.  Third time's the charm.
And just fyi, this is what my interior currently looks like...
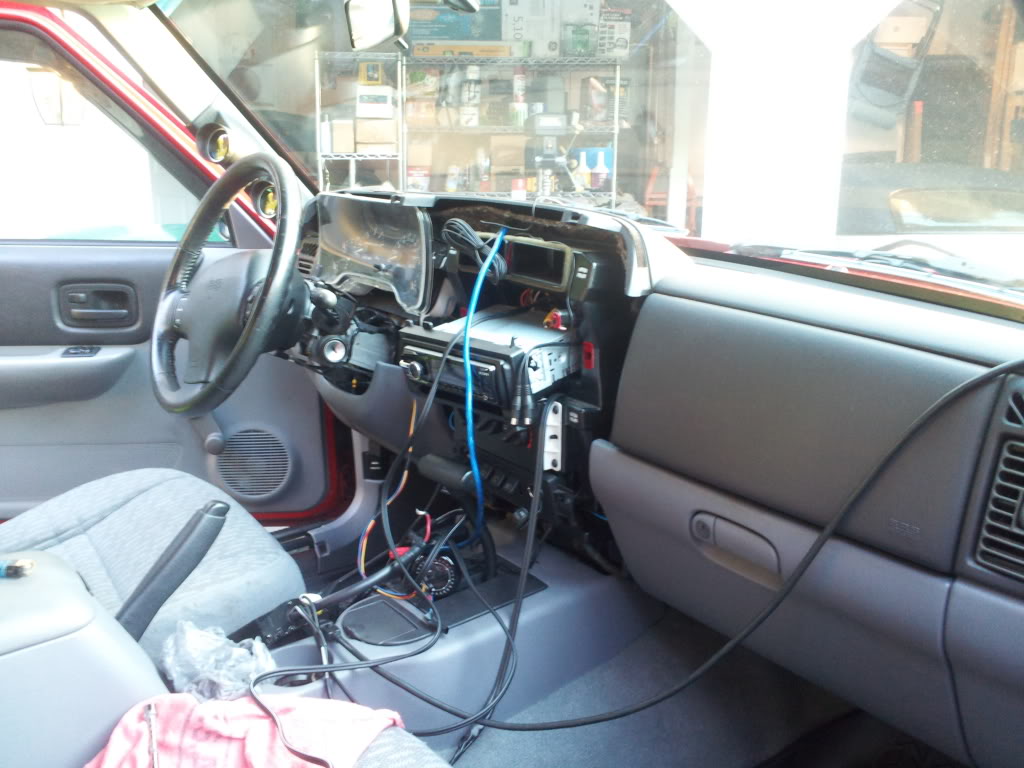
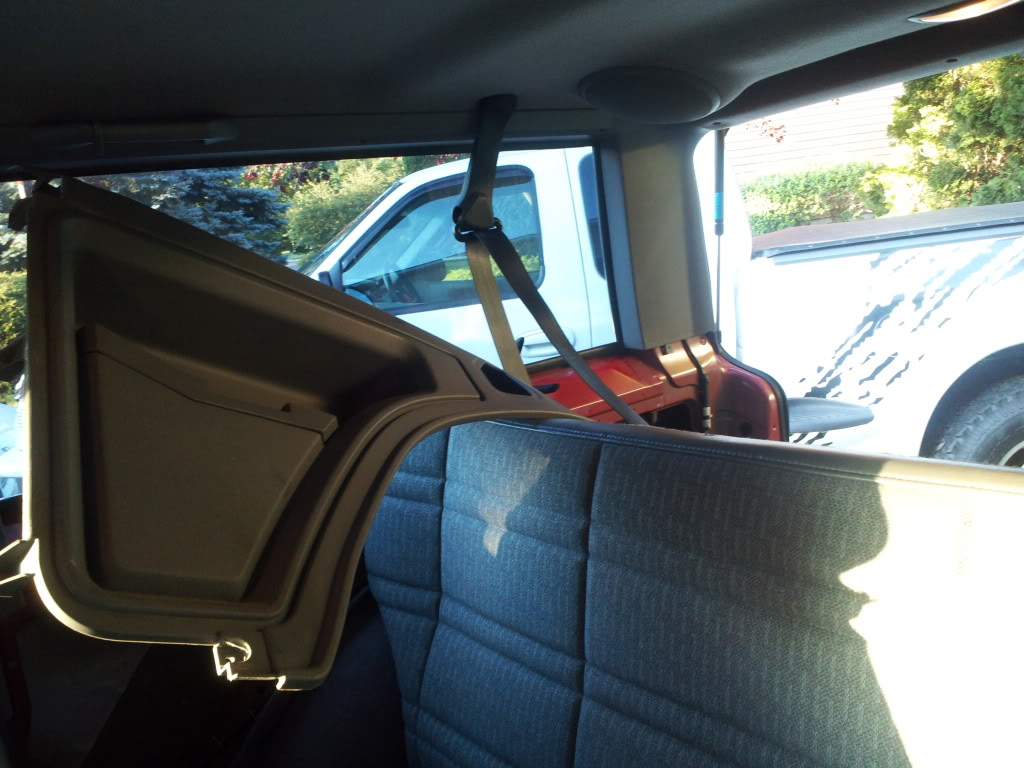
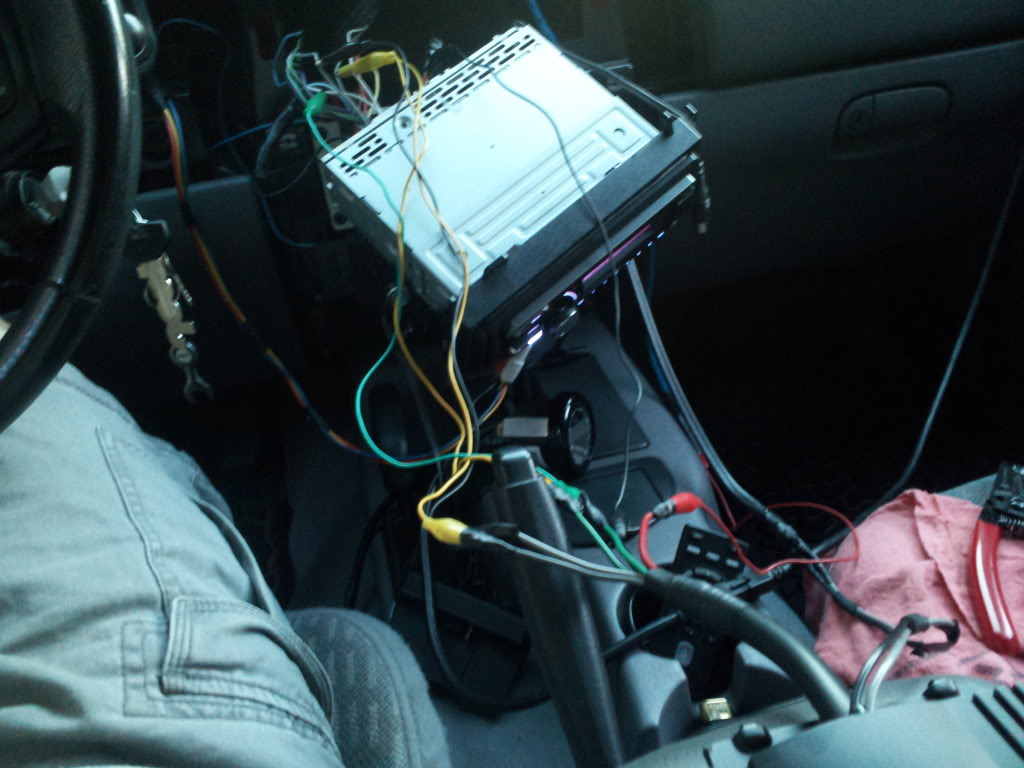
Using gator clips to make sure it works.
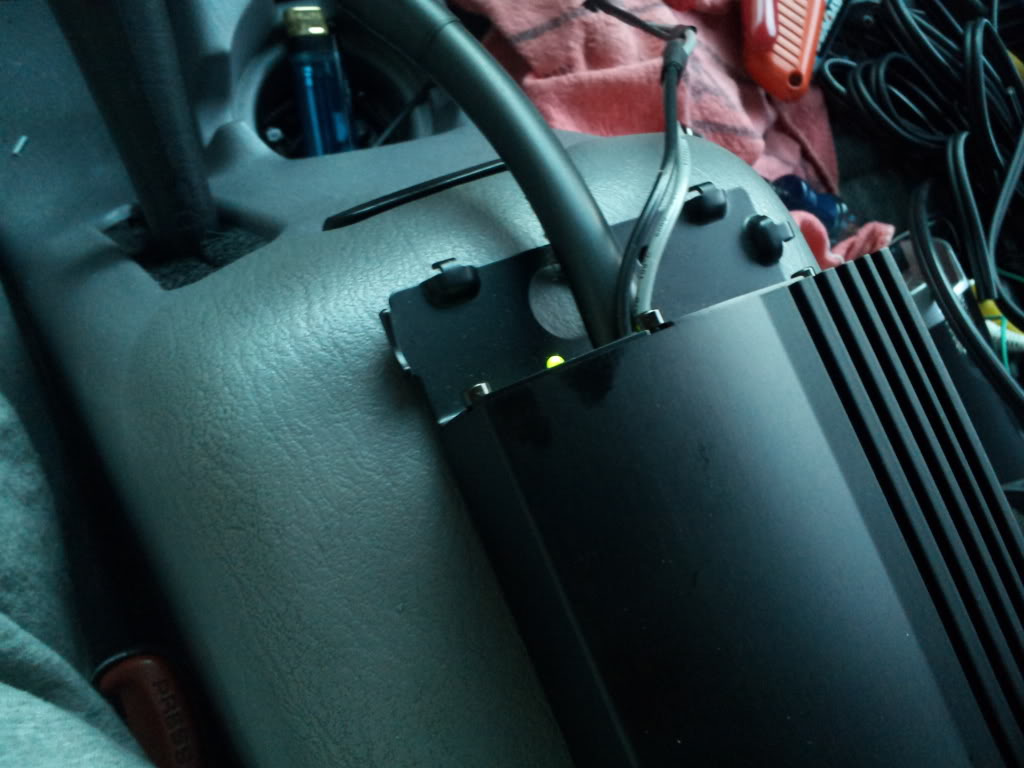
LIFE!!!!!!!!! IT WORKS!!!!!!!!!
(lighter is for heat shrink btw)
Now all I gotta do is properly wire it in, solder, and heat shrink all the connections.
Third time's the charm. And just fyi, this is what my interior currently looks like...
Using gator clips to make sure it works.
LIFE!!!!!!!!! IT WORKS!!!!!!!!!
(lighter is for heat shrink btw)
Now all I gotta do is properly wire it in, solder, and heat shrink all the connections.
Thread Starter
Senior Member
Joined: Nov 2011
Posts: 795
Likes: 0
From: Snowville, PA
Year: 1998
Model: Cherokee
Engine: 4.0 I6 torque monster w/ a supercharger
LMAO. Good one.
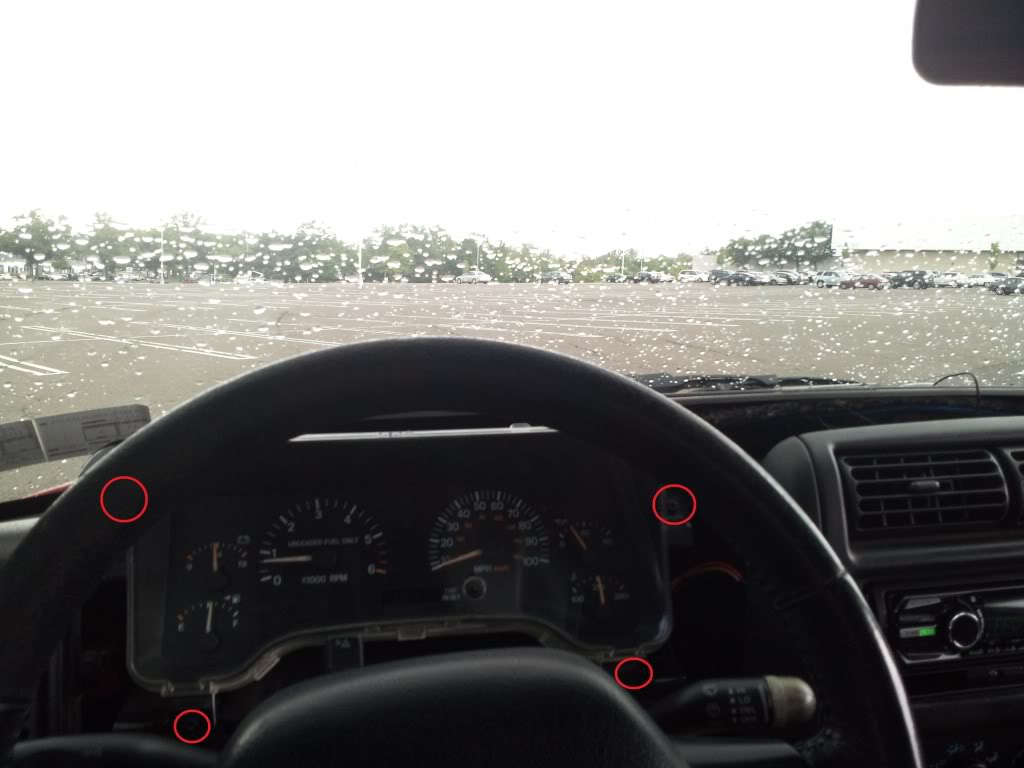
Unfortunately, this is the best pic I have... Once that plastic dash piece is off (the one that is not visible in this pic), it's just a matter of removing the 4 screws that hold the cluster in and pulling the cluster out (they are circled in red. one is hidden behind the steering wheel in this pic). Hope this helps.
Which antenna?
Unfortunately, this is the best pic I have... Once that plastic dash piece is off (the one that is not visible in this pic), it's just a matter of removing the 4 screws that hold the cluster in and pulling the cluster out (they are circled in red. one is hidden behind the steering wheel in this pic). Hope this helps.
Which antenna?
Senior Member
Joined: Aug 2010
Posts: 893
Likes: 0
Model: Cherokee
LMAO. Good one.
Unfortunately, this is the best pic I have... Once that plastic dash piece is off (the one that is not visible in this pic), it's just a matter of removing the 4 screws that hold the cluster in and pulling the cluster out (they are circled in red. one is hidden behind the steering wheel in this pic). Hope this helps.

Which antenna?
Unfortunately, this is the best pic I have... Once that plastic dash piece is off (the one that is not visible in this pic), it's just a matter of removing the 4 screws that hold the cluster in and pulling the cluster out (they are circled in red. one is hidden behind the steering wheel in this pic). Hope this helps.
Which antenna?
Opps, antenna cable. I thought you had one that had like a "cicle" connection for lack of a better word.
Thread Starter
Senior Member
Joined: Nov 2011
Posts: 795
Likes: 0
From: Snowville, PA
Year: 1998
Model: Cherokee
Engine: 4.0 I6 torque monster w/ a supercharger
The plastic is held in with snaps and screws. There are a few screws hidden behind the center bezel (the one I painted) and some hidden behind the kick panel (which is held on with 3 screws along the bottom and two snaps at either side near the top of the panel).
Still not sure what you mean about the "antenna cable" with "'circle' connection"....
 I'm a little thick tonight..

