When you click on links to various merchants on this site and make a purchase, this can result in this site earning a commission. Affiliate programs and affiliations include, but are not limited to, the eBay Partner Network.
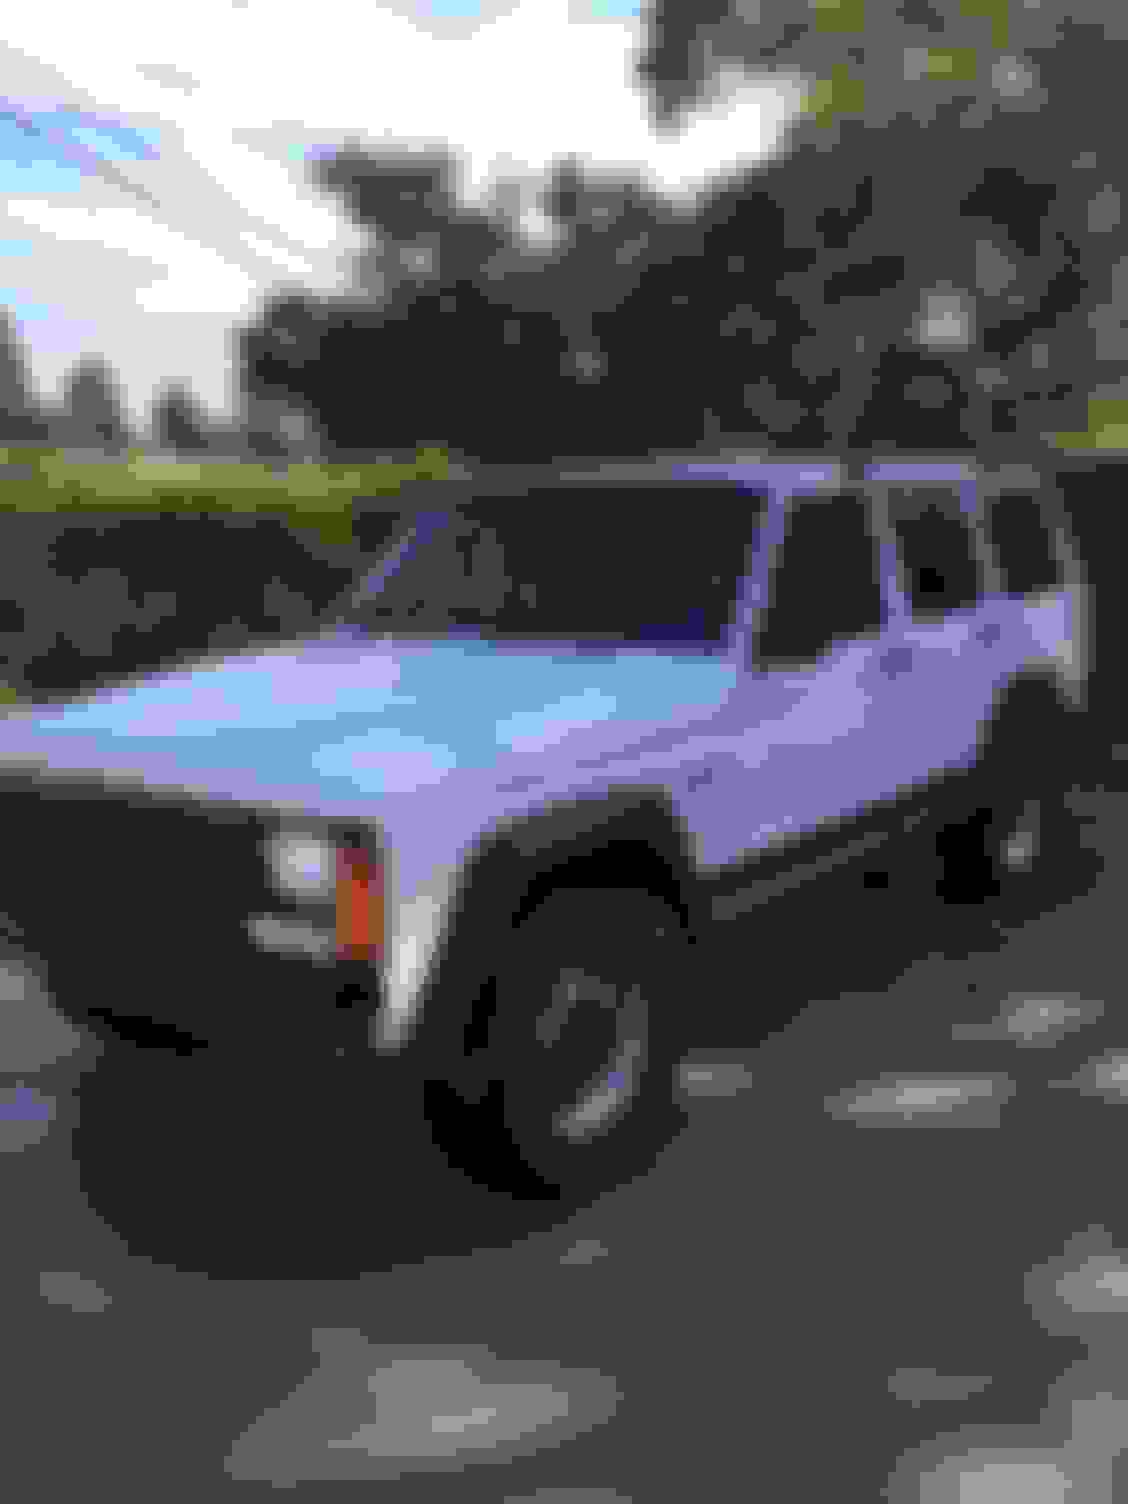
This 1996 Jeep Cherokee SE was handed down to me by my father in 2015. As of February 2017, she has 273,xxx miles on the original engine. Let me tell you about some of the issues that it had when it was first given to me. The check engine light was on and it was giving codes for the temperature sensor, the throttle positioning sensor, and both oxygen sensors (which led me to believe the cat was bad), the water pump had a crack in it, the transmission would slip and never engaged second gear, and the speedometer and odometer were both unresponsive. Because of all of these things, the electric fan wouldn't engage, the engine was overheating, the transmission would get stuck in first, the cruise control didn't work, there was occasional momentary power loss, and also leaking antifreeze. For the parts of this project that I have taken pictures, there will be pictures. Otherwise, I'll just tell you about what I did.
Jeep Specs:
-4.0L I6 HO
-AW4 Automatic transmission
-Rear Chrysler 8.25
-235/75r15 Cooper Adventure A/T's
-Stock suspension
To do:
-✅Replace catalytic converter
-✅Replace oil pressure sensor
-✅Replace temperature sensor
-✅Replace thermostat and thermostat housing
-✅Cooling system flush
-✅Rebuild transmission
-✅Engine tune-up (spark plugs, coils, distributor cap/rotor)
-✅New tires
-✅Replace fuel filter
-✅Replace sway bar bushings and end links
-✅New shocks
-✅Paint rear bumper
-✅Replace ball joints
-✅New front wheel hub/bearings
-✅Full brake job
-Auxiliary lights/Fog lights
-Additional reverse lights
-Roof rack awning
-✅Roof rack bike carrier
-✅Roof rack cargo box/ski box
-Trailer hitch
-H4 Headlight conversion
-Plus whatever problems come up down the line
So to get started on the road to recovery, I replaced the water pump to stop the leak and also replaced the lower radiator hose while I was at it. The next thing I did was replace both the TPS and the temperature sensor so that the codes would clear and hopefully with the new TPS, the momentary power loss issue would be fixed (and it was). So that was phase 1 of getting the jeep back into working order, which took me about a week with the schedule that I had at the moment.
Next up on the list of things to do was to replace the Catalytic Converter and both the upstream and downstream oxygen sensors. It took a little digging to find the right cat for OEM bolt-in installation, but I eventually found what I was looking for and I ended up buying it from Flowmaster. After soaking the ends of the old cat with PB blaster overnight I was able to easily slide it off of the muffler, but it would not break free from the front exhaust pipe. I ended up having to use an angle grinder and cutting the end of the cat down the middle so that I could widen it enough to get it off.
After removing the old cat, installation of the new one was a breeze. It sure does feel good when you complete a task that you didn't think you'd finish.
I'm happy to say that after completing this swap, My check engine light went away and the temperatures finally got back down to optimal operating temperatures.
So about the unresponsive speedometer and odometer. I was thinking that this could be contributing to the problem of the transmission slipping. I had come to a conclusion that since the cruise control wasn't working, that the problem must have been the speedo sensor, right? Well, I found out that I was wrong only after swapping in a new sensor. While doing so, I was able to take a look at the speedo gear to make sure that it wasn't stripped and it wasn't, so what could be problem be? I checked the voltage to the sensor and everything was correct. I just couldn't figure out the issue. I ended up taking it to a transmission shop to get a professional opinion. Turns out that the speedo gear attached to the speedo sensor wasn't the issue, but rather the speedo gear on the output shaft of the transmission, that in turn spins the main speedo gear, was in pieces. This part was nowhere to be found on the internet and had to be special ordered from the dealership. This ended up costing me $300 In the end, the speedometer and odometer problem was solved, but the problems with the transmission remained.
I eventually found some downtime to do a little cosmetic touch up and decided to repaint the rear bumper. The bumper had been replaced once before due to a fender bender and the one that was put on was not properly painted to prevent rust, so over time, it had become nothing but surface rust. I took some 300 grit sandpaper and an electric sander to get it down to the bare metal. After that, I put 2 coats of Rustoleum spray-on auto primer followed by 3 coats of Rustoleum spray-on black bed liner. I did the same to the two bumper end caps and the results were really good. One and a half years later the paint has held up very nicely. Once in a while, I'll nick the pain when loading or unloading something from the hatch, but a little spray to the affected area fixes the problem.
Thanks! It's been in Southern California its whole life so there's absolutely no body rust. The underside is just covered in dirt, grime, and grease. I'll get around to cleaning that up some day
Up next was to replace the shocks. Since my XJ is only rear-wheel drive (2WD), I have had dreams of lifting it but I have no desire to, so what I decided I was going to do was keep it at stock height and replace all of the OEM suspension components little by little. I started with the shocks because the old ones had never been replaced and the suspension felt very spongy. I found a set of 4 shocks on the Auto Parts Warehouse website for $90.
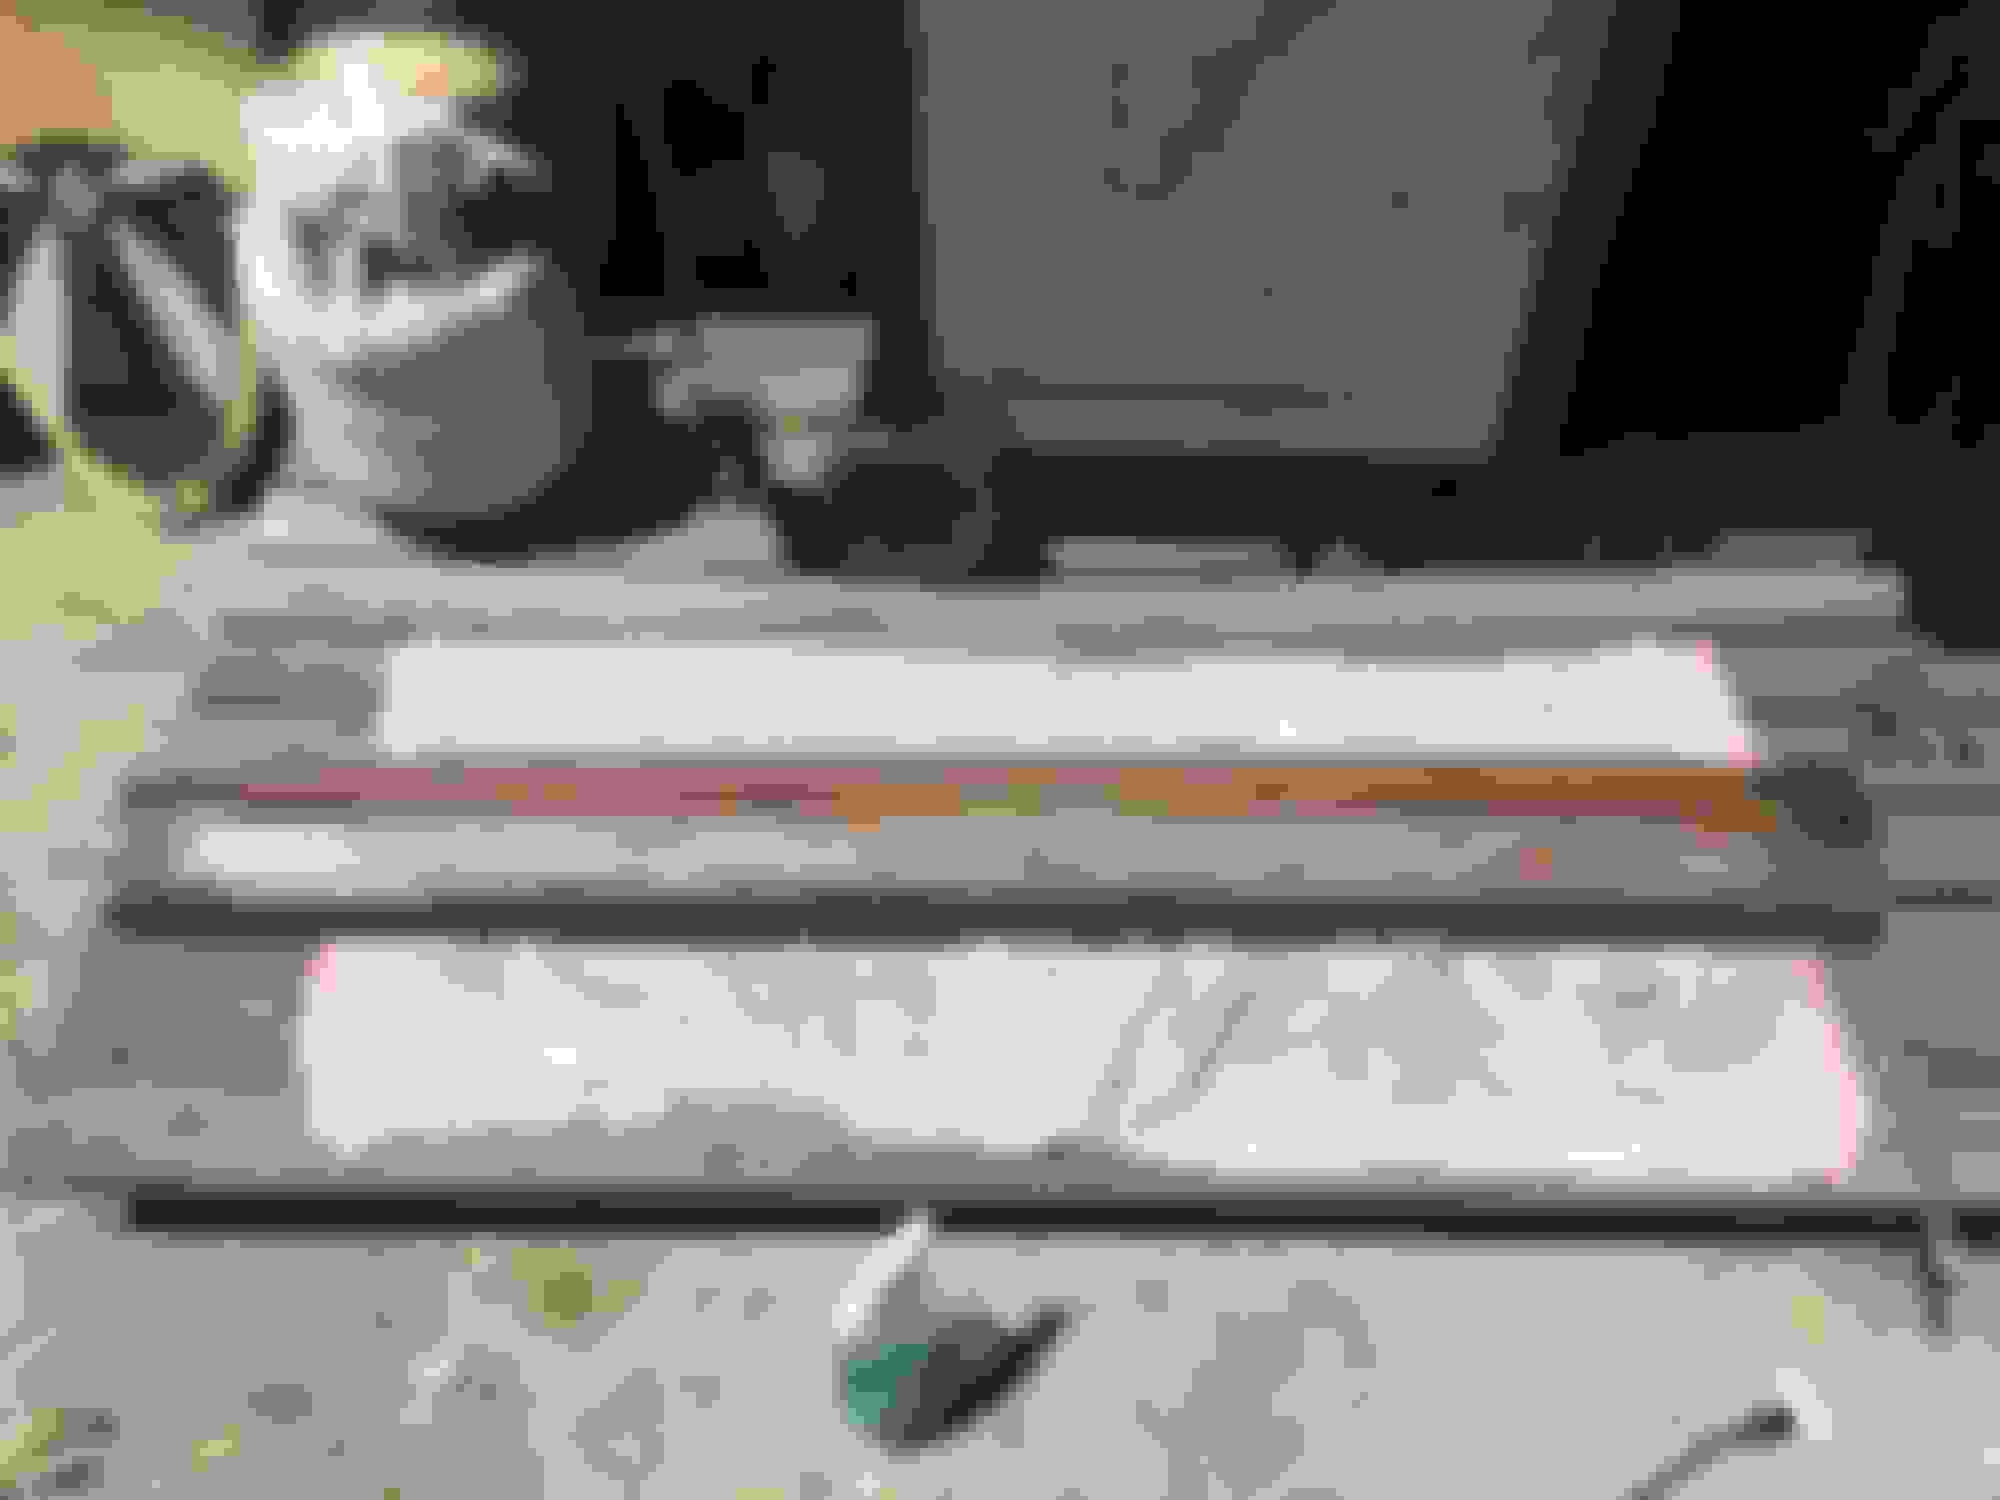
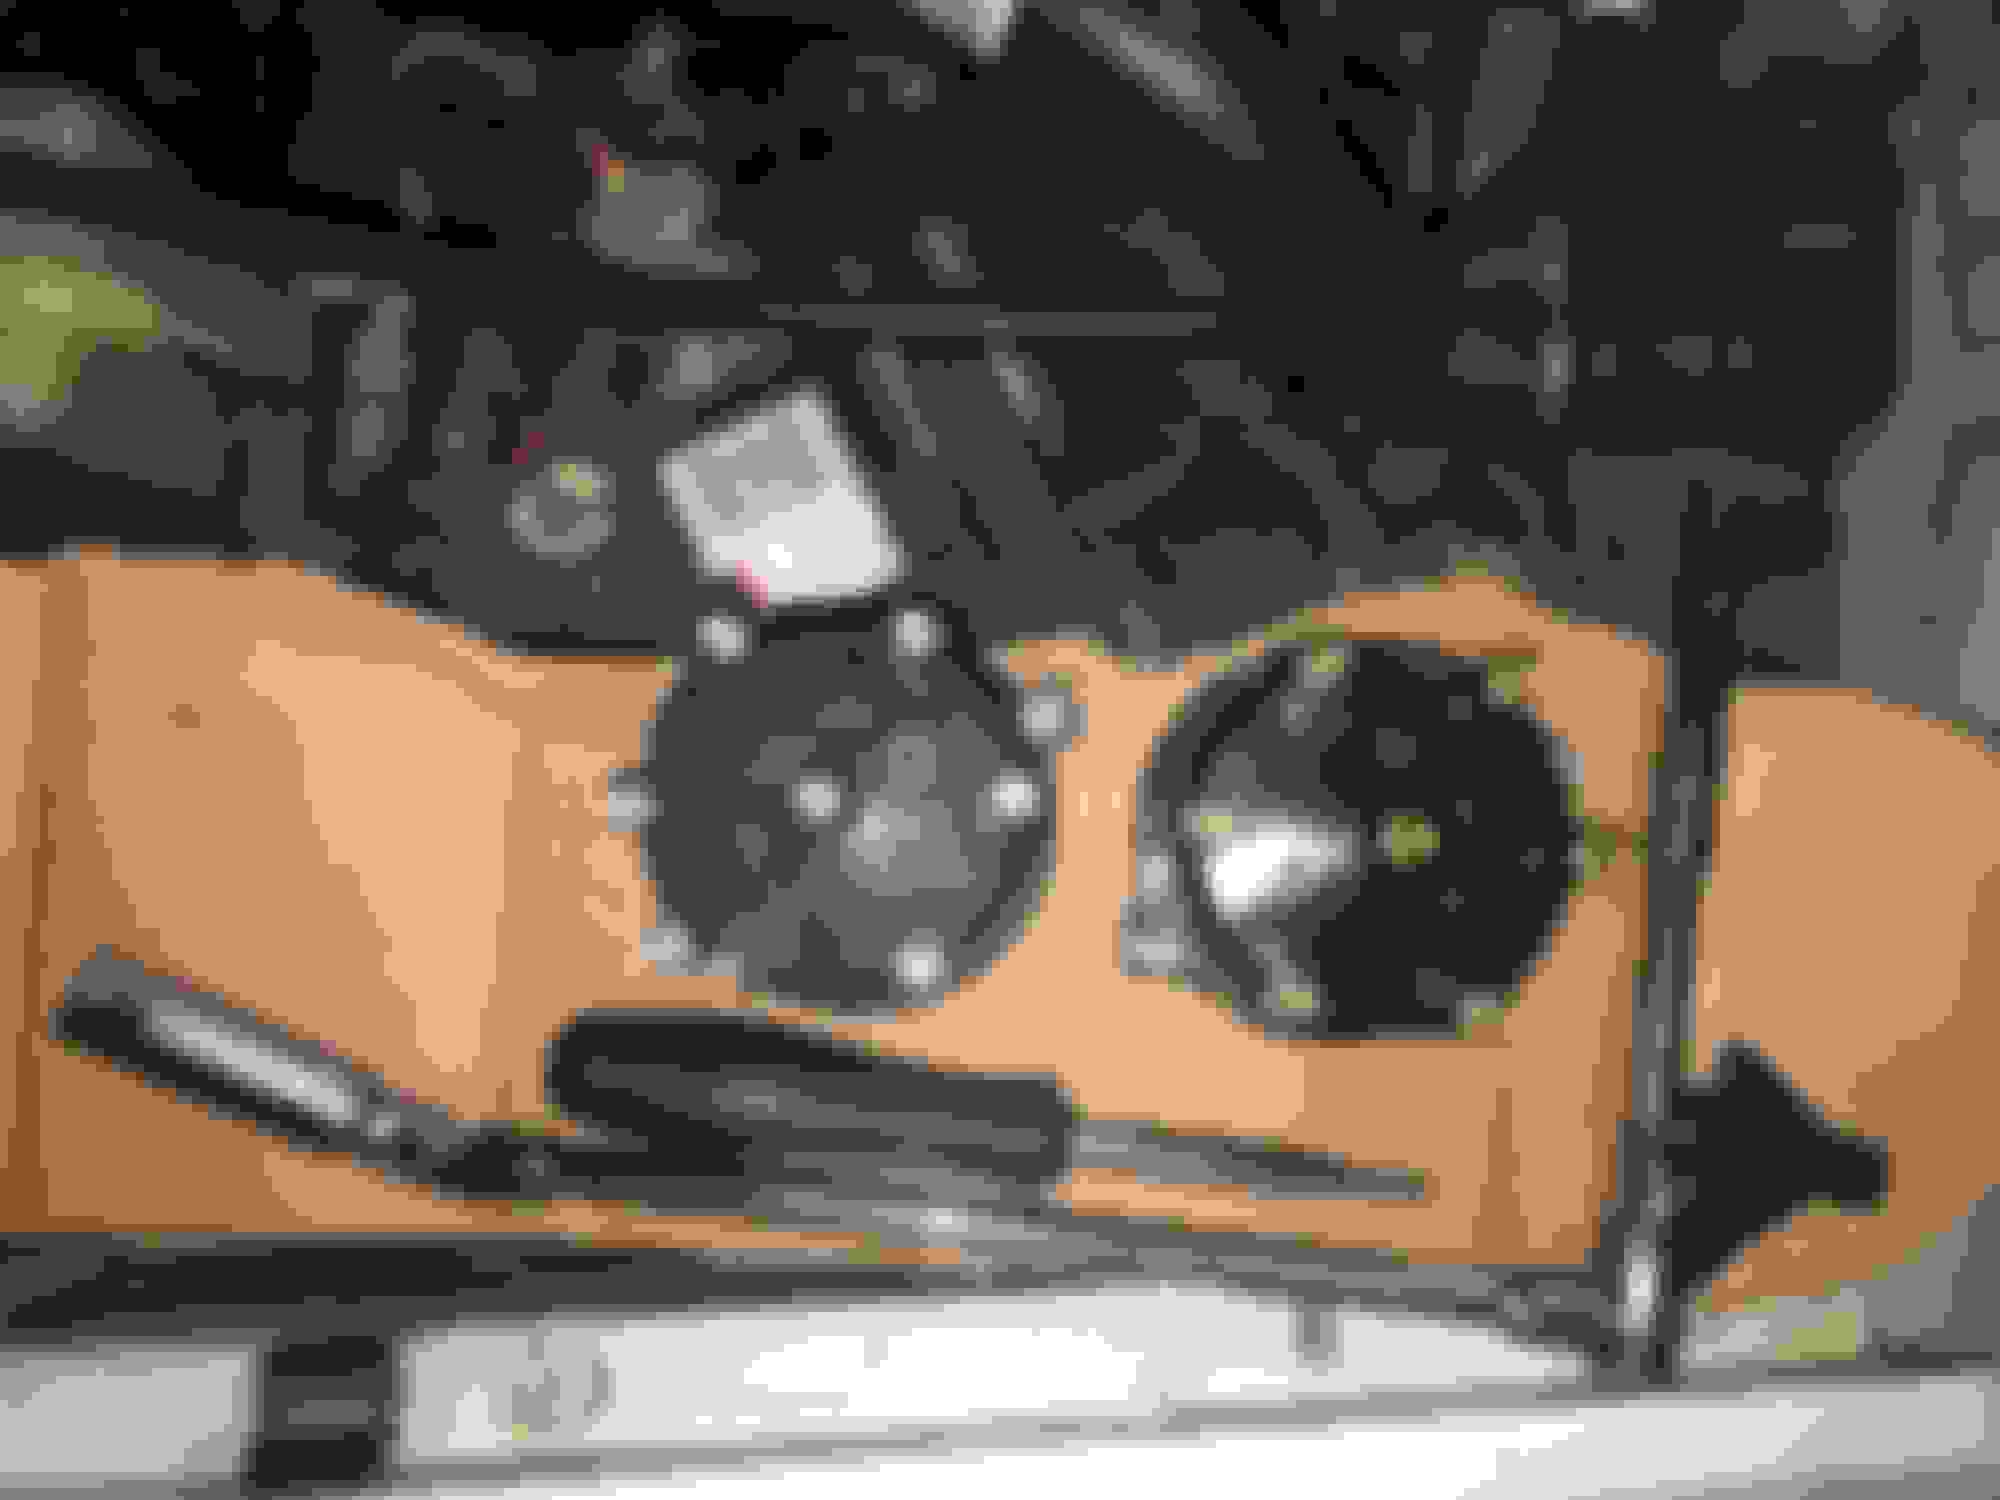
Next up, a complete brake job. In the front, I bought new rotors and pads. In the rear, I bought all new shoes, hardware, and wheel cylinders. After the job was done, I completely bled all of the brakes too. I had to anyways to get the air out of the new wheel cylinders.
Before picture of the front rotors
Nasty rust
New rotor compared to old
New pads compared to old
Front end complete
Old drum shoes and hardware. The shoes were so worn out that the E-brake didn't even work
Side by side. Old vs. New
New cylinder installed
Rust and brake dust cleaned up a bit
Rear end complete! This took the longest. Both sides took about 2 hours total. It was my first time doing drum brakes.
One of the first things that I did to the jeep was to replace the water pump. In doing so, the coolant was drained and new coolant was put into the system. Just 4 months after that, the coolant in the reservoir was noticeably brown so a coolant flush was in store. The user manual says that the system takes 3 gallons of coolant. Harbor freight sells 50/50 Peak Antifreeze for half of the price of select auto parts stores so that's where I bought it from. When doing a coolant flush, you want to use distilled water to prevent any further corrosion of the engine block. You can buy distilled water from any grocery store for about $0.50 a gallon. You also want to add some sort of coolant flush solution to the mixture which is meant to aid in the removal of any grime build up inside the block. So to get started, locate the petcock drain release on the bottom passenger side of the radiator. Remove the radiator cap so that there is no air pressure keeping the coolant from draining, then remove the petcock. Make sure you have a catch can or a bucket to catch the coolant because it is not something you want running back into the environment. Once drained, replace the petcock and fill the system up with the distilled water and one bottle of the flush solution. After it is topped off and you've removed all the air bubbles, you want to get the engine up to operating temperatures and let it run for about 10-20 minutes depending on the severity of your case. In my case, it was really bad so between each flush that I did, I drove it normally for one whole day. I ended up doing 10 flushes in total while using the flush solution on only 5 of the 10 flushes. The entire process took just under 2 weeks.
Distilled water
Flush solution
The coolant draining from the petcock. I found it easiest to do this job with the grille panel removed.
On the left was when I first drained the system. Middle was after one flush. Right was after the second flush. As you could see, it was really bad.
It slowly started to get better. after 4 more flushes it was running completely clear.
After the very last flush, I replaced the thermostat and thermostat housing just because. Out of the box, the thermostat housing had what looked to be like a polishing stone lodged in the threads. I was able to get it out without damaging the threads, but how odd... Use a 190 thermostat because that's what the 4.0 was designed to use.
After the flush was complete and the reservoir was topped off, I noticed that there was less fluctuation in temperature while driving around town. The engine would maintain a constant temperature as it should, rather than heating up significantly and cooling down like it was. Even if you think you don't need to flush the system, I would highly consider it. Especially for a high mileage engine like mine.
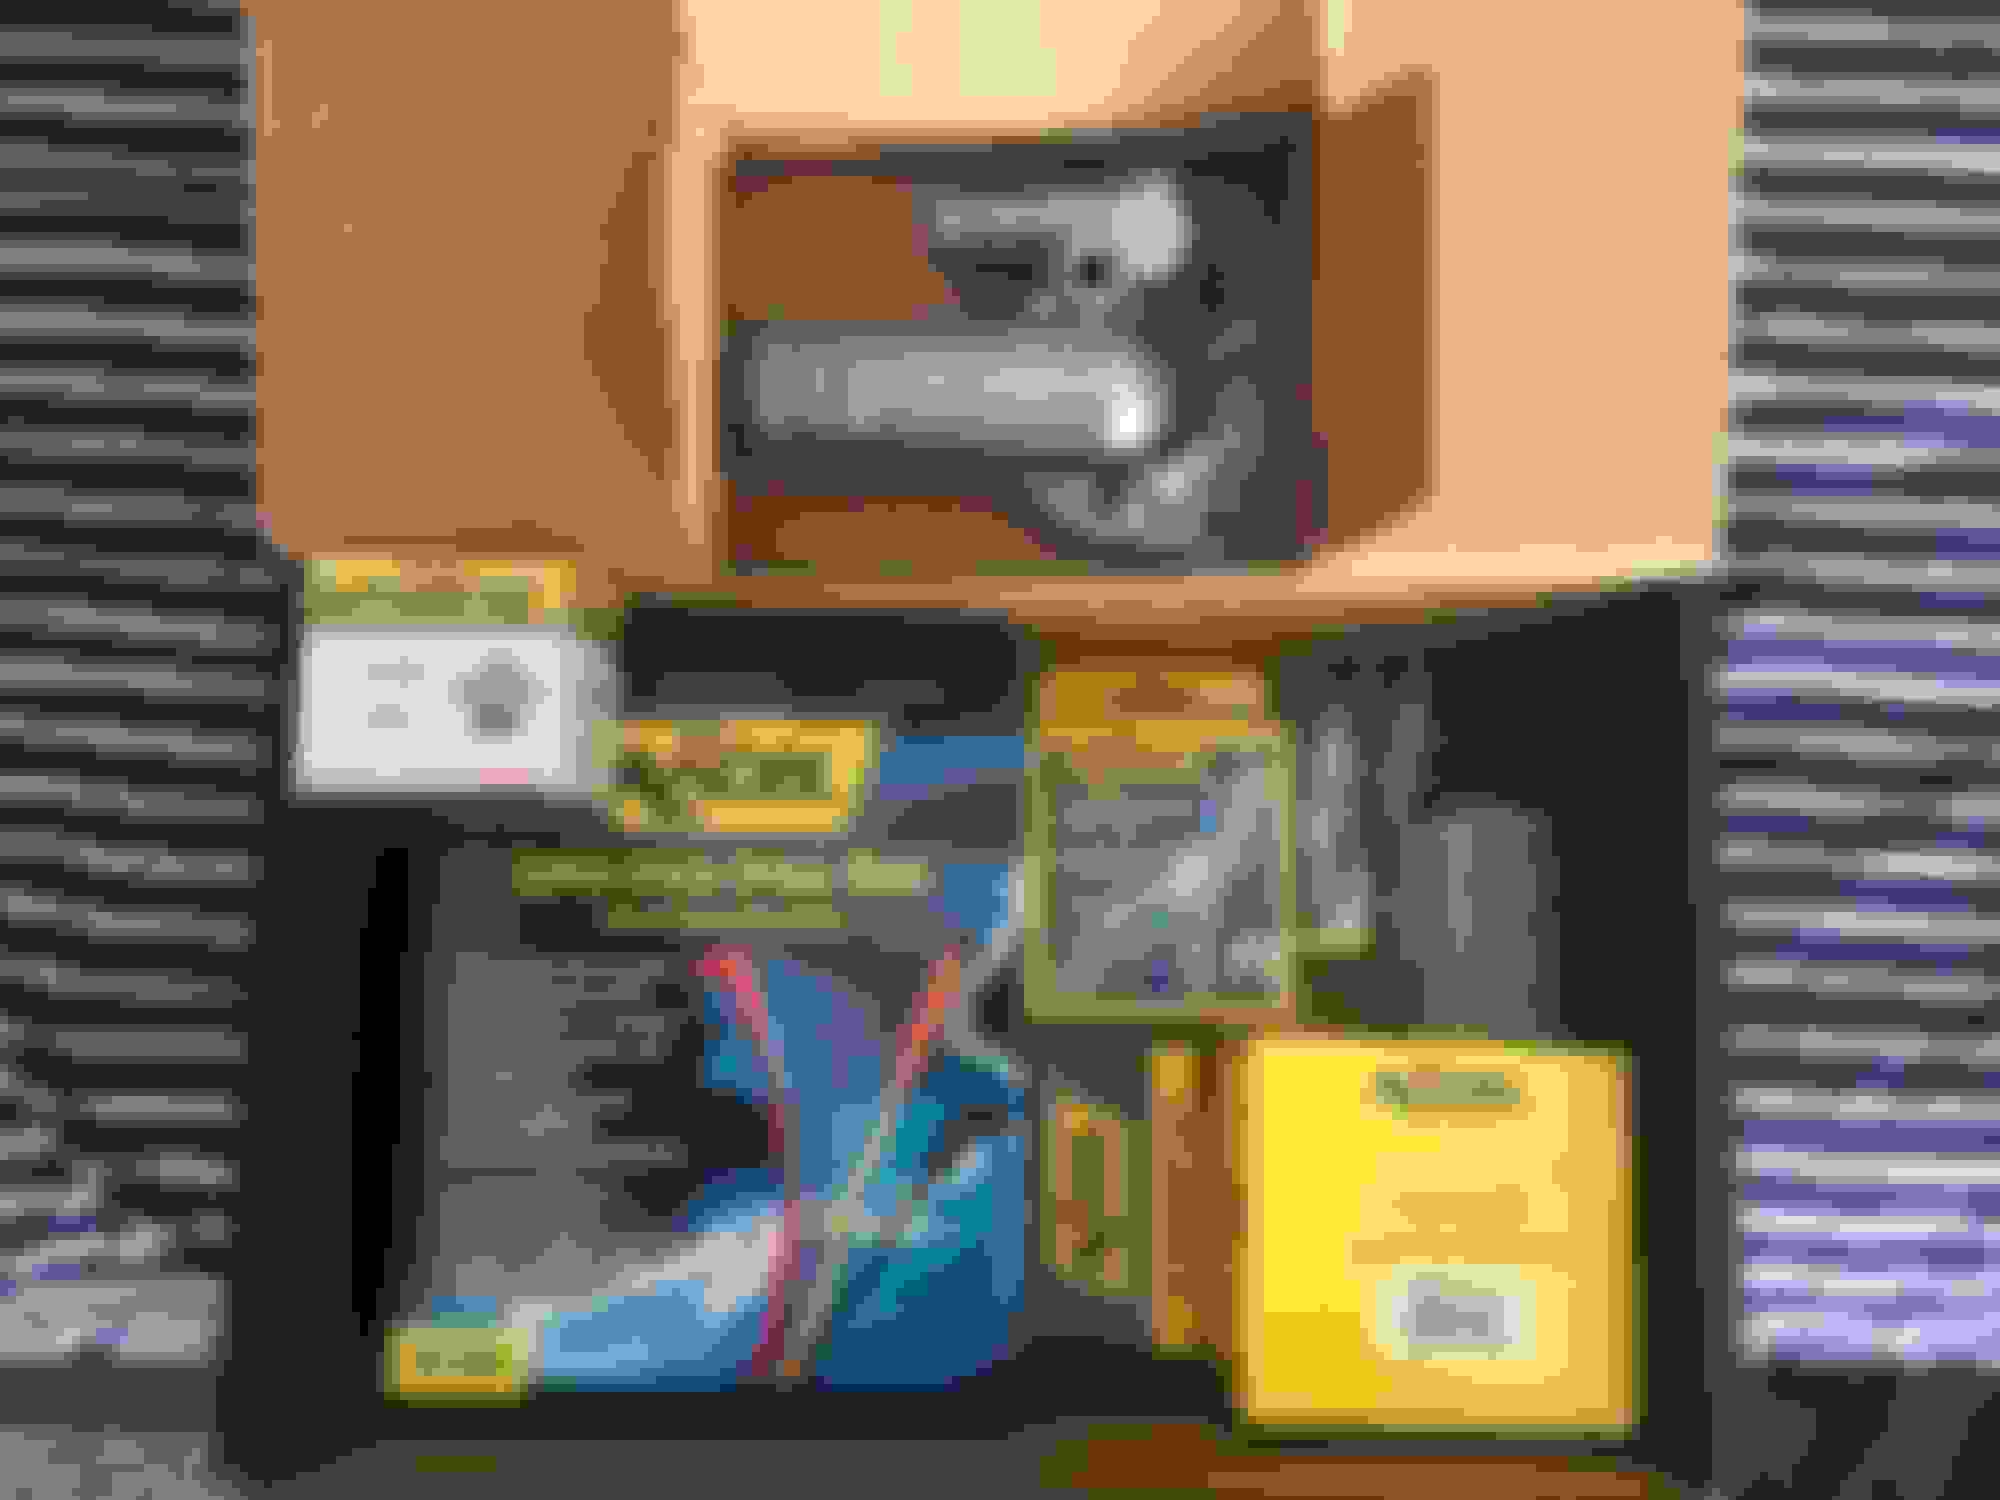
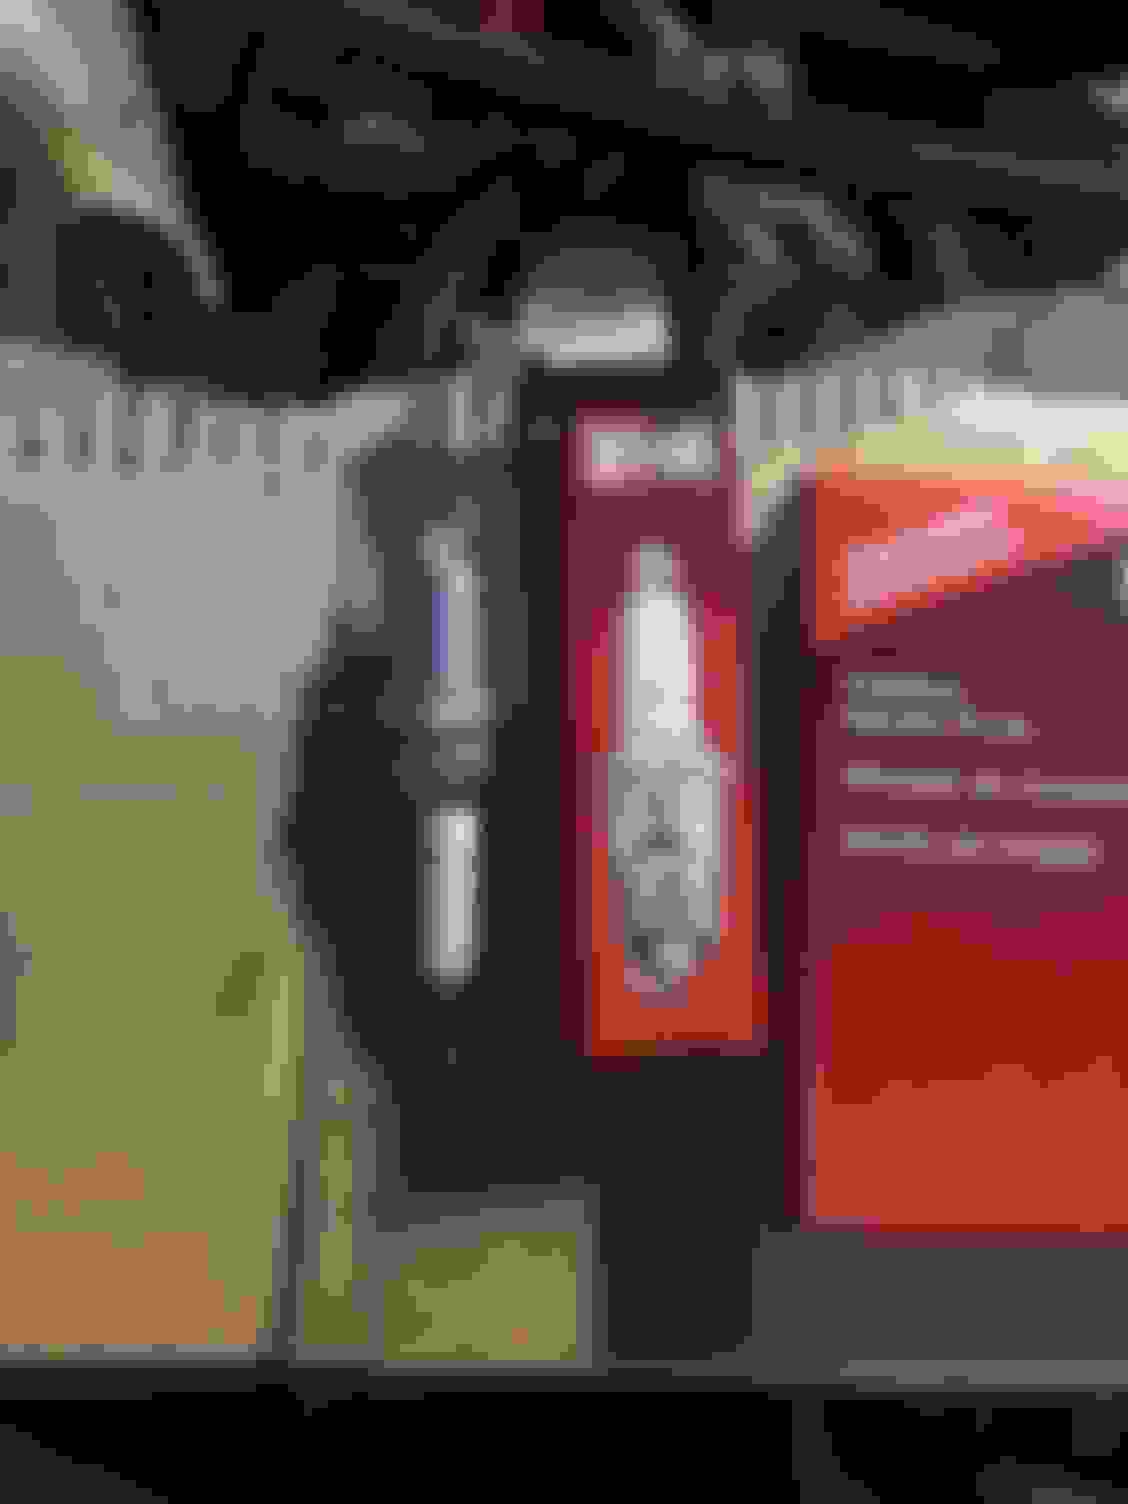
With over 270k miles on the engine, it was due time for an engine tune up. I planned on swapping out the spark plugs, the ignition wires, the distributor, the distributor rotor, and I also wanted to swap in a new fuel filter. I found a really reasonably priced kit on auto parts warehouse. It was odd because I was originally going to buy the same kit from amazon but it could not be sold in California? It was available to all other 49 states and no one could tell me why.
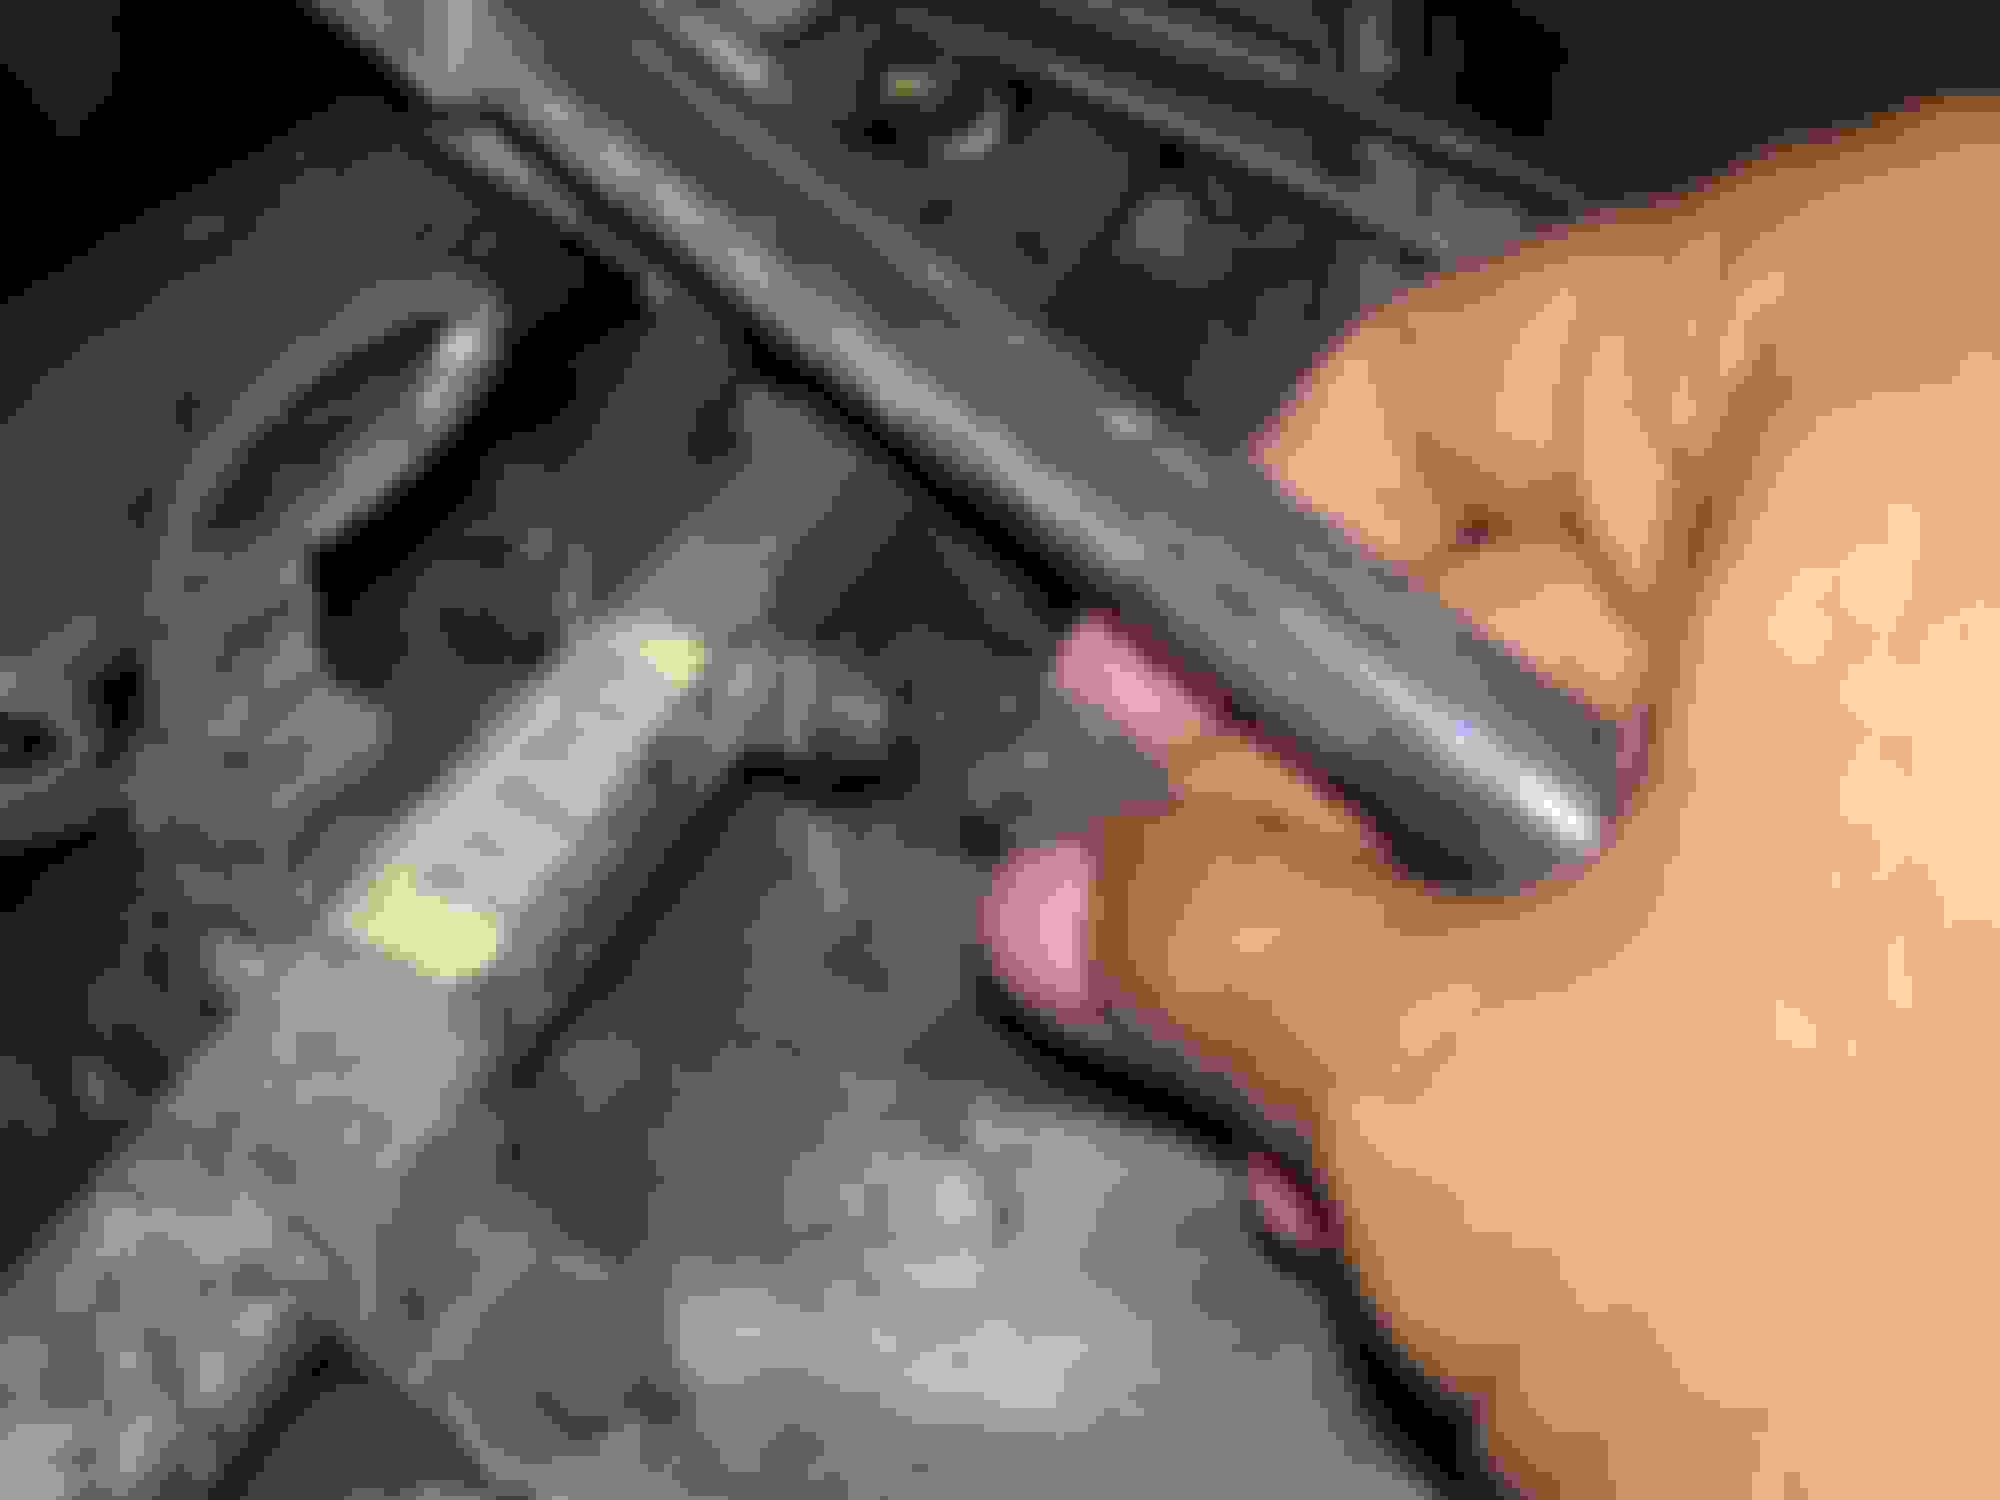
Before you disconnect the fuel lines, you'll want to release and pressure in the system so that you don't get sprayed with gasoline. There's a little pressure release here above the fuel injectors.
It works like releasing air from your tire.
New fuel filter installed. Before you start up your jeep again, you need to re-pressurize the fuel line and to do this, just turn your key to the on position a few times repeatedly. You'll hear the fuel pump whir up which it pressurizing the line.
A shot of the old distributor and ignition wires.
I'm no expert, but this doesn't look too good
Old spark plug (Left). New spark plug (right). The height difference was concerning to me so I ended up changing them a few days later.
New plugs installed
Old distributor cap
Old distributor rotor
Comparison
Comparison (New on right)
The tune up kit came with a little pack of dielectric grease to squeeze inside the boot of the ignition wires.
These wires are looking nice.
So these are the new spark plugs that I decided to go with instead of the ones that came with the kit. Bought them from O'Reilly.


 In the end, the speedometer and odometer problem was solved, but the problems with the transmission remained.