
Little back story,
I've had quite a few 4x4s in the last few years, including a bronco, power wagon, and f150. After taking my supercab f150, locked on 35s, up john bull I found I needed something smaller to wheel. As capable as it was, making k turns around corners was a little tough.
So started my affair with jeeps. Picked up an xj with a 3" lift, 4banger 5 speed. I took it up the grapevine going towards hungry valley and found it was way too gutless. Sold it and picked up an 88 mj. Put it on 32s re 3.5" lift, very fun truck. But also had its drawbacks. Wanted a 4 door and air conditioning.
So then I ended up with this...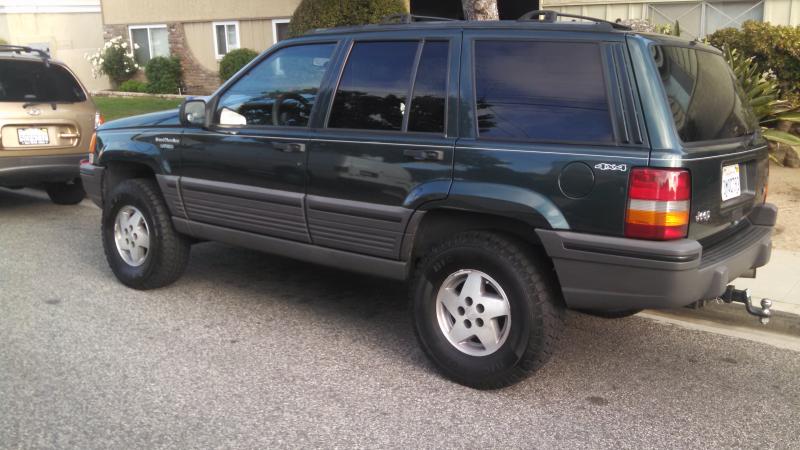
1995 zj Laredo
5.9 swap 46rh Dana 30/35 np249 tcase
Has a new set of 31" all terrains and a 1.75" BB
Updates and plans coming in tomorrow!
I've had quite a few 4x4s in the last few years, including a bronco, power wagon, and f150. After taking my supercab f150, locked on 35s, up john bull I found I needed something smaller to wheel. As capable as it was, making k turns around corners was a little tough.
So started my affair with jeeps. Picked up an xj with a 3" lift, 4banger 5 speed. I took it up the grapevine going towards hungry valley and found it was way too gutless. Sold it and picked up an 88 mj. Put it on 32s re 3.5" lift, very fun truck. But also had its drawbacks. Wanted a 4 door and air conditioning.
So then I ended up with this...

1995 zj Laredo
5.9 swap 46rh Dana 30/35 np249 tcase
Has a new set of 31" all terrains and a 1.75" BB
Updates and plans coming in tomorrow!


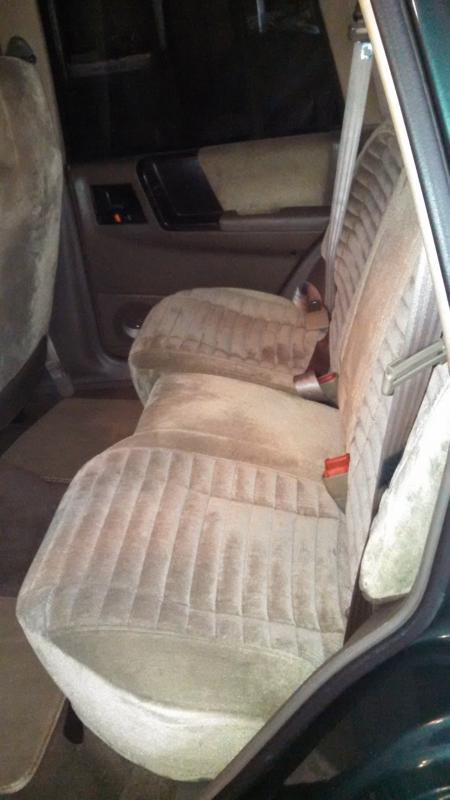
So here's a few more pics in stock form. Very very clean inside and out. Wish it had leather, but its all there besides. 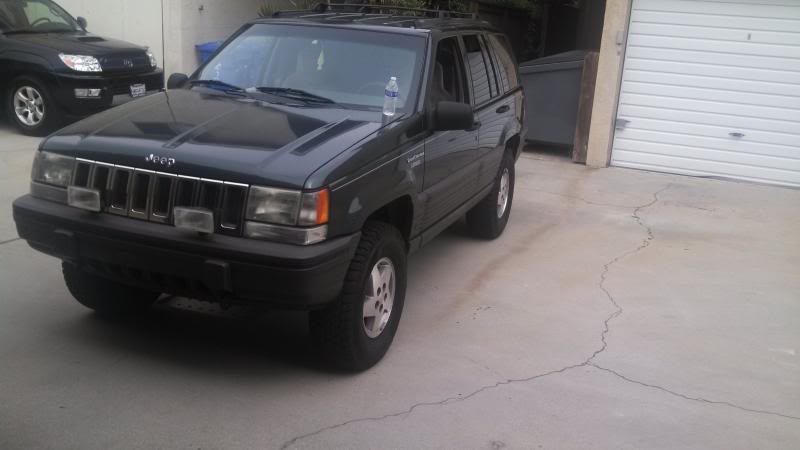

So stage one plans are to do a IRO 3.5" lift with front and rear adjustable track bars. Keeping the 31s, maybe trade up for something more aggressive. Toss stock wheels for some steelies. I'll convert my front driveshaft from repezza style to an open ujoint style.Toss in a pair of alloy shafts in the dana 35 to make me feel better. Possible throw on some adjustable control arms, and then upgrade the brakes so I can stop this monster. Then wheel it till something brakes or I decide its time to go upgrade.
Stage 2
-bump it up to IRO 5.5 critical long arm kit
-bilstiens all around
-33x12.50
-swap the 249 for a 242
-swap the d35 for an 8.8
-maybe do a lp-->HP d30 in the front
Still gotta play catch up on pics...
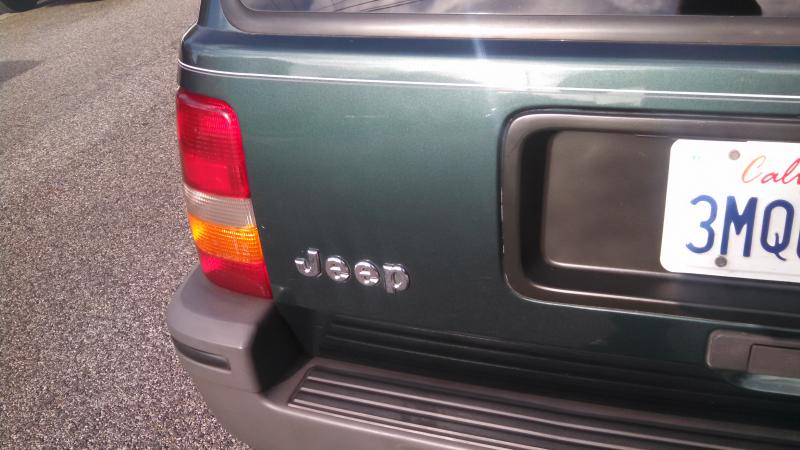
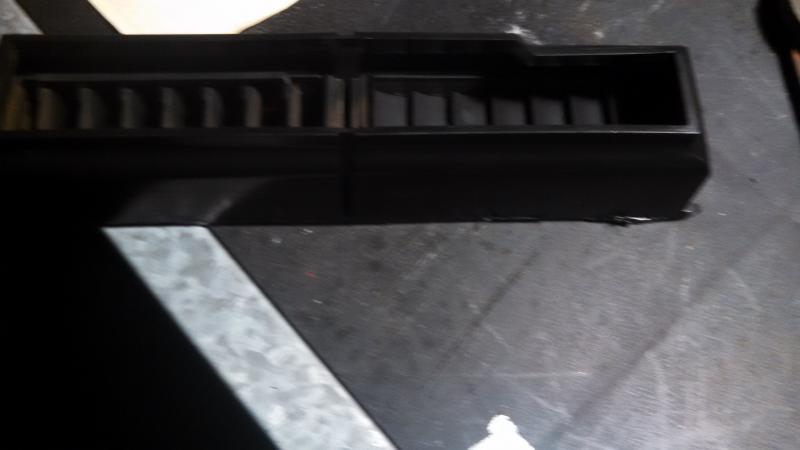
First quick mod was repainting the license plate tray in the rear hatch. Its supposed to be the same green as the jeep but it was more of an ugly faded grey somehow. So masked it and shot in some matte black. I think it looks pretty sharp for a rattle can mod lol.
Next was to start with the ujoint driveshaft conversion. Went picking through a pick a part and found this little fella begging to be taken home...
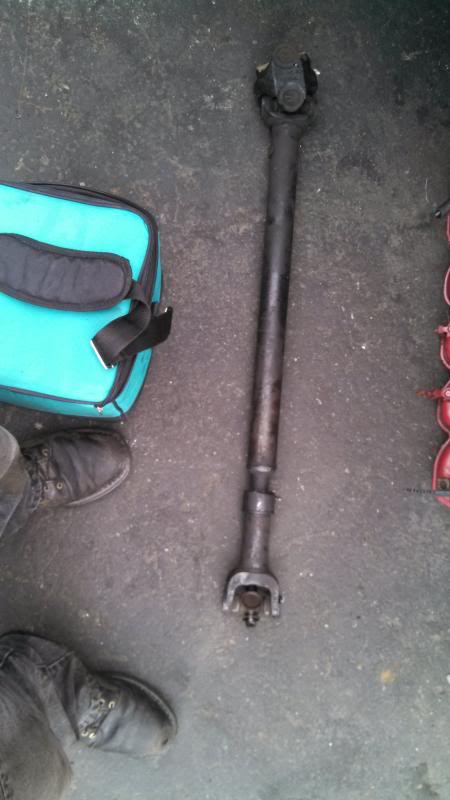
So then one new yoke and ujoint later she had a new home under the jeep!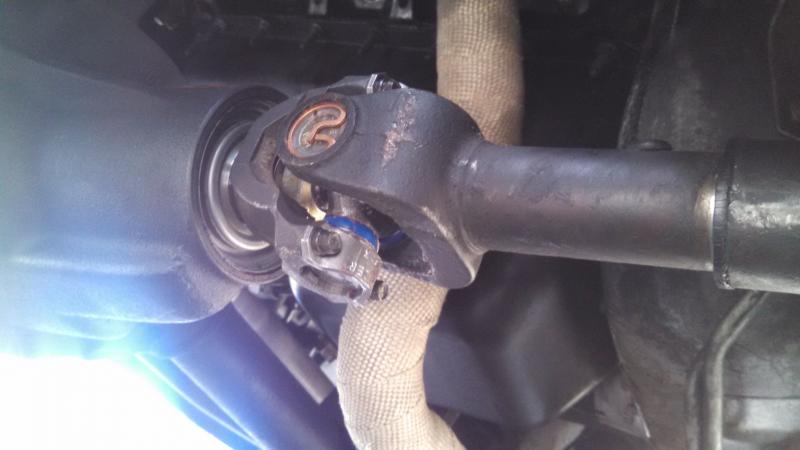
Now we are ready to lift this fella
First quick mod was repainting the license plate tray in the rear hatch. Its supposed to be the same green as the jeep but it was more of an ugly faded grey somehow. So masked it and shot in some matte black. I think it looks pretty sharp for a rattle can mod lol.

Next was to start with the ujoint driveshaft conversion. Went picking through a pick a part and found this little fella begging to be taken home...

So then one new yoke and ujoint later she had a new home under the jeep!

Now we are ready to lift this fella
IRO 3.5" kit was ordered and parts are on the way!
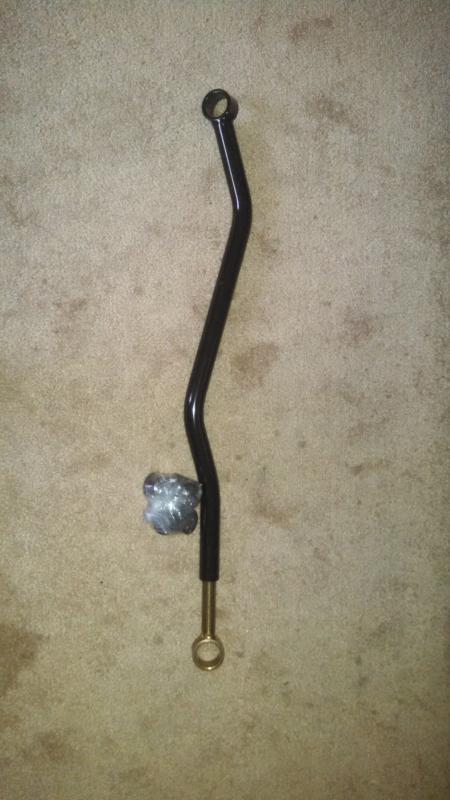
Rear track bar rolled in first. This thing is pure beef just like everyone says. A little heavier and you could curl it. Expecting the rest of the kit to roll in on Monday. So guessing 4th of July weekend will also be lift weekend!!
Also shout out to IRO, got their shipping discount from a naxja, always nice to help us jeepers out! I'll be ordering and recommending them frequently!
And that's where we sit as of now. Hopefully get the lift installed and brakes upgraded in the next week or two.
Quote:
Honestly it is. I smoked a BMW the other day lol. Its got a full 3" exhaust so it has a nice little rumble too.Originally Posted by Battle
Following. That thing is clean! Must be an absolute sleeper with that 360 swap!
And right on time rest of the lift kit shows up!!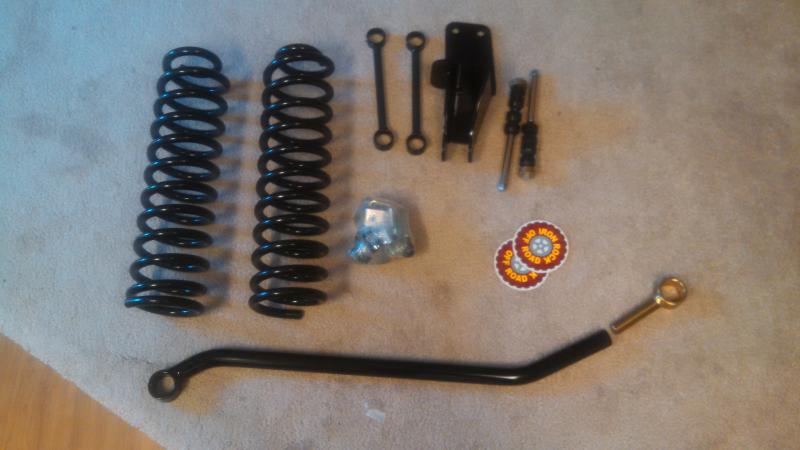
Grabbed some stainless steel extended brake lines front and rear as well.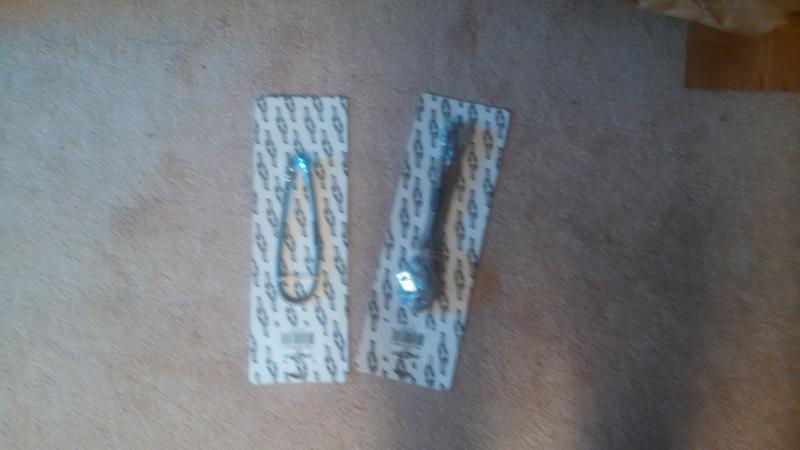
Just need to wait till this weekend so I can install all this. Will have to check the length on my budget boost shocks to see if I'm gonna need a new set.
Also ordered up a 7" folding touch screen radio/DVD player for the jeep. Will have to do some interior mods to squeeze her In The dash when it gets here. Stoked for it though.

Grabbed some stainless steel extended brake lines front and rear as well.

Just need to wait till this weekend so I can install all this. Will have to check the length on my budget boost shocks to see if I'm gonna need a new set.
Also ordered up a 7" folding touch screen radio/DVD player for the jeep. Will have to do some interior mods to squeeze her In The dash when it gets here. Stoked for it though.
So my new radio came in last 
Started the install, went fairly smooth, pulled the screws out for the dash faceplate
Then it all comes out
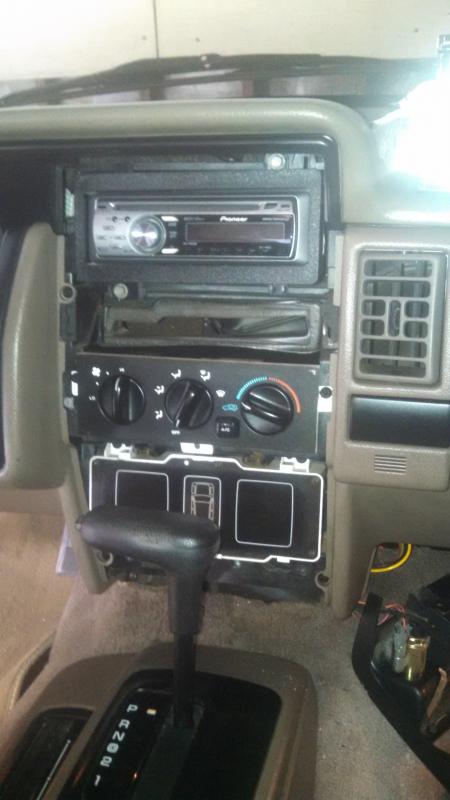
Then removed the head unit and found the PO was kind enough to leave a rats nest for me to sift through...

Rewired and ready to rock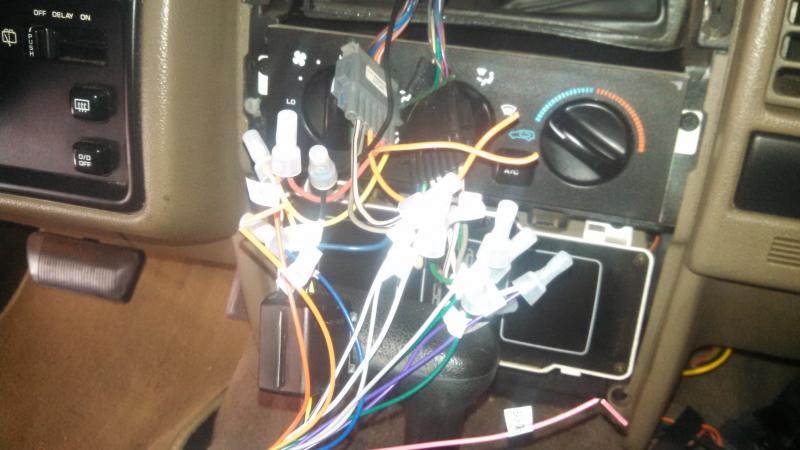
Ran out of time last night, got the new unit installed and working, just need to trim the plastic dash bezel so the fold down s teen can come out all the way. Will hopefully have time after work today. Then this weekend its on to the lift!

Started the install, went fairly smooth, pulled the screws out for the dash faceplate

Then it all comes out

Then removed the head unit and found the PO was kind enough to leave a rats nest for me to sift through...

Rewired and ready to rock

Ran out of time last night, got the new unit installed and working, just need to trim the plastic dash bezel so the fold down s teen can come out all the way. Will hopefully have time after work today. Then this weekend its on to the lift!
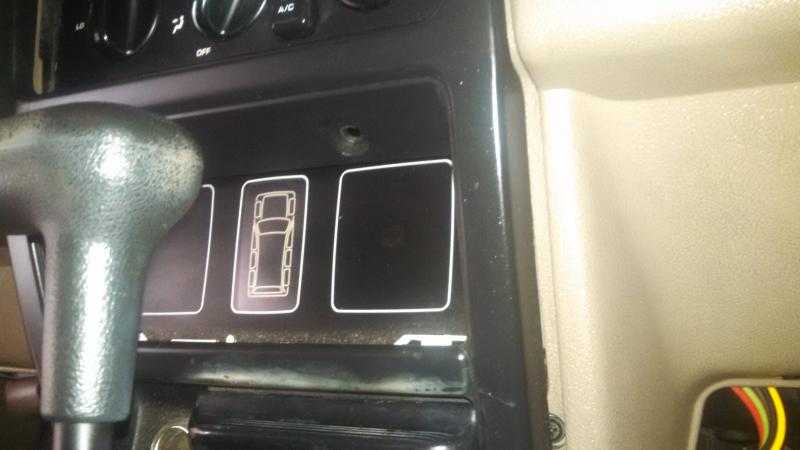
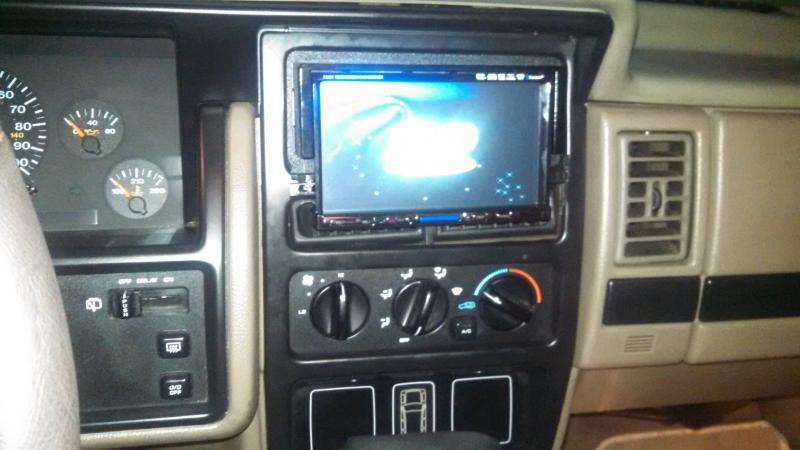
So was able to finish the radio install today, very worth it! ripped out the plastic cover and drilled out the plastic "rivets" holding the AC vent in place.
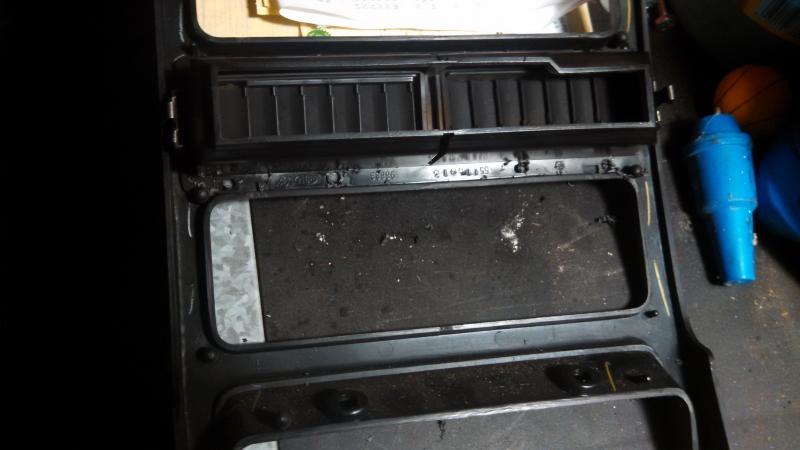
How it looked before...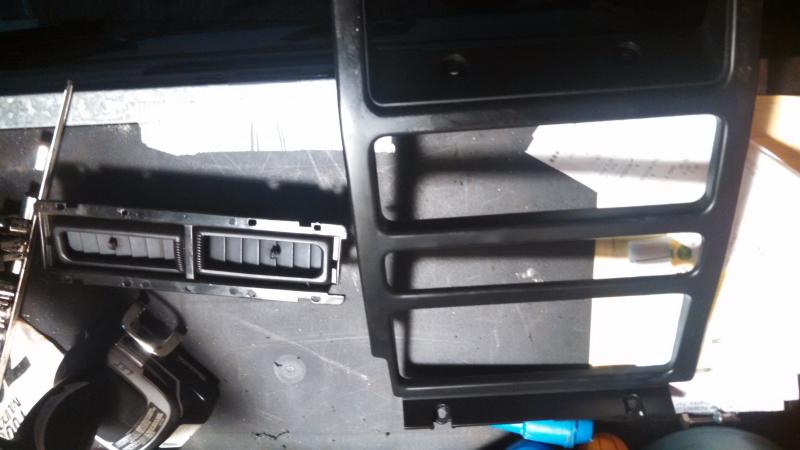
Took a jigsaw and cut out the divider between the old radio and AC vents to allow clearance for the folding screen
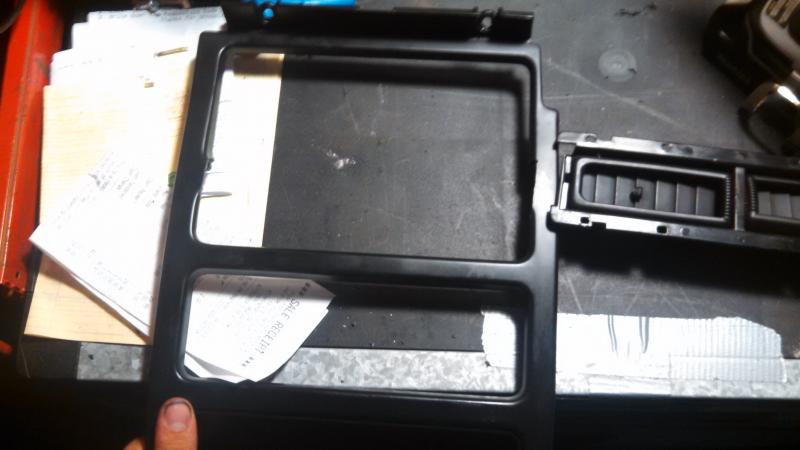
Then trimmed the lower molding edge off the AC vent itself so it had no lip on the bottom of the vent
After that just installed the new head unit and let the AC vents sit loosely in their respective spot, then reattach to dash molding...

How it looked before...

Took a jigsaw and cut out the divider between the old radio and AC vents to allow clearance for the folding screen

Then trimmed the lower molding edge off the AC vent itself so it had no lip on the bottom of the vent

After that just installed the new head unit and let the AC vents sit loosely in their respective spot, then reattach to dash molding...
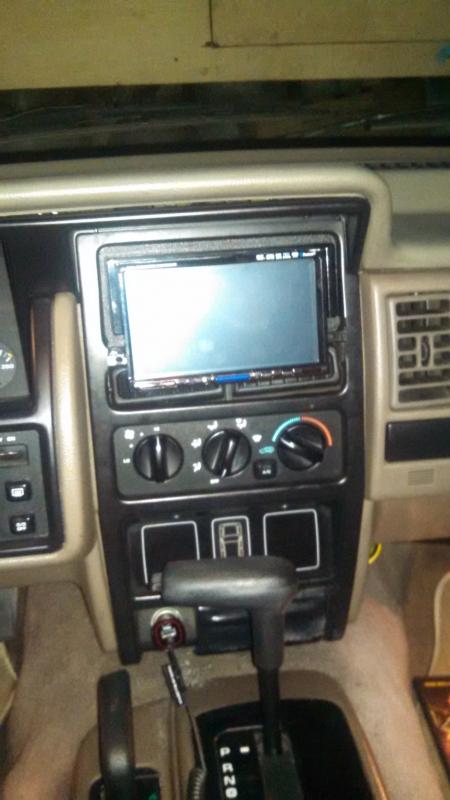
And the finished product. 7" touchscreen radio and DVD player for the long drives 


OK so got the lift almost all the way on. Had a busy weekend but got all the springs and sway bar links on. Sitting nice. There was a little cussin and yelling during the install from tools breaking g on me, so not really any pics. But got one this is with the passe gr side done. 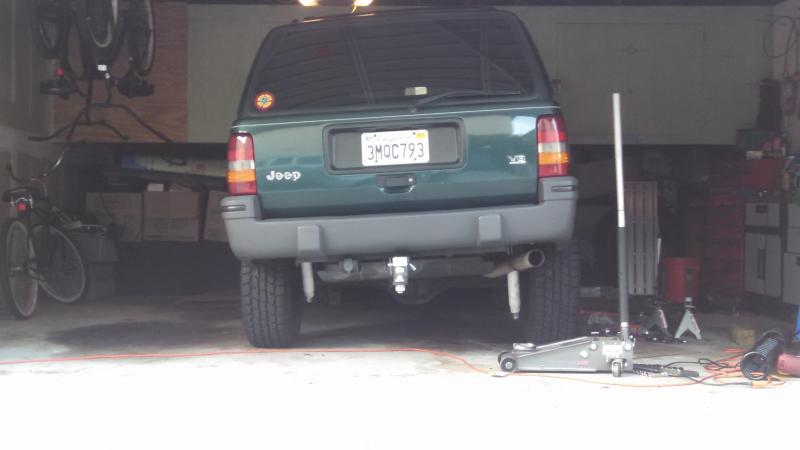
Then the final product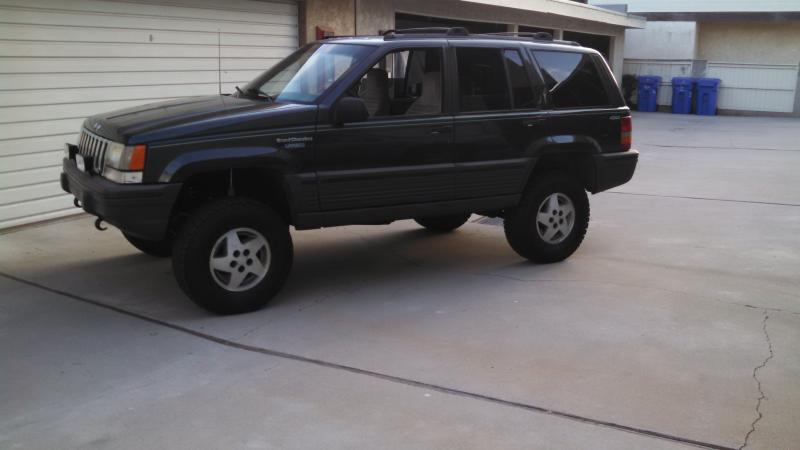
Had my coil spring co.pressor break on me who h I will return tomorrow, but took a few hours to get where it is. Deciddled I'm gonna order some 5100s tomorrow and get em on the jeep. Then I will need to hook up the track bars.
After that hopefully doing new ebc pads and rotors front and rear, along with hooking up the new trans cooler and gauges in the next few weeks.
So more to come!

Then the final product

Had my coil spring co.pressor break on me who h I will return tomorrow, but took a few hours to get where it is. Deciddled I'm gonna order some 5100s tomorrow and get em on the jeep. Then I will need to hook up the track bars.
After that hopefully doing new ebc pads and rotors front and rear, along with hooking up the new trans cooler and gauges in the next few weeks.
So more to come!
So today was a let down. I was hoping to get a lot done to the jeep. Instead I got a headache. I picked up my new bilsteins and took them home. Front shocks I was a little worried about so I put them on first. Went pretty smooth. Then my rears decided to fight me all the way. ...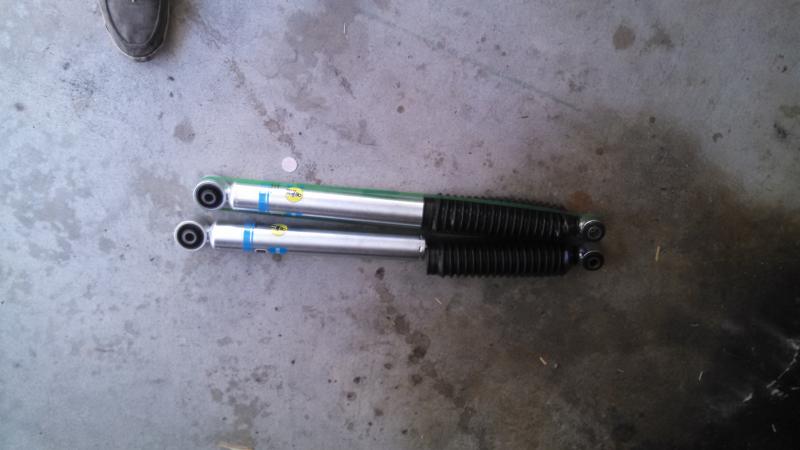
New bilstiens
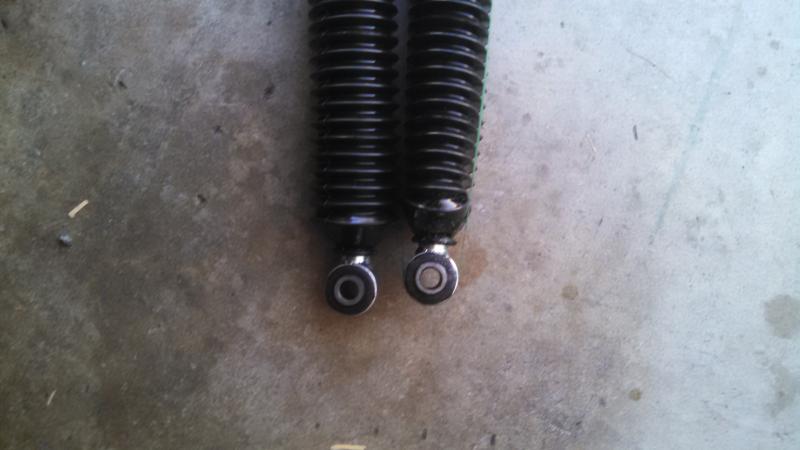
Now I don't know if this is a problem for anyone but I couldn't find any info on the web about it. My rear upper who k mounts seemed to be a 1/16" to wide for my new shocks. I figured maybe it was the wrong who k. I tried a new set and also procomp pro runners. All the SAME!! Since all these higher quality shocks all had a metal sleeve inside the eye there was no way to massage it in there, and the sleeve. Would not be pulled out....
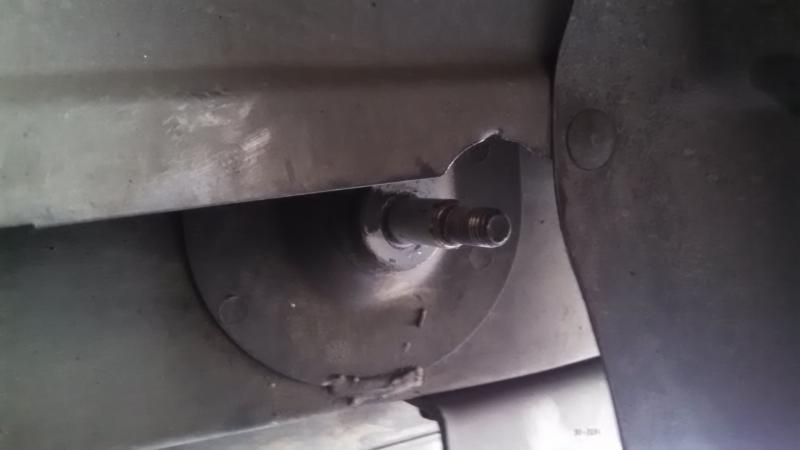
So I decided to just keep the shocks and make em work. I had to buy a 5/8" drill bit and drill out the upper shock sleeve. Then I had to take a grinder and grind off bout 1/4" of metal sleeve width from the bottom mounts. But now I'm left with the OE bolts are not the right diameter, so I have a rattle in the rear end from the mounts being a little loose. This means I'll have to remove the shocks and drill out the a me mounts then buy new hardware and install again.
I took it for a ride around the block and I'm not sure this was worth it. Everyone seems to sware by bilsteins, I don't see much of a difference from the pro comp 9000s I have ran on every truck I've owned. Soooooooo for and extra $150 I got shocks that I. Cant really tell are better, and I still have more work ahead to get them to work right.
At least my new brakes are in the mail. New ebc pads and rotors, hoping this will make a big difference in braking performance. Till next time.

New bilstiens
Now I don't know if this is a problem for anyone but I couldn't find any info on the web about it. My rear upper who k mounts seemed to be a 1/16" to wide for my new shocks. I figured maybe it was the wrong who k. I tried a new set and also procomp pro runners. All the SAME!! Since all these higher quality shocks all had a metal sleeve inside the eye there was no way to massage it in there, and the sleeve. Would not be pulled out....

So I decided to just keep the shocks and make em work. I had to buy a 5/8" drill bit and drill out the upper shock sleeve. Then I had to take a grinder and grind off bout 1/4" of metal sleeve width from the bottom mounts. But now I'm left with the OE bolts are not the right diameter, so I have a rattle in the rear end from the mounts being a little loose. This means I'll have to remove the shocks and drill out the a me mounts then buy new hardware and install again.

I took it for a ride around the block and I'm not sure this was worth it. Everyone seems to sware by bilsteins, I don't see much of a difference from the pro comp 9000s I have ran on every truck I've owned. Soooooooo for and extra $150 I got shocks that I. Cant really tell are better, and I still have more work ahead to get them to work right.
At least my new brakes are in the mail. New ebc pads and rotors, hoping this will make a big difference in braking performance. Till next time.


Take the sleeve out of bushing, and check for a tight hand press fit between bushing and shock bolt.
The sleeves seem to be stuck. Couldn't pull em out no matter what. I ended up getting the shocks on the top. I did a little research and I believe if I trade out my stock m10 bolts for some m12s on the bottom it should be a tight fit and I should get rid of the rattle.
Just gets frustrating when something as easy as shock replacement has been the hardest part so far haha.
Just gets frustrating when something as easy as shock replacement has been the hardest part so far haha.