
Quote:
The lift starts Wednesday...I'm sure I'll have a few updates...Originally Posted by fritzthekatt
Should look real nice when you're done. Keep the updates coming.
Senior Member
good luck.
I still need to get my new full leaf packs in myself but havnt had a weekend off in 4 weeks :/
I still need to get my new full leaf packs in myself but havnt had a weekend off in 4 weeks :/
Quote:
I still need to get my new full leaf packs in myself but havnt had a weekend off in 4 weeks :/
Yeah, I'm having to take vacation do get this done myself...Originally Posted by 98REDXJ2
good luck.I still need to get my new full leaf packs in myself but havnt had a weekend off in 4 weeks :/

Newbie
I've been there, when you are scratching for time to sleep and just praying for time to yourself. Good luck on the build, take plenty of pics and be thankful for the time off!! Wooo!!
Quote:
Oh yeah, full time job, full time student, wife, 2 kids....aaaaand the jeep...Originally Posted by 90xj87
I've been there, when you are scratching for time to sleep and just praying for time to yourself. Good luck on the build, take plenty of pics and be thankful for the time off!! Wooo!!
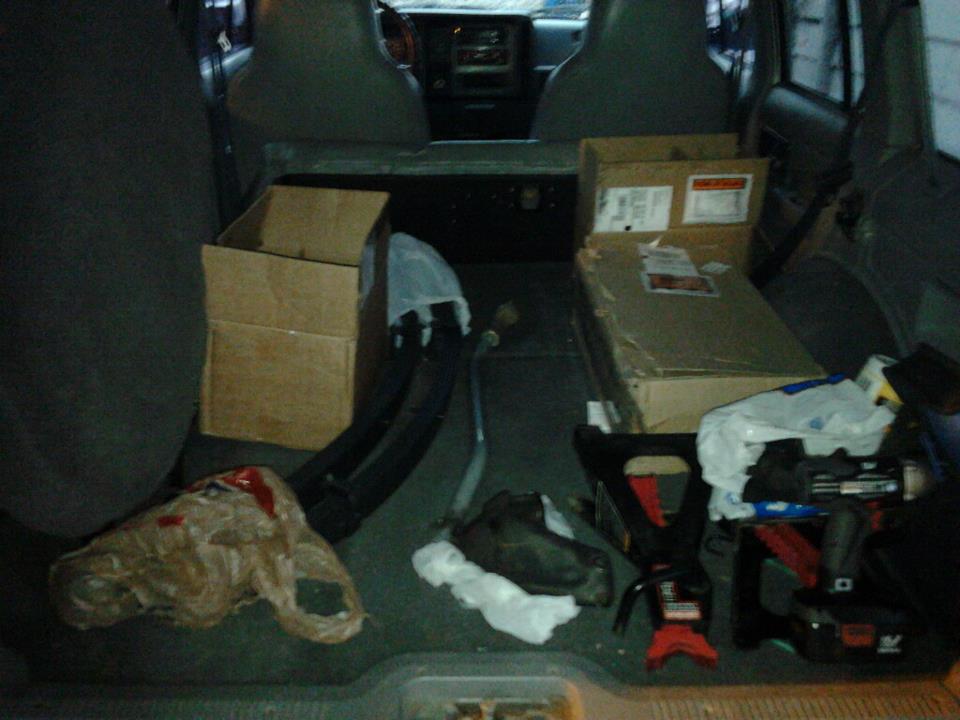
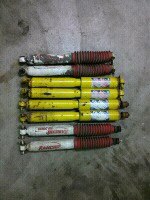
All loaded up and ready to go. Oh look, shocks! Hmm...+3" Ranchos or +5" OME's...I'll take OME thank you.
Well, 11 hours later, 15 miles of looking for an M14x2.0 tap, and 1/3 of a missing finger the lift is installed just short of the discos and wheels/tires. Couldn't get the lower mount bolt for the sway bar links to hammer out so we'll reconvene tomorrow and drill 'em out unless I can find a better way.
Ran into some minor problems...the ones that aren't catastrophic but take a butt-ton of time to figure out and correct. I got lots of pics to post but that'll wait til tomorrow. I'm finally going to enjoy a beer then go pass out...
Ran into some minor problems...the ones that aren't catastrophic but take a butt-ton of time to figure out and correct. I got lots of pics to post but that'll wait til tomorrow. I'm finally going to enjoy a beer then go pass out...
Ok...lets start updating. Forgive any type-o's, I lopped of part of a finger. More on that later. Ok, so got to my buddy's house, he's done this a time or two. Here's his ride:

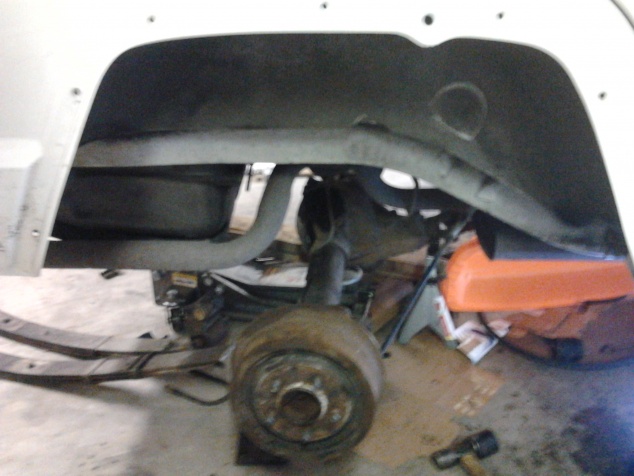
Got started on the rear. 4 cans of PB Blaster for 2 weeks on the bolts had us in pretty good spirits as all rear shock bolts came out flawlessly. U-bolt nuts came off easy too. Then we headed to the front eye bolt on the leafs springs, full of confidence this would be the easiest lift ever...

And then this happened and everything went to hell and was a major fight for the rest of the build...

So long story short as I was holding the socket wrench onto the front leaf bolt as my buddy cranked on it with a cheater bar, I made a bone head maneuver and placed my fingers around the wrench handle near the head and my finger got smashed between it and the unibody as he cranked the bar up into the rear wheel well. Didn't hurt that bad and I thought it was just smushed a bit...but then I finally got that cruddy feeling where you know you ought to pull your work gloves off and check it out...but don't really want to. Apparently the force pushed the side of my fingernail down into my finger and cut off about a third of the side of my fingertip. No worries. Couple of bandaids, some electrical tape, and my glove tugged back on and we're back at it!
So as I said, after that everything got FUBAR. The front leaf bolts backed freely from the weld nut, however the inner sleeve on the bushing was seized to the bolt, so as it was backed out the sleeve was pulling the sheetmetal of the shackle box out with it. This was a no-go. So we put our heads together and decided to cut the eye off the spring. After doing this, we cut 180� on the other side of the eye and it fell off the bushing. Then we cut through the outer sleeve on both sides the same way, and cut the rubber out with a heated box knife. Then we used a small pry bar to separate the seam on the inner sleeve and out comes the 1st bolt. Same problem on the other side, except this time we cut the head of the bolt off and then cut the bolt in half instead of splitting the sleeve. However, in doing do the bolt spun on the weld nut and buggered up the threads...so then we proceeded to drive all over the dern place looking for an M14x2.0 tap. Finally found one after wasting over an hour looking and quickly cleaned up the threads. The shackle bolt broke free of the bushing and everything in the rear went back together relatively well.


So we bolted everything back up and pulled 'er out of the garage to turn 'er around...took a quick "rear up" photo op...(that apparently refuses to load...sorry)
