The jerkstick '99 4.0/AX-15


 09-29-2014, 09:01 PM
#32
CF Veteran
Thread Starter
Join Date: Jan 2013
Location: west chester, pa
Posts: 19,216
Likes: 0
Received 39 Likes
on
35 Posts
Year: 1999
Engine: 4.0
So last Sunday I went to a junkyard nearby and spotted a ZJ that's recently arrived. I went and checked it out, and saw the front seats to be in excellent condition, I knew I had to grab them.
Pretty easy because the floor was so rusted that I had to remove only one bolt and other three pulled out. Ha.
Out with the old

Pretty easy because the floor was so rusted that I had to remove only one bolt and other three pulled out. Ha.
Out with the old

 09-29-2014, 09:06 PM
#35
CF Veteran
Thread Starter
Join Date: Jan 2013
Location: west chester, pa
Posts: 19,216
Likes: 0
Received 39 Likes
on
35 Posts
Year: 1999
Engine: 4.0
And today I refreshed all engine grounds including those on the dipstick and coil mounts.
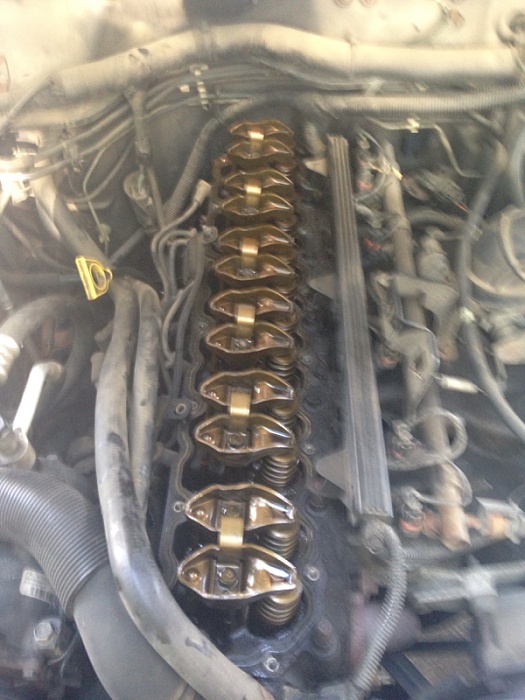
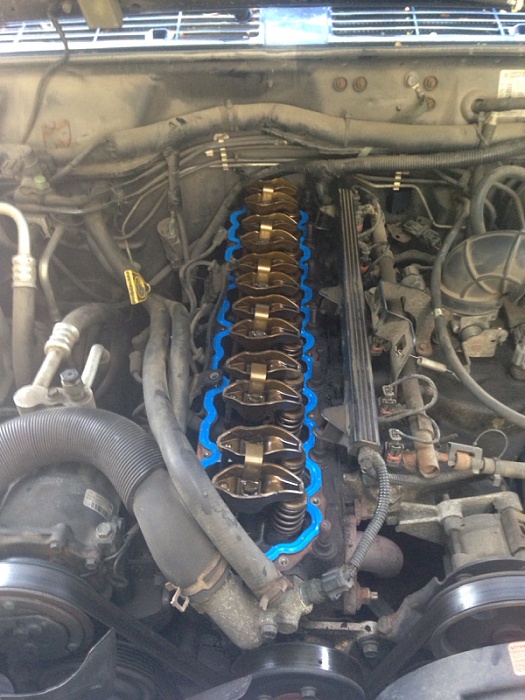
Replaced the valve cover gasket and cleaned the valve cover...
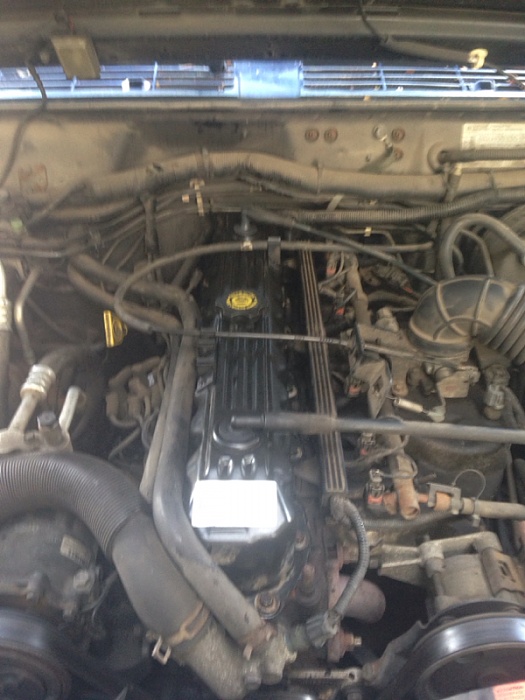
Replaced the valve cover gasket and cleaned the valve cover...


 09-29-2014, 09:08 PM
#36
CF Veteran
Thread Starter
Join Date: Jan 2013
Location: west chester, pa
Posts: 19,216
Likes: 0
Received 39 Likes
on
35 Posts
Year: 1999
Engine: 4.0
When I popped the valve cover off, I was amazed how clean it was inside! And after the gasket was installed and the cover put back. I ran the engine for a while to check for leaks and I didn't even see any blow by smoke coming out either! And it's at 210k miles
10-28-2014, 06:24 AM
#37
CF Veteran
Thread Starter
Join Date: Jan 2013
Location: west chester, pa
Posts: 19,216
Likes: 0
Received 39 Likes
on
35 Posts
Year: 1999
Engine: 4.0
Not much of updates lately... The app on my iPhone is being a retard. I can't post more than one picture on a reply otherwise the app ll crash and I ll have to restart, so I lost motivation lol.
Anyway. I took out the throttle body and brought it into work, took it apart. Chucked it on the lathe and bored it out to remove the bottleneck restriction.
Sandblasted the whole thing and cleaned it.
The finished product...
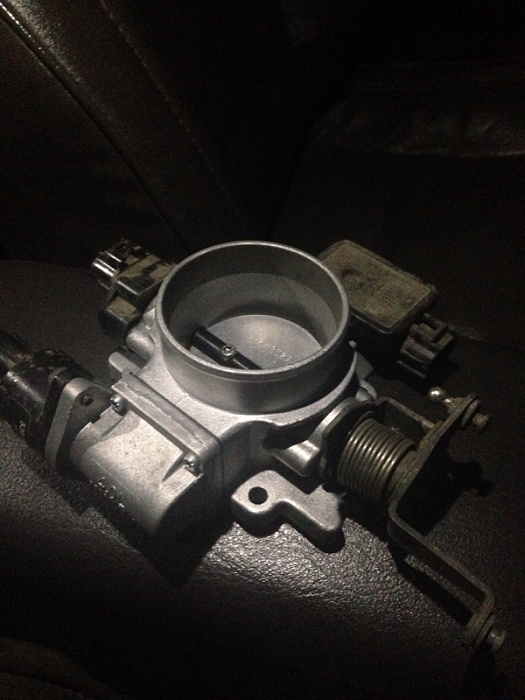
It Look so clean lol.
Anyway. I took out the throttle body and brought it into work, took it apart. Chucked it on the lathe and bored it out to remove the bottleneck restriction.
Sandblasted the whole thing and cleaned it.
The finished product...

It Look so clean lol.
10-28-2014, 06:26 AM
#38
CF Veteran
Thread Starter
Join Date: Jan 2013
Location: west chester, pa
Posts: 19,216
Likes: 0
Received 39 Likes
on
35 Posts
Year: 1999
Engine: 4.0
Last Saturday I decided to tackle the front end and see what I can do about it...
Took the fender and header panel off. Hammered the support back in shape. It was tough to do when u just have a 2 lb sledge hammer, 15 inch crescent wrench and a 2x2 hitch tube lol. I made best out of it and it came out nearly perfect.
All holes aligned so I consider that good news lol.
I decided to hammer out the dents on the fender and put it back temporarily while I search for another clean and straight fender.
Duct taped the header panel so it stay together, for temporary.
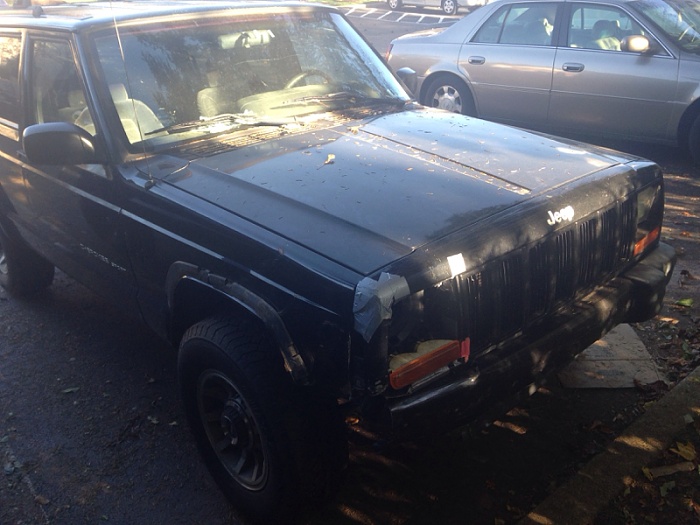
Not bad at all.
 10-28-2014, 06:32 AM
#40
CF Veteran
Thread Starter
Join Date: Jan 2013
Location: west chester, pa
Posts: 19,216
Likes: 0
Received 39 Likes
on
35 Posts
Year: 1999
Engine: 4.0
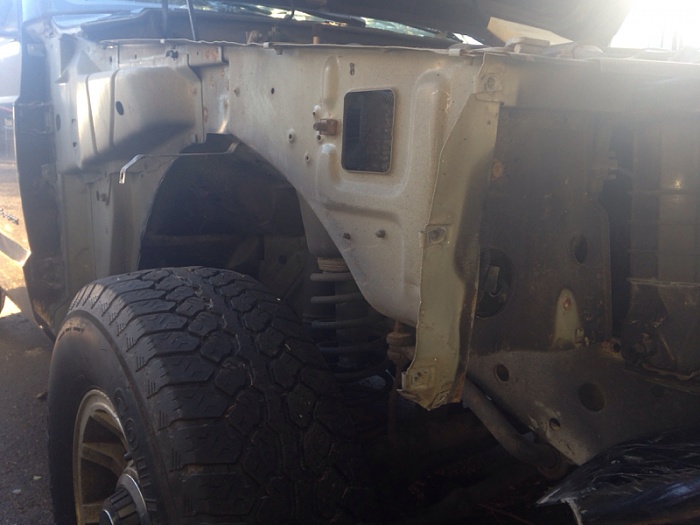
When the structural support behind the headlight bucket area crumpled in a Z formation. It was difficult to hammer back in shape with the tools I mentioned. But it came out nearly perfect. Not bad at all.
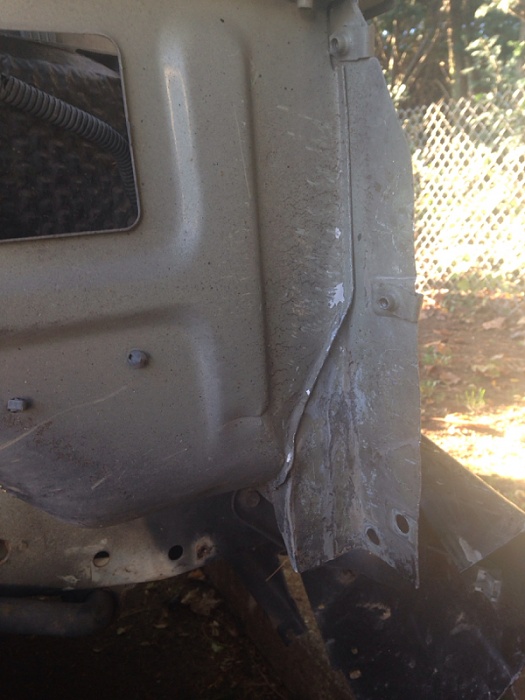
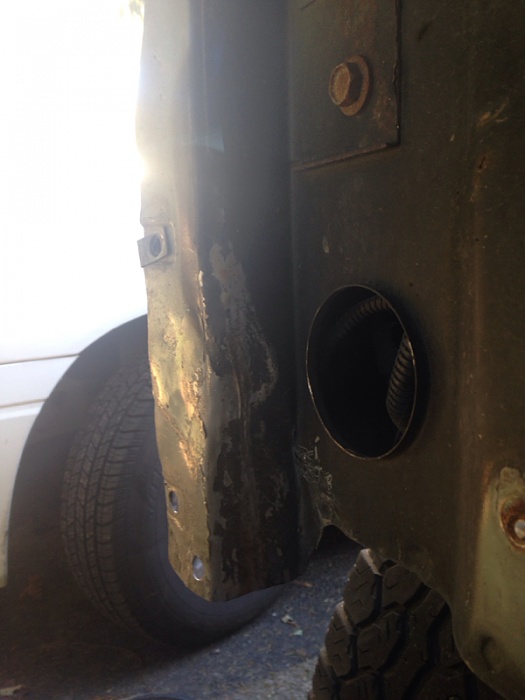
This is what it looked like before the pounding. Lol


This is what it looked like before the pounding. Lol
 10-28-2014, 06:45 AM
#41
CF Veteran
Thread Starter
Join Date: Jan 2013
Location: west chester, pa
Posts: 19,216
Likes: 0
Received 39 Likes
on
35 Posts
Year: 1999
Engine: 4.0
I gotta do something about the bumper.... Not sure if I should get another stock bumper or put on an aftermarket one. I have no time to make one.
 10-31-2014, 06:20 AM
#43
CF Veteran
Thread Starter
Join Date: Jan 2013
Location: west chester, pa
Posts: 19,216
Likes: 0
Received 39 Likes
on
35 Posts
Year: 1999
Engine: 4.0
Somebody is coming today to replace the windshield on the jeep. Can't wait to see how it looks and I ll be able to finally send it out for inspection.
On other note. I decided to make my own headlight harness upgrade. Ordered all the stuff I needed from ebay. I figured it ll be easy to do all that when the header panel is replaced.
On other note. I decided to make my own headlight harness upgrade. Ordered all the stuff I needed from ebay. I figured it ll be easy to do all that when the header panel is replaced.
11-04-2014, 09:26 AM
#44
Member
Join Date: Jun 2012
Posts: 179
Likes: 0
Received 0 Likes
on
0 Posts
Model: Cherokee
Go over the windshield install VERY carefully after they're done. We've had 3 botched installs on our 2000 so far, and it's starting to cause rust issues, and is why our headliner fell down. 1st place went out of business. (Installs 1 and 2.) 2nd place (install 3) was Safelite and they refuse to do anything about it.
11-04-2014, 05:31 PM
#45
CF Veteran
Thread Starter
Join Date: Jan 2013
Location: west chester, pa
Posts: 19,216
Likes: 0
Received 39 Likes
on
35 Posts
Year: 1999
Engine: 4.0
Go over the windshield install VERY carefully after they're done. We've had 3 botched installs on our 2000 so far, and it's starting to cause rust issues, and is why our headliner fell down. 1st place went out of business. (Installs 1 and 2.) 2nd place (install 3) was Safelite and they refuse to do anything about it.
On other note. Parts for my headlight harness arrived and I just ordered some leds for the dash and interior. Can't wait!