
Seasoned Member
So I was just talkin to Tom the other day from NorCar2 and they are actually prototyping a Bi-Xenon bulb for their Pegasus projectors. I will be getting a set shortly!
Quote:
Originally Posted by brendancfarrell
So I was just talkin to Tom the other day from NorCar2 and they are actually prototyping a Bi-Xenon bulb for their Pegasus projectors. I will be getting a set shortly!
wait? bulb? or projetors? idk how i feel about two bulbs in a projetor. i dont think it would work.. Tom Won is a really good guy. he called me over sea's to figure out why my angel eyes didnt work.. did he say a bi-Xenon projector?
Seasoned Member
He is prototyping Bi-Xenon bulbs for their projector setup that both of us have, the Pegasus projectors. So all you would need to do is by the Bi-Xenon bulbs from him and put them in your original projectors you bought from them
well im sorry i have been slacking on this, the headlights are done and in my jeep. but i gota get everyone up too speed. ill give this for the time being.

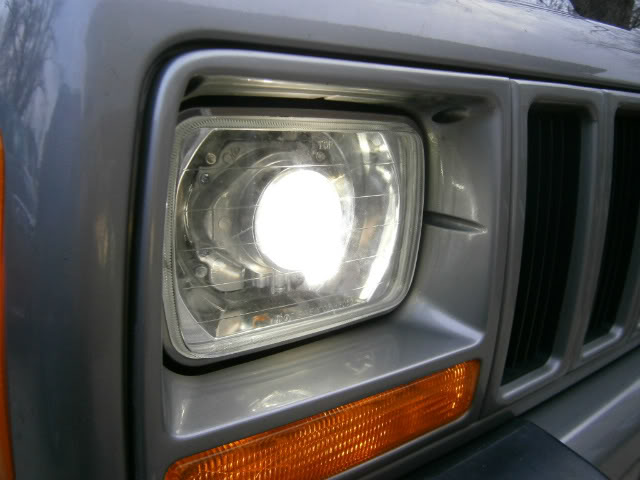
okkkkk then where to start. after i got the new back on the headlight it was time to cut it out. i broke one dremle doing so after longggg hours of cuting, fitting, cuting fitting. i got them to where i want them to be i wanted to be able to bolt them to the head light so it would be stronger
and bear with me the pics wont up load -__-
and bear with me the pics wont up load -__-


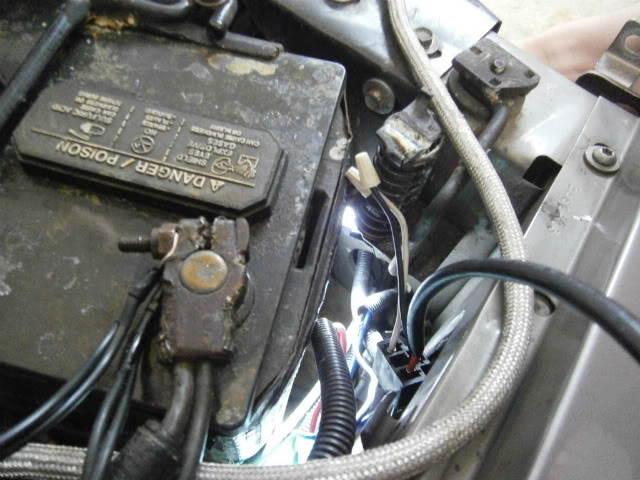
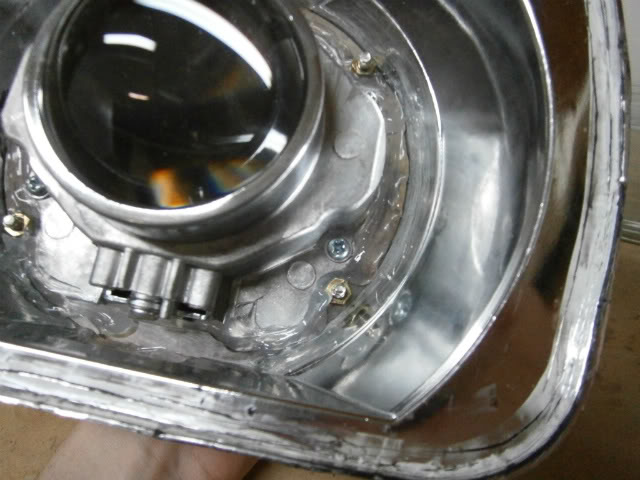
and now that these lights are bigger in every way. i had to cut my jeep every way as well the front buclk head was first. the projectors are longer so a hole was cut so they sit right. also the iner headlight bucket was cut so the side of the projector did not hit.
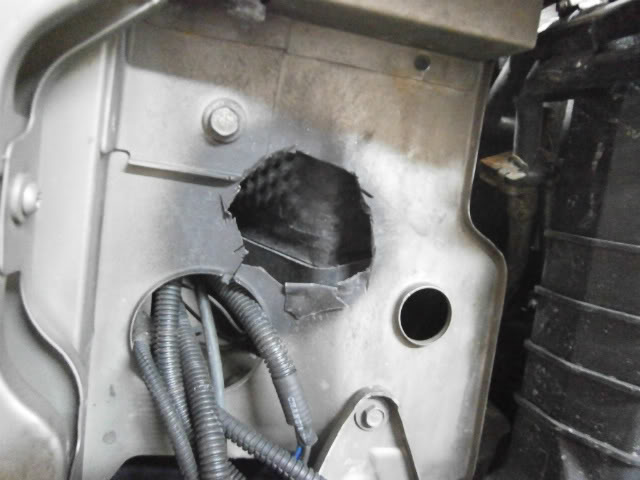

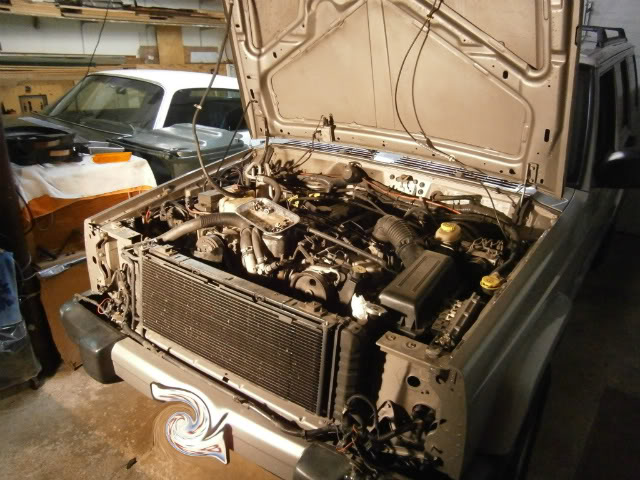
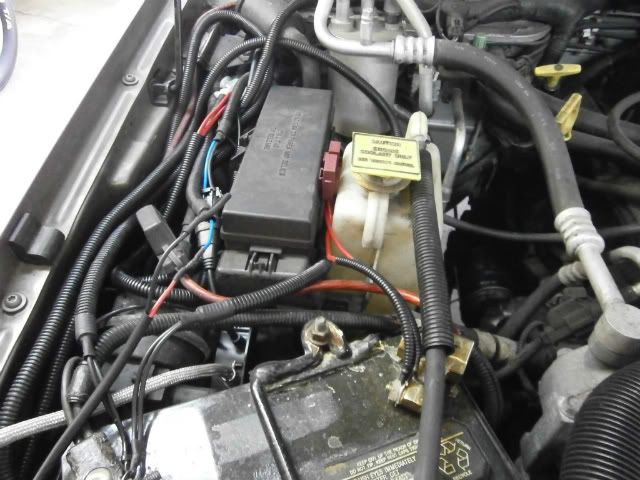
i had the front clip off my jeep more times then i can count. but its what i needed to do to make sure everything came together right and the way i wanted it. the hole fitment of the lights all of the wireing. i tryed to make sure it was right. theres not alot of room PCD, battery and other stuff ALL RIGHT THERE. it doesint look good but it is what it is.
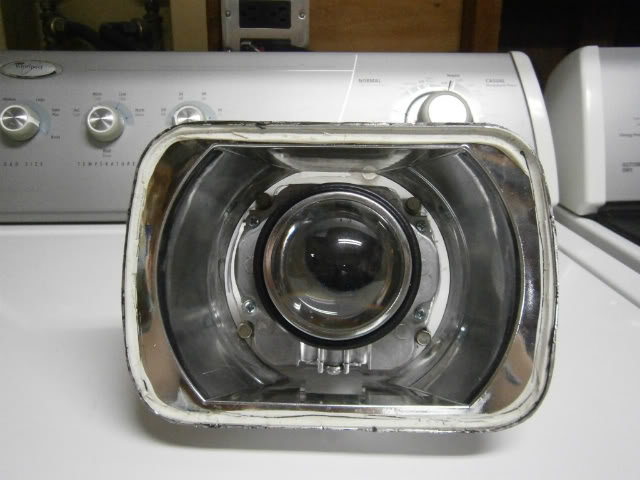
so after all of the cutting and stuff was done on my jeep it was time to finish out the headlight. i had picked out some nice shrouds and CCFL angel eyes but all of that ended up being a fail -___- the hole houseing is supper small. and trying to get the shroud to fit would not work. and the angel eyes have to be mounted to the shrouds, so it was a big time lost.
with that a bust i put all of the time to make sure these lights where S E A L E D. i wanted 0 water comeing though somewhere. i almost uesed a hole tube of sealer to do that.
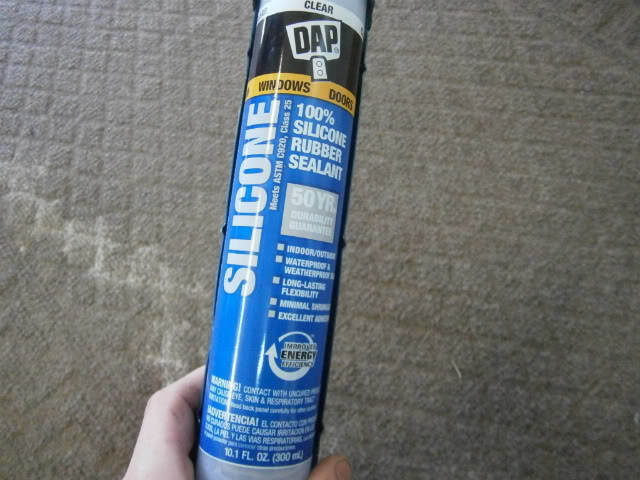
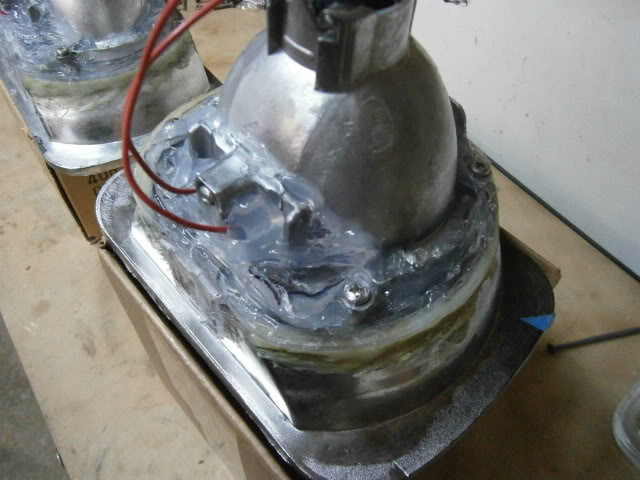
with that a bust i put all of the time to make sure these lights where S E A L E D. i wanted 0 water comeing though somewhere. i almost uesed a hole tube of sealer to do that.
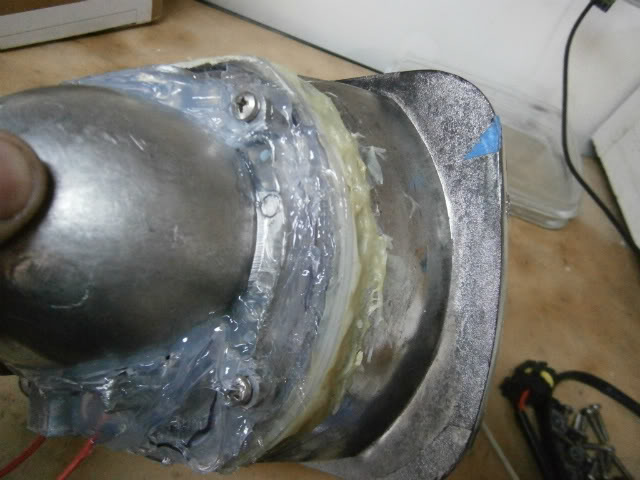
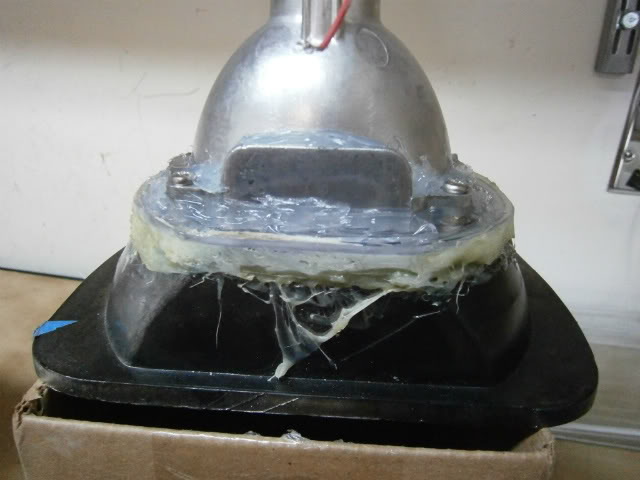
i gave the hole projector a good cleaning inside and out. gave the front glass a nice cleaning as well and it was time.. time to seal the deal on the glass. i still had my front clip off so what i did is layed it face up and droped the projecors in. layed sealer in it, layed the glass over and bolted the hole thing together i used the ring ( or whatever you want to call it ) and the 4 bolts and whent as tight as i can on it. i let it sit there for a few mins so i wouldint get runs when i started moving it.
there was a lot of fit and finish stuff i had to do. alot of wiring more wiring wiring wiring -______- it give me some problems at first it wouldint work unless the high beams where on. i blew out a fuse some how but all of that got fixed. my high beams dont work and STILL dont work to this day. they gave me the worng realy kit. i wont beable to get them to work intill then. oh well. there fine for the time being.
there was a lot of fit and finish stuff i had to do. alot of wiring more wiring wiring wiring -______- it give me some problems at first it wouldint work unless the high beams where on. i blew out a fuse some how but all of that got fixed. my high beams dont work and STILL dont work to this day. they gave me the worng realy kit. i wont beable to get them to work intill then. oh well. there fine for the time being.
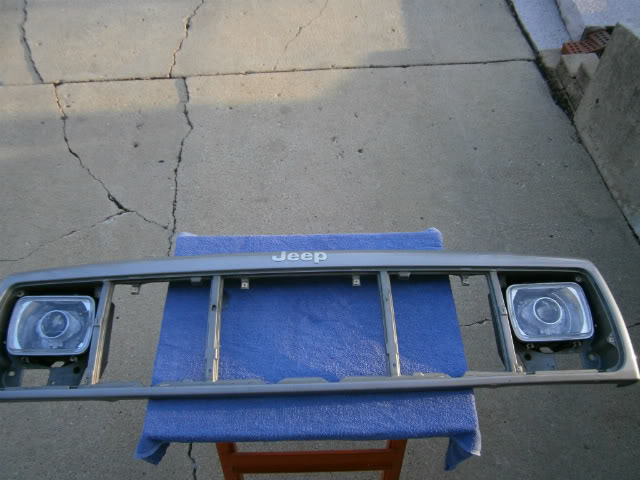
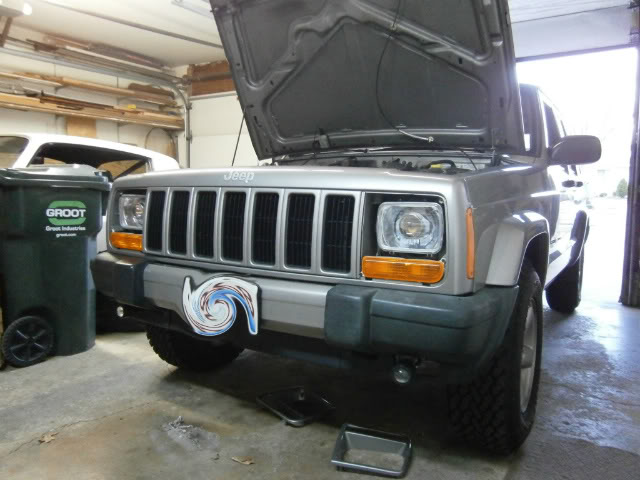
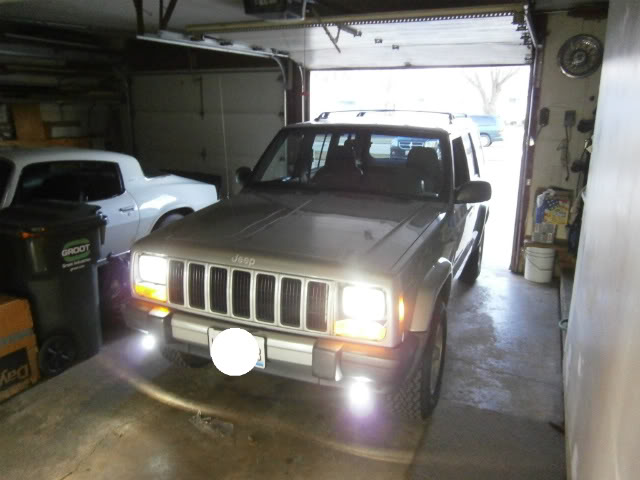
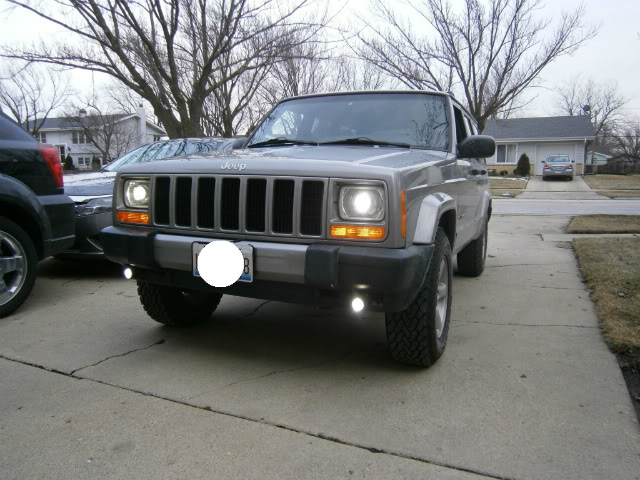
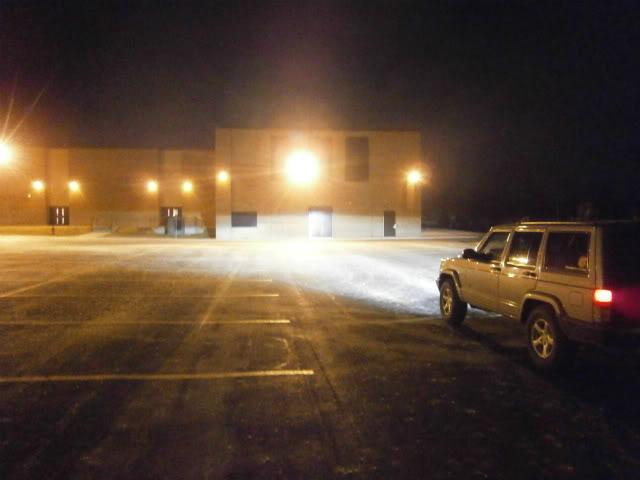
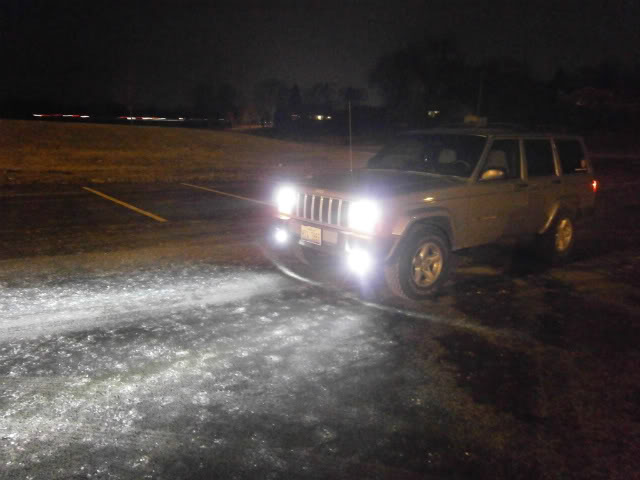
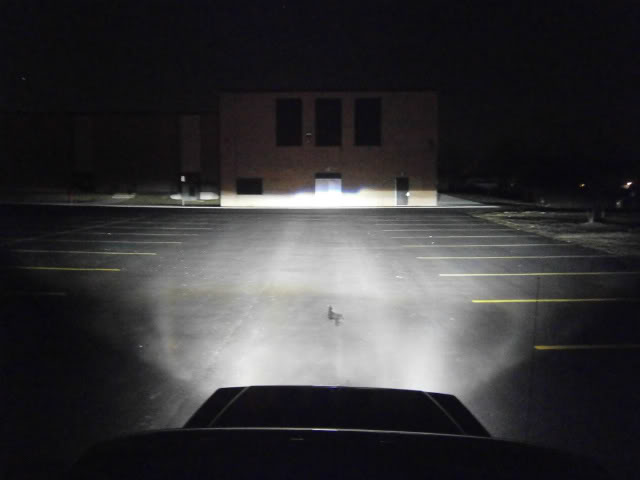
okkkkk now that where up to speed we can get on to what everyone wants to see. i give you. the final projetor build
Seasoned Member
Nicely done! Will you be attempting the angel eyes again, or where they just not worth it to ya