
Caleb9107's 91 XJ Build


Thread Starter
Junior Member
Joined: Mar 2012
Posts: 41
Likes: 0
Year: 1991
Model: Cherokee
Engine: 4.0 HO
Thanks for that Kyle. I am lucky to have all these tools at my disposal and I hope I'm taking full advantage of it!
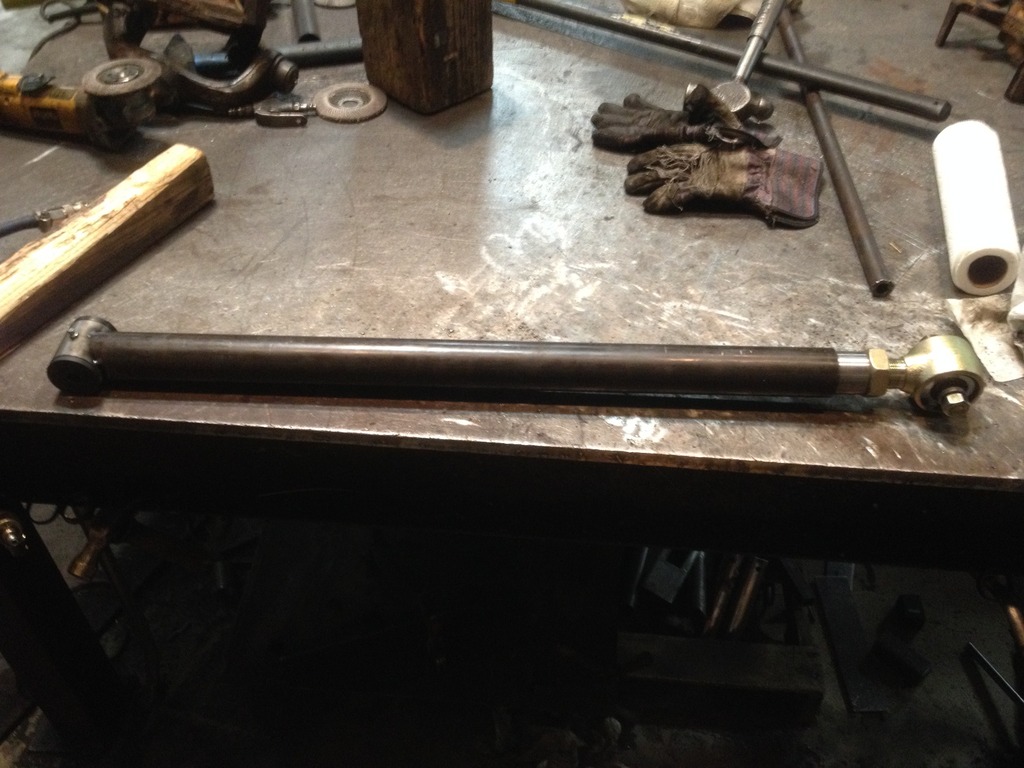
Now I'll try to start back where I left off. Next steps were working on the link arms. Unfortunately I had to use a portaband and a grinder to cope the joints. Not ideal, but I was able to get a fairly decent fit.
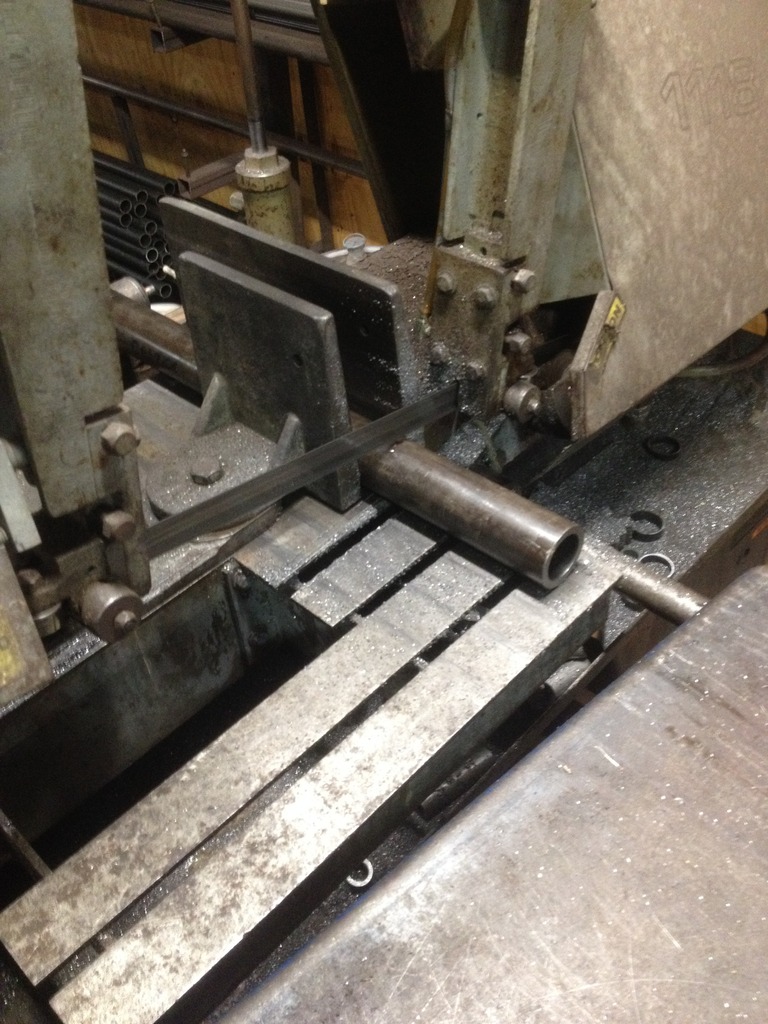
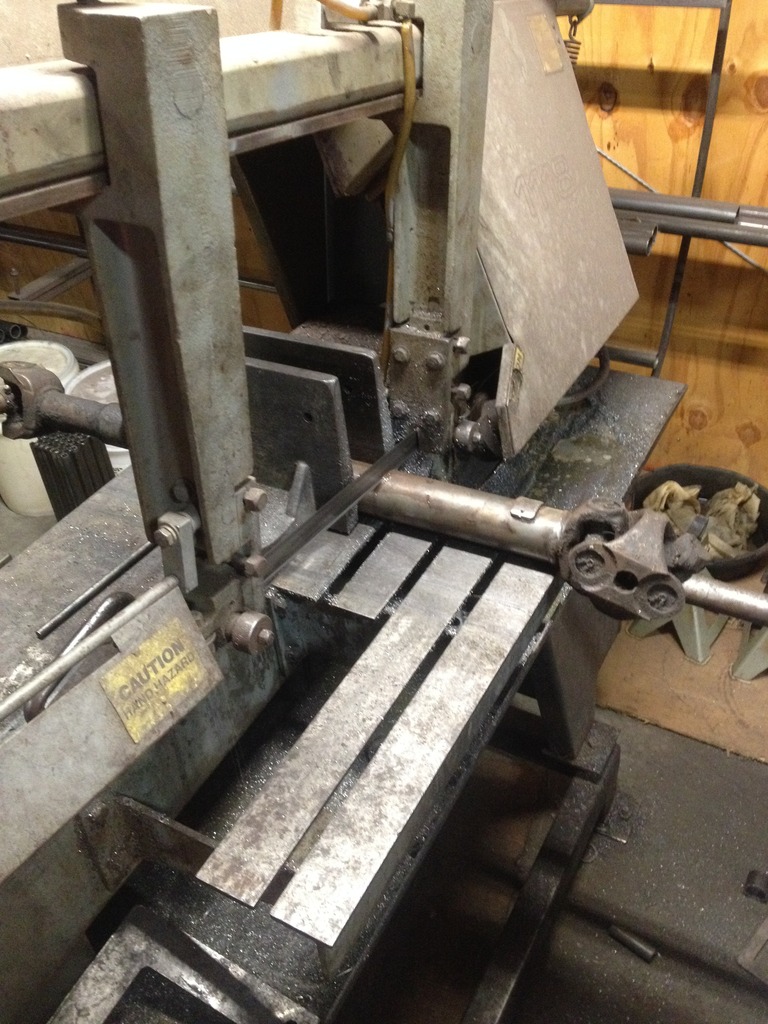
For the JJ end, I used a horizontal bandsaw to cut the lengths to a rough length.
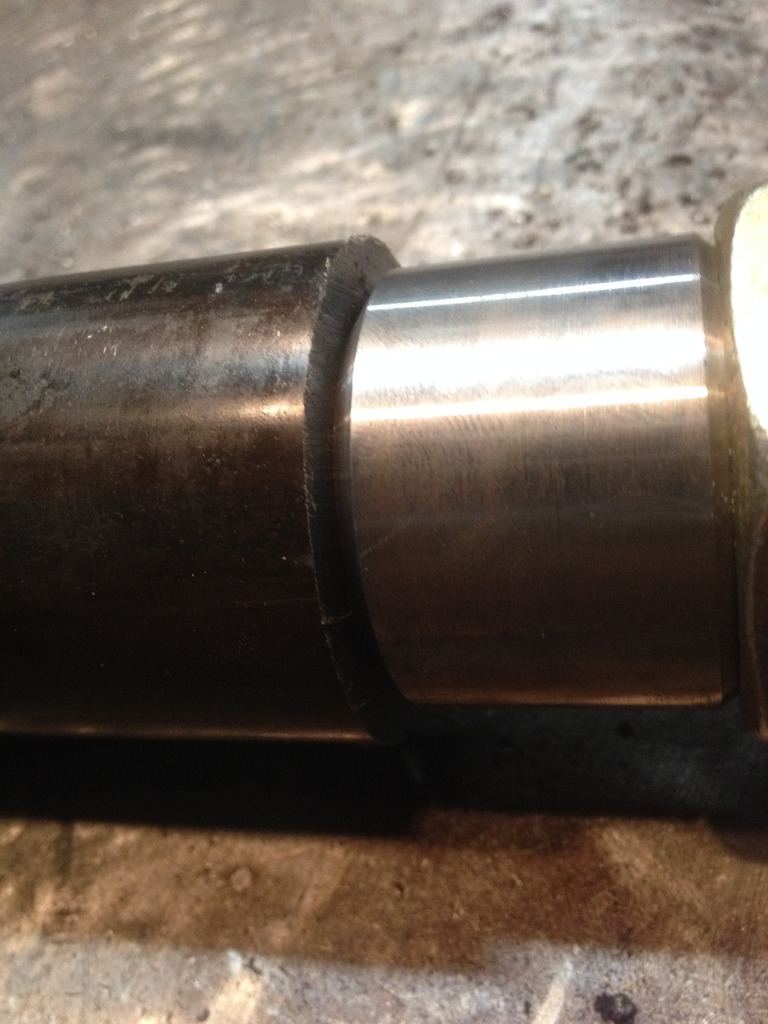
Such a nice fit with this tubing size
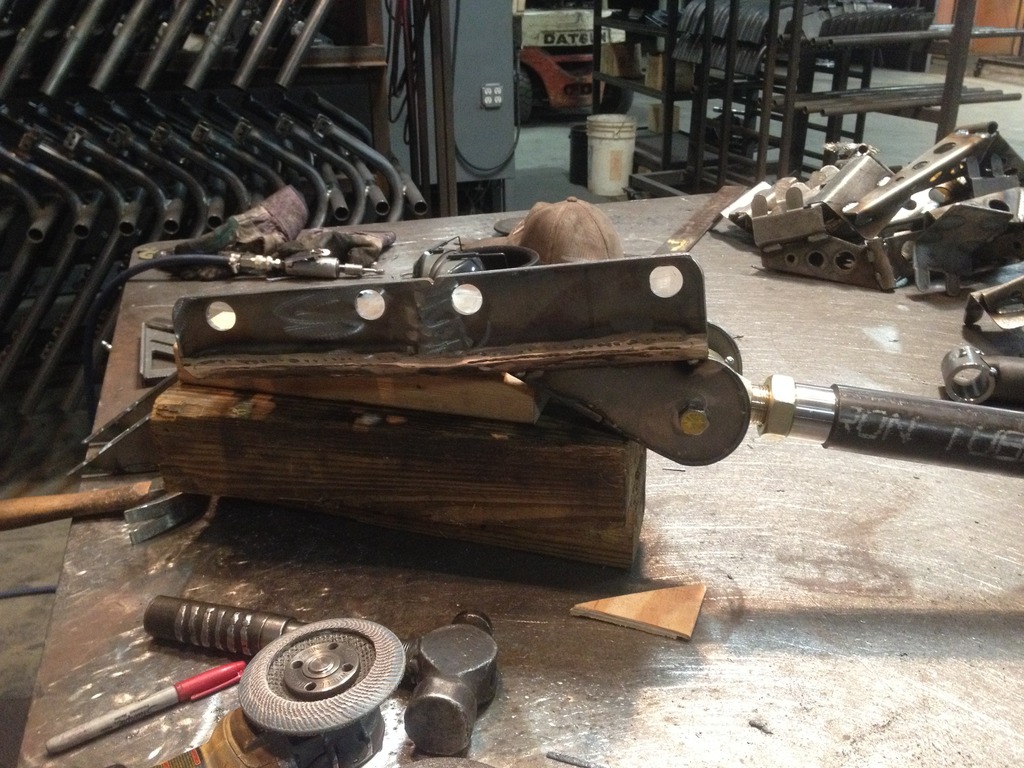
One lower mocked up
Checking how they looked and fit into the brackets
First mock up of the axle under the rig

Now I'll try to start back where I left off. Next steps were working on the link arms. Unfortunately I had to use a portaband and a grinder to cope the joints. Not ideal, but I was able to get a fairly decent fit.


For the JJ end, I used a horizontal bandsaw to cut the lengths to a rough length.

Such a nice fit with this tubing size

One lower mocked up

Checking how they looked and fit into the brackets


First mock up of the axle under the rig

Thread Starter
Junior Member
Joined: Mar 2012
Posts: 41
Likes: 0
Year: 1991
Model: Cherokee
Engine: 4.0 HO
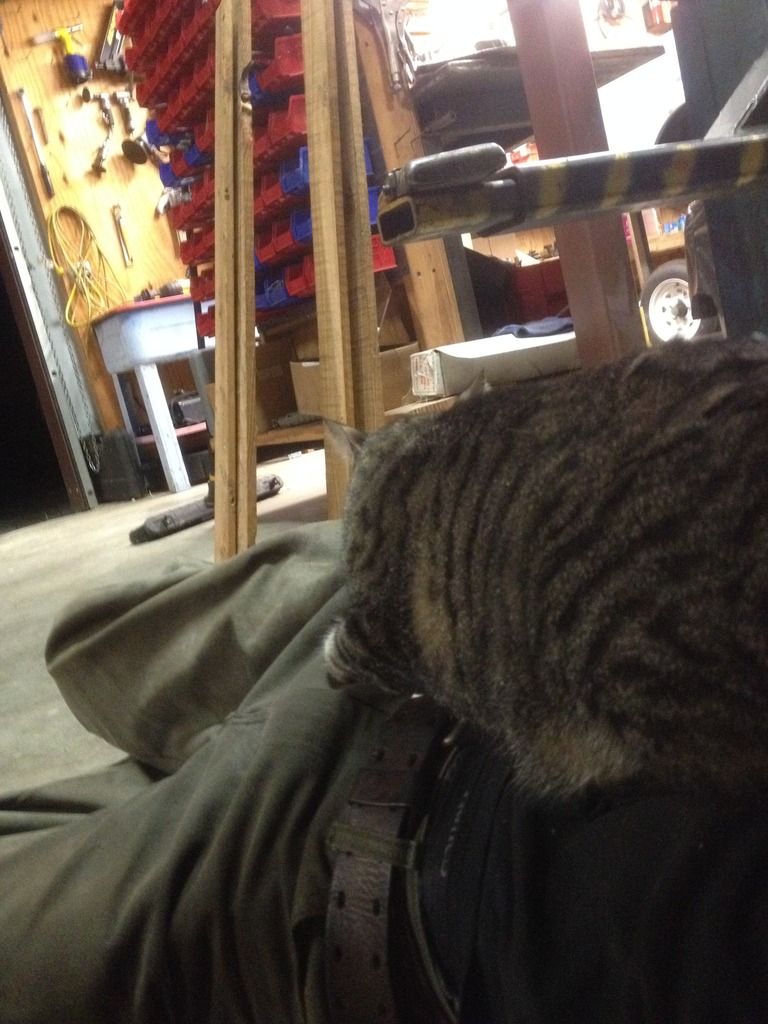
With the axle sitting under the rig, I started checking side to side positioning, positioning of the center of the axle in the wheel well, and height. Up and down and around the vehicle many times. Several nights I ended up sitting and staring trying to decide just how I wanted this portion to go. During the sitting, the shop cat loves to come visit.
Between all the getting up and down, I lost track of where I was at one point stood up quickly only to be met with crippling pain in the top of my head. I can now confirm for the curious, the Dirtbound bumper is stronger than the skin on the top of my head.
WARNING: Graphic Content (BLOOD)
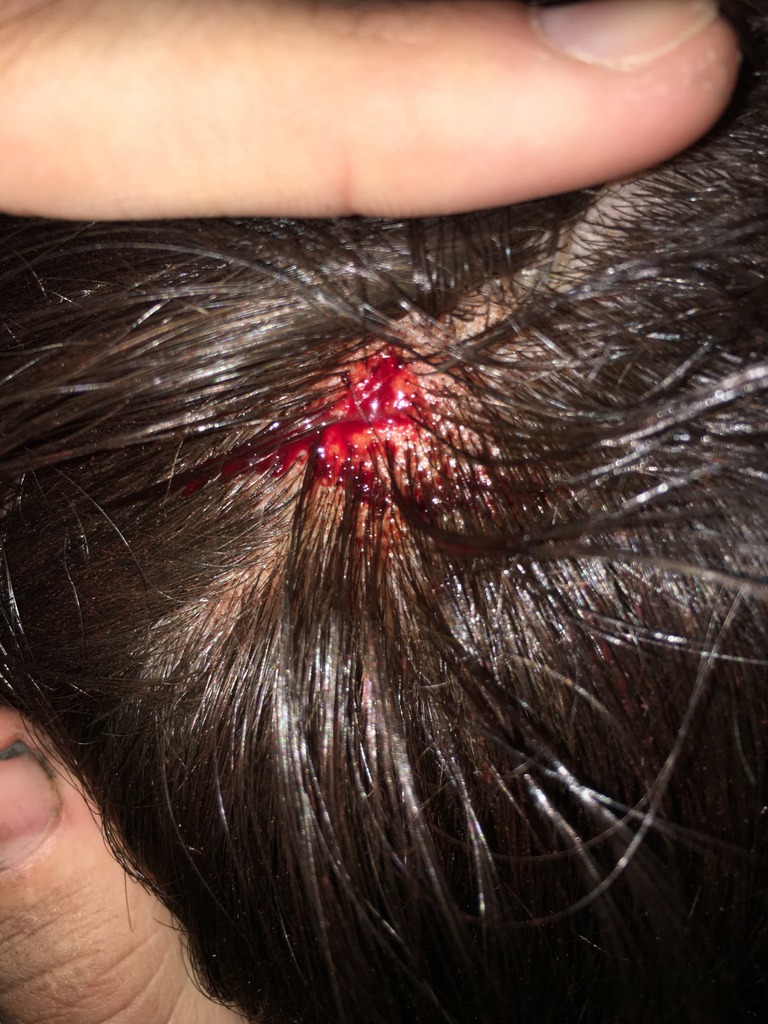
That hurt but I wasn't done for the night. Threw my hat back on, took some medicine, and climbed back under. After much thinking, I decided the links needed to be shortened to pull the wheel back in the fender arch.
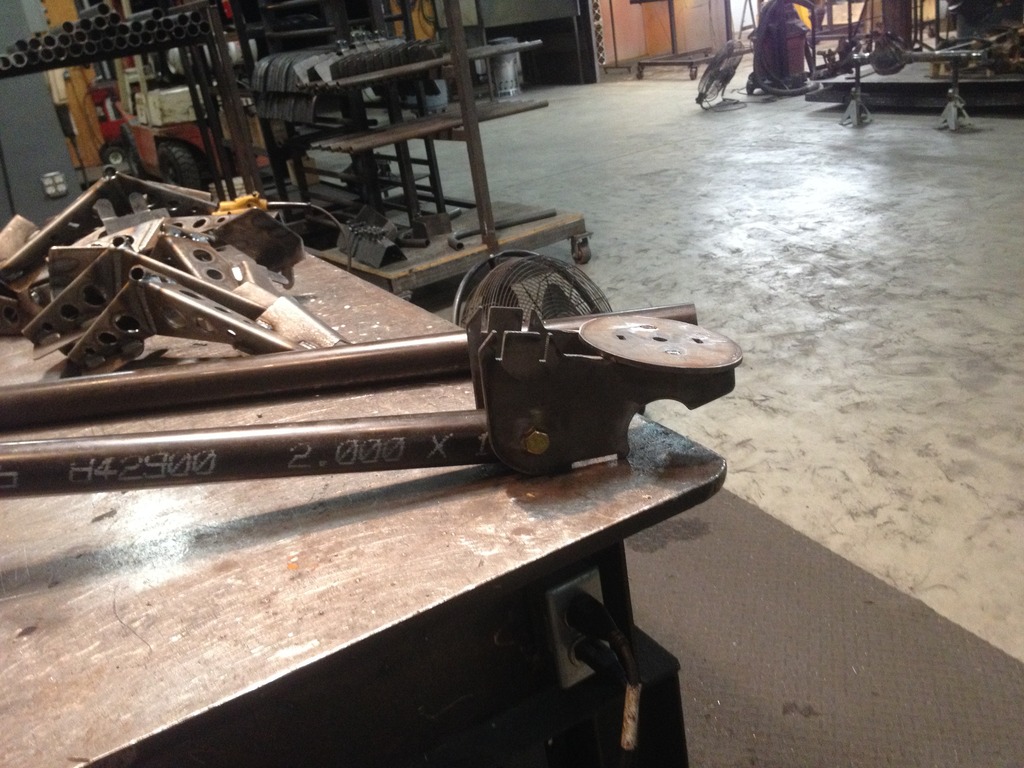
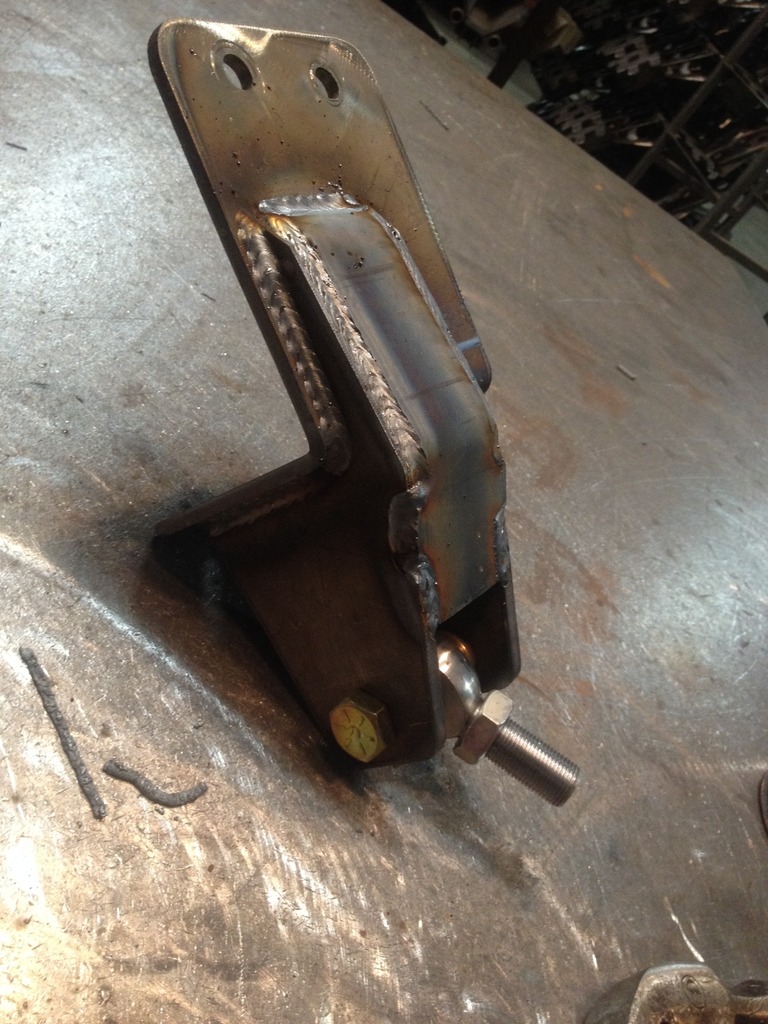
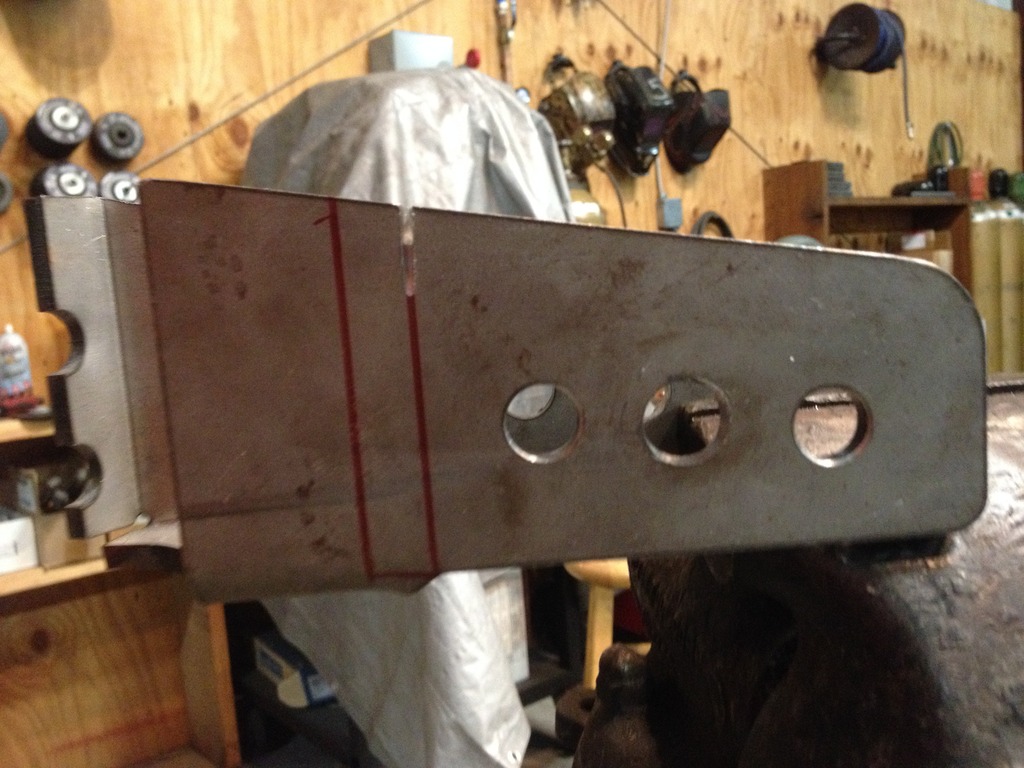
Time to address the steering. As I did the WJ knuckle swap during this ordeal, I was now in need of new frame side and axle side brackets. Started with the frame side
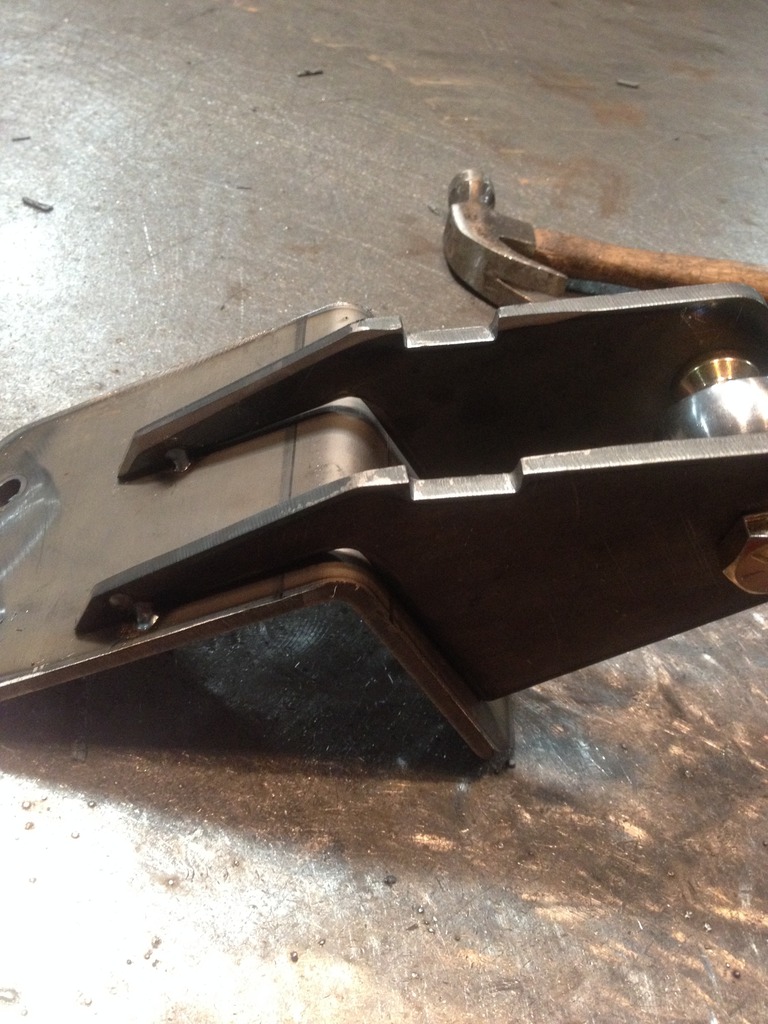
Started welding
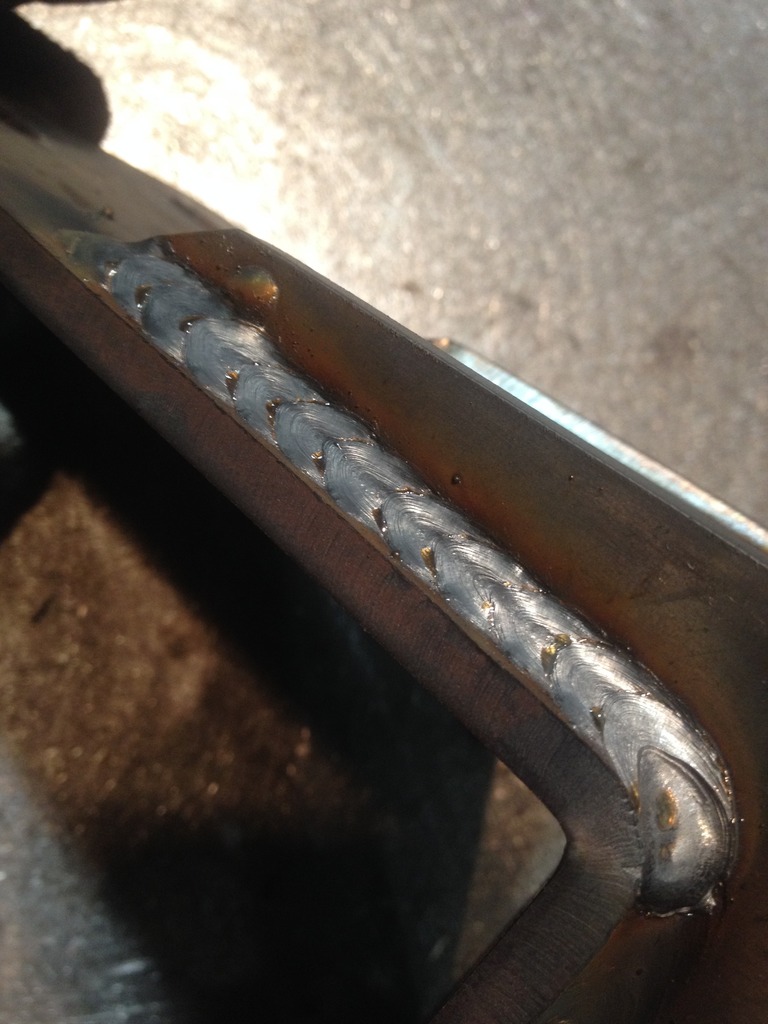
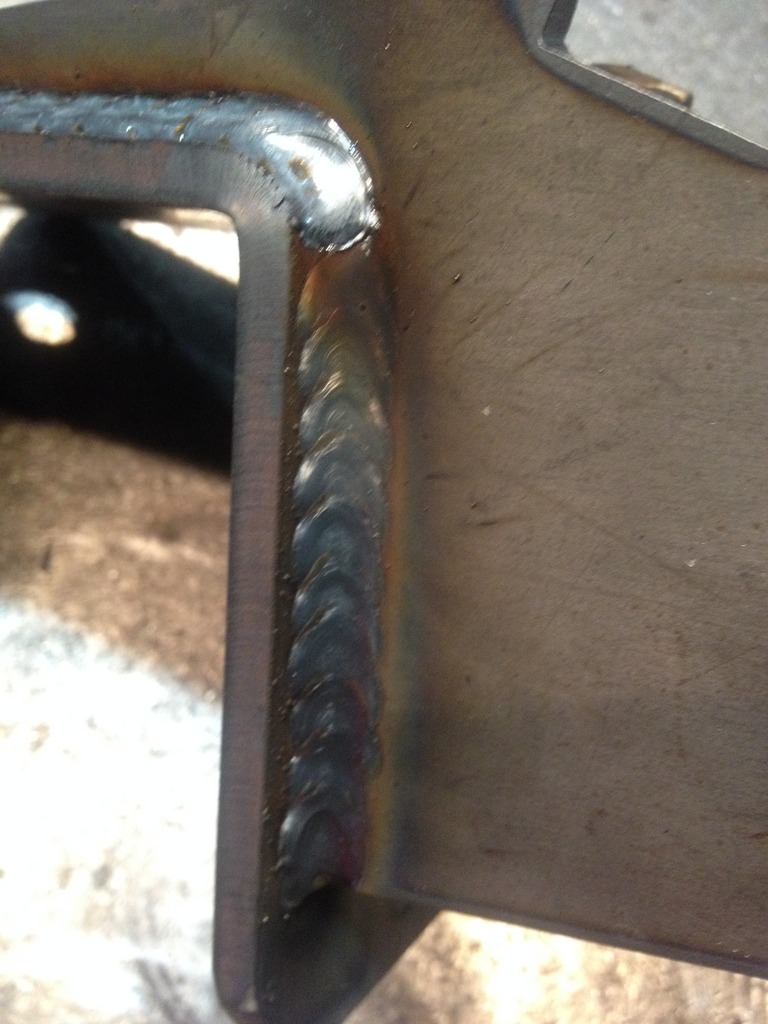

And the finished product with one of the heims in place for mockup

Between all the getting up and down, I lost track of where I was at one point stood up quickly only to be met with crippling pain in the top of my head. I can now confirm for the curious, the Dirtbound bumper is stronger than the skin on the top of my head.
WARNING: Graphic Content (BLOOD)

That hurt but I wasn't done for the night. Threw my hat back on, took some medicine, and climbed back under. After much thinking, I decided the links needed to be shortened to pull the wheel back in the fender arch.
Time to address the steering. As I did the WJ knuckle swap during this ordeal, I was now in need of new frame side and axle side brackets. Started with the frame side

Started welding


And the finished product with one of the heims in place for mockup

Thread Starter
Junior Member
Joined: Mar 2012
Posts: 41
Likes: 0
Year: 1991
Model: Cherokee
Engine: 4.0 HO
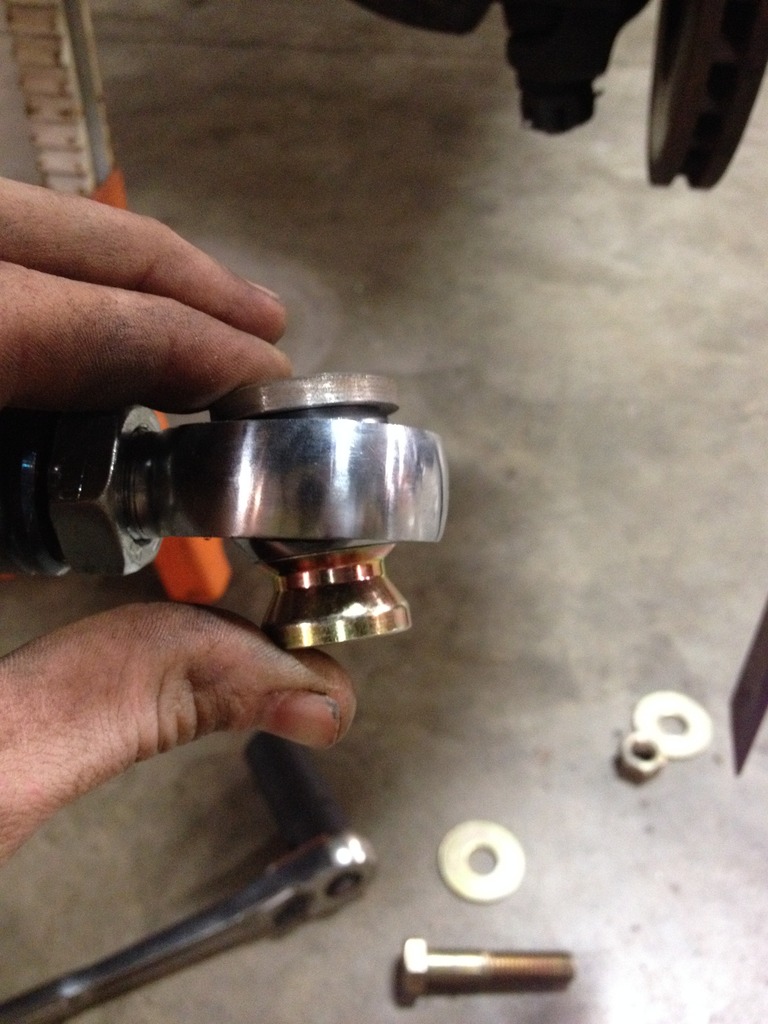
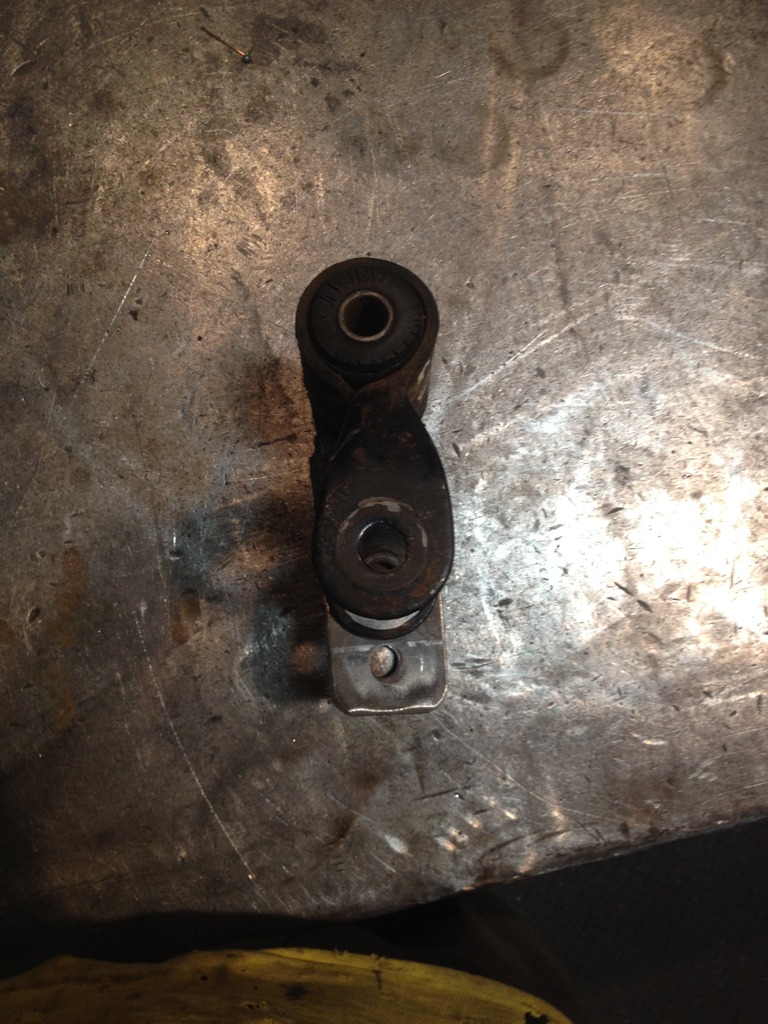
I originally drilled and then reamed the drop pitman arm I was running for the 5/8" bolt.
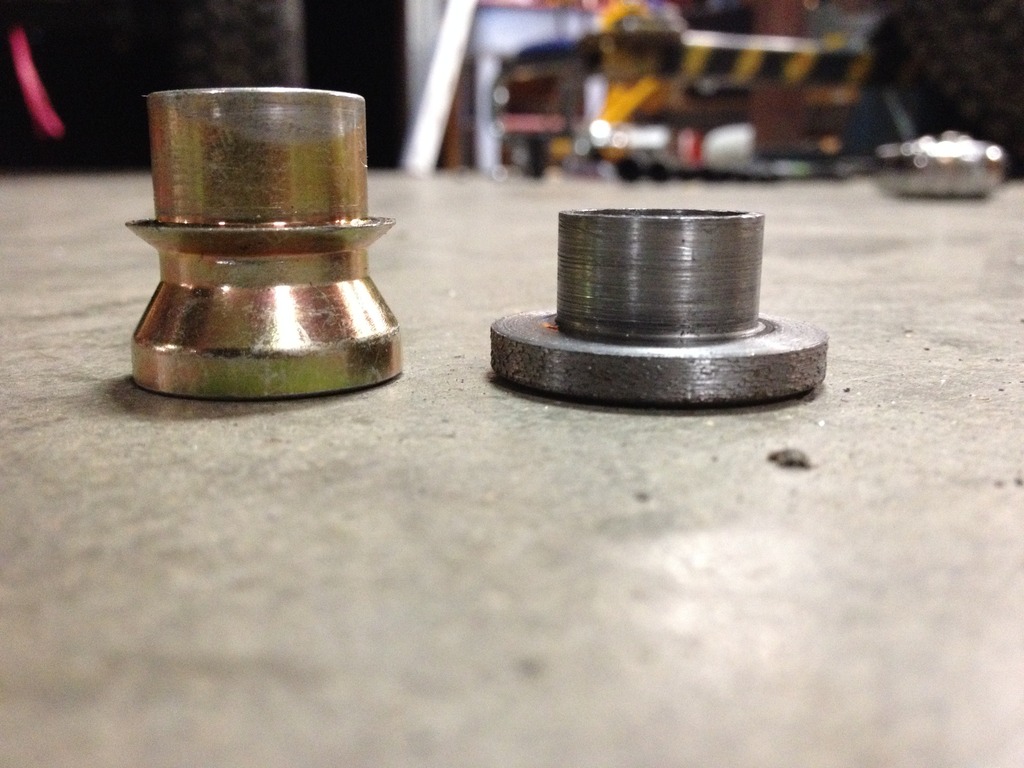
After installing for mockup and a quick cyle of the suspension, it looked like the pitman/heim would contact the top of the differential if I were to really stuff the tire into the fender well. I did some research and decided to pull the trigger on a TJ stock pitman arm.
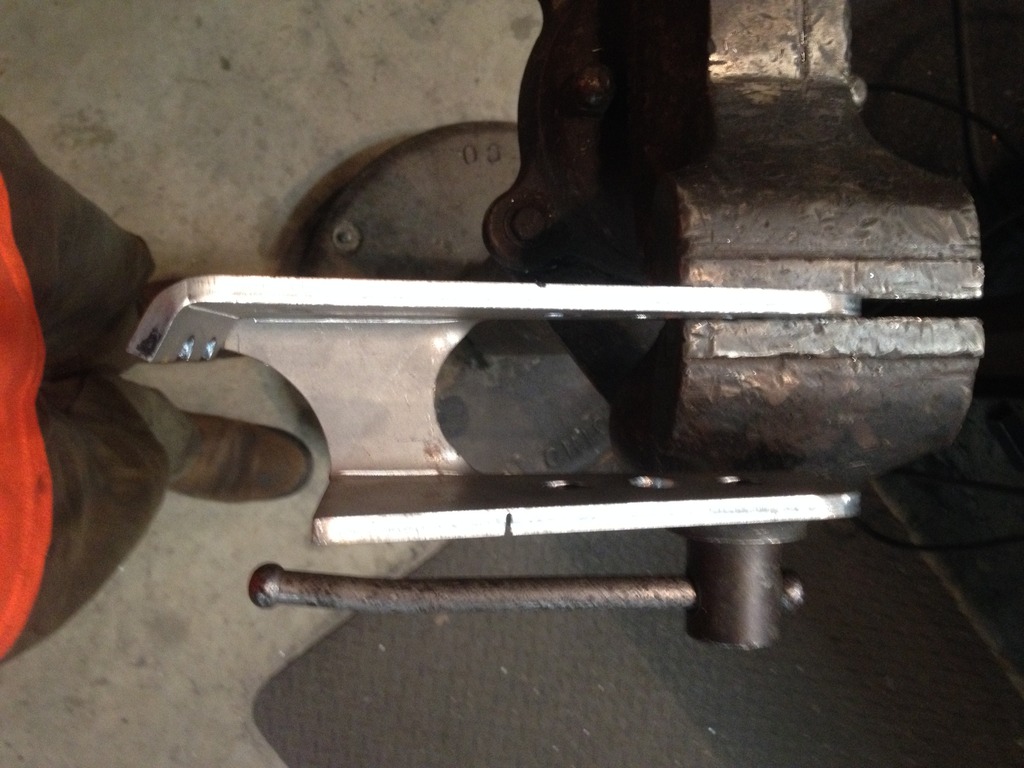
Top: Stock TJ. Bottom: RC Drop Pitman Arm
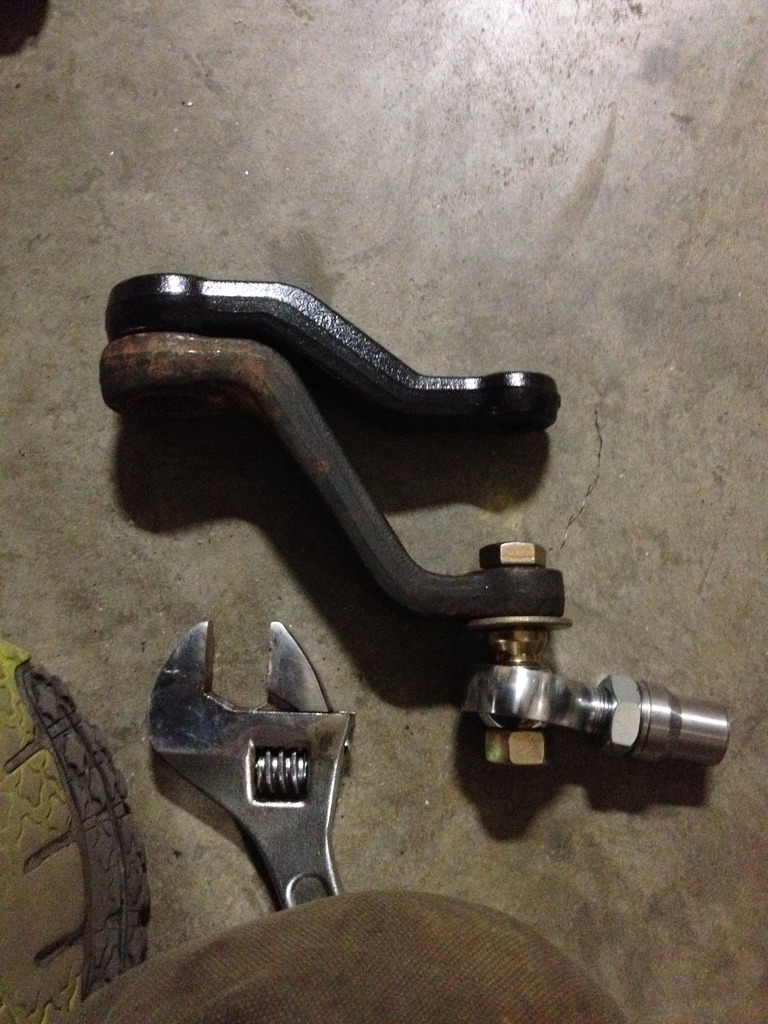
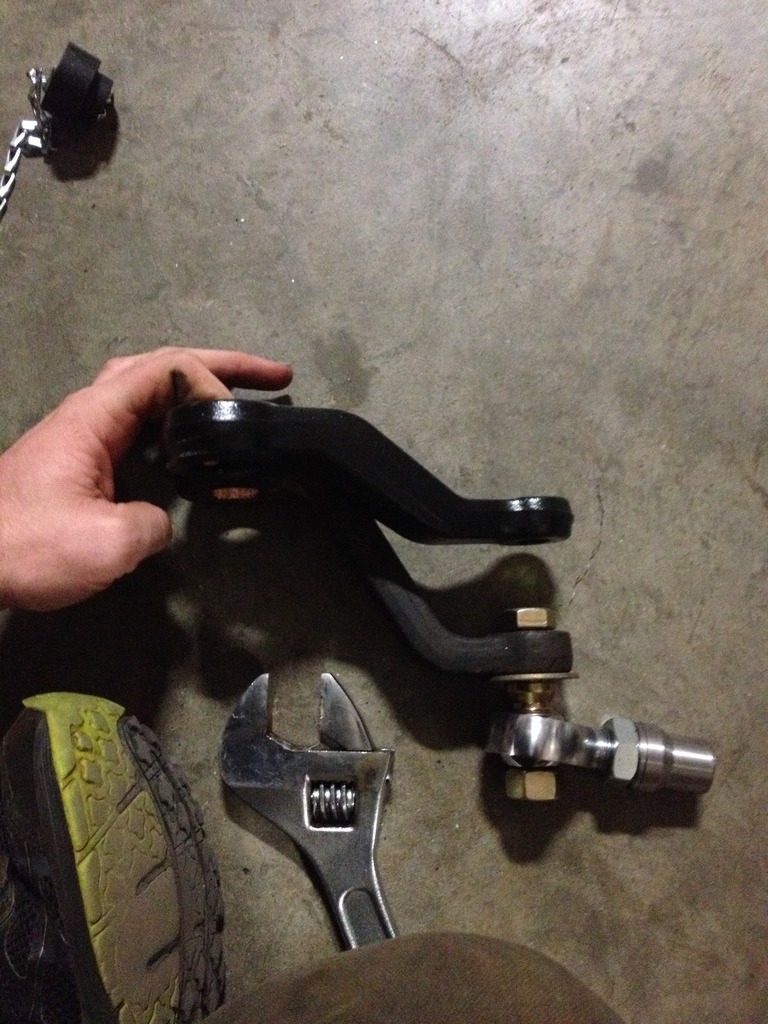
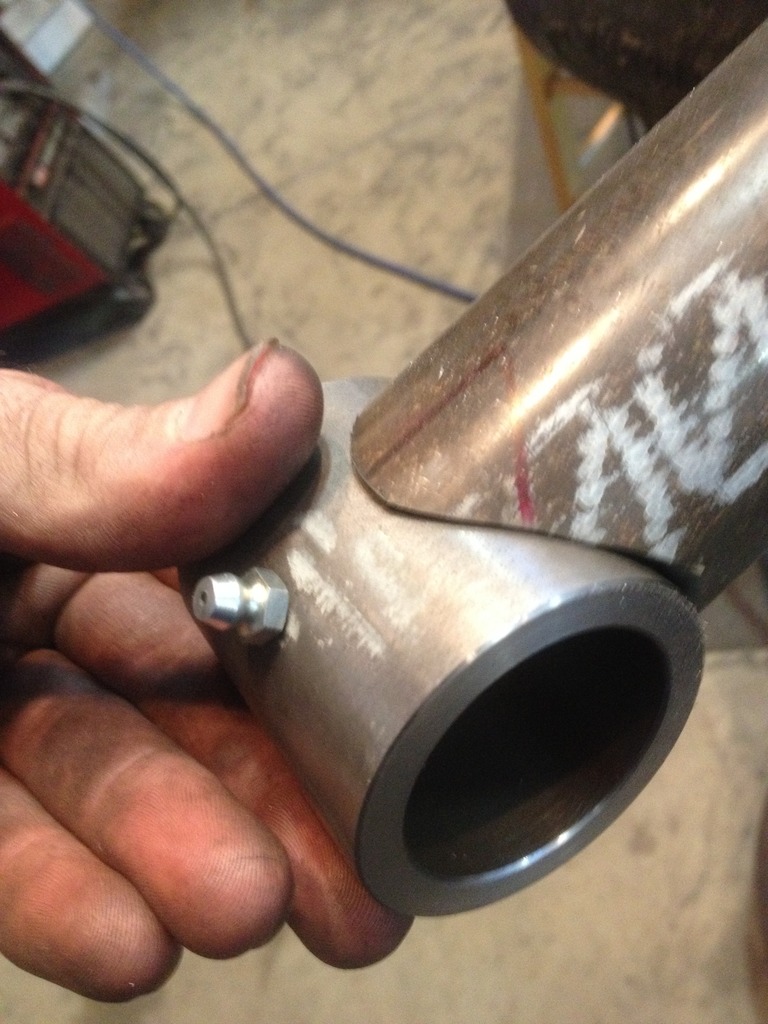
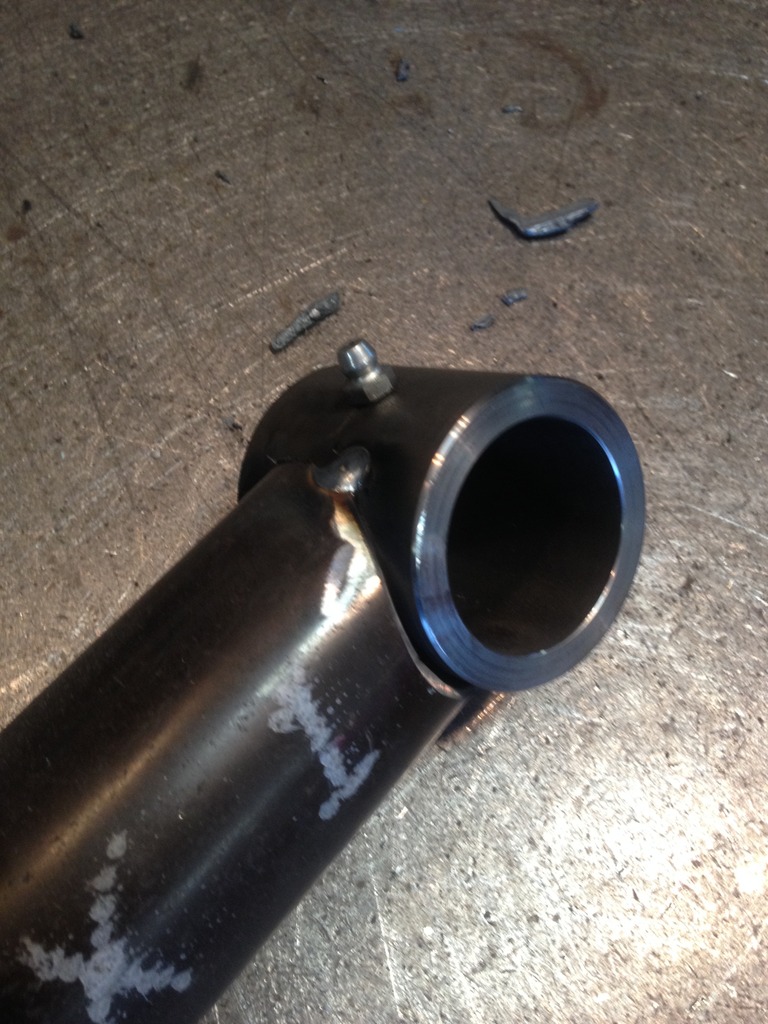
Much better. Moved forward and reamed the new arm out to 5/8" also. Got in the groove and forgot to take many detailed pics while I was mocking up the steering links. Instead of cutting up my limited supply of DOM, I used some pipe lying around the shop that I could cut up and get close estimates to transfer to the DOM.
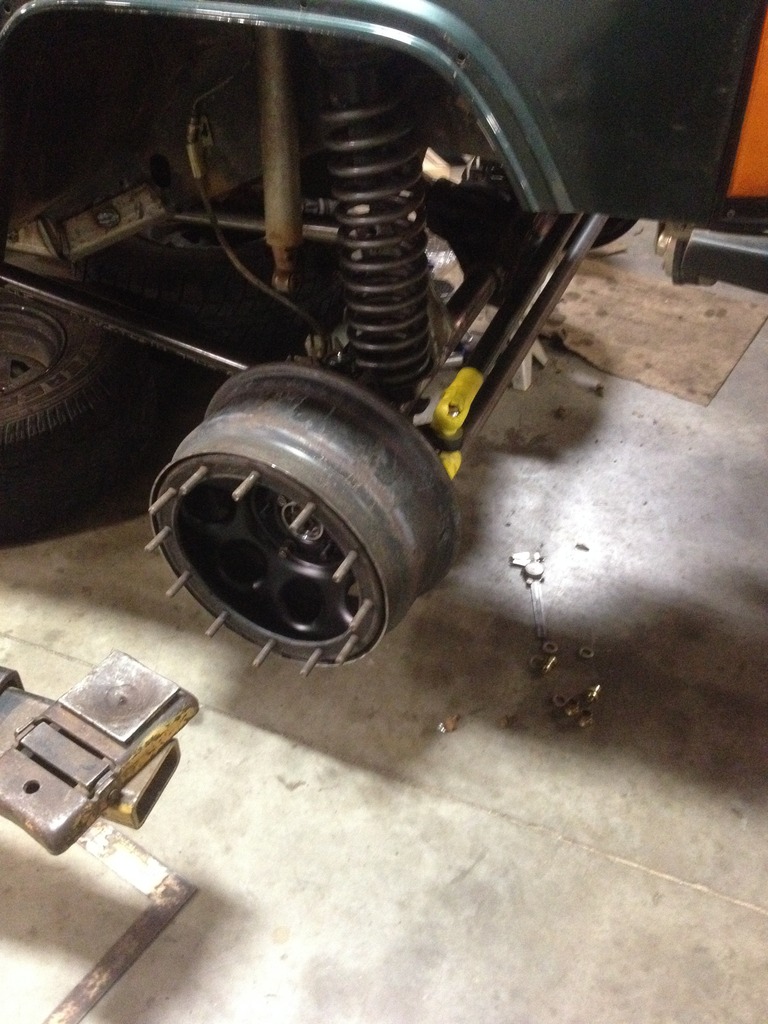
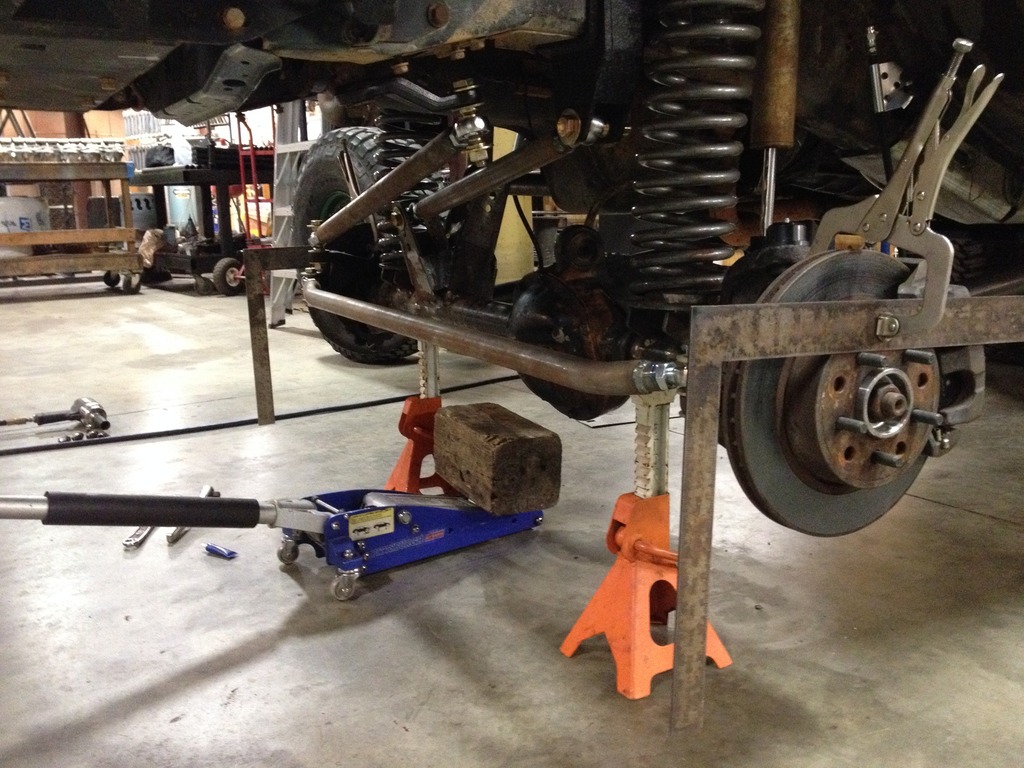
Mounted the back side of the wheel to double check clearances with the much larger WJ brake calipers and rotors along with the two heims located on the passenger knuckle. This mockup was still utilizing the drop pitman so don't let the angles confuse you.
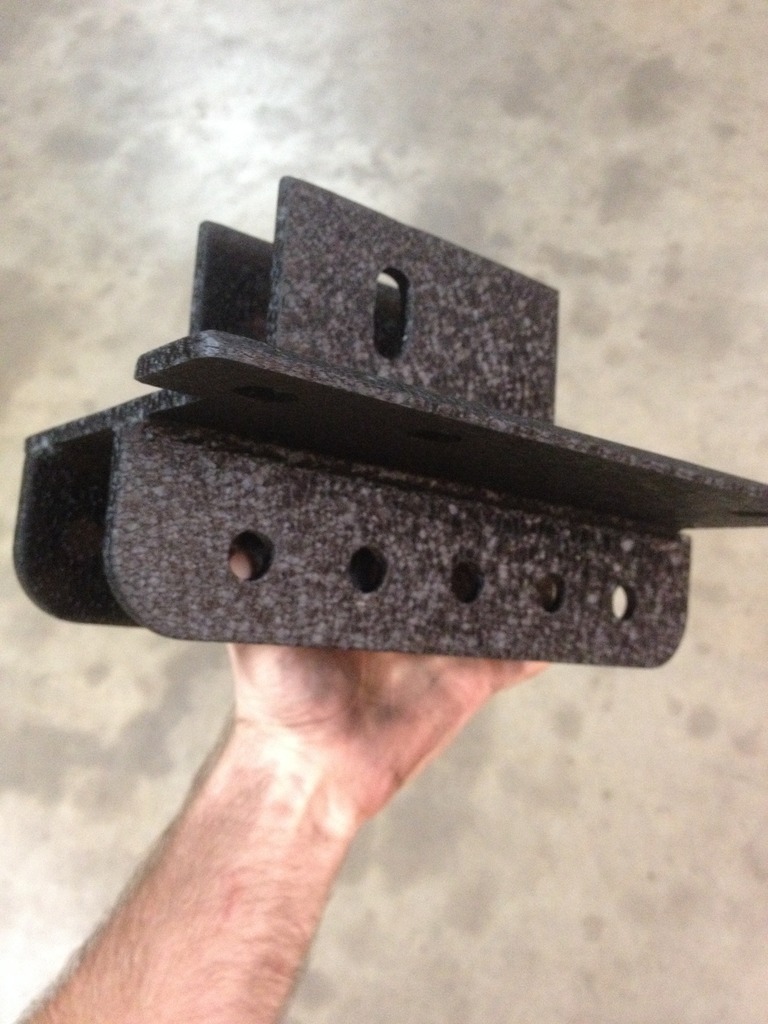
Now for the axle side trackbar bracket. This is the only bracket that I didn't completely fabricate as I have had it kicking around in the parts bin for a few years. The bracket was from Ruffstuff and was a very nice piece. The only problem, it no longer fit my build. Nothing a grinder and cutoff wheel couldn't fix.

After installing for mockup and a quick cyle of the suspension, it looked like the pitman/heim would contact the top of the differential if I were to really stuff the tire into the fender well. I did some research and decided to pull the trigger on a TJ stock pitman arm.
Top: Stock TJ. Bottom: RC Drop Pitman Arm


Much better. Moved forward and reamed the new arm out to 5/8" also. Got in the groove and forgot to take many detailed pics while I was mocking up the steering links. Instead of cutting up my limited supply of DOM, I used some pipe lying around the shop that I could cut up and get close estimates to transfer to the DOM.

Mounted the back side of the wheel to double check clearances with the much larger WJ brake calipers and rotors along with the two heims located on the passenger knuckle. This mockup was still utilizing the drop pitman so don't let the angles confuse you.

Now for the axle side trackbar bracket. This is the only bracket that I didn't completely fabricate as I have had it kicking around in the parts bin for a few years. The bracket was from Ruffstuff and was a very nice piece. The only problem, it no longer fit my build. Nothing a grinder and cutoff wheel couldn't fix.


Thread Starter
Junior Member
Joined: Mar 2012
Posts: 41
Likes: 0
Year: 1991
Model: Cherokee
Engine: 4.0 HO
Link: http://www.ruffstuffspecialties.com/...t_Code=BUSHDOM
Thread Starter
Junior Member
Joined: Mar 2012
Posts: 41
Likes: 0
Year: 1991
Model: Cherokee
Engine: 4.0 HO
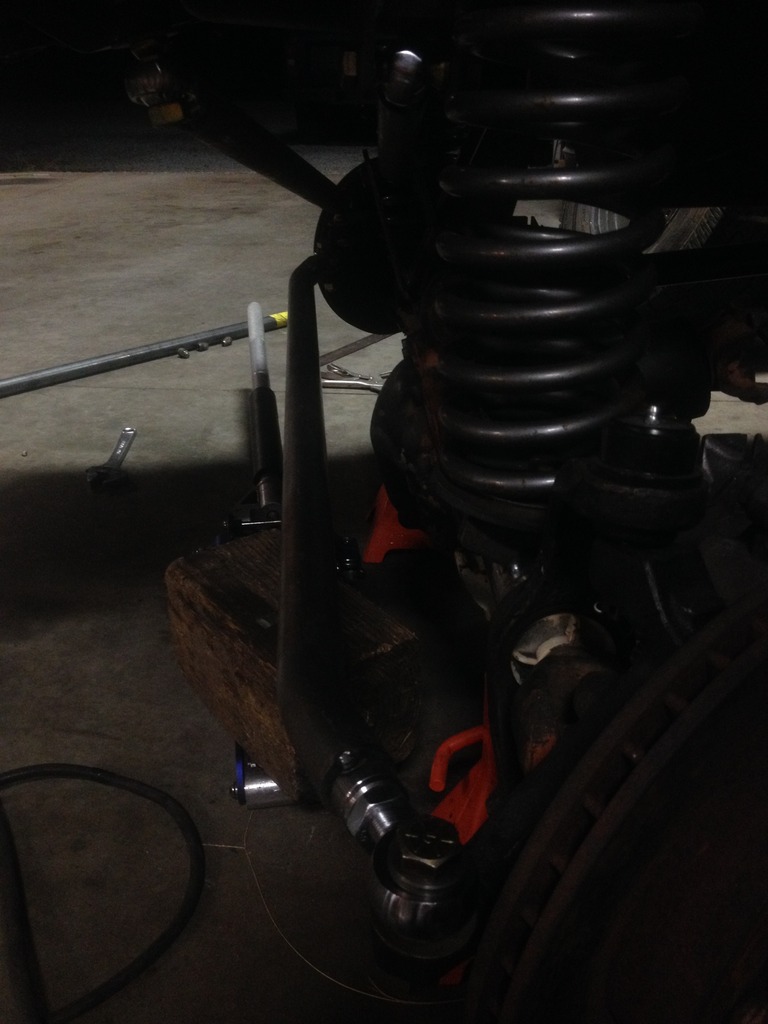
Because I'm running heims and not offset TREs, my tie rod needed bends to clear the diff cover. Without the bends it hit very near the edges of the steering travel on the stock cover, but as I plan on adding an aftermarket beefy cover, that just wouldn't work. I took my straight and uncut length of DOM to Dan at Motobilt. I told him my center to center distance of the knuckles, how much clearance I needed, and which joints I was using. He drew up the cut lines I needed, bent the bar, and Bobby hooked me up with some cool gear while I was there. Check them out!
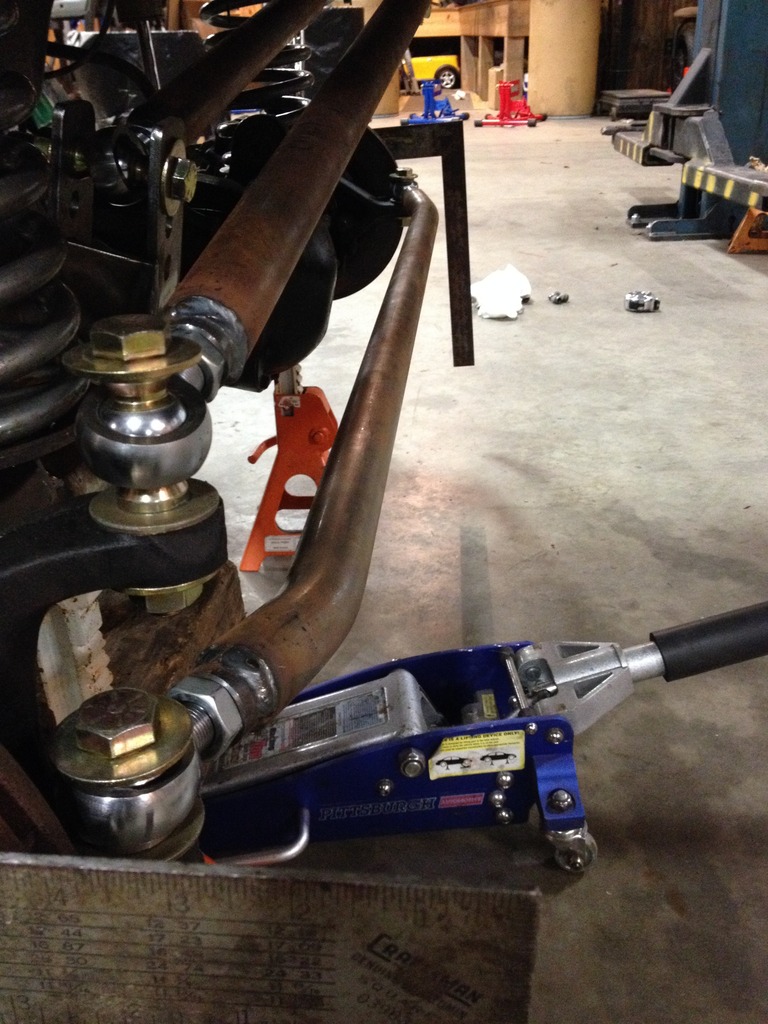
Diff cover clearance at straight ahead
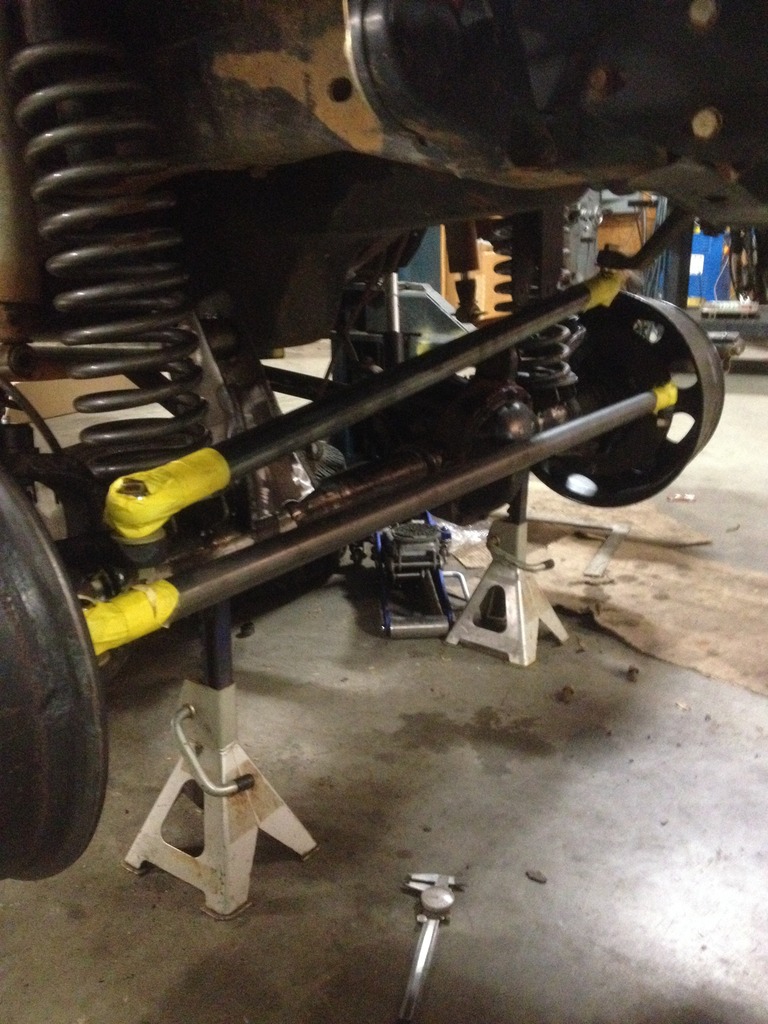
Here you can see the angles of the steering links. While not perfect, that are very close and much better than what is available when not OTK. The bolt head running through the pitman arm clears the driver side framerail without any modifications, but then again I'm also not running a swaybar for now. If after driving this I determine I need one, I'll address that down the road.
Dan was also kind enough to give me some advice on a bent tie rod and suggested I attempt to eliminate the rolling I would receive by using high misalignment spacers. With that advice, I hopped on the lathe, loaded up some steel and came up with these low misalignment spacers/reducers.

And here is my spacer maxed out showing how much extra movement the high misalignment spacers would still have to go before maxing out.
While trying to center the axle up, I made some plumb bobs from string and 1/2" nuts. I ended up without a very accurate reading...


Diff cover clearance at straight ahead

Here you can see the angles of the steering links. While not perfect, that are very close and much better than what is available when not OTK. The bolt head running through the pitman arm clears the driver side framerail without any modifications, but then again I'm also not running a swaybar for now. If after driving this I determine I need one, I'll address that down the road.

Dan was also kind enough to give me some advice on a bent tie rod and suggested I attempt to eliminate the rolling I would receive by using high misalignment spacers. With that advice, I hopped on the lathe, loaded up some steel and came up with these low misalignment spacers/reducers.


And here is my spacer maxed out showing how much extra movement the high misalignment spacers would still have to go before maxing out.

While trying to center the axle up, I made some plumb bobs from string and 1/2" nuts. I ended up without a very accurate reading...
Thread Starter
Junior Member
Joined: Mar 2012
Posts: 41
Likes: 0
Year: 1991
Model: Cherokee
Engine: 4.0 HO
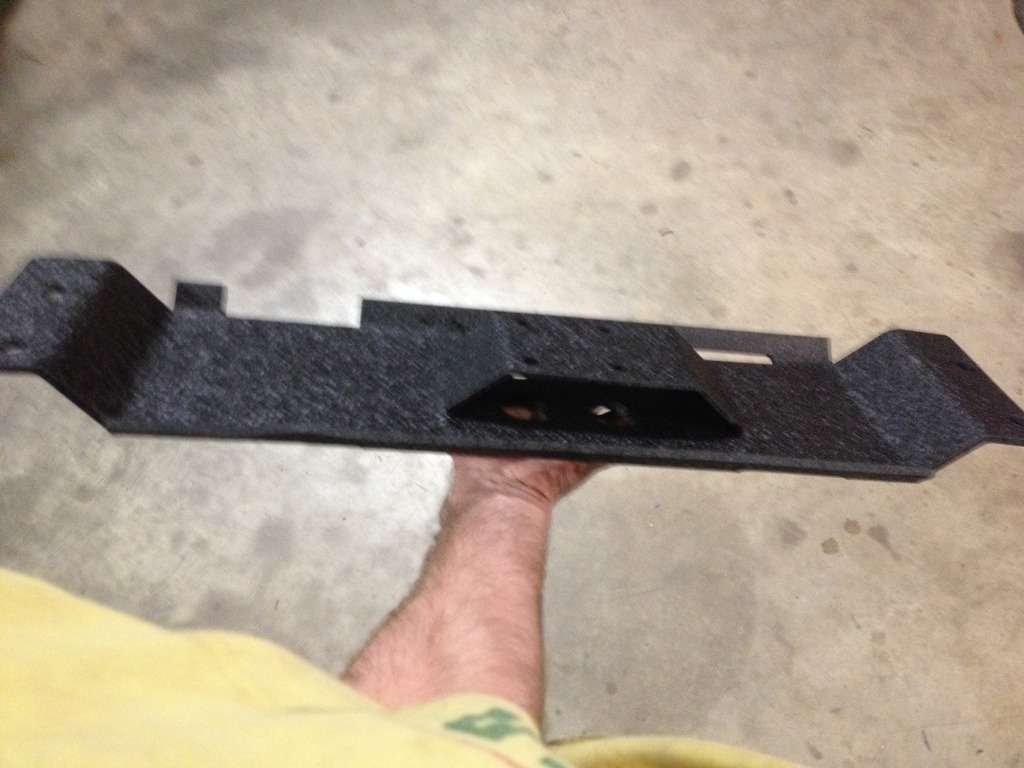
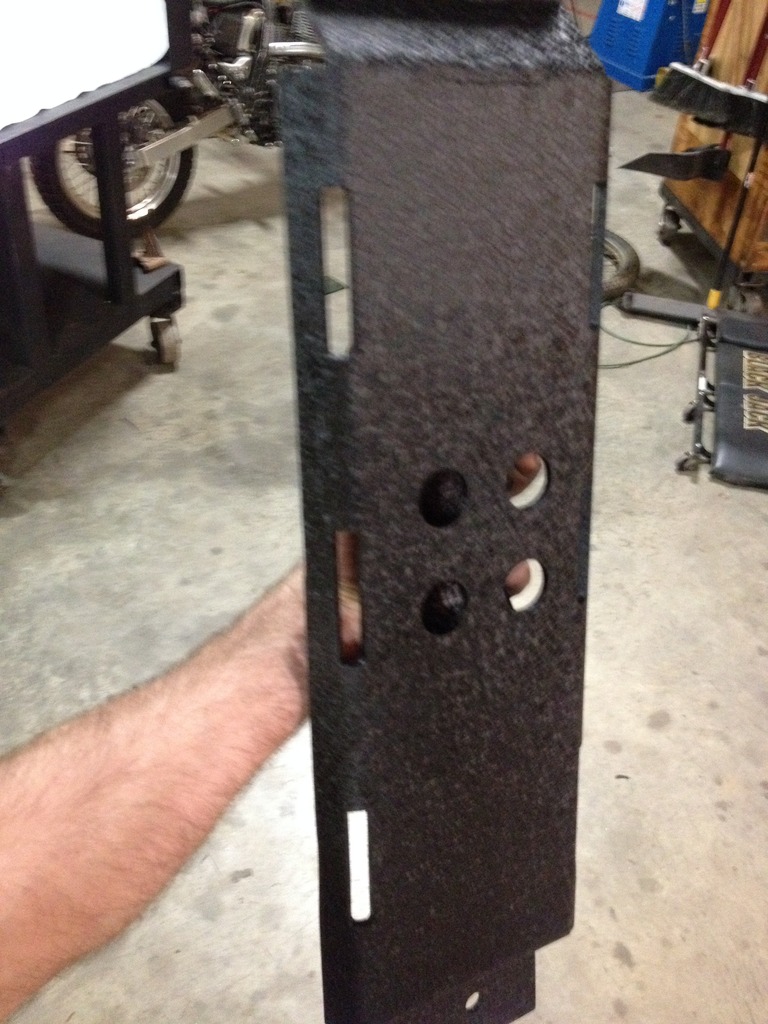
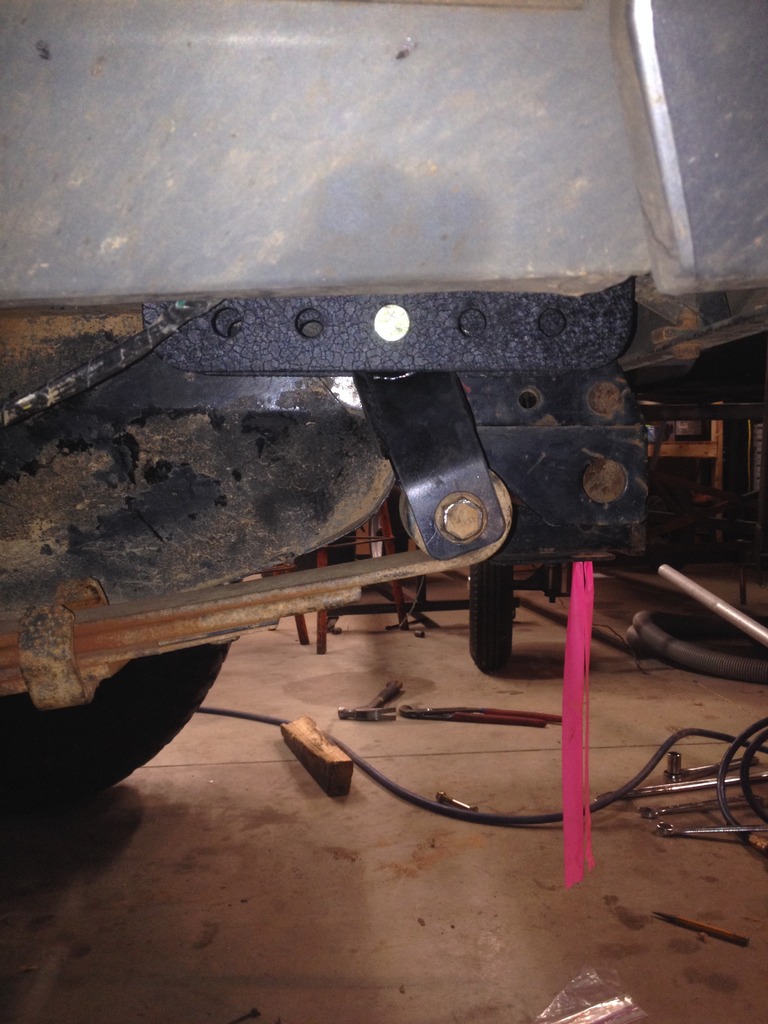
At this point, the axles were back under and it was sitting on it's own weight. Transmission was being supported by a flimsy piece of metal between the rails that ran under the transfer case. Did some measuring, CAD drawing, test fitting with thin sheet, and finally came up with this. Flat patterned. I left room for the driveshaft droop should I ever end up with crazy articulation and need it. Plan ahead.
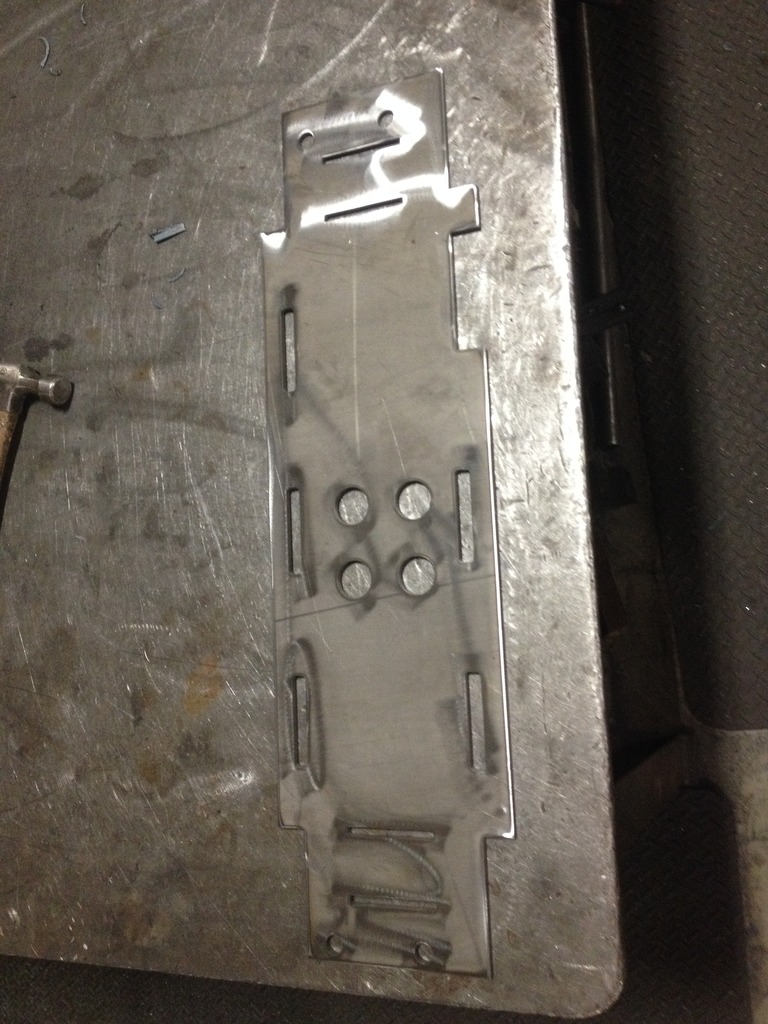
The drop from mounting point bottom of the crossmember is 1.5"
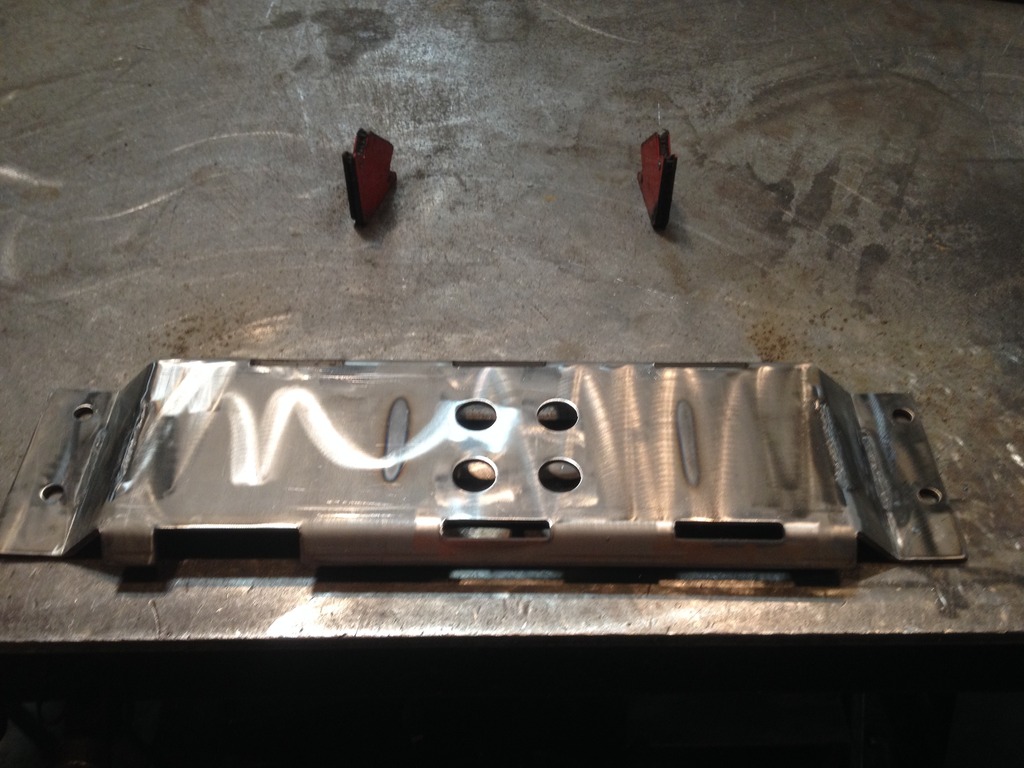
Welded up with the transmission mount
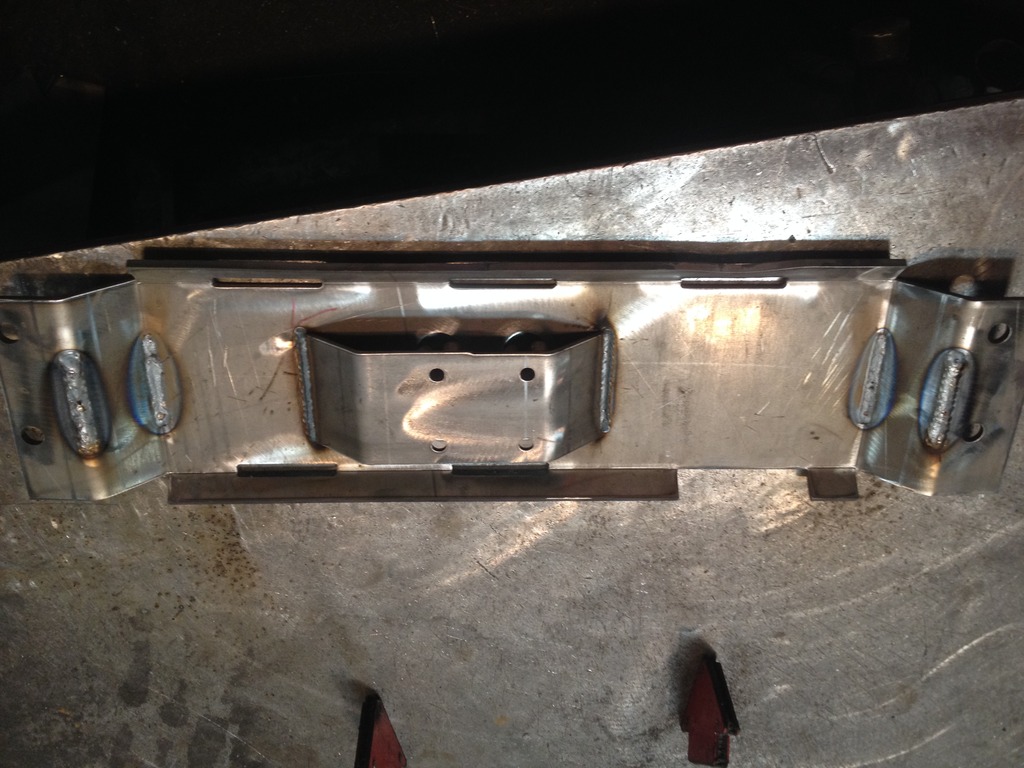
A little powdercoat action
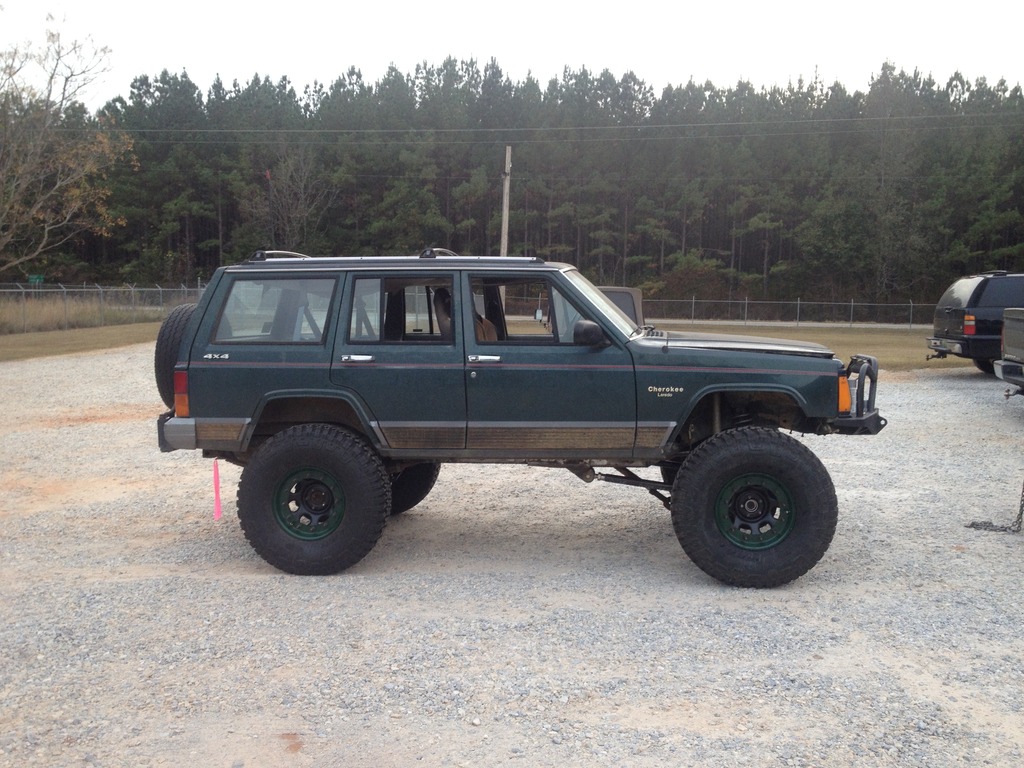
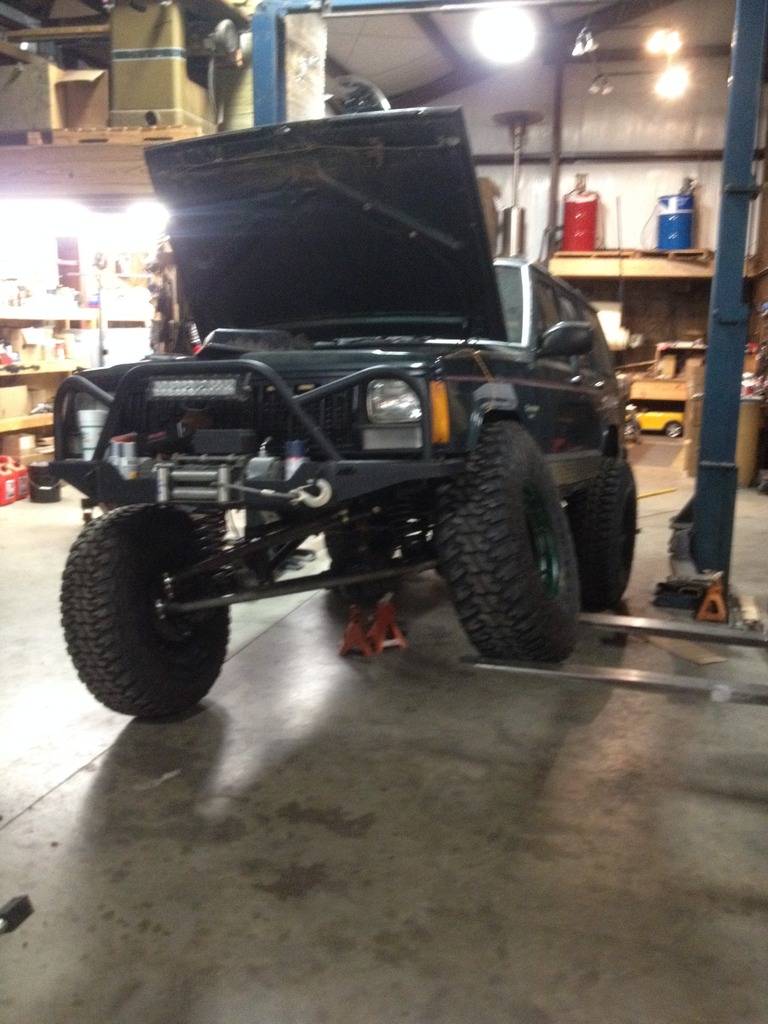
With that bolted in, I rolled outside for the first time in about 6 weeks.


The drop from mounting point bottom of the crossmember is 1.5"

Welded up with the transmission mount

A little powdercoat action


With that bolted in, I rolled outside for the first time in about 6 weeks.


Thread Starter
Junior Member
Joined: Mar 2012
Posts: 41
Likes: 0
Year: 1991
Model: Cherokee
Engine: 4.0 HO
As you may have noticed, the rear end is quite a bit lower. I figured I'd see what I could manage to build because I had no idea how much to actually lift the rear. Started with cutting the stock shackle apart.

Bent up and gusseted some plate and welded it to the stock shackle base.
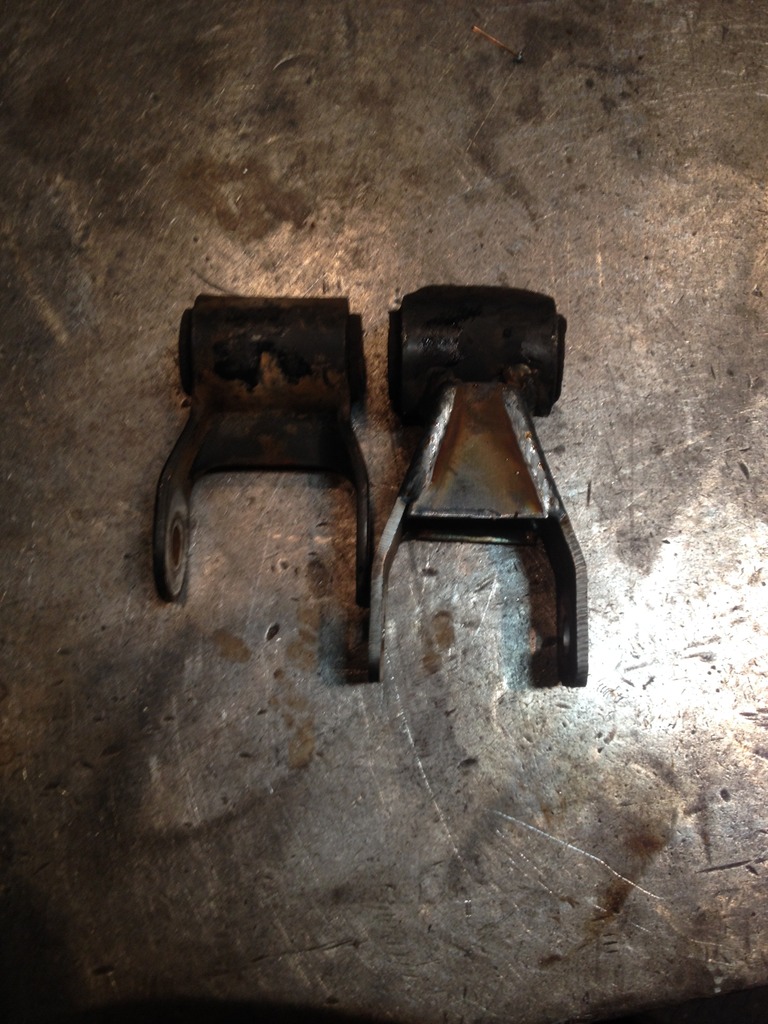
Mounting differences
While the shackles were out, I powdercoated the SRBs
Installed and updated shackle angle
When I eventually build a new rear bumper, I will probably make a new set that is longer to give slight more lift and accommodate the weight of the weight of the bumper
Time to flex it out and measure driveshaft lengths. This is as far as I could get before I got into my fenders. Close enough for now


Bent up and gusseted some plate and welded it to the stock shackle base.

Mounting differences

While the shackles were out, I powdercoated the SRBs

Installed and updated shackle angle

When I eventually build a new rear bumper, I will probably make a new set that is longer to give slight more lift and accommodate the weight of the weight of the bumper
Time to flex it out and measure driveshaft lengths. This is as far as I could get before I got into my fenders. Close enough for now

Thread Starter
Junior Member
Joined: Mar 2012
Posts: 41
Likes: 0
Year: 1991
Model: Cherokee
Engine: 4.0 HO
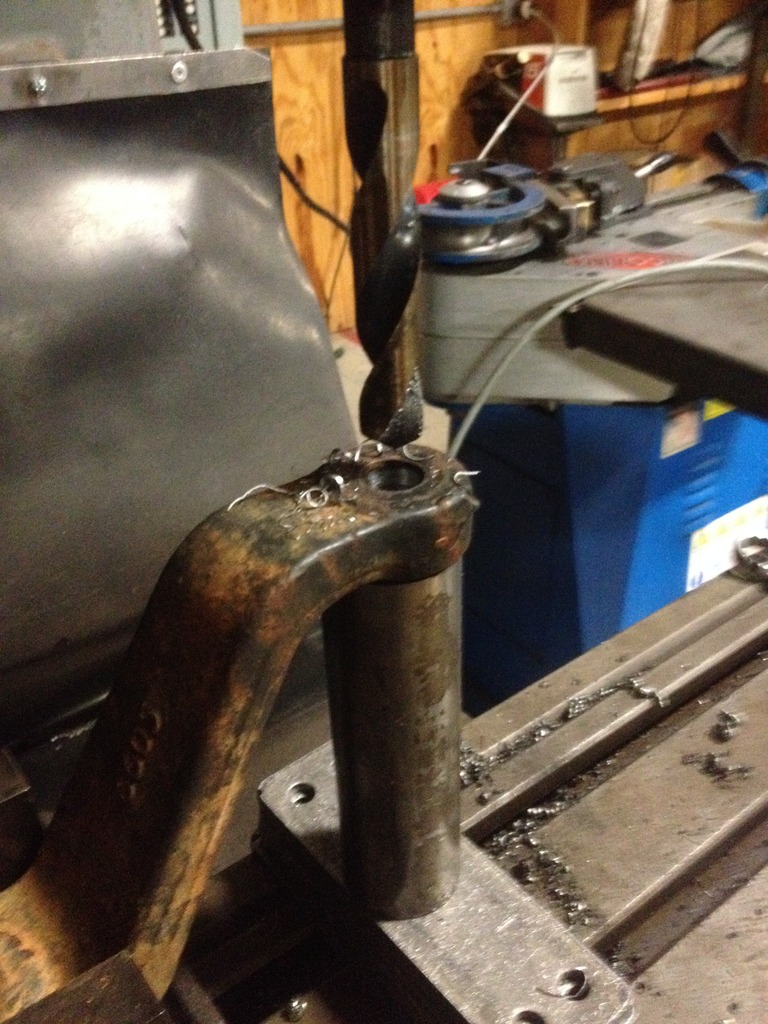
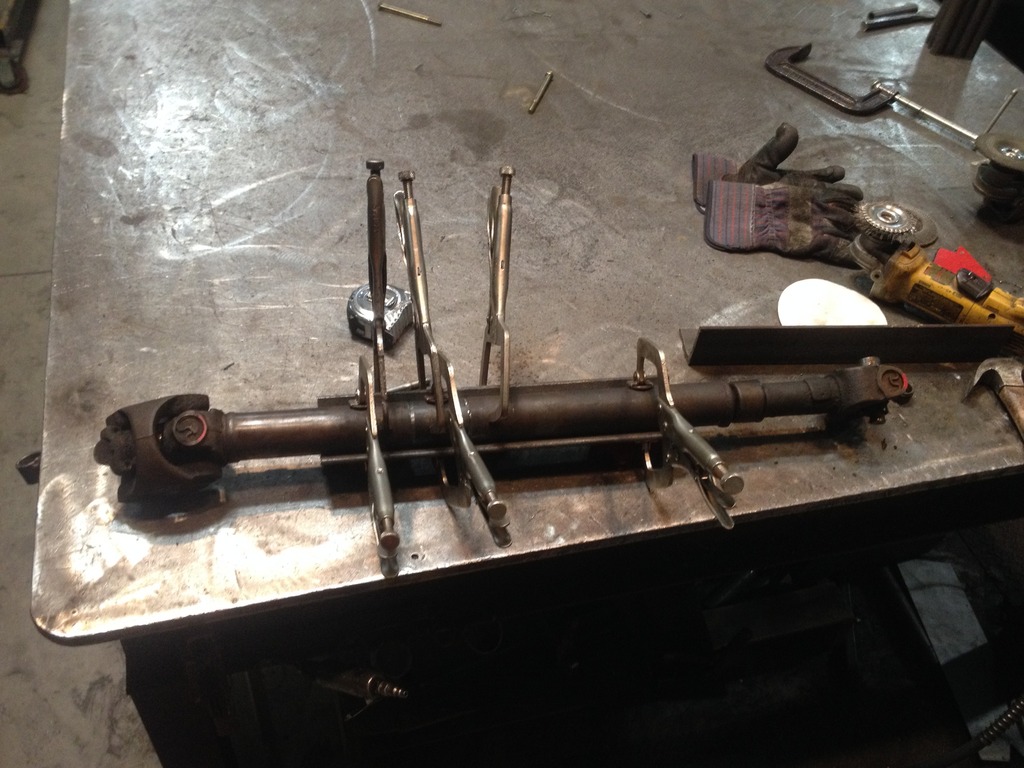
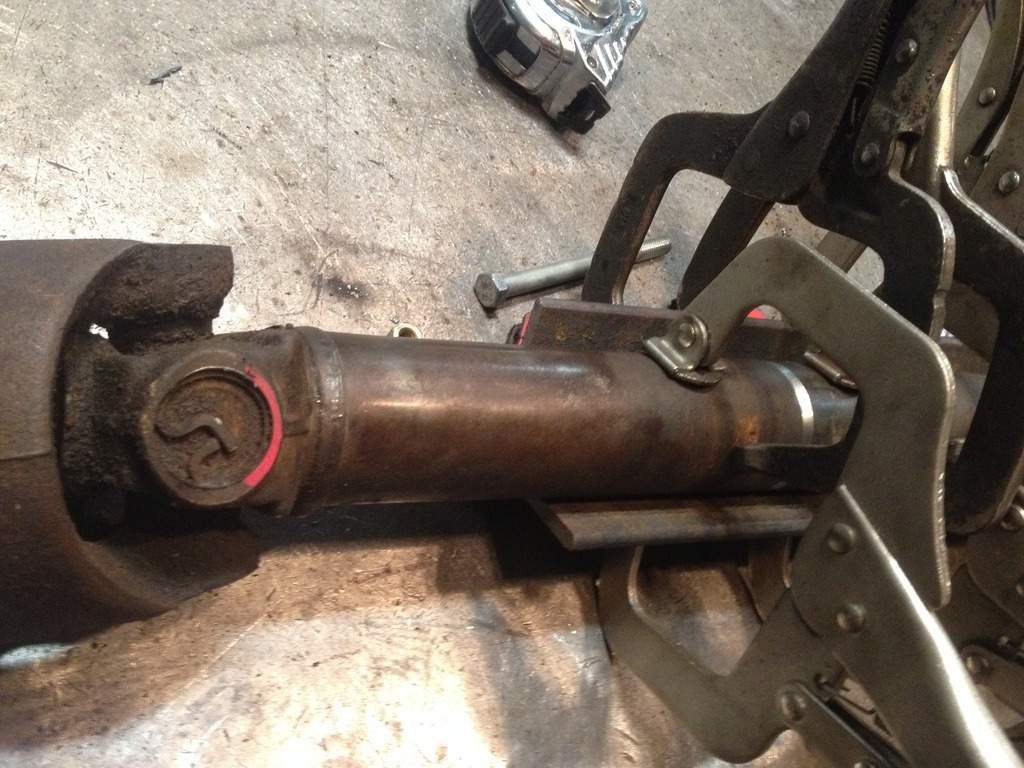
Since I put a SYE in the np231, I am using a front XJ shaft in the rear. It was not quite long enough so I decided to attempt to lengthen it myself until I can retube and install a long slip in the driveline. No turning back now.
Used 6 clamps, a piece of DOM, and a piece of angle iron to help with rough alignment. Tacked it up like this, bolted it into the jeep, set up a runout gauge, and tapped on it until I was within .010 max runout in the shaft. I welded it and then took it to the driveline shop 45 minutes away.
Got the driveshaft in and I've been driving it around a bit to see what else needs attention. I noticed the brakes were sticking on the right front. Decided to do a minor caliper rebuild. New piston seals and dust seals installed.
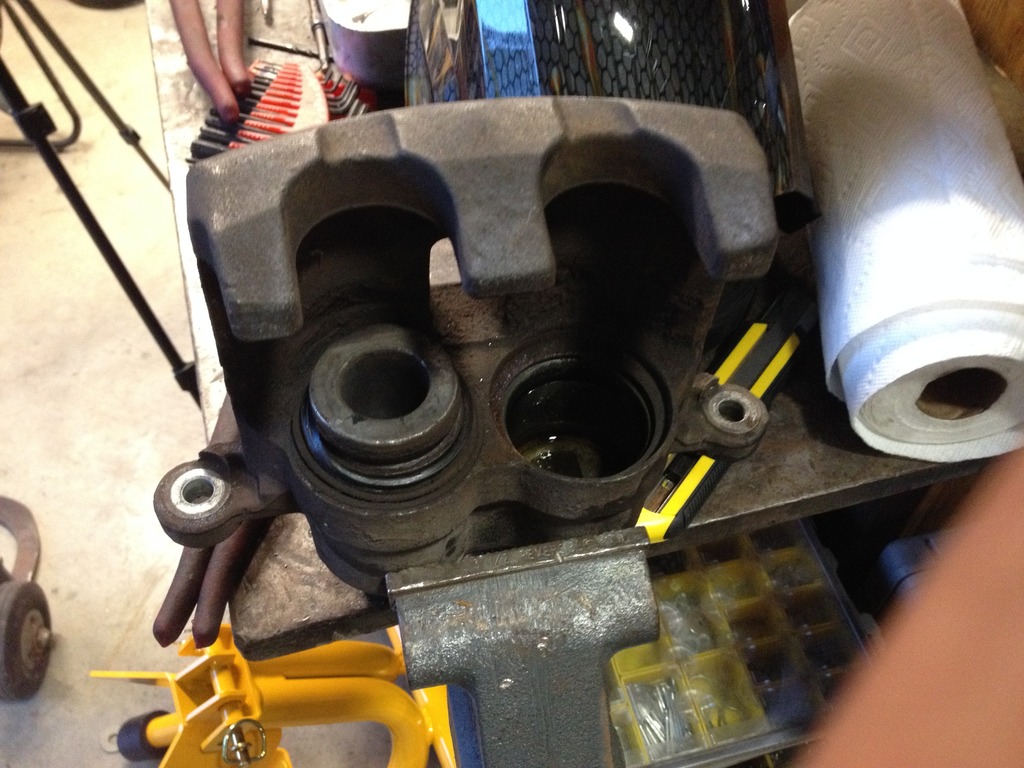
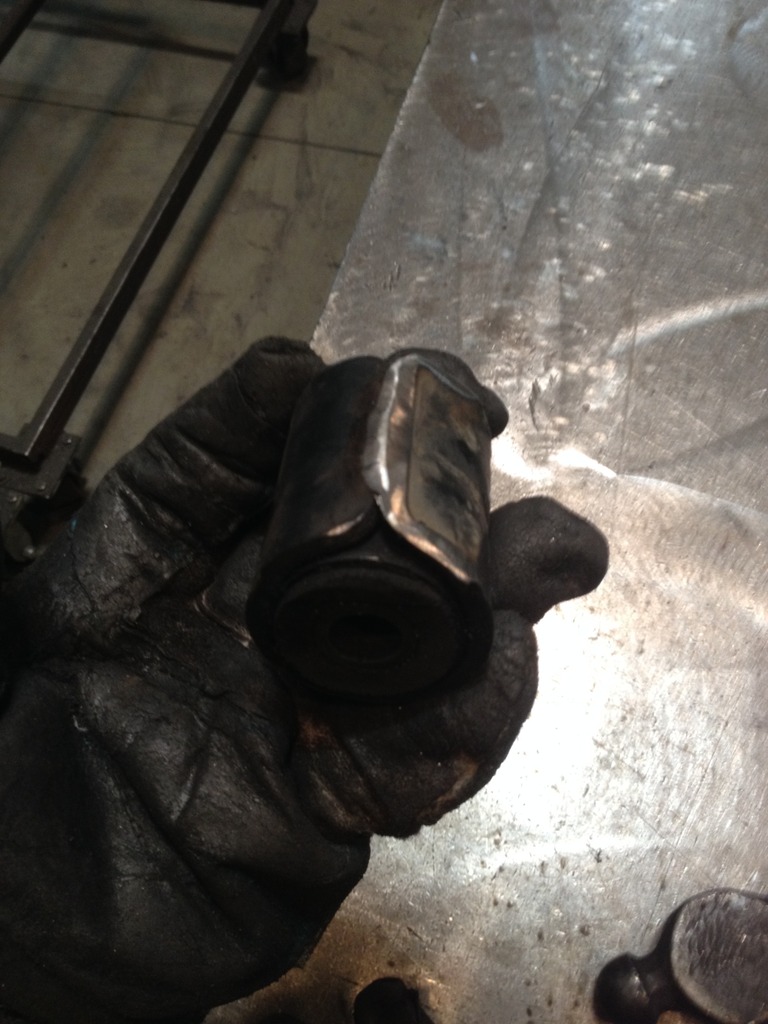
I installed the caliper back on and noticed the rotor was still sticking and kicked out at an odd angle.

Took the caliper out and notice one of the guide rods was stuck. A big hammer, wd40, pb blaster and a torch later, it came out.

Cleaned these up, loaded with grease and I'm back in business.

Used 6 clamps, a piece of DOM, and a piece of angle iron to help with rough alignment. Tacked it up like this, bolted it into the jeep, set up a runout gauge, and tapped on it until I was within .010 max runout in the shaft. I welded it and then took it to the driveline shop 45 minutes away.


Got the driveshaft in and I've been driving it around a bit to see what else needs attention. I noticed the brakes were sticking on the right front. Decided to do a minor caliper rebuild. New piston seals and dust seals installed.

I installed the caliper back on and noticed the rotor was still sticking and kicked out at an odd angle.

Took the caliper out and notice one of the guide rods was stuck. A big hammer, wd40, pb blaster and a torch later, it came out.

Cleaned these up, loaded with grease and I'm back in business.
Thread Starter
Junior Member
Joined: Mar 2012
Posts: 41
Likes: 0
Year: 1991
Model: Cherokee
Engine: 4.0 HO
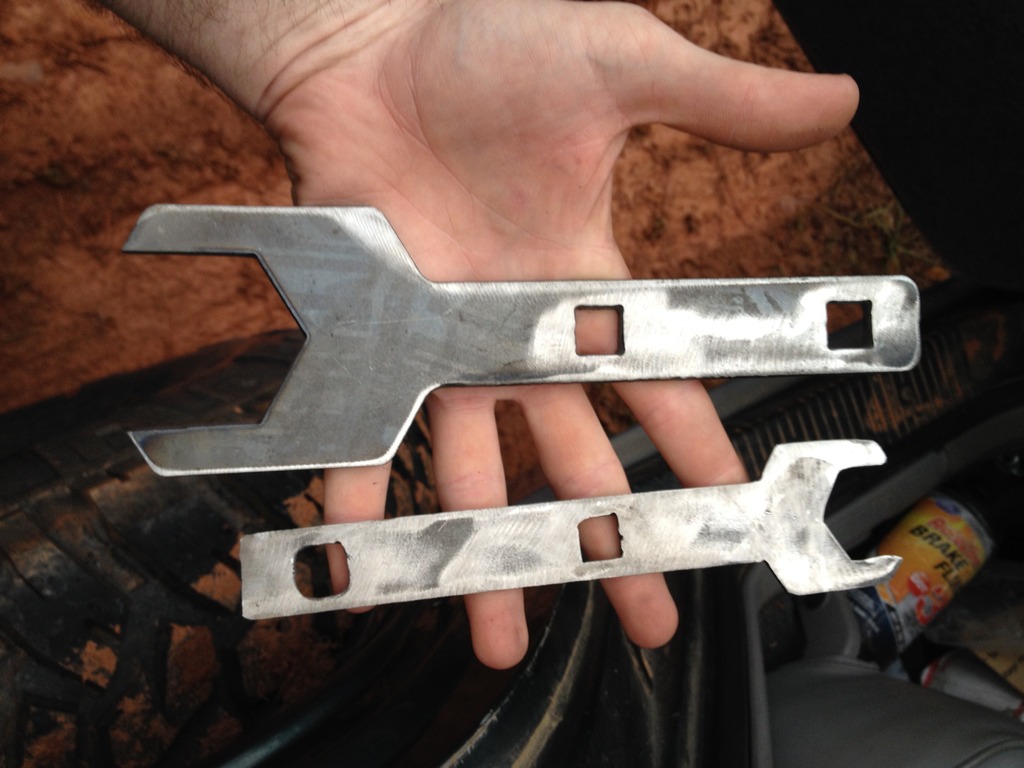
Time came to tighten all my links and I figured out I don't have any wrenches big enough for the jam nuts. Grapped the dial calipers, drew on the computer and now I have wrenches for the jam nuts that can either slip in tubing of the jack handle or snap on the end of a 1/2" ratchet to tighten things up.
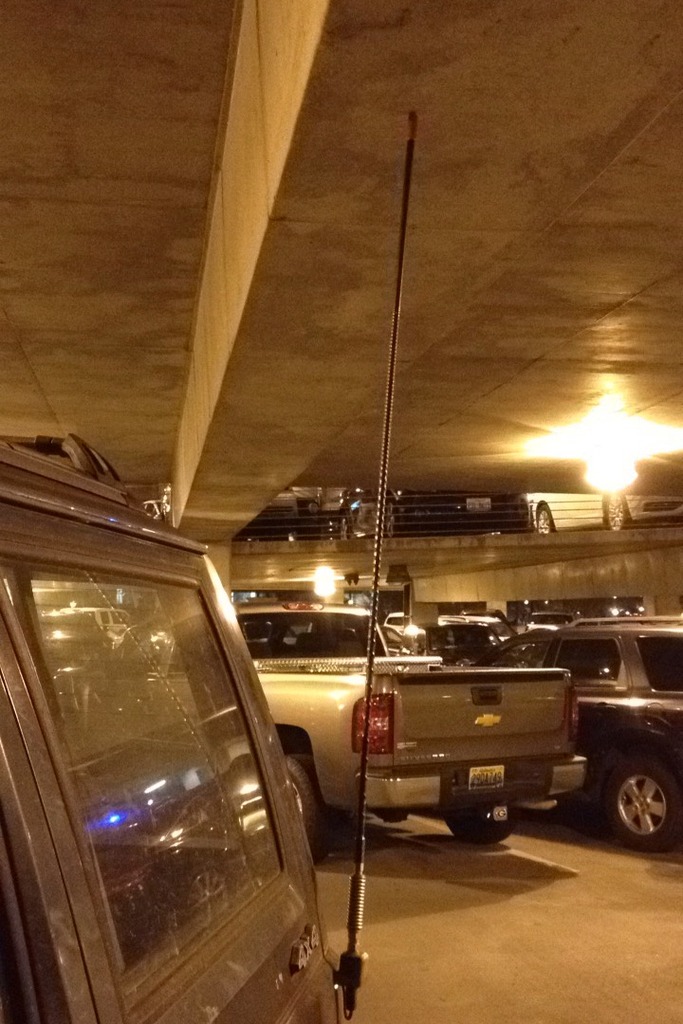
Drove it back and forth to town and in town for a few days rechecking torques and adjusting. Found out the local parking garages don't like my CB. Luckily it is on a spring mount
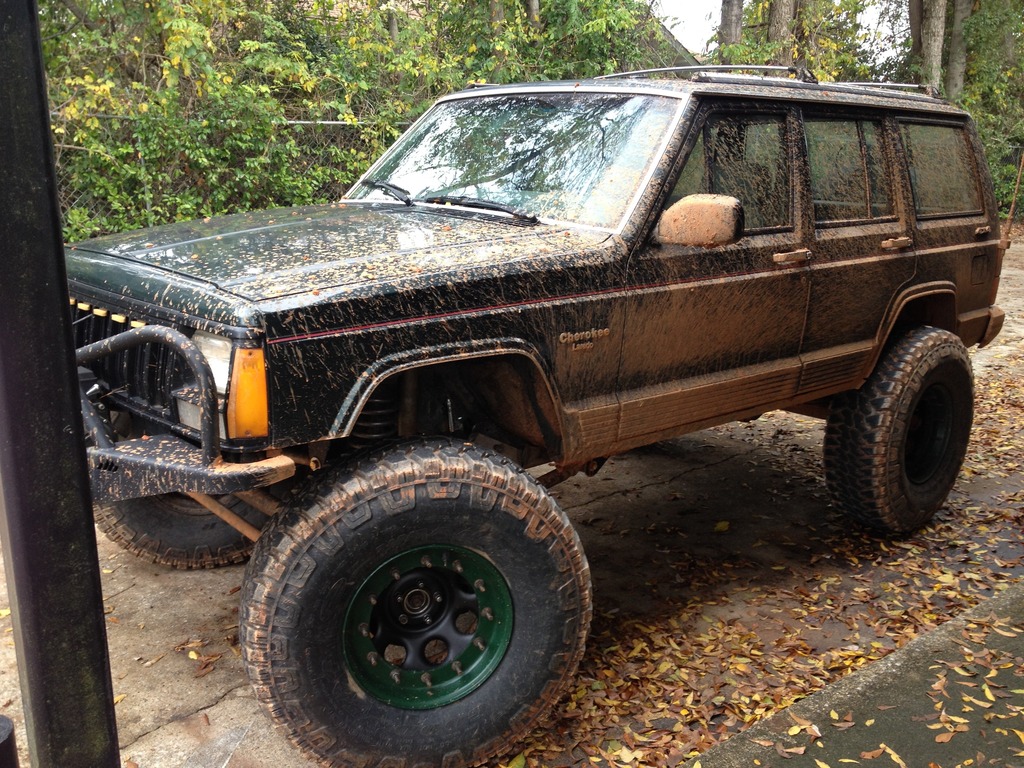
We finally got some rain after a 4 month drought so I took the dirt roads home. Stayed on the roads at all times and it still looked like this. Thankfully it was pressure washed back off the next day.

Thread Starter
Junior Member
Joined: Mar 2012
Posts: 41
Likes: 0
Year: 1991
Model: Cherokee
Engine: 4.0 HO
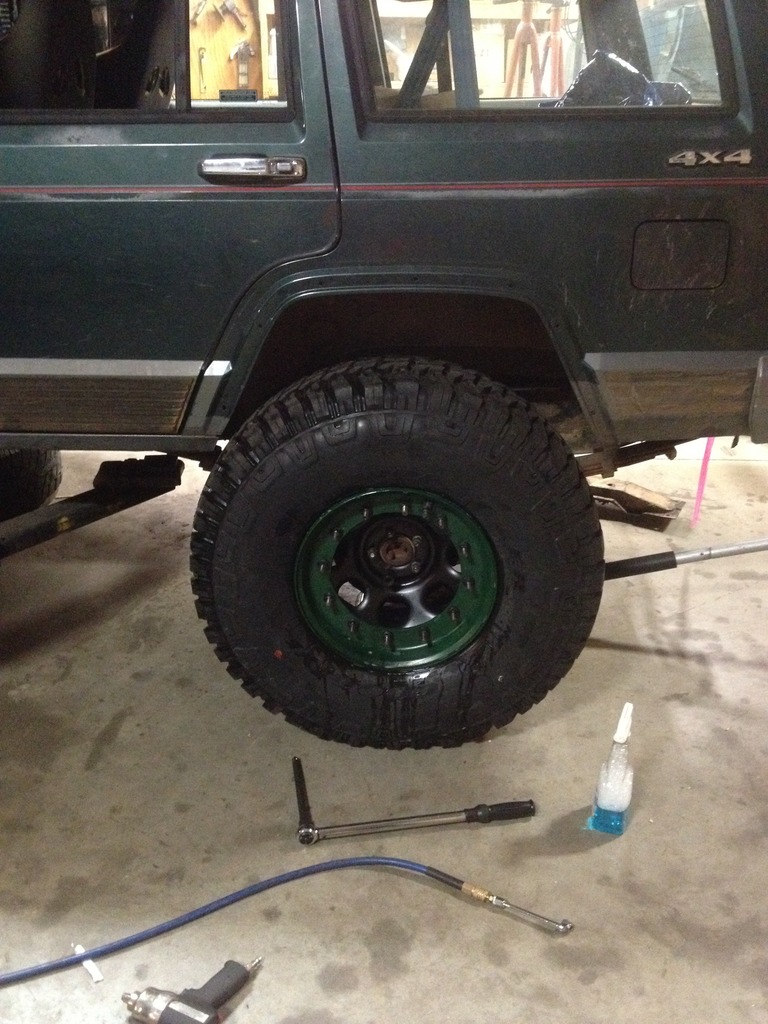
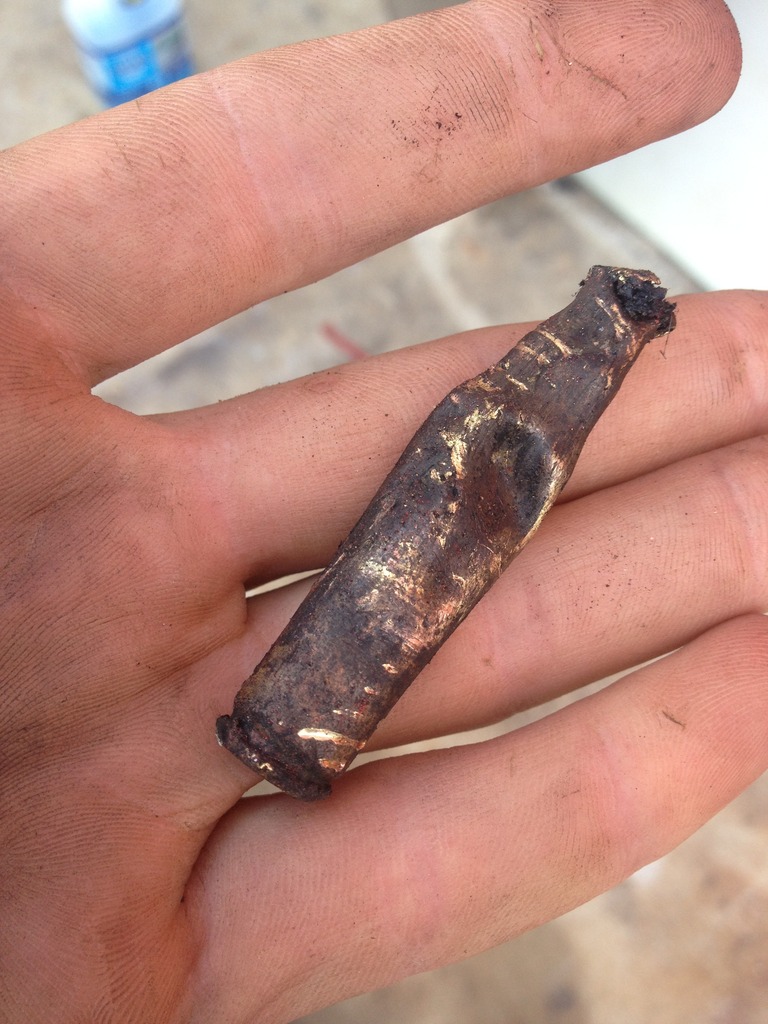
Going to do a little focus on the wheels and tires in this post. If you don't know what these wheels and tires are from, they are off of H1 Hummers, usually retired from the military. As mentioned before, when I bought the tires I was aware of a puncture in one. When time came to mount the tires, I went to pull the nail out and was met with a surprise.
For now, I spray painted the back half of the rim with a satin black and the front half with green.
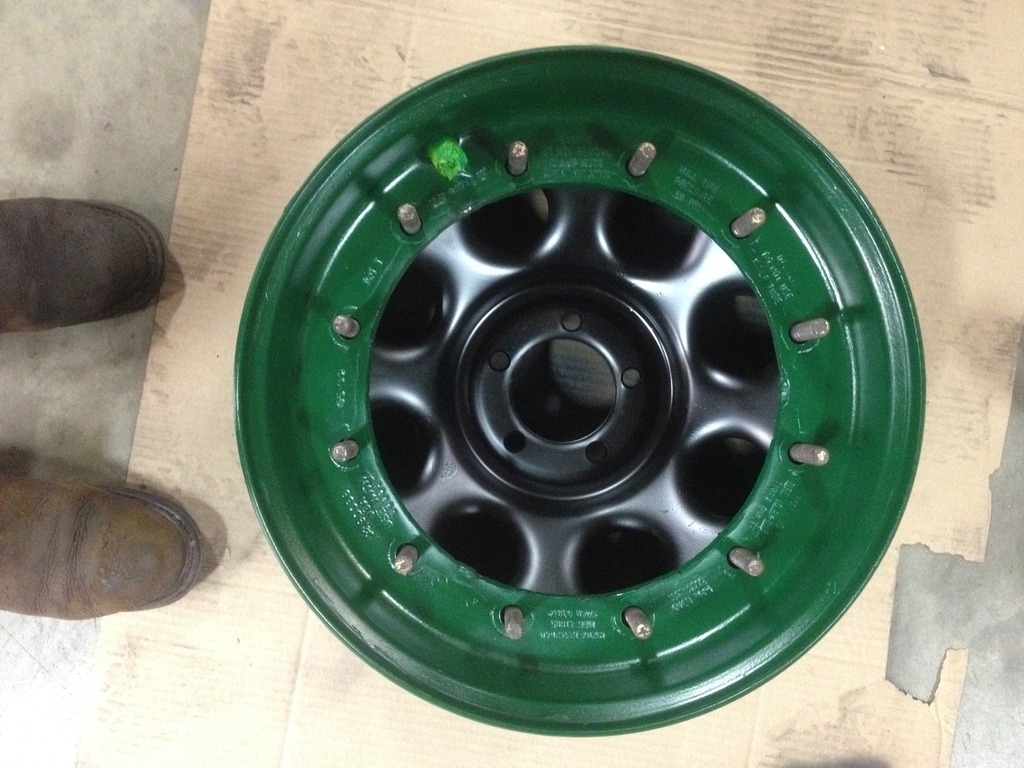
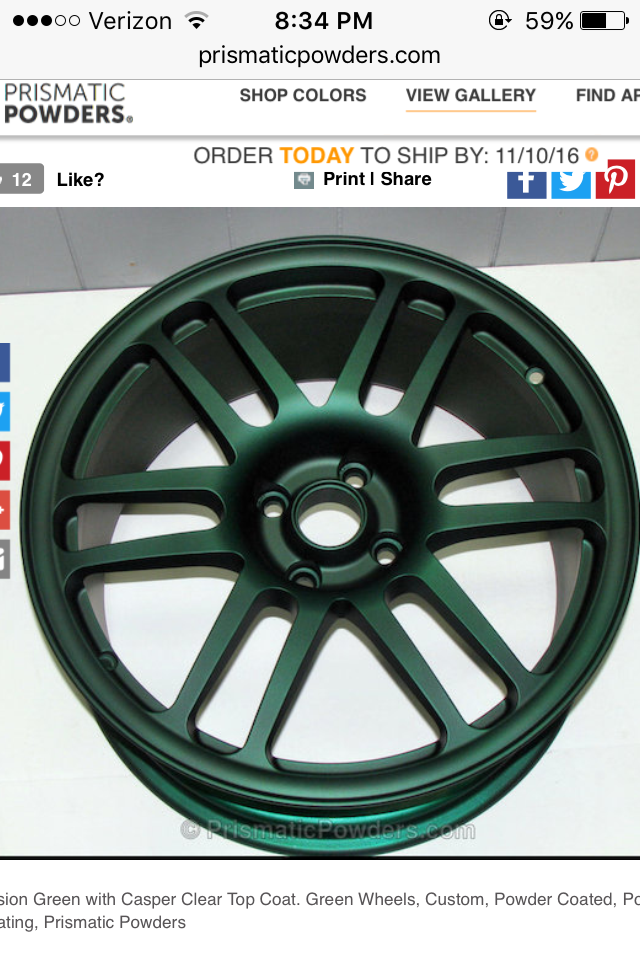
I'm still up in the air as to what back half color I'll go with when I powdercoat them. My current radar of choices are either satin black or a gunmetal gray a few shades darker than the contrast color on the bottom of the doors. The green I think I'm going to go with is Illusion Green with Casper Clear from Prismatic Powders.
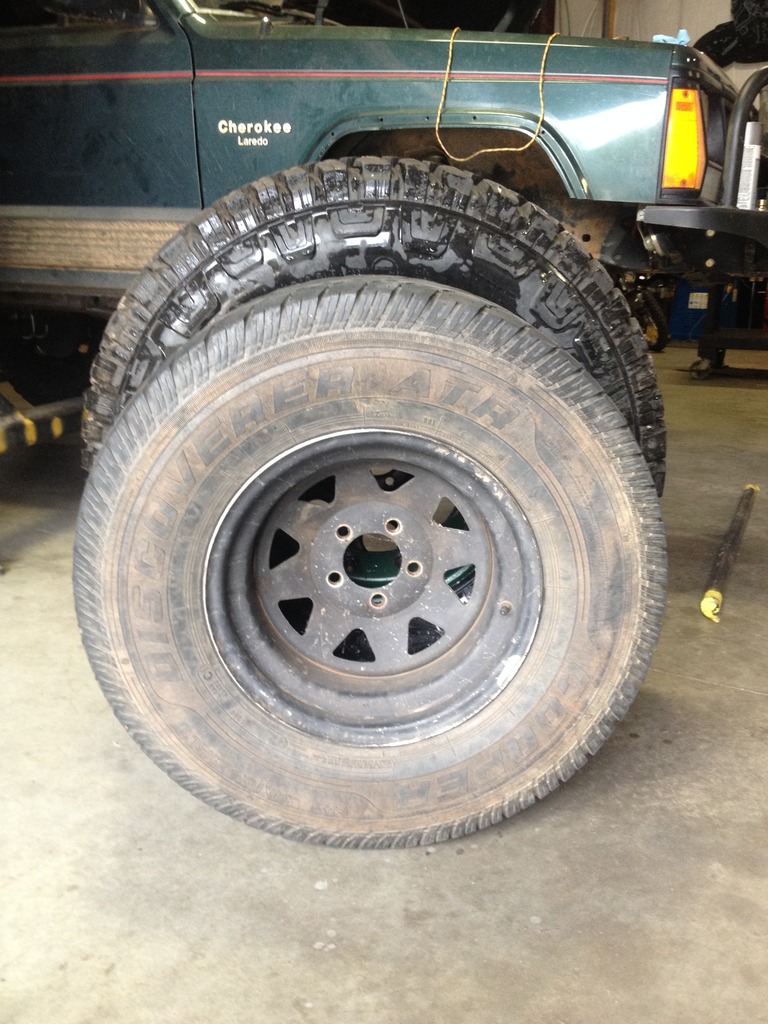
Here's a little comparison of the tires I took off the jeep in front of what just went on
And a little action from seating the tires. I am currently not running the inserts as I'm saving up to purchase the PVC inserts from TrailWorthyFab.
VIDEO COMING SOON

For now, I spray painted the back half of the rim with a satin black and the front half with green.

I'm still up in the air as to what back half color I'll go with when I powdercoat them. My current radar of choices are either satin black or a gunmetal gray a few shades darker than the contrast color on the bottom of the doors. The green I think I'm going to go with is Illusion Green with Casper Clear from Prismatic Powders.

Here's a little comparison of the tires I took off the jeep in front of what just went on

And a little action from seating the tires. I am currently not running the inserts as I'm saving up to purchase the PVC inserts from TrailWorthyFab.
VIDEO COMING SOON
Thread Starter
Junior Member
Joined: Mar 2012
Posts: 41
Likes: 0
Year: 1991
Model: Cherokee
Engine: 4.0 HO
And that should catch things up. Tomorrow I plan to pull the pitman arm back off and gusset it to hold the heim in double shear. I have some serious wandering while driving. From what I can feel, the steering seems to move without moving the steering wheel. I'm going to hook a gopro to the front bumper pointed back at the steering to see what is shifting while I'm driving. Other than that, steering is nice! Brakes were surprisingly good for such a heavy tire combo.
Future plans not in order:
Future plans not in order:
- Gusset front axle
- Hydro Assist Steering
- Rock Lights
- Clean up the wiring and switch mounts
- Rear bumper with swingout tire carrier
- Regear both axles to 4.88
- Gusset Inner C's
- Patch the rust spots I found
- Paint steering links/control arms/frame stiffeners
- Powdercoat rims when I pick the final colors
- Purchase and install Ram MC
- Paint axles