
Caleb9107's 91 XJ Build


Thread Starter
Junior Member
Joined: Mar 2012
Posts: 41
Likes: 0
Year: 1991
Model: Cherokee
Engine: 4.0 HO
Well I've finally decided to go back and create a build thread. These next several posts will all be playing catchup. I'll start with a little back story. Bought this 88 2 door right after high school. Worked on it throughout the summer: maintenance, research, etc. It has always had a transmission problem to which I still don't have the answer. Something electrical  . Moved to college and this became the winter and summer break projects. Lifted it. 4.5" RC coils, S-10 bastard packs, RC 2.0 shocks, stabilizer, track bar, drop pitman, etc. My college roommates family was building a YJ for his brother and told me if I would come get the old rims/tires out of their garage, I could have them.
  . Gutted the interior, found decent bits of floor rust in the cargo area and passenger floorboard (beach jeep). Drove it randomly on my trips home but it never took off as my reliable rig. I still have this, just stored away at home. Here's a few pics of it.
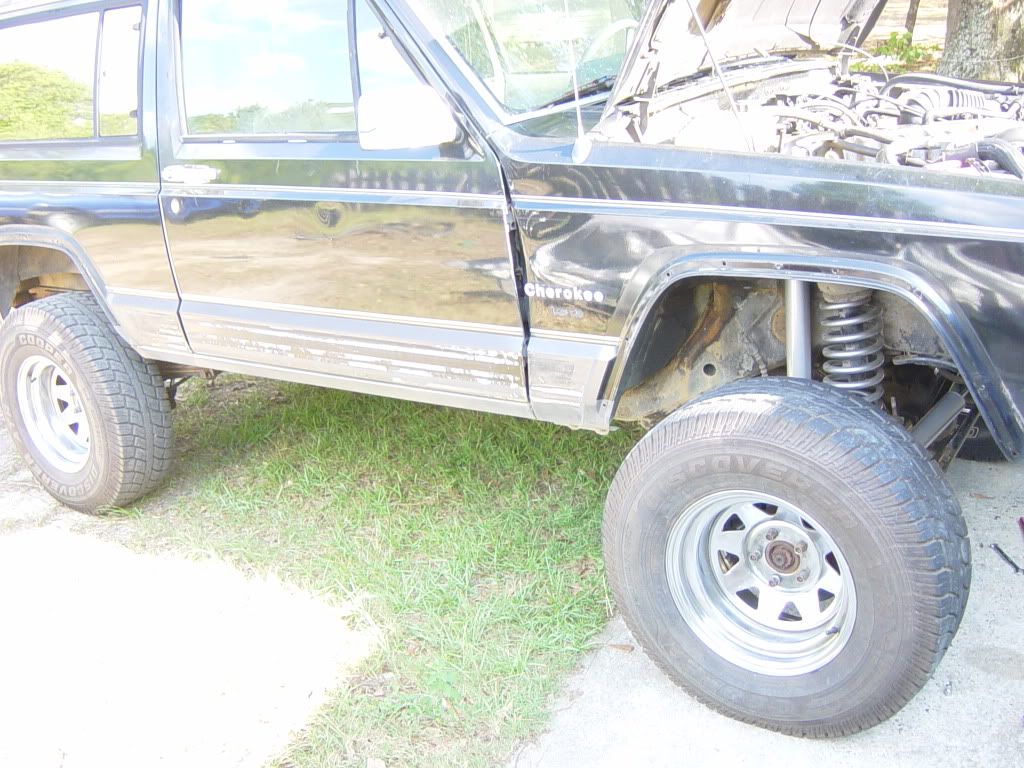
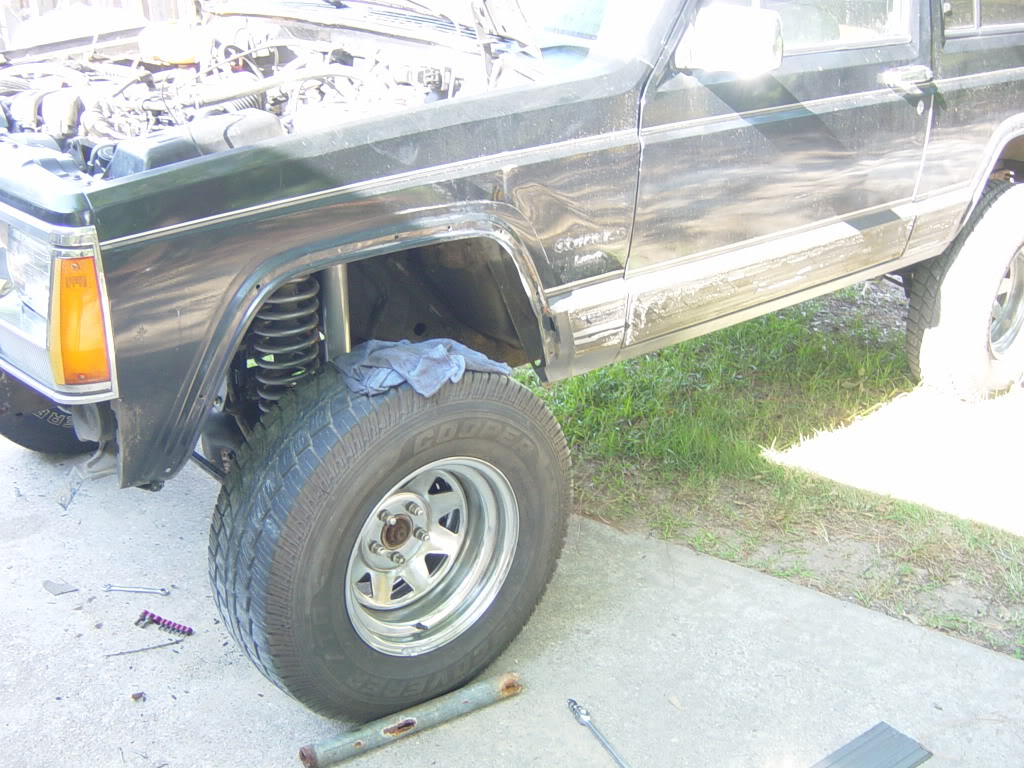
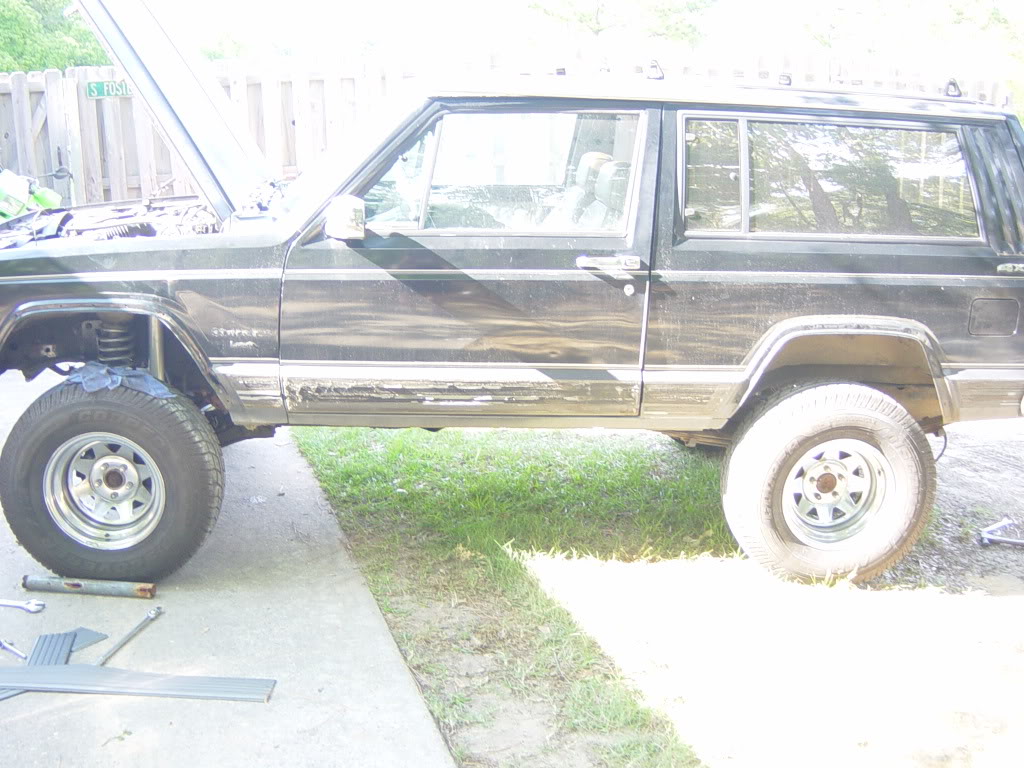
Minus the lift, this is how the 88 is still sitting today, just with plenty of spare parts off of both rigs stuffed inside. One day..
. Moved to college and this became the winter and summer break projects. Lifted it. 4.5" RC coils, S-10 bastard packs, RC 2.0 shocks, stabilizer, track bar, drop pitman, etc. My college roommates family was building a YJ for his brother and told me if I would come get the old rims/tires out of their garage, I could have them. . Gutted the interior, found decent bits of floor rust in the cargo area and passenger floorboard (beach jeep). Drove it randomly on my trips home but it never took off as my reliable rig. I still have this, just stored away at home. Here's a few pics of it. 


Minus the lift, this is how the 88 is still sitting today, just with plenty of spare parts off of both rigs stuffed inside. One day..
Thread Starter
Junior Member
Joined: Mar 2012
Posts: 41
Likes: 0
Year: 1991
Model: Cherokee
Engine: 4.0 HO
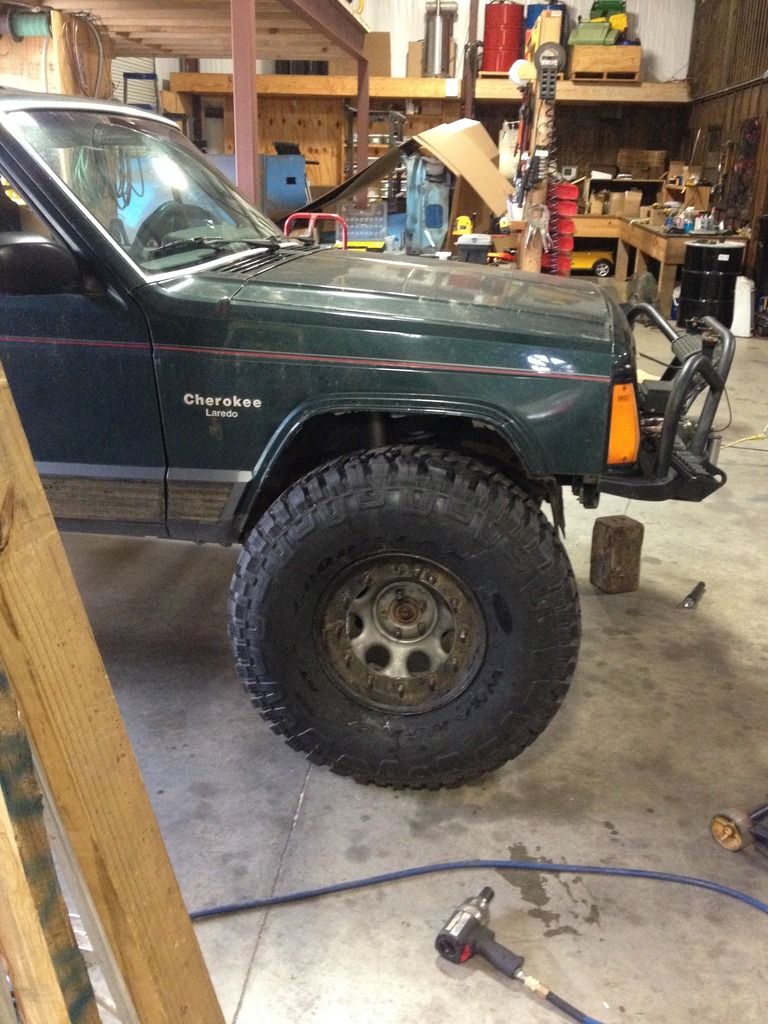
This is where the current jeep comes into the picture. My dad got this vehicle for some side work he did. The catch, it had just been in a front end wreck. Nothing major: hood, fender, radiator, header panel. The usual. He had a friend fix the "frame" as well as possible. It has a few panel gaps mainly around the doors that aren't perfect. Every now and then some torrential rain will slightly leak in, but nothing worth crying over. He drove it around for a year or more. At the end of the year, I lost my dad. Hard times followed, lost focus in a lot of places, etc. I decided that I wanted the vehicle that we had worked putting back together. I drove it in stock form for a while and just enjoyed it like he had. Finally I decided to rip the parts from my 88 and transfer them to this. I know he would have supported this as he was a former mechanic and loved seeing me wrench too. So, minus the lift, this is the rig I inherited.
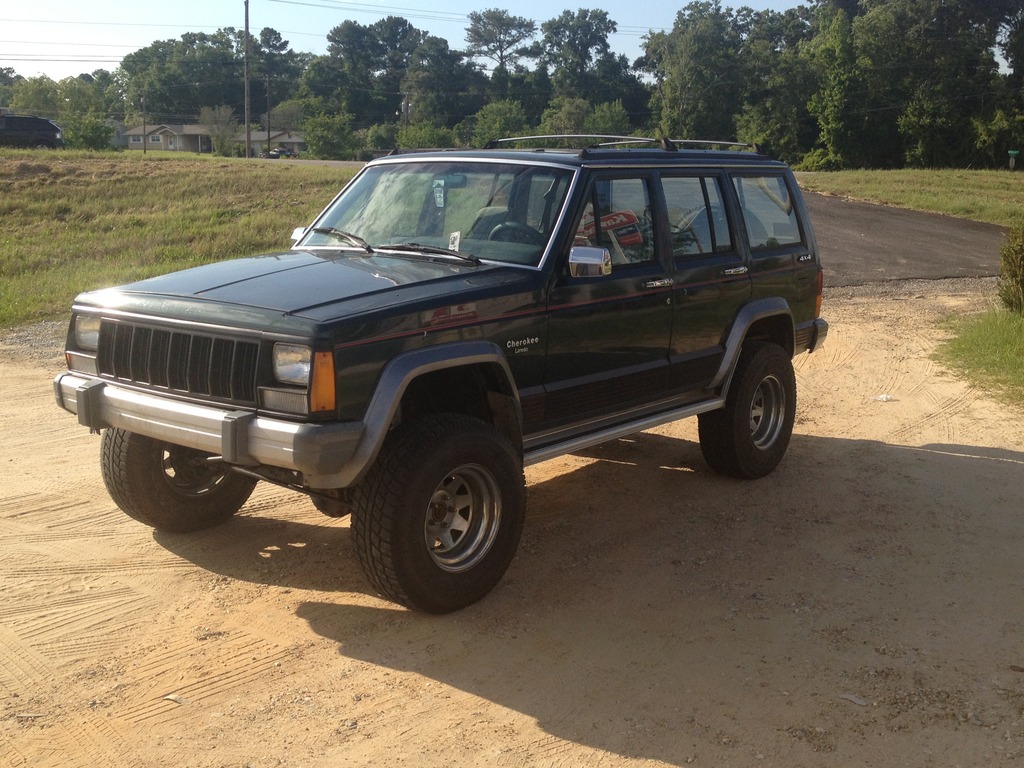
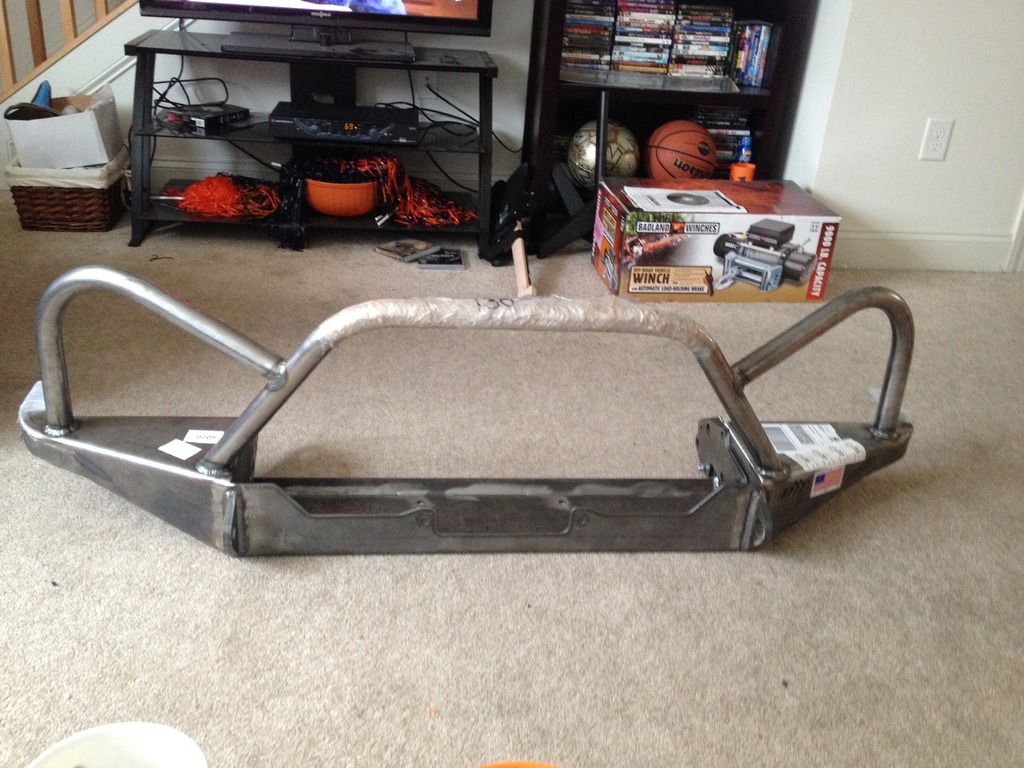
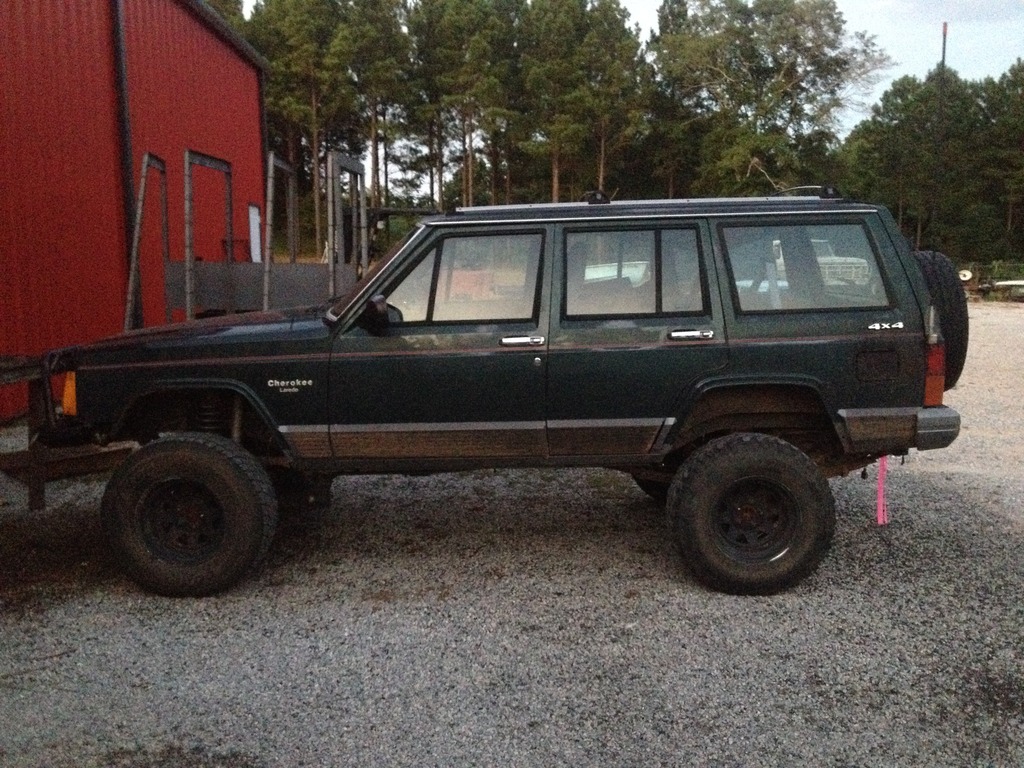
91, Laredo, All power locks and windows, carpet, 4.0, AX-15, 12x,000 miles, d30, d35, 3.07's. Clean body, no rust I knew of, everything worked, motor sounds like a dream, trans shifted beautifully, and a tilting sunroof. The suspension was swapped over and I drove this thing like it was for a while. Added two 6" lights to the bumper, did some light off roading and enjoyed it. Shortly after, I decided to start adding to this jeep. First on the list was dirtbounds winch bumper. The quality is top notch and I have nothing but good things to say about the product.
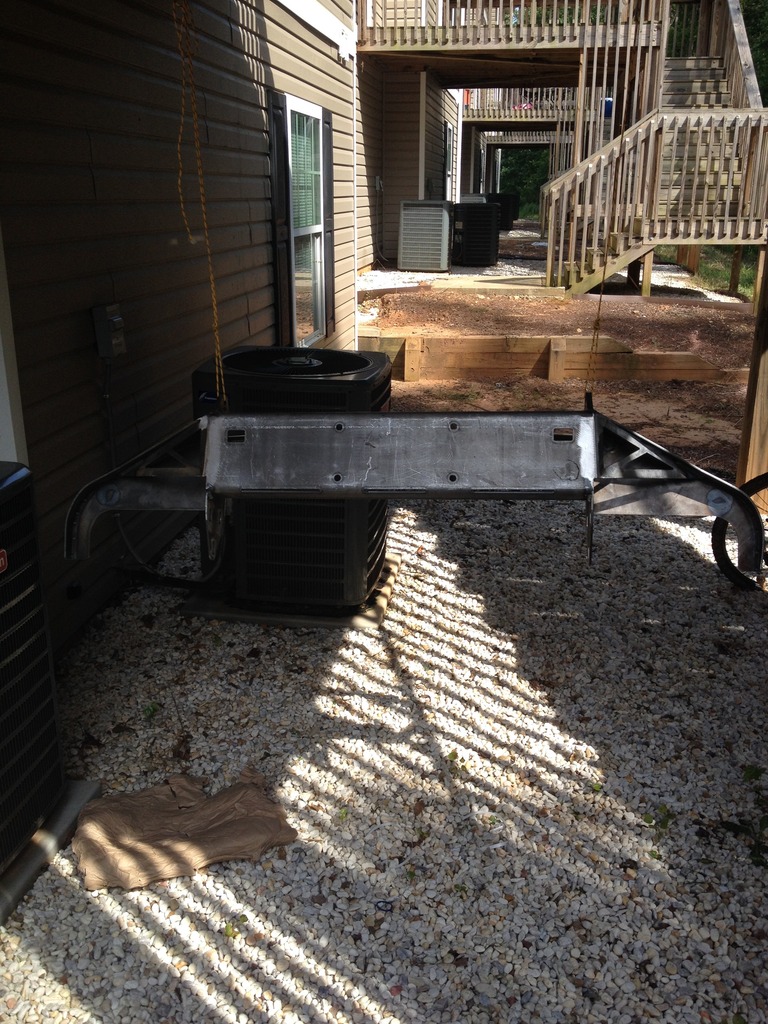
Living in a college apartment, I needed space to paint it. Hanging from the back porch seemed to do the trick.
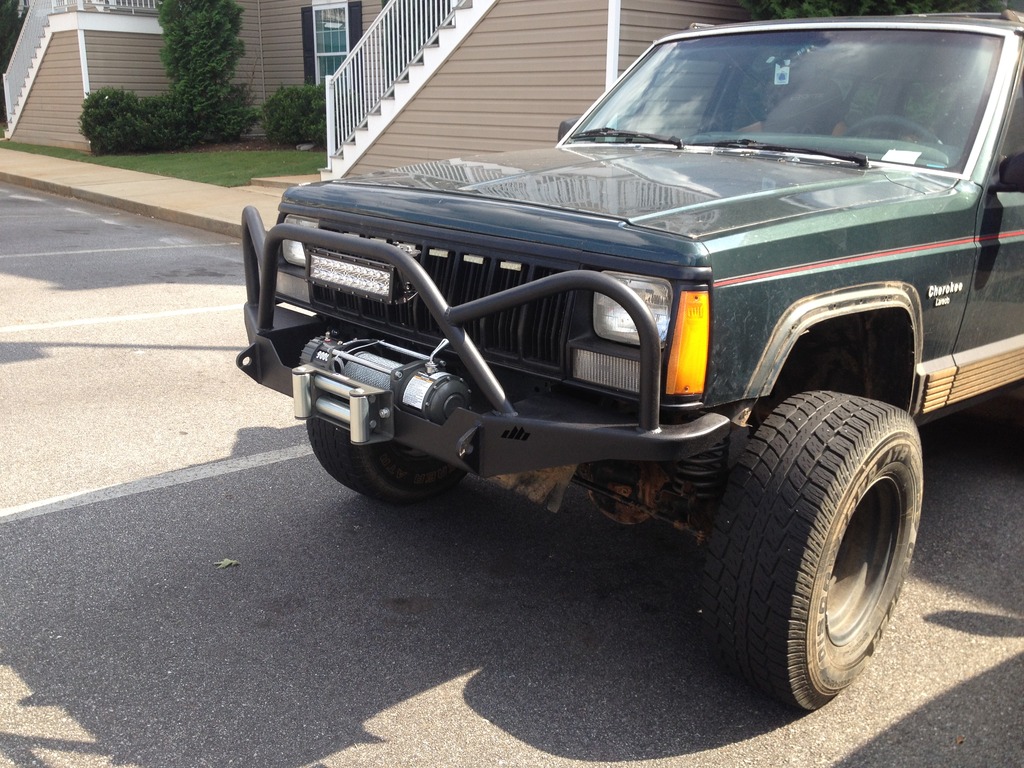
Painted it with some textured black paint, ordered an amazon 12" LED light bar and a badlands winch. The light I took apart and waterproofed the front bezel with silicon after reading all the complaints of condensation in the reviews. The winch got the same treatment. I'm not a brand loyalist and I had a coupon which knocked the price down. It may not be the fastest on the market, but it hasn't let me down yet. When it does, I'll take it by the local electrical motor shop and have it rebuilt. Life will go on.
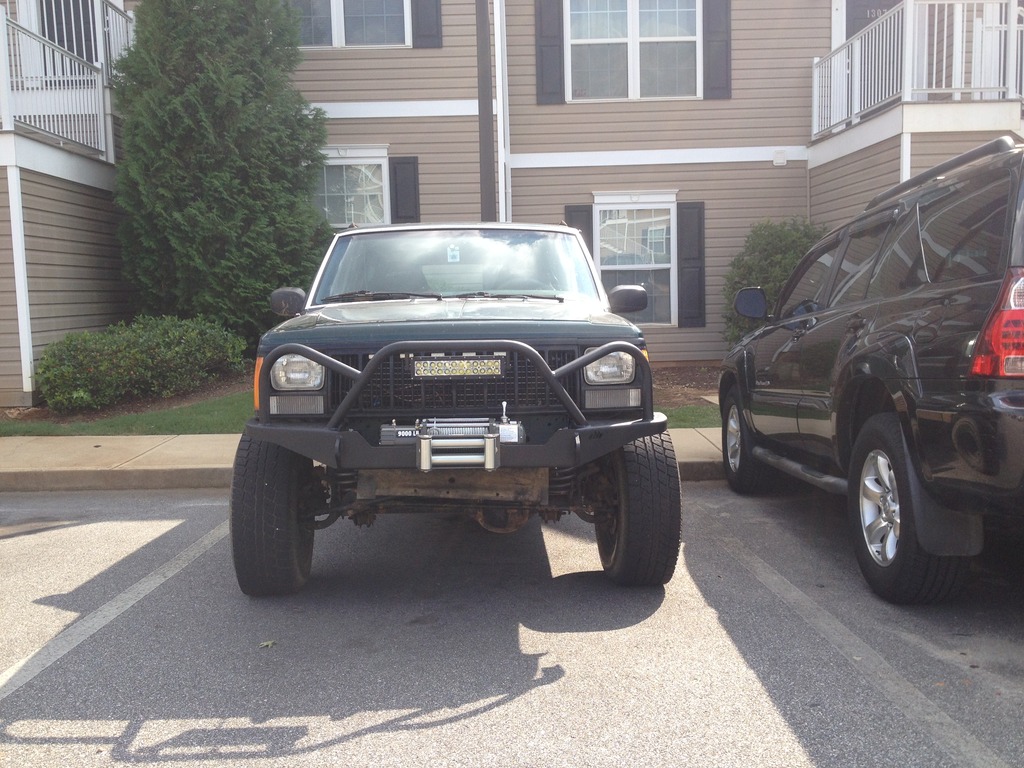


Thread Starter
Junior Member
Joined: Mar 2012
Posts: 41
Likes: 0
Year: 1991
Model: Cherokee
Engine: 4.0 HO
Some junkyard trips were in store, picked up a few items to install. Late model mirrors, sound bar (still waiting to be installed), etc. Next I lost the large side steps and flares.
A combination of bad alignment and wearing parts lead to this dilemma. Lesson learned.
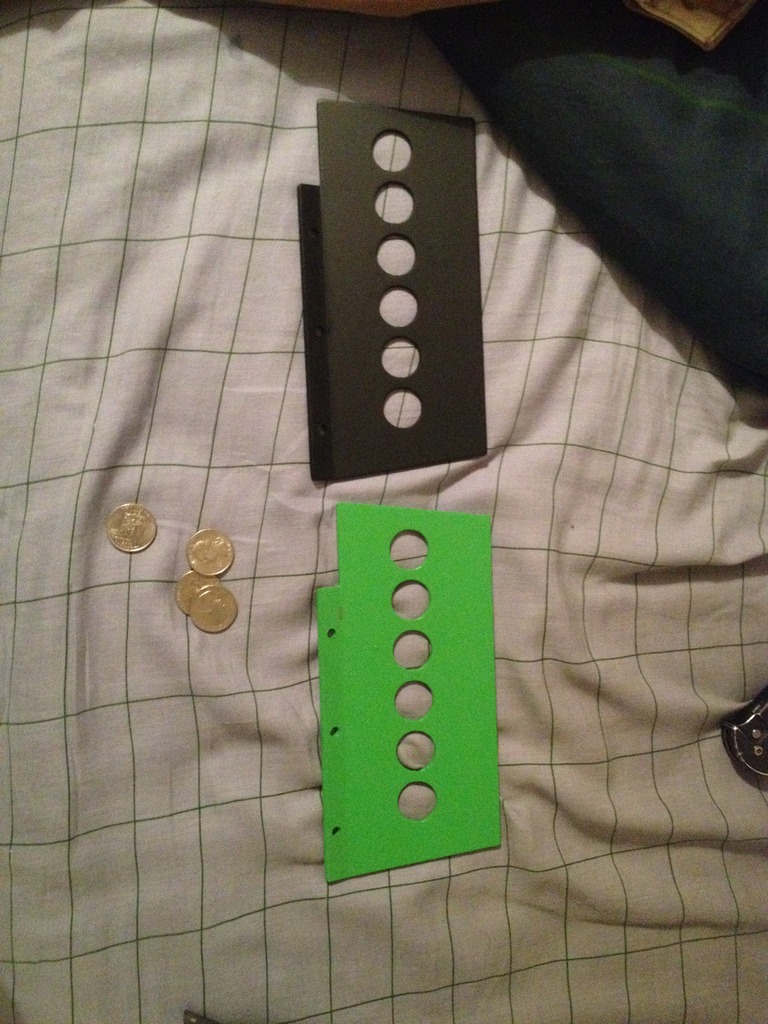
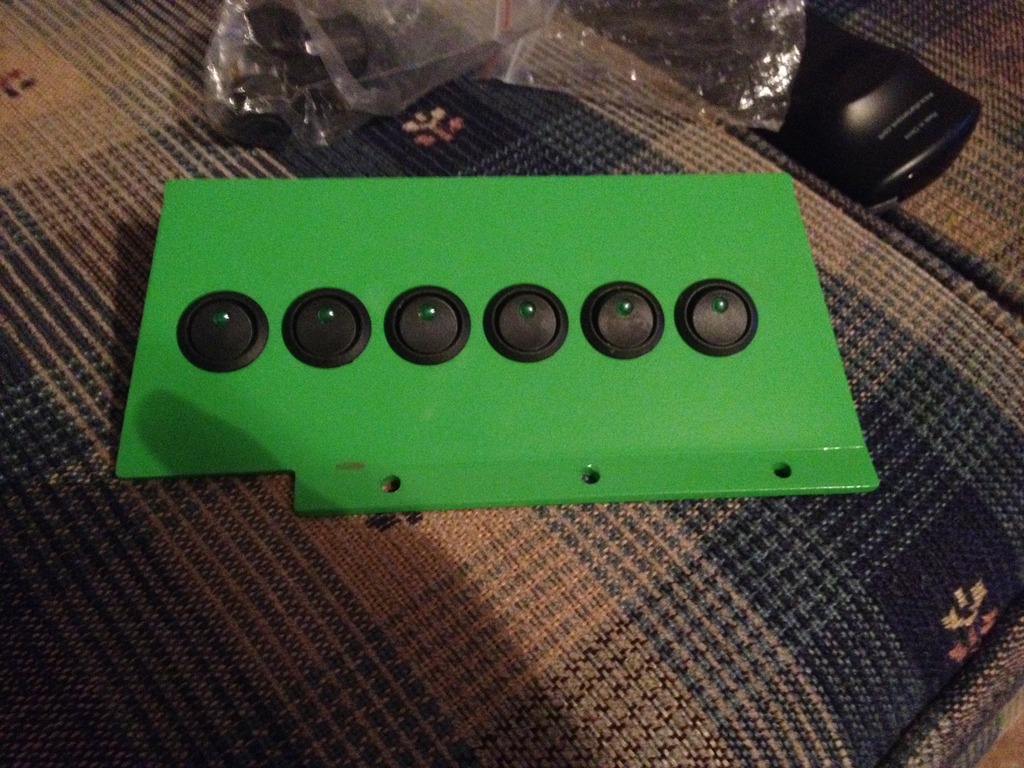
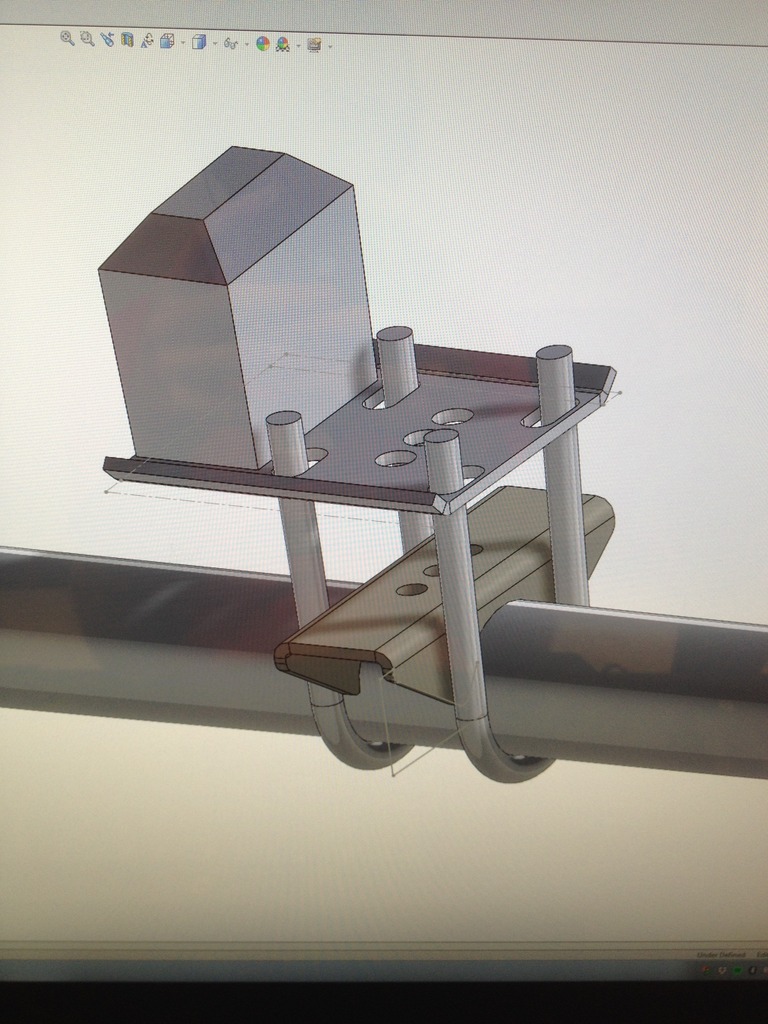
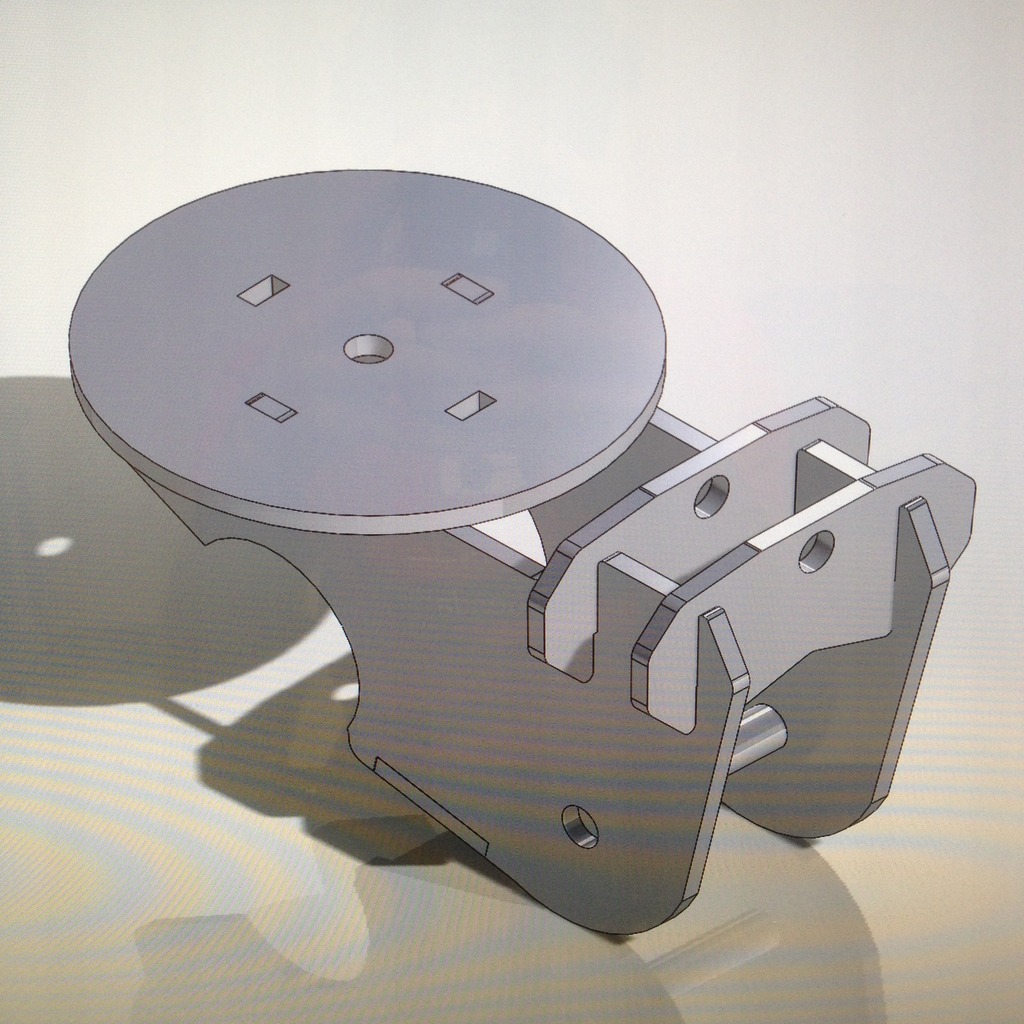
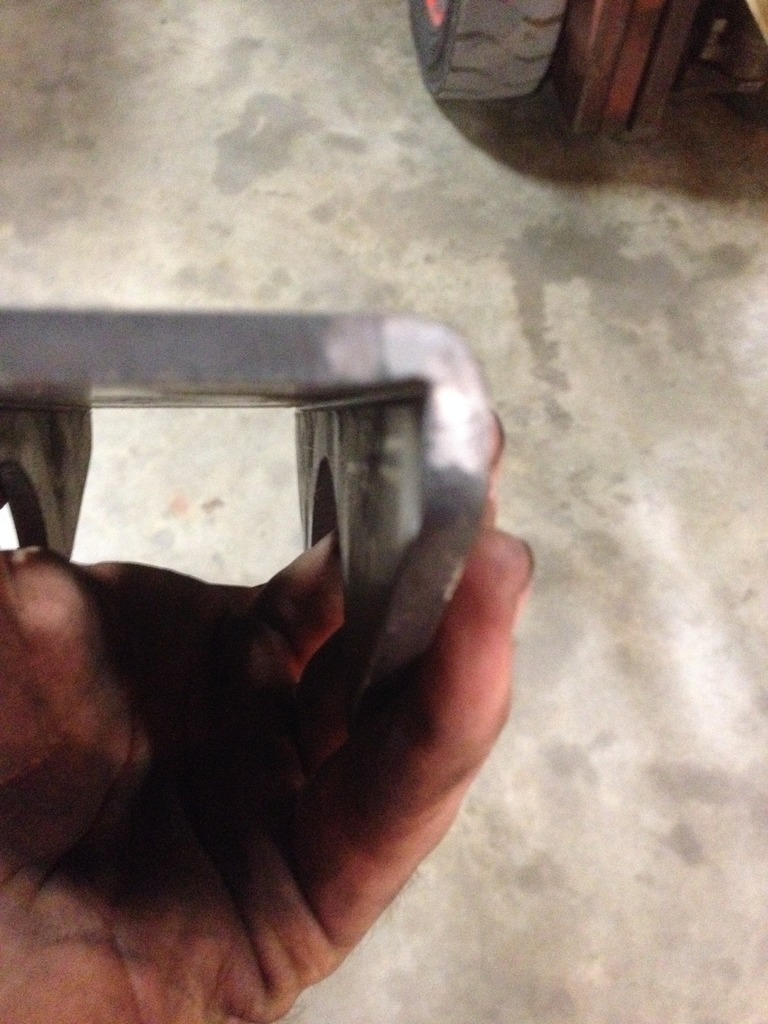
Moving on, I needed to make some switch panels. I decided to create some for the older style console's coin tray. I work at a metal fab shop and have access to Solidworks so, this is what I came up with. I powdercoated them green and satin black to see which I liked more.
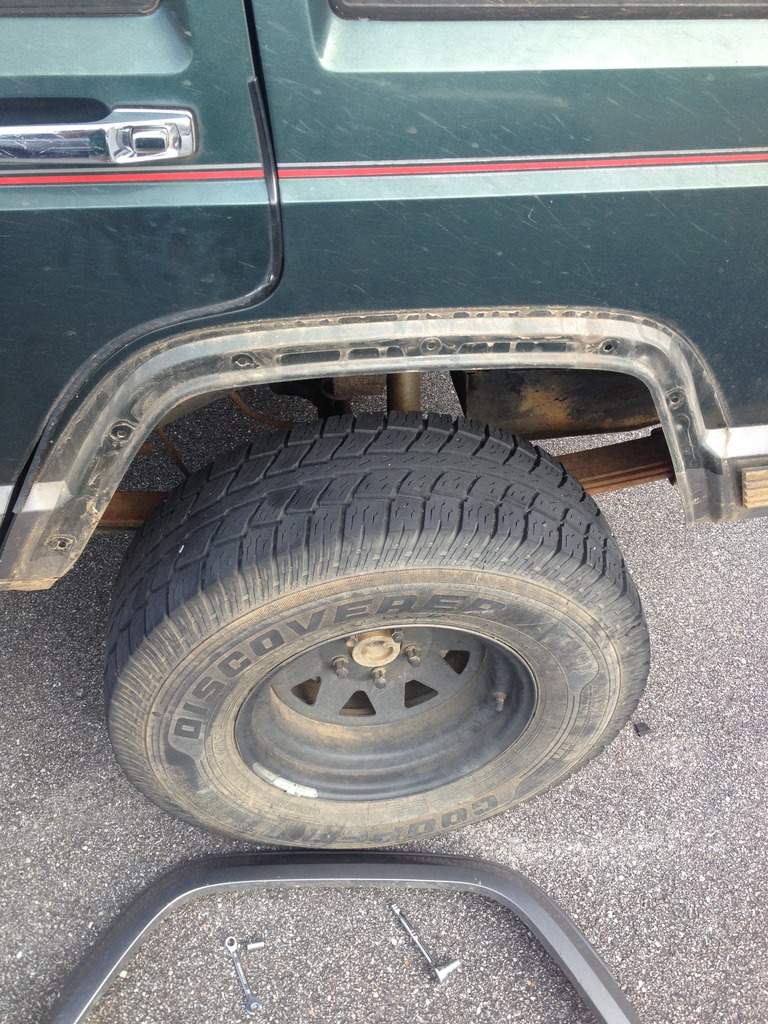
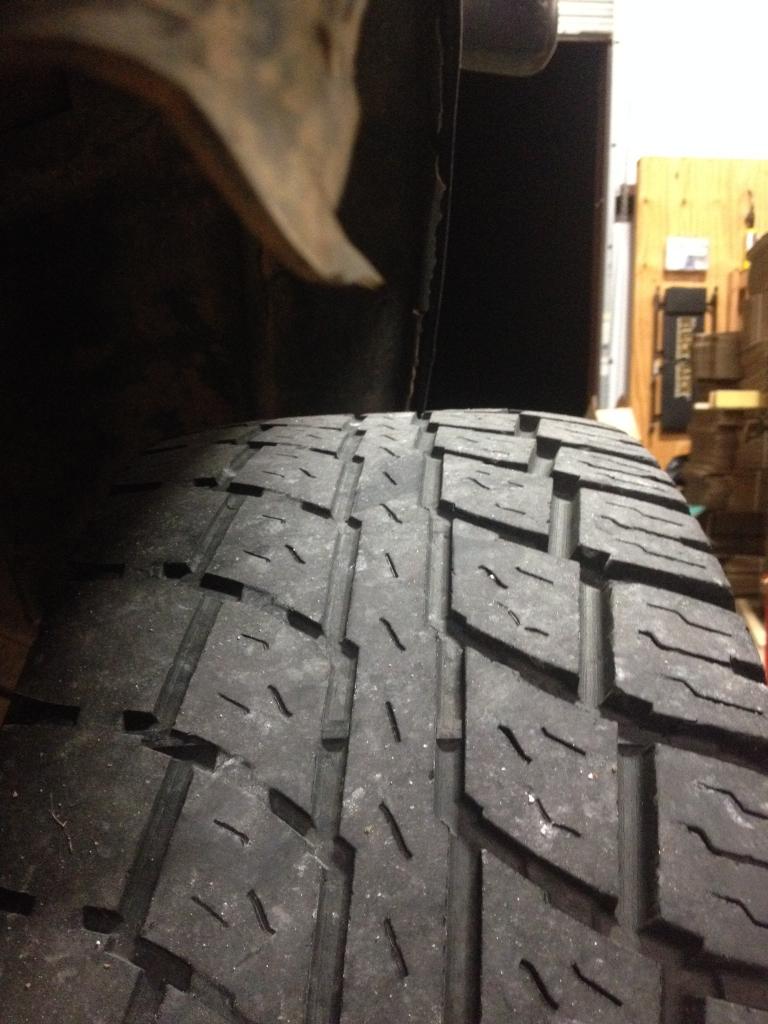
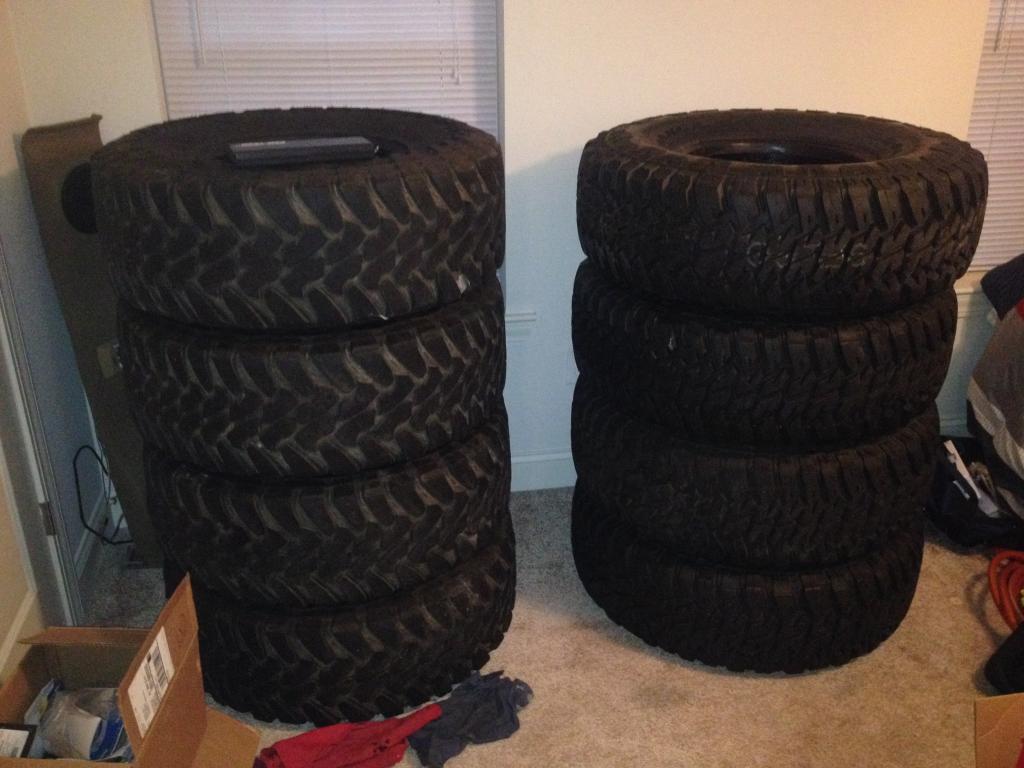
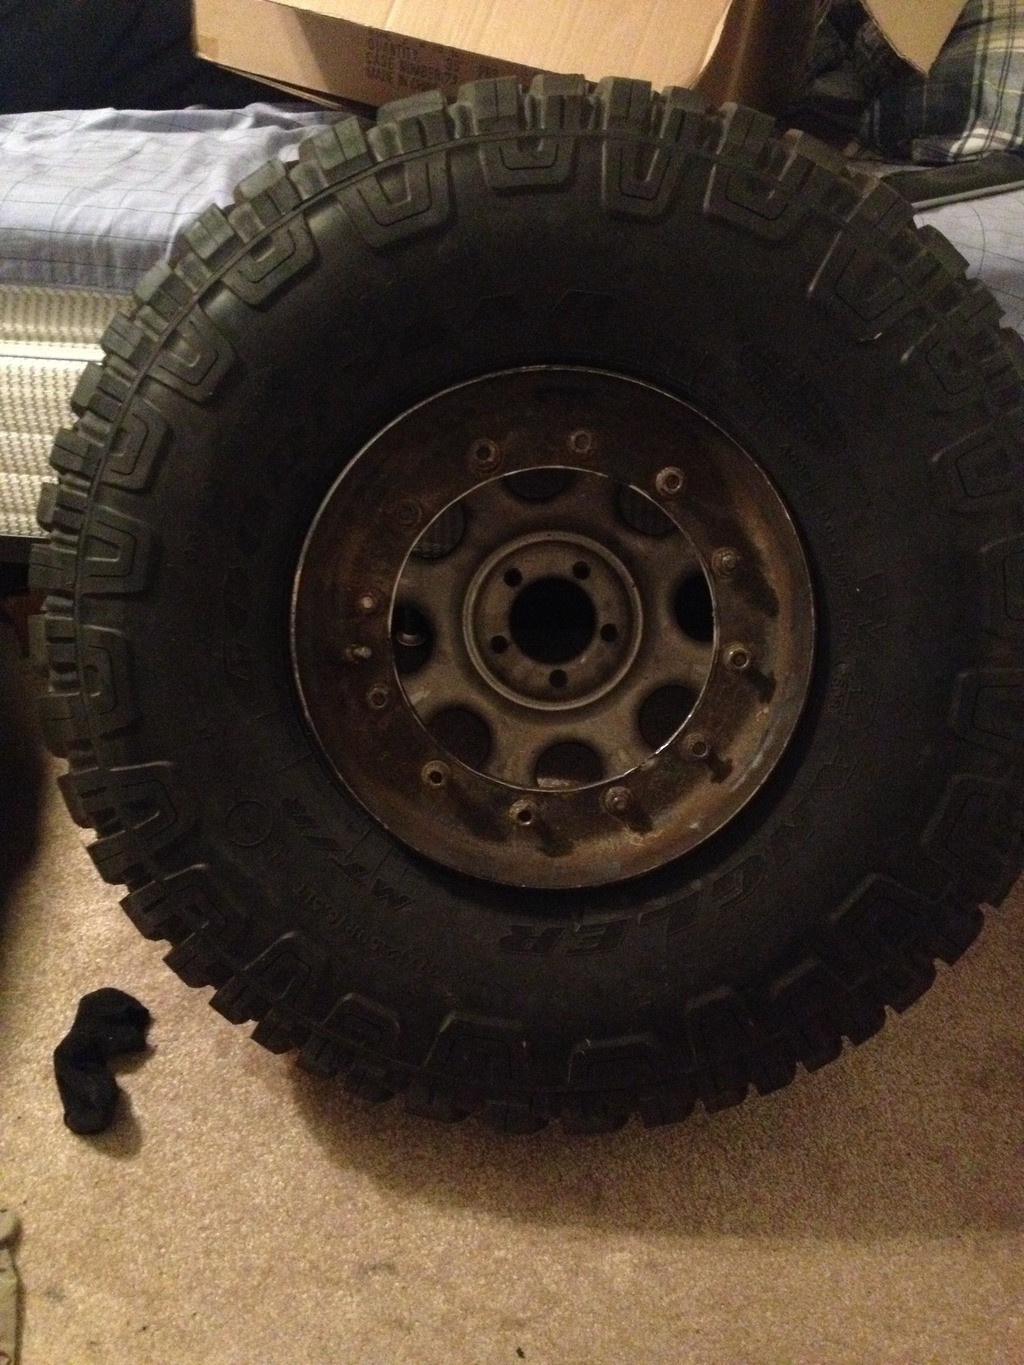
Started some horse trading. Traded a buddy a bow for the tires on the left. 315/75/16 Toyo MTs. I would estimate these all at about 50% tread. As my rims were 15's I started looking for used 16's near me that weren't stockers. While looking for those I stumbled upon the tires on the right. 37x12.5x16.5 Goodyear Wrangler MTs. 3 of these had very light wear and one was brand new. I bought them knowing that one had a nail in it, but that wasn't a big concern to me for $100 a tire.
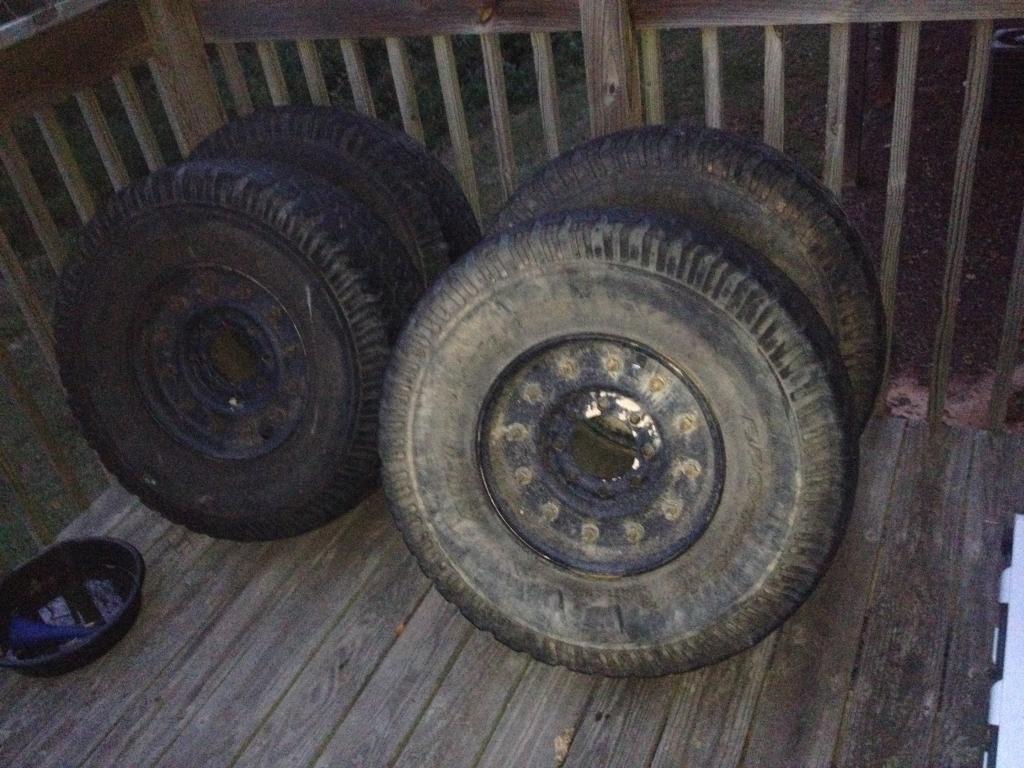
As luck would have it, very shortly after someone local listed 4 35x12.5x16.5 BFG all terrains for sale with rims. $100 later and they were mine. The tires were absolute trash so they were disposed of quickly. My roommates laughed but didn't care that I was amassing tires. My girlfriend on the other hand rolled her eyes.

A combination of bad alignment and wearing parts lead to this dilemma. Lesson learned.

Moving on, I needed to make some switch panels. I decided to create some for the older style console's coin tray. I work at a metal fab shop and have access to Solidworks so, this is what I came up with. I powdercoated them green and satin black to see which I liked more.


Started some horse trading. Traded a buddy a bow for the tires on the left. 315/75/16 Toyo MTs. I would estimate these all at about 50% tread. As my rims were 15's I started looking for used 16's near me that weren't stockers. While looking for those I stumbled upon the tires on the right. 37x12.5x16.5 Goodyear Wrangler MTs. 3 of these had very light wear and one was brand new. I bought them knowing that one had a nail in it, but that wasn't a big concern to me for $100 a tire.

As luck would have it, very shortly after someone local listed 4 35x12.5x16.5 BFG all terrains for sale with rims. $100 later and they were mine. The tires were absolute trash so they were disposed of quickly. My roommates laughed but didn't care that I was amassing tires. My girlfriend on the other hand rolled her eyes.

Thread Starter
Junior Member
Joined: Mar 2012
Posts: 41
Likes: 0
Year: 1991
Model: Cherokee
Engine: 4.0 HO
Did some random panel testing that I ultimately decided I didn't like. The CB mounted to the right side of the console did stay however.

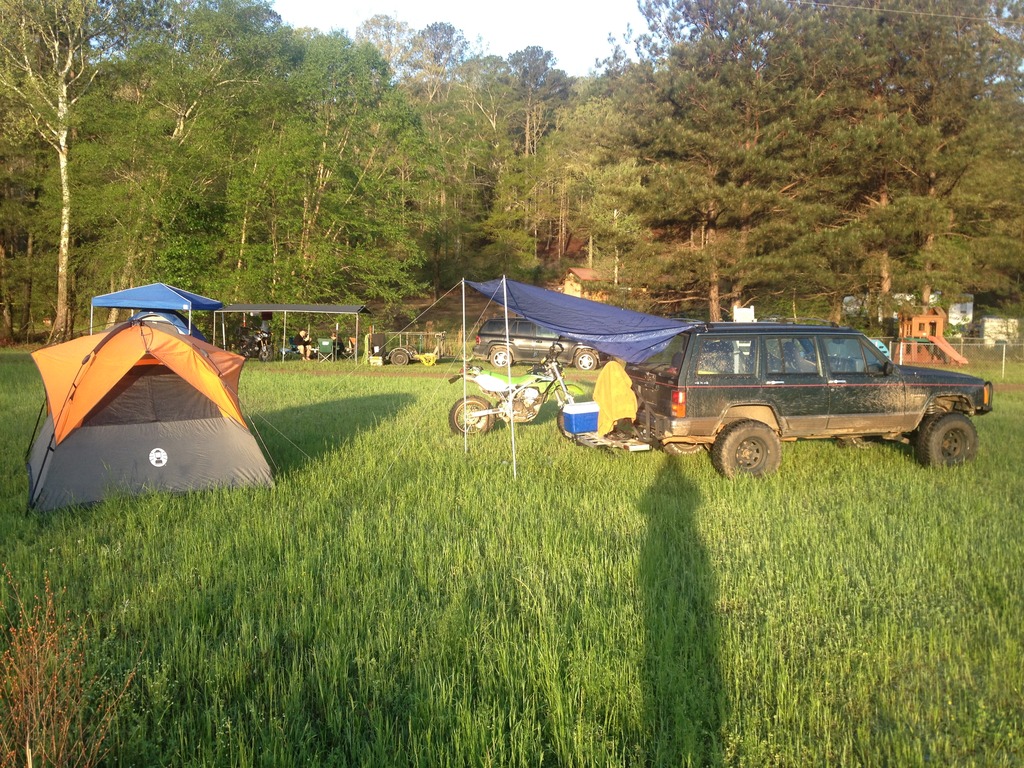
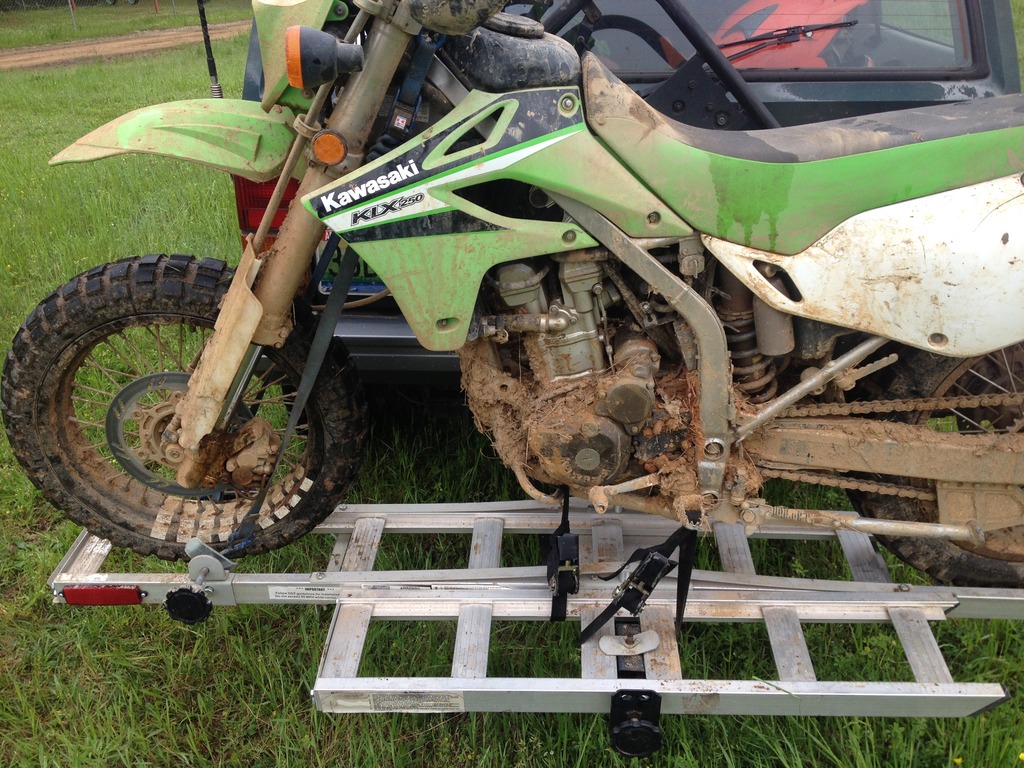
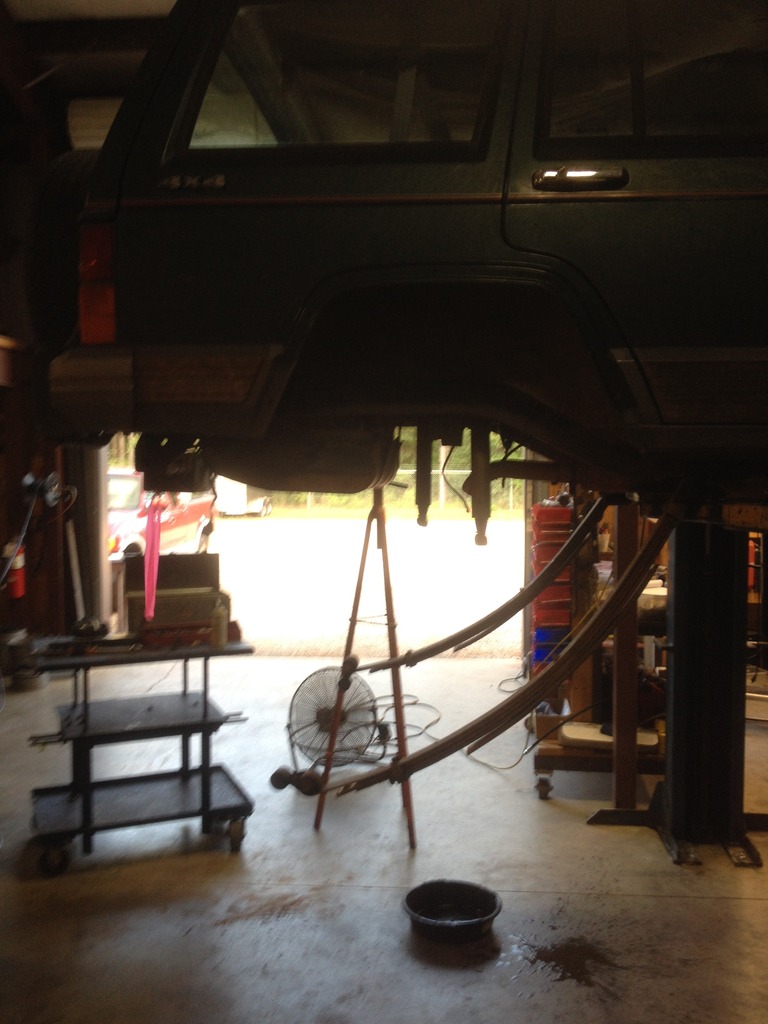
Used the Jeep like this for a long while. Hauled my bike wonderfully to some very dirty meets. My humble camping spot for the weekend. You can see the bike in right behind the Jeep as the before pic followed shortly by the after.
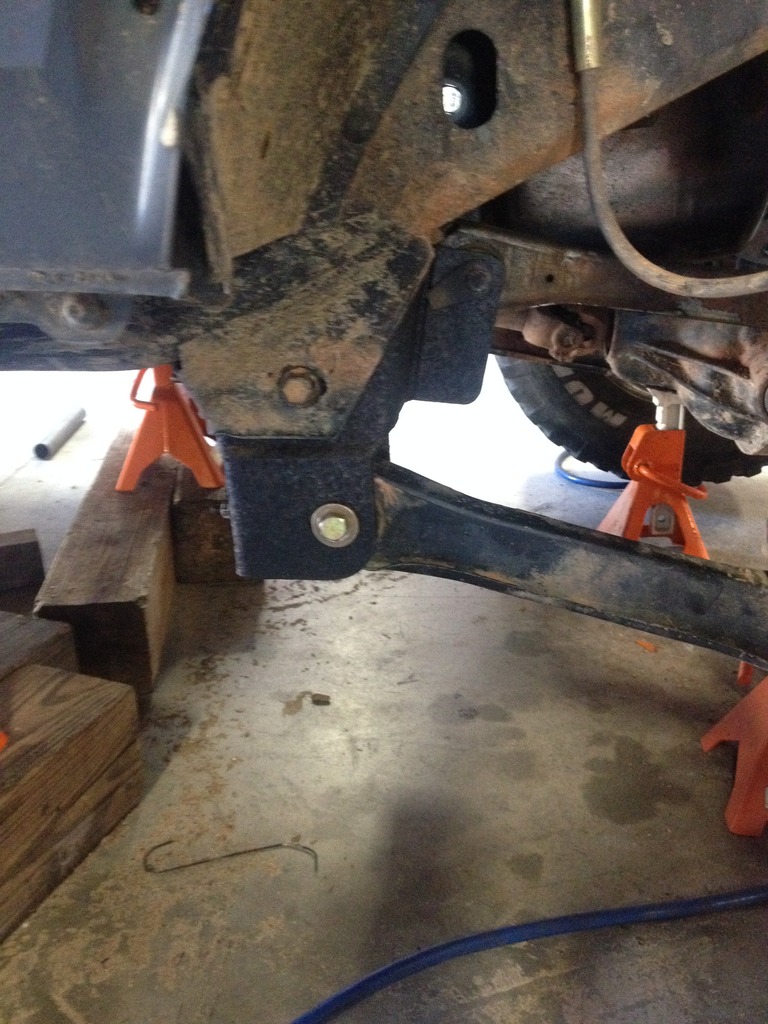
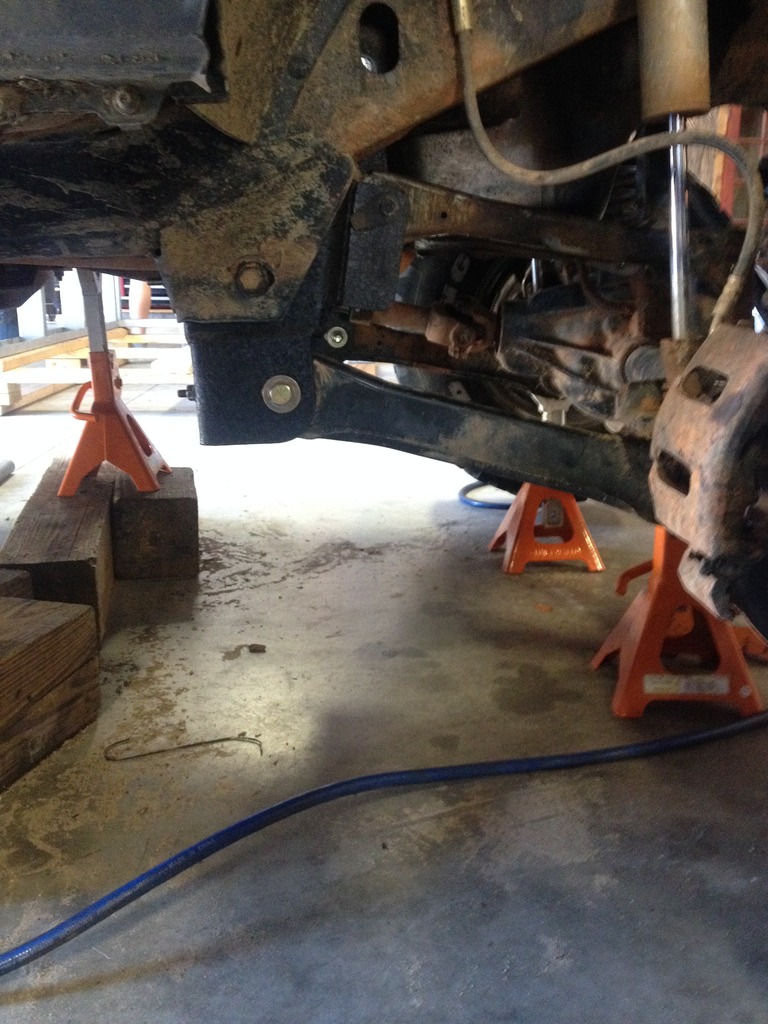
On the ride home from this ride, the dreaded death wobble reared its ugly head again. I stumbled upon some used drop brackets on some forums which I picked up. Found some instructions online, bought all new hardware and lined up a free weekend to install. Somewhat better angles.
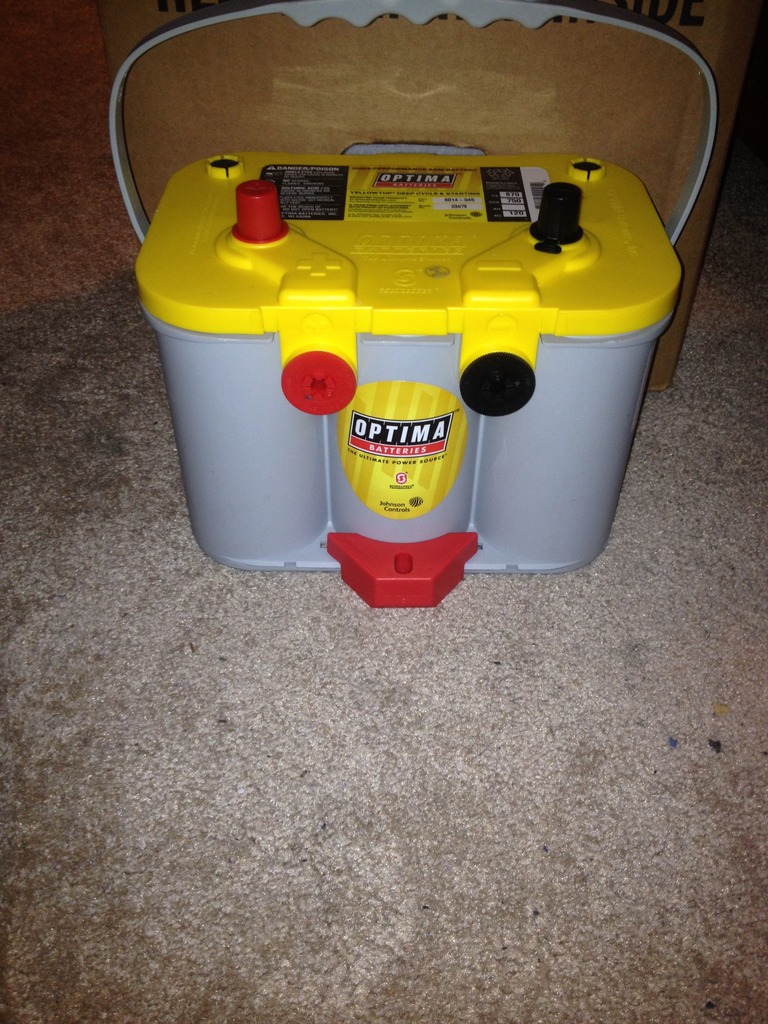
The battery that had been in the jeep since I have had it died. Decided to buy and install something that can withstand the draw of future lighting projects, winch draw, and any future electrical draw it may see. Insert yellowtop.
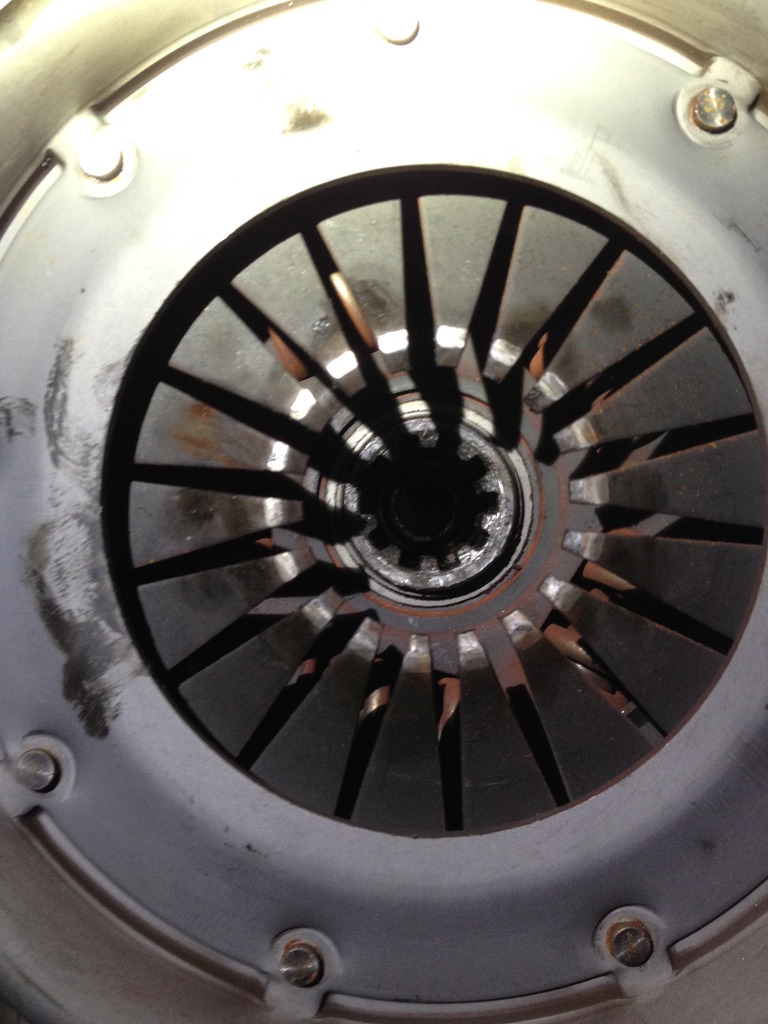
While I love this manual trans, my first, it just so happens to be the dreaded internal slave. Clutch had been done within the last 2 years so I only inspected while I was in there.
This was most definitely the most frustrated I have ever been with this jeep or any vehicle I've worked on. I replaced the slave as that is where I identified the leak. Bled, pressure tested, all checked out. Drove the jeep home that night, around the neighborhoods nearby that night with no issues. On my way to work the next morning, I pushed in the clutch to come to a stop behind a turning vehicle and heard a pop under the vehicle. Clutch pedal went rock solid and the jeep was out of gear. I admittedly pushed the pedal fairly hard trying to see what the deal was. Turns out, the plastic that connects the line from the master to the slave had blown apart and the line slapping the bottom of the body was the pop I heard. When I pushed down hard on the pedal, I snapped the rod in the master in half. . Cue the problems. Bought new MC. Bled, no pedal. Dropped trans, swapped slave (lifetime warranty), installed. Went to bleed, faulty slave that leaked immediately. Drop trans, new slave, install extra MC laying around, still no pedal. Swap back to new MC, shake my fists. My boss finally walked out and spotted that while I pushed the clutch pedal down, I was hitting the floor with the pedal before the rod was engaging into the MC far enough. When I snapped the MC rod, I had also bent the clutch pedal.
 . Pulled the pedal assembly out, bent the rod back, installed and all was well. While this was out, I took the time to install AN fittings in the clutch pressure line. The adapter at the MC end came from Advanced Adapters, a braided steel line from somewhere on line and a correct adapter on the other end into the slave line. No issues since!

Used the Jeep like this for a long while. Hauled my bike wonderfully to some very dirty meets. My humble camping spot for the weekend. You can see the bike in right behind the Jeep as the before pic followed shortly by the after.


On the ride home from this ride, the dreaded death wobble reared its ugly head again. I stumbled upon some used drop brackets on some forums which I picked up. Found some instructions online, bought all new hardware and lined up a free weekend to install. Somewhat better angles.


The battery that had been in the jeep since I have had it died. Decided to buy and install something that can withstand the draw of future lighting projects, winch draw, and any future electrical draw it may see. Insert yellowtop.

While I love this manual trans, my first, it just so happens to be the dreaded internal slave. Clutch had been done within the last 2 years so I only inspected while I was in there.

This was most definitely the most frustrated I have ever been with this jeep or any vehicle I've worked on. I replaced the slave as that is where I identified the leak. Bled, pressure tested, all checked out. Drove the jeep home that night, around the neighborhoods nearby that night with no issues. On my way to work the next morning, I pushed in the clutch to come to a stop behind a turning vehicle and heard a pop under the vehicle. Clutch pedal went rock solid and the jeep was out of gear. I admittedly pushed the pedal fairly hard trying to see what the deal was. Turns out, the plastic that connects the line from the master to the slave had blown apart and the line slapping the bottom of the body was the pop I heard. When I pushed down hard on the pedal, I snapped the rod in the master in half.
. Cue the problems. Bought new MC. Bled, no pedal. Dropped trans, swapped slave (lifetime warranty), installed. Went to bleed, faulty slave that leaked immediately. Drop trans, new slave, install extra MC laying around, still no pedal. Swap back to new MC, shake my fists. My boss finally walked out and spotted that while I pushed the clutch pedal down, I was hitting the floor with the pedal before the rod was engaging into the MC far enough. When I snapped the MC rod, I had also bent the clutch pedal. . Pulled the pedal assembly out, bent the rod back, installed and all was well. While this was out, I took the time to install AN fittings in the clutch pressure line. The adapter at the MC end came from Advanced Adapters, a braided steel line from somewhere on line and a correct adapter on the other end into the slave line. No issues since!
Thread Starter
Junior Member
Joined: Mar 2012
Posts: 41
Likes: 0
Year: 1991
Model: Cherokee
Engine: 4.0 HO
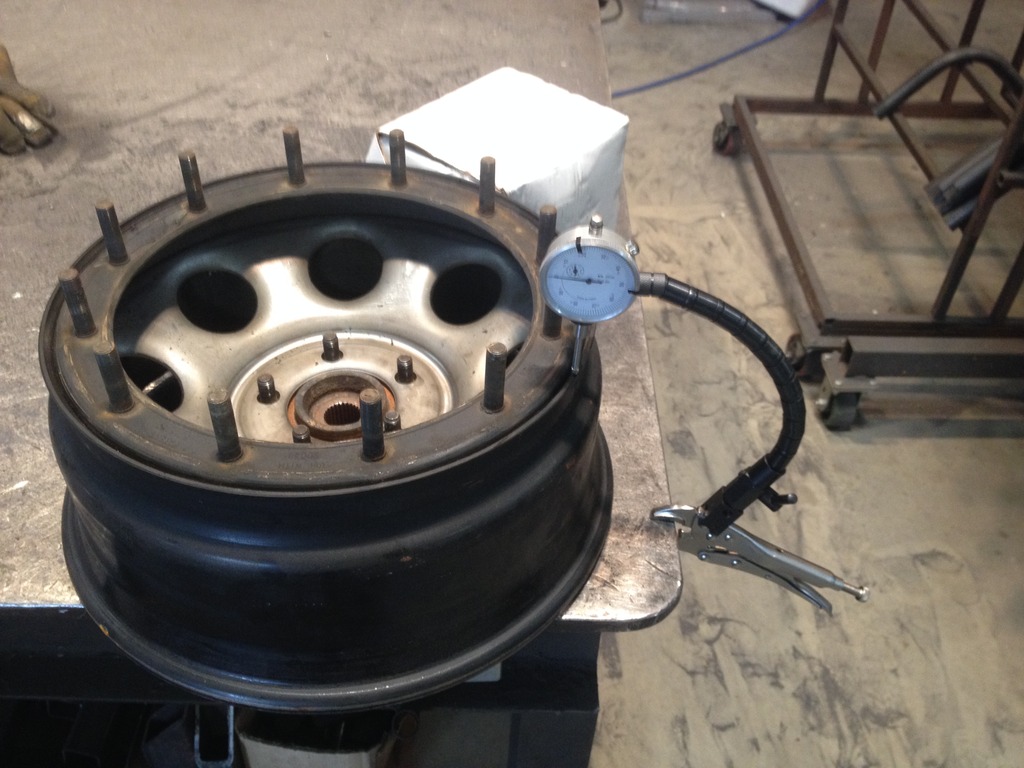
Now the wheels started turning. Decided to cut the centers out of my H1 wheels. Timelapsed for the fun of it. Respirator and plasma vent fan running full bore because I believe these are painted with CARC paint. Cancerous.
<iframe width="560" height="315" src="https://www.youtube.com/embed/xkCTdXcnuzQ" frameborder="0" allowfullscreen></iframe>
Set up a jig using an old, but still good, hub. Adjusted the wheel around the center until I found the least runout.
Welding time.
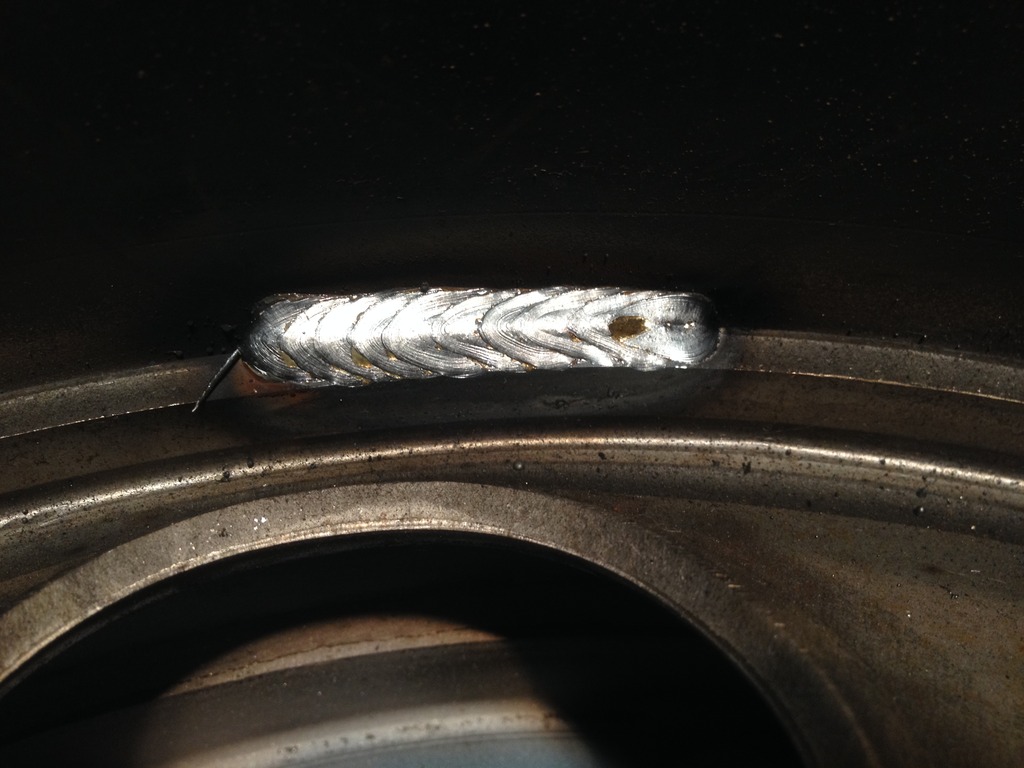
I read all over the internet and decided against fully seaming the center. I'll keep a check on these throughout time, but this is no rock bouncer.
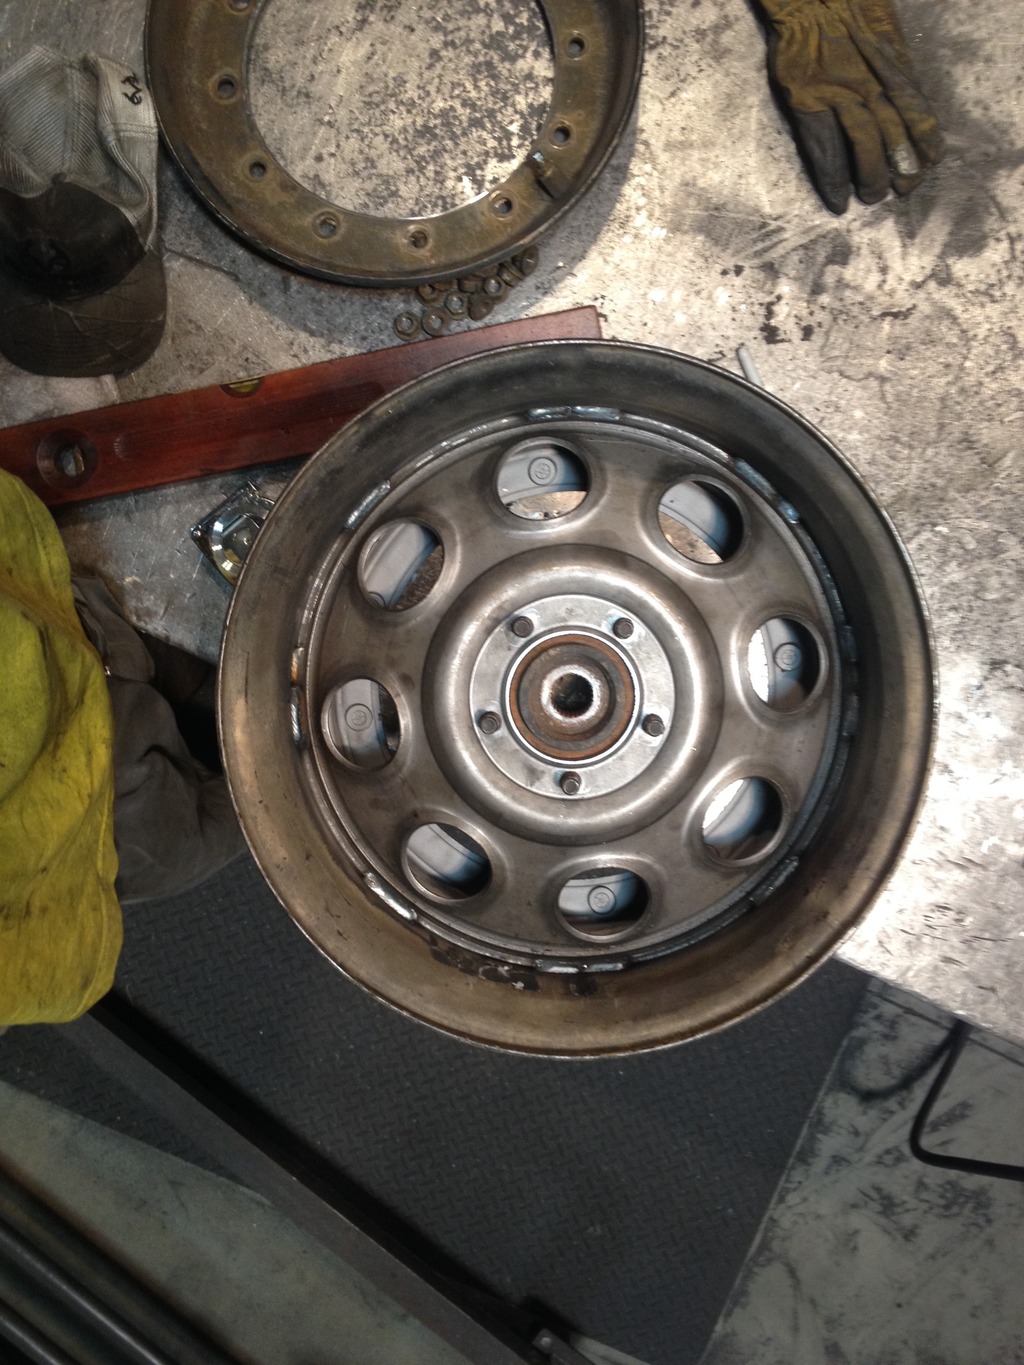
Mounted a wheel so I could start to see what was needed.
Of course I was going to mock it up next to the jeep.
<iframe width="560" height="315" src="https://www.youtube.com/embed/xkCTdXcnuzQ" frameborder="0" allowfullscreen></iframe>
Set up a jig using an old, but still good, hub. Adjusted the wheel around the center until I found the least runout.

Welding time.

I read all over the internet and decided against fully seaming the center. I'll keep a check on these throughout time, but this is no rock bouncer.

Mounted a wheel so I could start to see what was needed.

Of course I was going to mock it up next to the jeep.


Last edited by Caleb9107; Dec 14, 2016 at 08:12 PM.
Thread Starter
Junior Member
Joined: Mar 2012
Posts: 41
Likes: 0
Year: 1991
Model: Cherokee
Engine: 4.0 HO
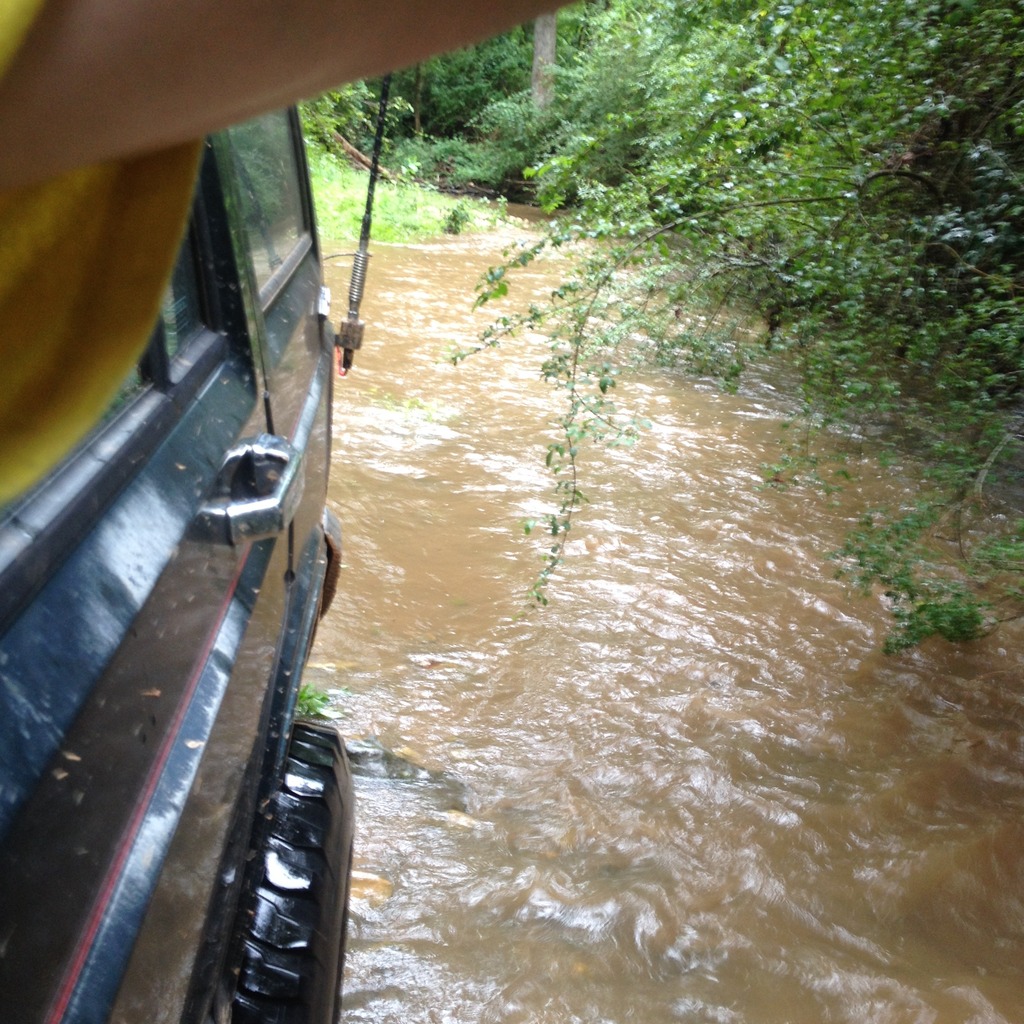
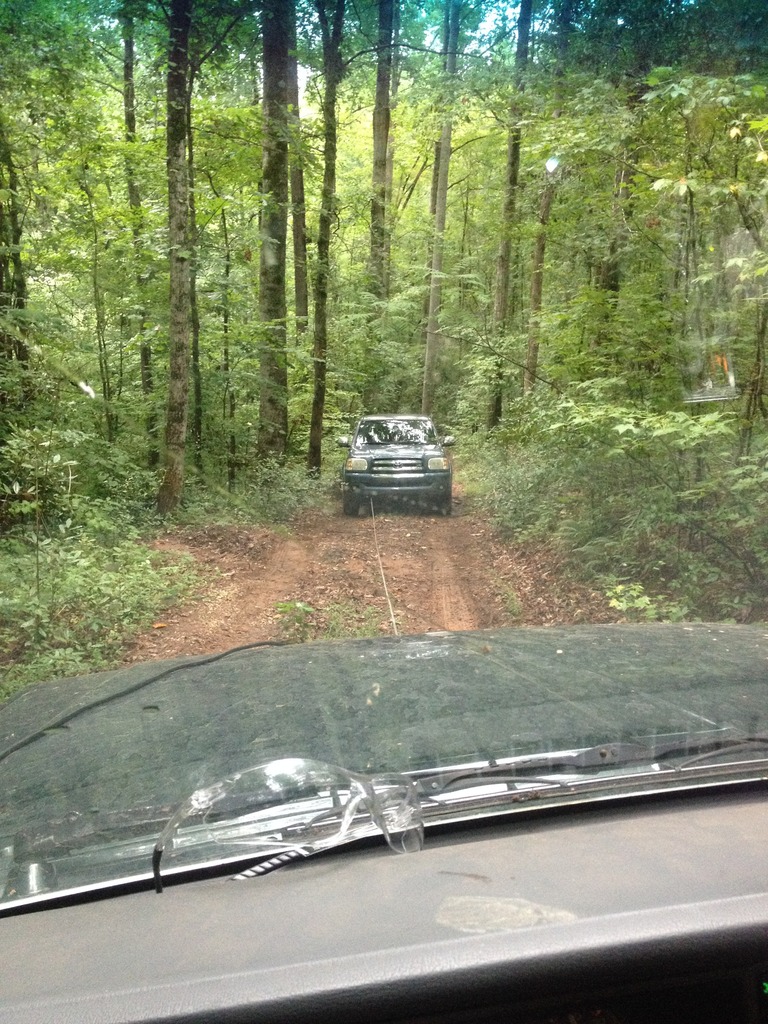
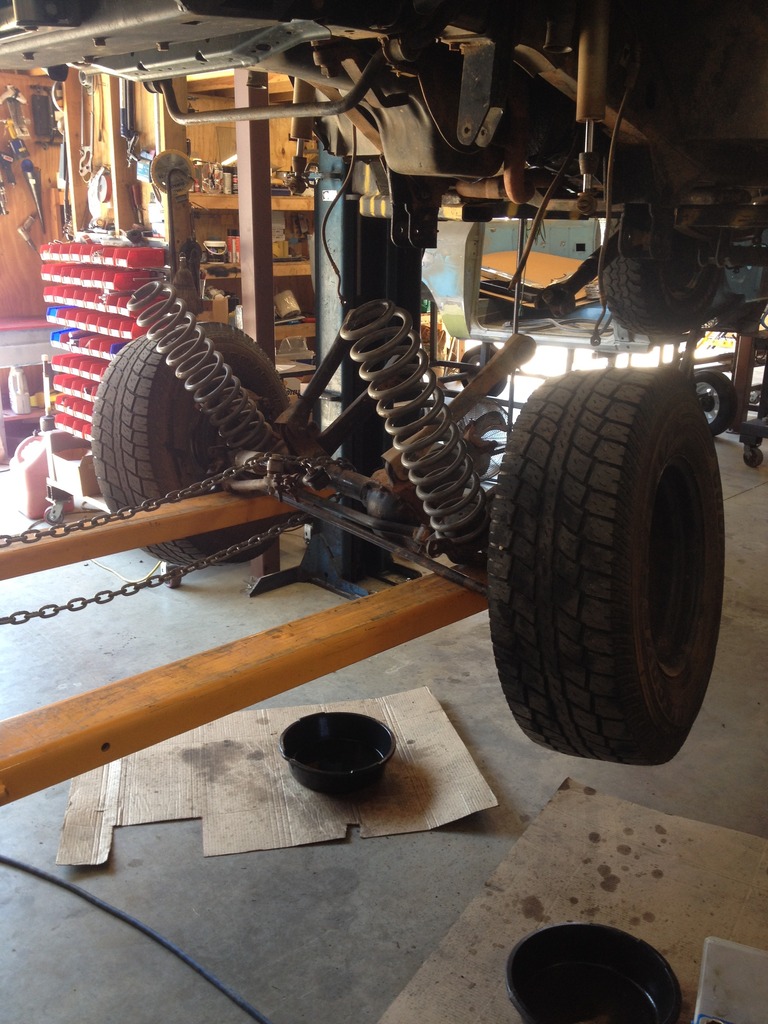
Back on the 31's, still had to have some fun. Wheeled on some local property that the boss' sister (who also works at shop) owns. Crossed the creek at the back of the property, almost had to drag cable to get up the soggy beach.
Buddy's 2wd Tundra had a little trouble up this deceptively steep hill.

Street tires caused trouble for him and instead of falling off the edge 40+ feet down, he took the winch out route. Can't be on the receiving end of the line without documented proof .
.

Buddy's 2wd Tundra had a little trouble up this deceptively steep hill.
Street tires caused trouble for him and instead of falling off the edge 40+ feet down, he took the winch out route. Can't be on the receiving end of the line without documented proof
.
Thread Starter
Junior Member
Joined: Mar 2012
Posts: 41
Likes: 0
Year: 1991
Model: Cherokee
Engine: 4.0 HO
Drew up some bracketry to get the idea of where I was headed. So far I have decided against this form of bump pad, but I didn't go back and capture the image after I changed it.
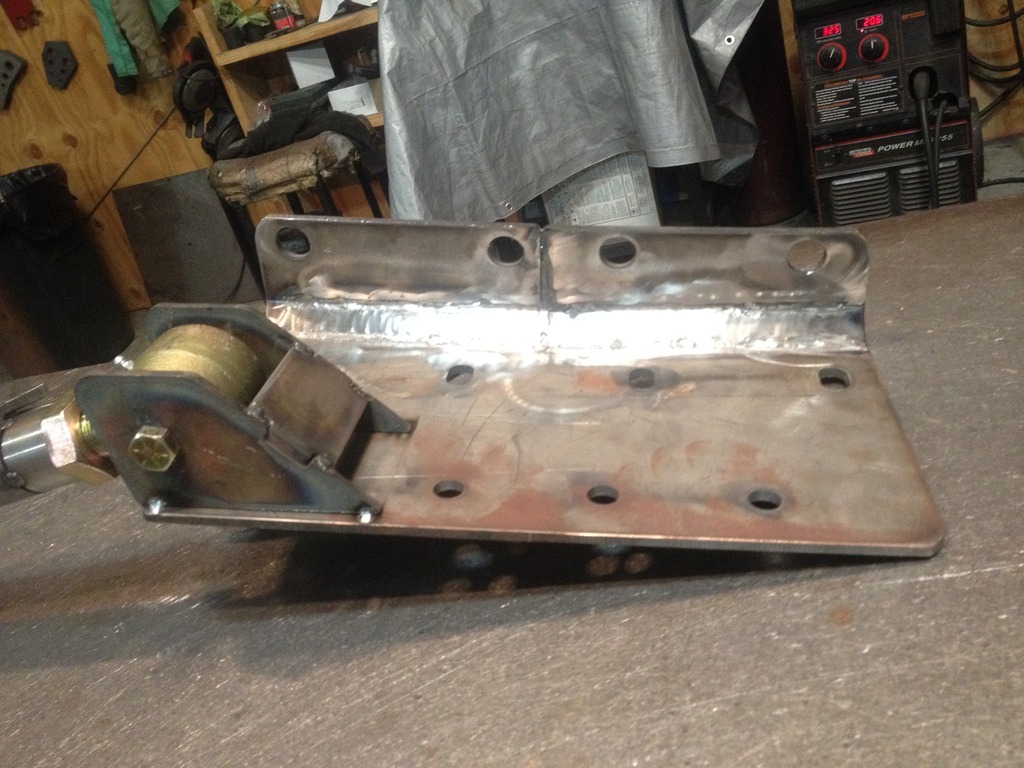
This is a link mount, coil mount and shock mount, all in one.
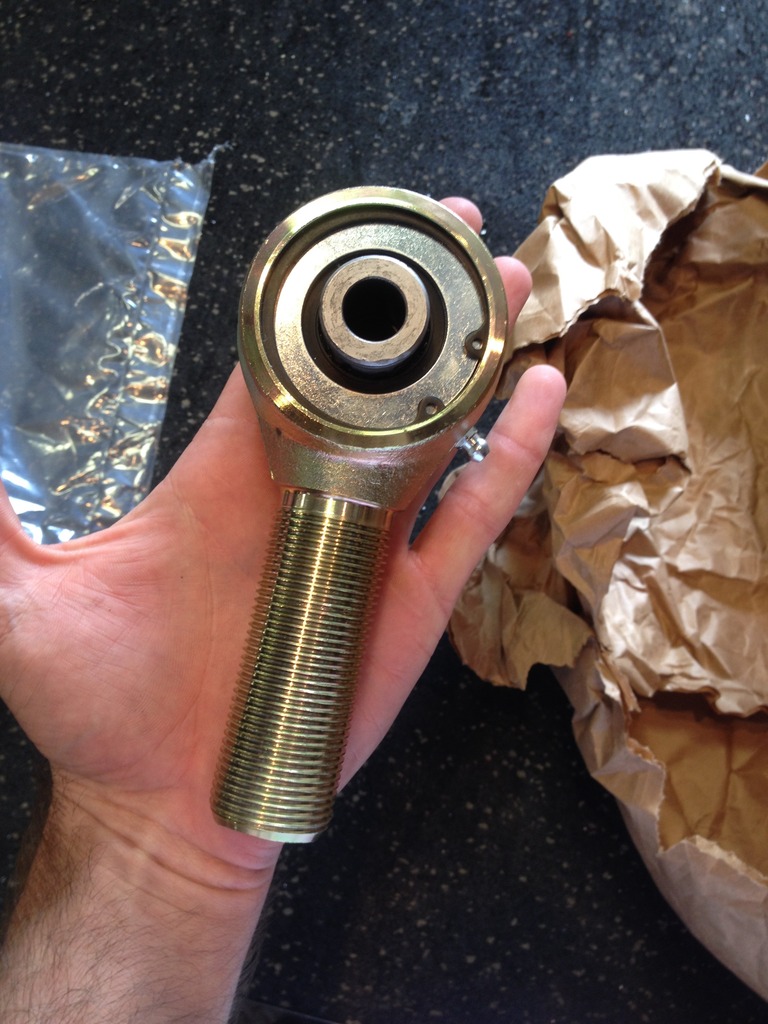
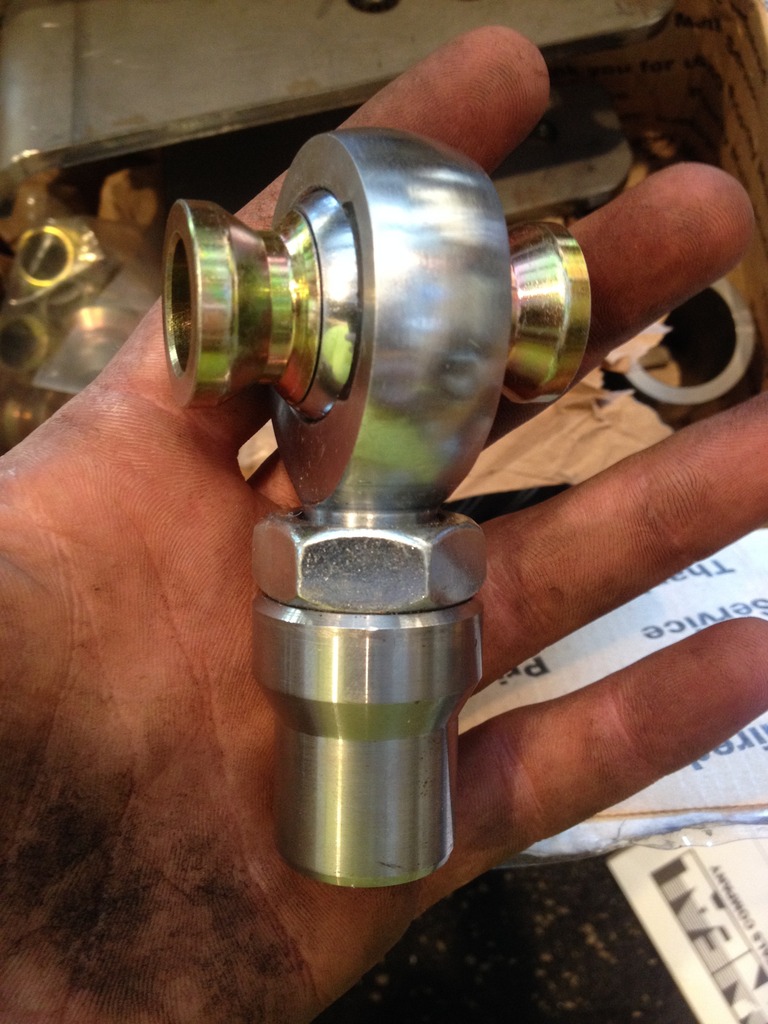
Here's where parts started arriving. 2.63" Johnny Joints from Summit.
More JJs and the 8.8 adapter
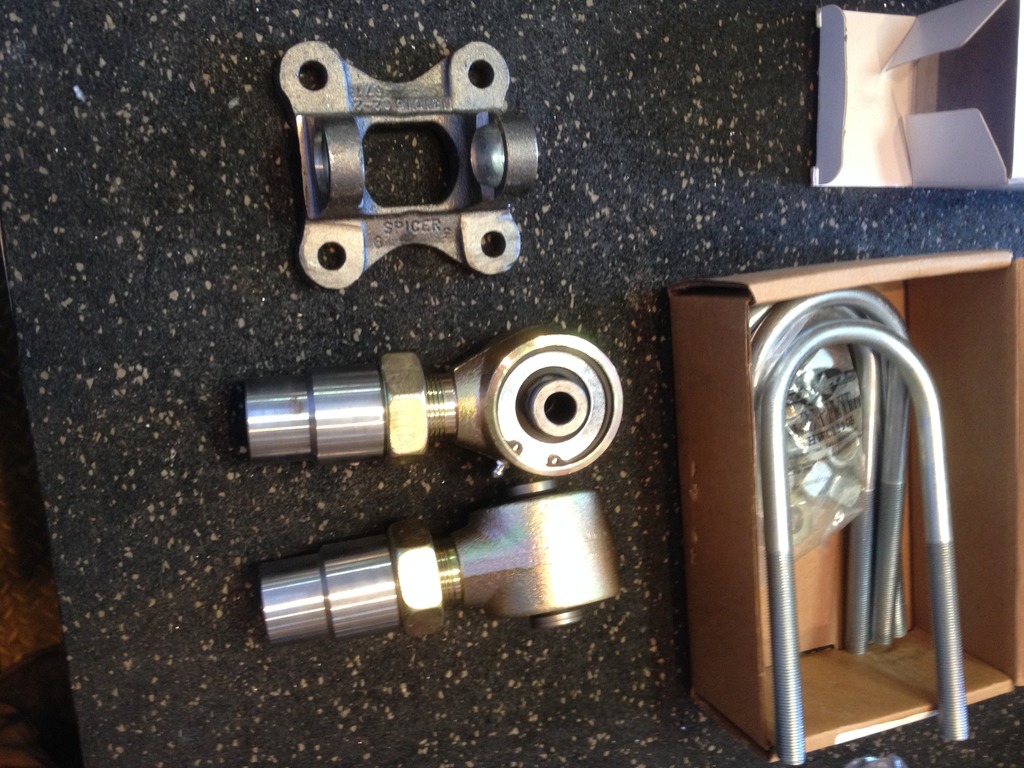
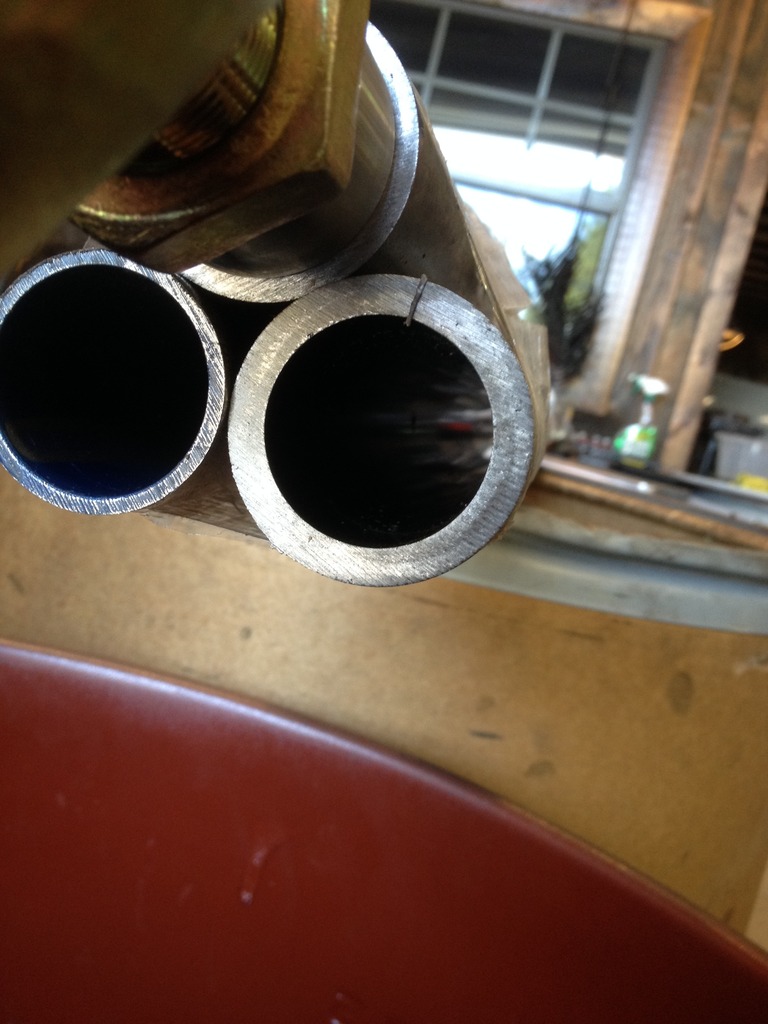
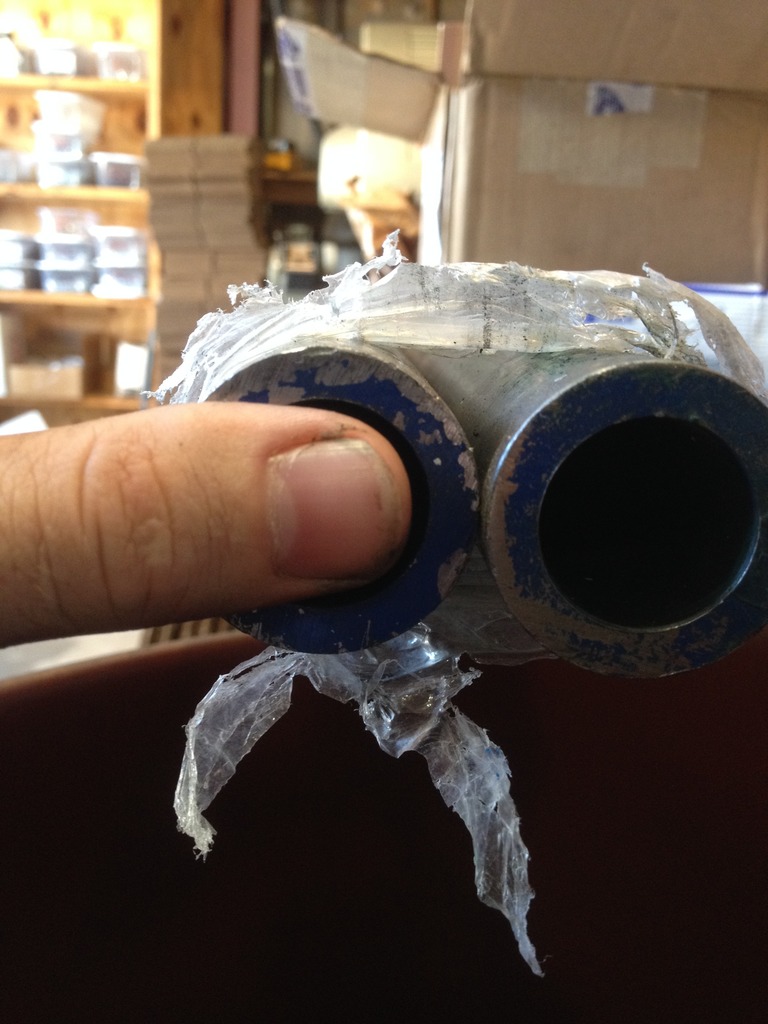
2x.25 lowers and 1.75x.120 upper for the 3 link
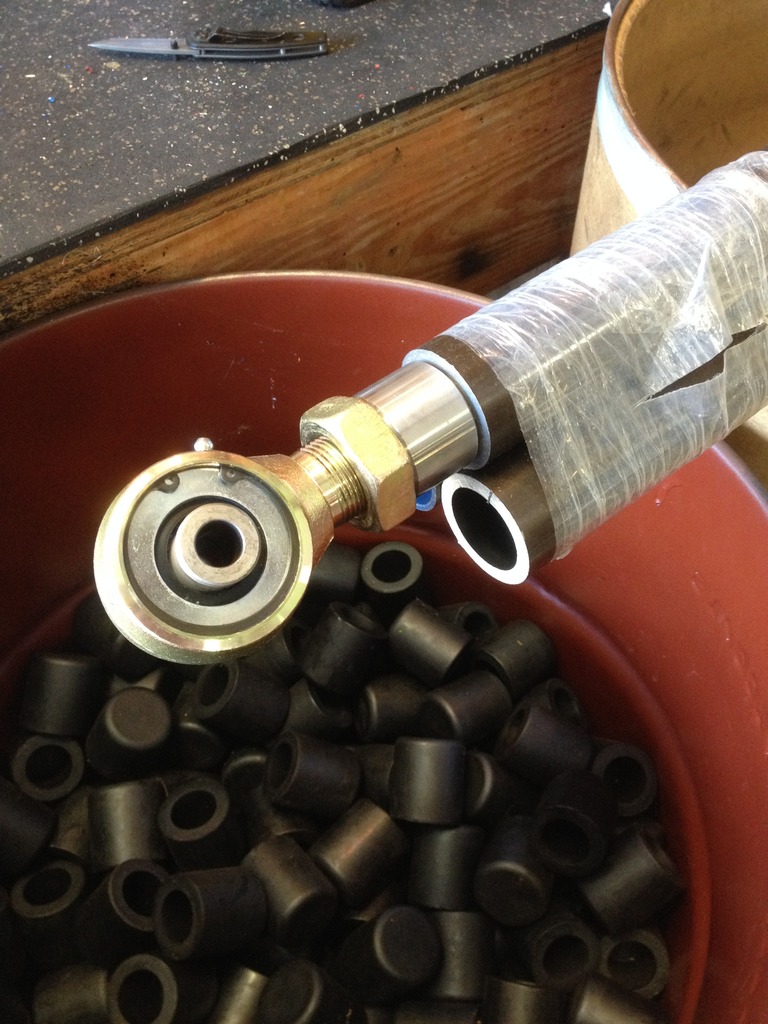
1.5x.25 wall for all the steering links
3/4"x3/4" Ruffstuff heims for the steering

This is a link mount, coil mount and shock mount, all in one.


Here's where parts started arriving. 2.63" Johnny Joints from Summit.

More JJs and the 8.8 adapter

2x.25 lowers and 1.75x.120 upper for the 3 link


1.5x.25 wall for all the steering links

3/4"x3/4" Ruffstuff heims for the steering

Trending Topics
Thread Starter
Junior Member
Joined: Mar 2012
Posts: 41
Likes: 0
Year: 1991
Model: Cherokee
Engine: 4.0 HO
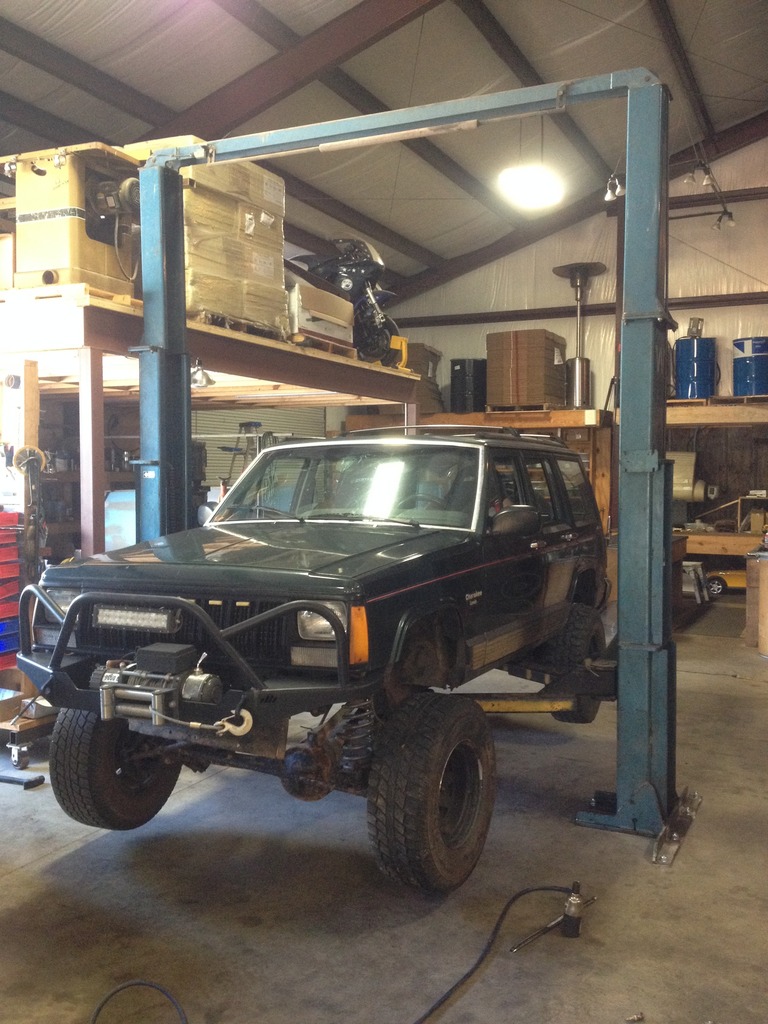
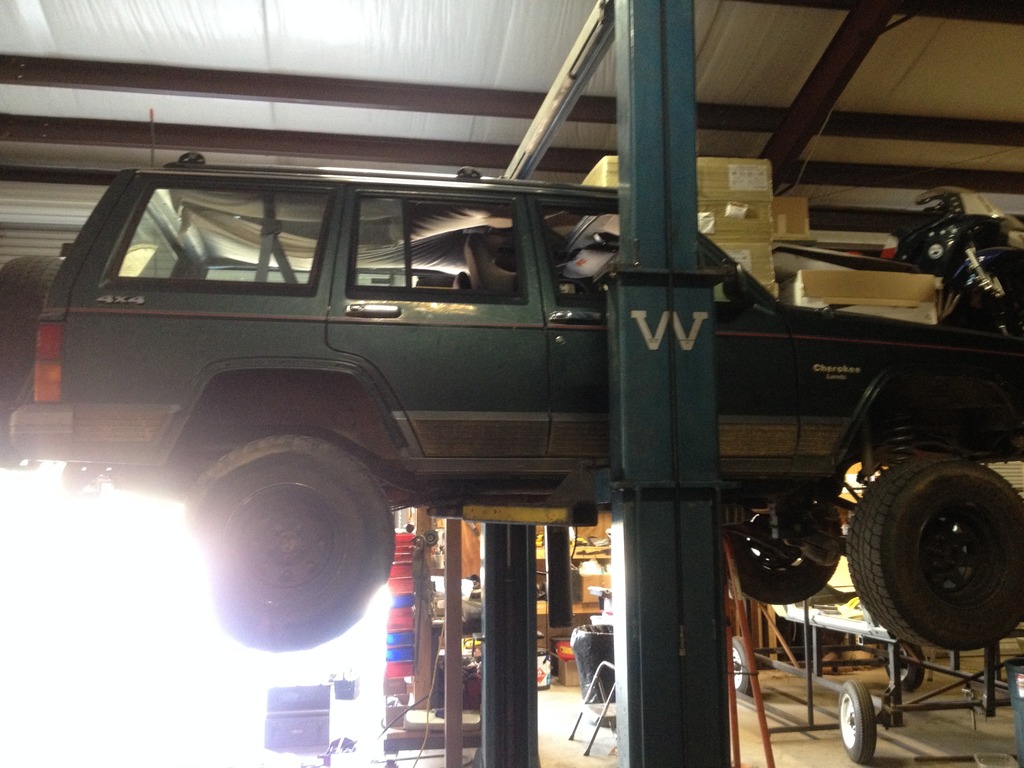
Lucky for me, a few weeks prior to starting to build, the boss picked up this used 2 post lift for the shop. He wasn't close to putting any of his projects on the lift and gave me the go ahead to leave mine on it for a bit while I did the build.
First step: AA SYE.
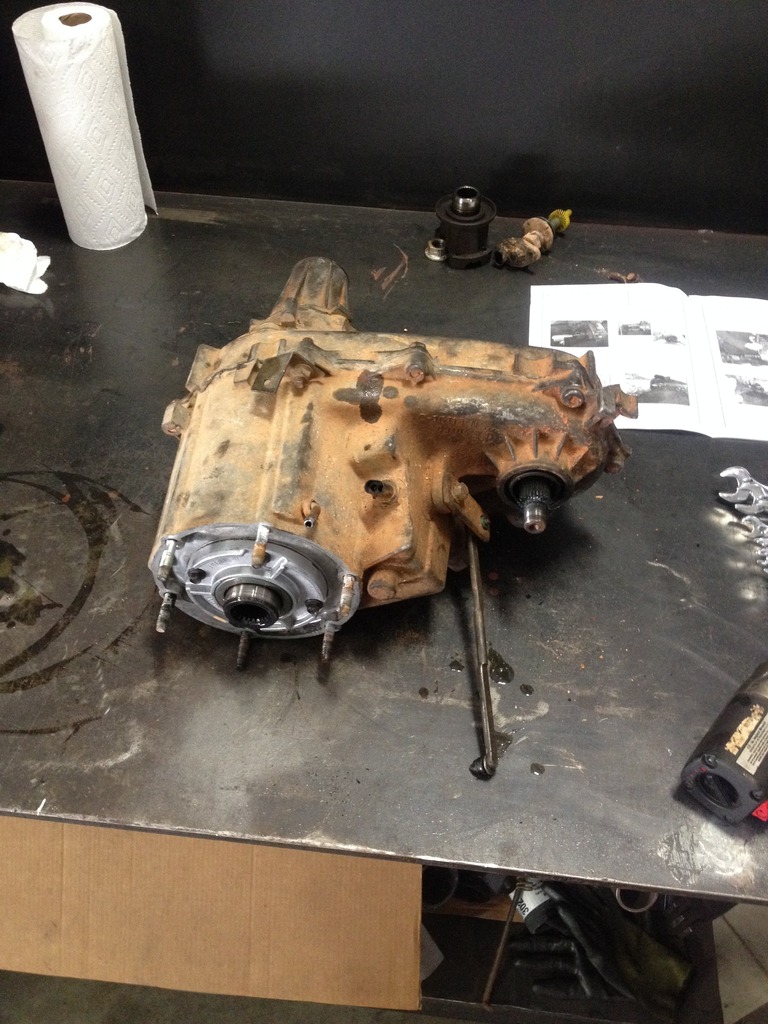
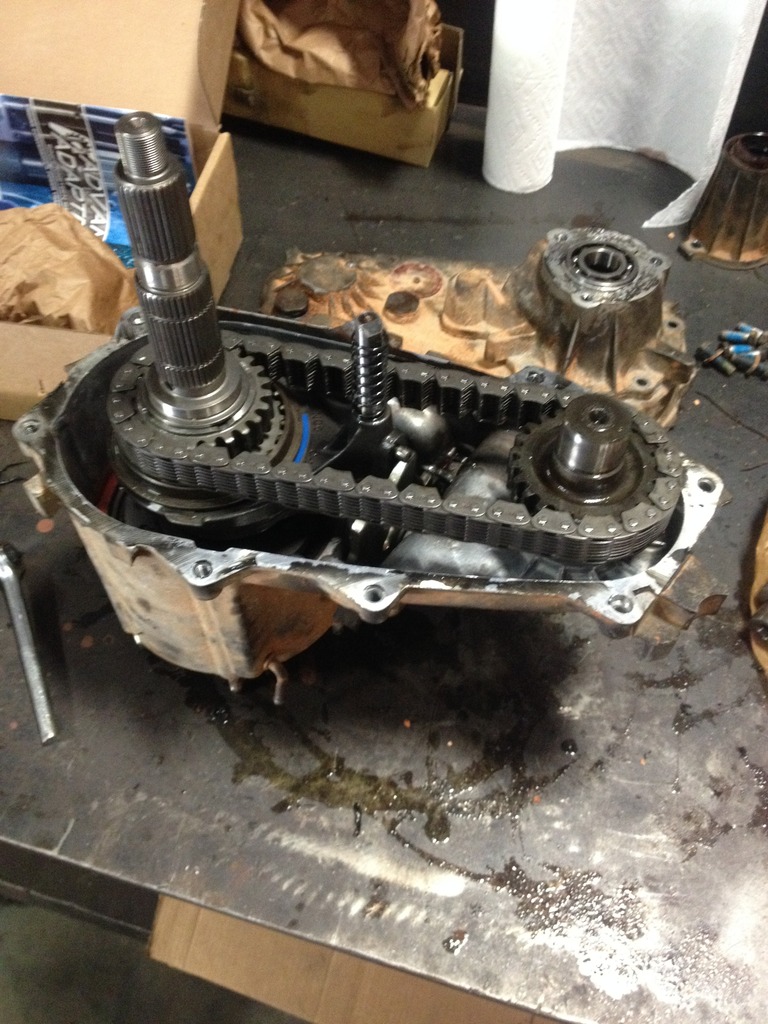
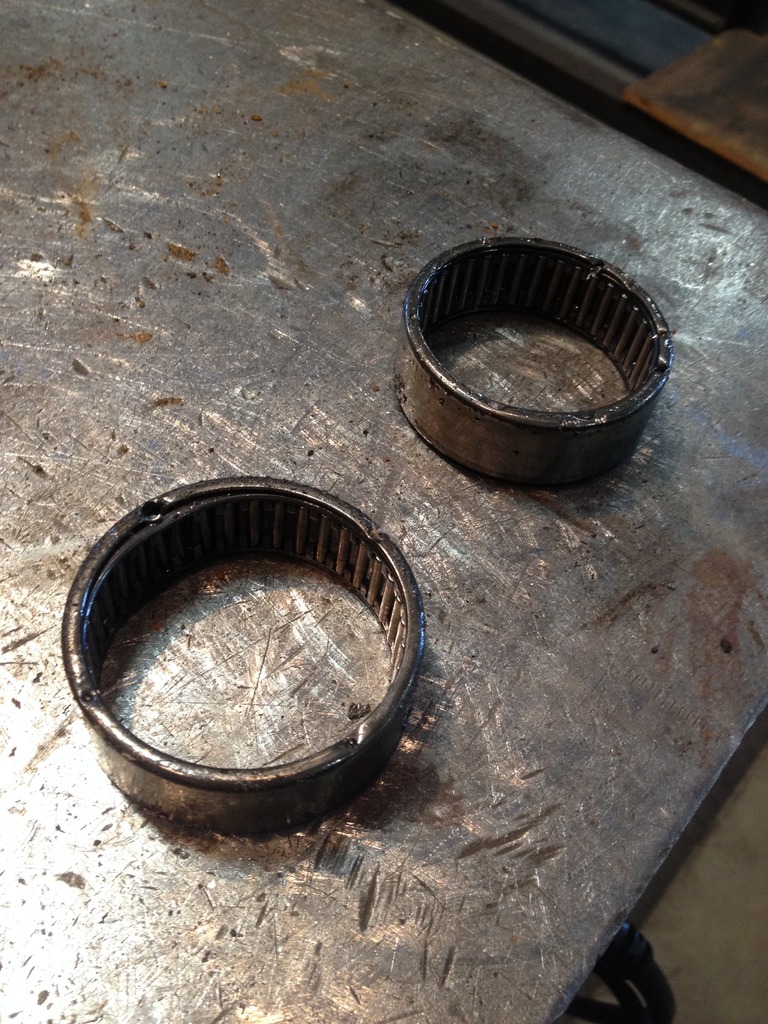
Lesson learned from doing this: Buy quality snap ring pliers.

First step: AA SYE.


Lesson learned from doing this: Buy quality snap ring pliers.
Thread Starter
Junior Member
Joined: Mar 2012
Posts: 41
Likes: 0
Year: 1991
Model: Cherokee
Engine: 4.0 HO
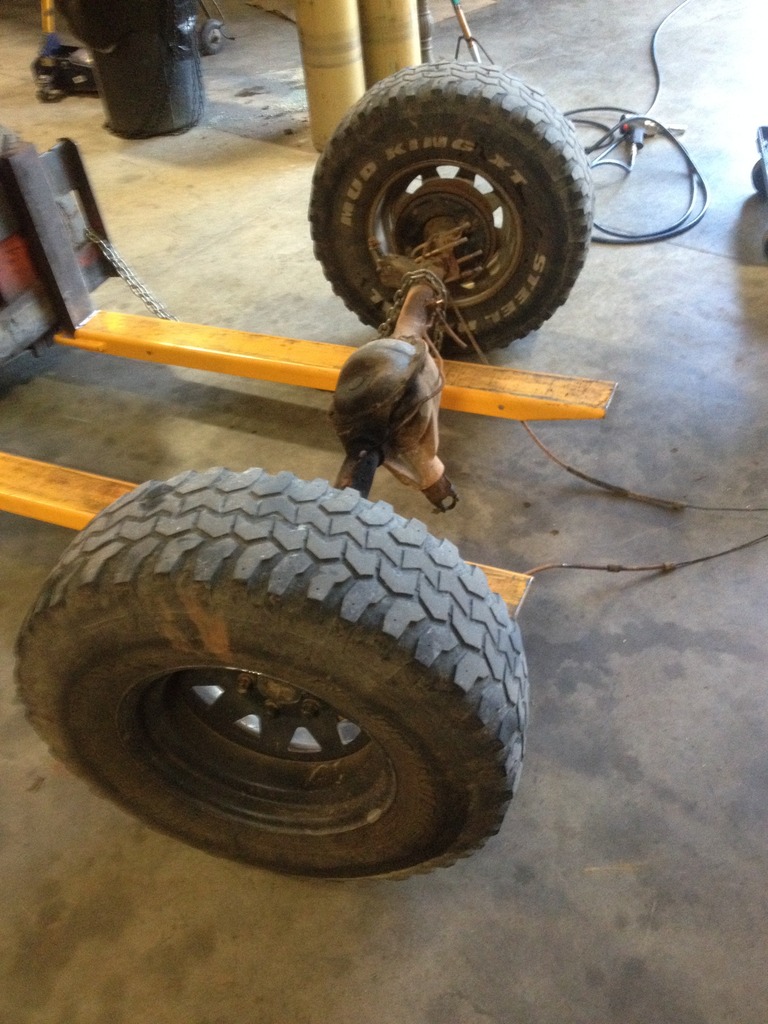
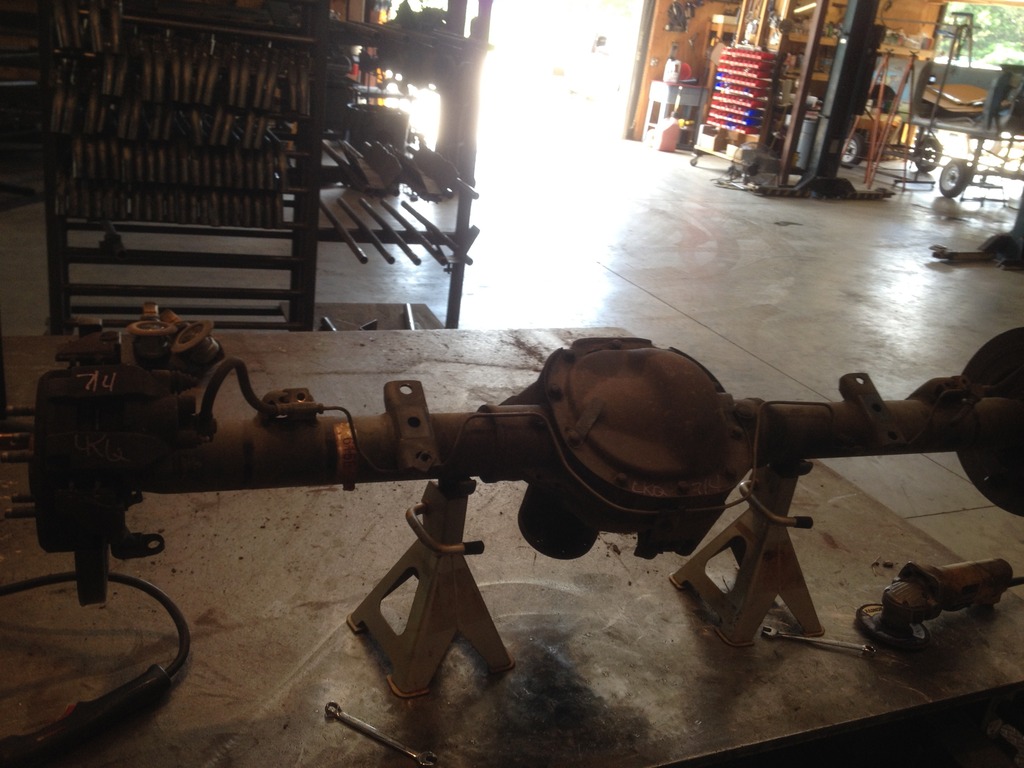
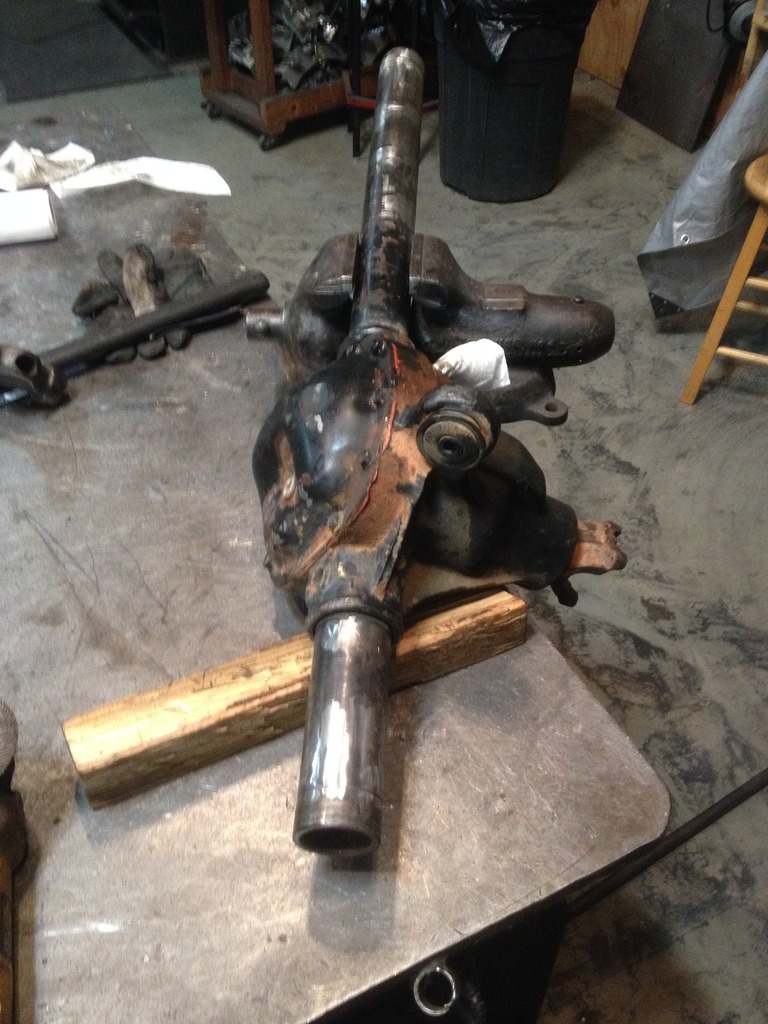
Step two: rear axle swap. Picked up a 8.8 out of an explorer with 4.10s and a limited slip from a copart yard.
D35 Gone
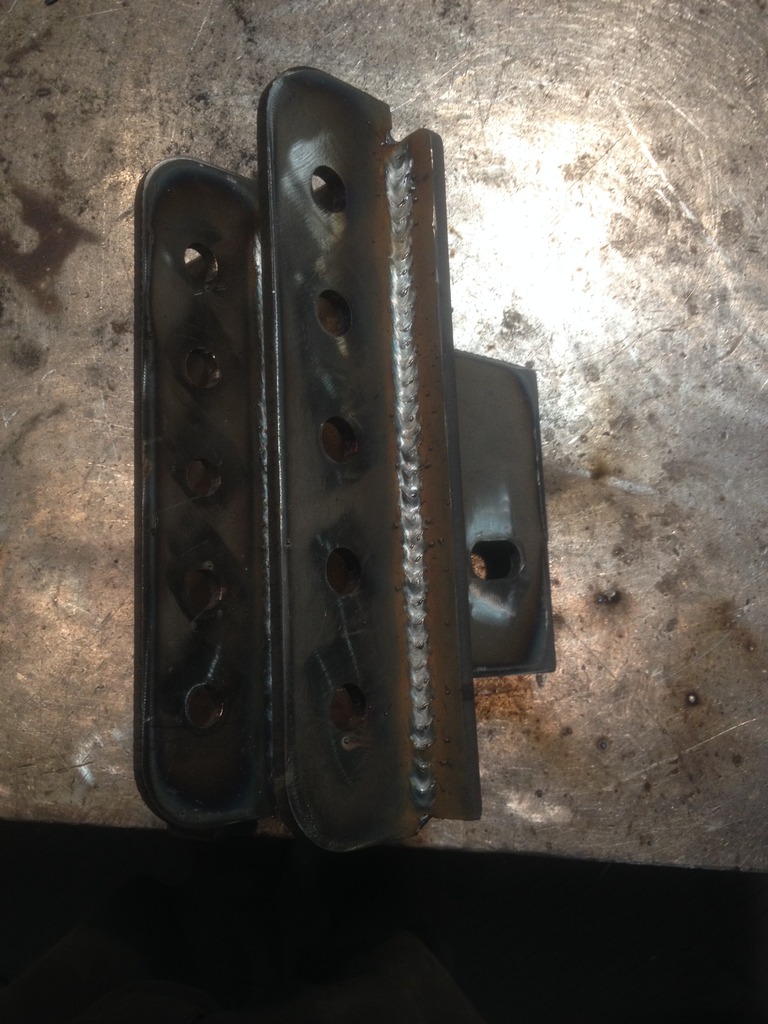
Started cutting brackets on the cnc plasma. First up, spring perches.
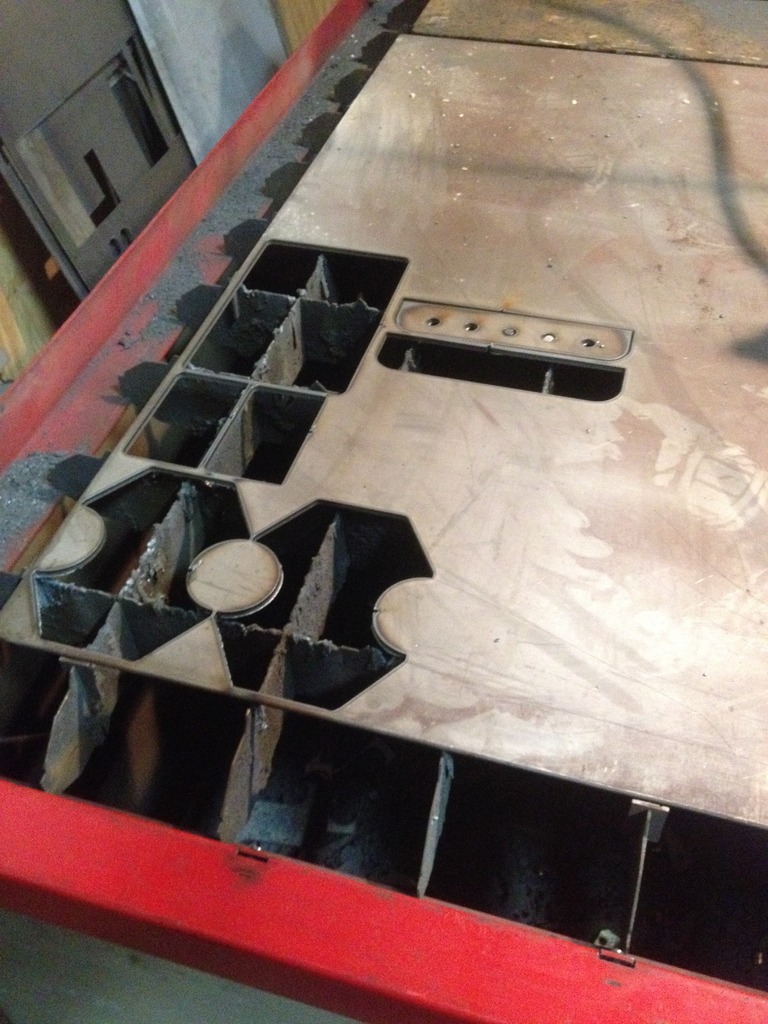
Bent on the 35 Ton Press Brake at work. It's digitally controlled so I can set depth value and backspacing to the stops and replicate bends to no end. Designed some adjustability into the perches.
Pile of cut parts

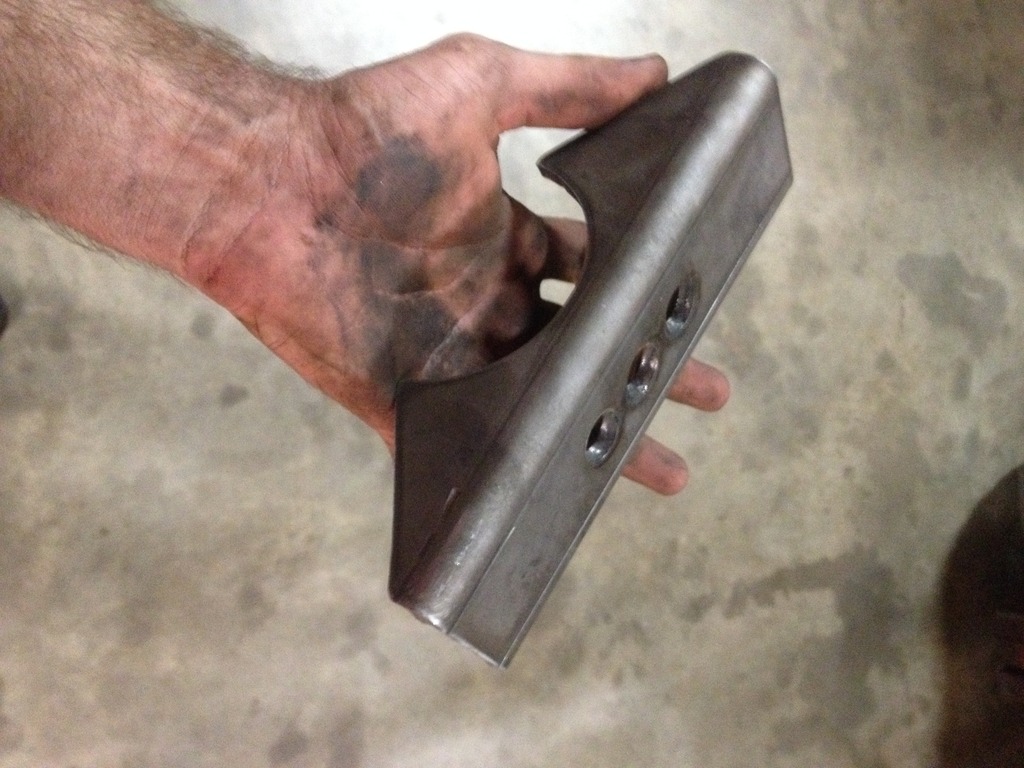
Shackle relocaters welded up
Rear axle mocked into place. Perches were just clamped into place at this point but not welded up. Shocks weren't mounted and no driveshaft.

D35 Gone


Started cutting brackets on the cnc plasma. First up, spring perches.

Bent on the 35 Ton Press Brake at work. It's digitally controlled so I can set depth value and backspacing to the stops and replicate bends to no end. Designed some adjustability into the perches.


Pile of cut parts

Shackle relocaters welded up


Rear axle mocked into place. Perches were just clamped into place at this point but not welded up. Shocks weren't mounted and no driveshaft.

Thread Starter
Junior Member
Joined: Mar 2012
Posts: 41
Likes: 0
Year: 1991
Model: Cherokee
Engine: 4.0 HO
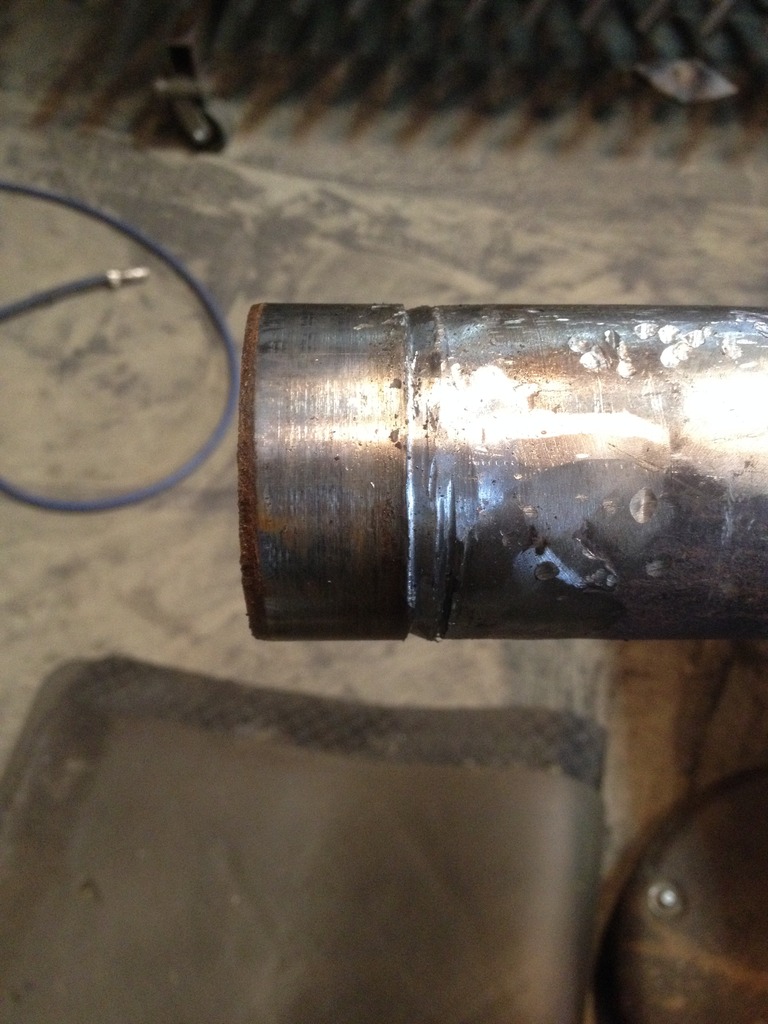
A little look at the 8.8 cleanup
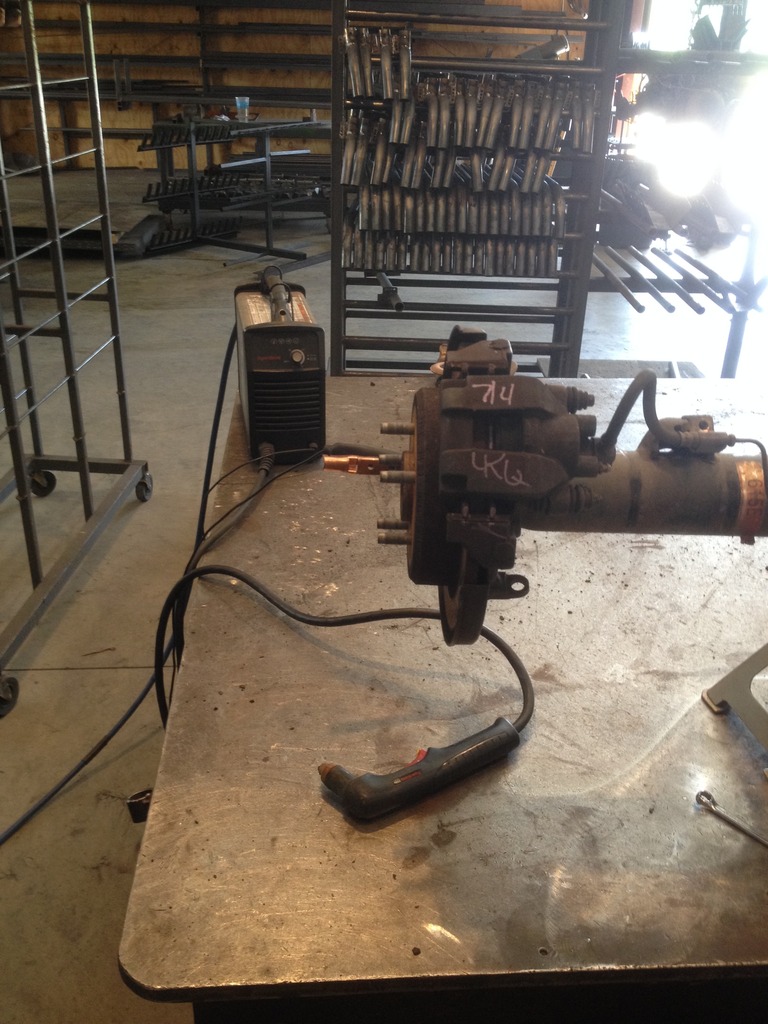
Handheld plasmas are life savers
Some quality time with a flap wheel
With the stock shackle, 8.8, and homemade SRBs, you can see I gained a little bit of lift in the rear.


Handheld plasmas are life savers

Some quality time with a flap wheel


With the stock shackle, 8.8, and homemade SRBs, you can see I gained a little bit of lift in the rear.

Thread Starter
Junior Member
Joined: Mar 2012
Posts: 41
Likes: 0
Year: 1991
Model: Cherokee
Engine: 4.0 HO
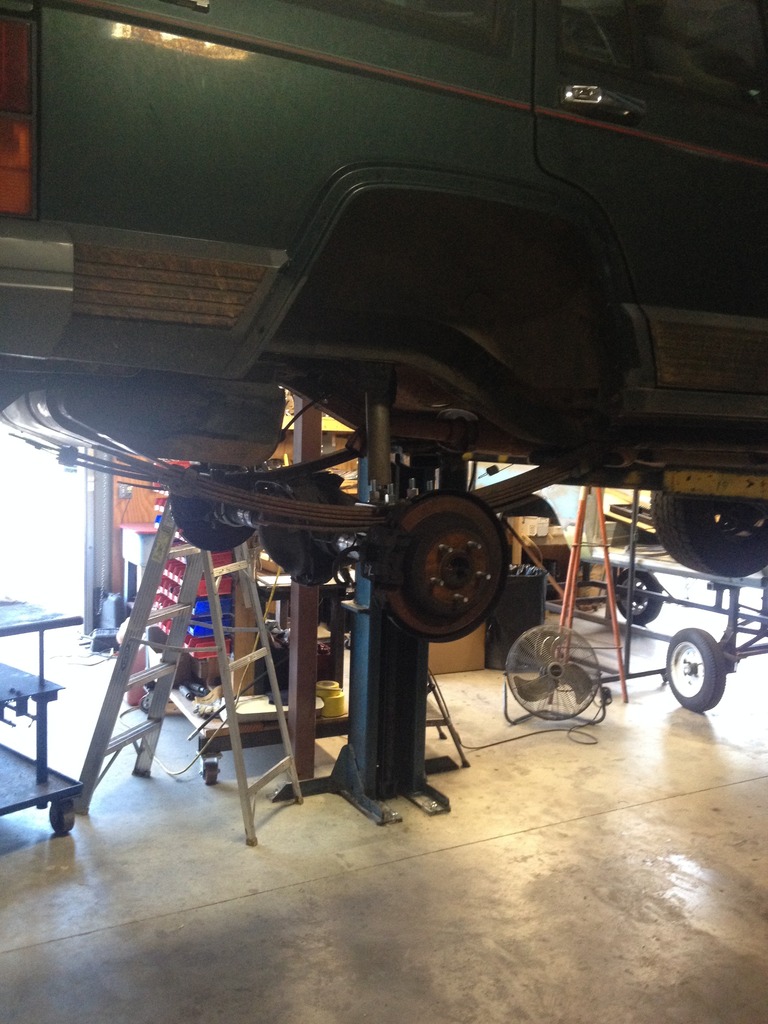
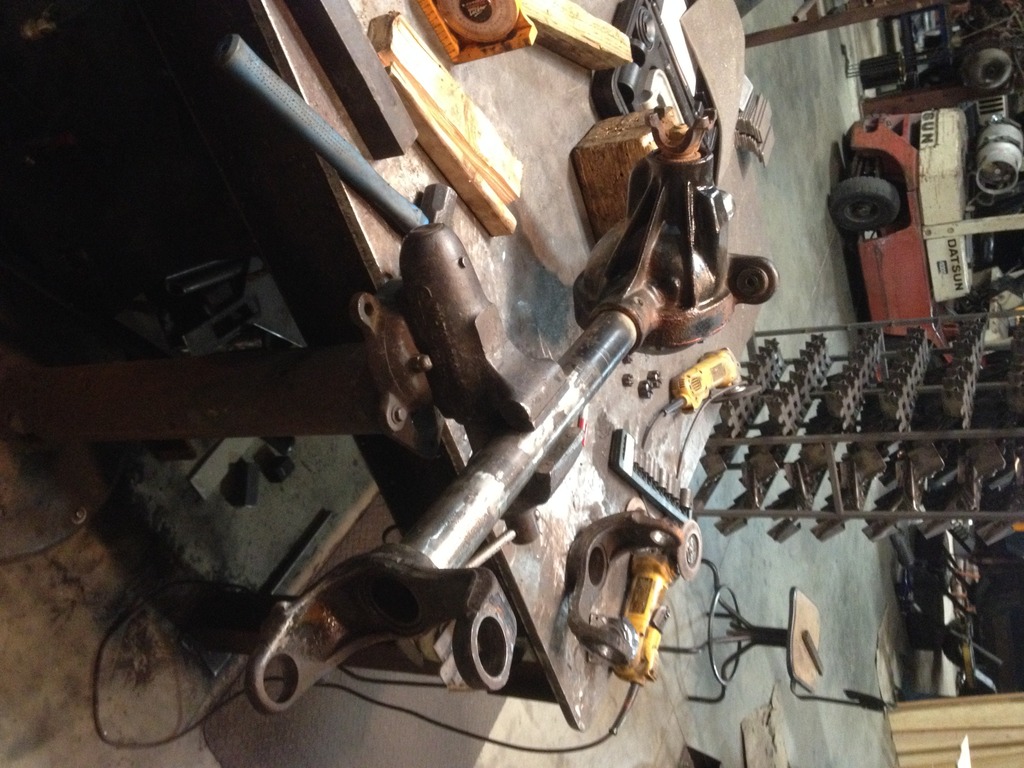
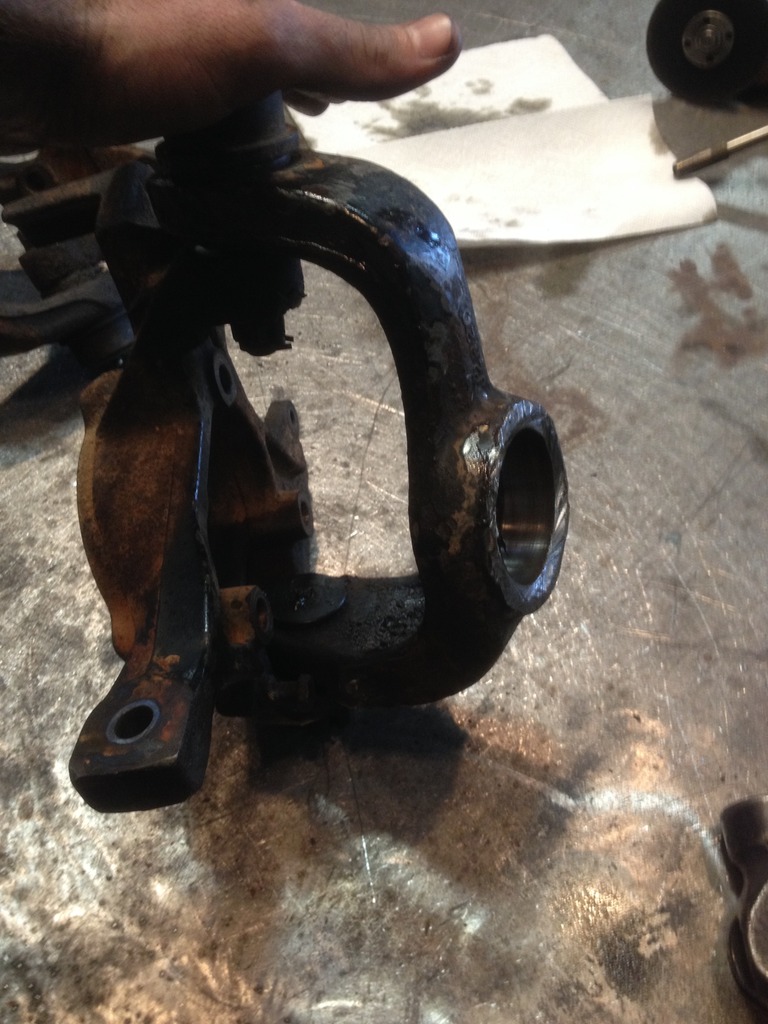
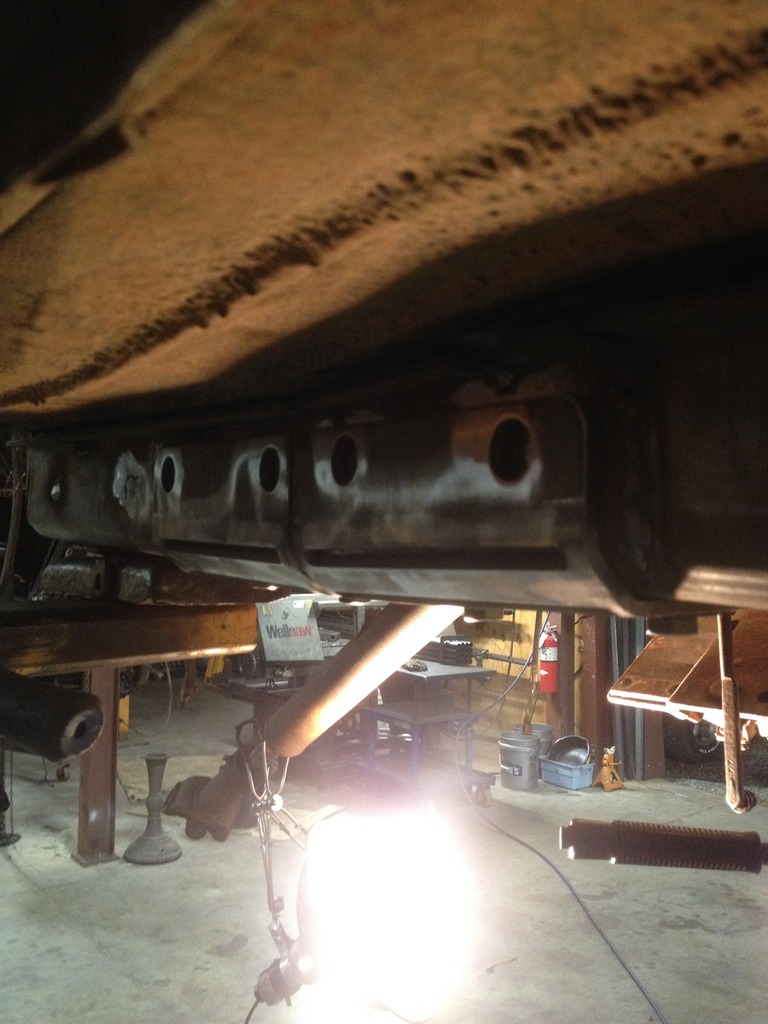
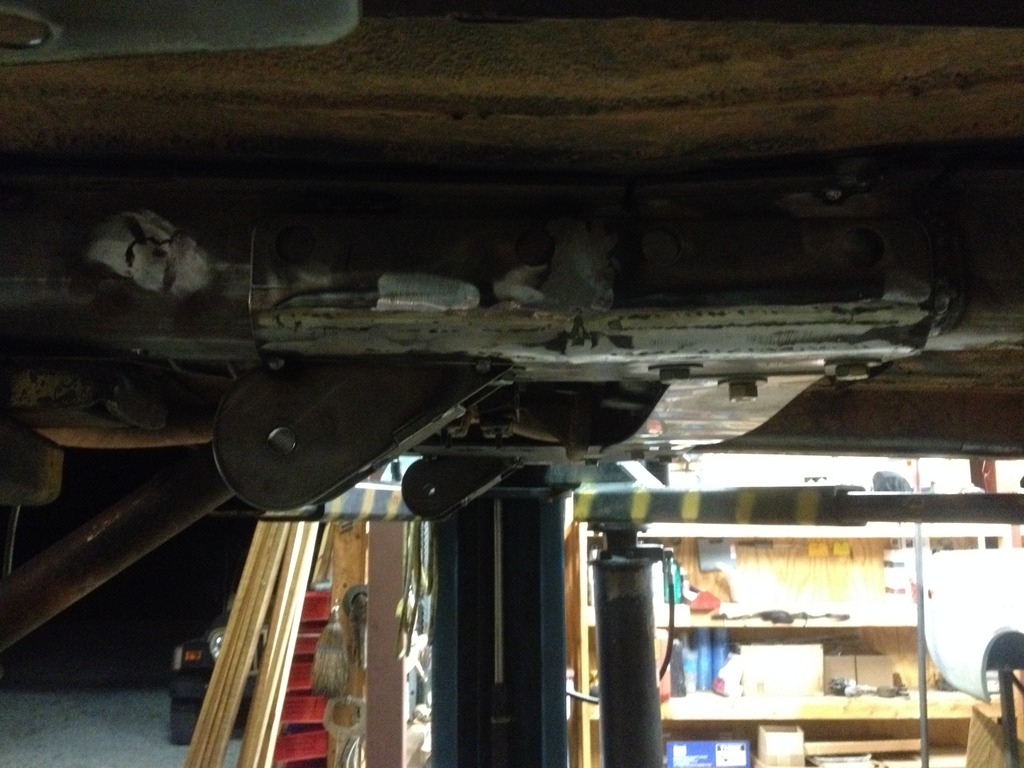
This is where things got a bit more serious. D30 out. Having a forklift and car lift at my disposal really makes moving heavy items a lot more simple.
Blank canvas for suspension

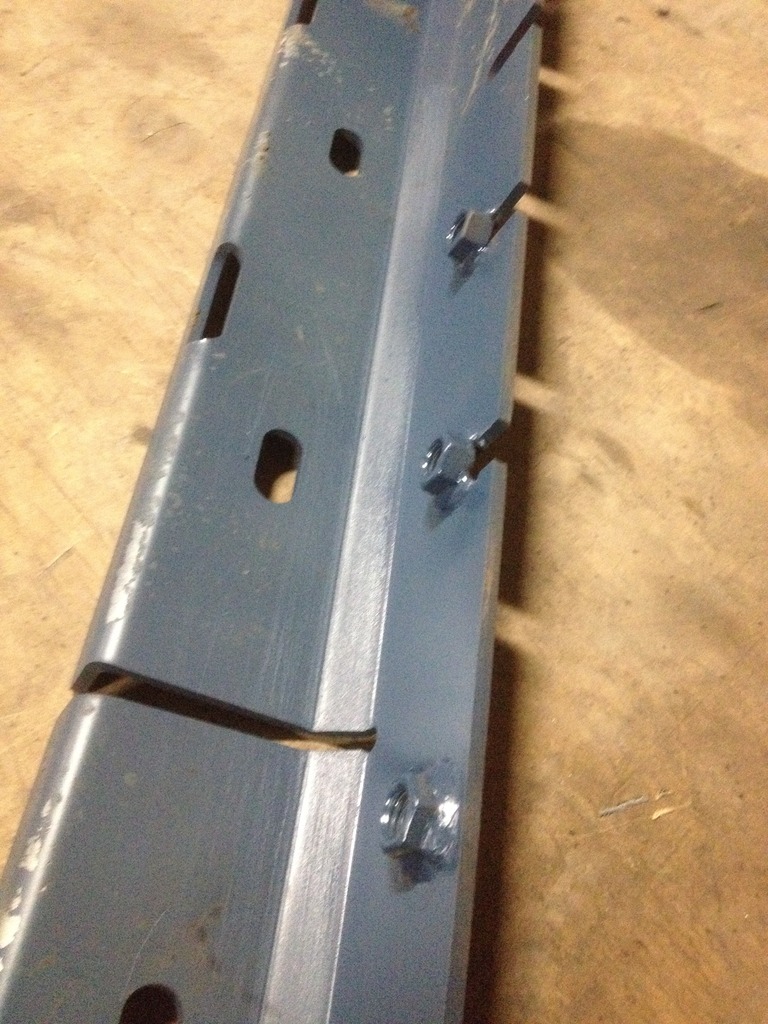
I chose Ruffstuff mid frame stiffeners. I wasn't too keen on the 2 bolts holding a 3 link supporting crossmember in, and I wanted 4 matching bolts holding from the bottom so I welded 4 1/2" nuts to the stiffeners.
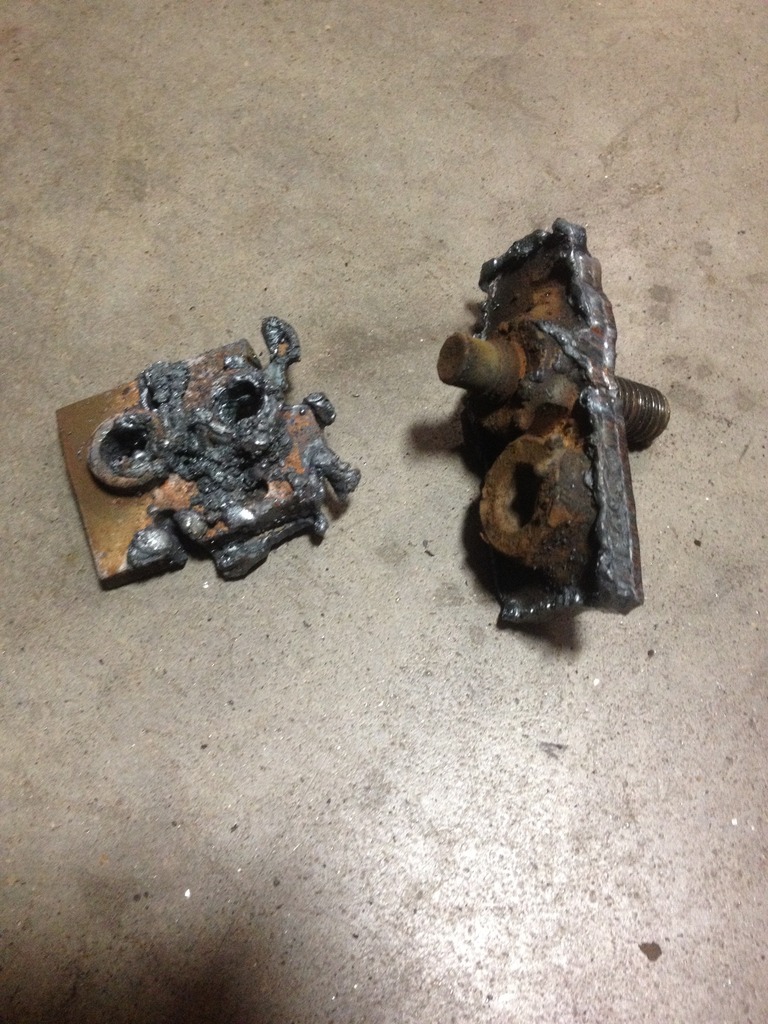
Removing the old lower brackets to make room for the stiffeners.
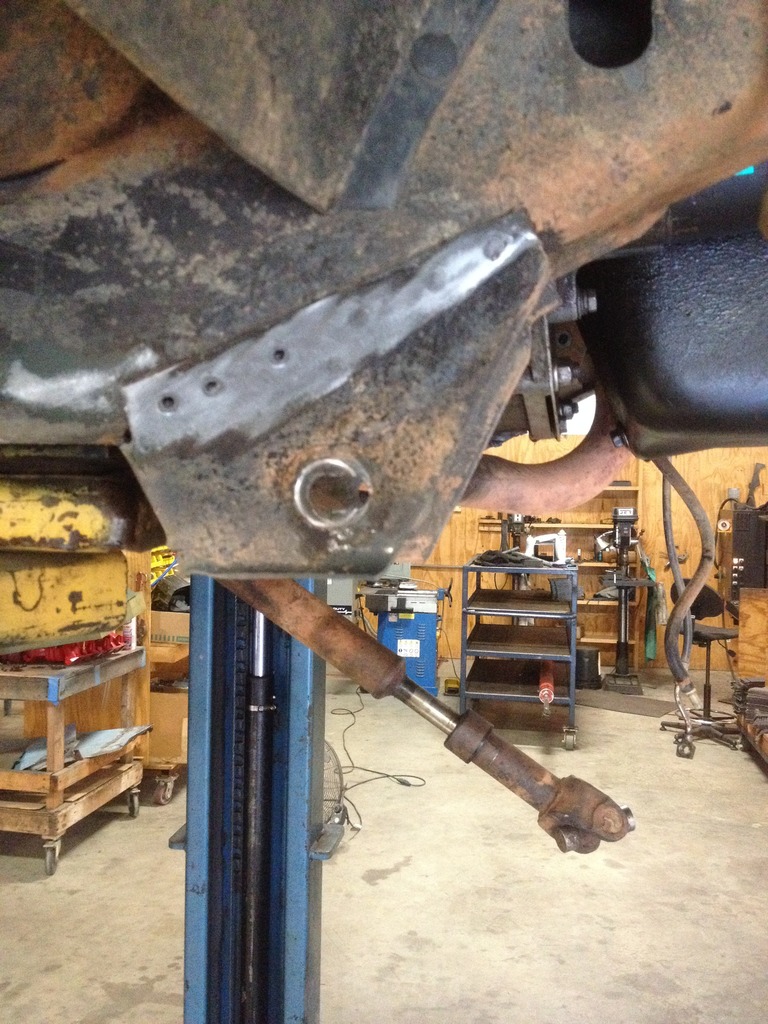
Spotted my first bit of rust. Right about where your left foot would rest in the driver's footwell. Simple fix soon.

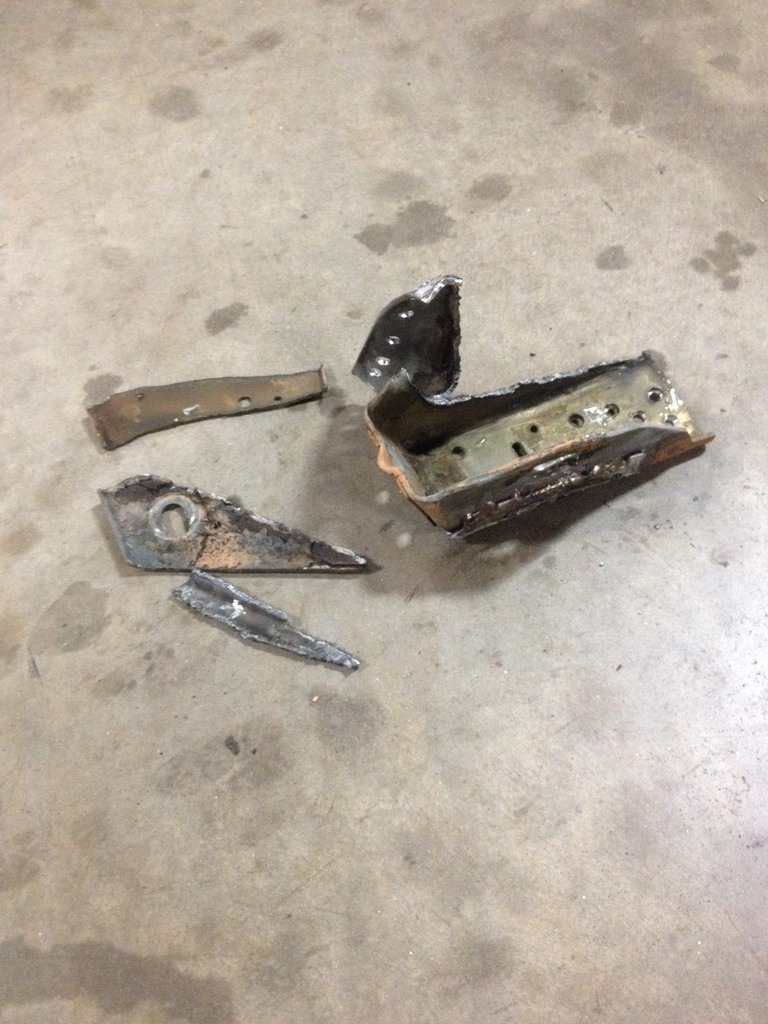
Goodbye short arms

Now came time to install the stiffeners. I had to make holes for the 1/2" nuts that I welded to the stiffeners. Got wild with the plasma.

Notched the stiffeners a bit at the rear around some existing frame
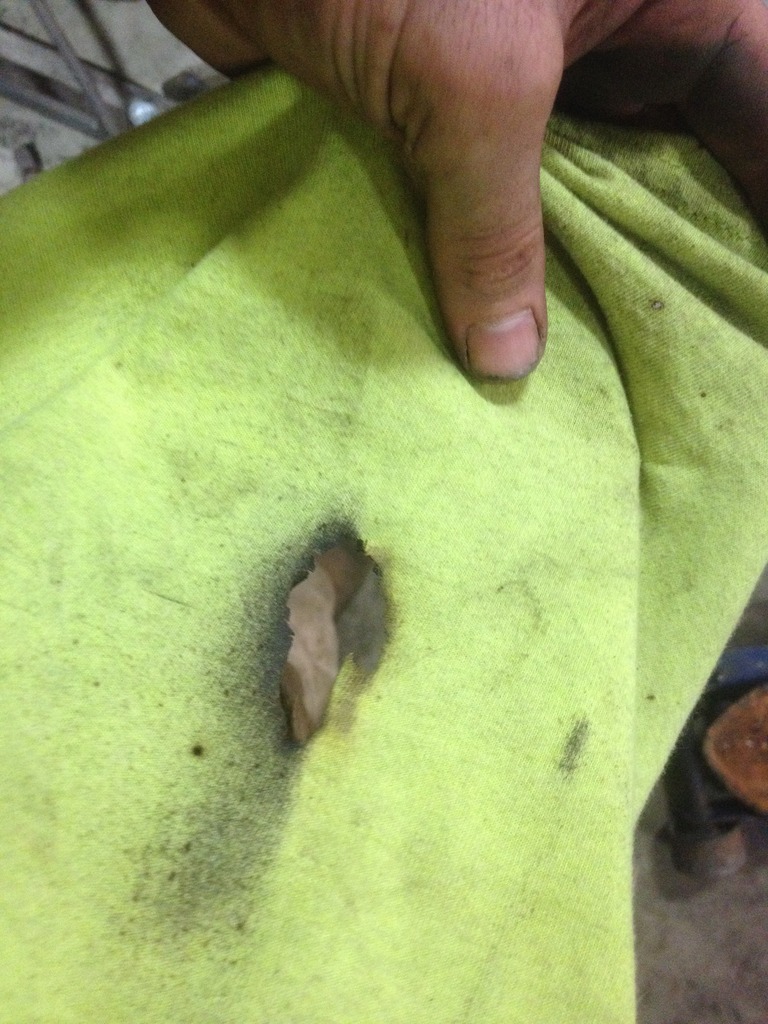
Welding note: If you notice yourself getting noticeably hotter, it doesn't hurt to double check that you aren't on fire.

Blank canvas for suspension

I chose Ruffstuff mid frame stiffeners. I wasn't too keen on the 2 bolts holding a 3 link supporting crossmember in, and I wanted 4 matching bolts holding from the bottom so I welded 4 1/2" nuts to the stiffeners.

Removing the old lower brackets to make room for the stiffeners.

Spotted my first bit of rust. Right about where your left foot would rest in the driver's footwell. Simple fix soon.

Goodbye short arms


Now came time to install the stiffeners. I had to make holes for the 1/2" nuts that I welded to the stiffeners. Got wild with the plasma.

Notched the stiffeners a bit at the rear around some existing frame

Welding note: If you notice yourself getting noticeably hotter, it doesn't hurt to double check that you aren't on fire.

Thread Starter
Junior Member
Joined: Mar 2012
Posts: 41
Likes: 0
Year: 1991
Model: Cherokee
Engine: 4.0 HO
If you were wondering what is holding your trans crossmember in the rail, wonder no more.
A little stiffener welding
Link/coil bracket tacked together
I decided if I was this far involved, cutting and turning the C's was a no brainer. This
Plus these
Led to this
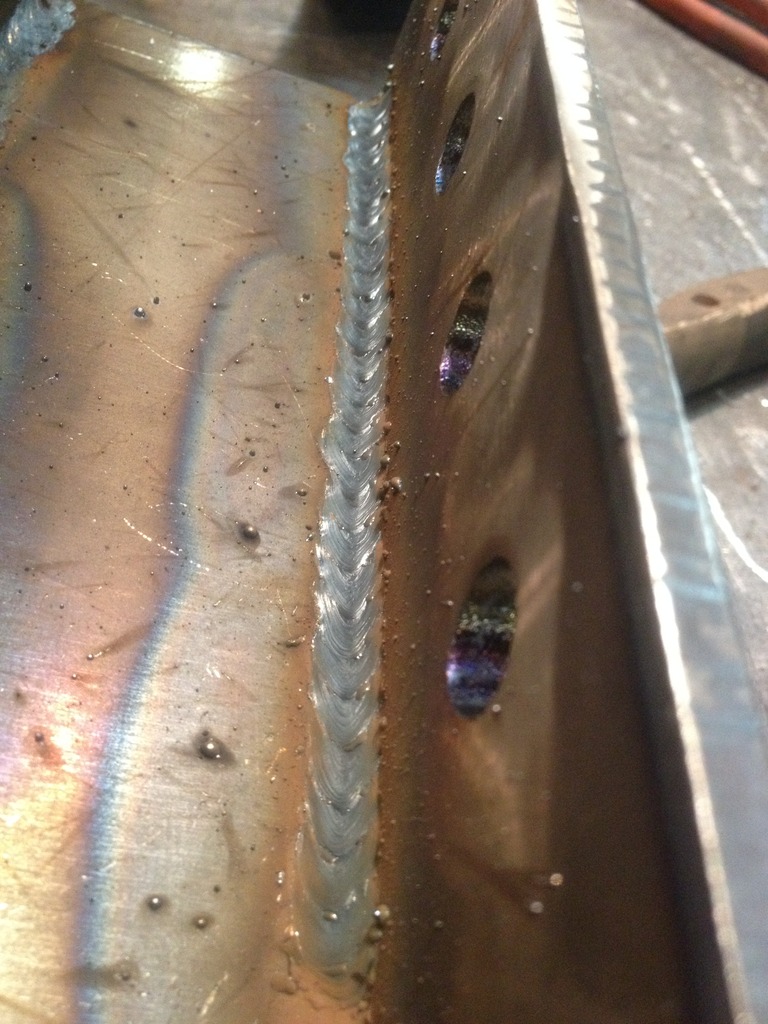
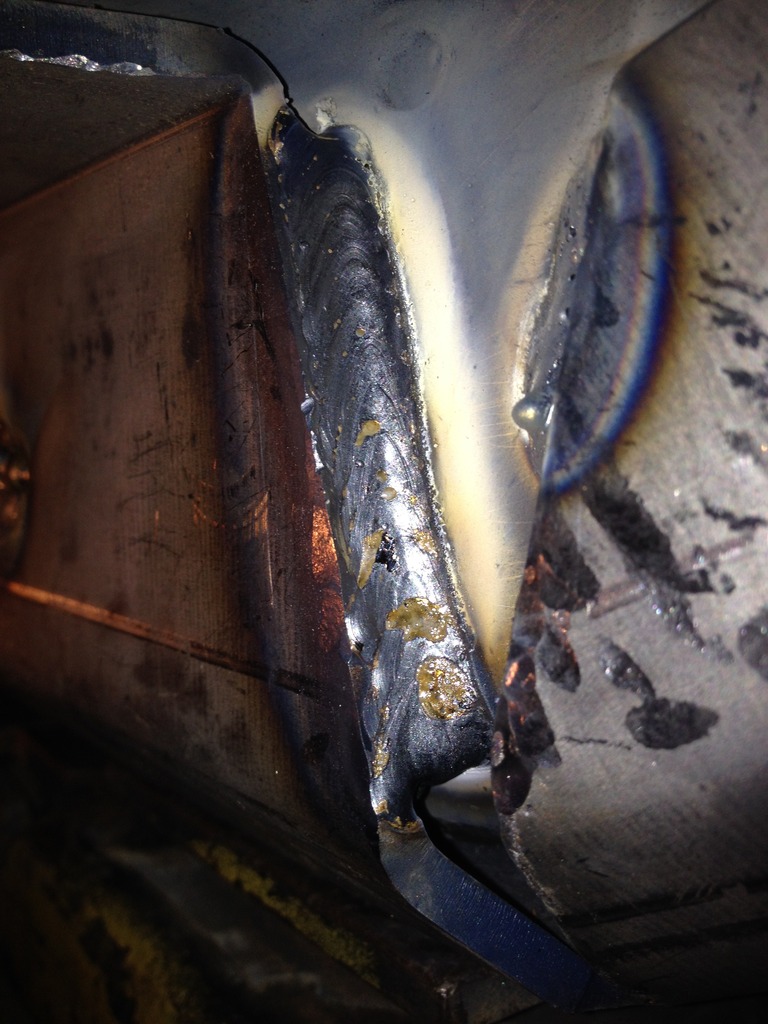
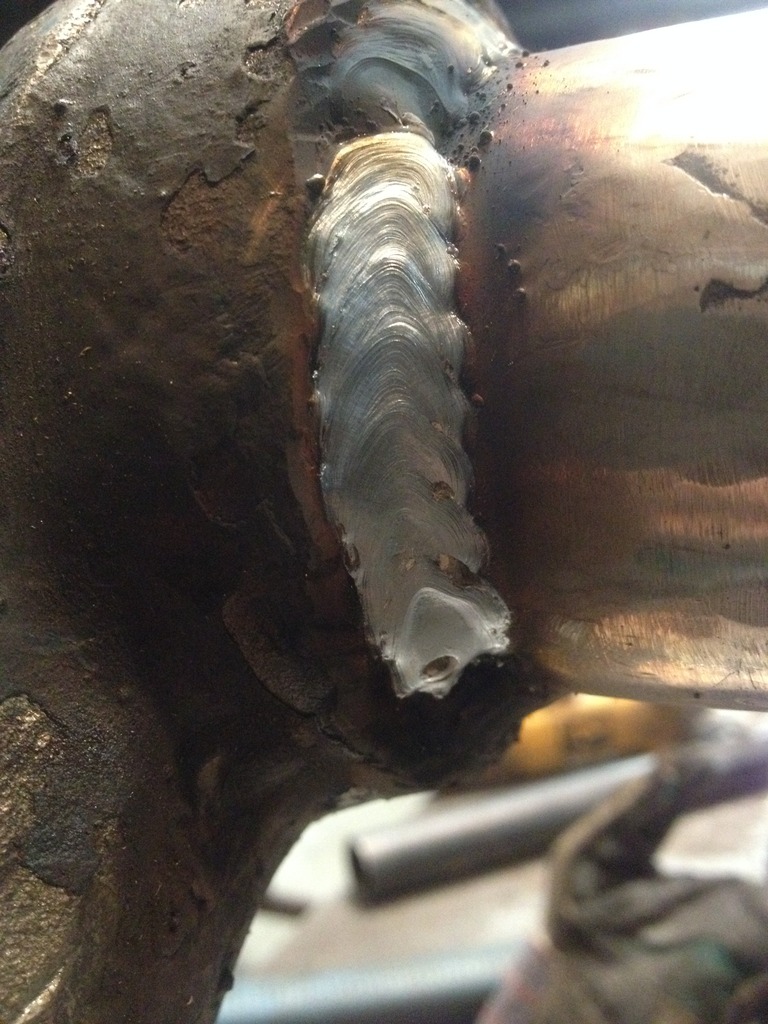
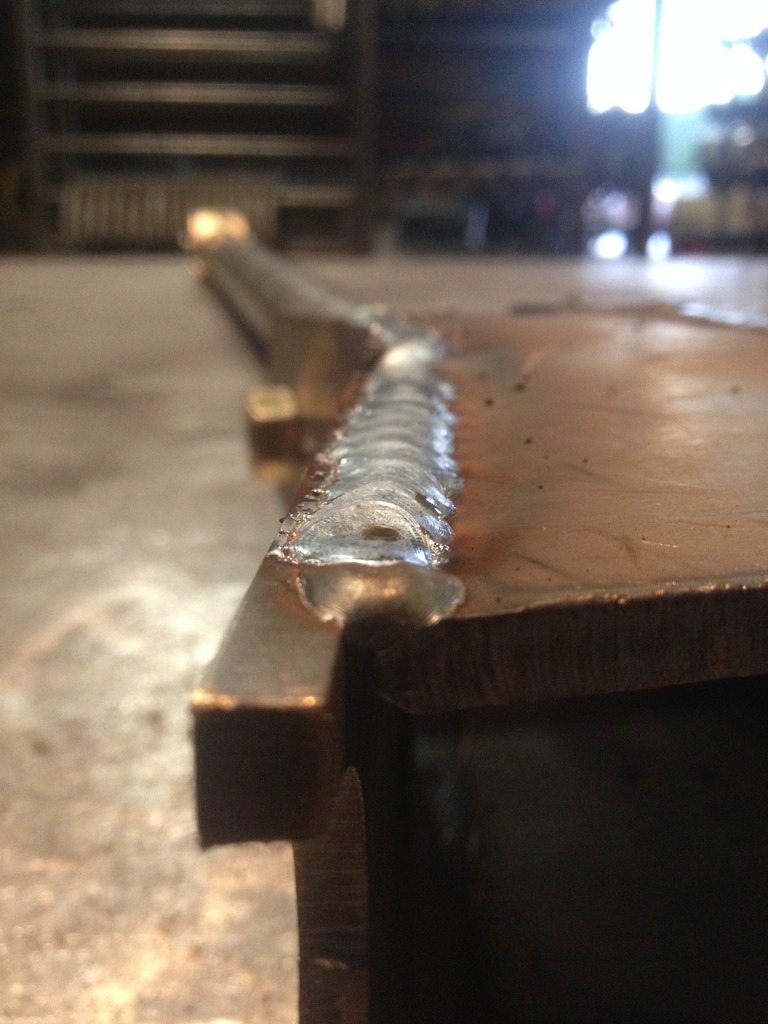
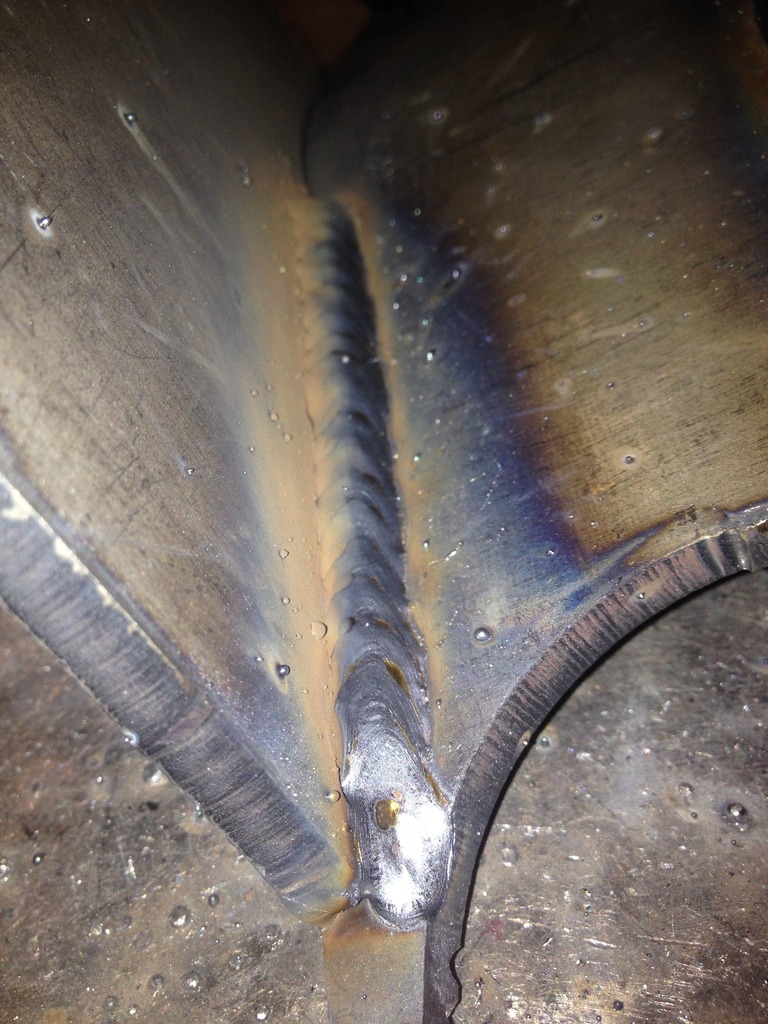
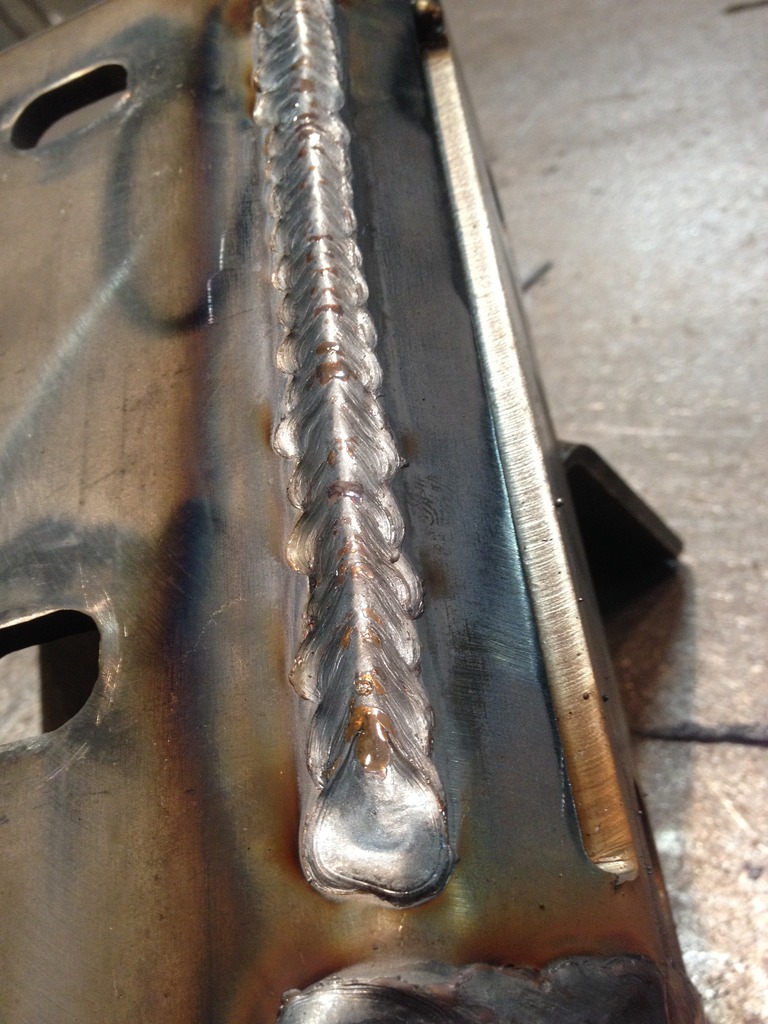
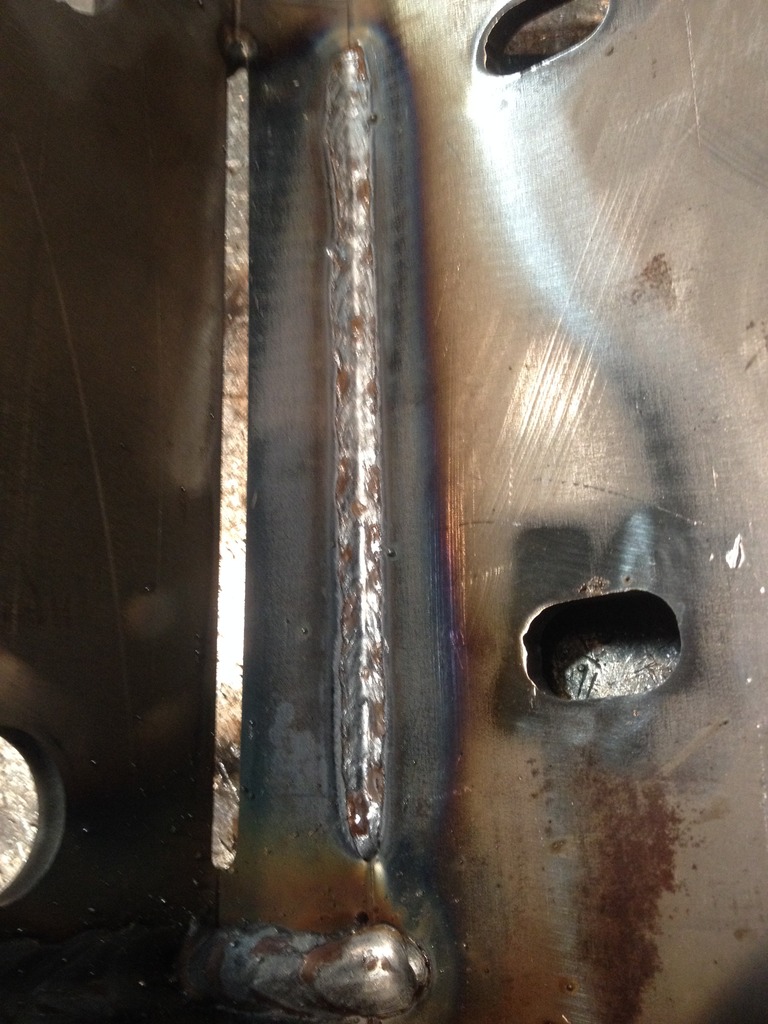
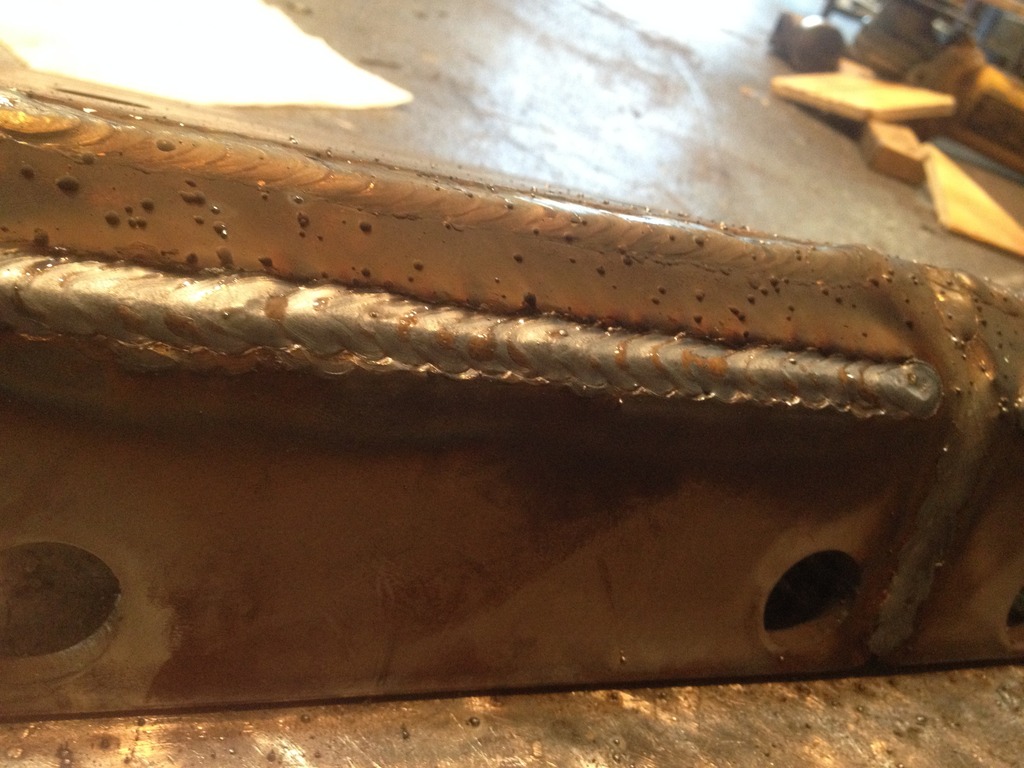
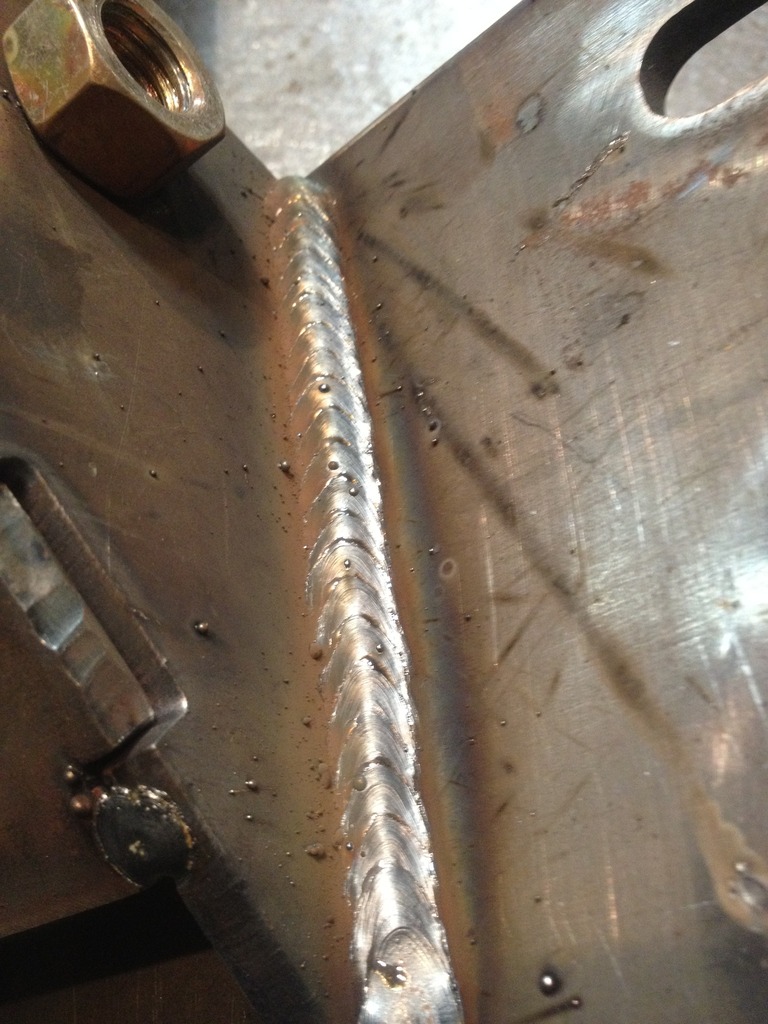
Took quite a bit of time making sure I got these dialed in where I needed them to be, and welded them back up. Made a root and top pass to ensure they never move.

A little stiffener welding

Link/coil bracket tacked together


I decided if I was this far involved, cutting and turning the C's was a no brainer. This

Plus these

Led to this


Took quite a bit of time making sure I got these dialed in where I needed them to be, and welded them back up. Made a root and top pass to ensure they never move.

Thread Starter
Junior Member
Joined: Mar 2012
Posts: 41
Likes: 0
Year: 1991
Model: Cherokee
Engine: 4.0 HO
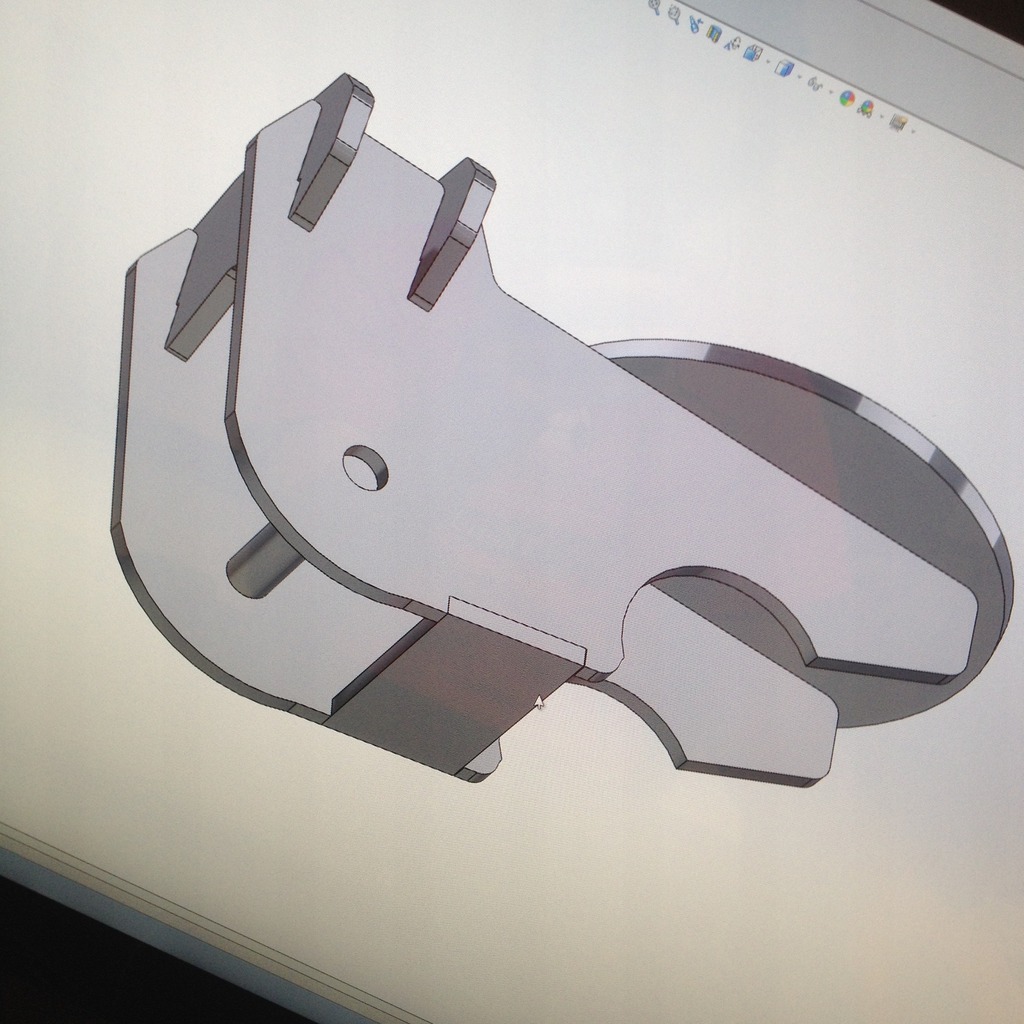
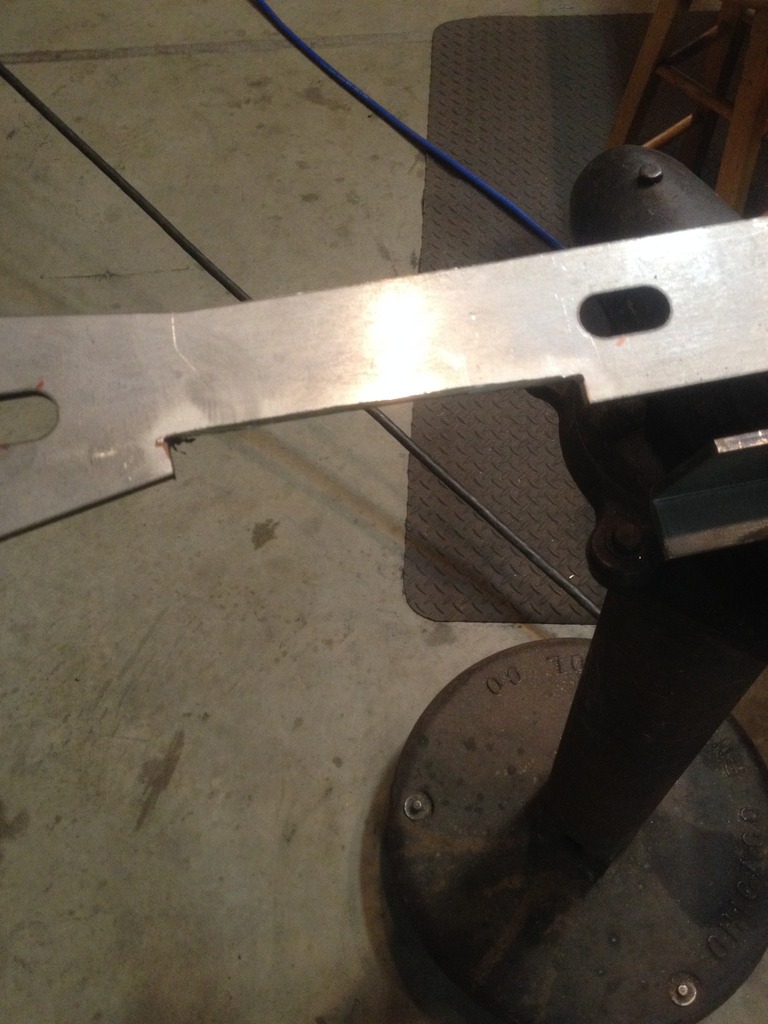
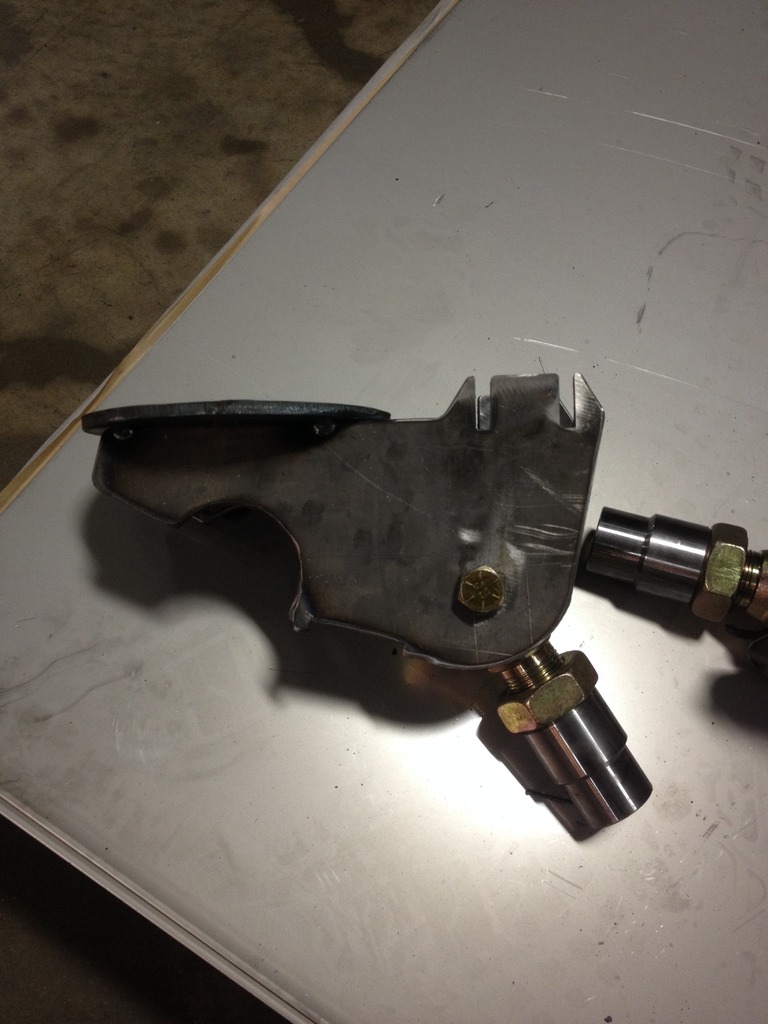
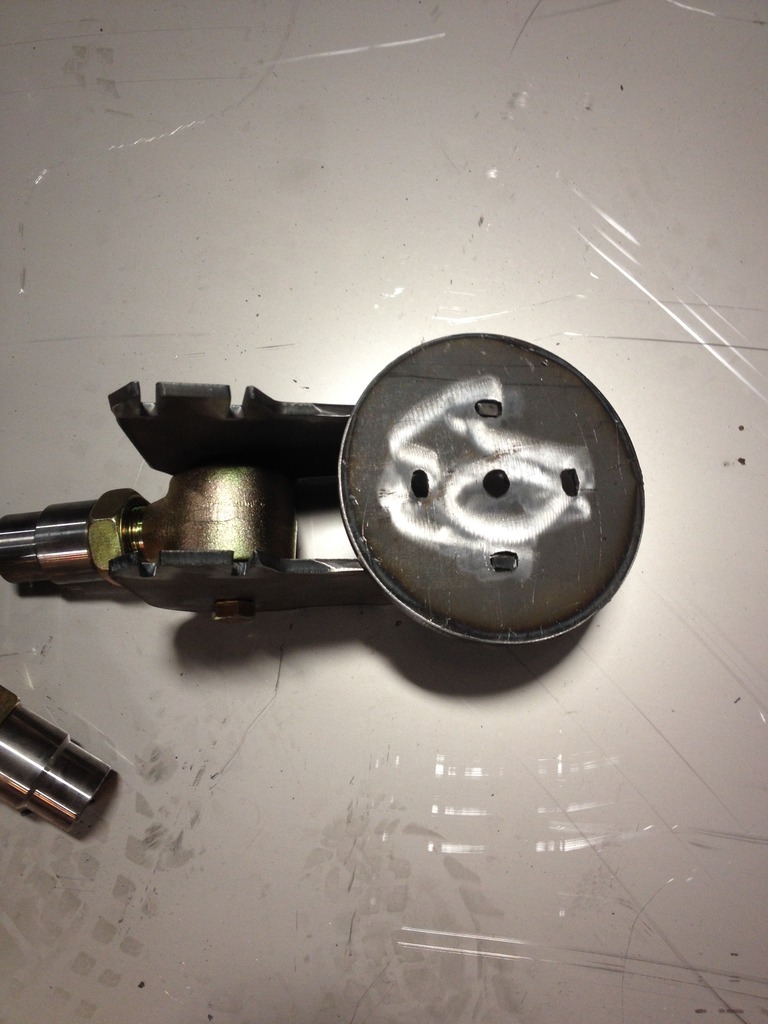
Started working on the upper link bracket. I opted to go to the passenger side for two reason. 1) Stay as far away from the driveshaft as possible. I see it as much easier to alter the exhaust than the path of the driveshaft. 2) Get away from the cast mount which I just am not a fan of.


Thread Starter
Junior Member
Joined: Mar 2012
Posts: 41
Likes: 0
Year: 1991
Model: Cherokee
Engine: 4.0 HO
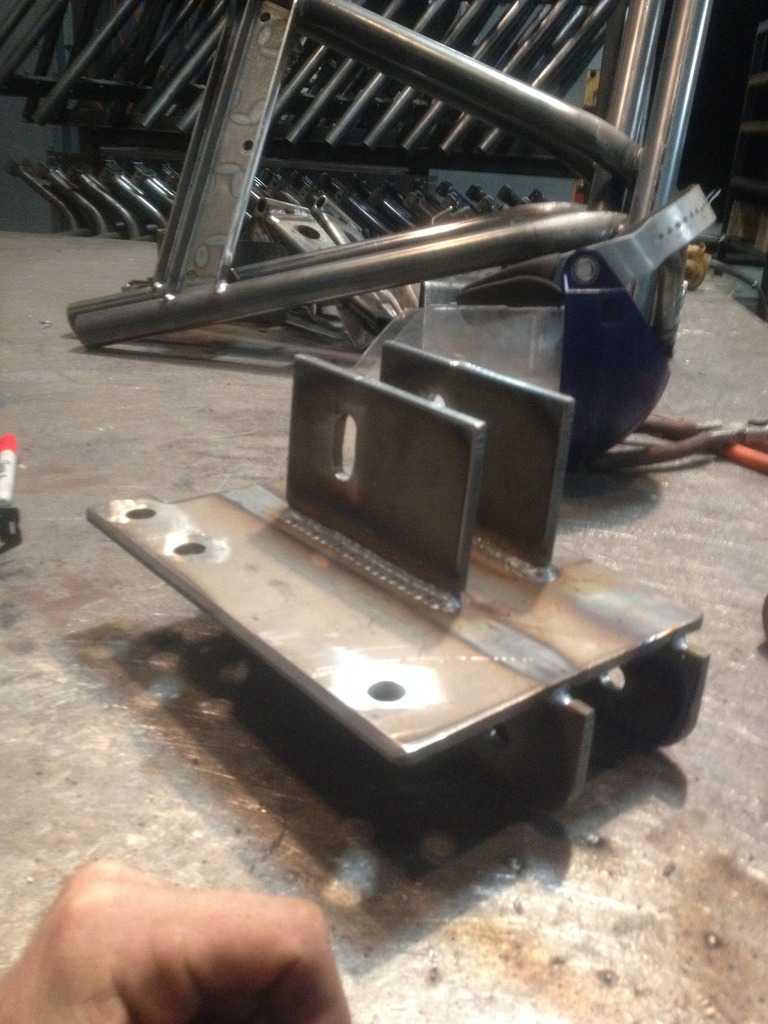
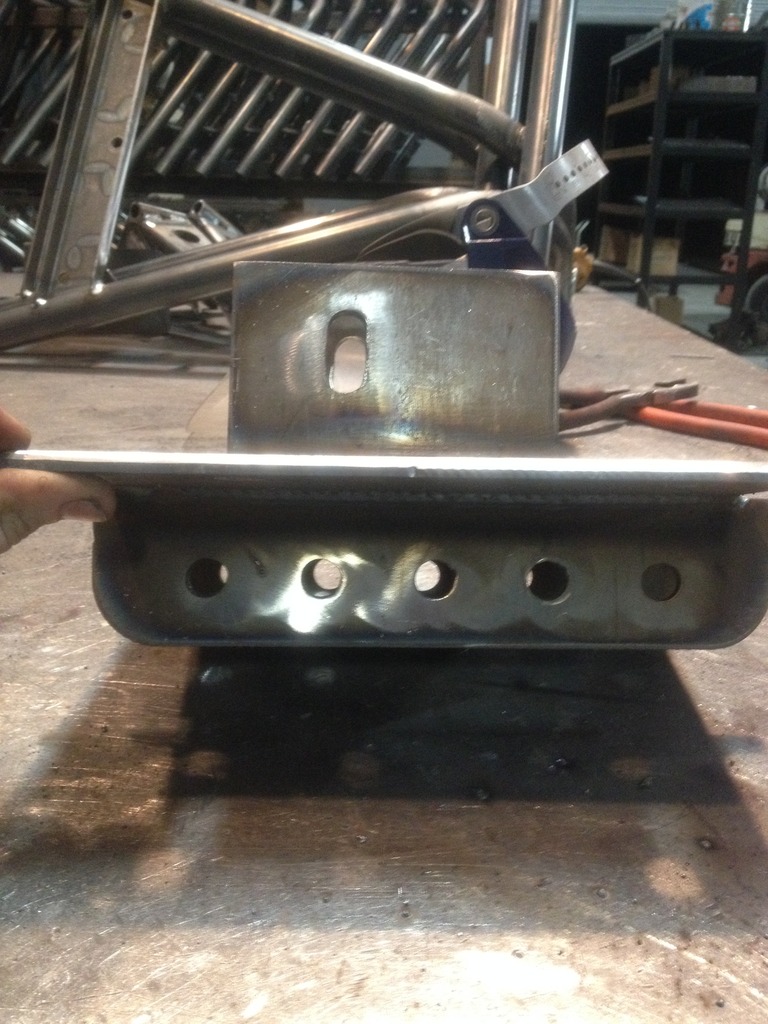
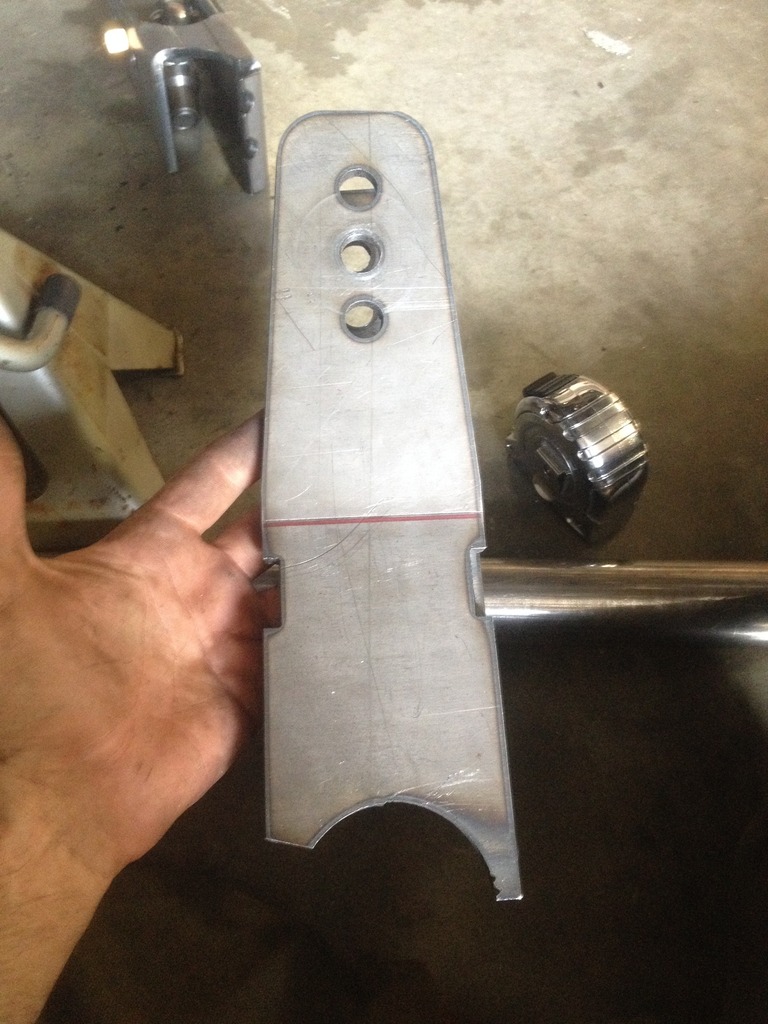
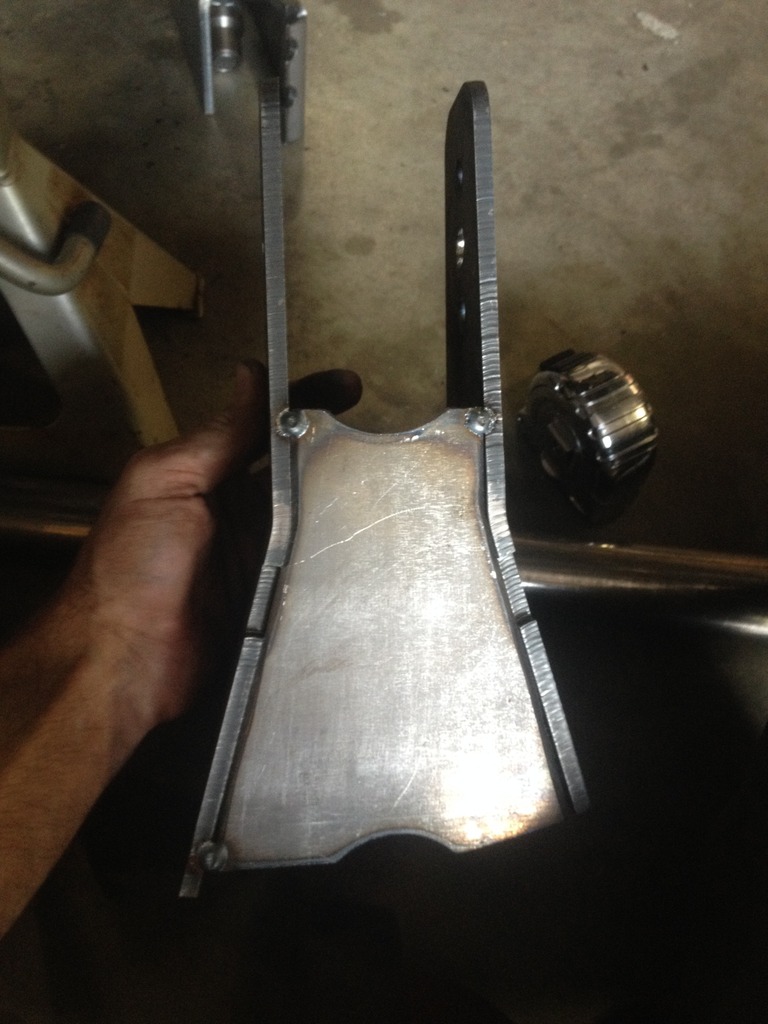
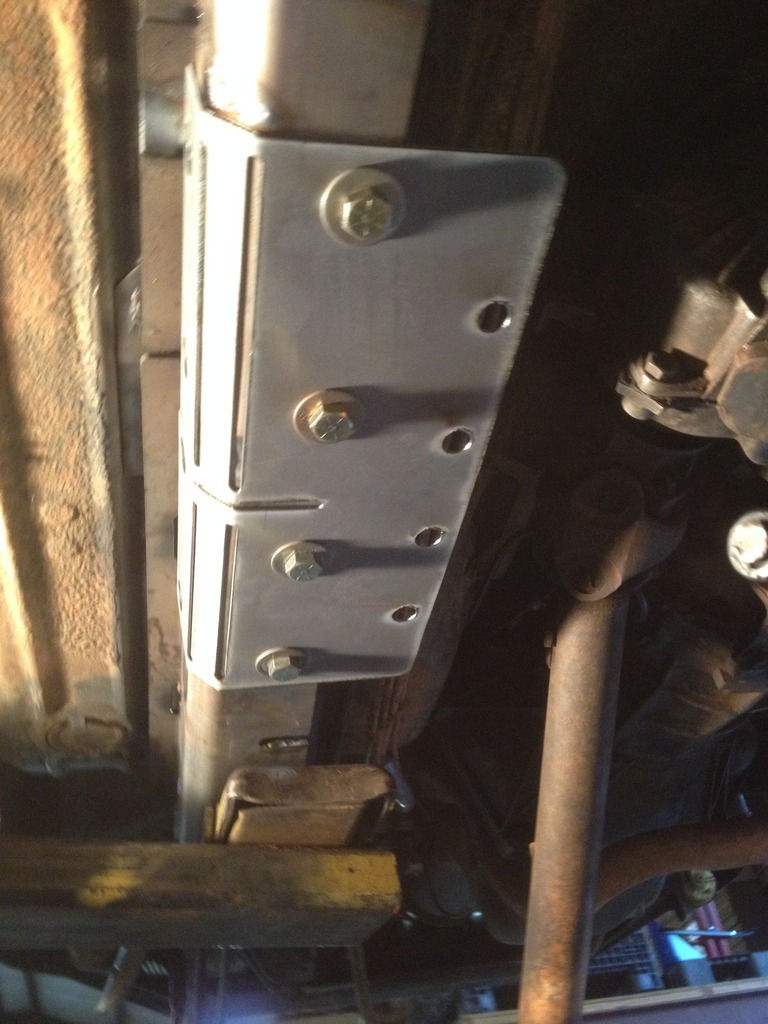
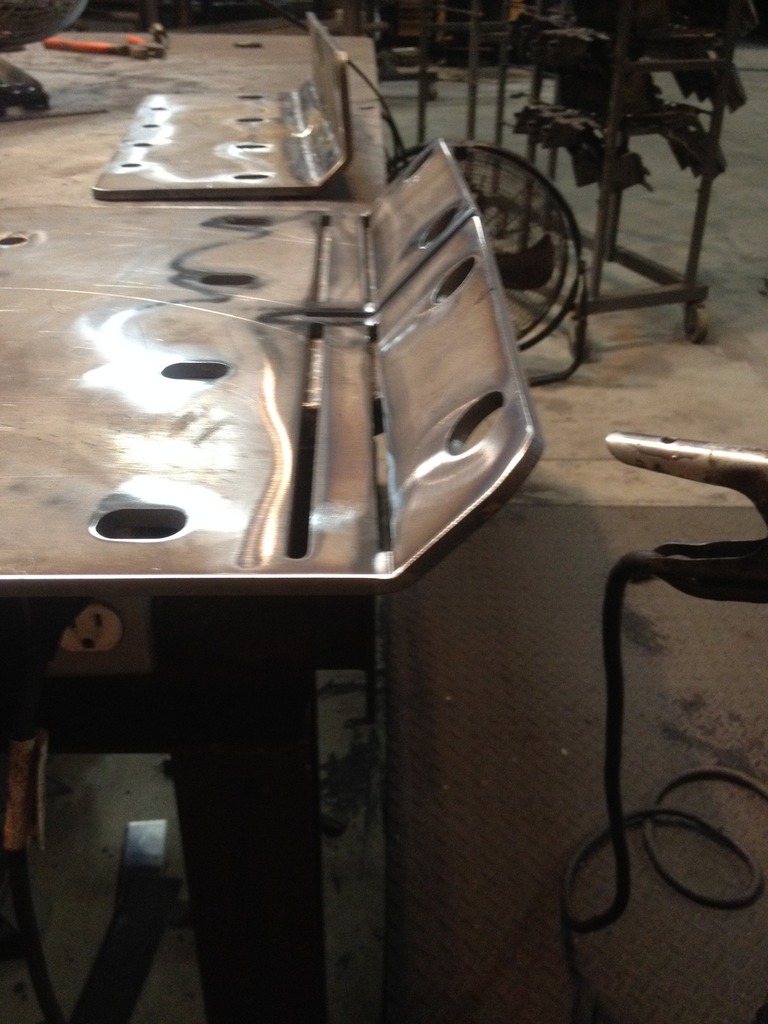
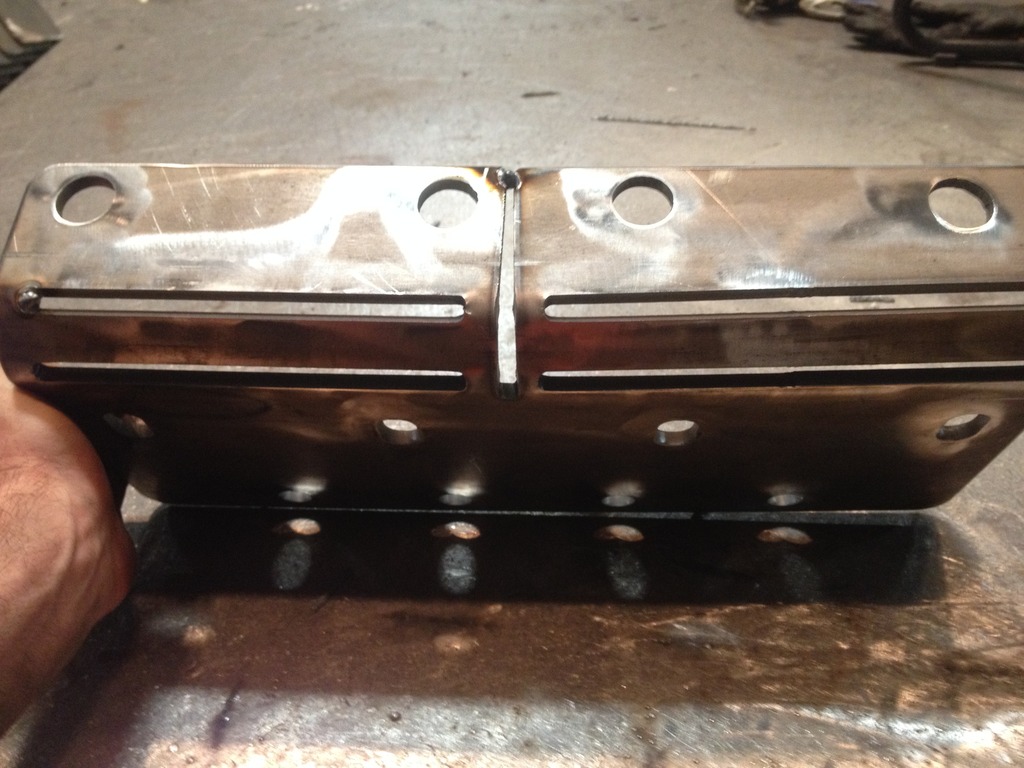
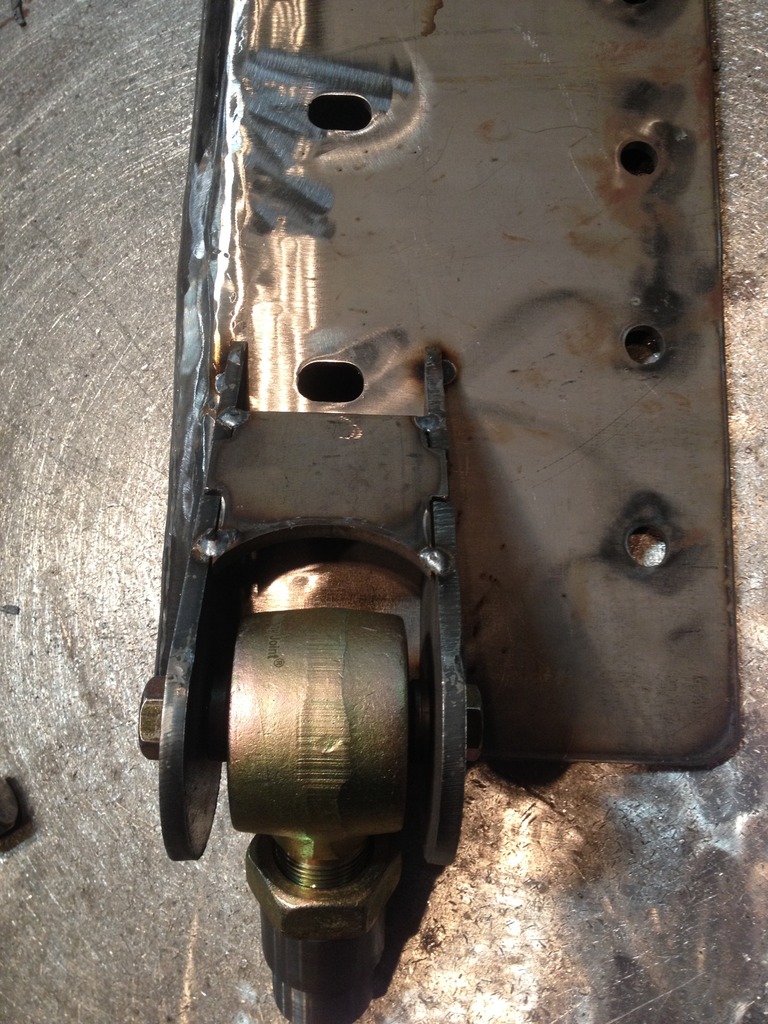
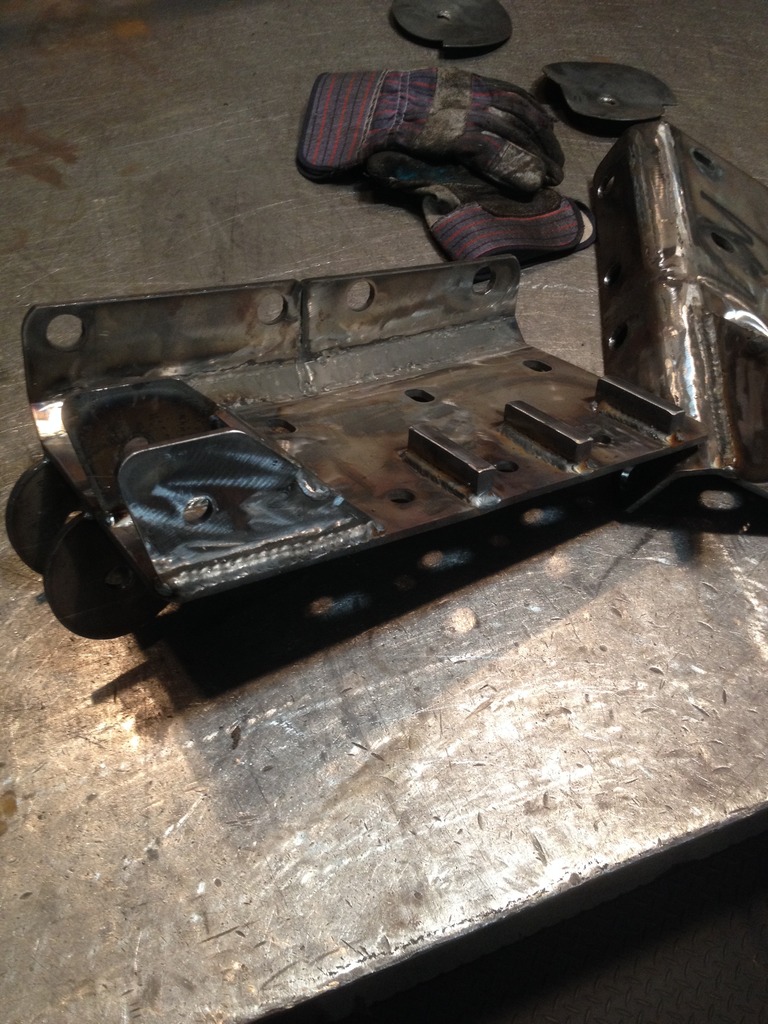
With the axle brackets coming together, I moved on to the frame side brackets. The goals were strong, avoid cutting the floor, shoot for exhaust clearance, removable center section without having to remove the arms. Started with some thin scrap from around the shop to prototype with. The holes on the left are for the crossmembers for the transmission and transfer case. the center holes are for the 4 bolts running vertically into the frame holding the brackets.
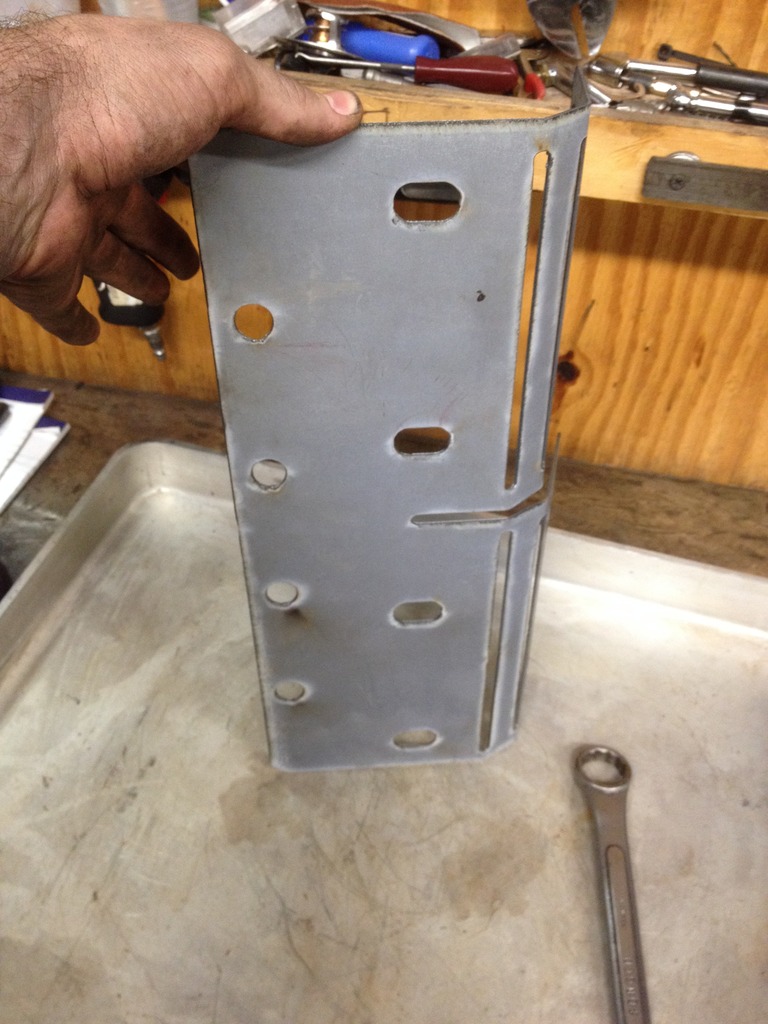
And since I like it, I went for overkill. These 4 holes on the side will be for 4 7/8"x.120" DOM sleeves that will pass horizontally through the frame and 5/8" bolts pinching through them.
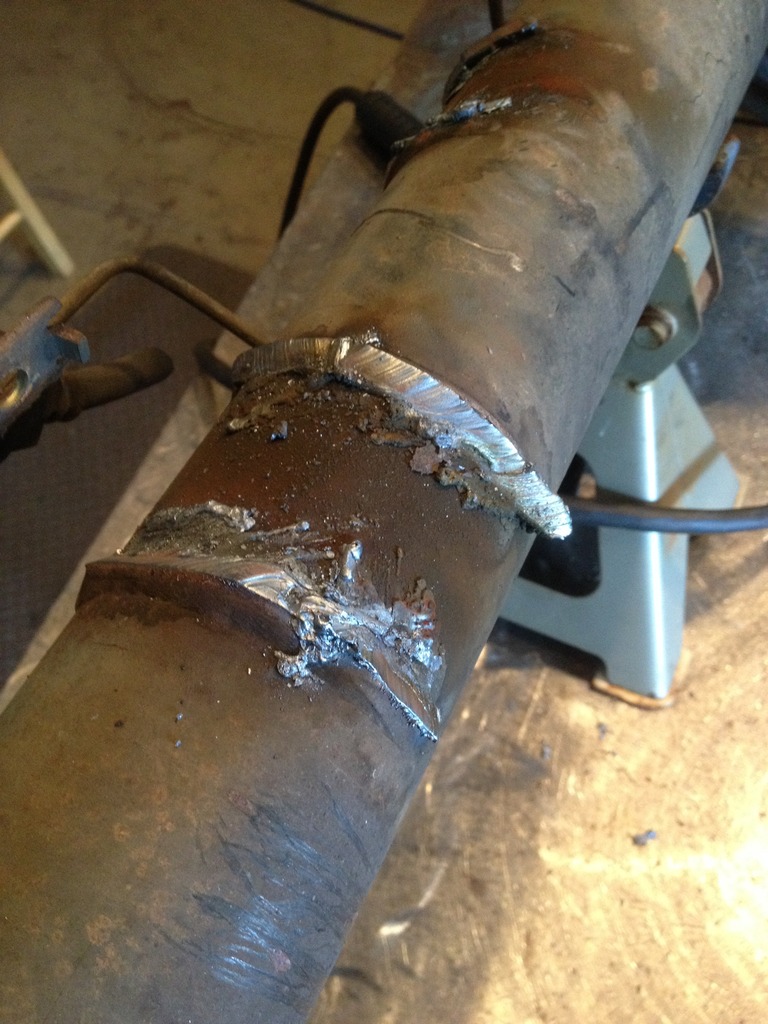
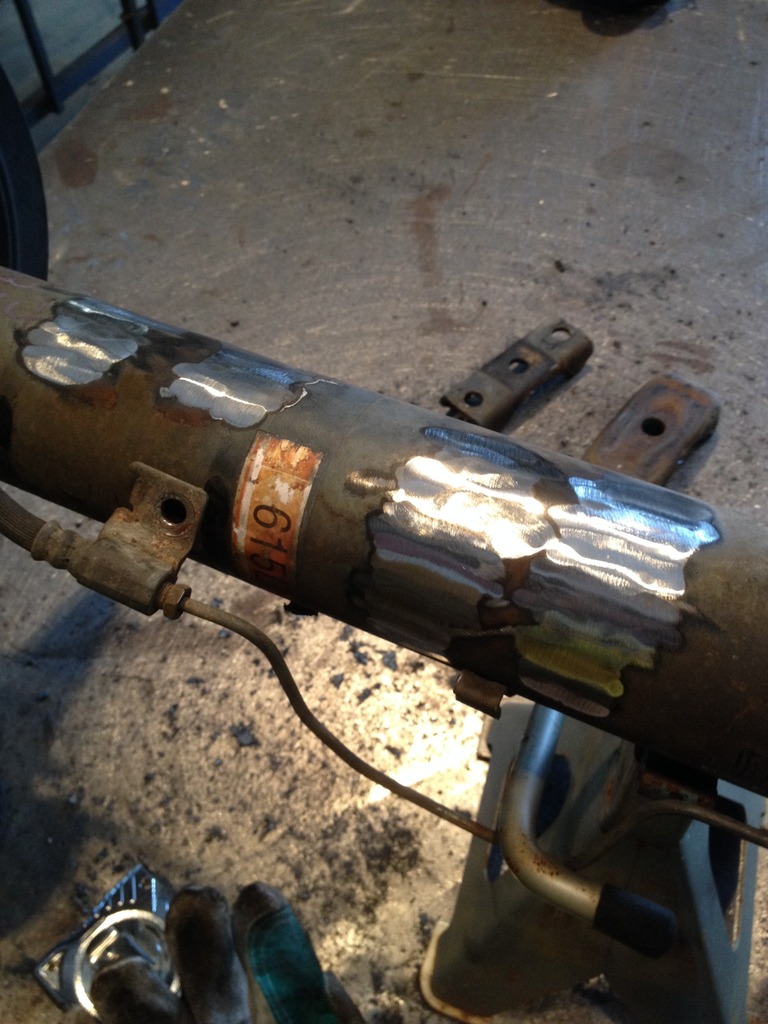
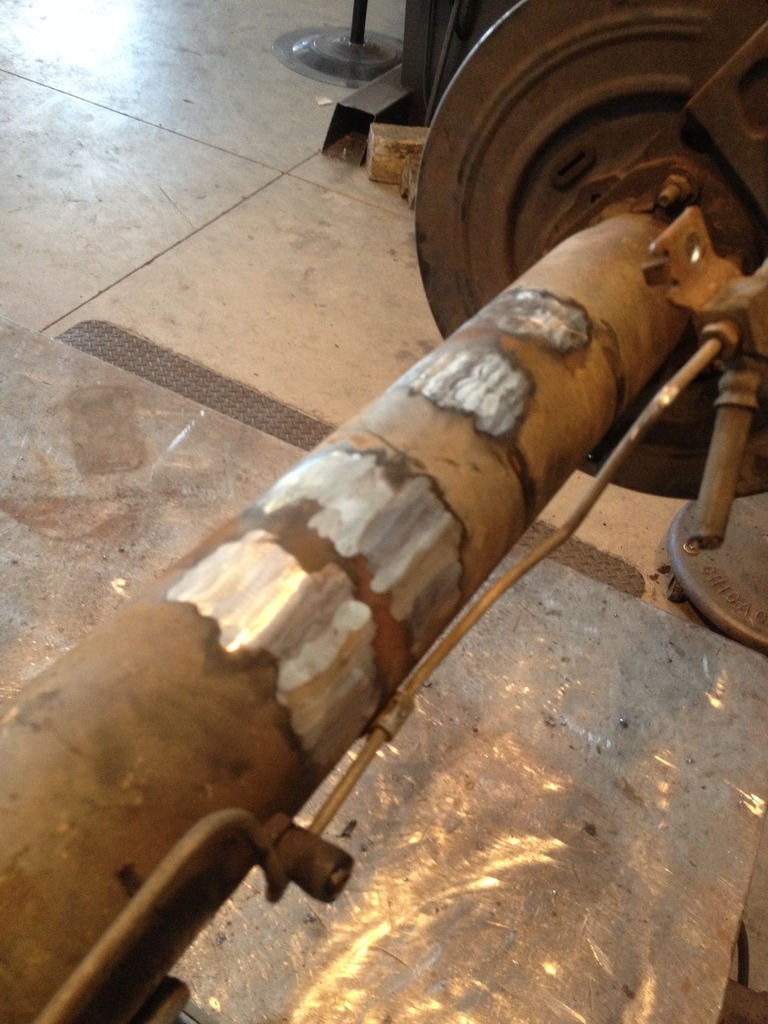
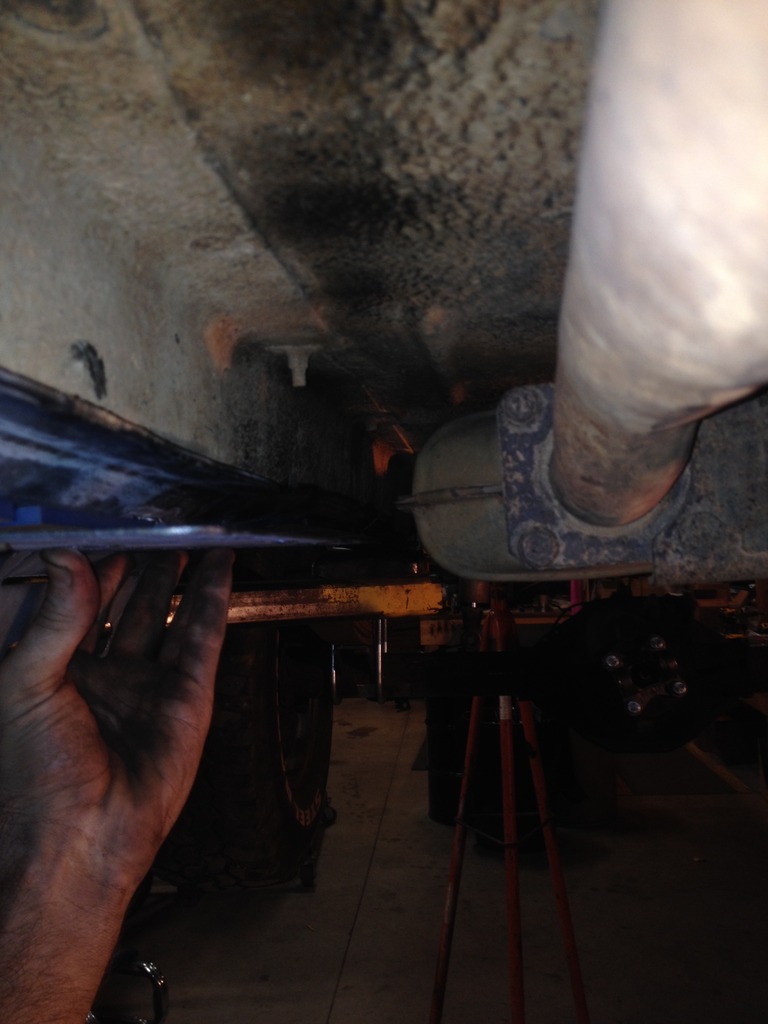
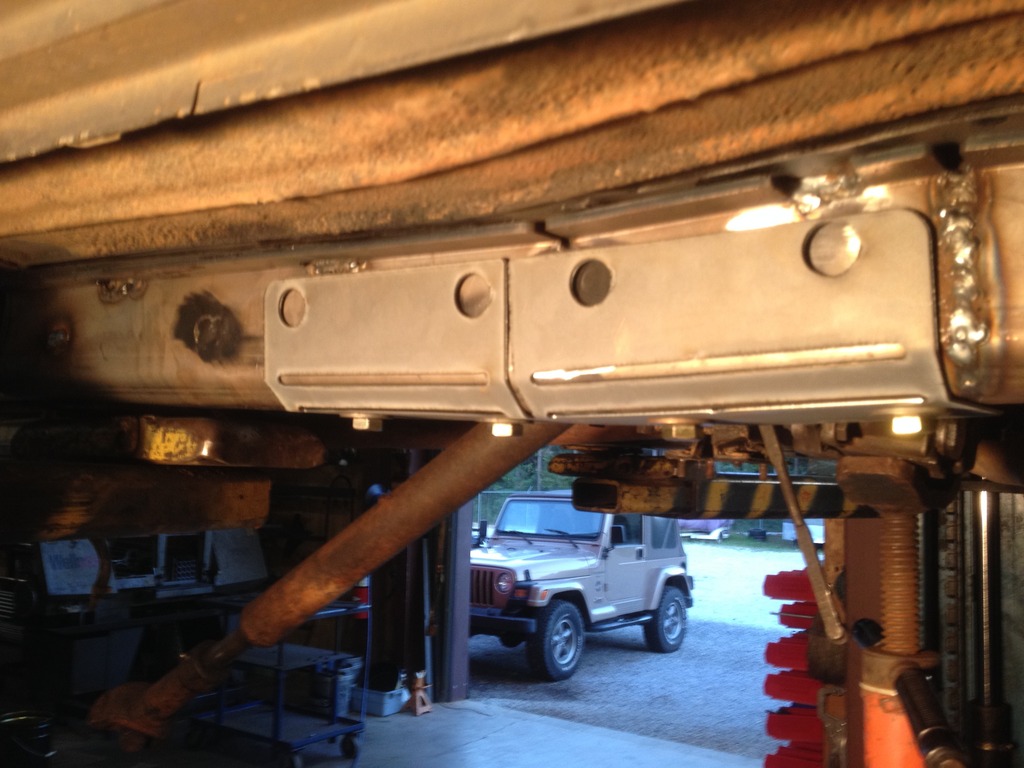
Exhaust clearances...
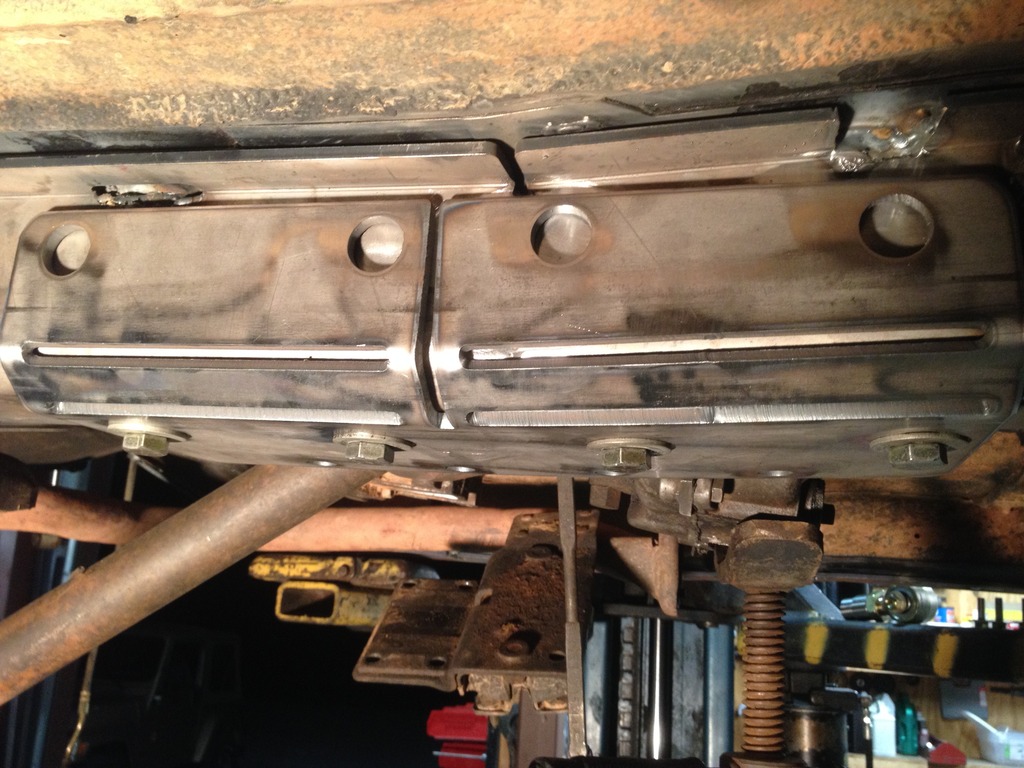
Driver's side bolted in
Some more stiffener welding and the side shot bolted up.
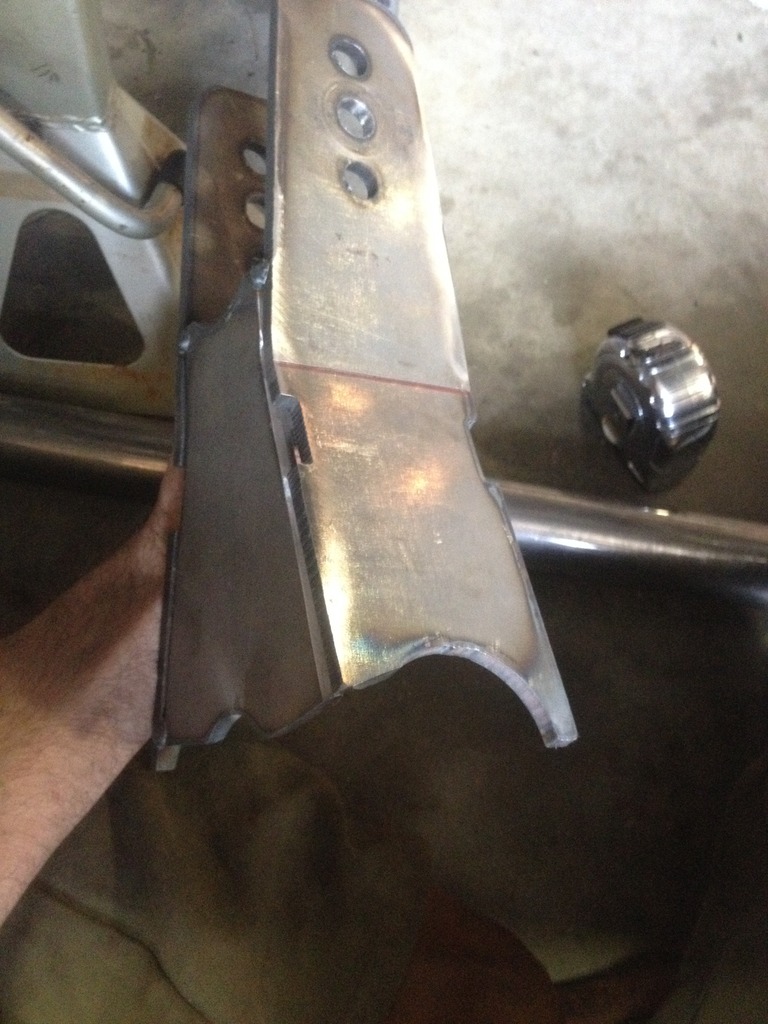
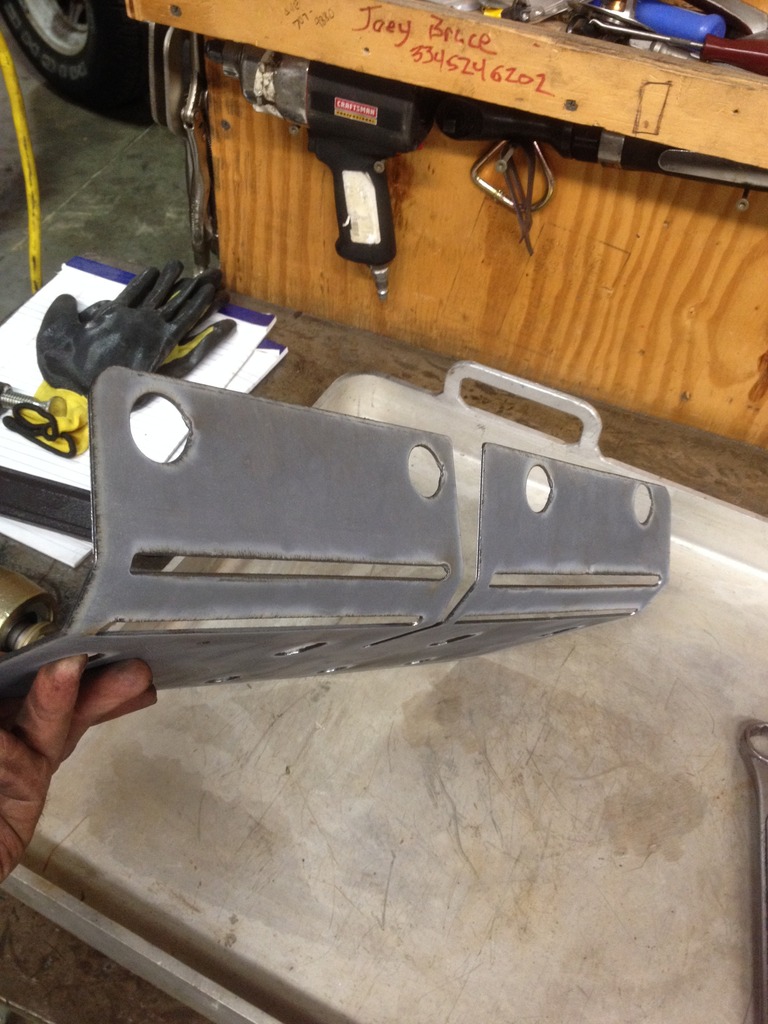
Once I tweaked and confirmed the final design, I cut the real things.

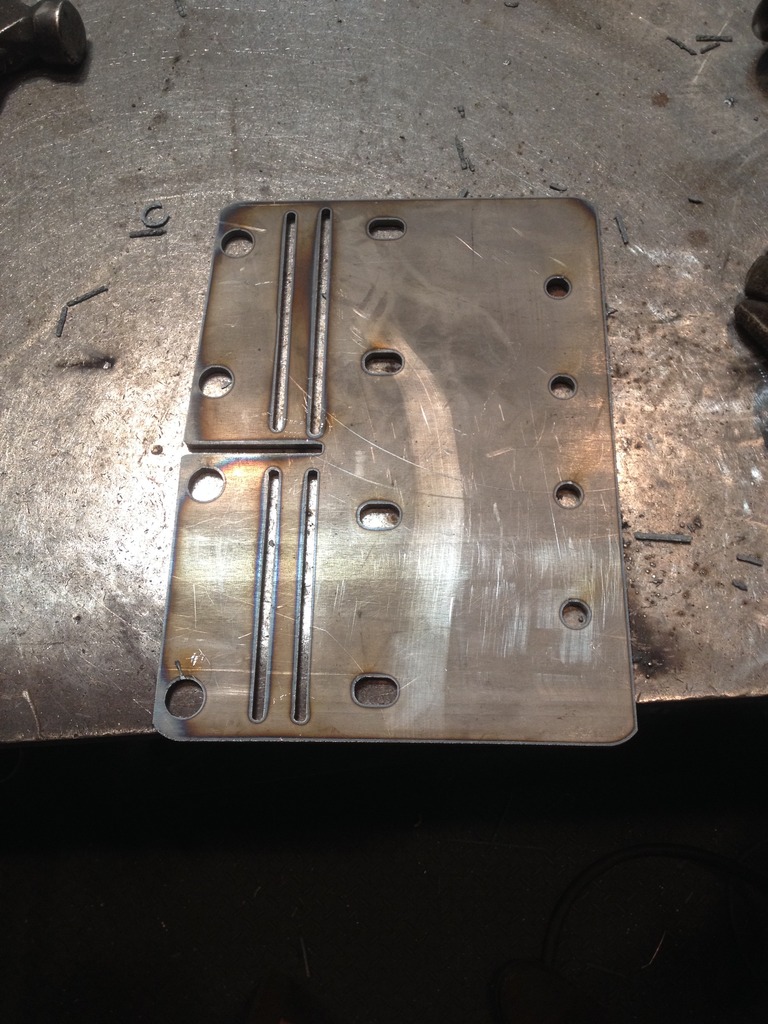
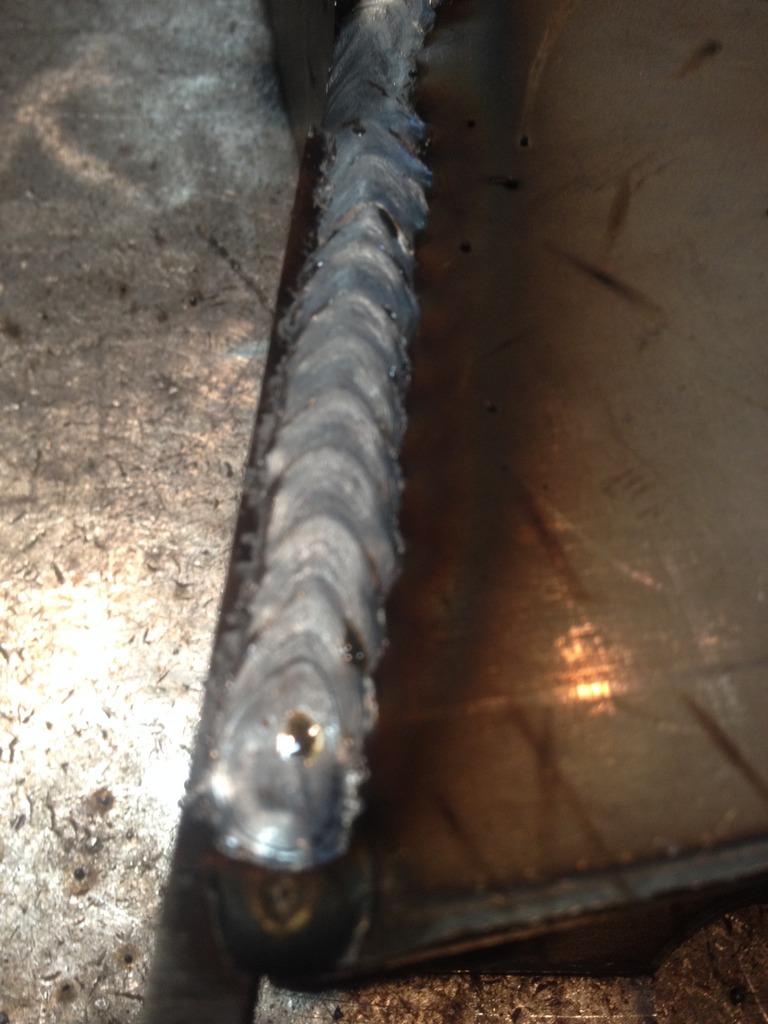
Welded up all the seams

And since I like it, I went for overkill. These 4 holes on the side will be for 4 7/8"x.120" DOM sleeves that will pass horizontally through the frame and 5/8" bolts pinching through them.

Exhaust clearances...

Driver's side bolted in

Some more stiffener welding and the side shot bolted up.

Once I tweaked and confirmed the final design, I cut the real things.


Welded up all the seams


Thread Starter
Junior Member
Joined: Mar 2012
Posts: 41
Likes: 0
Year: 1991
Model: Cherokee
Engine: 4.0 HO
Tacked up the lower link brackets
Passenger side with the upper link bracket
Welded some 1/2" bar horizontally across the bracket behind the upper link bracket to help resist bending this elongated edge up during articulation.
Since we are a small shop, we each do it all, but I am the one who generally powdercoats. So, why not powder these brackets. Wrinkle Black for toughness.
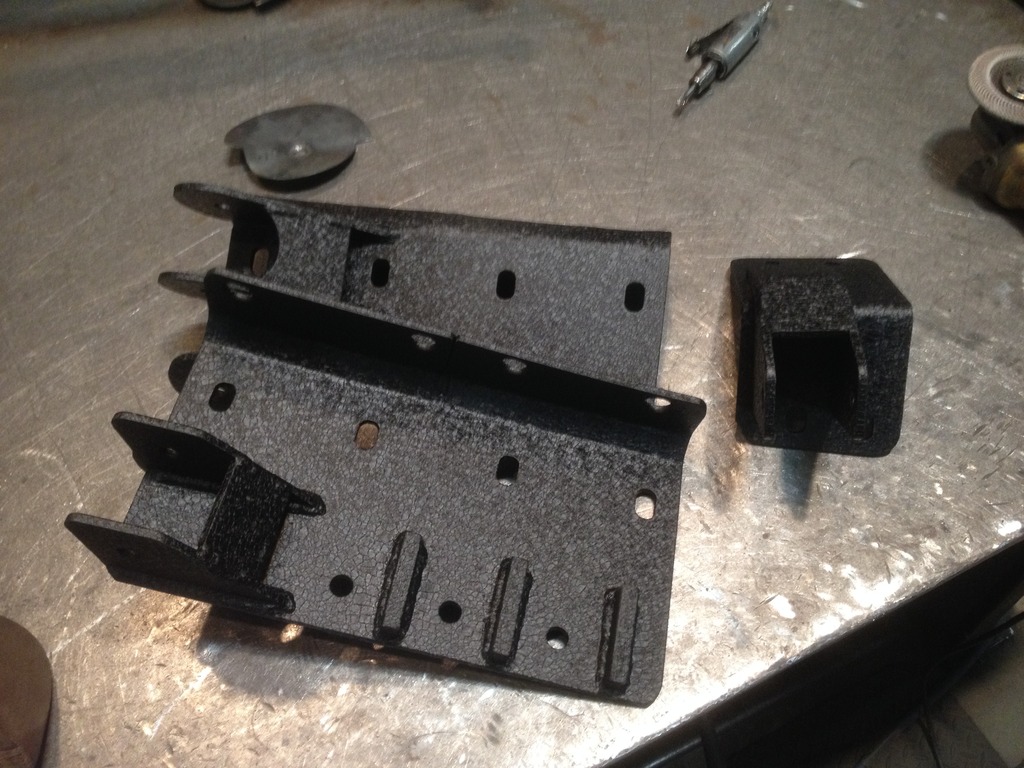


Passenger side with the upper link bracket


Welded some 1/2" bar horizontally across the bracket behind the upper link bracket to help resist bending this elongated edge up during articulation.

Since we are a small shop, we each do it all, but I am the one who generally powdercoats. So, why not powder these brackets. Wrinkle Black for toughness.


Last edited by Caleb9107; Dec 12, 2016 at 02:32 AM.