When you click on links to various merchants on this site and make a purchase, this can result in this site earning a commission. Affiliate programs and affiliations include, but are not limited to, the eBay Partner Network.
It’s probably about time to finally get around to doing our own build thread. I’ll come back through it in the coming days and add details here & there as they come to mind and/or when I get time & better pics. I've added links in bold to as much as possible (if the link isn't in bold, your browser added it--not me), which hopefully cuts down on you having to search around. This forum continues to be an awesome resource for our build, but searching it gets overwhelming....especially in a time crunch.
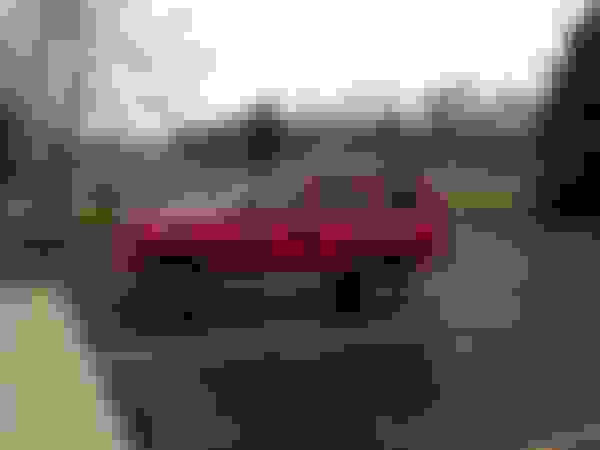
Here’s what our ’99 Classic looked like the day we brought it home in October of 2008. Had 30,000 original miles. All stock…..except for those sexy running boards!
As of 1/19/2015
The name? "Bubby" is one of the many nicknames I've given my daughter over the years.
Before the spring of '15, it will have rock sliders and a TC skid plate, which is needed if we're going to navigate some of the local more aggressive moderate trails without shredding the rockers & knocking out the TC. If I get ambitious this winter, I might pick up an 8.8 and start tinkering with it. Lockers sometime soon would be nice, but have to be conscious of the budget. Diff covers too at some point in the near future. The downside of this forum is I read & stare at your rigs, making me want all this stuff & upgrades NOW!
After a handful of years being an extra family vehicle, our daughter wanted a genuine, off-road Jeep. She initially wanted a Wrangler, but we talked her into the family XJ. As her first car, we wanted to do it right. My dad agreed and joined in the project with me by investing in the RE 3.5 lift, which we bought from Serious Offroad Products.
Snapped these night of 12/2/14. Gotta love Midwest, Rustbelt living!
A guy on the last run said the brace makes a huge difference with the XJ. I can't judge since I've never trailed without it. Hoping others might chime in with their thoughts.
All of the above mentioned parts were delivered to a shop I trust in Rockford, IL to be professionally installed. <<<GASP>>>> Yes, I paid someone to do the work, which is sacrilegious to some of you, but I wanted to be certain it was done right. While it was in the shop, I had them go through it from front to back fixing all the little things I kept procrastinating about. Here’'s what it looked like when we picked it up.
We drove it this way for nearly a year. Not gonna lie, the tiny tires were embarrassing at times. Thankfully, our son was driving it most of the time back then since our daughter was still on a drivers permit. He kept complaining about the small tires, but it didn't stop him from driving it instead of his own car. Hmmmm.
Here it is with the new shoes! We had already pulled the front bumper end caps and inner fender wells, so I don’t honestly know if it would’ve rubbed. We did have to trim a little at the bottom of the front quarters for clearance at full lock.
I scoured various boards, trying to decide on a good exhaust setup. A common theme surfaced…..Performance Curve should be who we buy it from, and this setup would fit the bill! So that’s what we did.
After hem & hawing about trimming the fender, I finally decided to go for it. Bought an angle grinder & supplies and dived in. Followed the advice of several threads. My advice if you want to go this route is to do a lot of research first. I ultimately decided to not fold the front and go more extreme. Fender rigidity isn’t that important for us at the front as it’s purely an around-town DD/trail rig.
After cleaning up the edges, spraying rust proofing & undercoating, I covered up the edges with this stuff that I picked up at AutoZone.
Right after all of the cutting/folding/painting/blah-blah, we joined MidwestJeepThing and went on our first trail run! Daughter was SOOOOOOO excited to finally get her rig on a trail.
Here’s us learning the ropes.
Our XJ did awesome for its first time out, especially considering stock diffs.
After the first run, we decided to go with a ZJ tie rod. Literally a direct swap. For those other newbies out there, here are some Q&A's I found useful:
- Tools: 3/8" ratchet, Pitman/TR 1 5/16" opening (<$20 at most auto parts stores), and maybe a TR separator....although I have yet to need it on the two XJ TR swaps I've done so far, Seafoam Deep Creep
- Check your local junkyards for 93-98 V8 ZJ's and snag a TR or two (don't bother with the ZJ drag link since it's the same as the XJ's)
- It's a lot easier if you take the driver's side wheel off to fit the puller on the TRE
- Adjust the ZJ TRE so the overall TR length is close to the XJ TR you pulled off
- Once the ZJ TR is installed, tire back on and XJ off the jack, you can do a driveway alignment to get it close. Here's what I did after doing some Googling. Measure 10" up from the floor on the inside front & back side walls of the front tires and made marks with a Sharpie. (stay off the raised lettering) Then measure the distances of both, and turn the turnbuckle until the distances are as close to the same as possible. It's by no means a perfect method, but I was able to get within a 1/16" and our XJ drives straight as an arrow.
- The steering wheel may be off some, but that's a quick & easy adjustment of the drag link
- I bought Energy Suspension 9.13101 TRE dust boots from Aftermarket Suspension Parts. Cheap and gets the job done.
With all that trimming, the inner fender windshield washer fluid bottle had to go. I searched boards and found a setup I liked, but it proved to be more of a challenge to find than I thought it would be. I finally found it while strolling through a local JY.
Only one pump, so nothing for the rear glass unless I run a T, but then the back would wash with the front every time. Hardly ever used the back washer anyway, and the rear wiper is presently locked up. In other words, not needed! Took more time than I thought it would.....only because it's a bit tedious coming back up through the harness to get the wiring & washer fluid lines out. Now I just need to find a cap for this new bottle.