If you haven't put in the floor pan yet can you do me a favor?
Where the rear diff breather hose attaches to that white nipple on the outside of the uni-body.
Could you post a shot of what is inside the uni-body on the other side?
If you haven't put in the floor pan yet can you do me a favor?
Where the rear diff breather hose attaches to that white nipple on the outside of the uni-body.
Could you post a shot of what is inside the uni-body on the other side?
Already entertained your request once. Do you think it changed from two weeks ago when you asked me the same thing?
Already entertained your request once. Do you think it changed from two weeks ago when you asked me the same thing?
My fault. I am sorry.
I did not realize it was you that I asked.
But I did research that a little more and came with something that does make me think there is a hose in there.
I looked at the parts diagram in fuel section of my '00 parts catalog.
And it show a hose running up with the fill hose with a breather at the end just like the front diff uses.
Again sorry about that.
I was being a little harsh. no worries. I thought you were trolling me.
No problem. I should have remembered I already asked you.
This is the diagram in my '00 parts catalog that makes me think what I think.
Part #'s 7, 8, and 12.
Fitted and spot welded the rear floor in along with the side panels. Capped the holes from where I bobbed the back. Next is to treat with OSPHO and seam seal. Don�t know if I want to just paint or use some sort of rhino lining.
Used a block tester kit to check for a bad head/head gasket. Fluid turned yellow once the thermostat opened up and allowed water to flow from the engine block.
Pulled the oil cap and didn�t see coolant or a crack in the head. Haven�t ran the heep long enough to know if it overheats, burns coolant or coolant in the oil. Oil pressures good at hot idle.
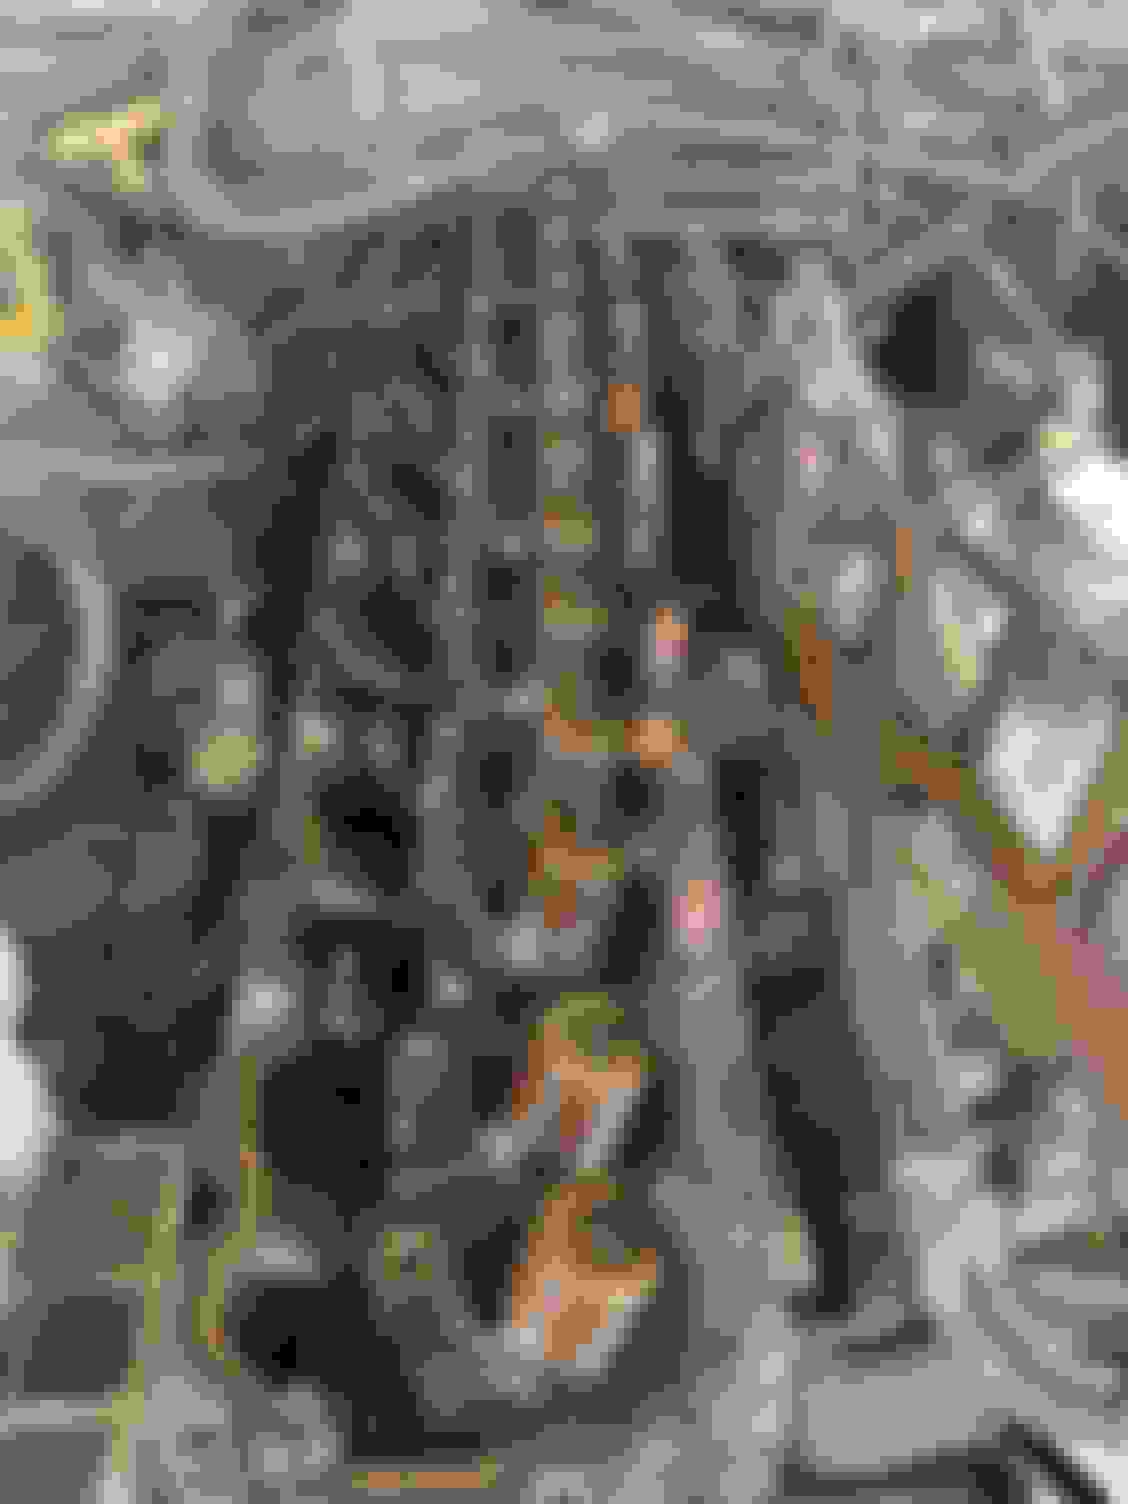
Decided to pull the head off. PO had had the head gasket replaced sometime in the past. Apparently who ever did it didn�t know to leave the rear head bolt in to pull it out since they used a hammer to beat the firewall in. Broke head bolts loose with a 3/8 ratchet and small cheater pipe. Don�t think the bolts were torqued properly. Based off the head gasket, I don�t think they had the head decked prior to installing.
Spark plugs looked great. Decided to have it pressure checked. Pressure checked good so it shouldn�t be cracked. Valves looked fine. Decided not to rebuild since it ran great. Head was bowed in the middle which explains the head side of the gasket. They took .010 off to make it flat.
Ordered bolts and gaskets today.
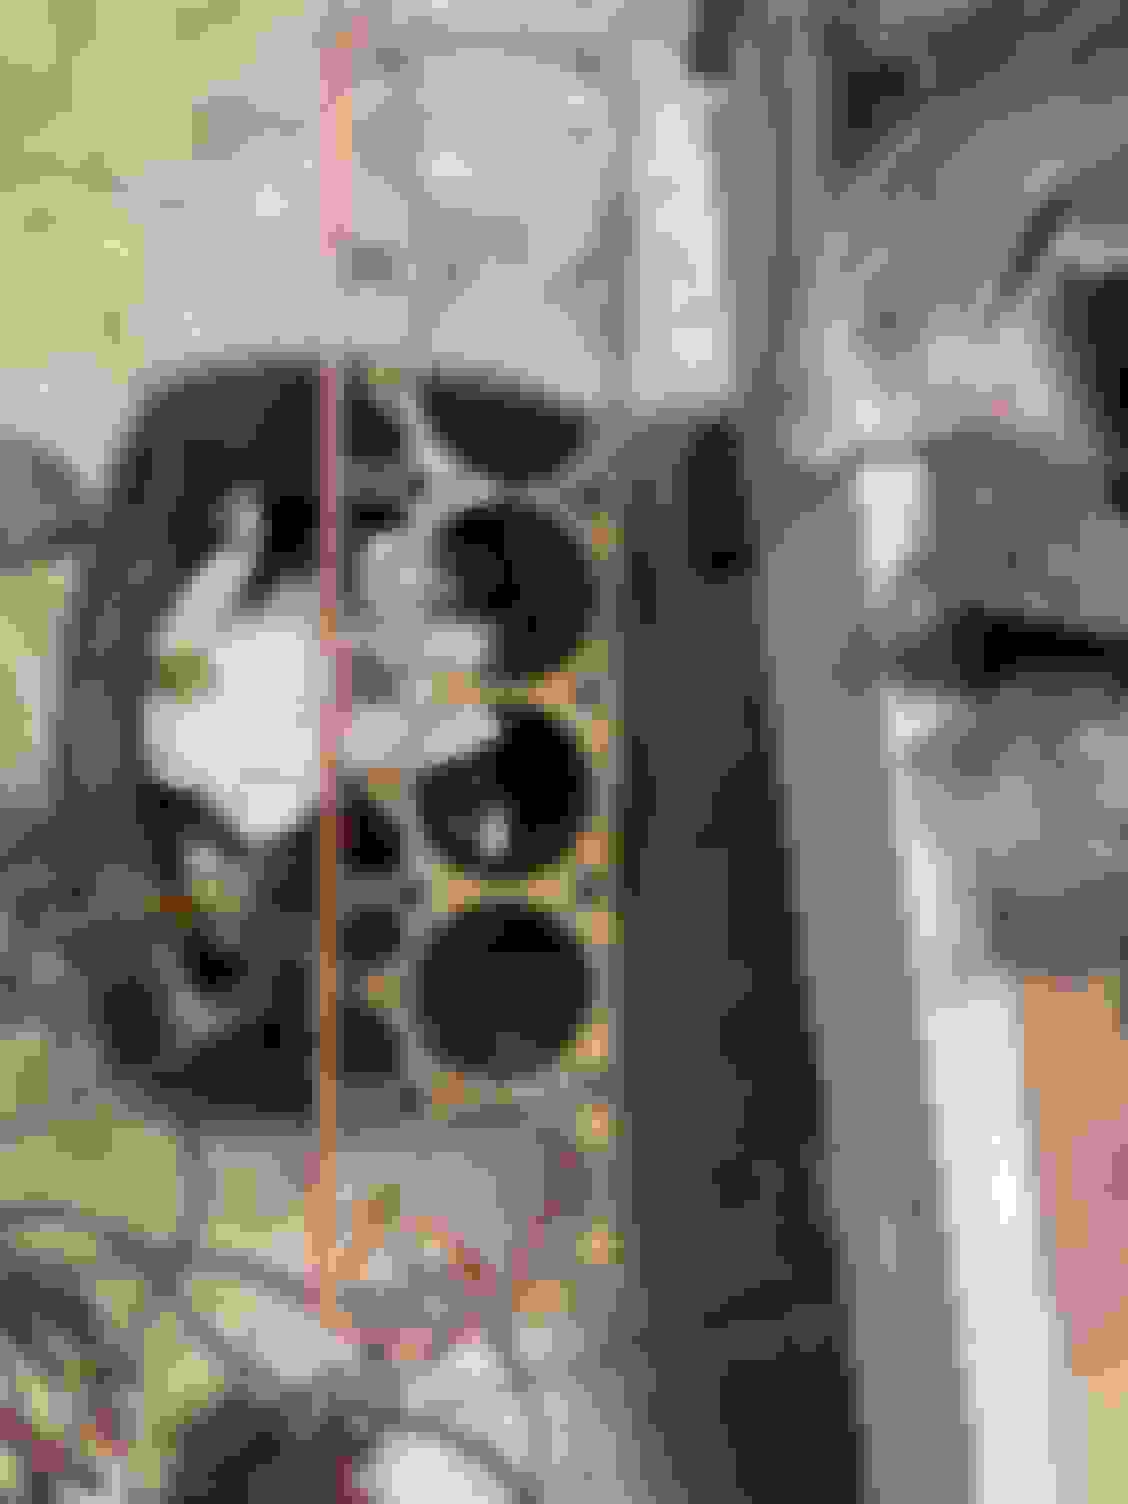
Plan to replace water pump, hoses, thermostat, radiator cap, e fan, fan clutch, plugs, belt and idler pulley during assembly. Flush radiator, change oil and then let her eat. Head side of the gasket. You can see where it had water between 2,3,4. Like the head was bowed. Block side. Looks like it sealed good.
Got the head back on and everything buttoned up. Changed all the cooling components; both fans, hoses, water pump, Tstat. Flushed radiator with cleaner and no thermostat. Added 195 molar Tstat. New coolant. New plugs. New oil. Runs great. Holds solid at 210. Oil pressure at temp is between 25-30 psi.
Need to change tranny and tcase oil
Plan to finish cleaning up the back. Going to add a Bimini Top for the �bed�
Weld some door for the back seat area since I cut the seatbelts out.
Back Flushed radiator after running cleaner through it for a few warm up cycles. After hot rodding it through the neighborhood.
Went to navy surplus store and got a shelter half. Already had grommets and buttons for wrapping around the frame and a tap sewed on for the tension strap. It�s like it was made for what I was doing.
welded three chain loops cut to make hooks on she�s done.
floppy on the front but it�s a SXS. It�ll throw shade.
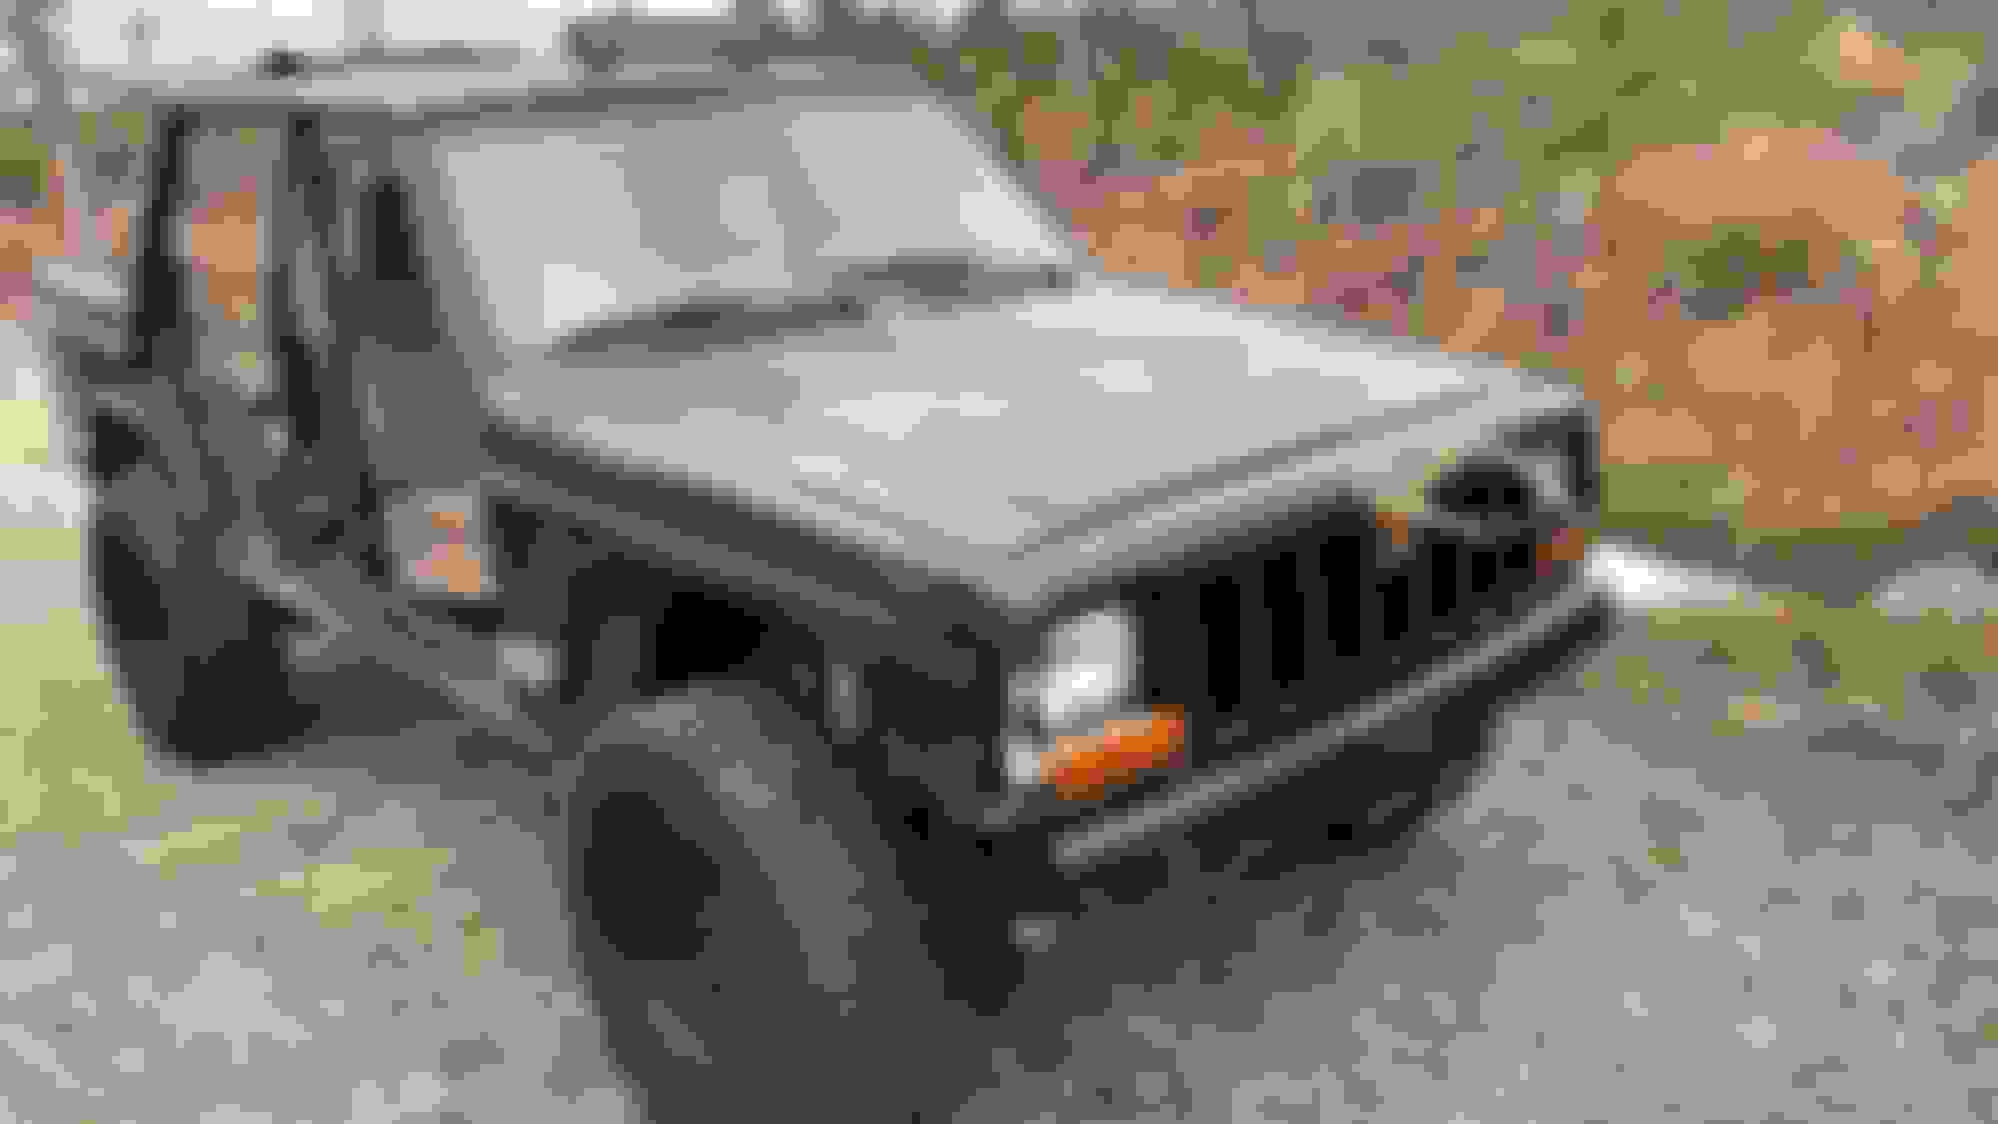
Got it on the property. She works!
I�ll bring it back as needed for maintenance repair. I put her through some **** today sober. When that white light takes over she might not last long though. Nothing but something to do to fix it. Happy!