
2000 Cherokee Sport

Thread Starter
Seasoned Member
Joined: Sep 2011
Posts: 280
Likes: 1
From: Arlington, TN (Memphis area)
Year: 2000
Model: Cherokee
Engine: 242 Power Tech I6 (4.0)
Page 5 pictures have been fixed - (12-1-2016)
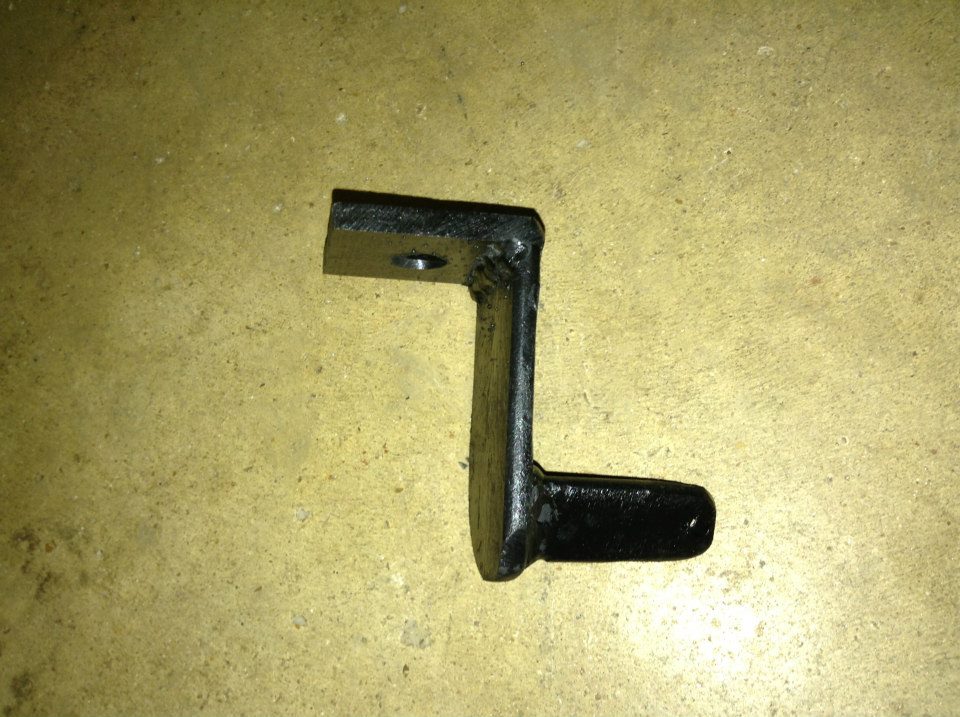
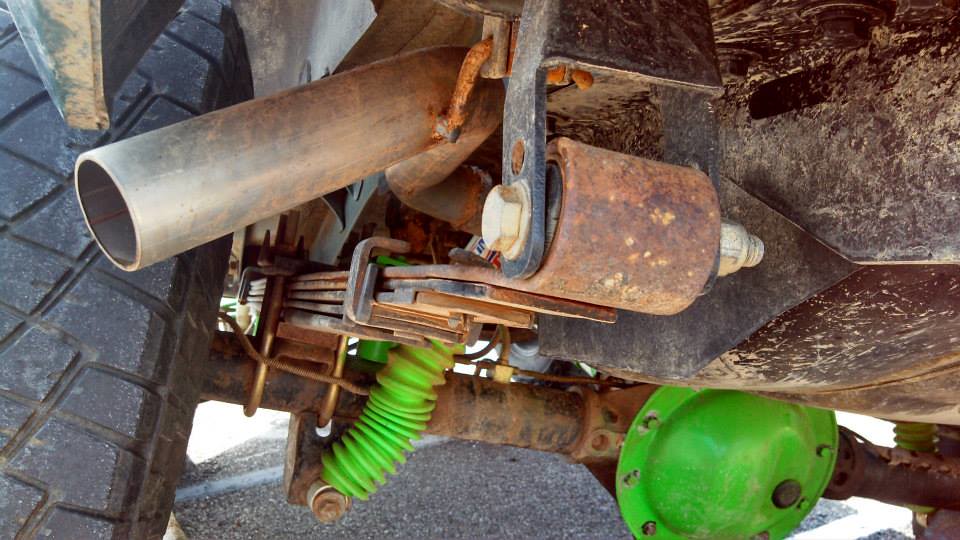
A couple of days ago I also started to work on rear bump stops. I was going to just get some steel and weld them together to make a thick plate that hung off the sides towards the stop like the ones you can buy(The oversized U-bolt plate that hangs over the edge- 11/26/2016), but then I found this one online and decided to copy it. (Used to be available to buy, but I can't find them anymore - 11/26/2016)
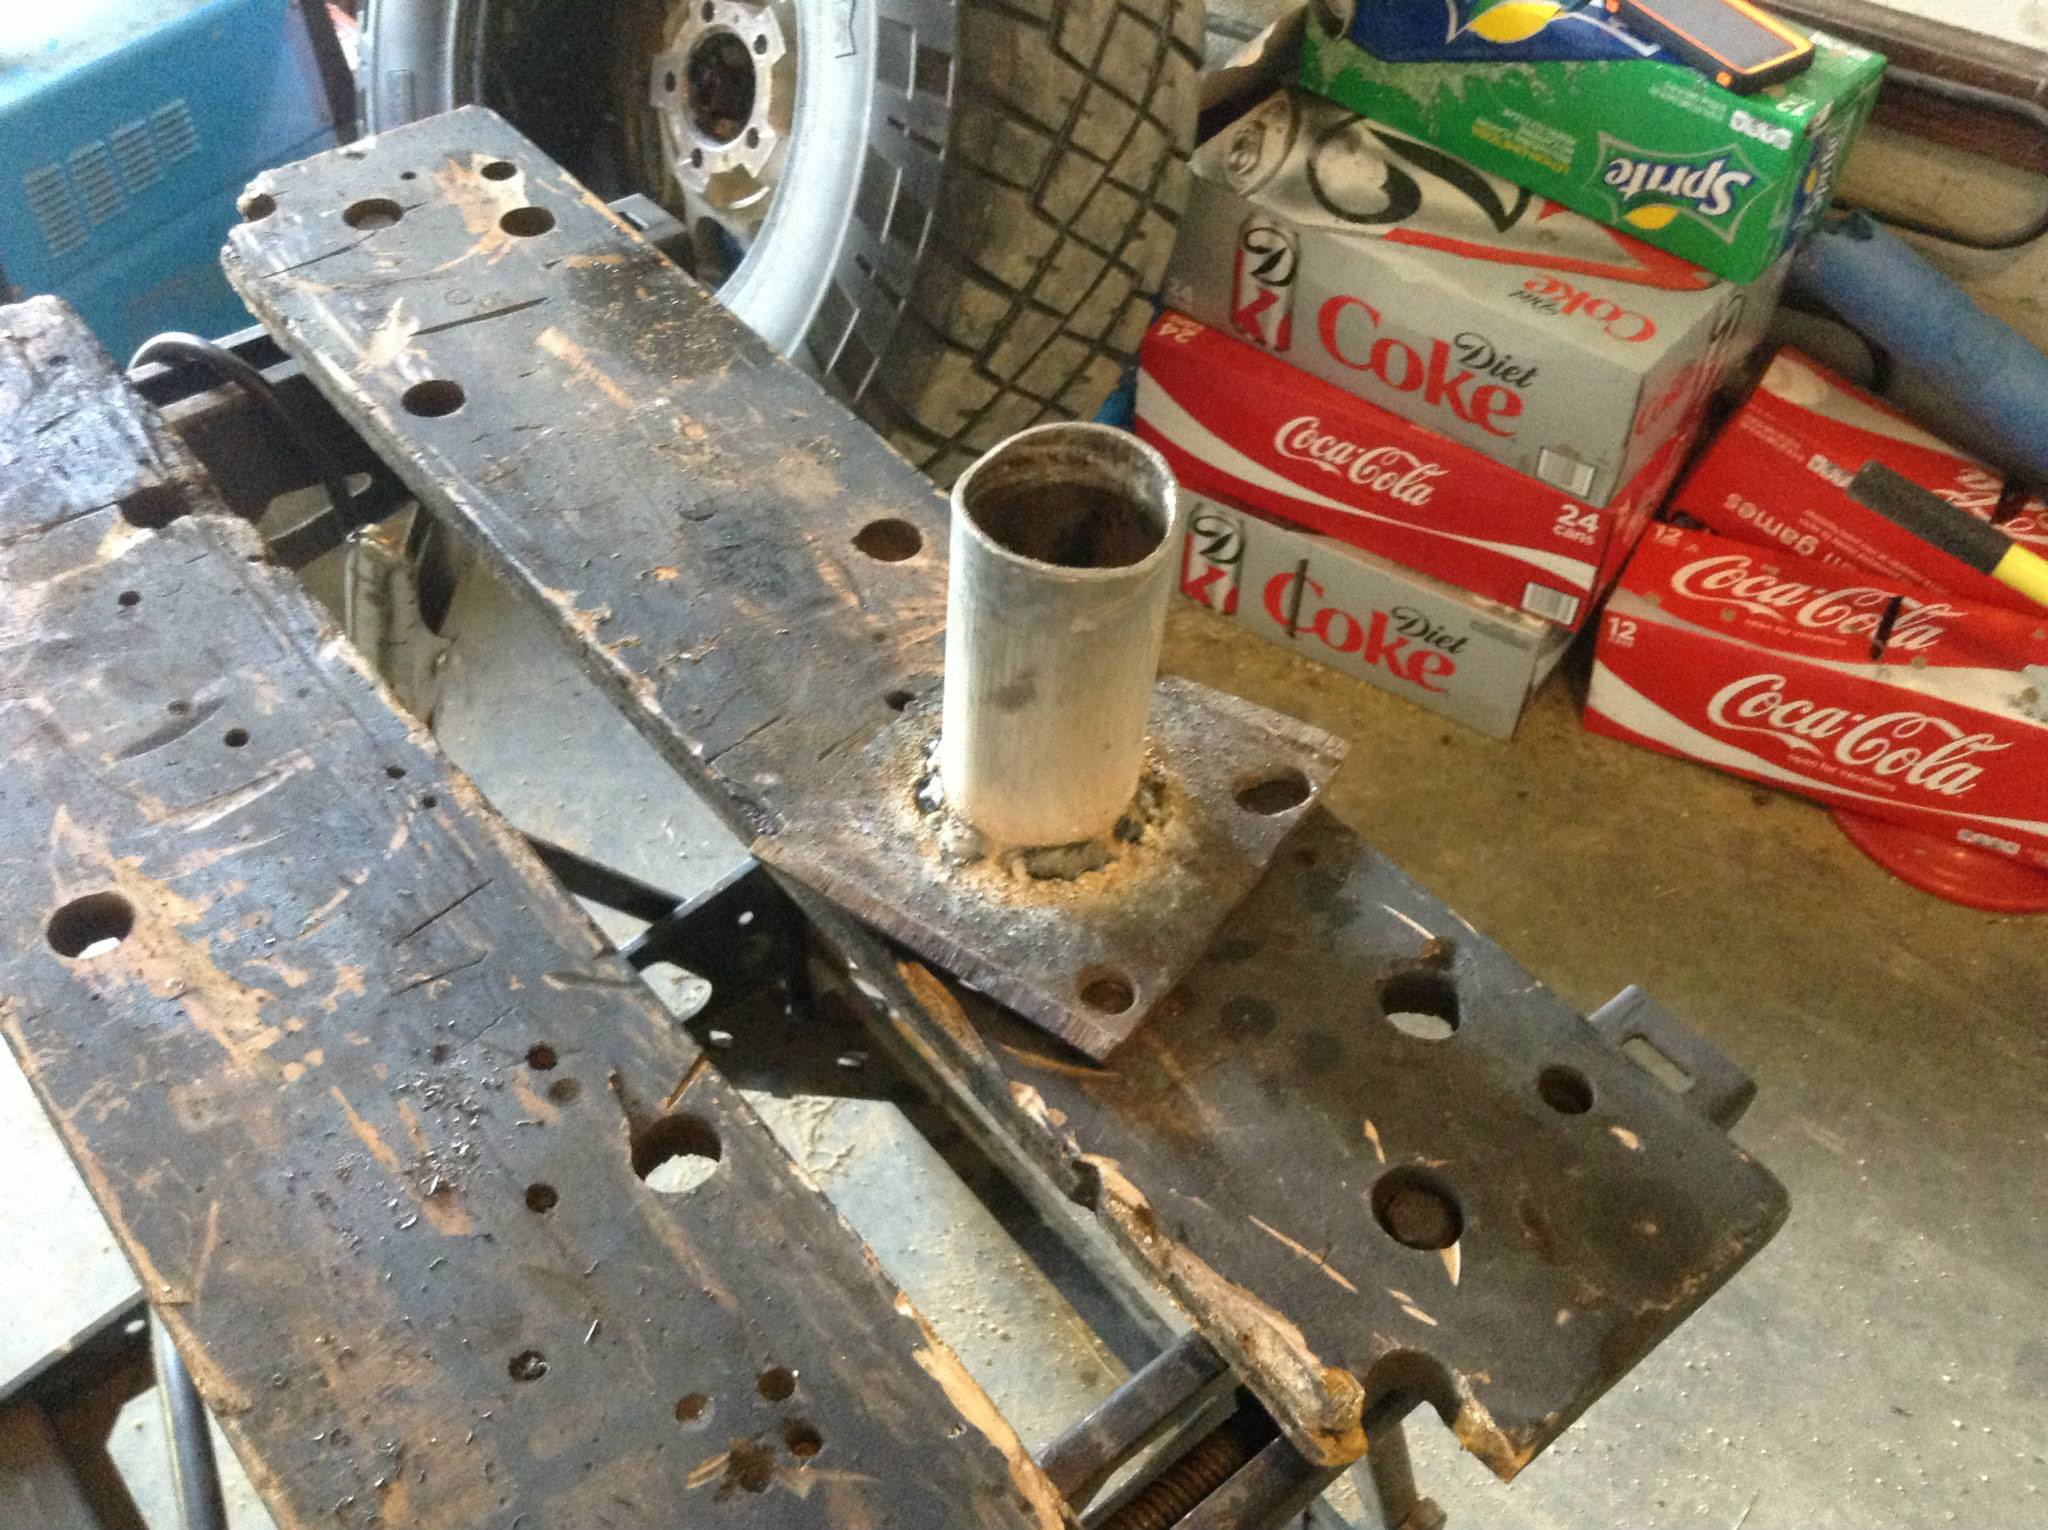
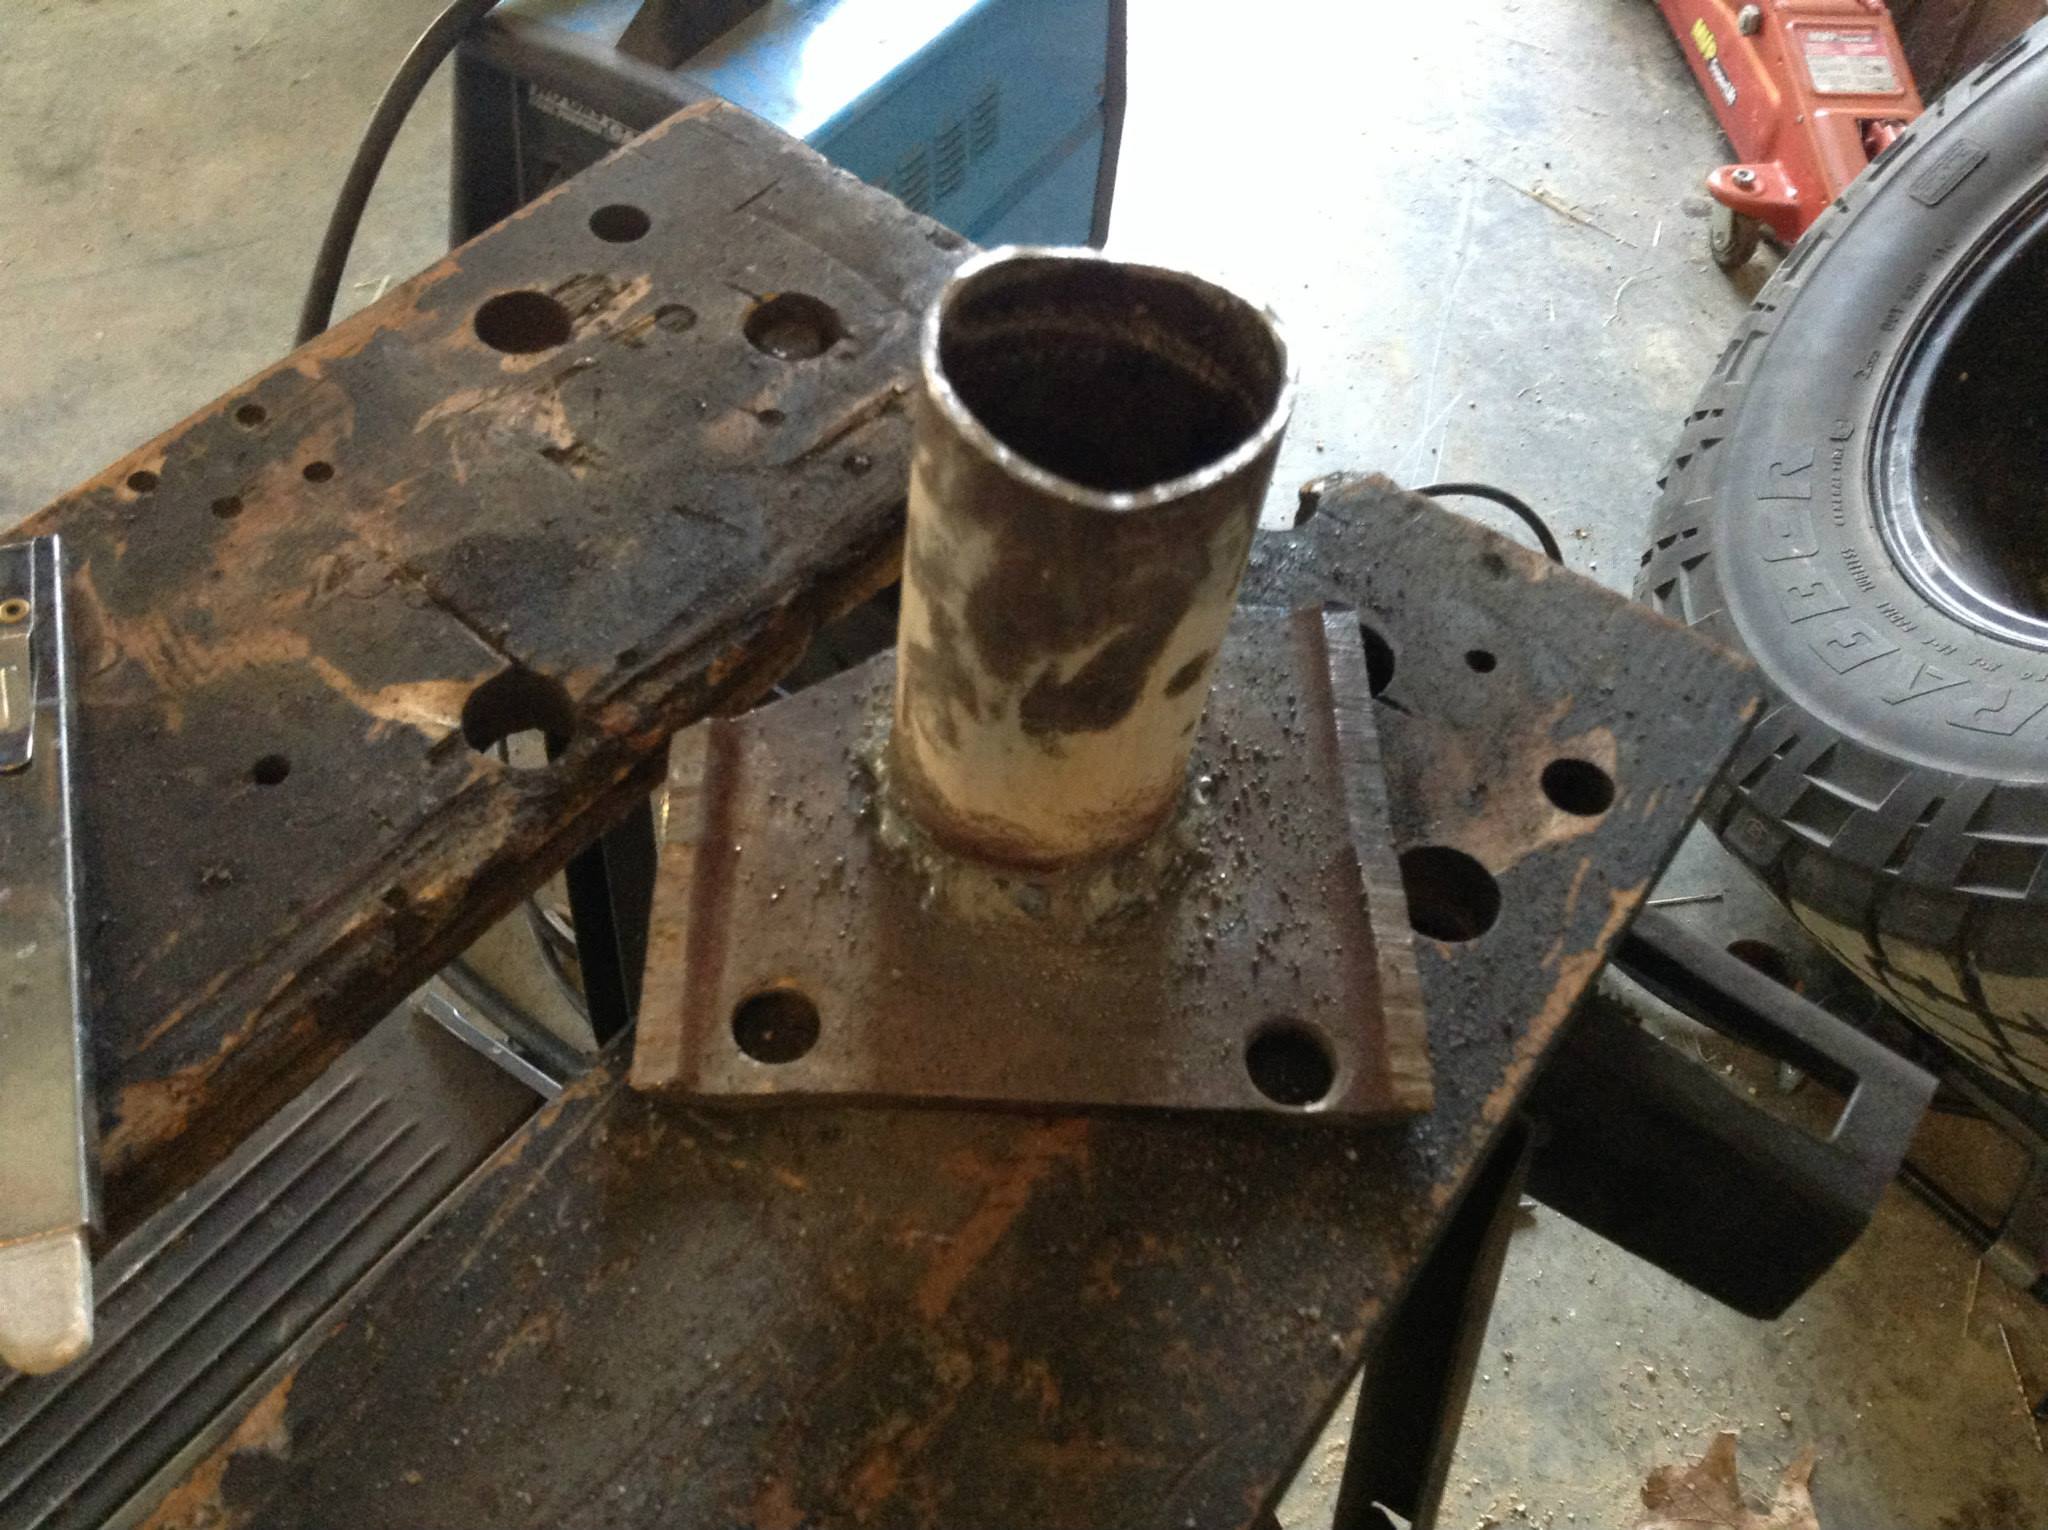
Started out with an old tractor PTO shaft that had twisted and ripped on one side that my dad had keep laying around and used that as the tube that would sit on the axle.
PTO shaft.
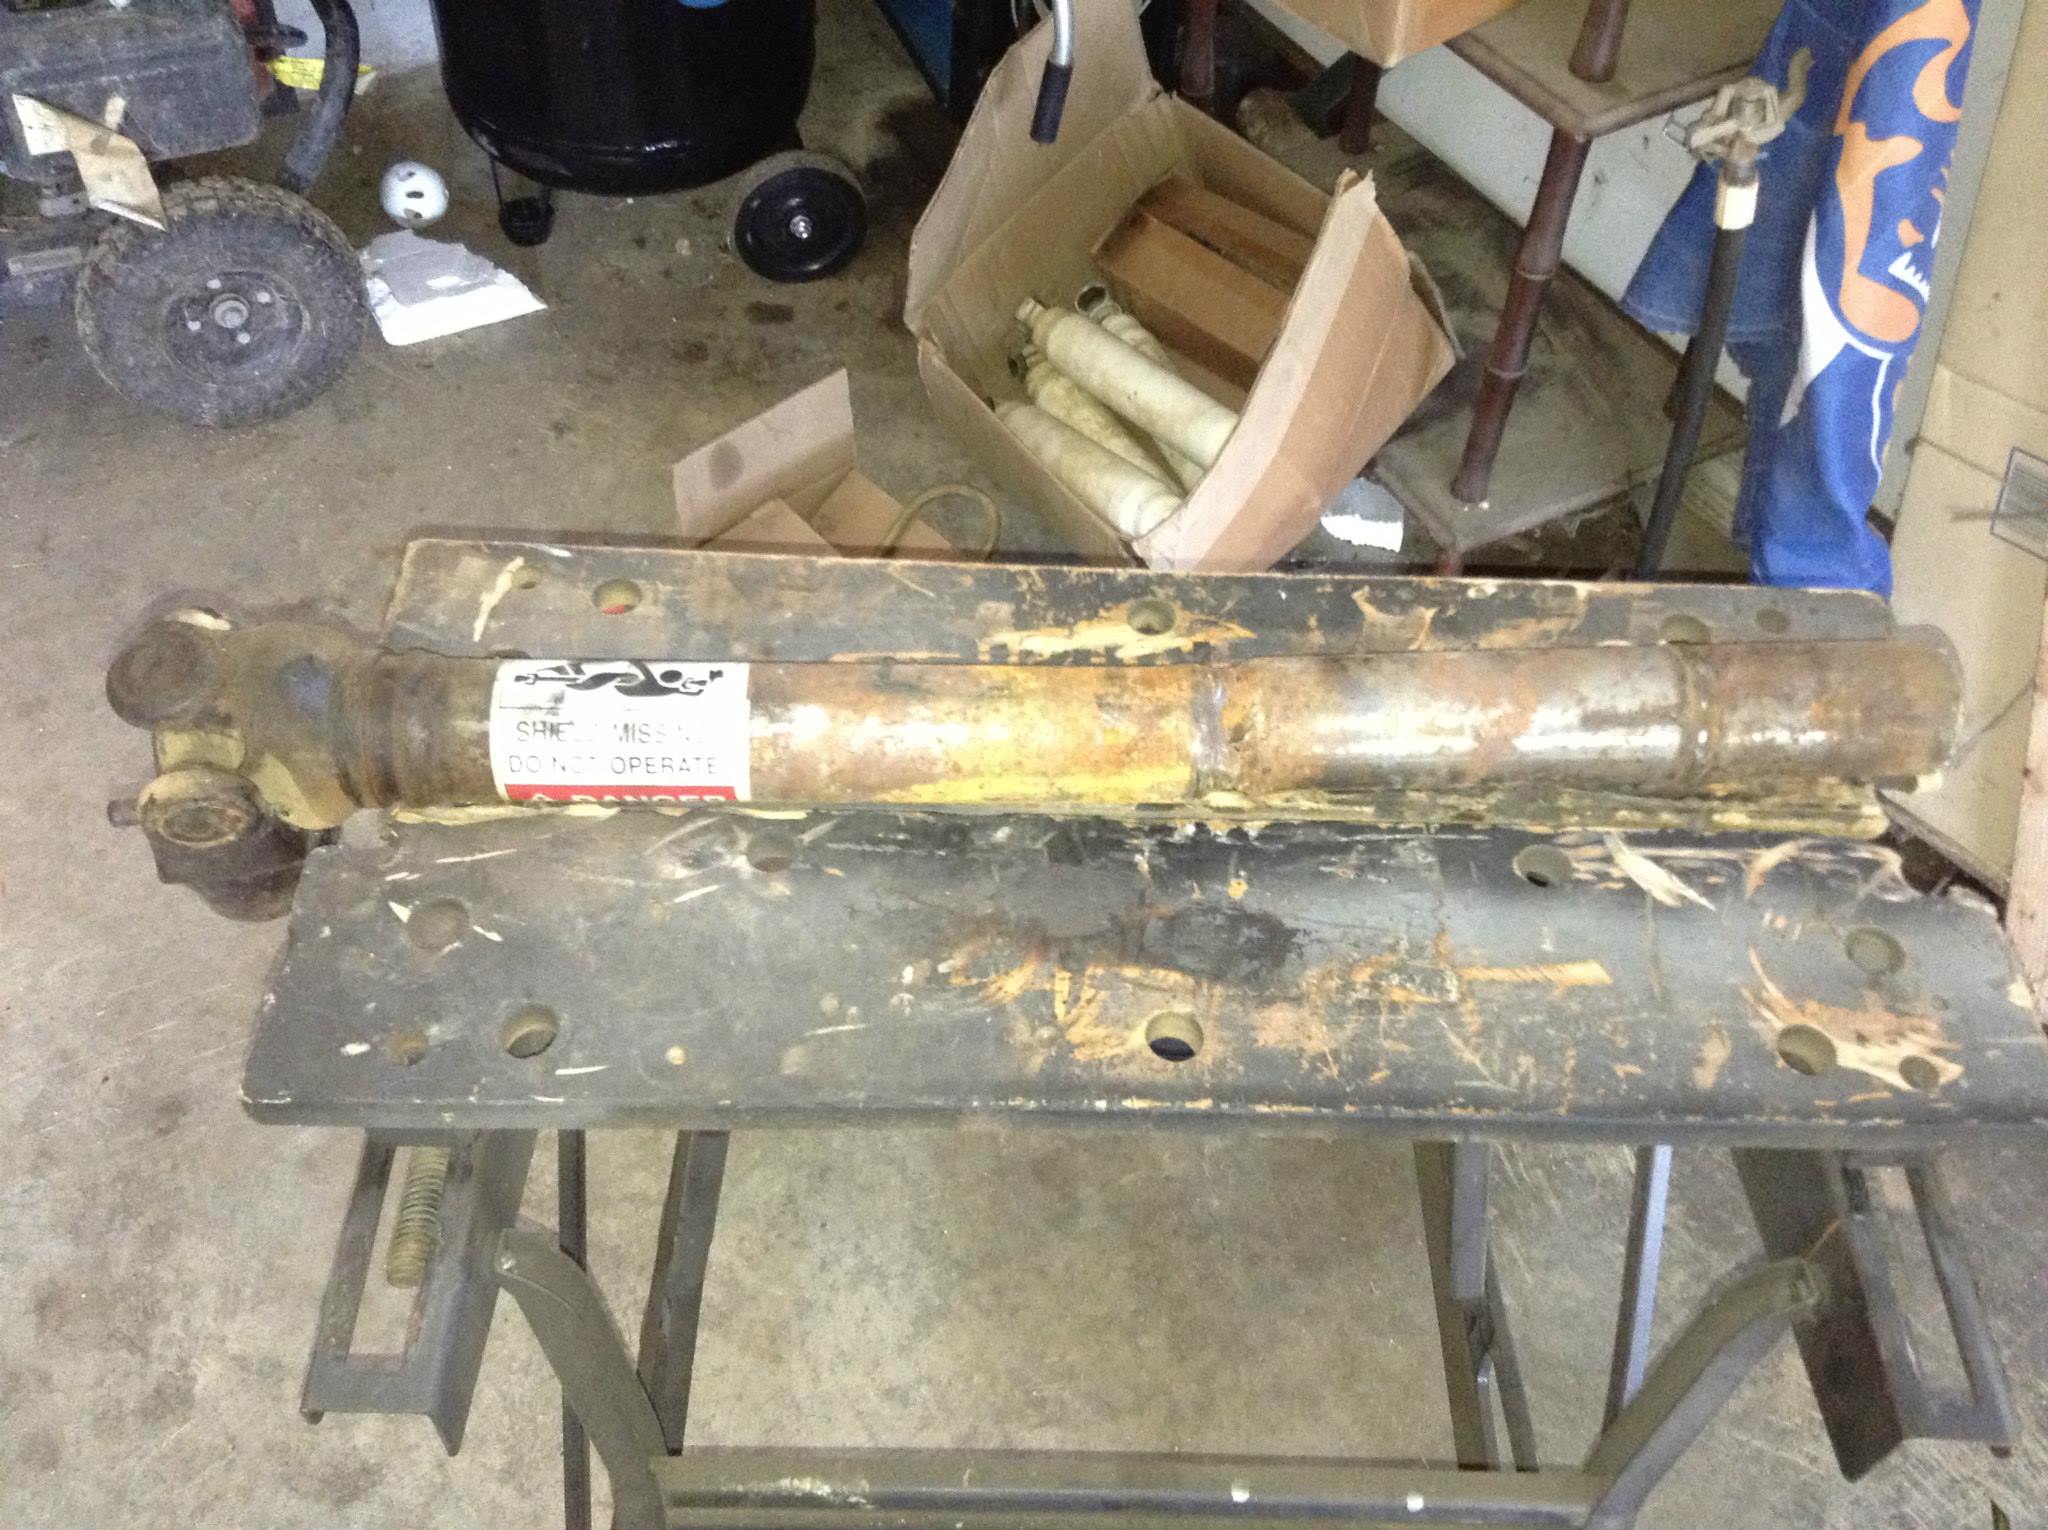
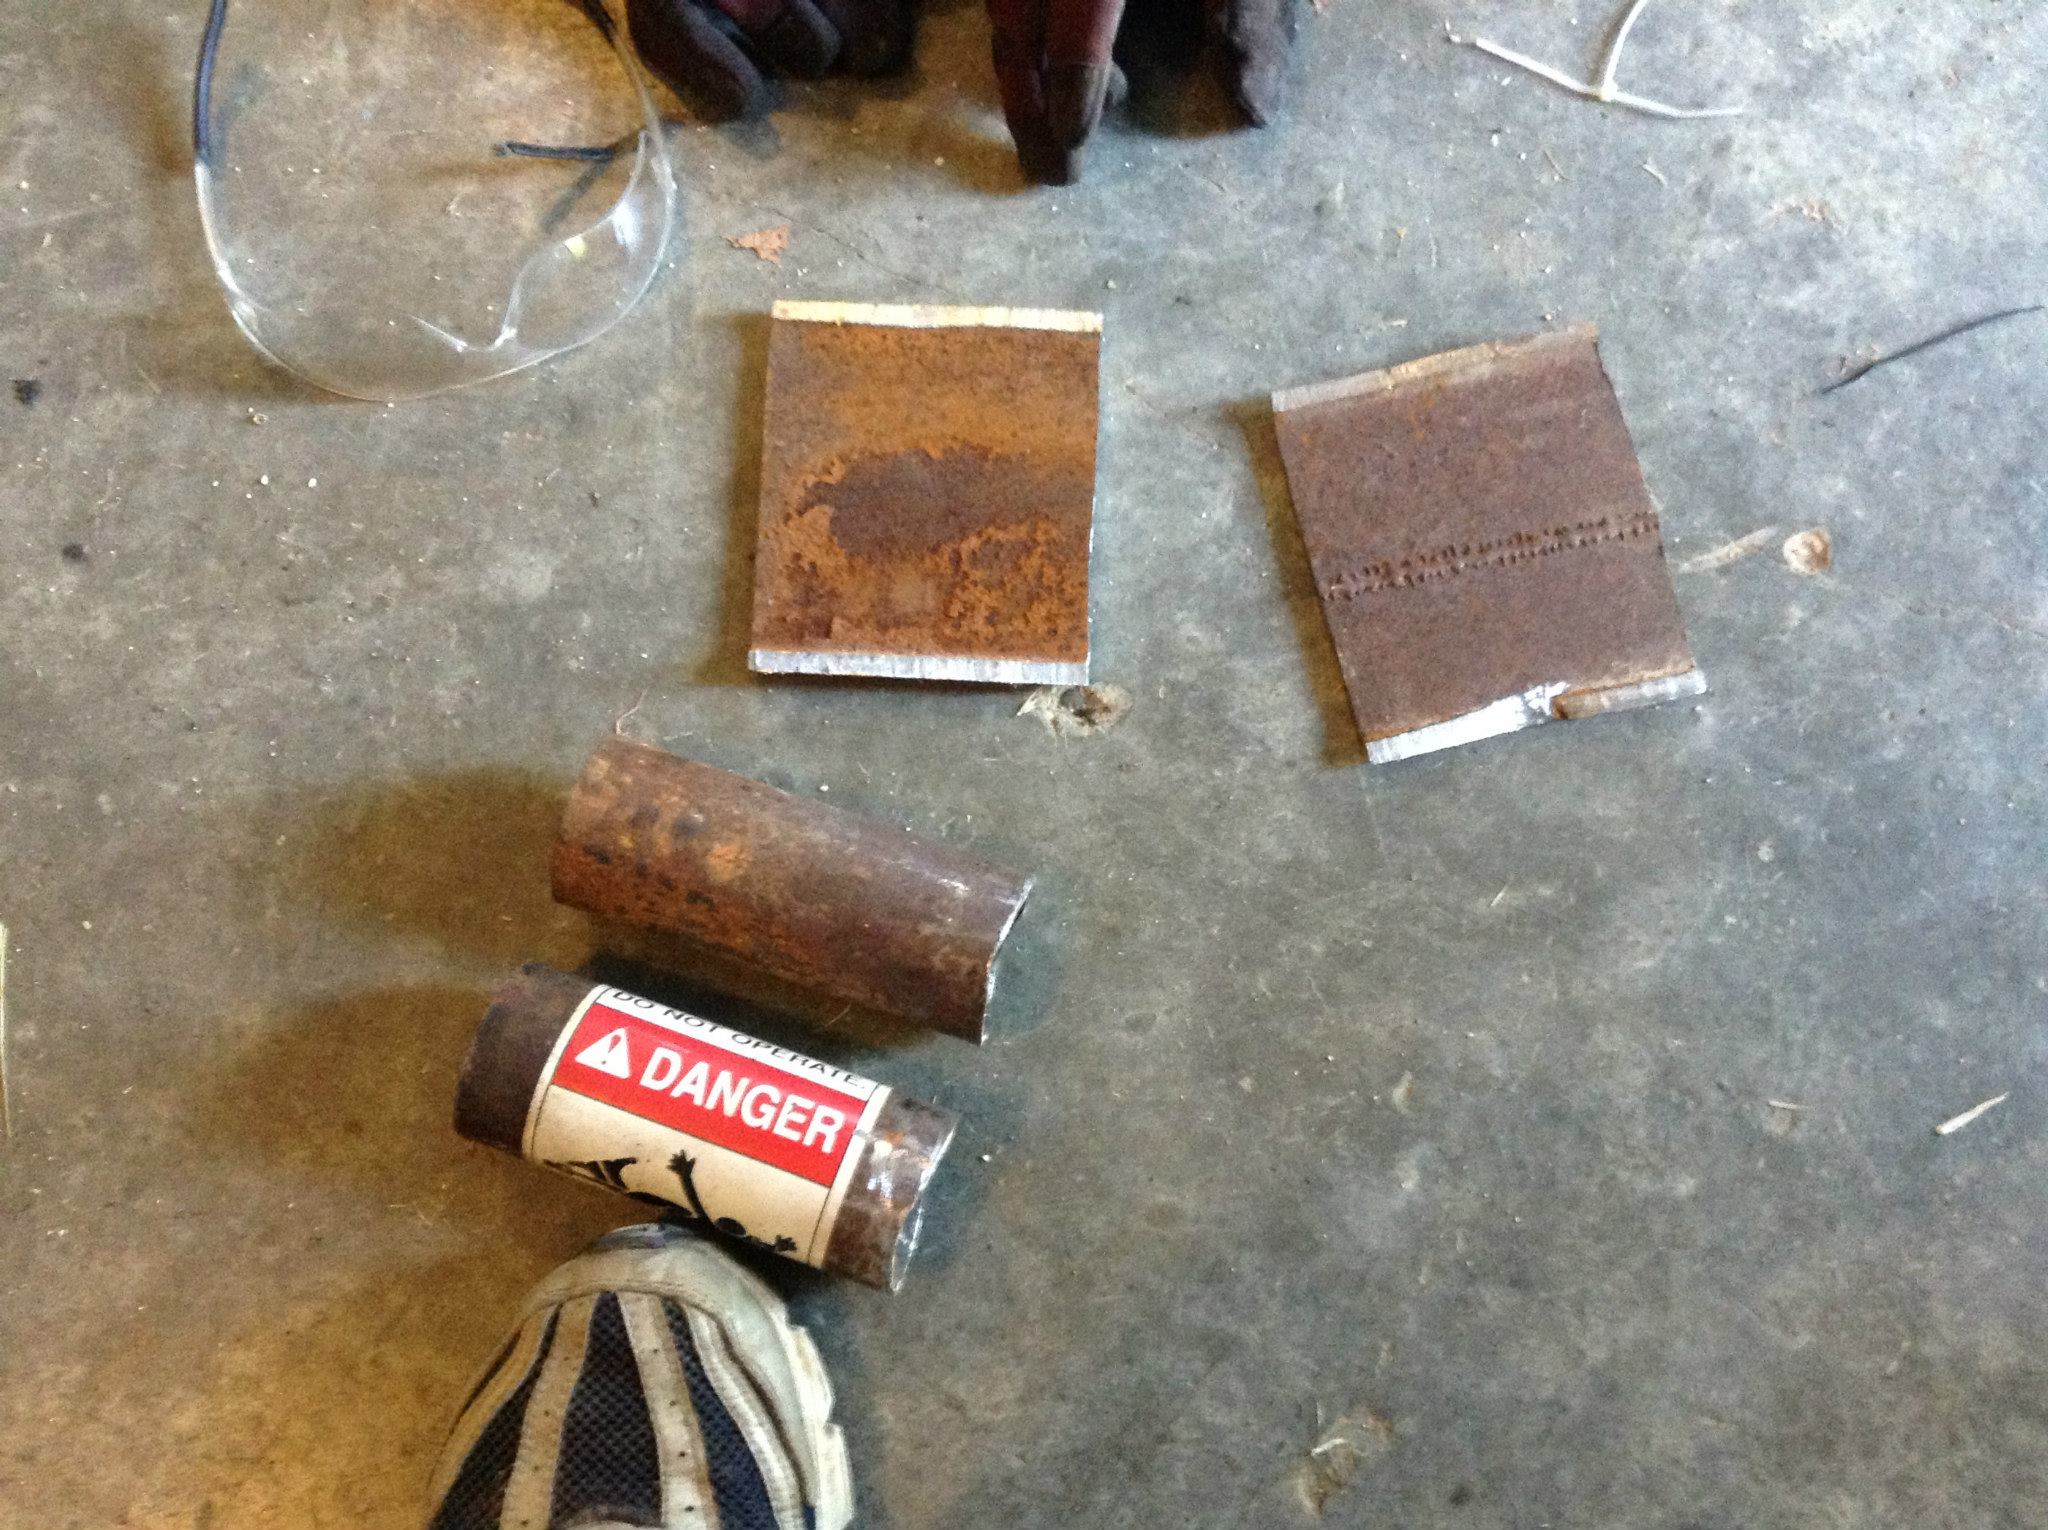
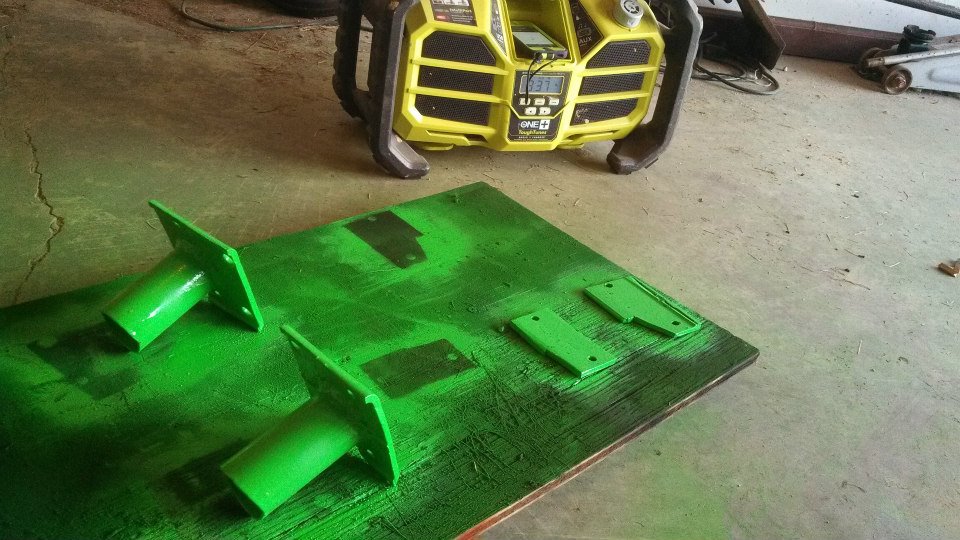
The tubes with rough cuts and bevels on the bottom to sit on the axle tube along with the plate that would sit on top from the left over 5x3 tube that i used to make my bumper.
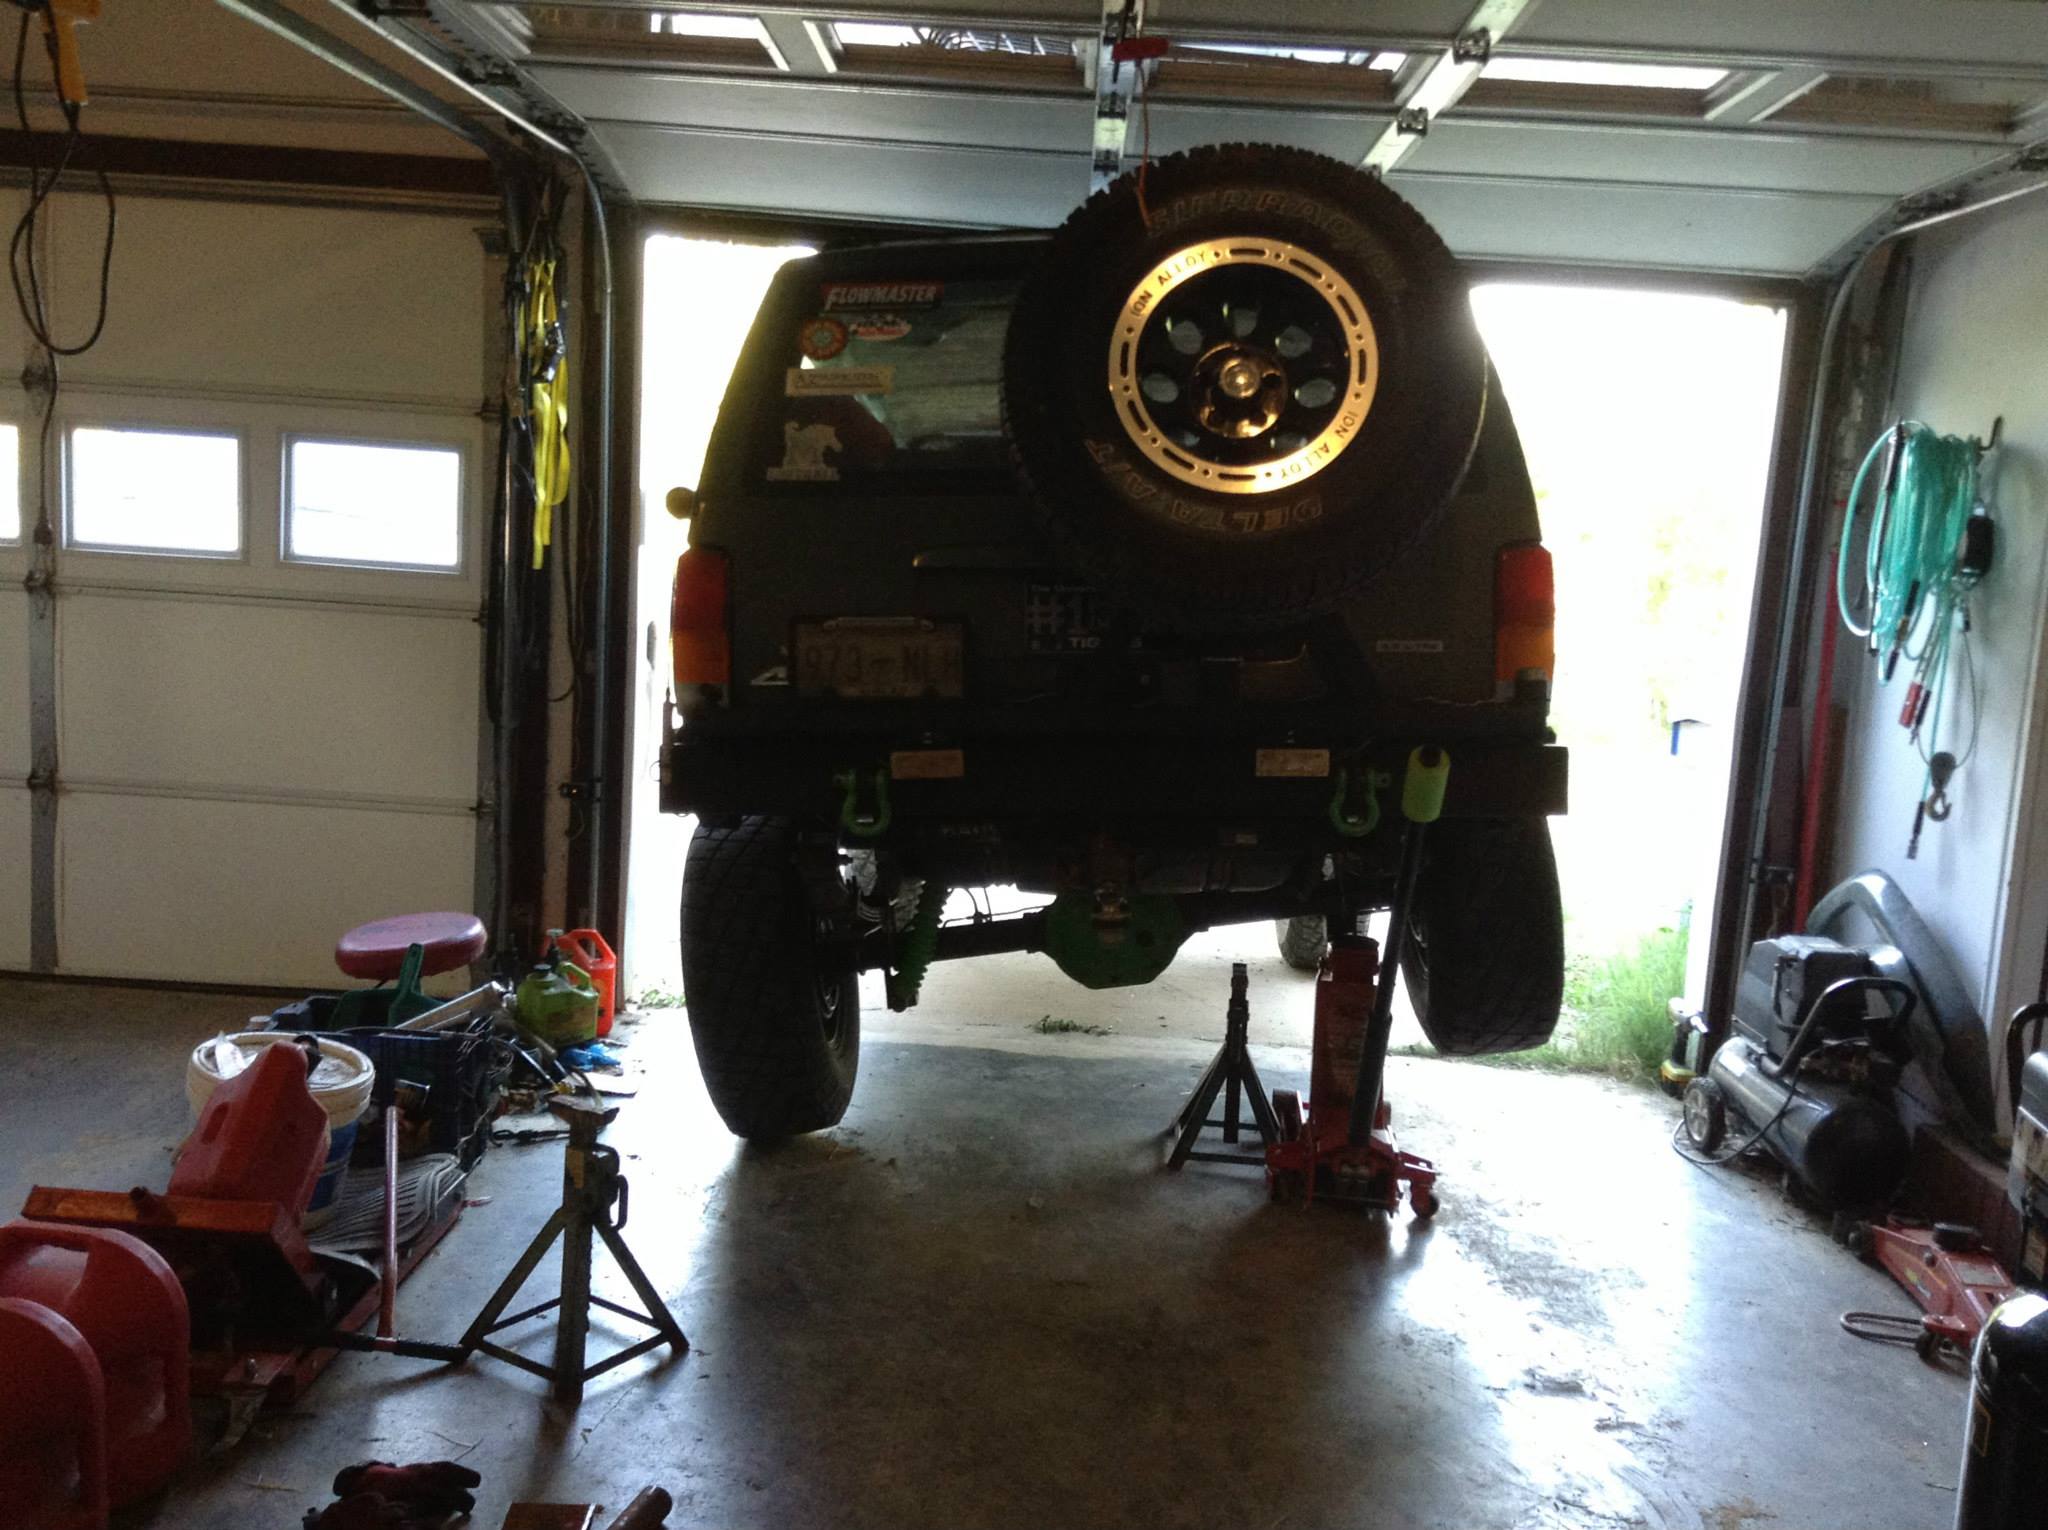
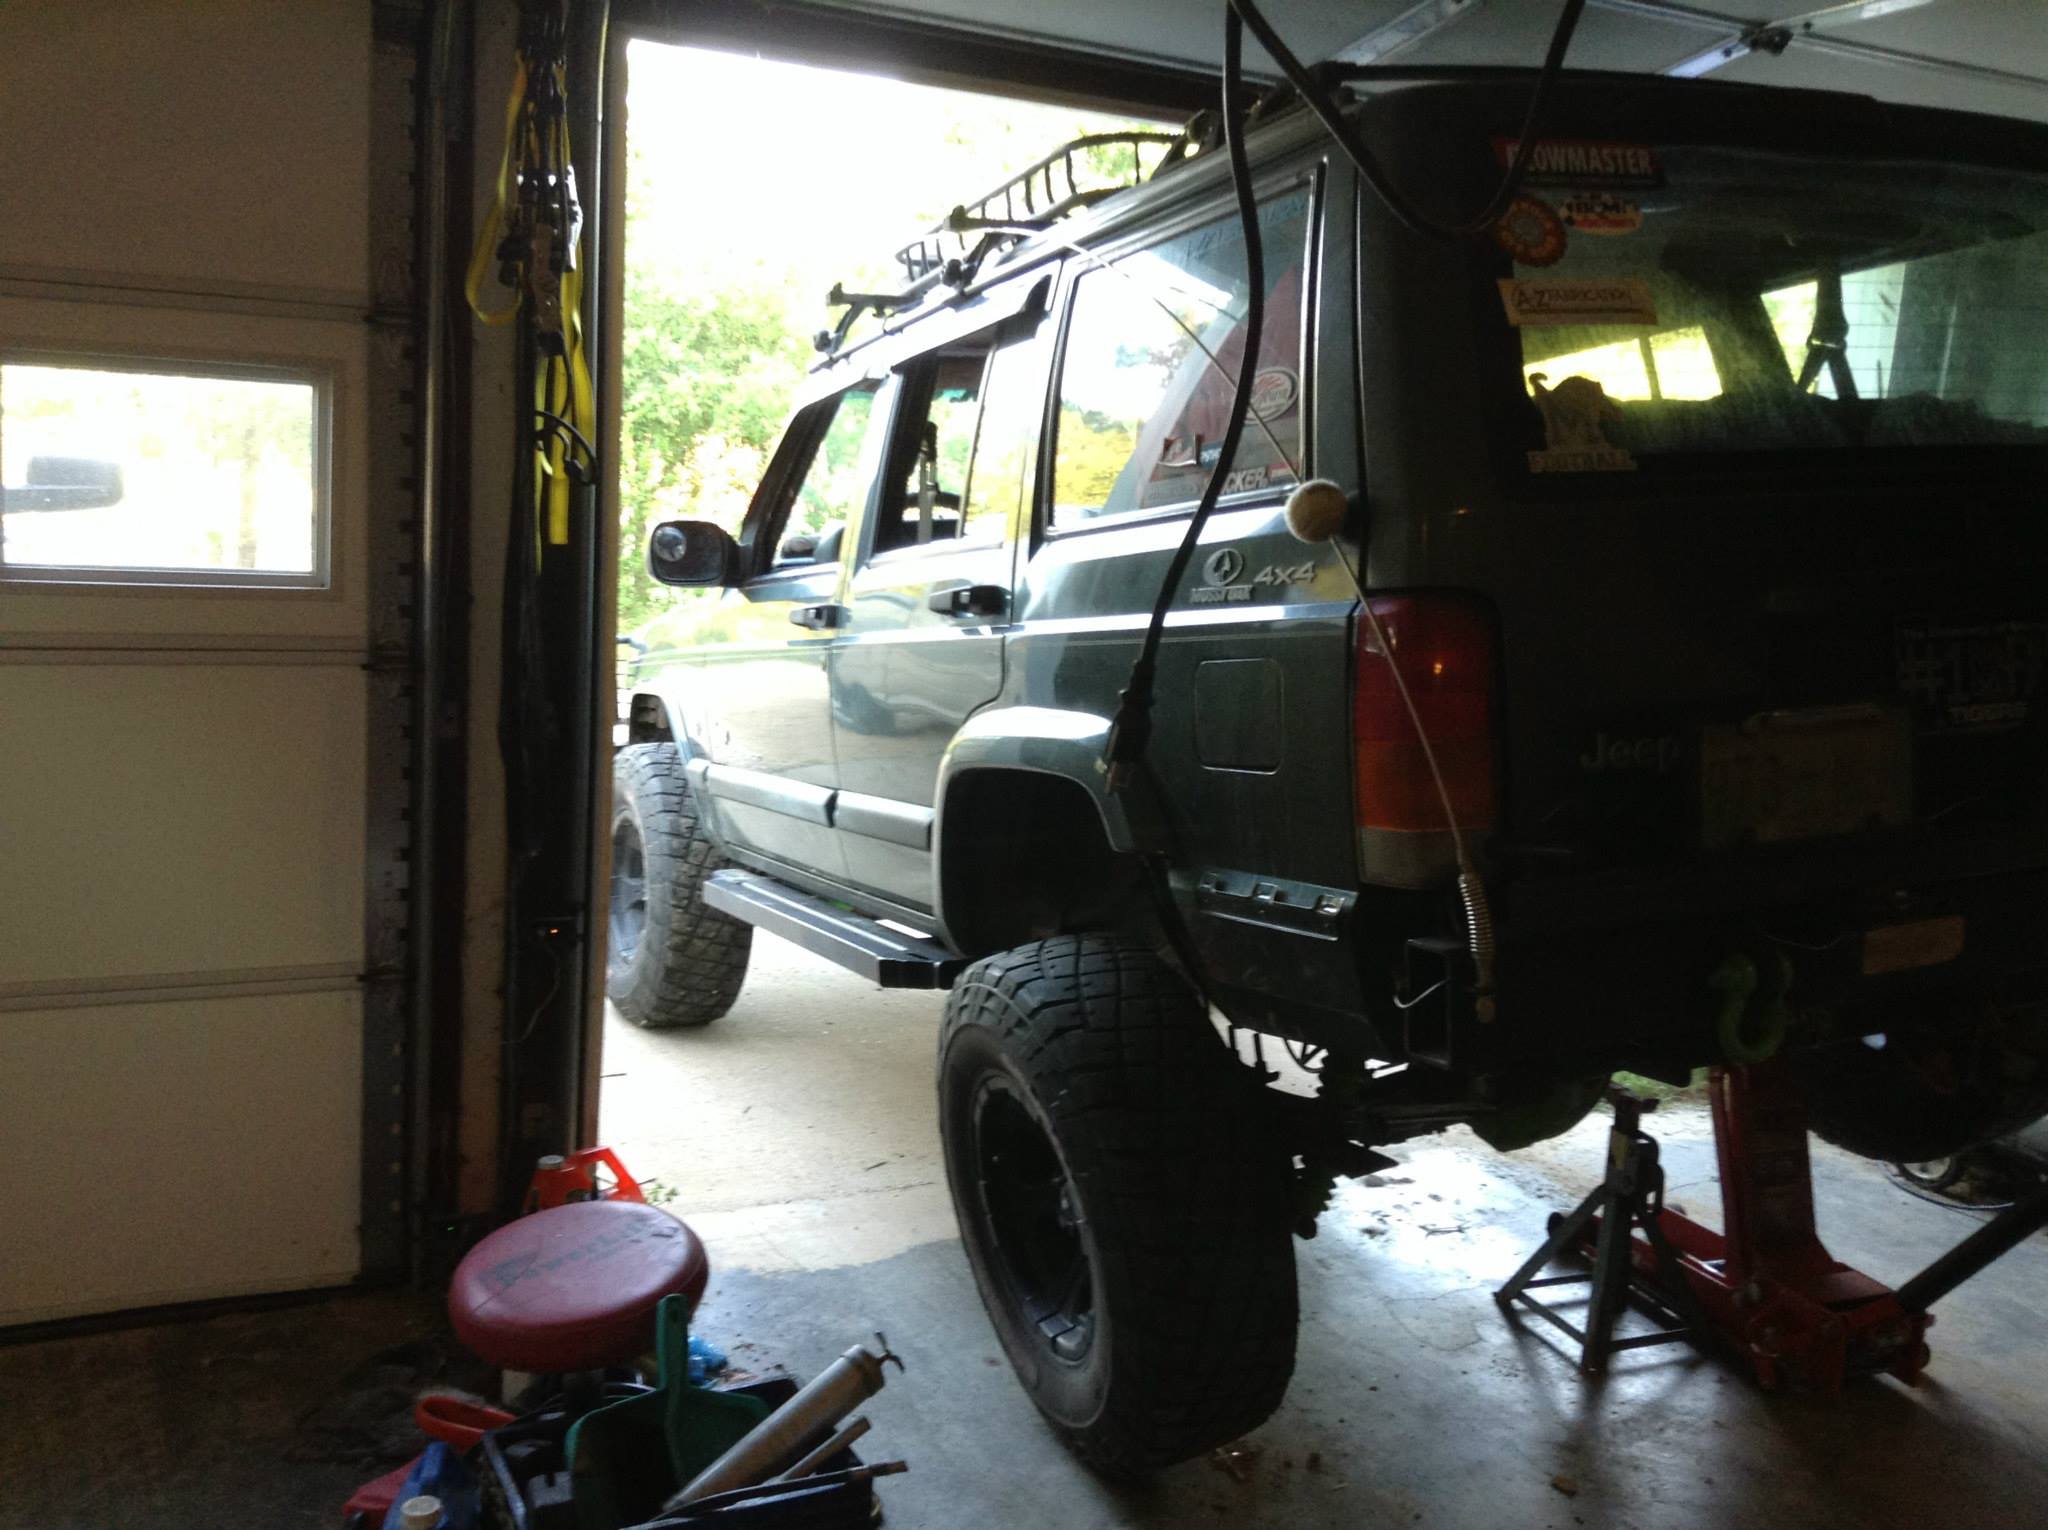
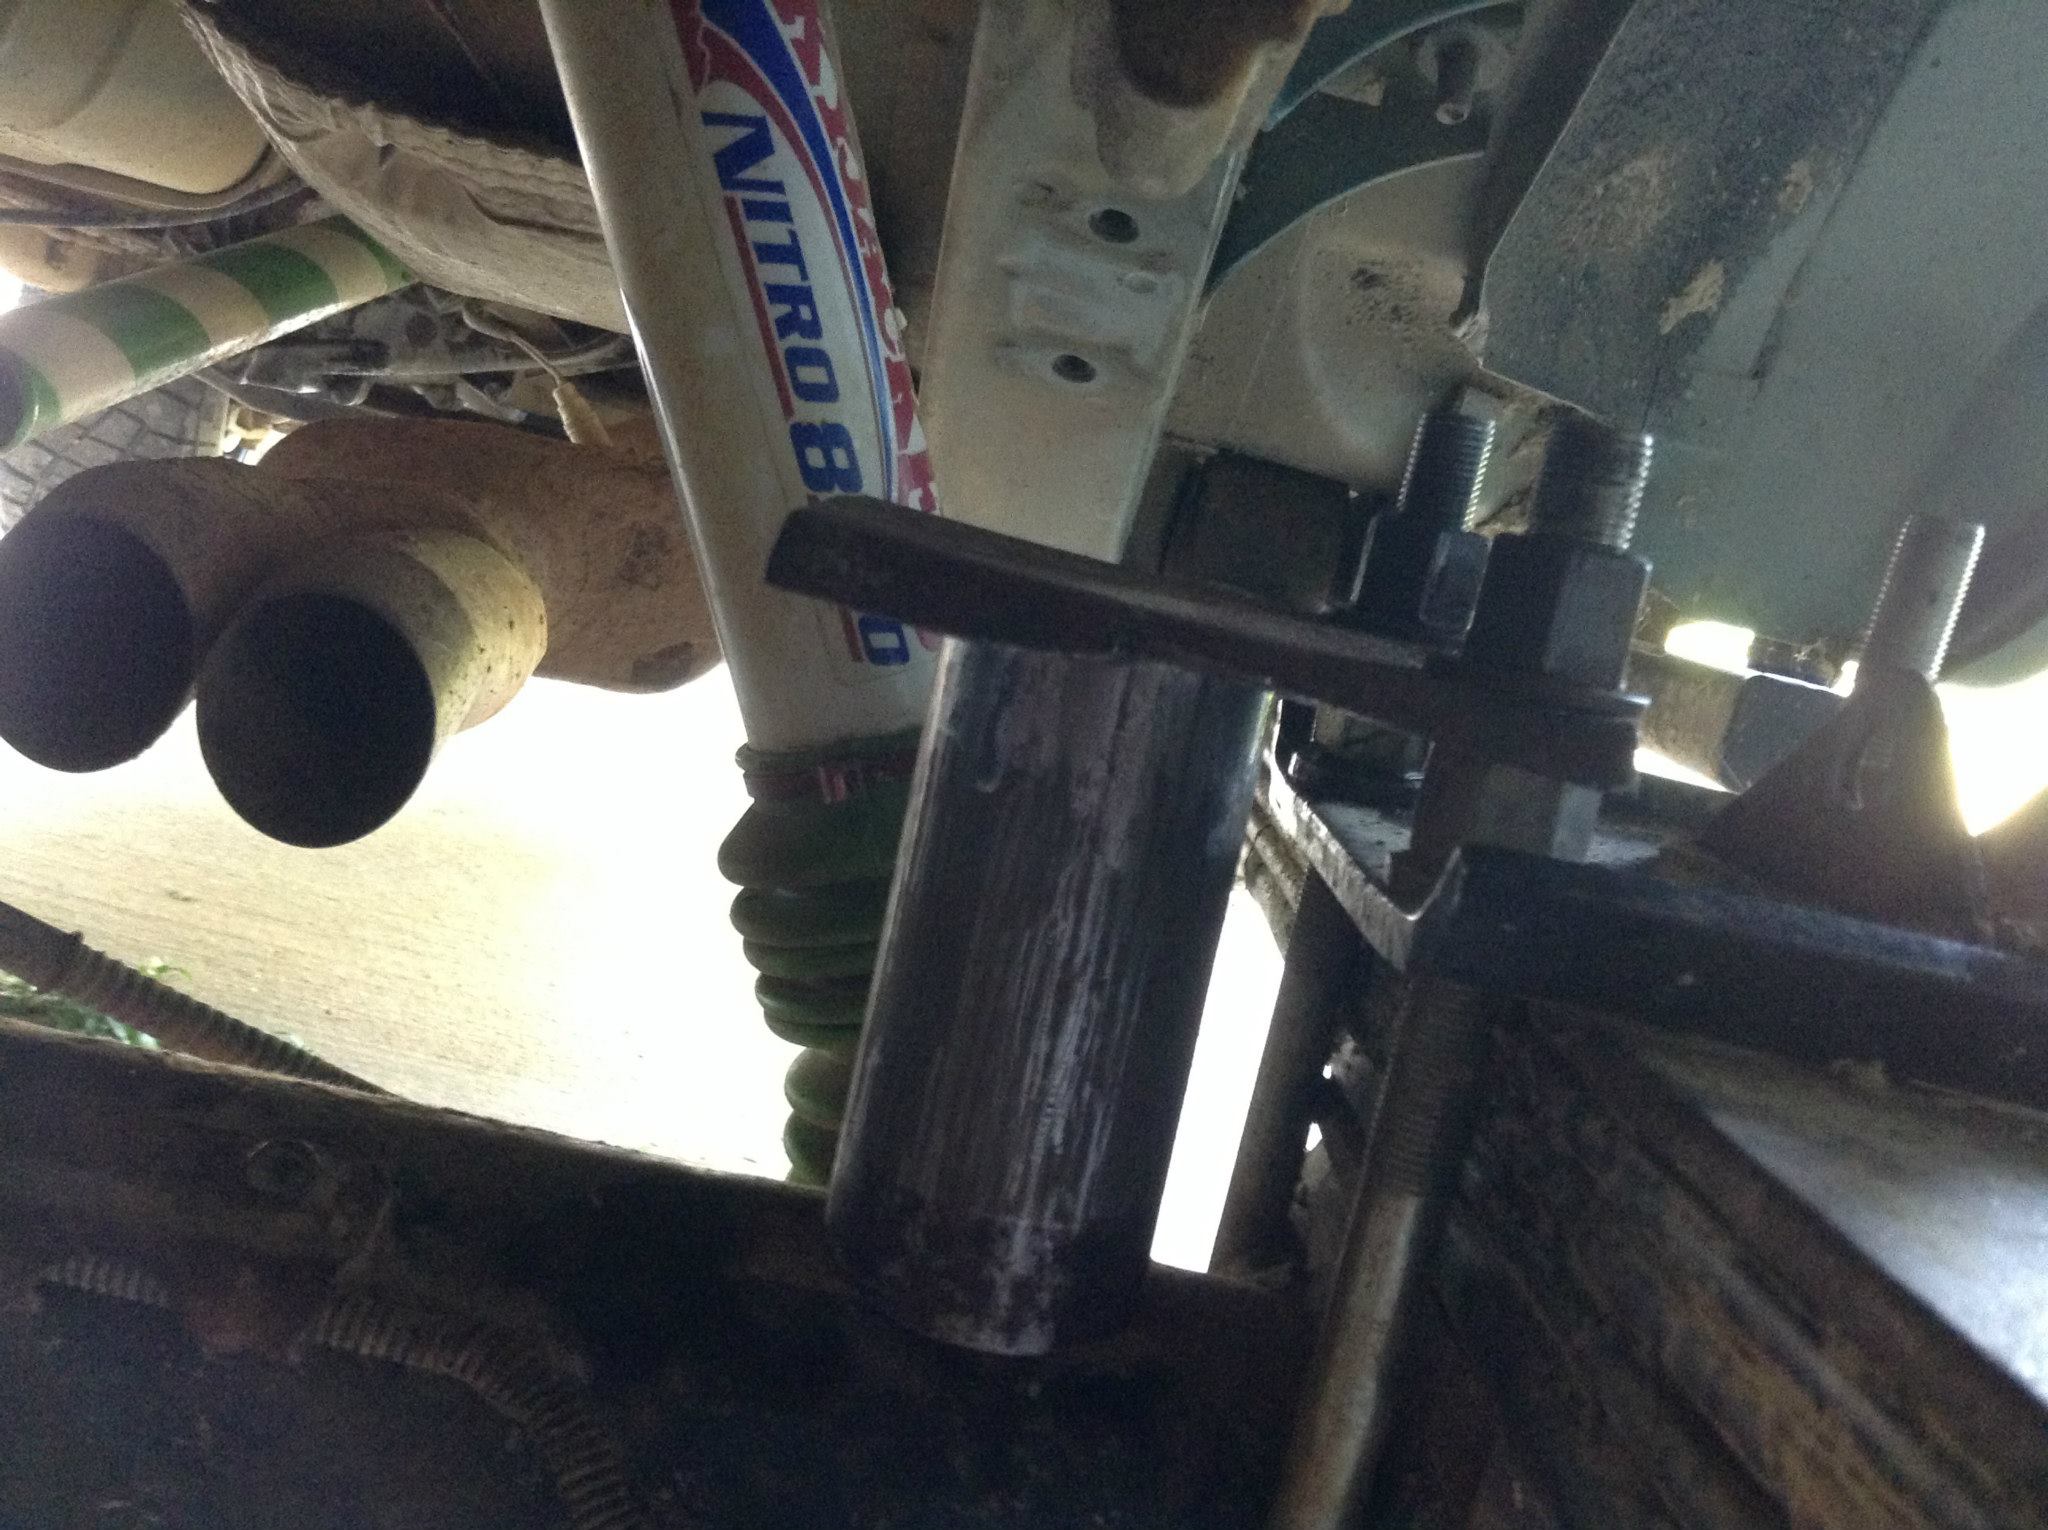
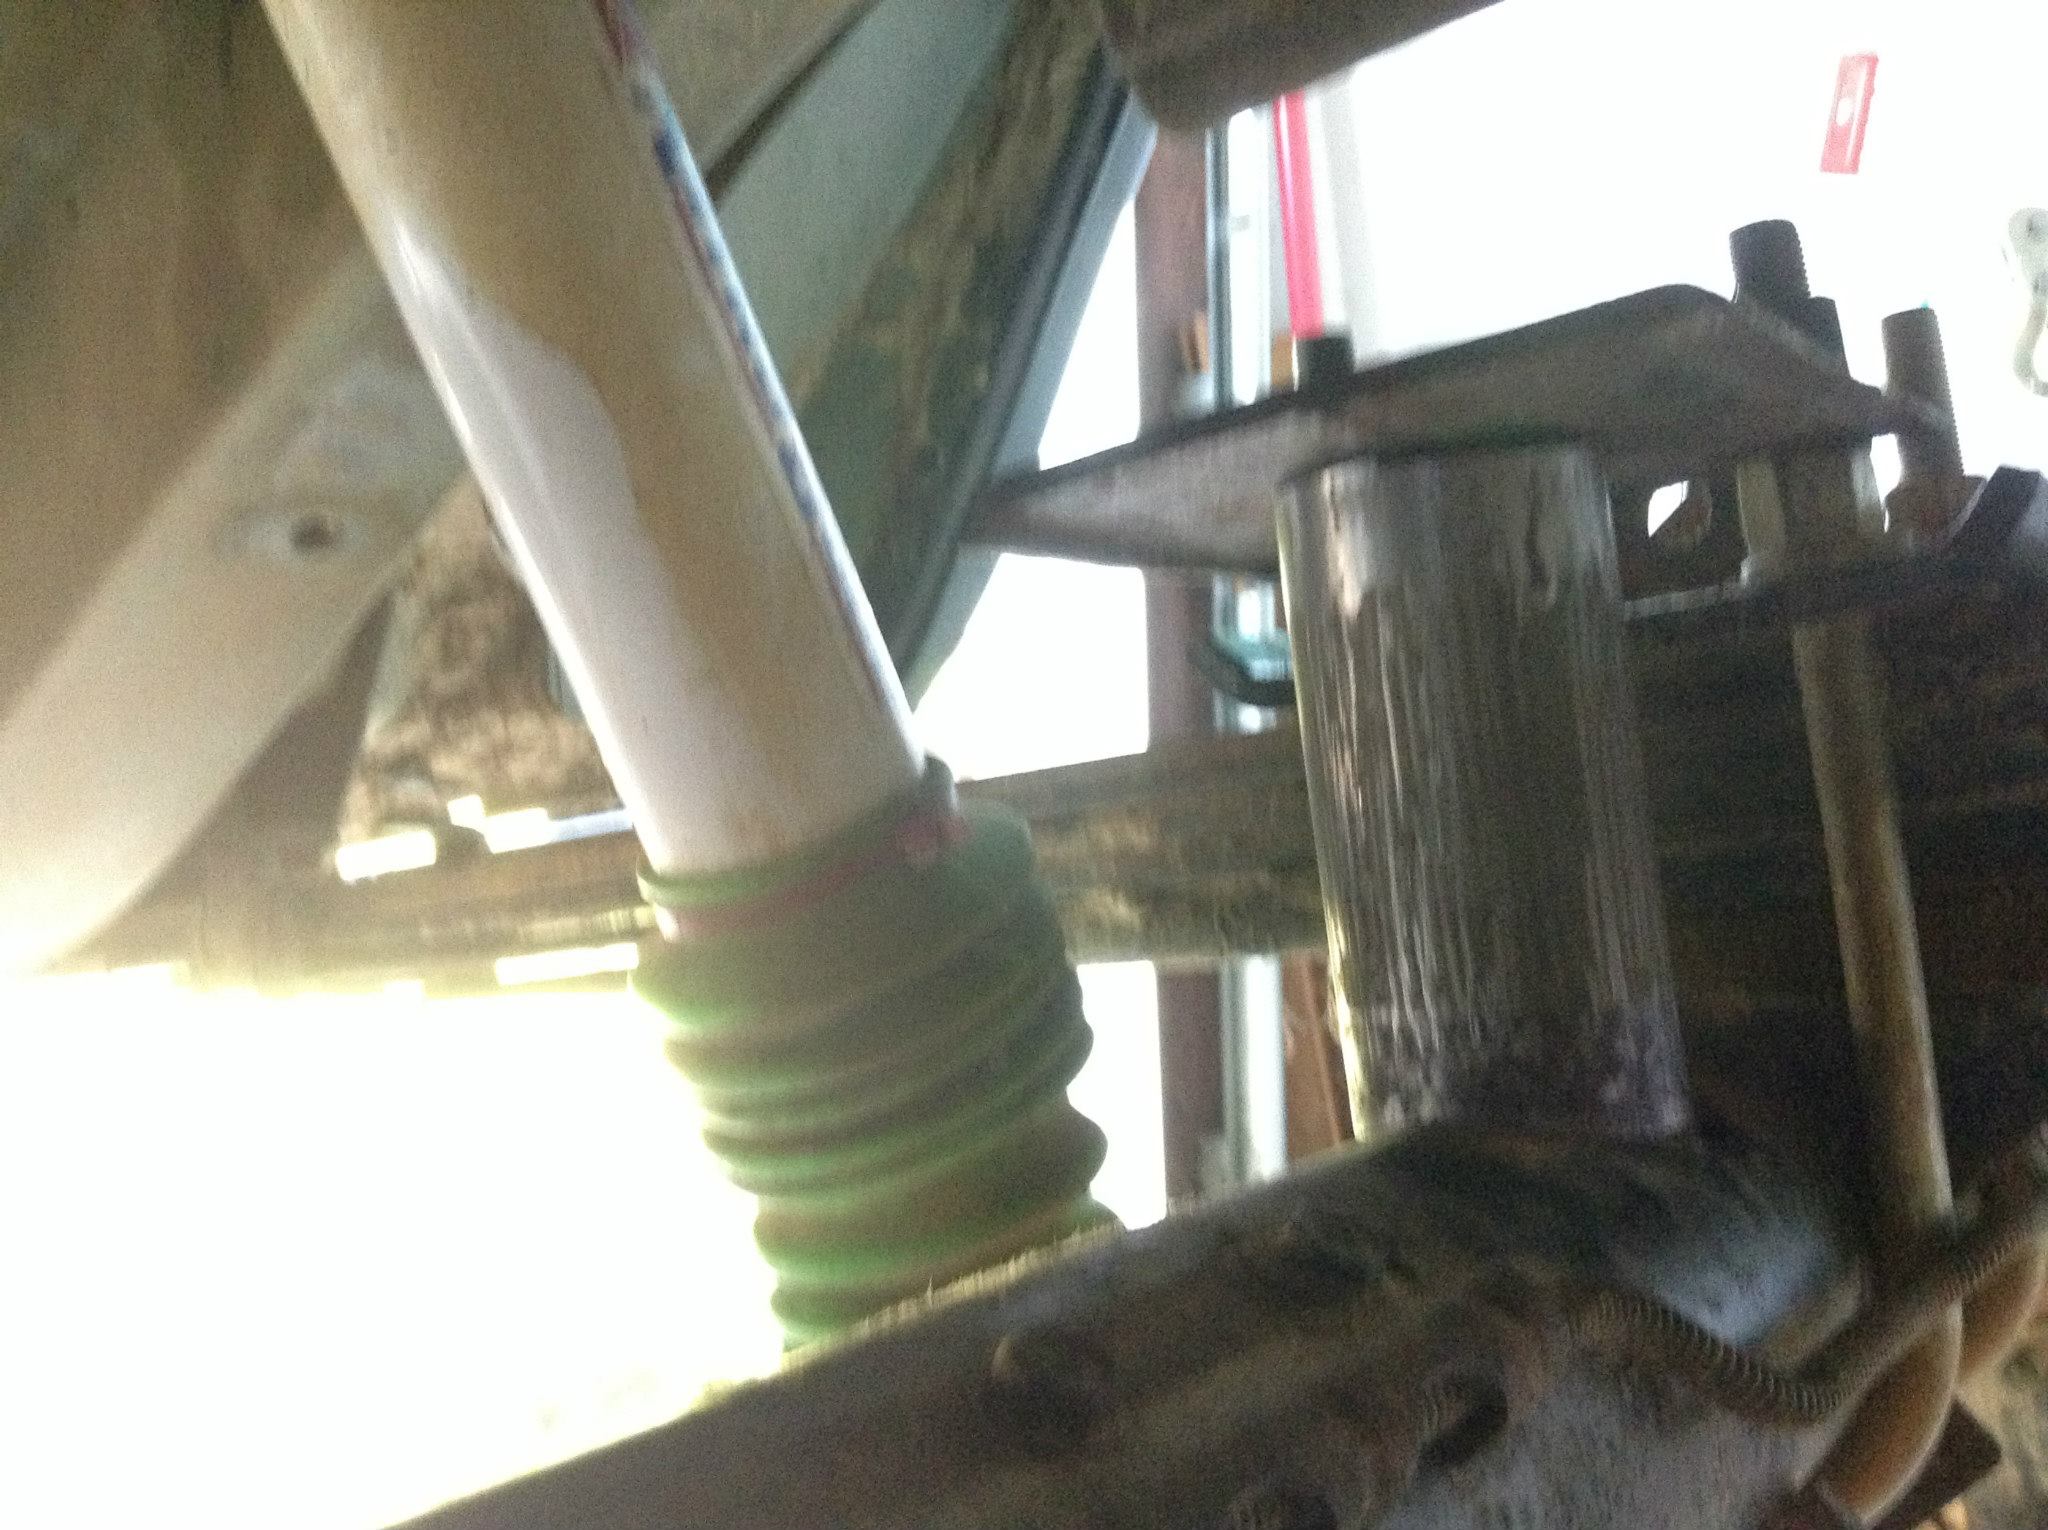
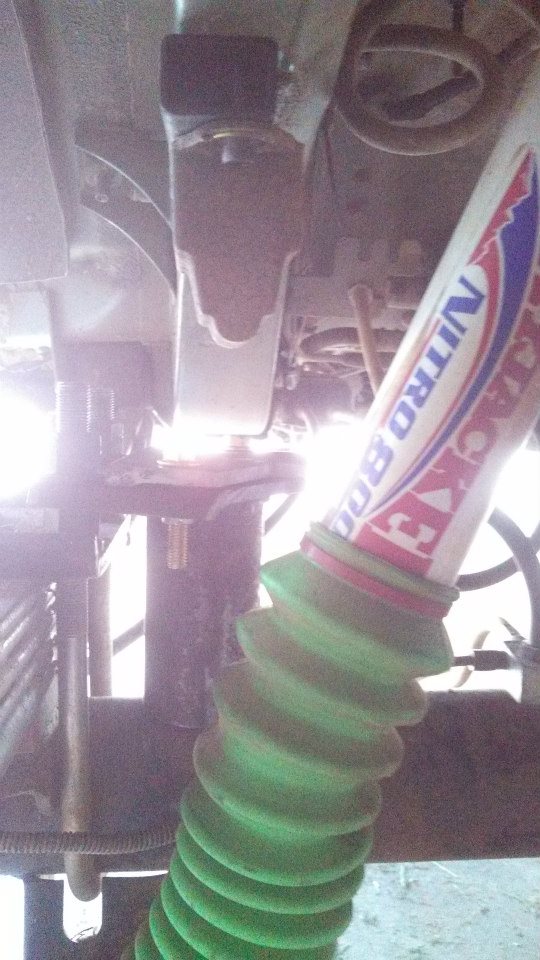
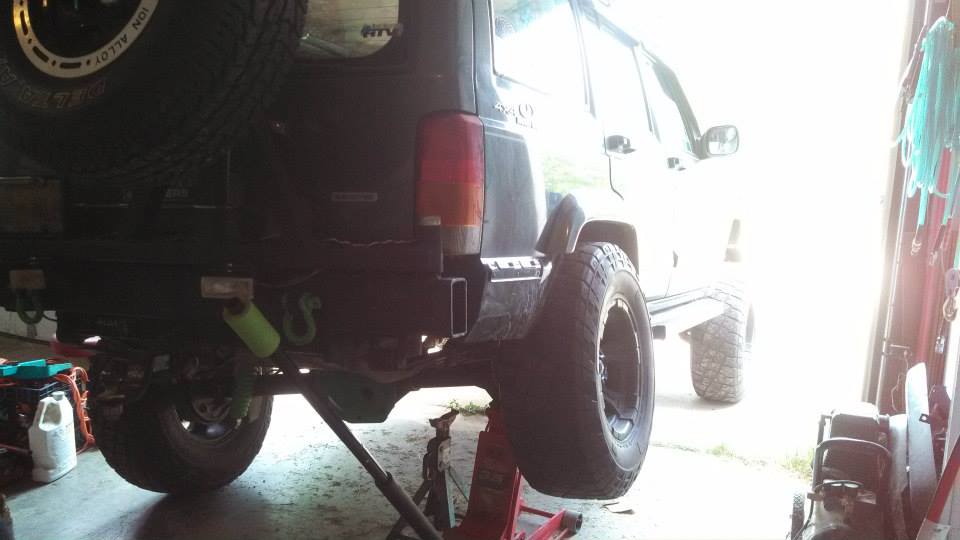
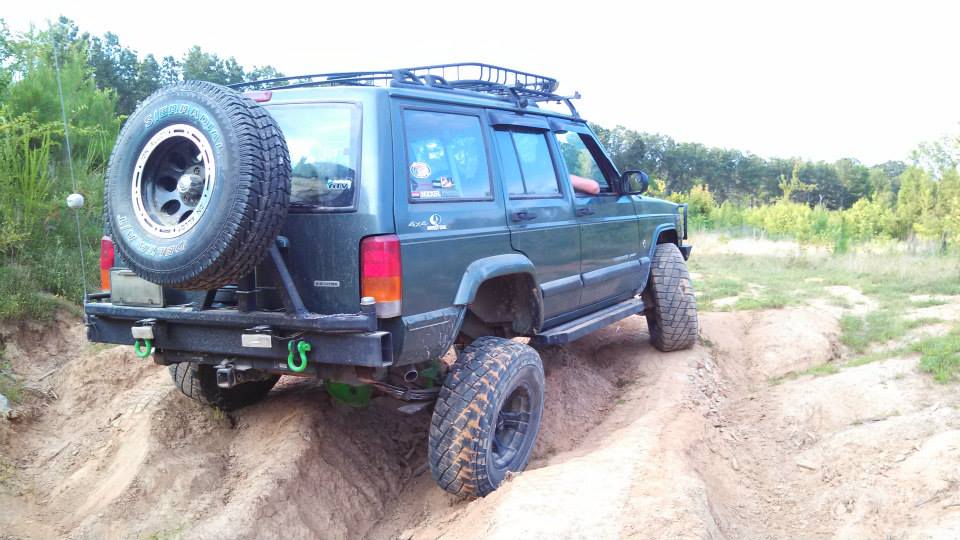
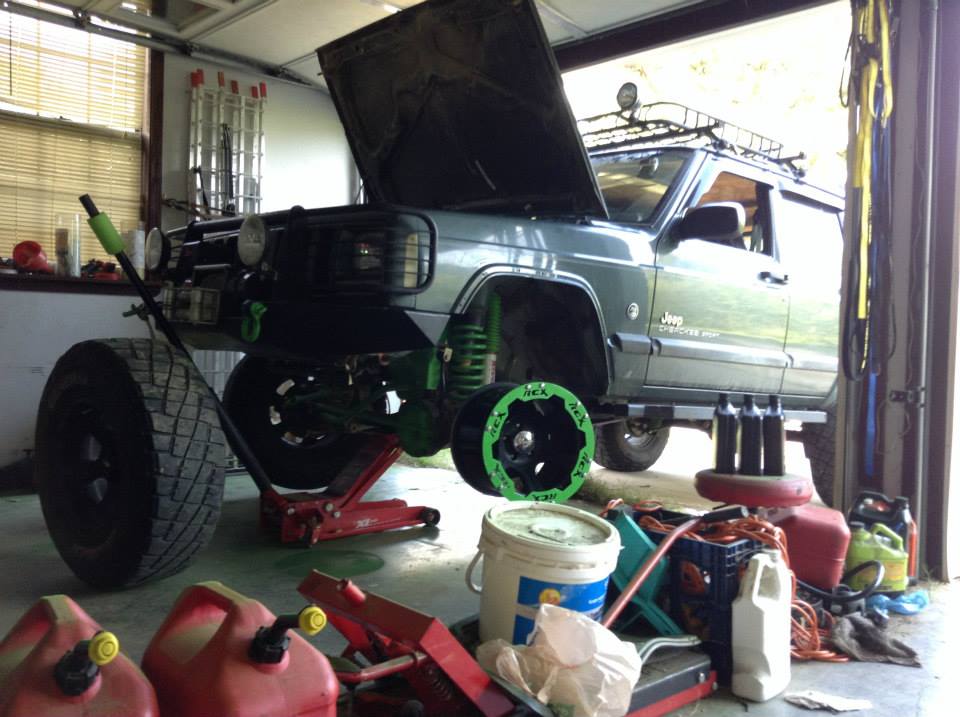
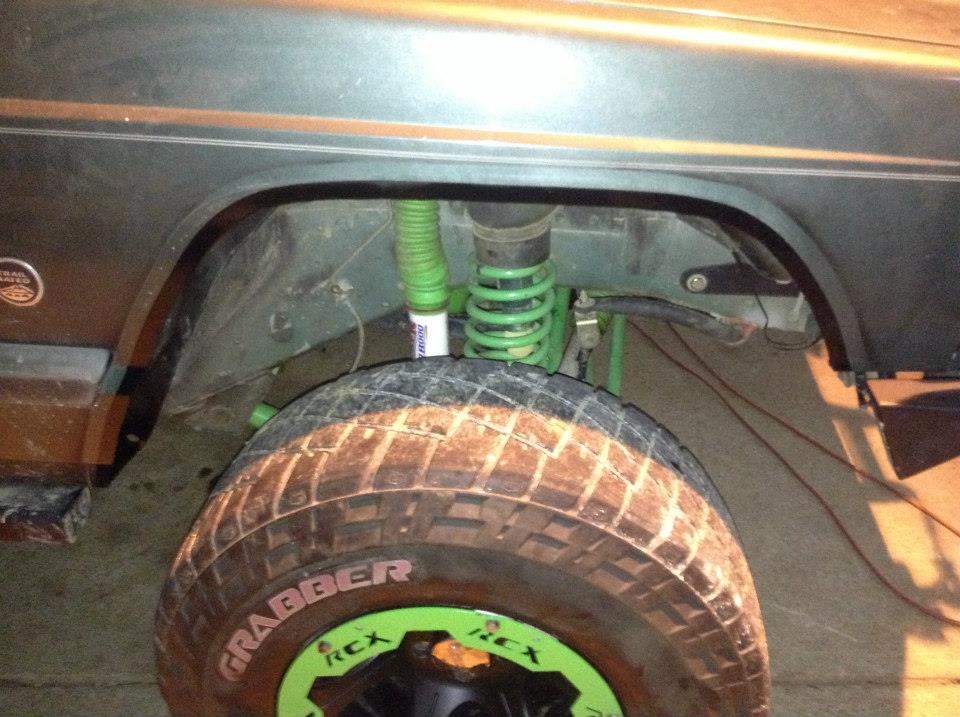
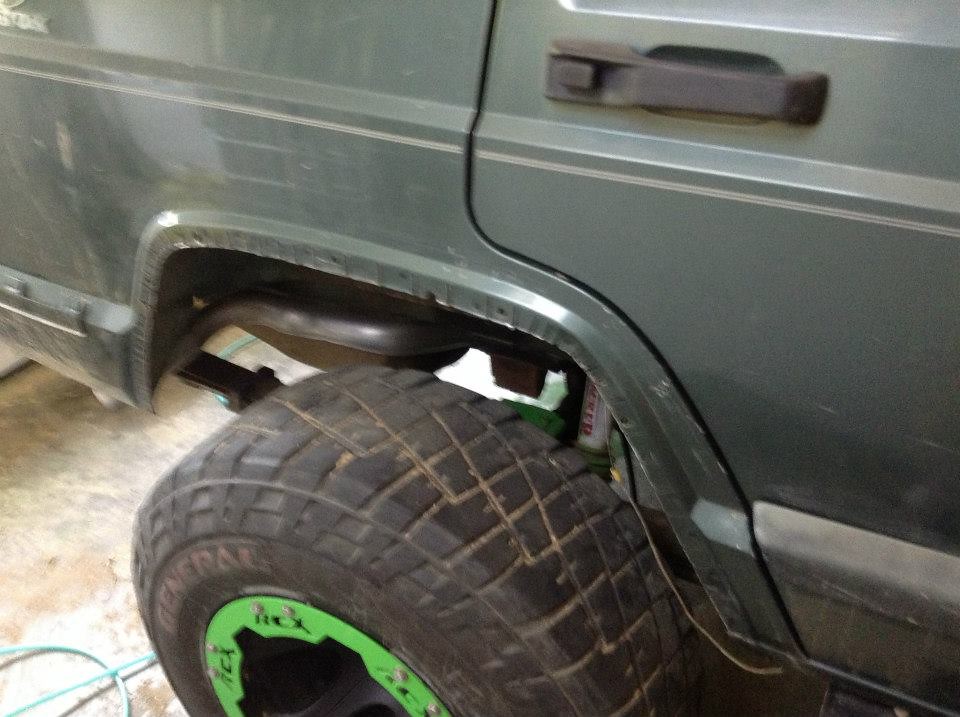
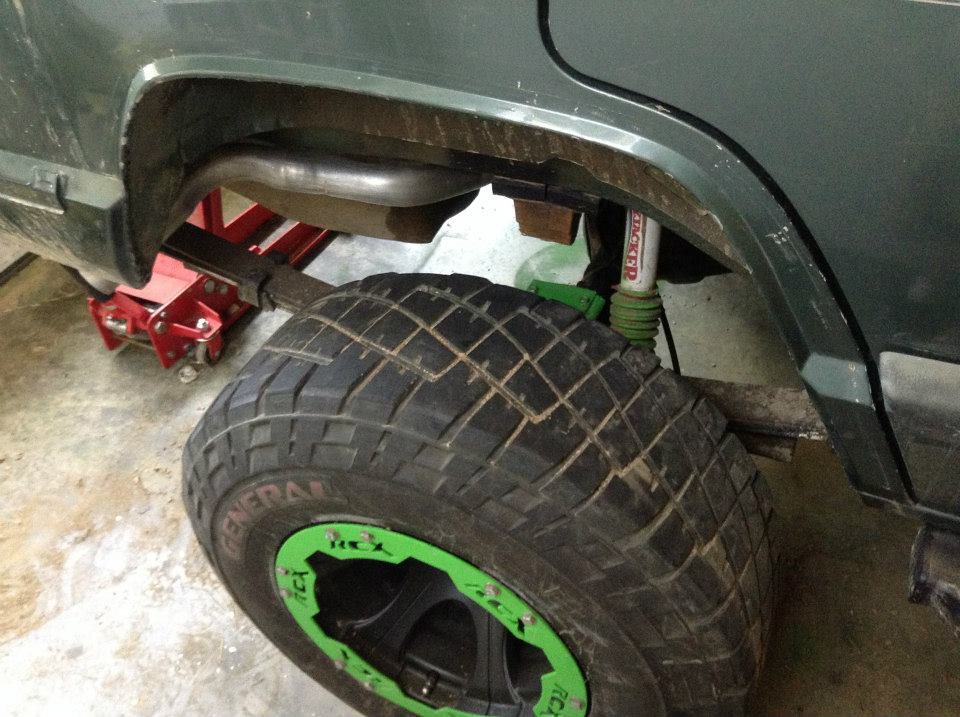
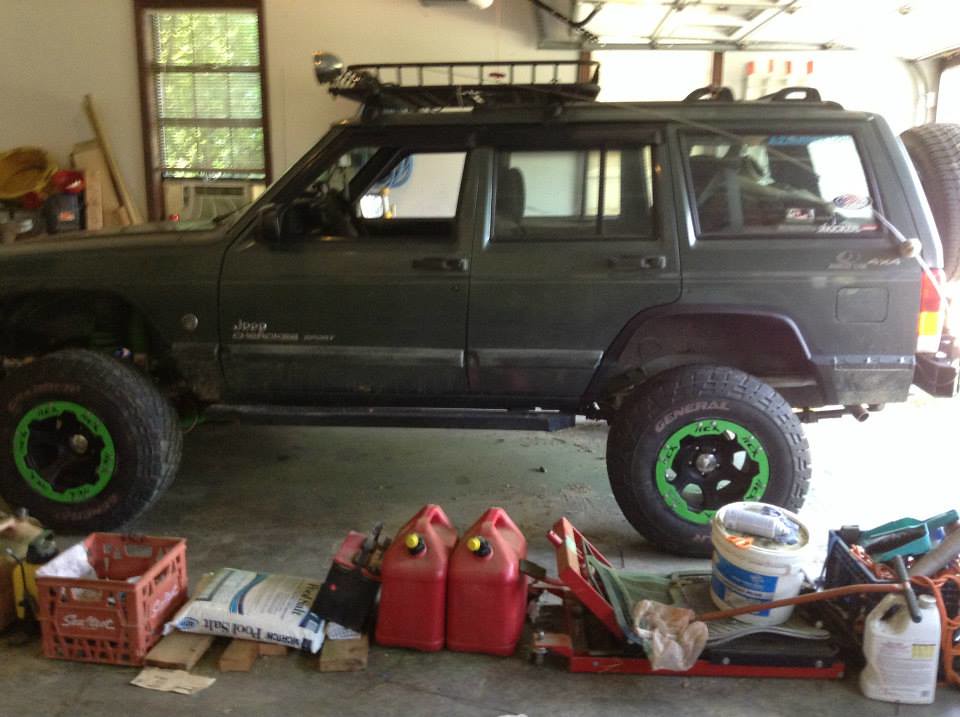
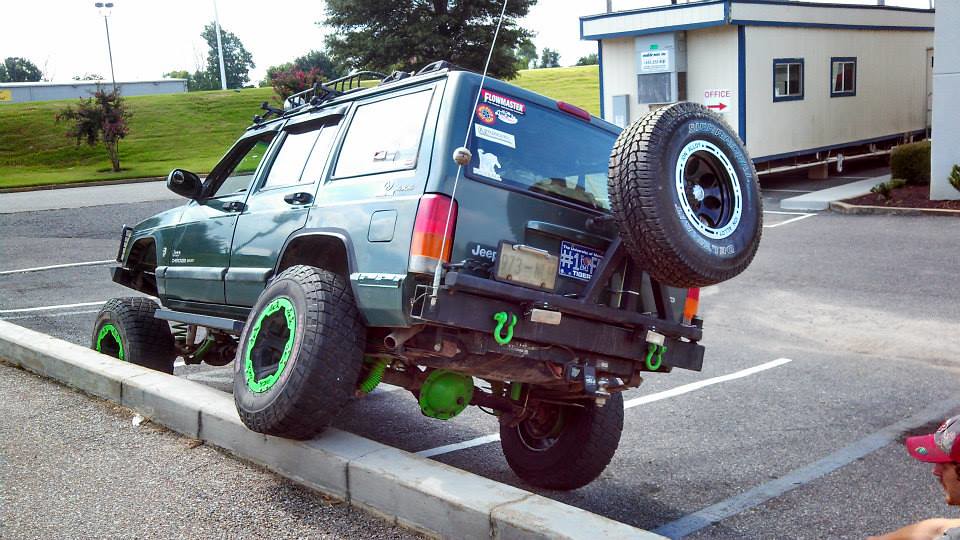
Flexed out my Jeep again to double check my measurements for the bump stops... pretty much maxed out, had a little left, but that bottoms the rear shocks out and that's not good.
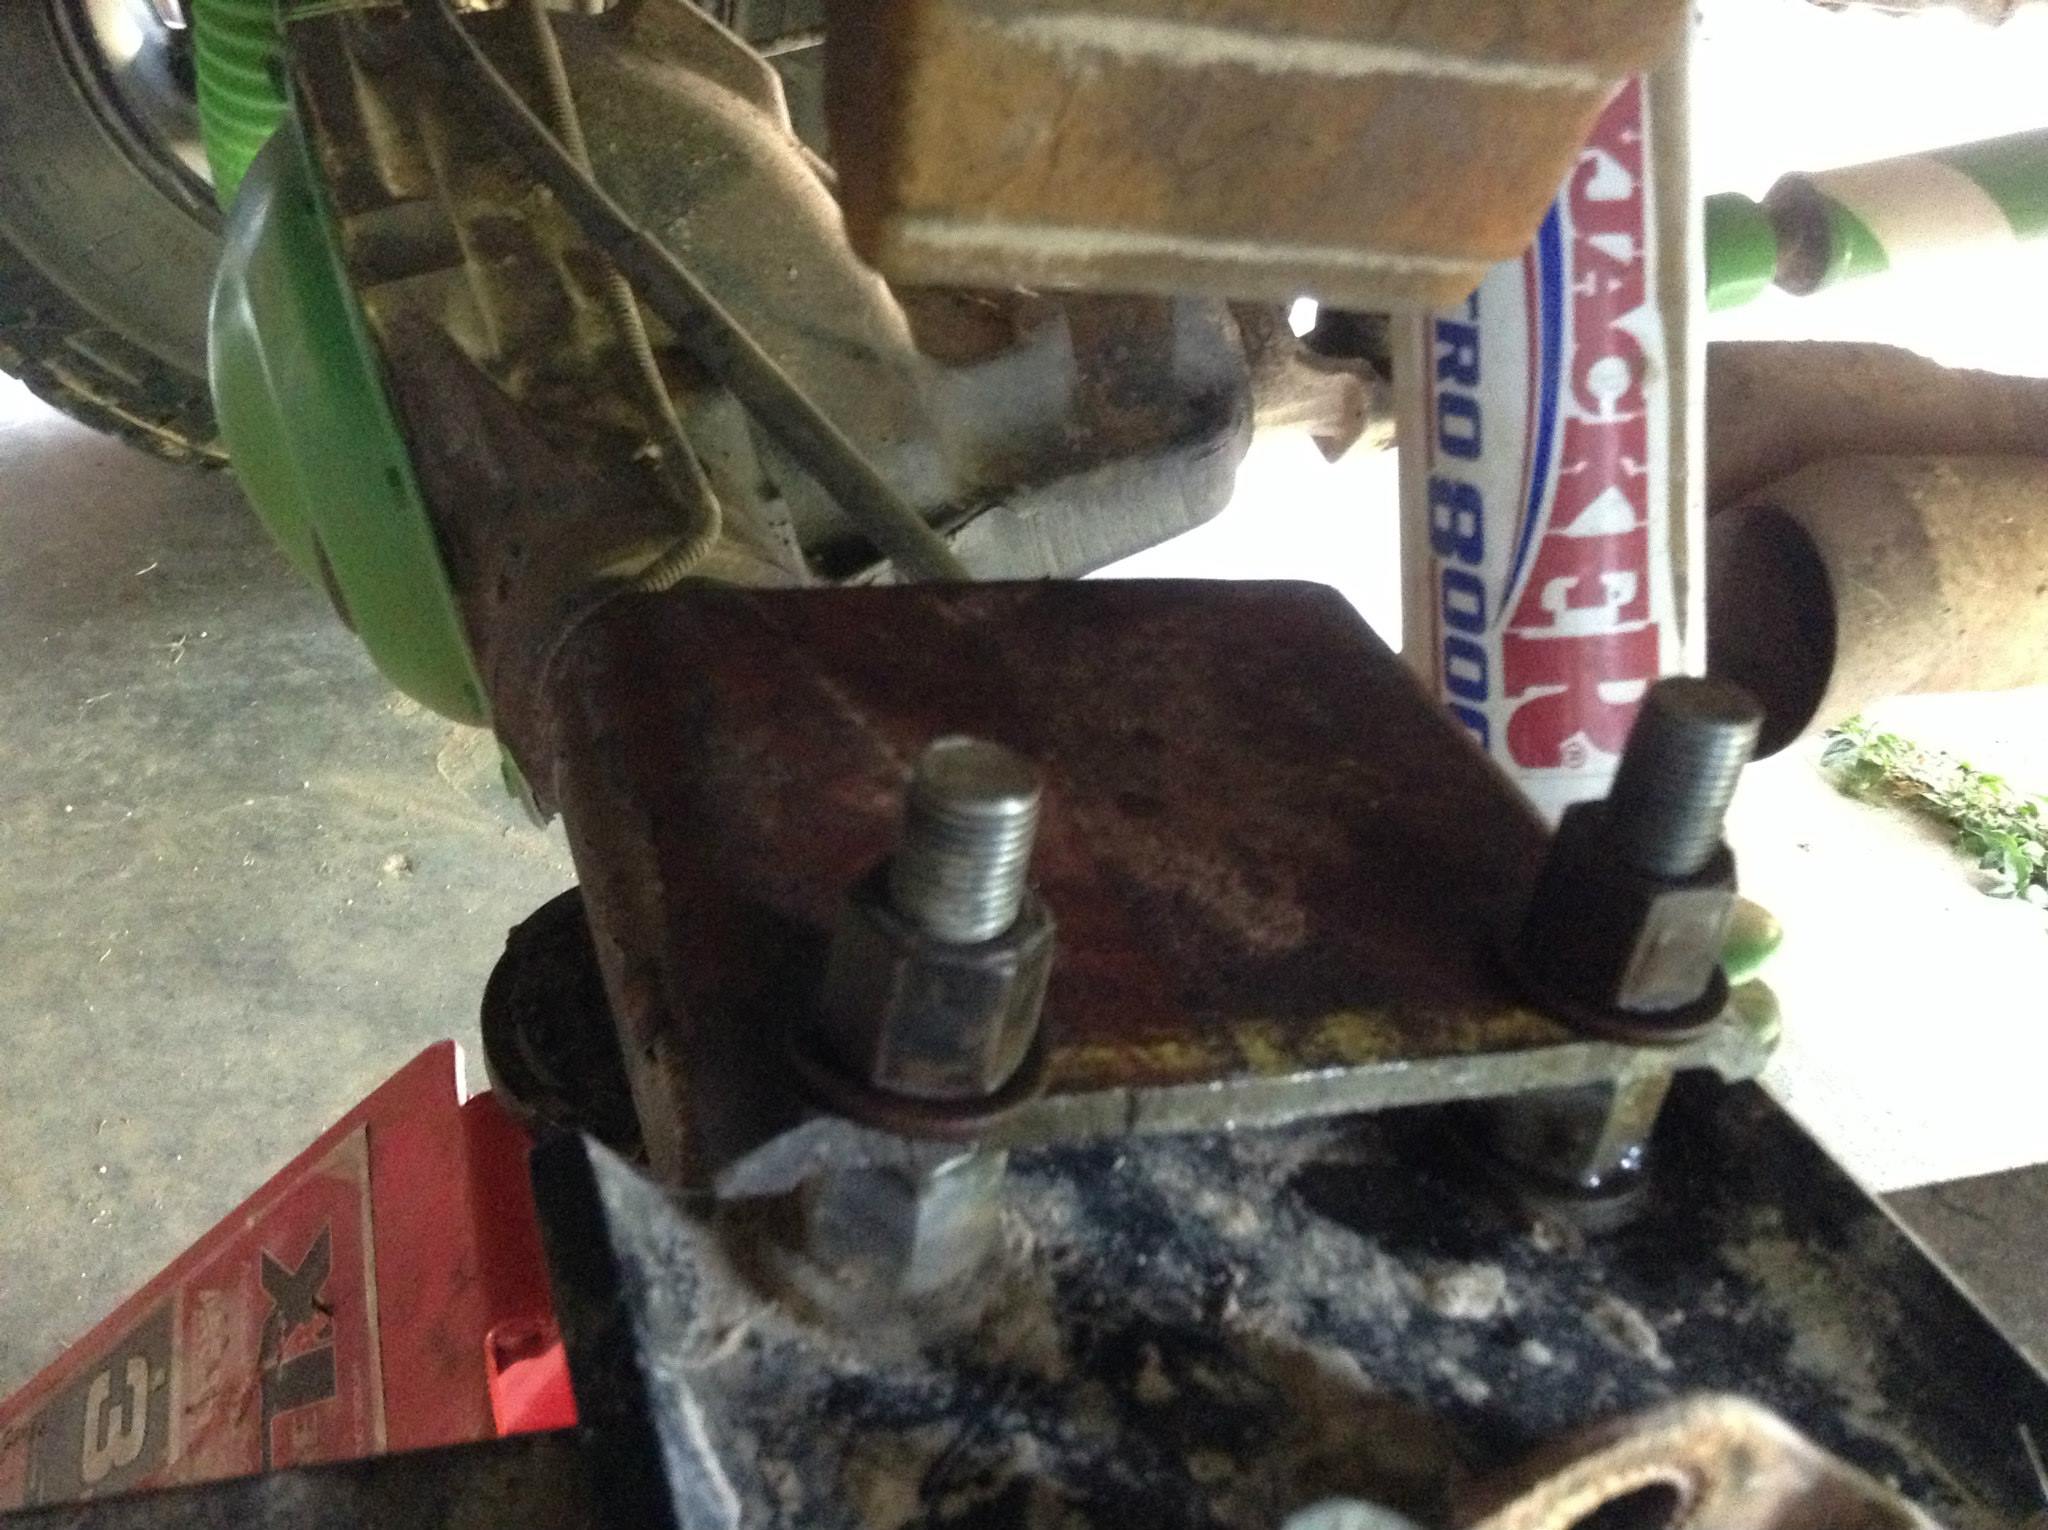
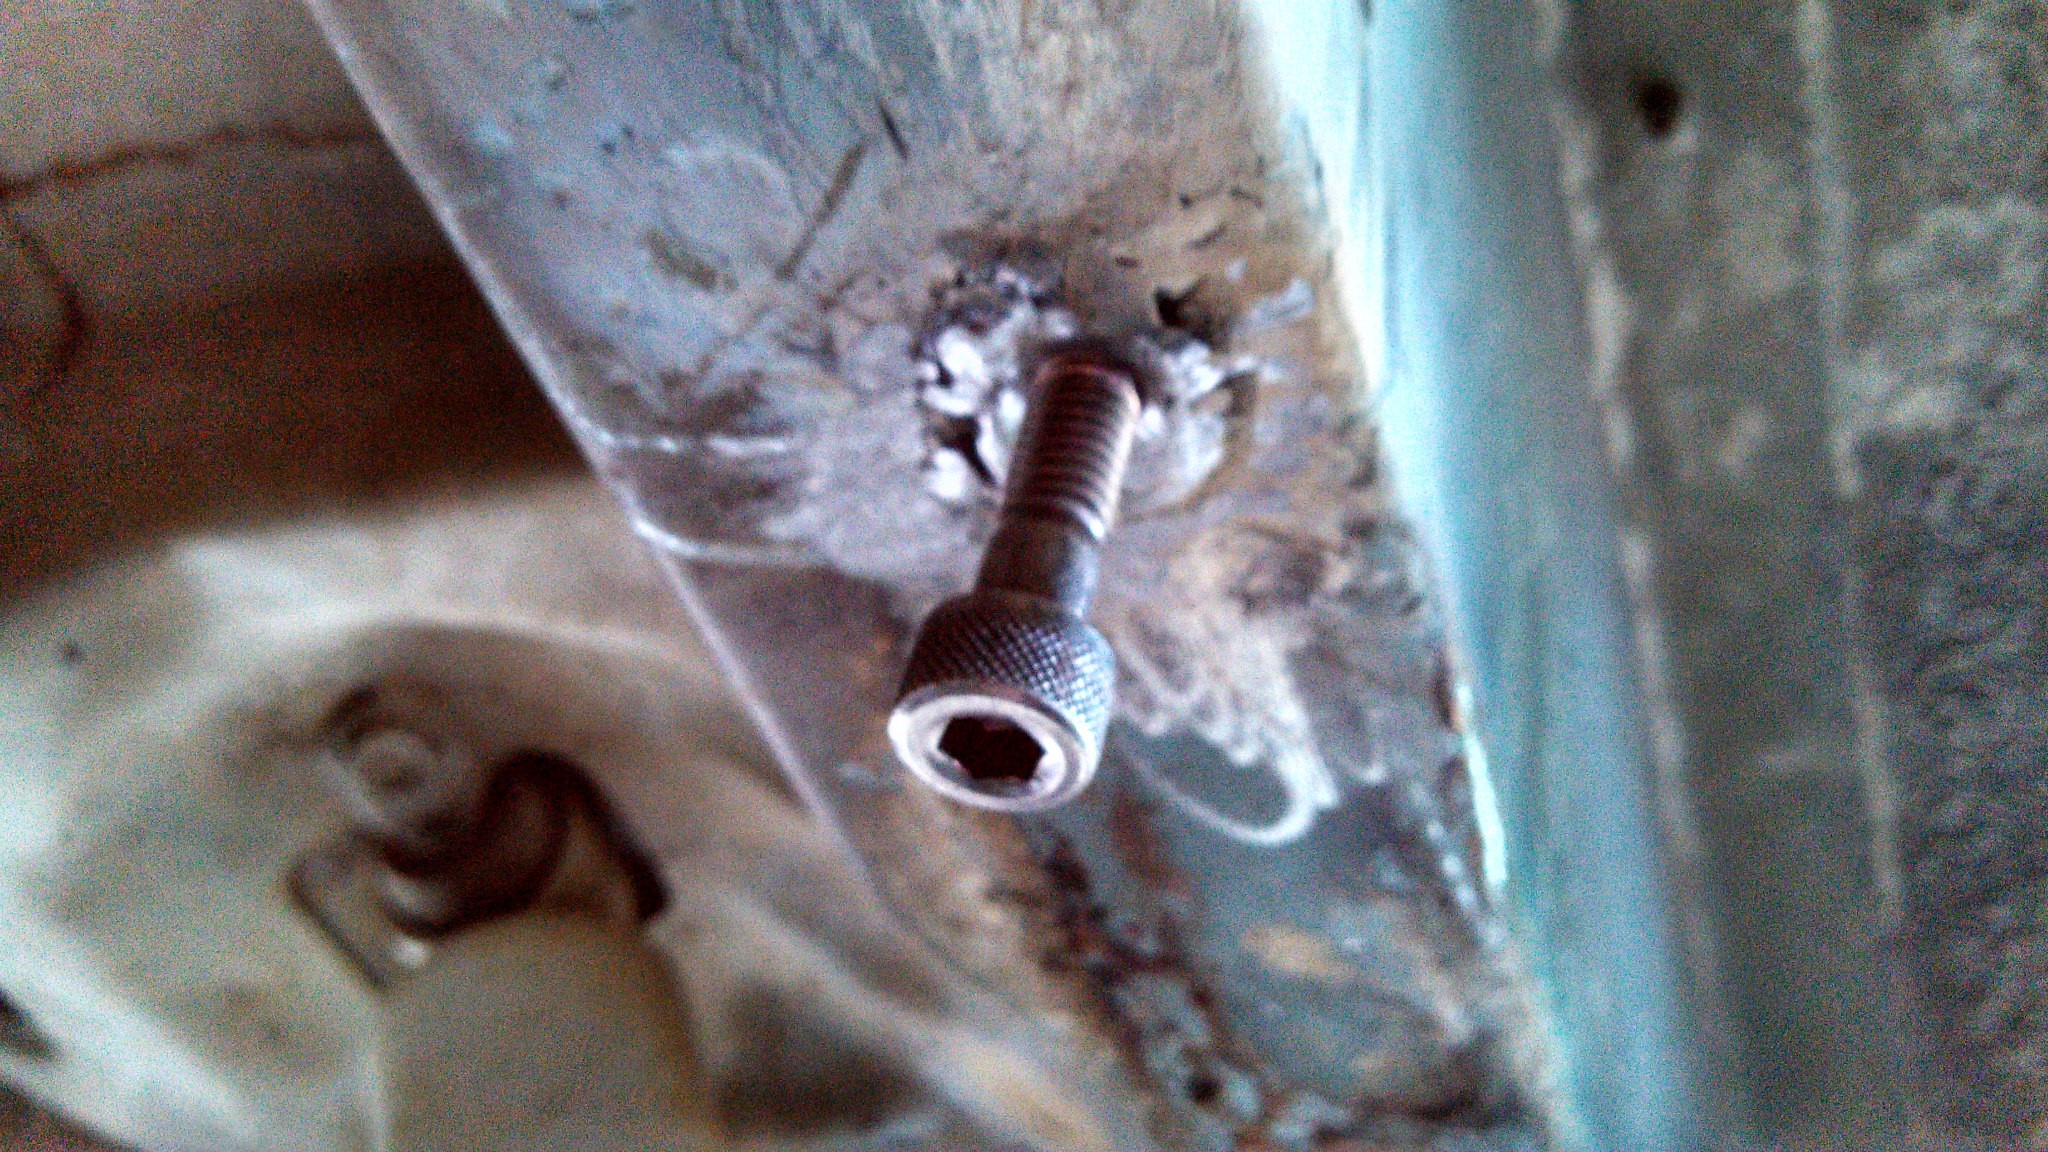
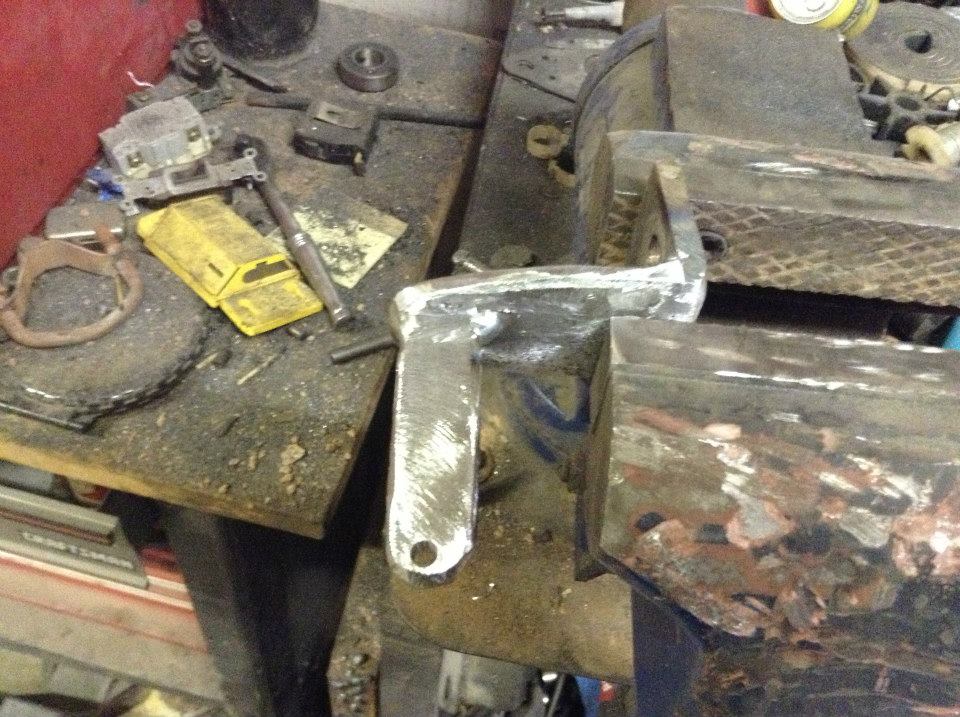
Drilled holes in the plate and cut the tube shorter to make fit and mocked up for welding, used my old U-bolt nuts and washers from whne I had my 3" lift.
Welded passenger.
Welded driver, cut a notch for the shock.
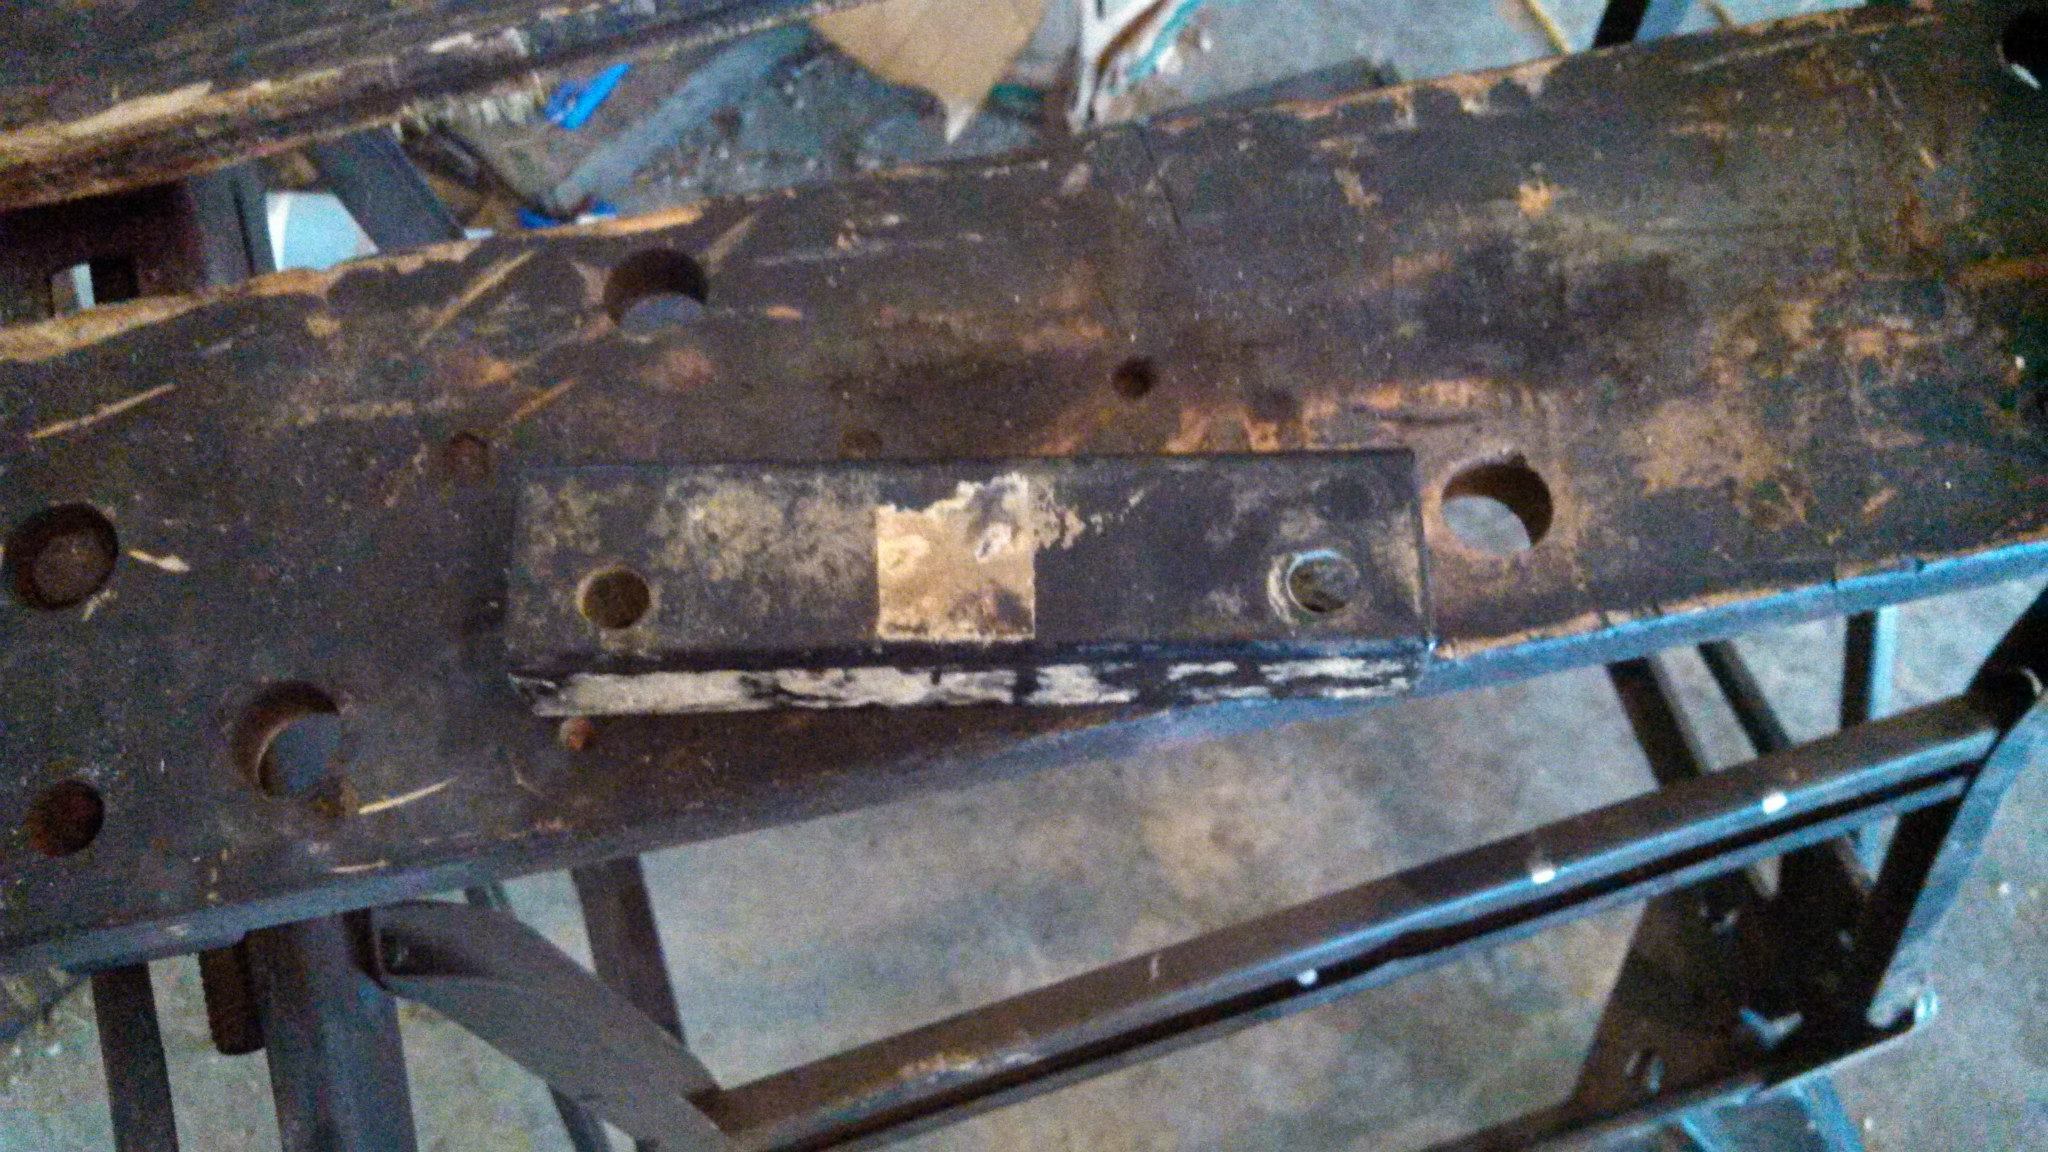
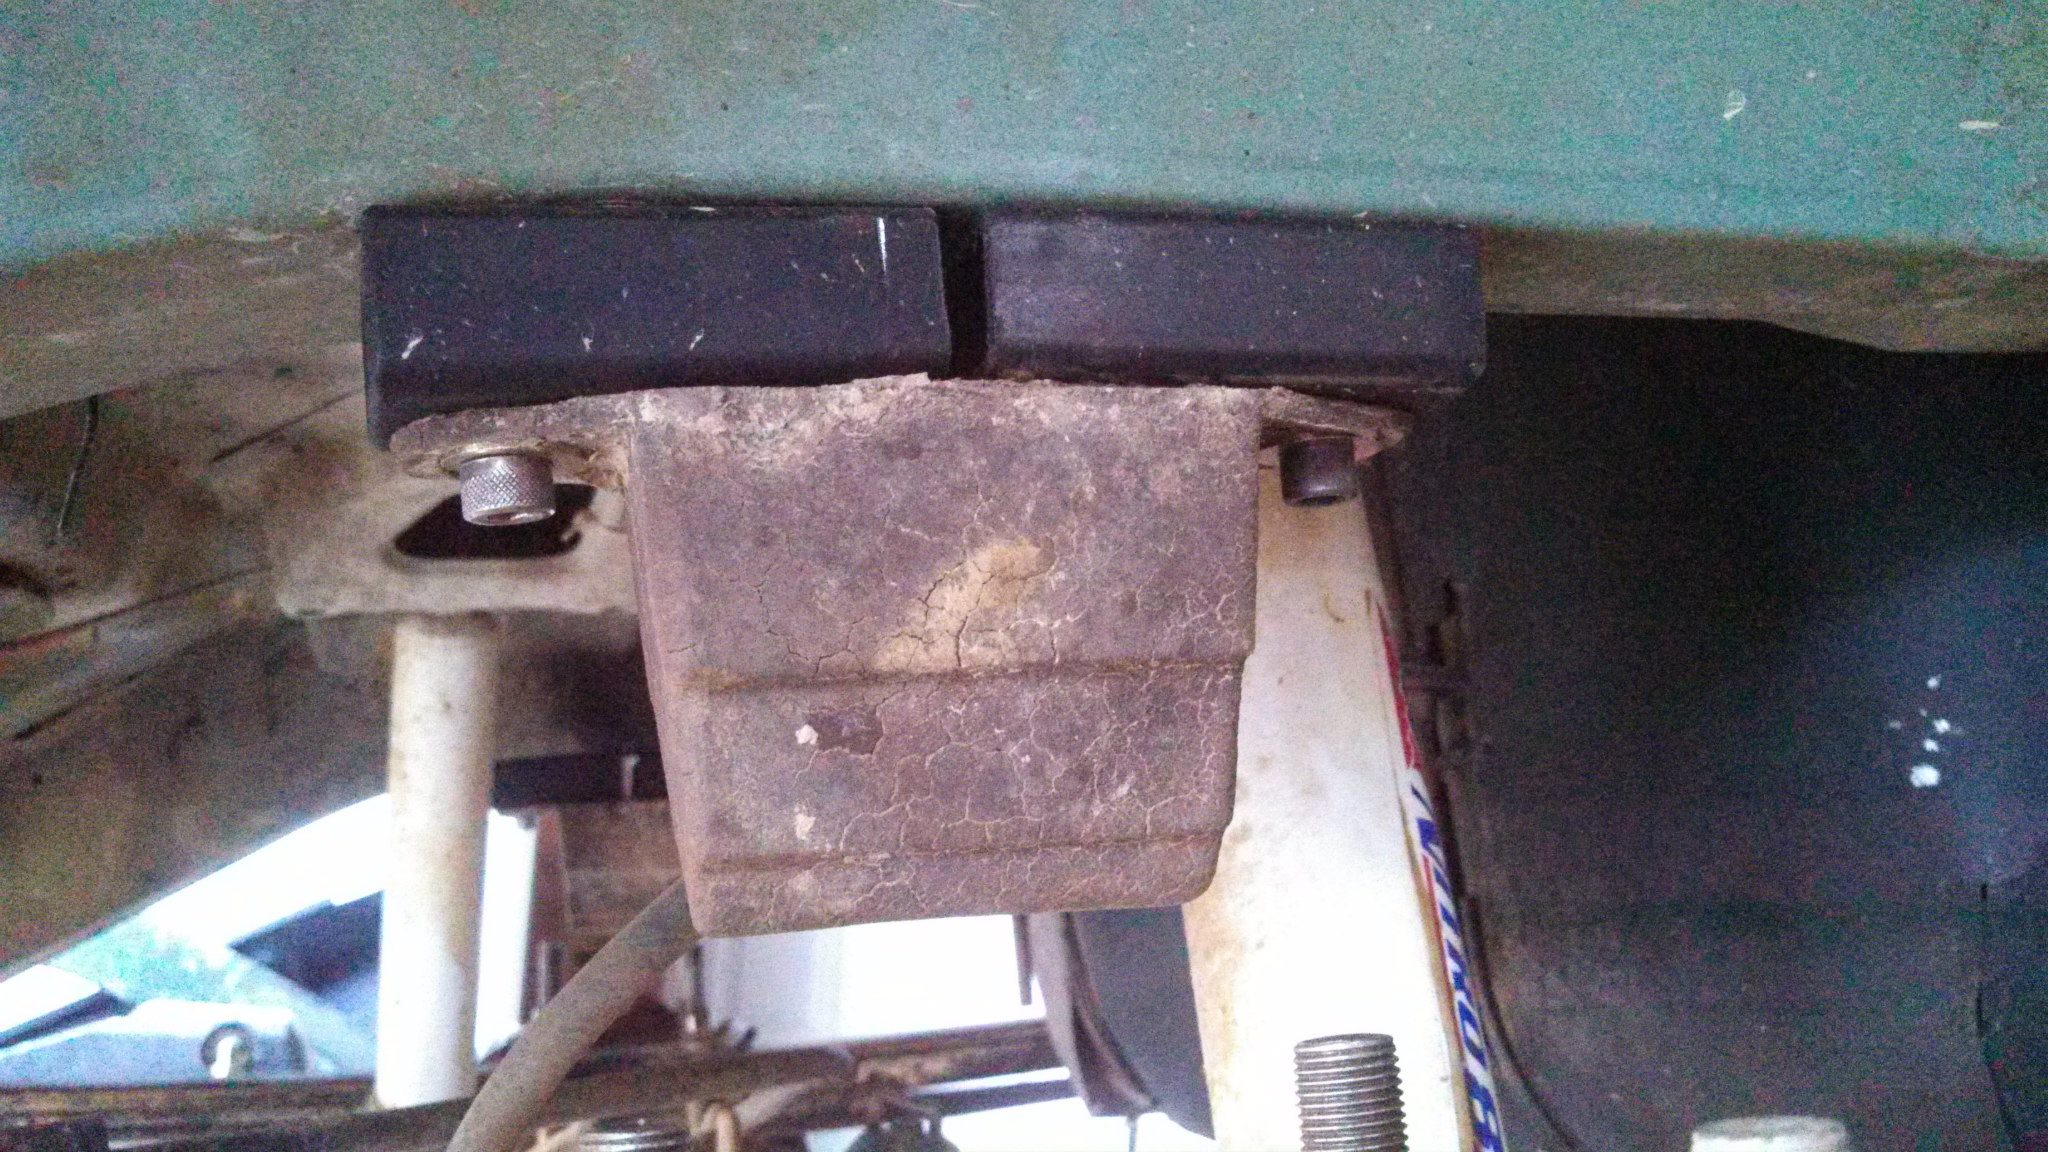
Used my old 1" crossmember drop for the bump stop to lower it an inch so I wouldn't have to stack as many plates on the plate on the axle.
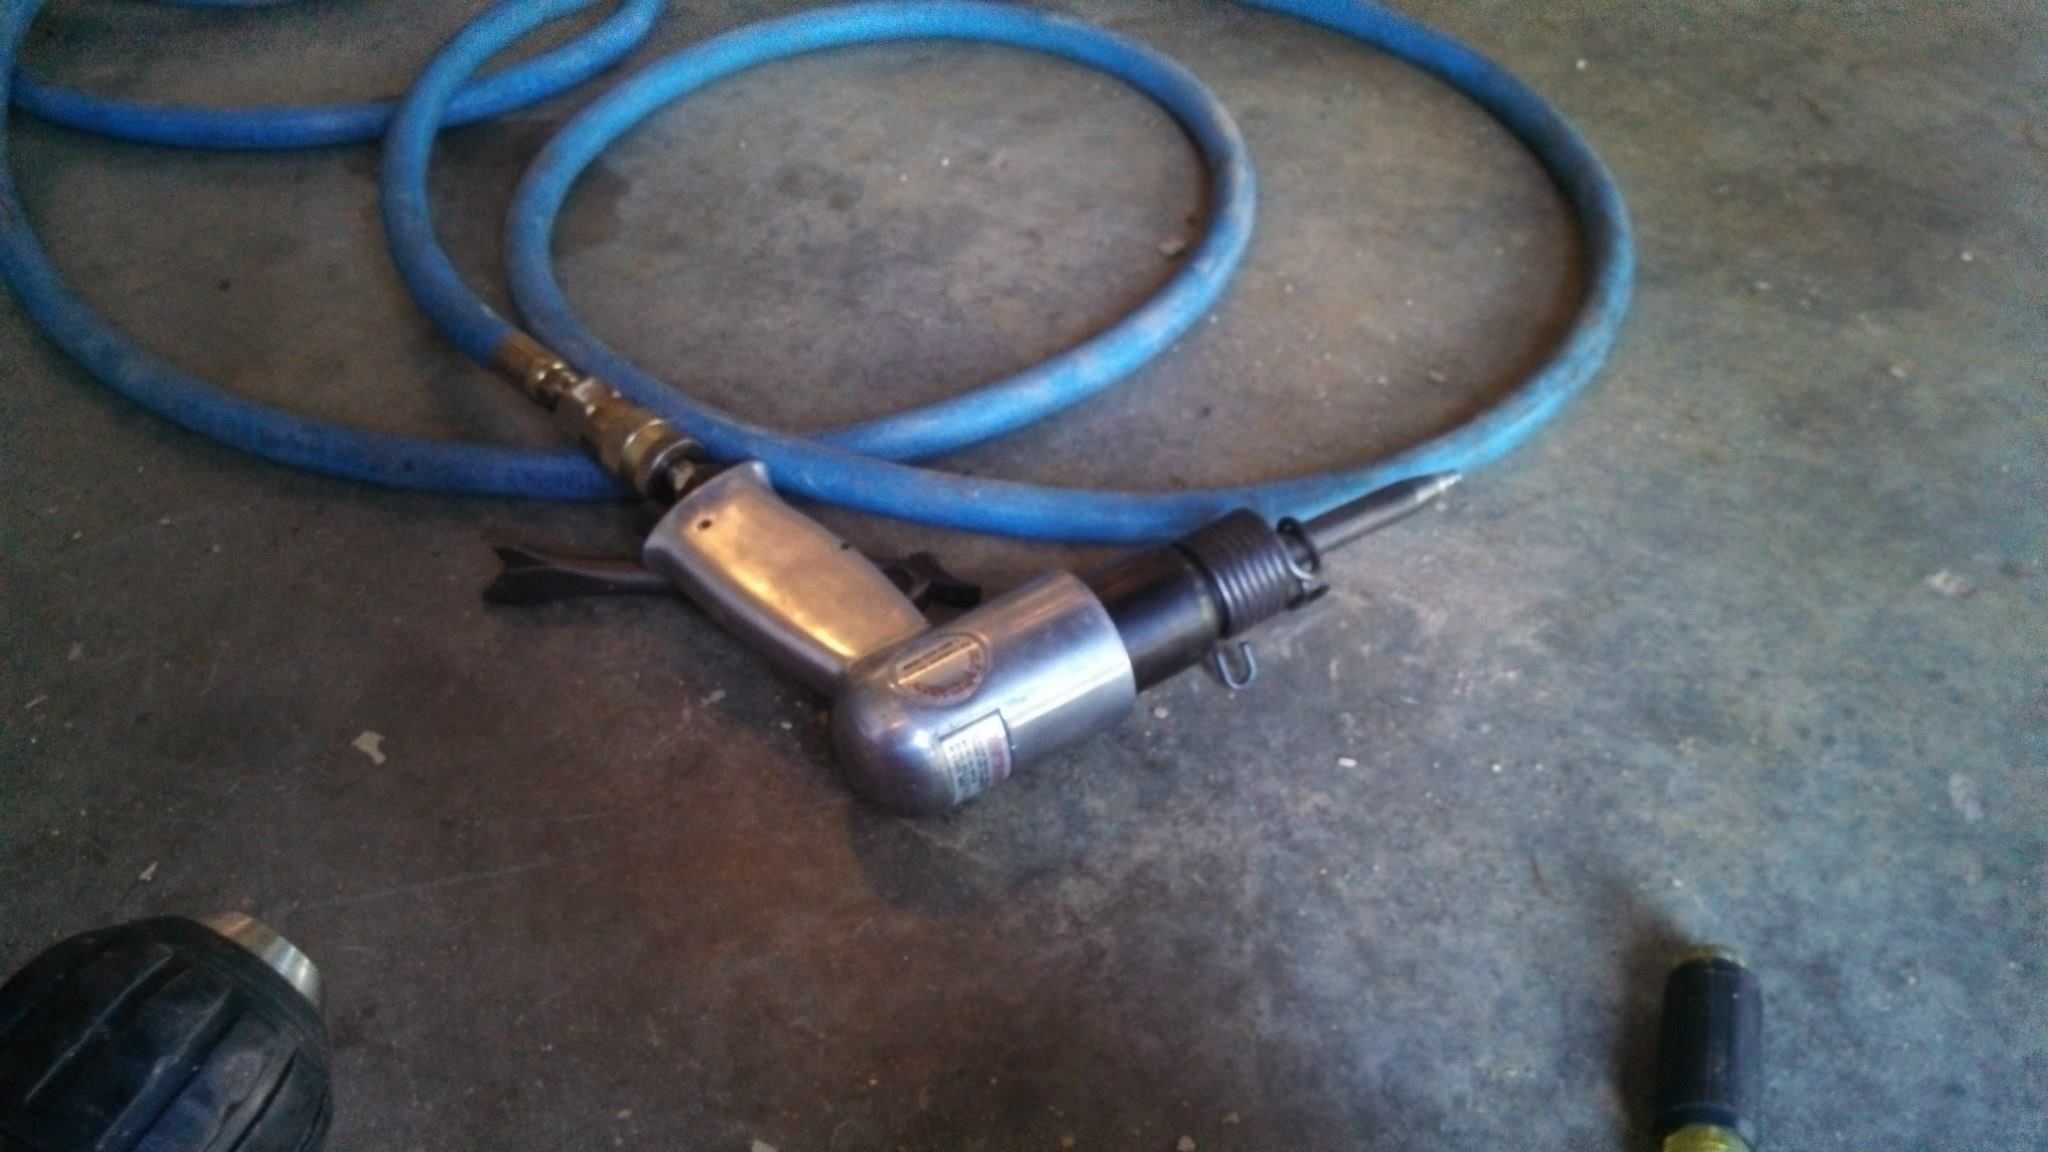
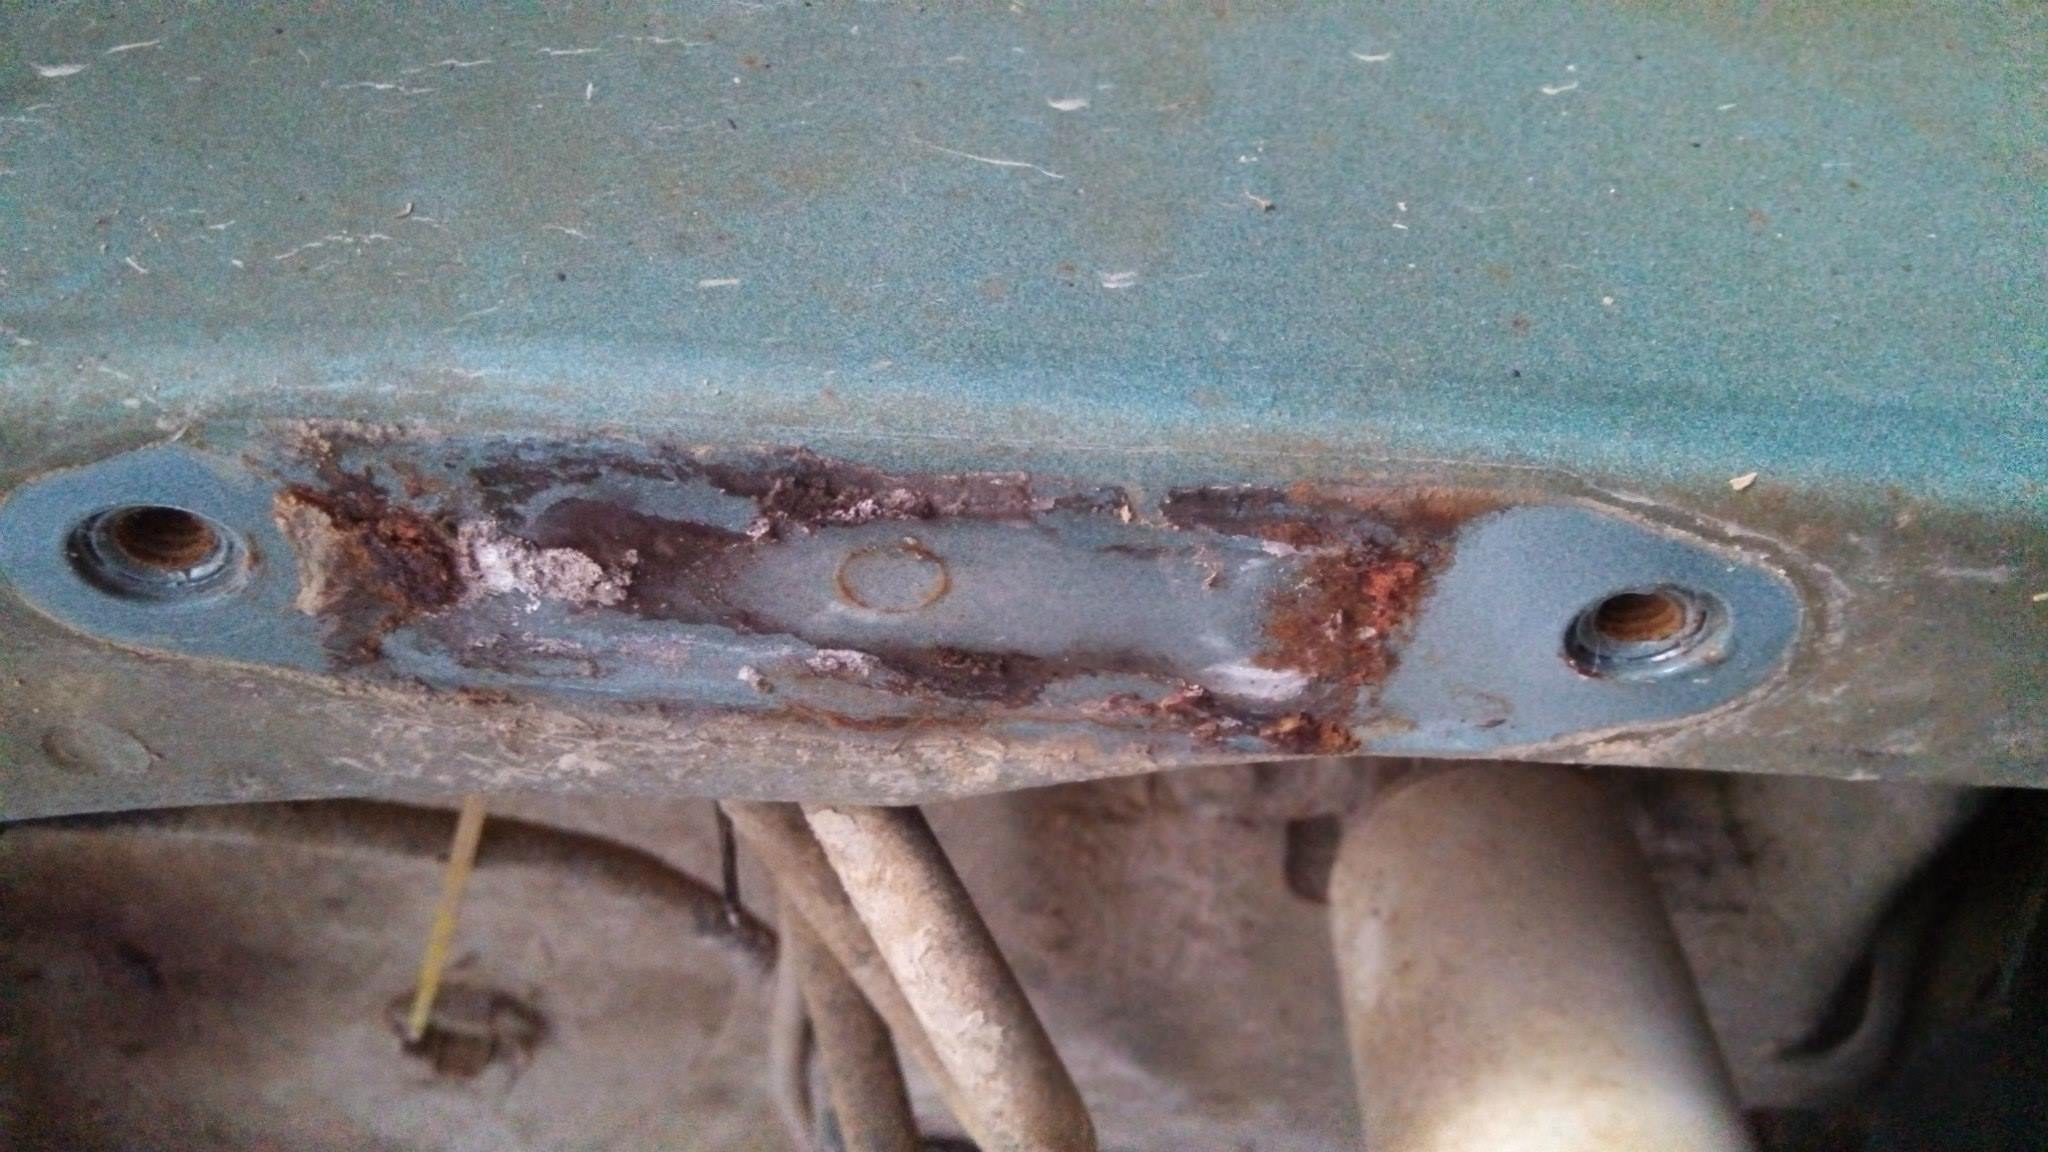
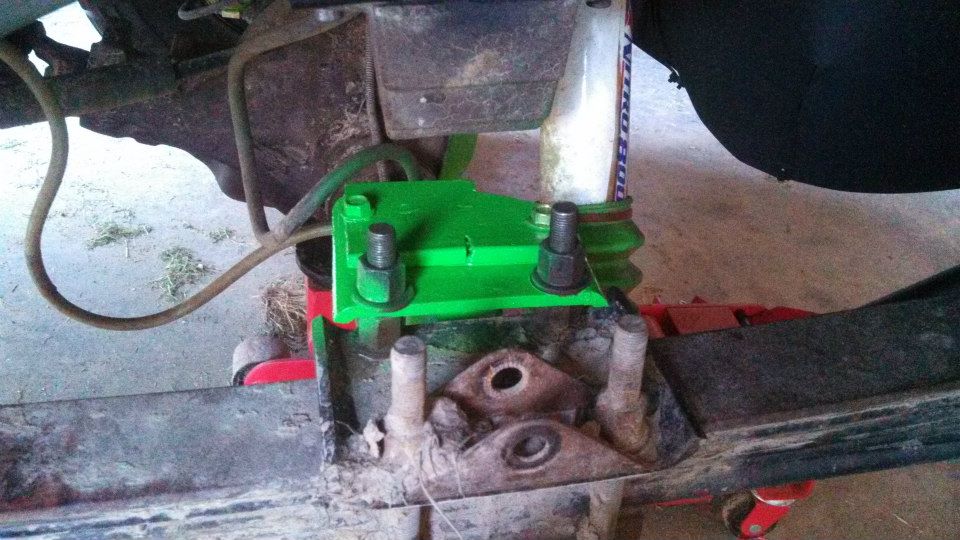
Aaand one of the bolts broke on the passenger side bump stop. I tried to use an easy-out but that snapped, and when I was just going to re drill the hole, none of my drill bits were going through, even the carbide bits... So I got to use the new air compressor we got and air hammered the sucker out of there... well, bent it out of the way.
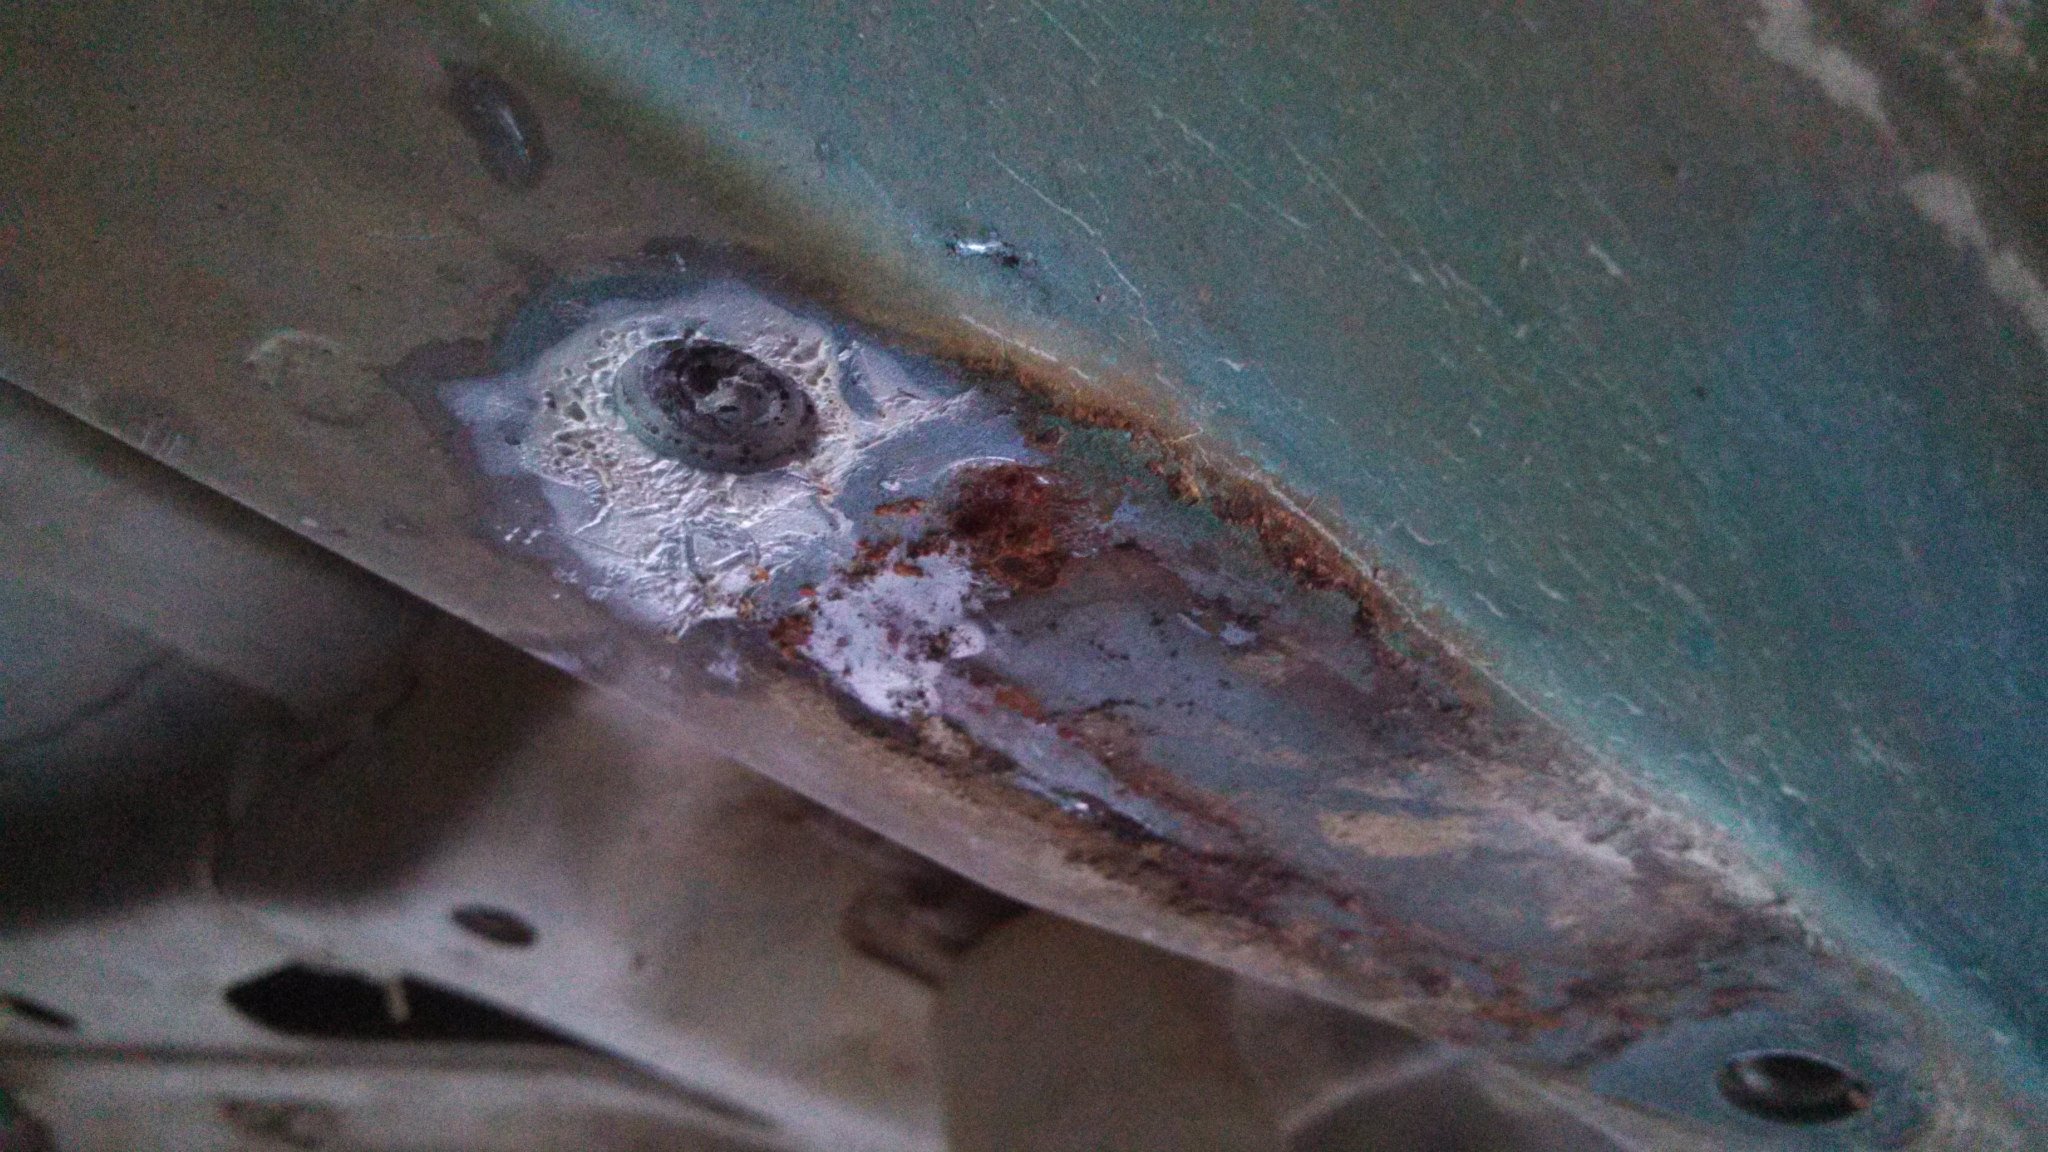
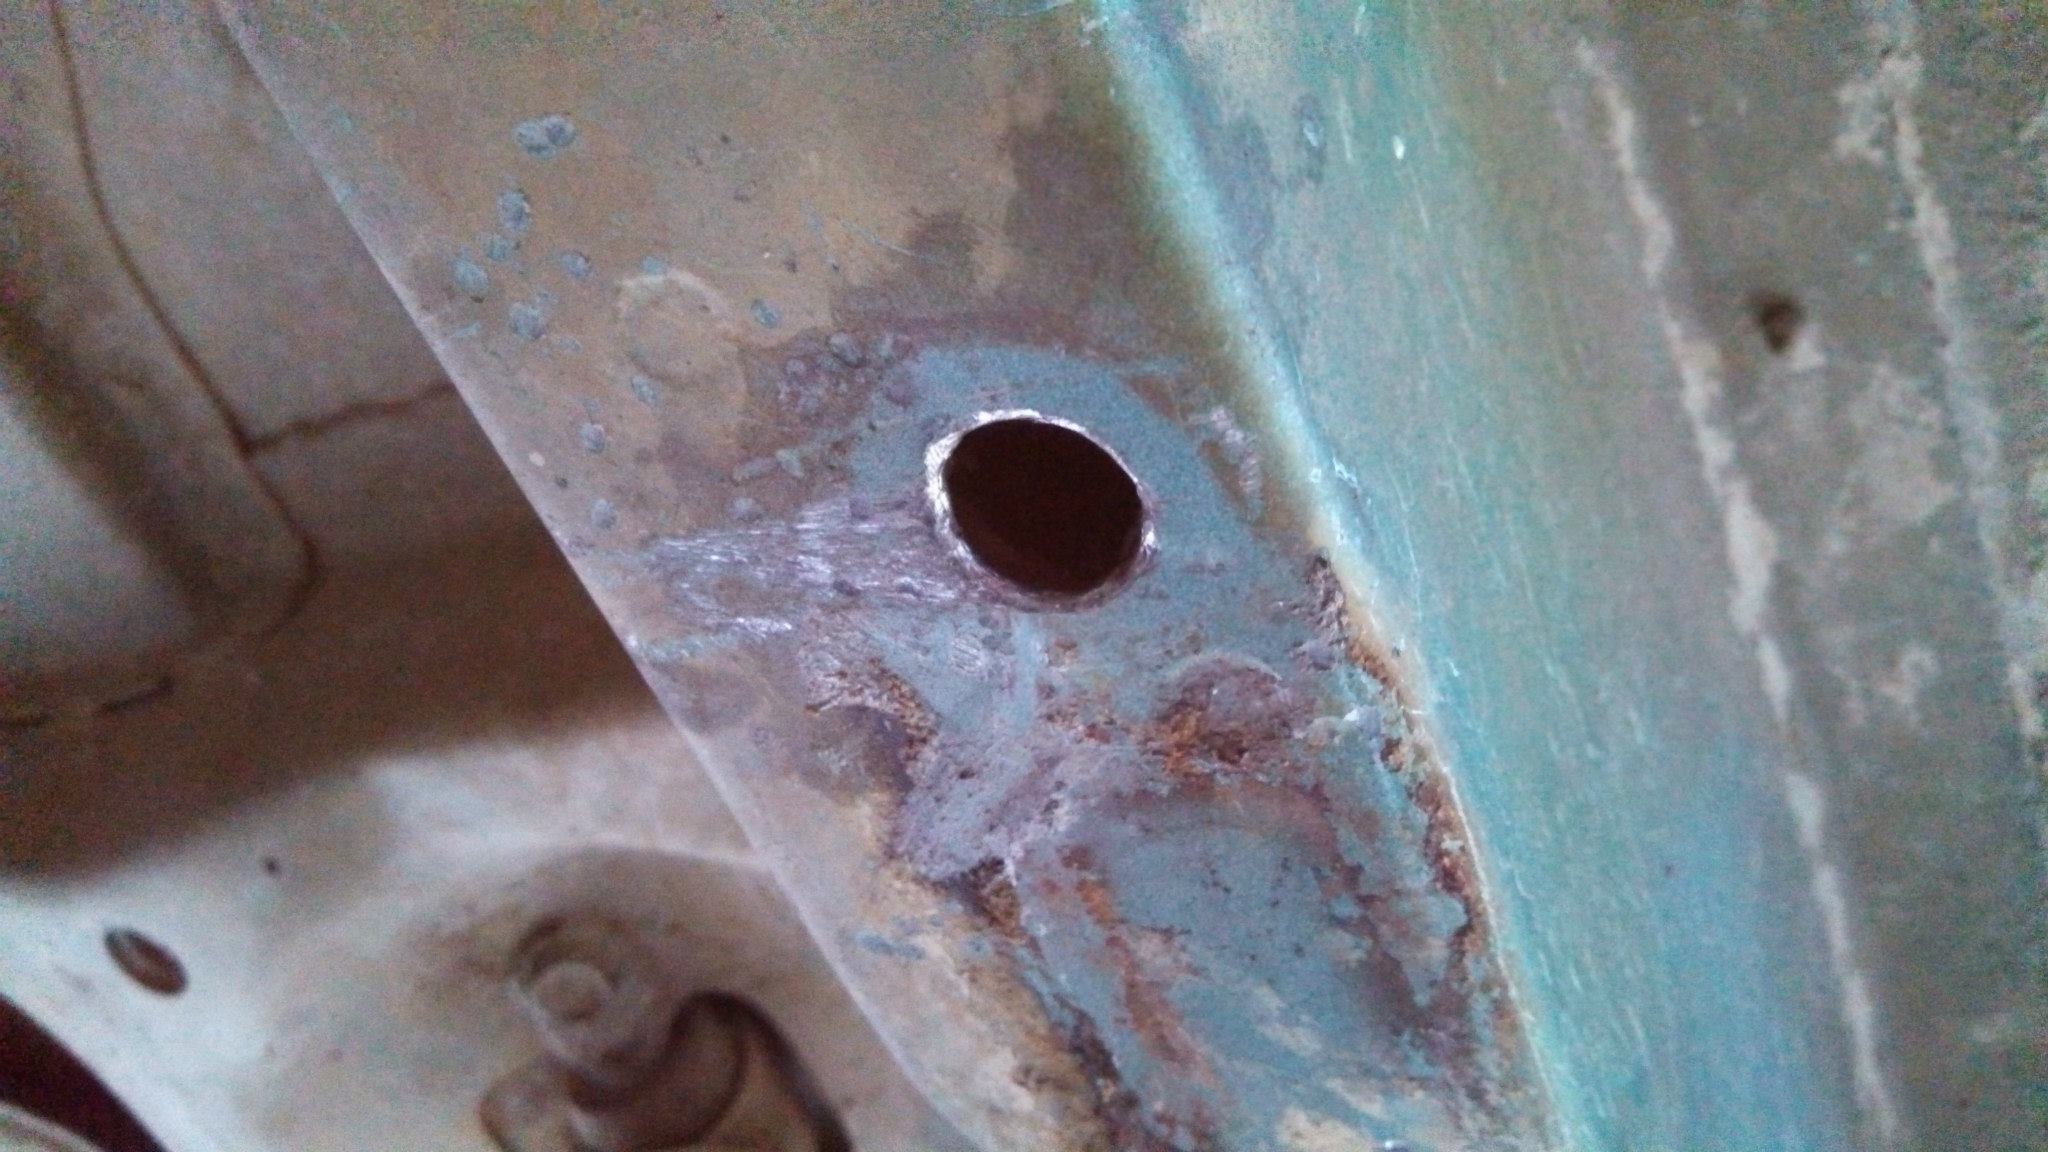
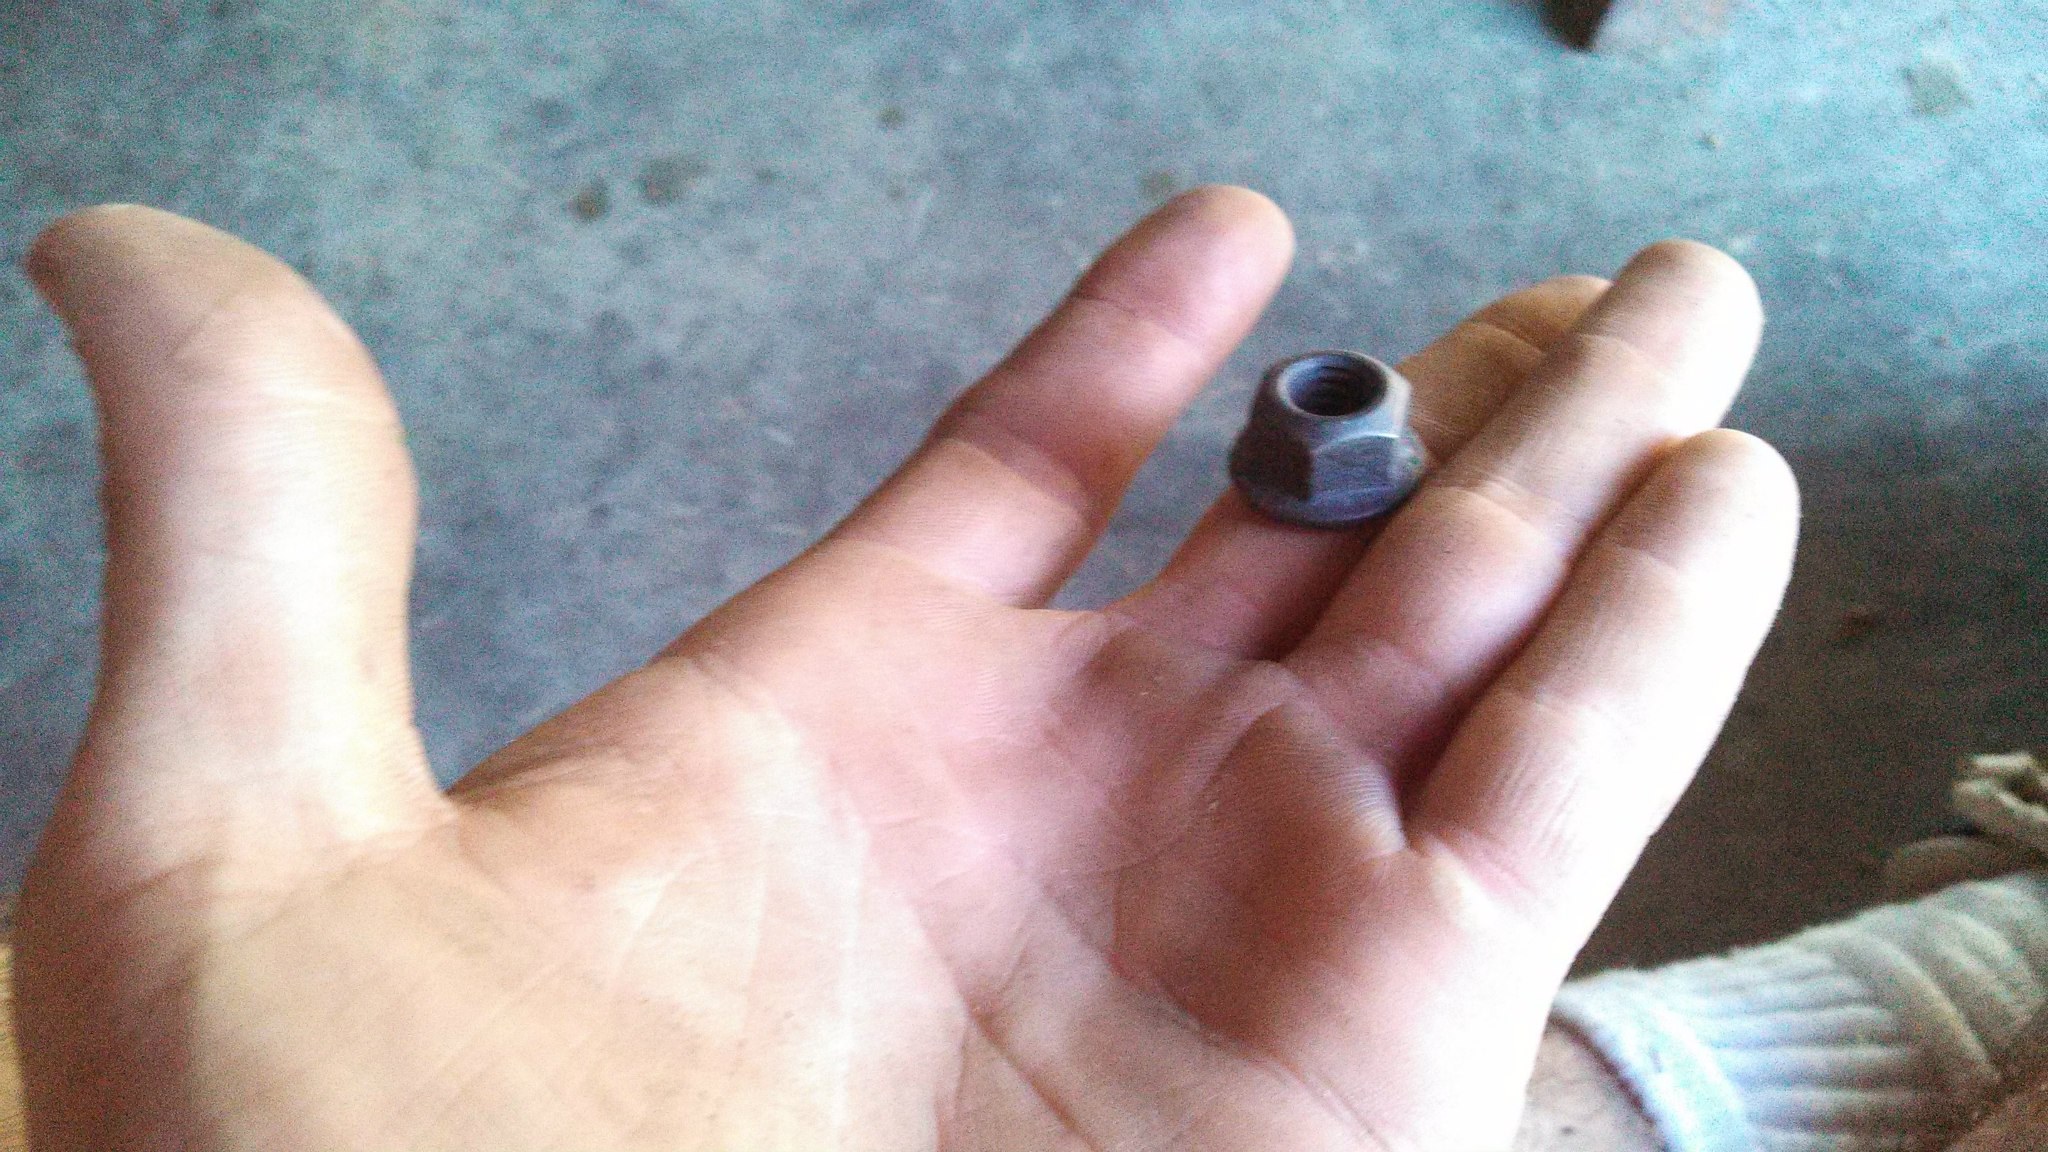
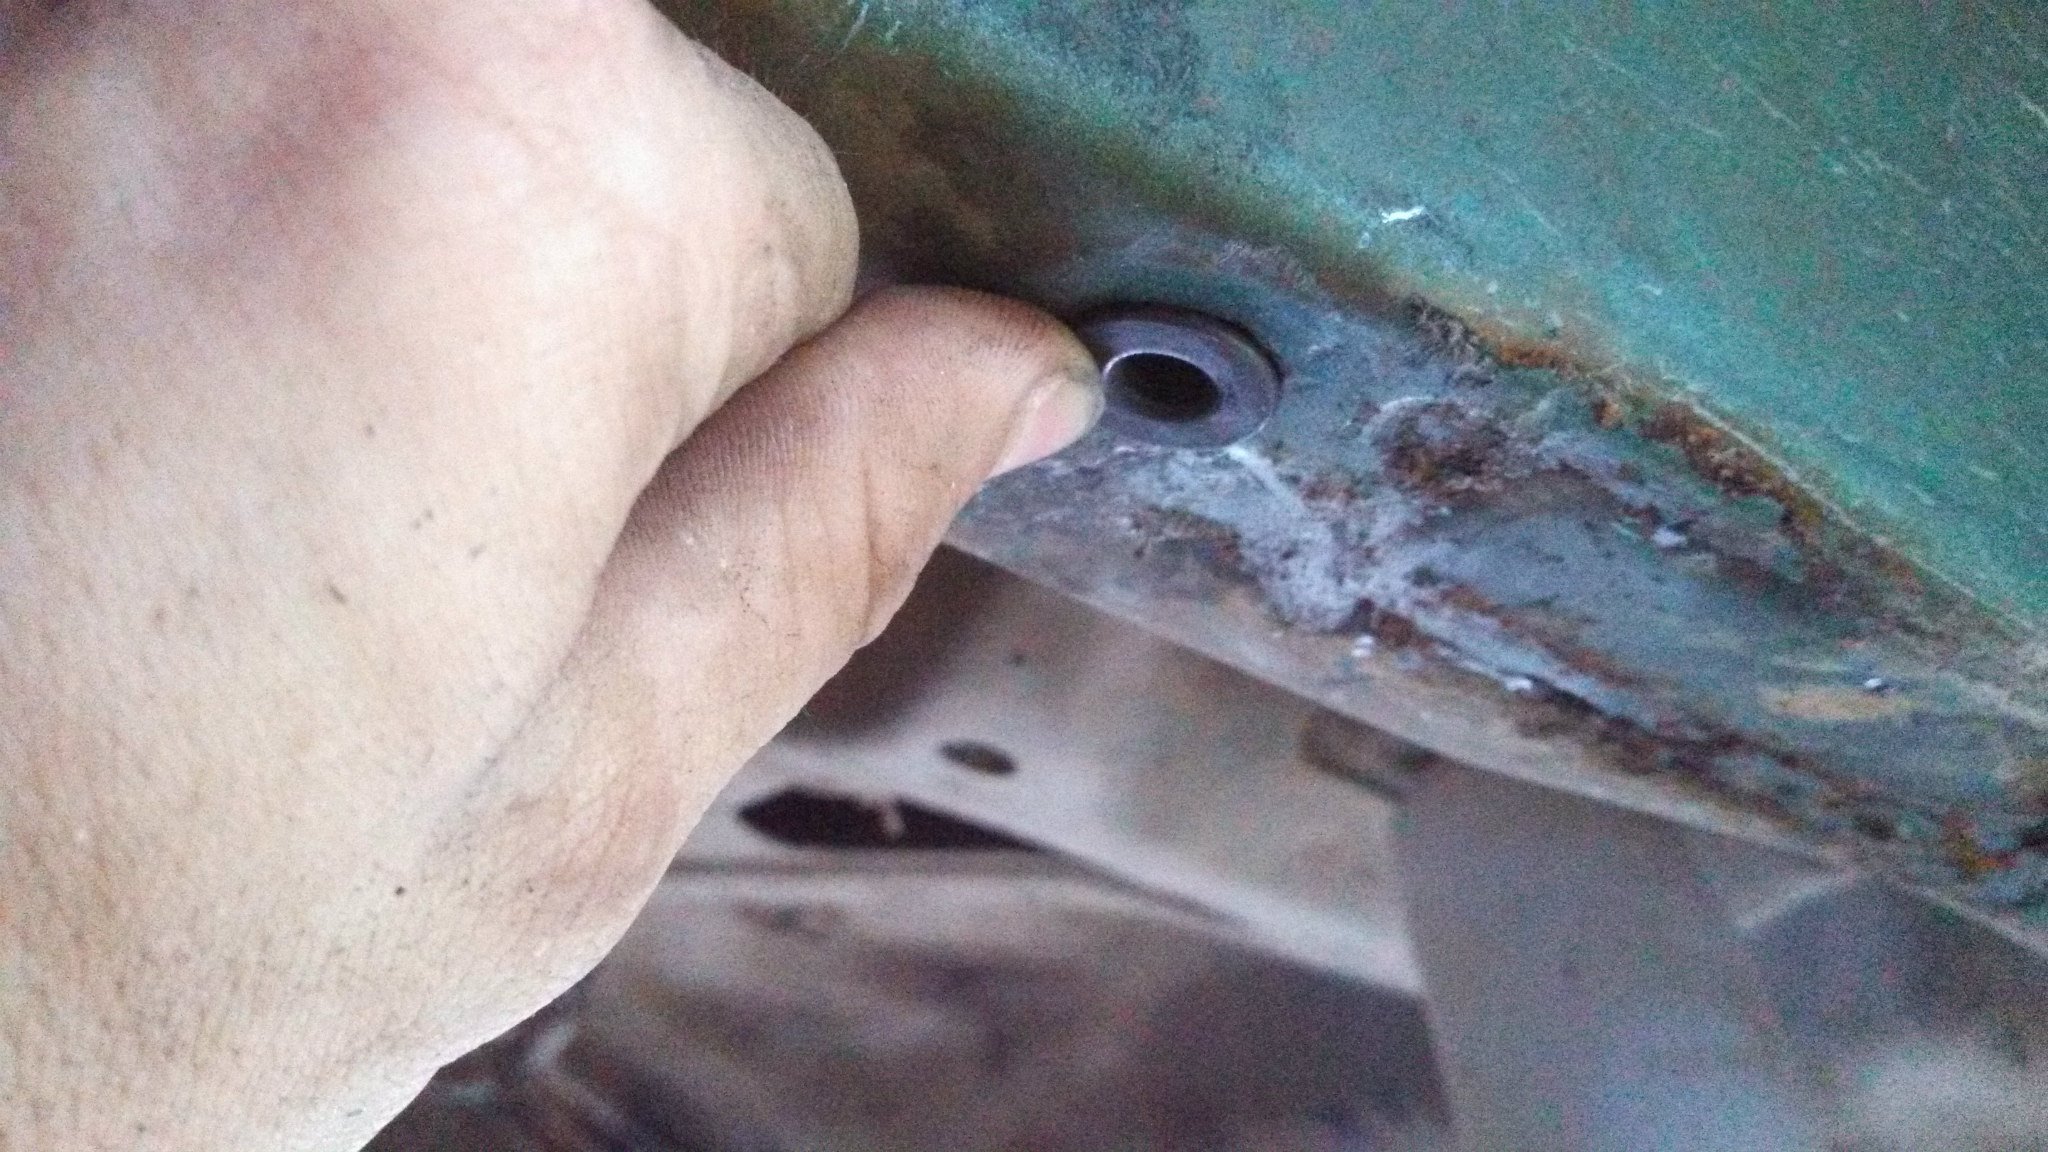
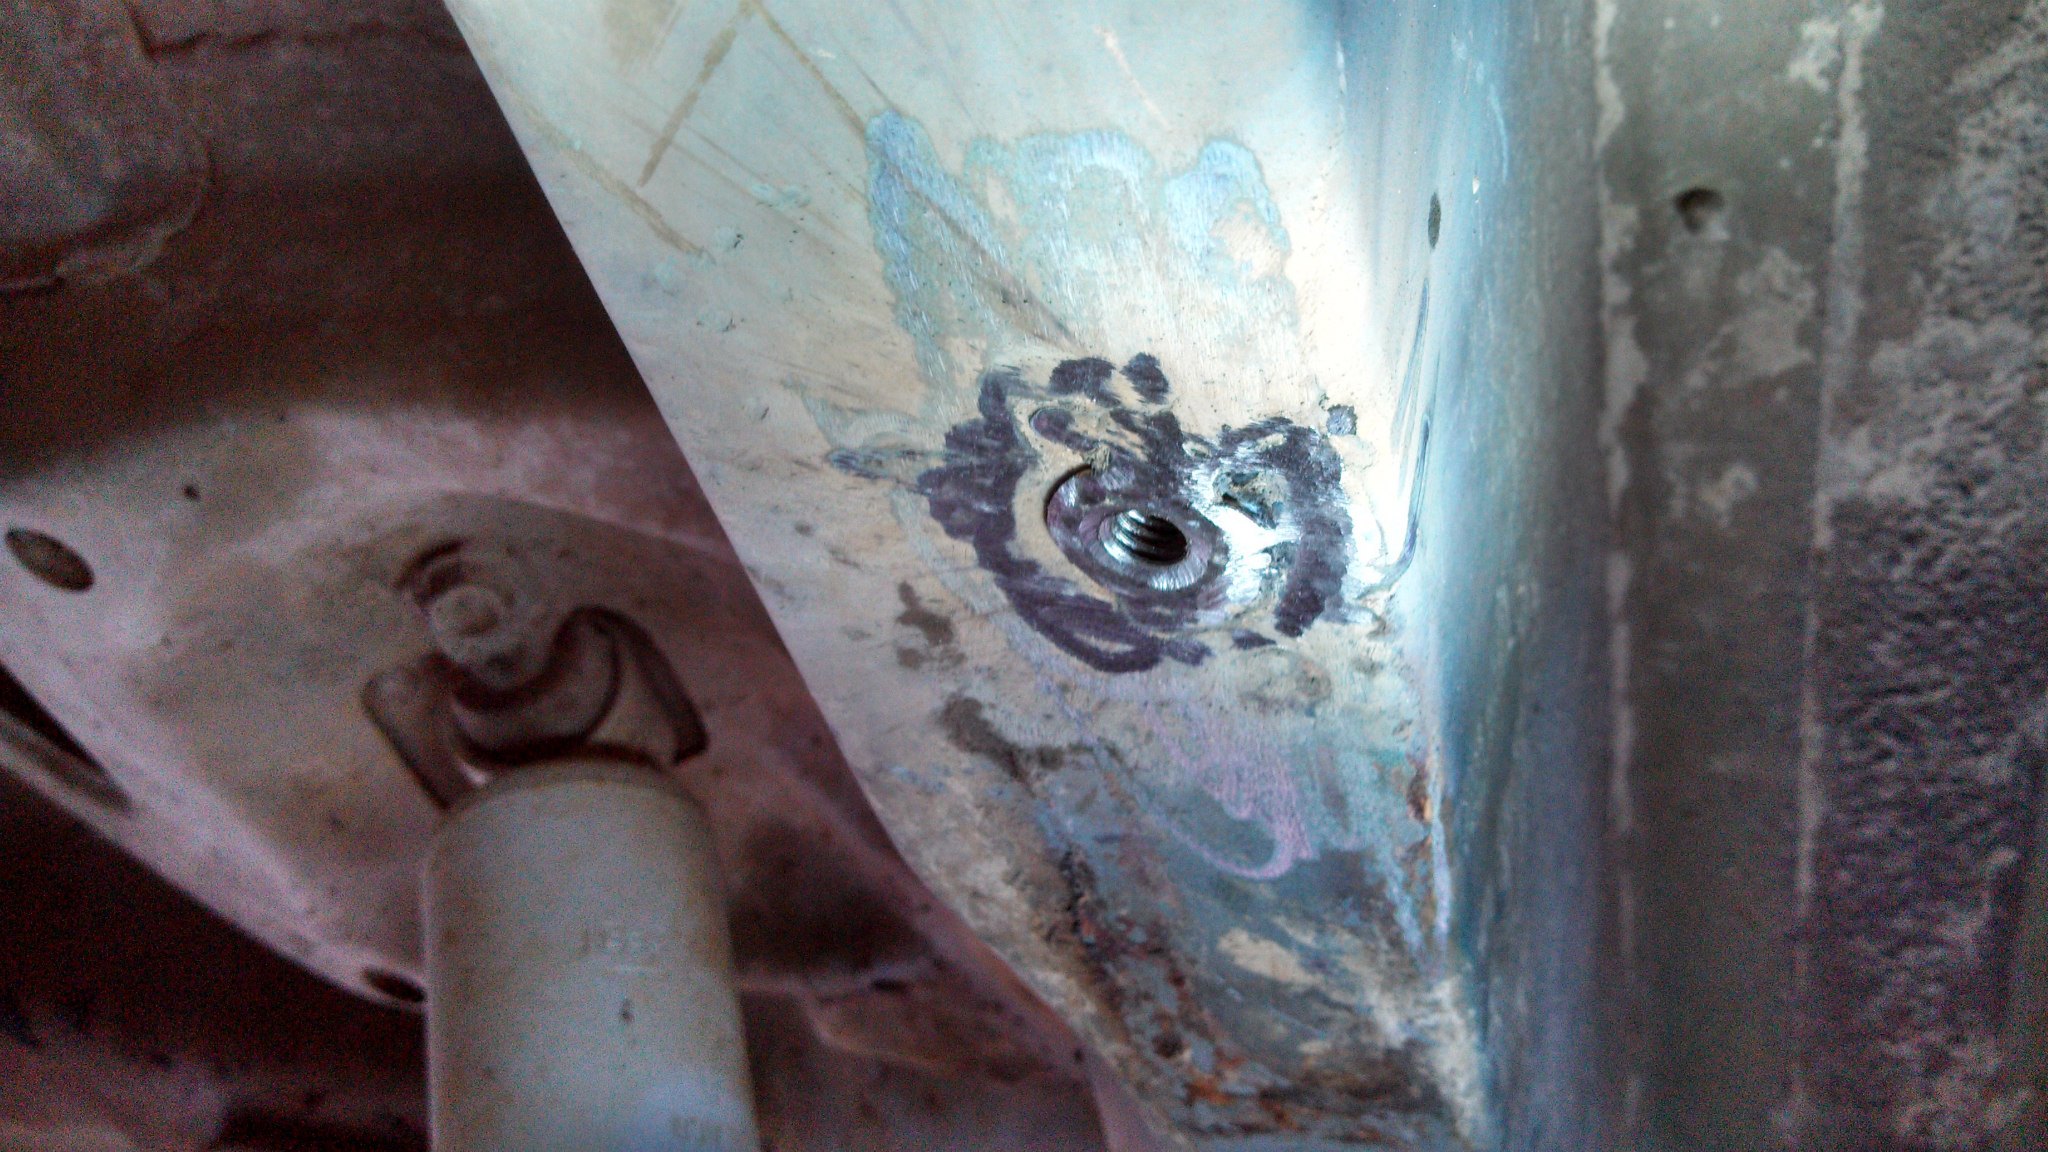
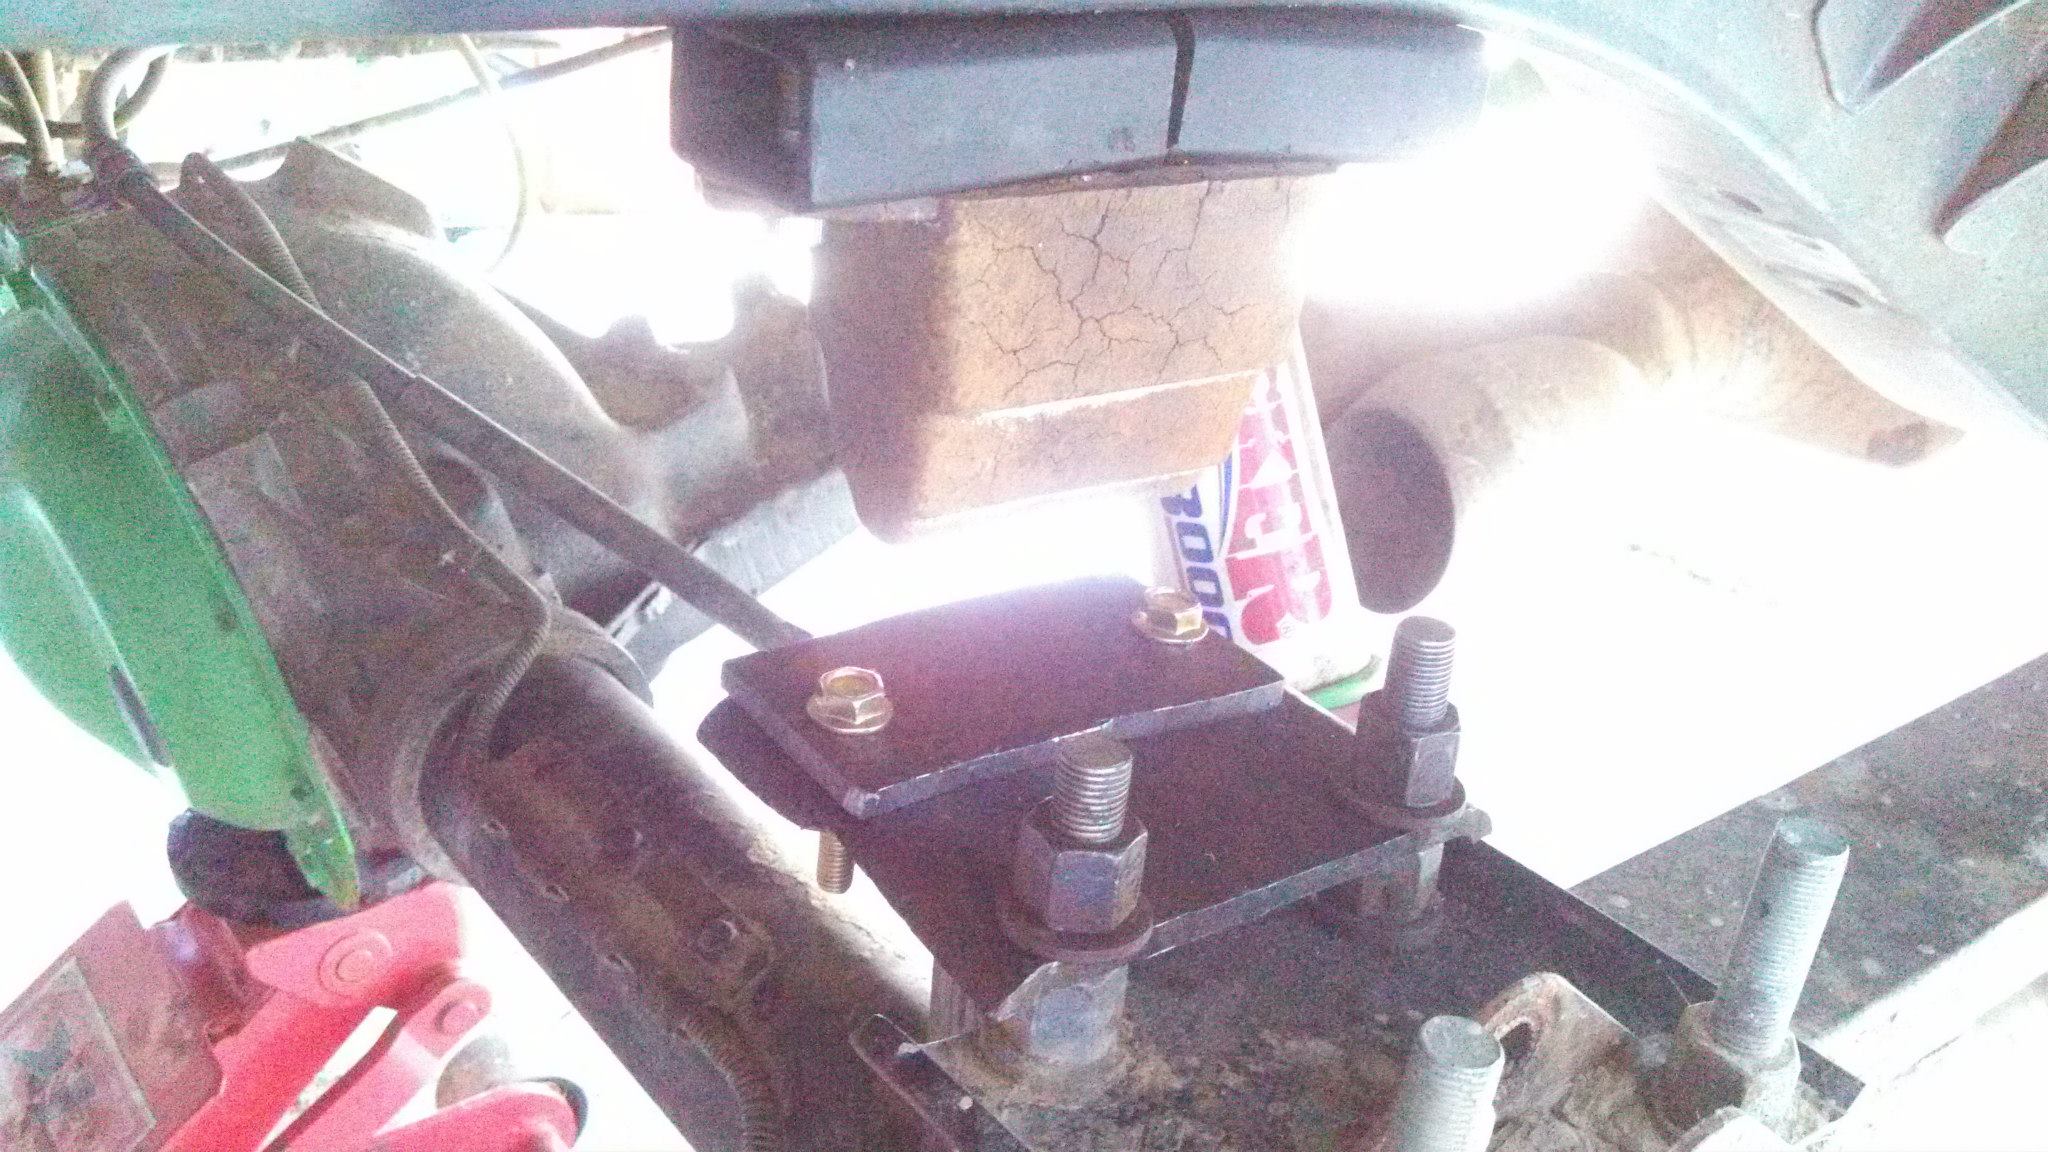
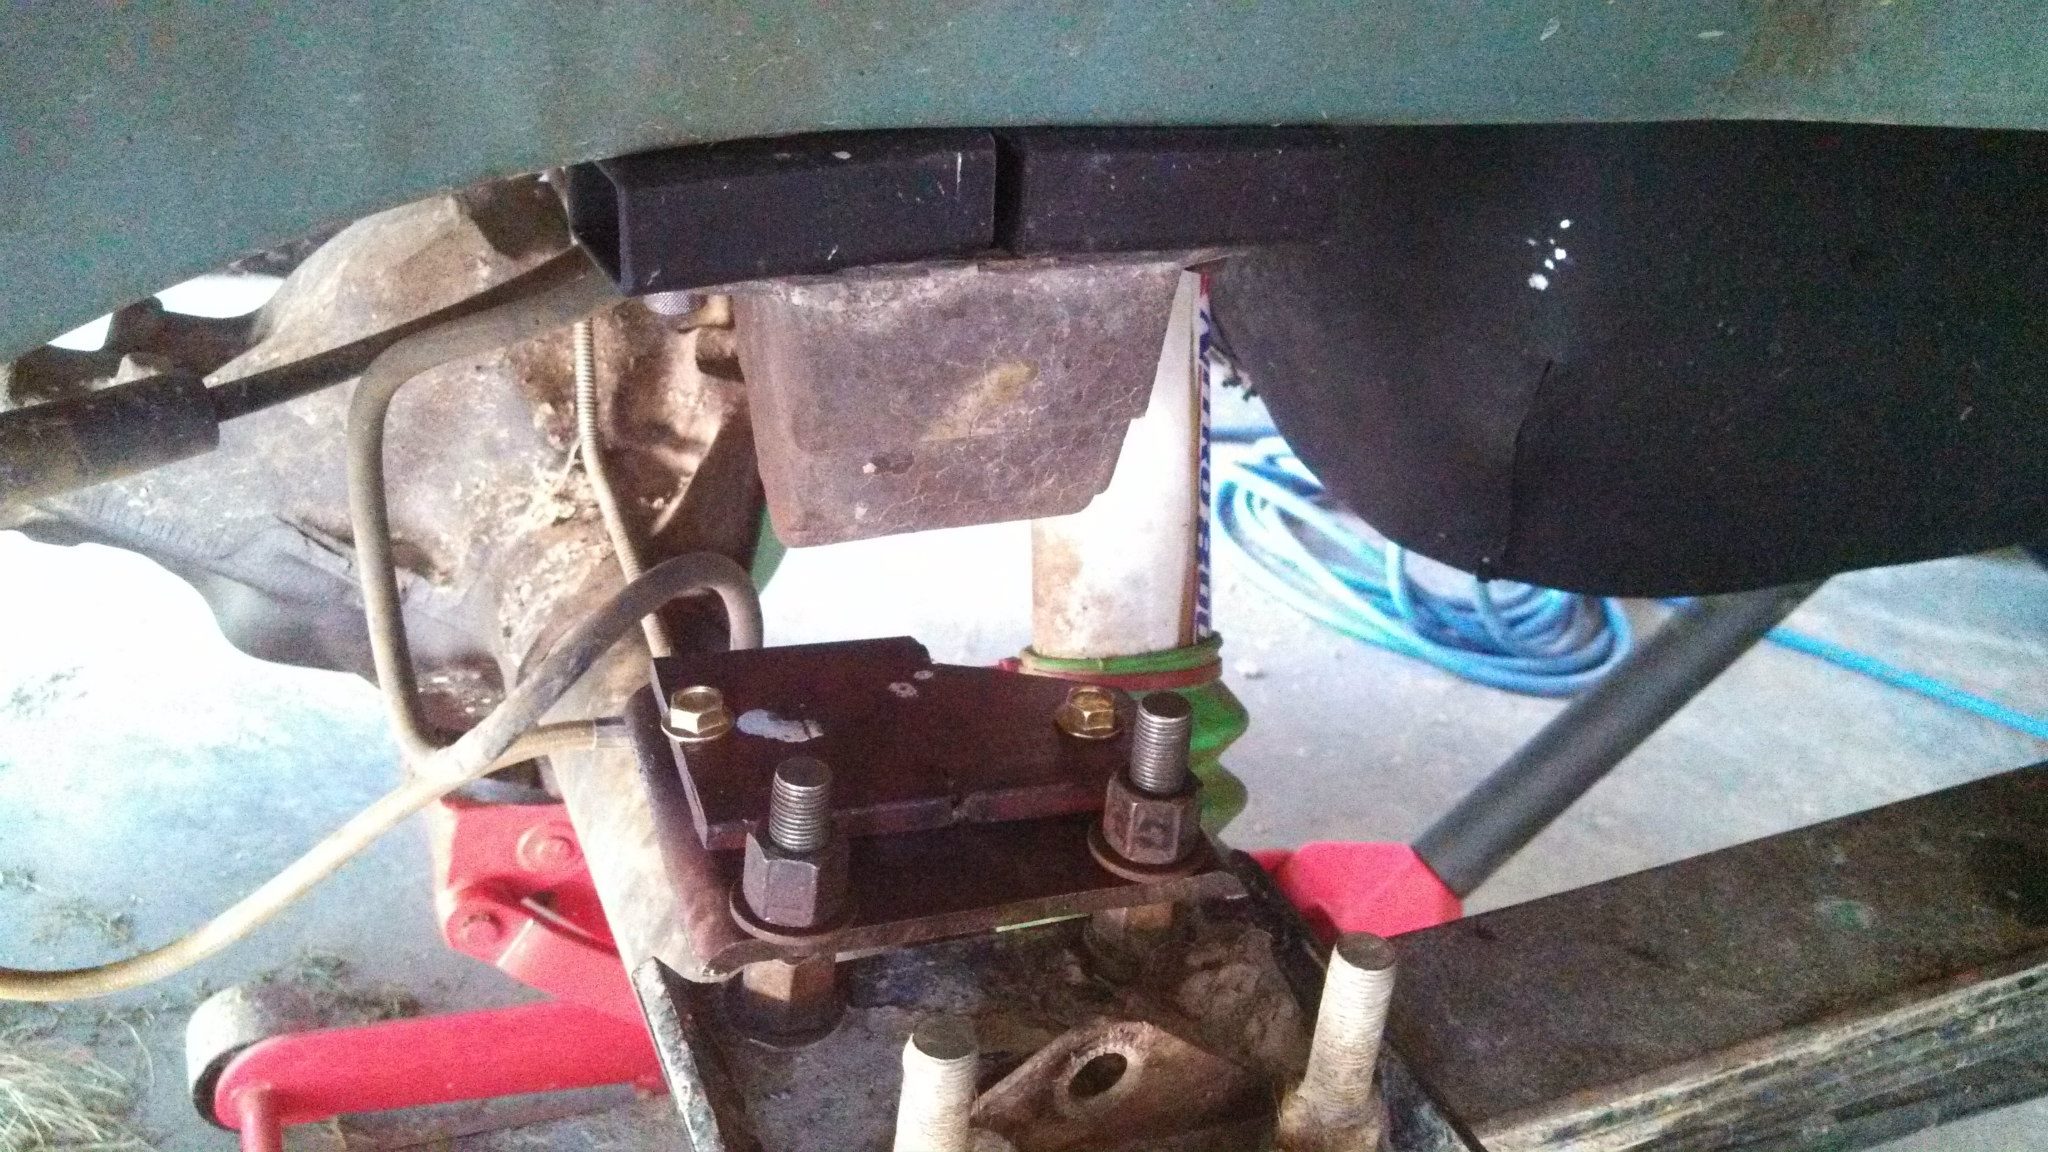
Then got an old grade 8 5/16ths flange nut that I got from AutoZone a while back and found it fit right in the hole perfectly with the flange on the outside. Welded that in place.
Cut the 1" drop so it would fit better.
Thank got the driver side didn't break, it went smoothly.
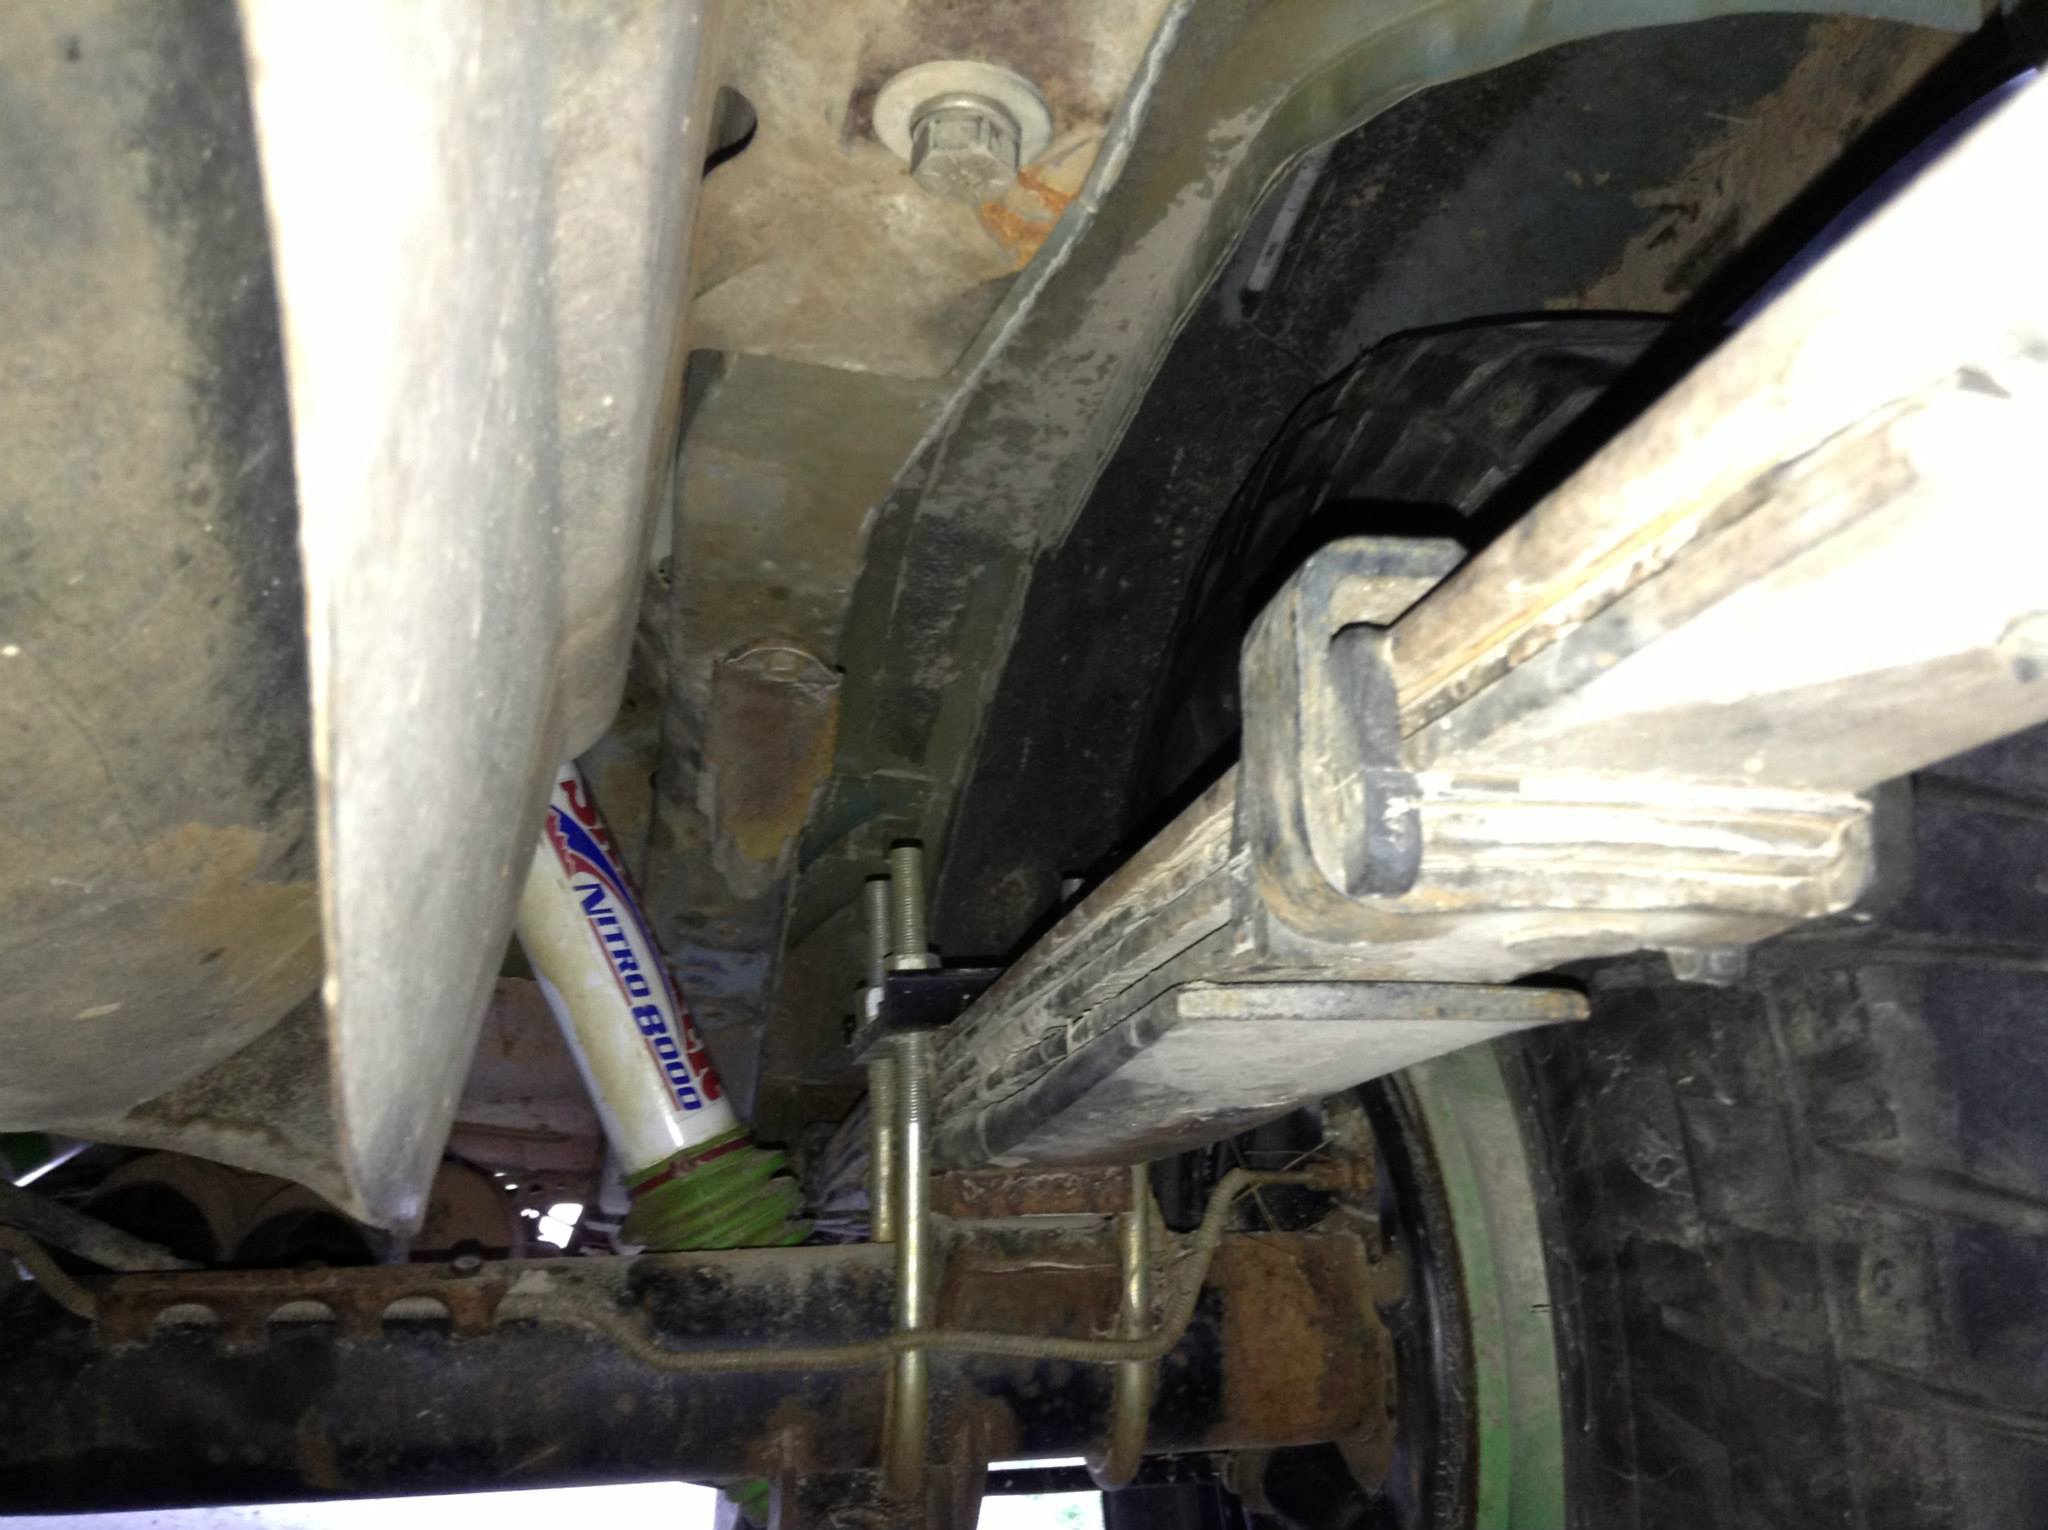
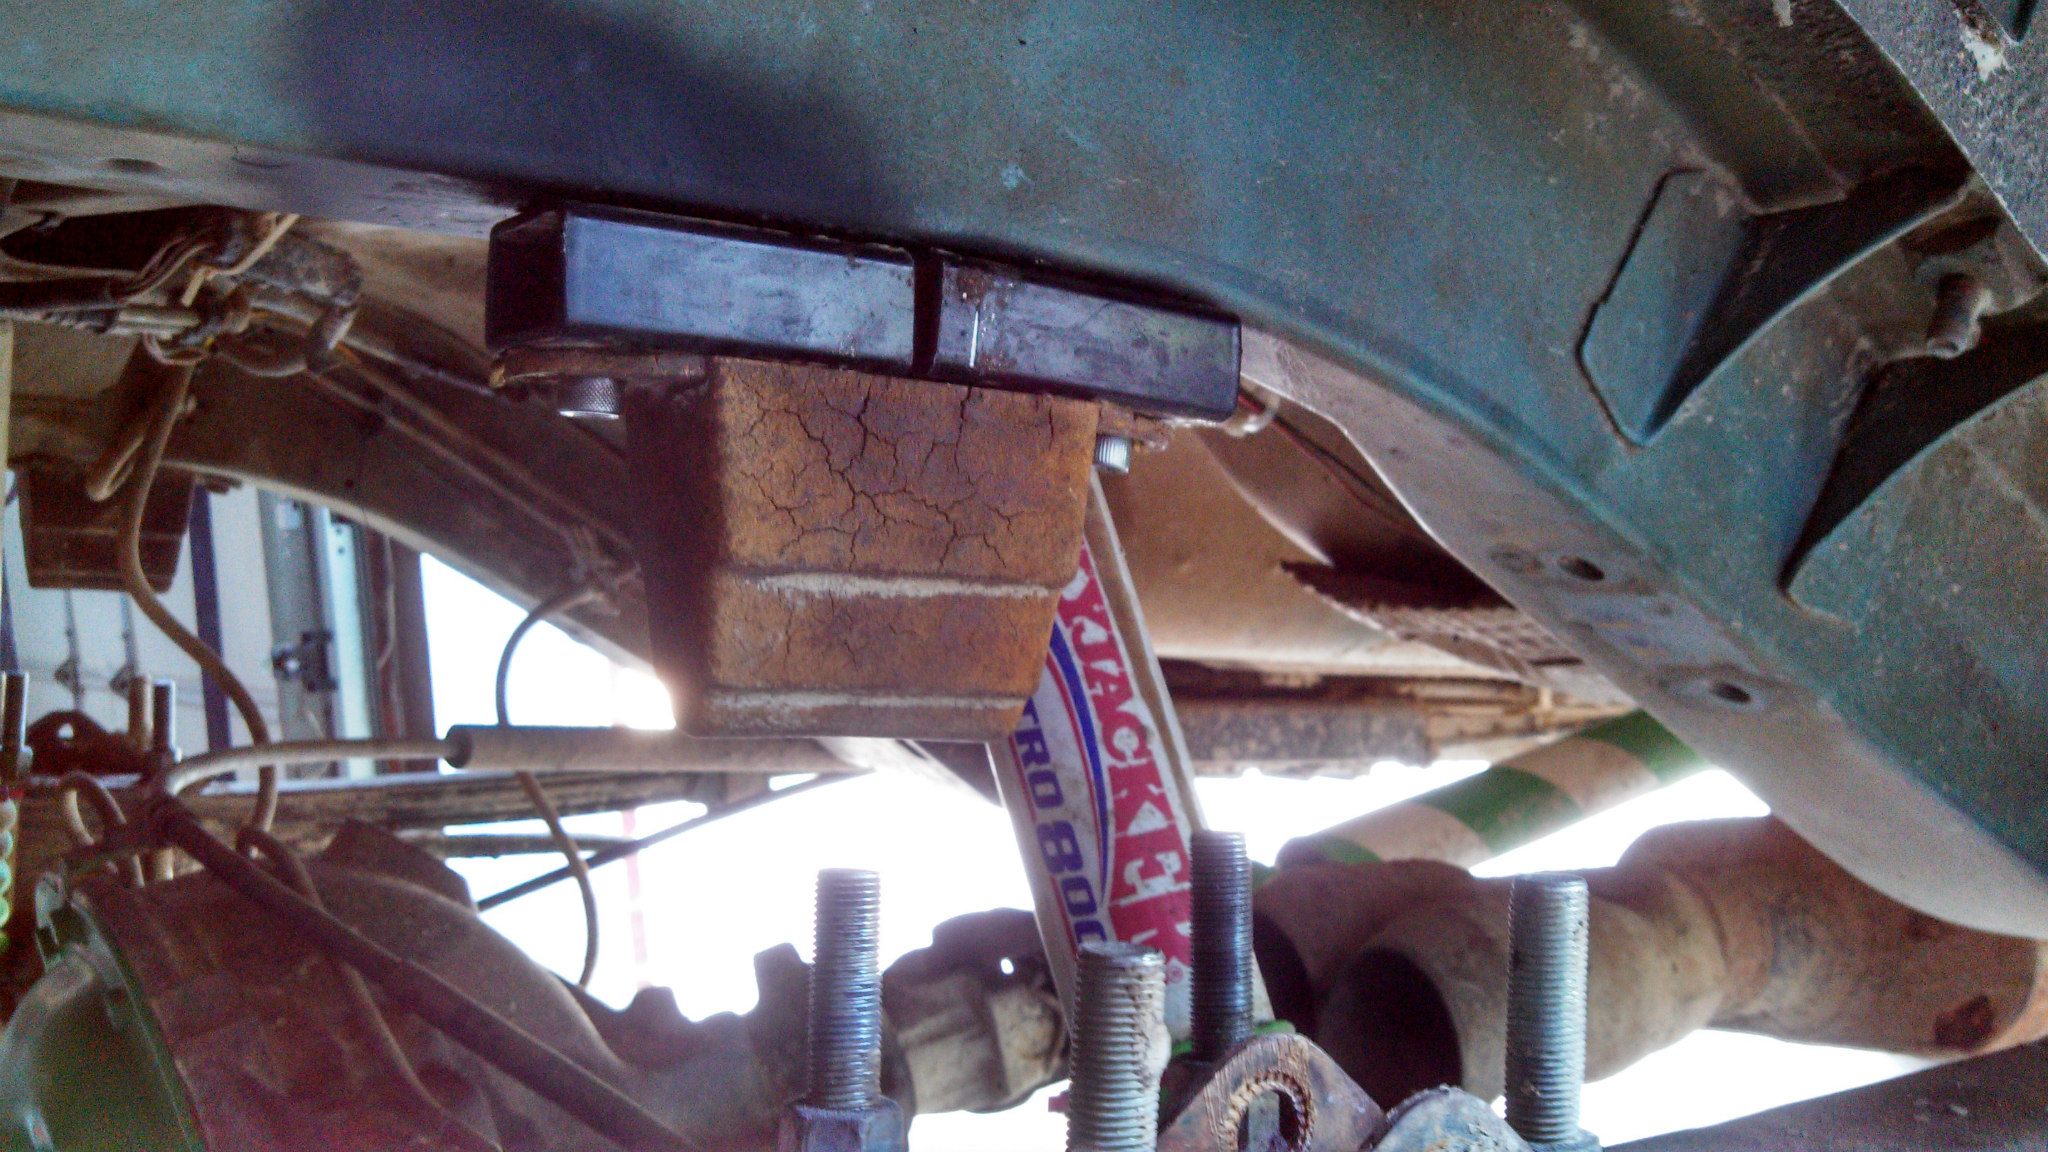
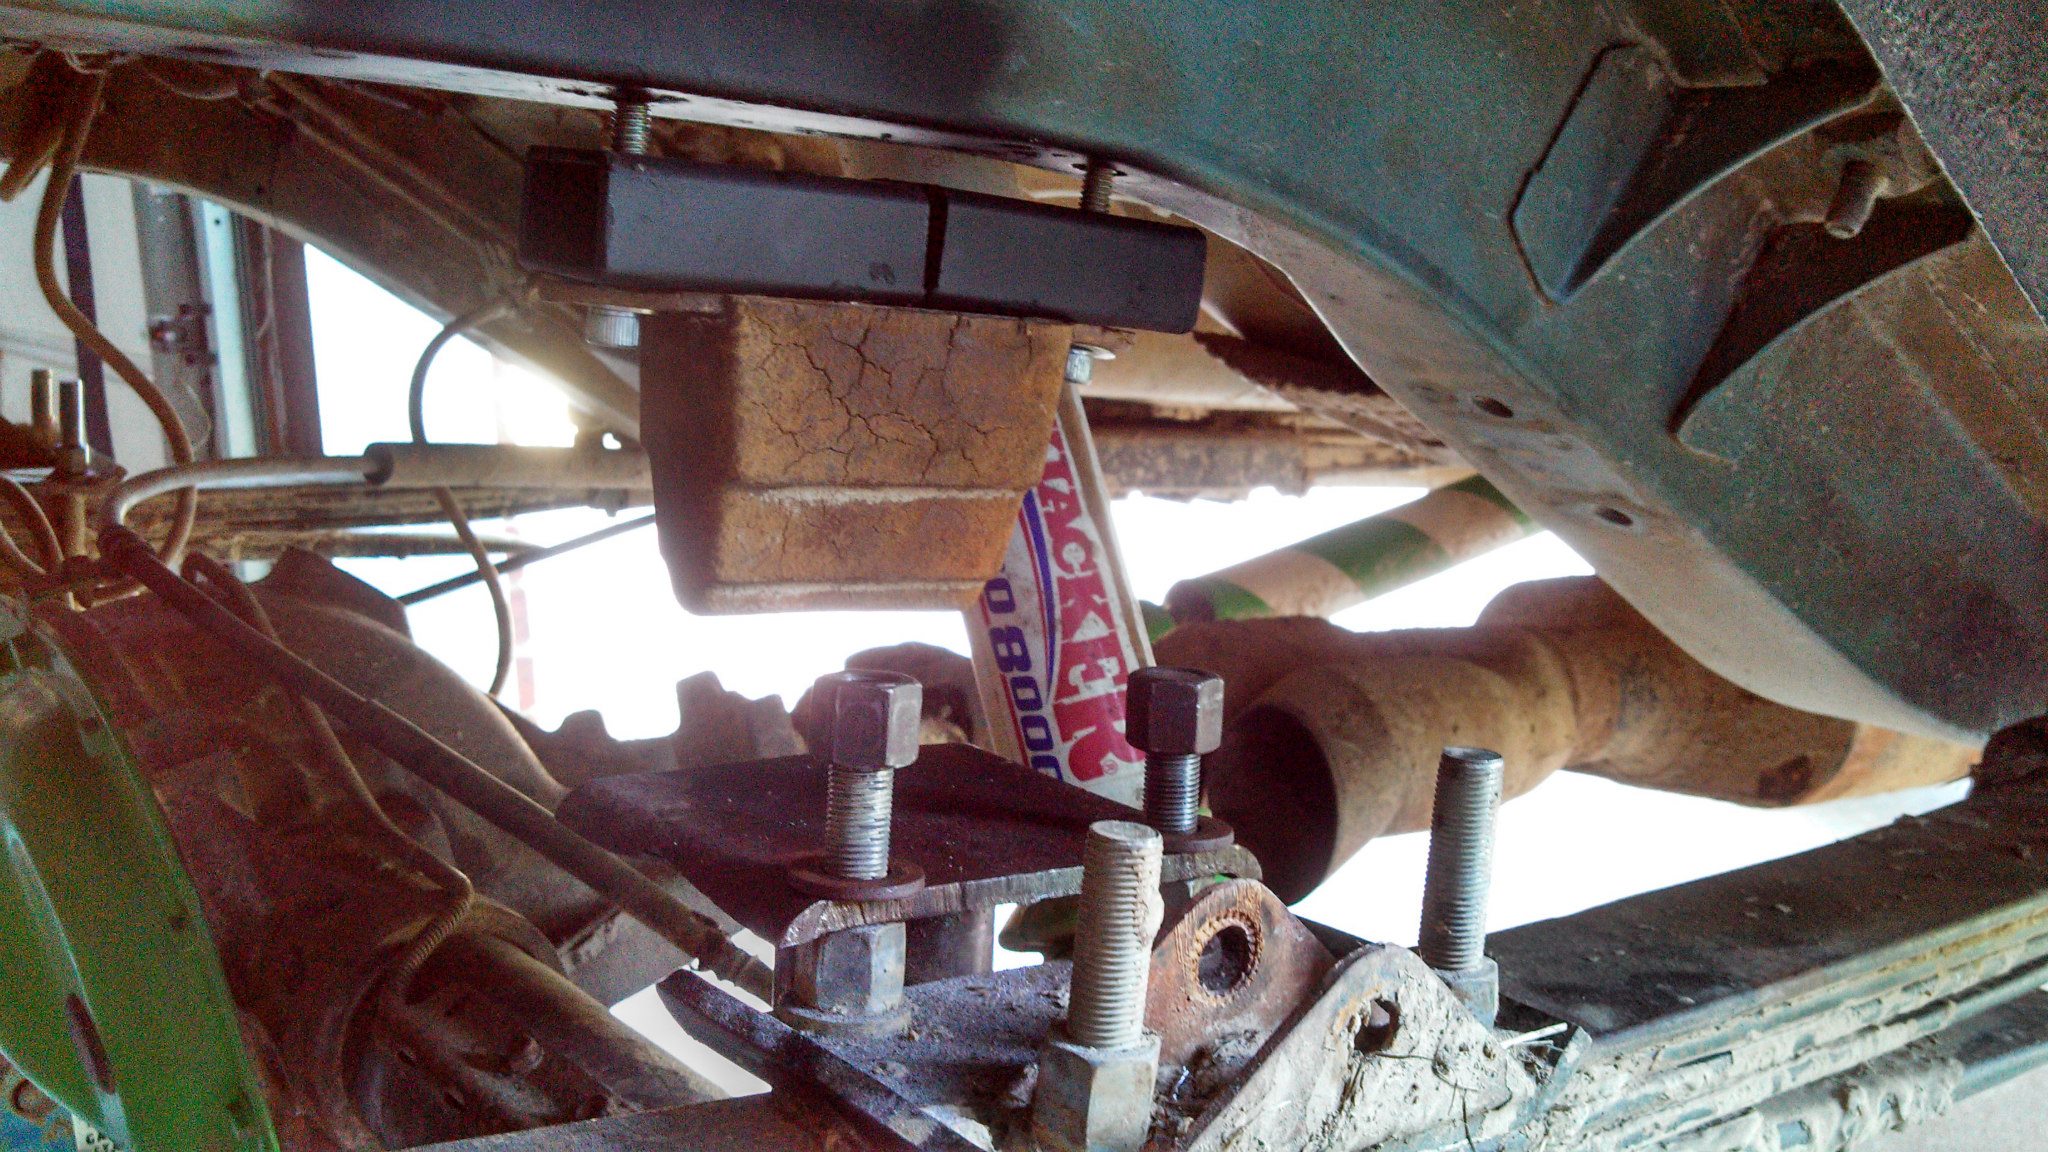
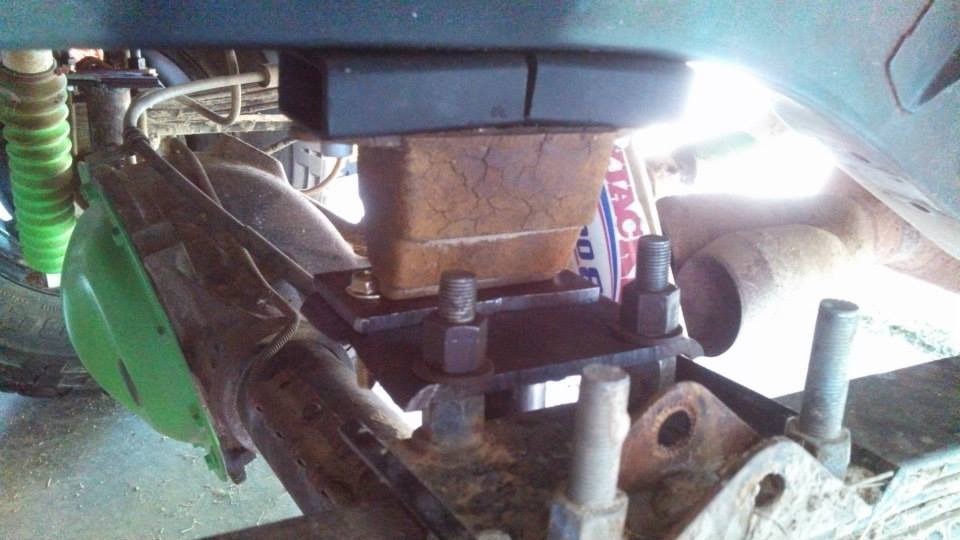
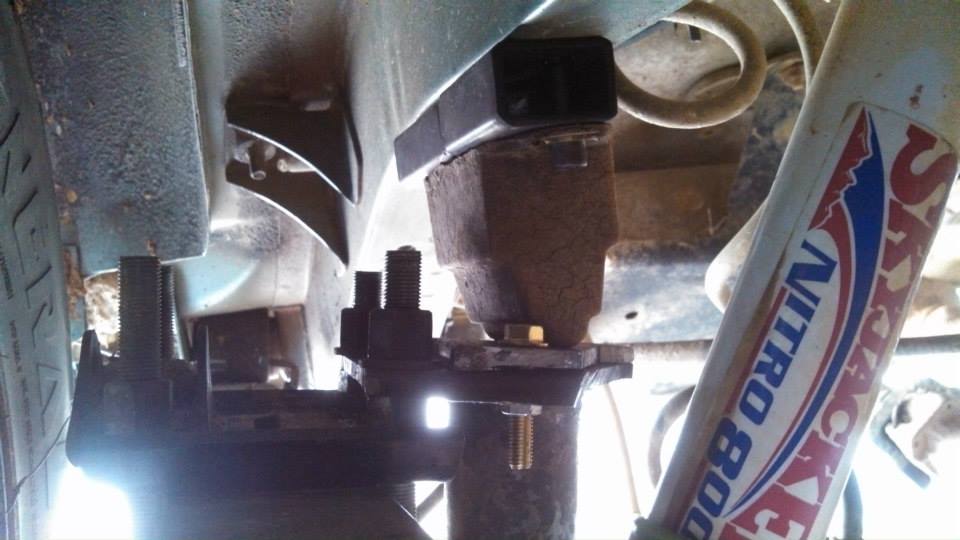
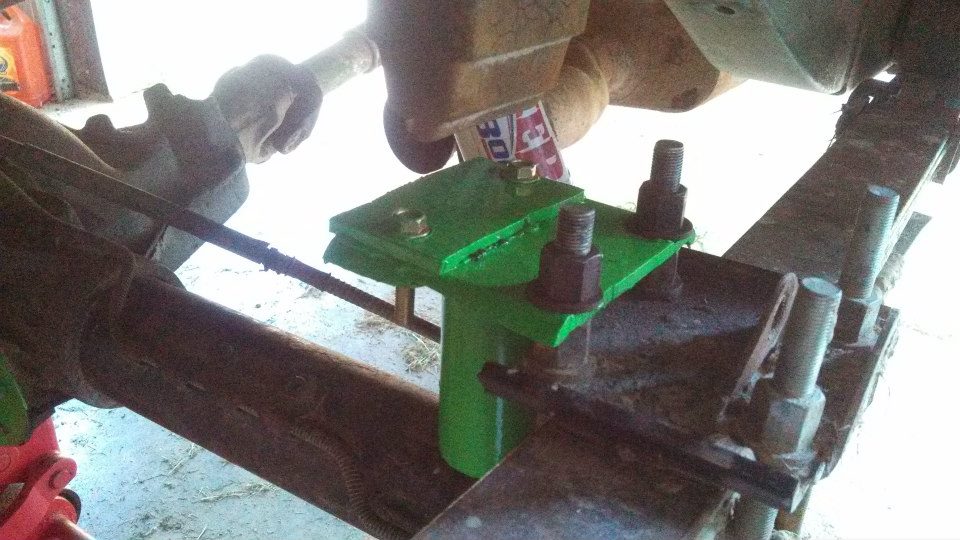
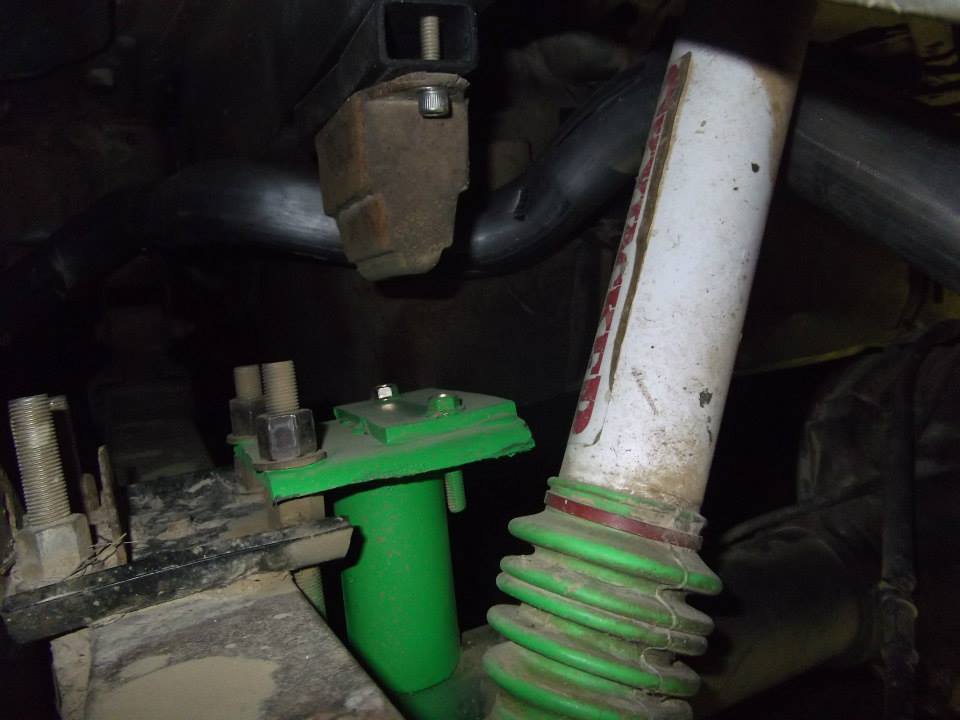
And this was pretty much where I left off before I got called into work last Thursday. Pretty much how it'll sit, with it bolted in all the way of course.
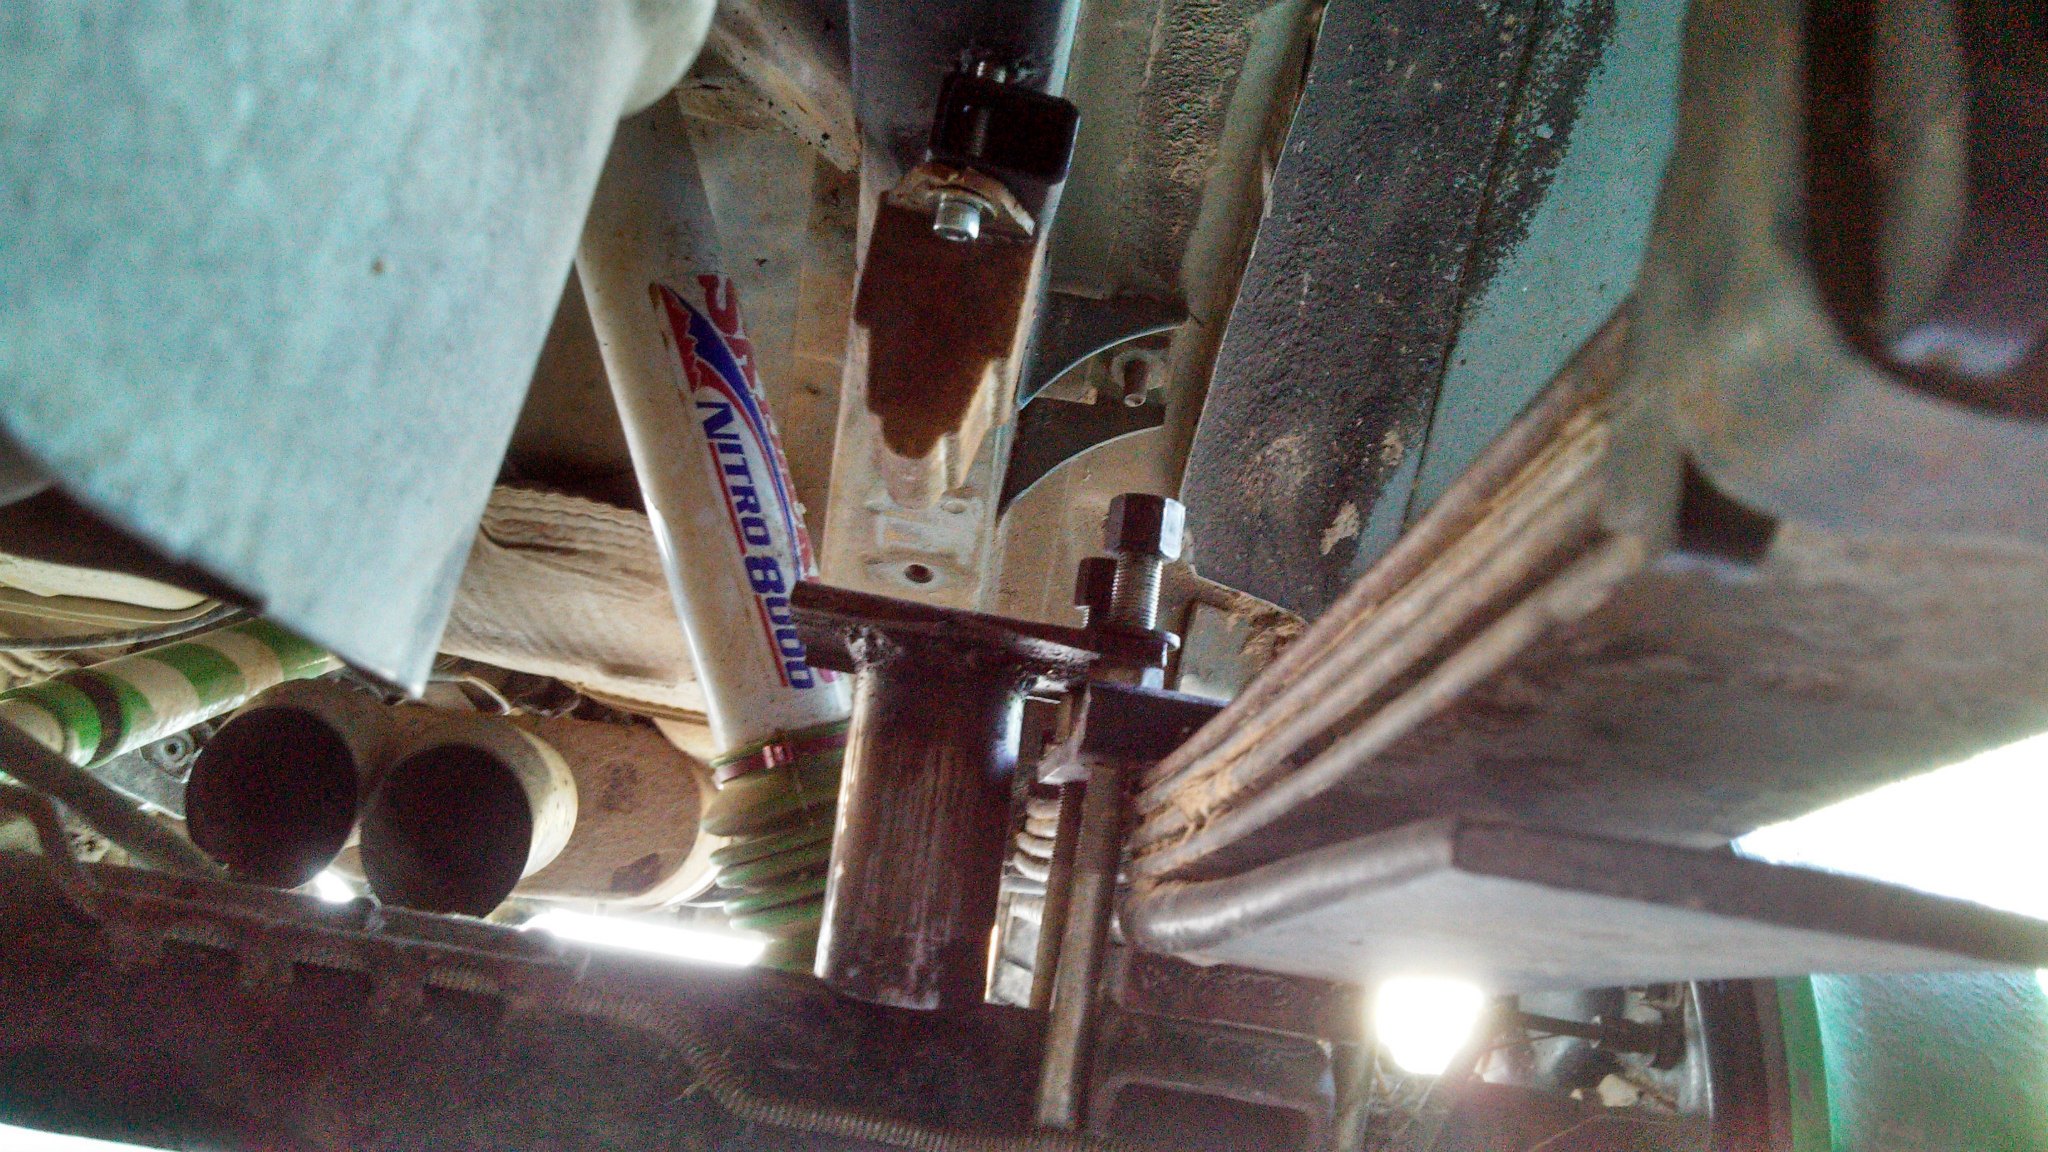
I'm going to try to finish it today so I can have it done when I get my exhaust done so I should post that tonight and have my exhaust posted tomorrow and hopefully have a video too, if I can have the video uploaded tomorrow.
A couple of days ago I also started to work on rear bump stops. I was going to just get some steel and weld them together to make a thick plate that hung off the sides towards the stop like the ones you can buy(The oversized U-bolt plate that hangs over the edge- 11/26/2016), but then I found this one online and decided to copy it. (Used to be available to buy, but I can't find them anymore - 11/26/2016)
Started out with an old tractor PTO shaft that had twisted and ripped on one side that my dad had keep laying around and used that as the tube that would sit on the axle.
PTO shaft.
The tubes with rough cuts and bevels on the bottom to sit on the axle tube along with the plate that would sit on top from the left over 5x3 tube that i used to make my bumper.
Flexed out my Jeep again to double check my measurements for the bump stops... pretty much maxed out, had a little left, but that bottoms the rear shocks out and that's not good.
Drilled holes in the plate and cut the tube shorter to make fit and mocked up for welding, used my old U-bolt nuts and washers from whne I had my 3" lift.
Welded passenger.
Welded driver, cut a notch for the shock.
Used my old 1" crossmember drop for the bump stop to lower it an inch so I wouldn't have to stack as many plates on the plate on the axle.
Aaand one of the bolts broke on the passenger side bump stop. I tried to use an easy-out but that snapped, and when I was just going to re drill the hole, none of my drill bits were going through, even the carbide bits... So I got to use the new air compressor we got and air hammered the sucker out of there... well, bent it out of the way.
Then got an old grade 8 5/16ths flange nut that I got from AutoZone a while back and found it fit right in the hole perfectly with the flange on the outside. Welded that in place.
Cut the 1" drop so it would fit better.
Thank got the driver side didn't break, it went smoothly.
And this was pretty much where I left off before I got called into work last Thursday. Pretty much how it'll sit, with it bolted in all the way of course.
I'm going to try to finish it today so I can have it done when I get my exhaust done so I should post that tonight and have my exhaust posted tomorrow and hopefully have a video too, if I can have the video uploaded tomorrow.
Last edited by dcp1992; Dec 1, 2016 at 12:12 AM. Reason: Fixed pictures
Thread Starter
Seasoned Member
Joined: Sep 2011
Posts: 280
Likes: 1
From: Arlington, TN (Memphis area)
Year: 2000
Model: Cherokee
Engine: 242 Power Tech I6 (4.0)
Another big post. Didn't get a chance to post the last of my bump stop make/install the other night so i have that and my exhaust install.
So Monday after I posted I went ahead and finished my bump stops. Here is where I started Monday.
Driver side all spaced out.
Passenger and Driver side all finished before paint.
Passenger side all maxed out.
Driver side all maxed out.
Put a coat black on them.

Then some Grabber Green.
All done.
Passenger.
Driver
And now my exhaust. After it was all set and done, it ended up being $268. Which is still a heck of a deal. The reason it went up was adding that front pipe and welding in the new Cat. Ended up being $20 a side out the back ($40), $5 per hanger ($10), another $20 for the front pipe, $20 for something else (dont have the invoice in front of me, but probably for the cat), $150 labor, and like $28 in tax.
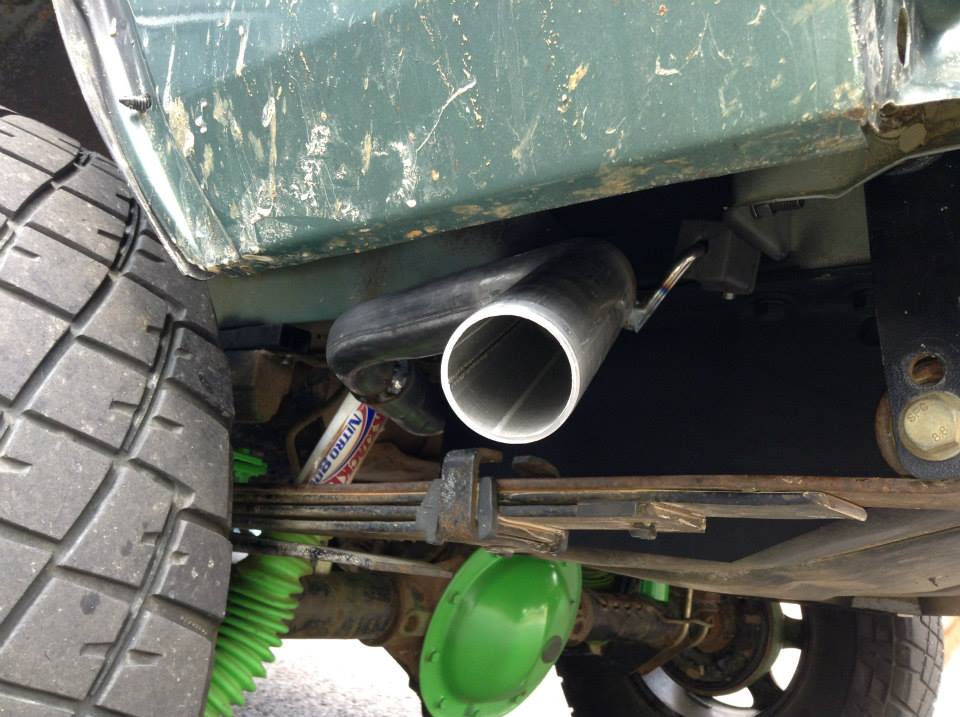
It's a 2 1/2" pipe in the front he replaced into a High Flow cat into a 15" long glasspack with a 3" in/out into a Y-pipe into 2 1/4" tail pipes out both sides.
This is right after he got done (which was quick too, took way less time than I thought), Came out a LOT better than I thought it would, and the welds are great too.
Passenger side.
Driver side.
Both sides after I got to my friends house.
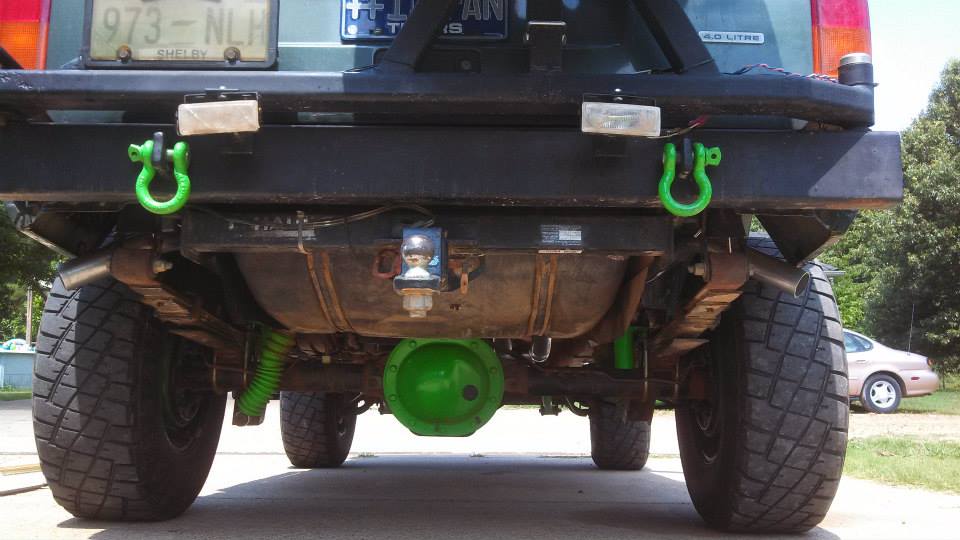
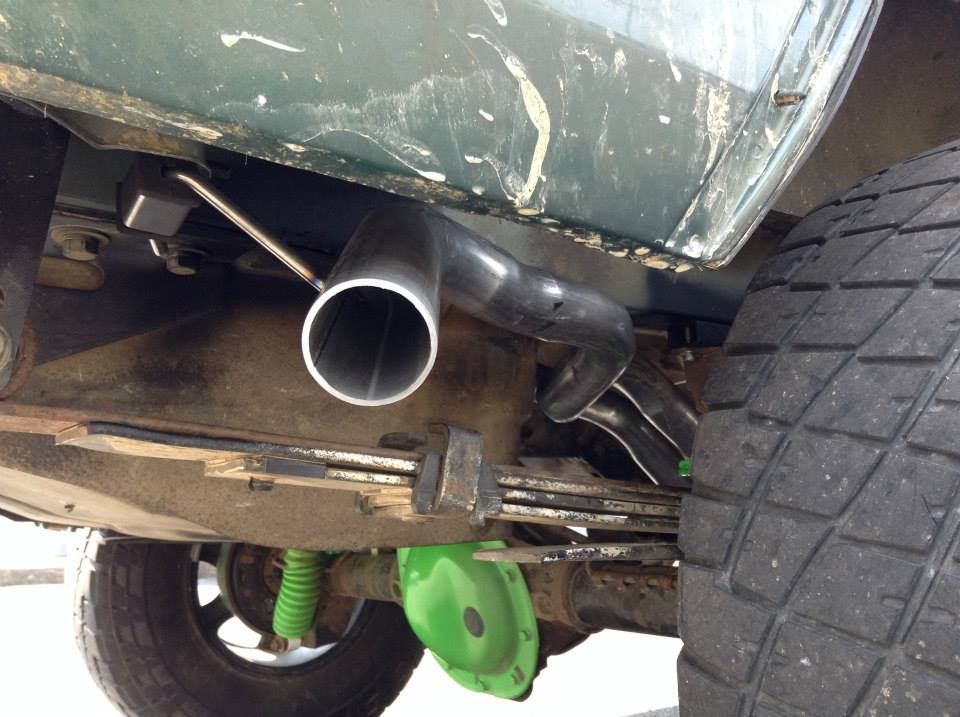
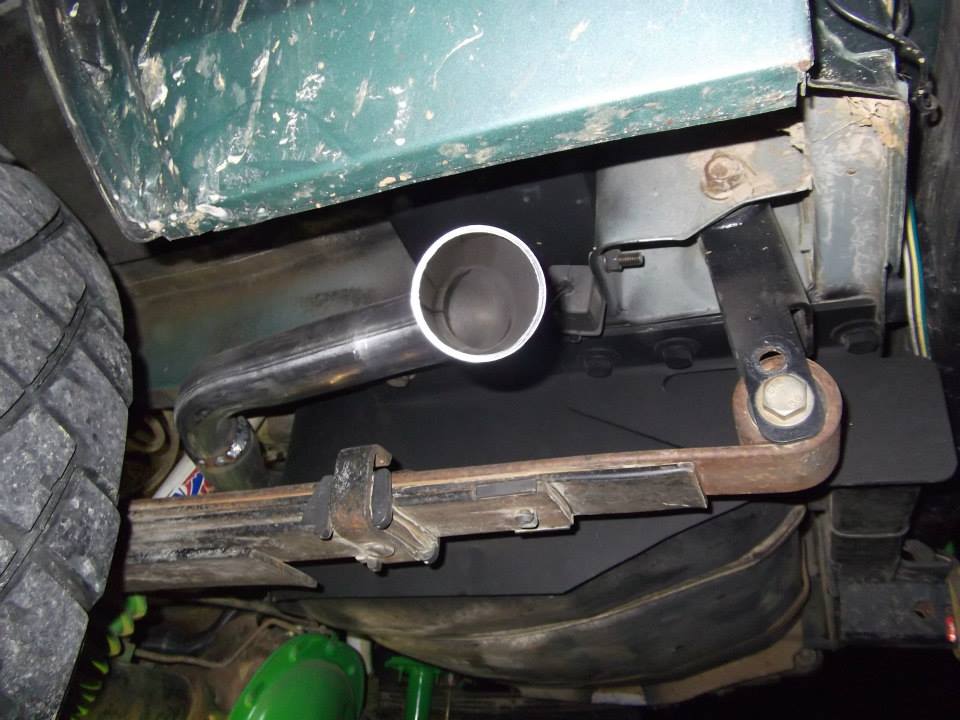
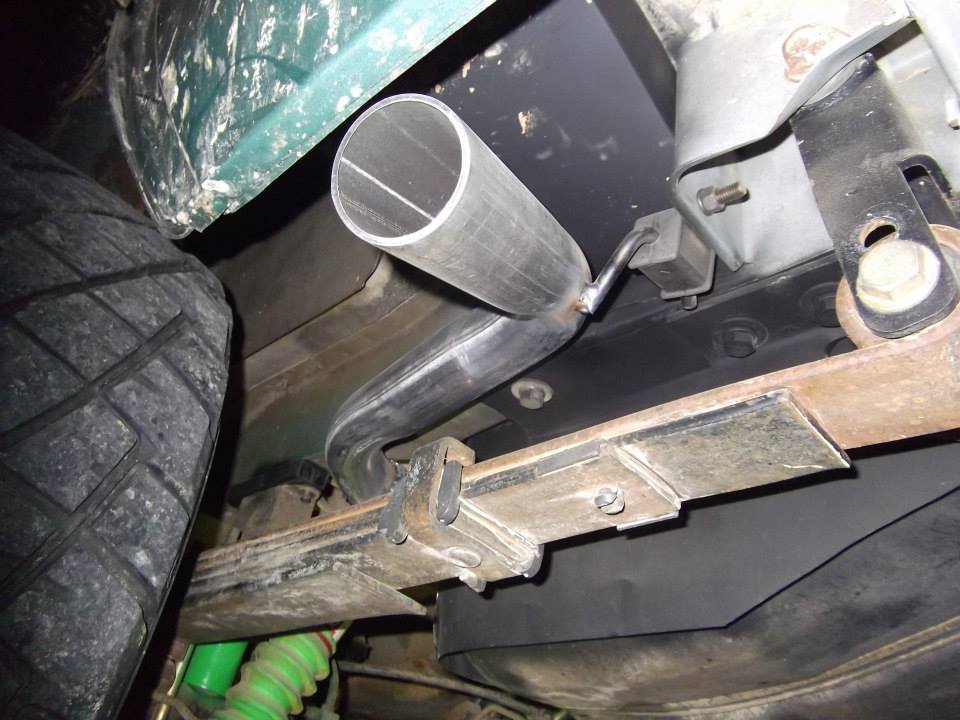
LOVE how he made the pipe come out. I pretty much told him how I wanted it and told him I wanted him to miss the bolts for my rear bumper so I could takes it off later on if I needed to and pretty much showed him that I wanted it out the side. He just surprised me how well and even the pipe was, and I also like how he made it kinda downfire too. also the fact that he bolted in the rear hangers and didn't weld them so I could drop the exhaust if I needed too. With them being bolted I can also still add the shackle relocation later on, I'll just have to move the Passenger side to the outside of the shackle box when I do.
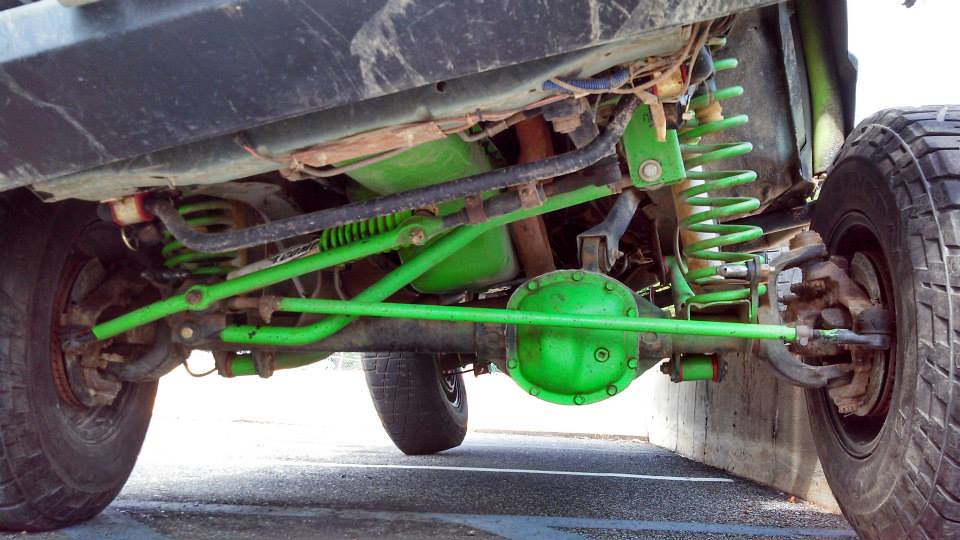
One of the under shots.
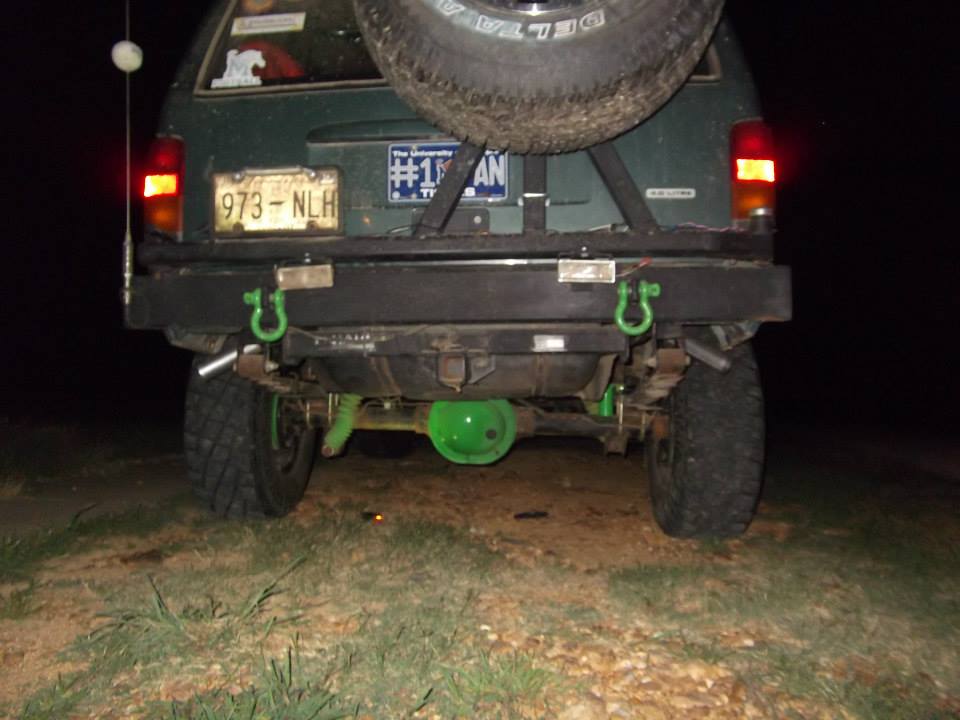
And here is the whole setup, from front to back.
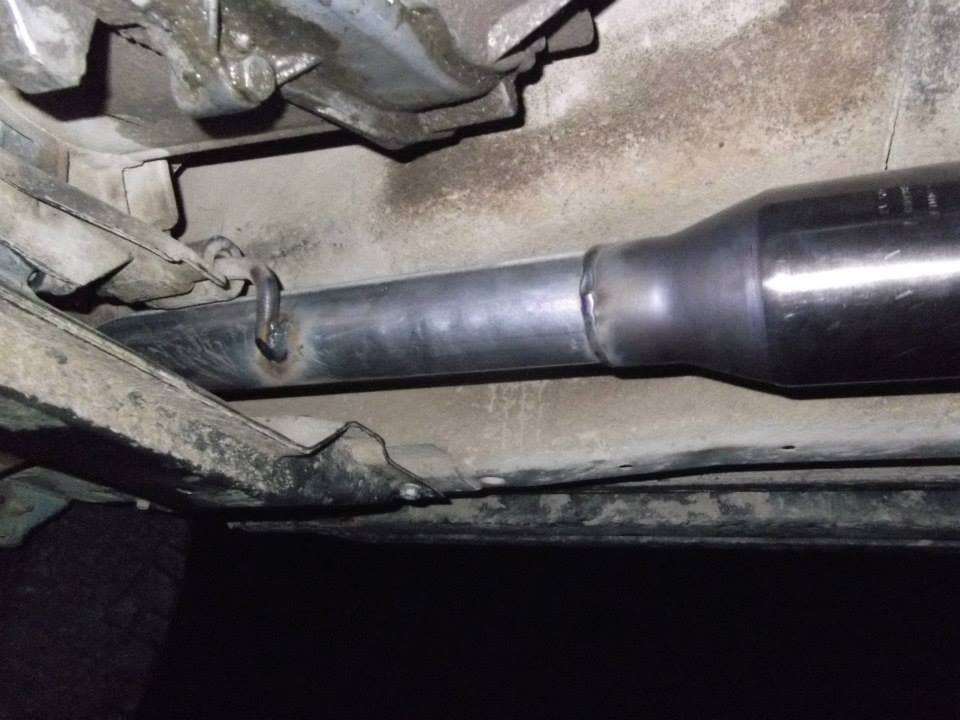
The pipe that was replaced and the hanger and the cat.

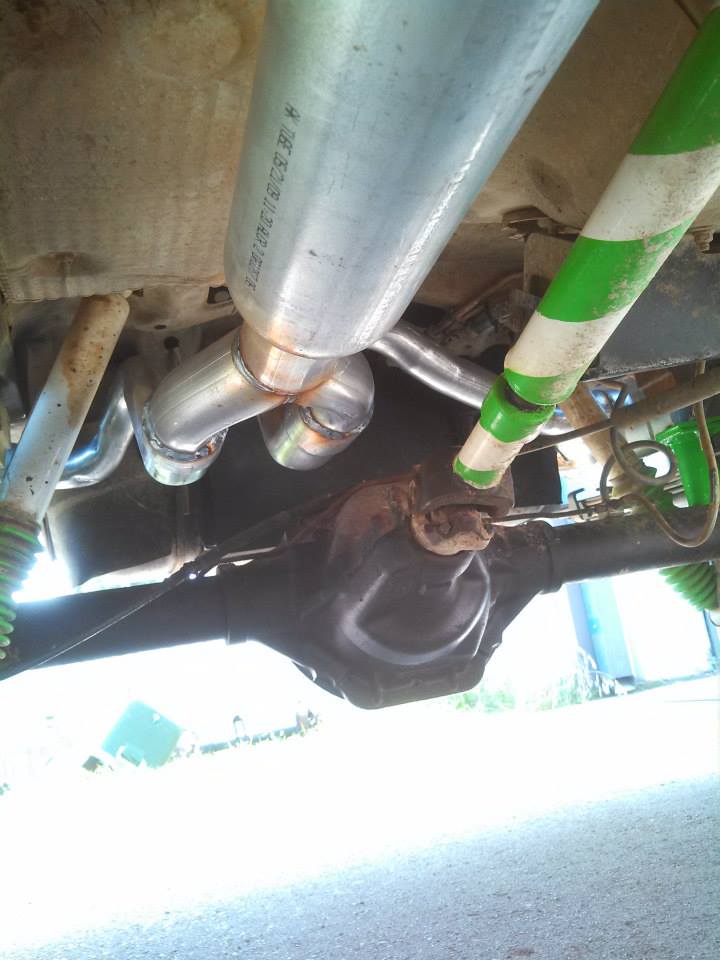
The cat into the 15" long by 3" in/out glasspack.
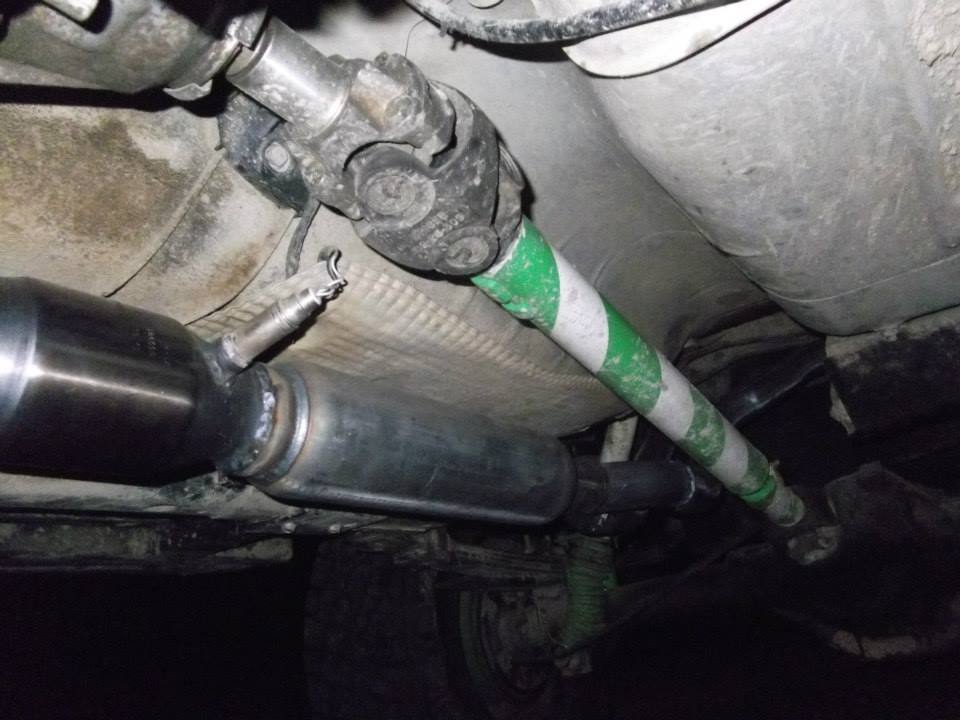
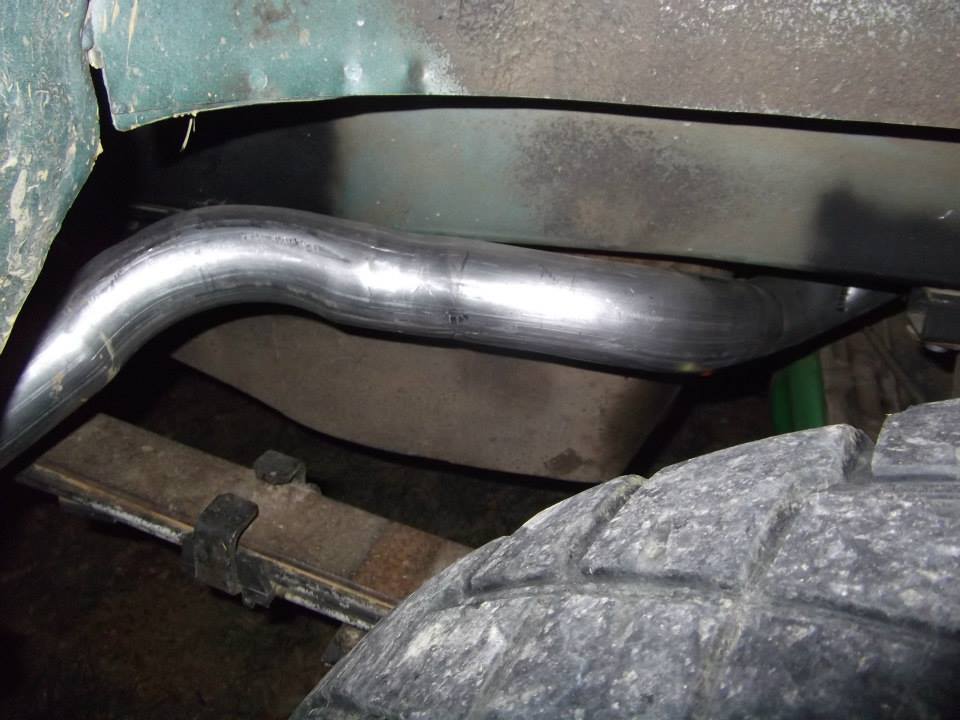
Y pipe to over the axle.
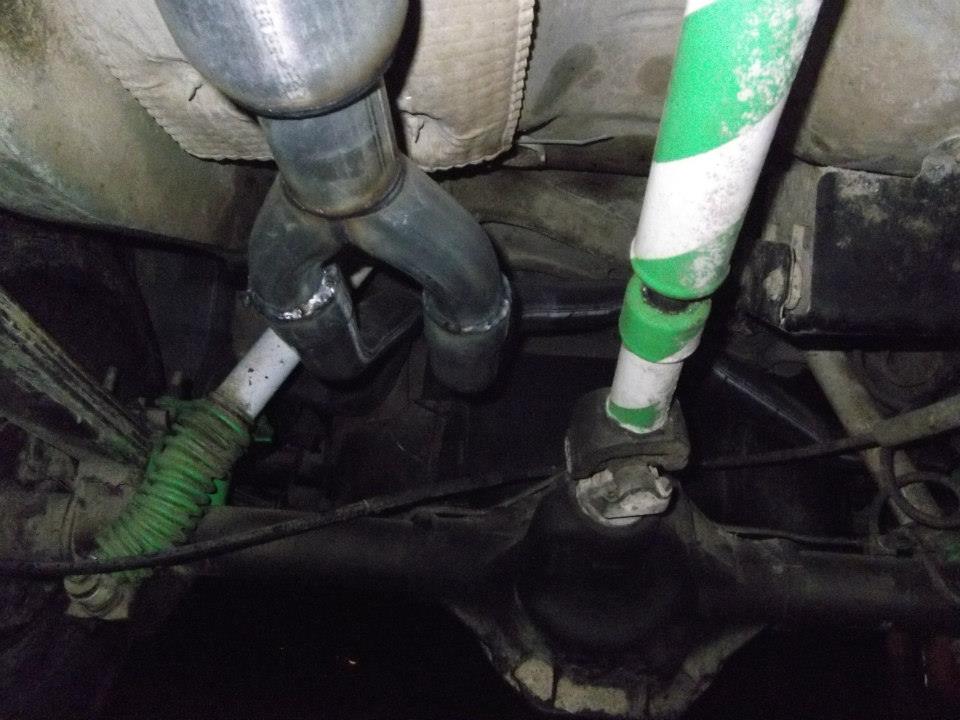
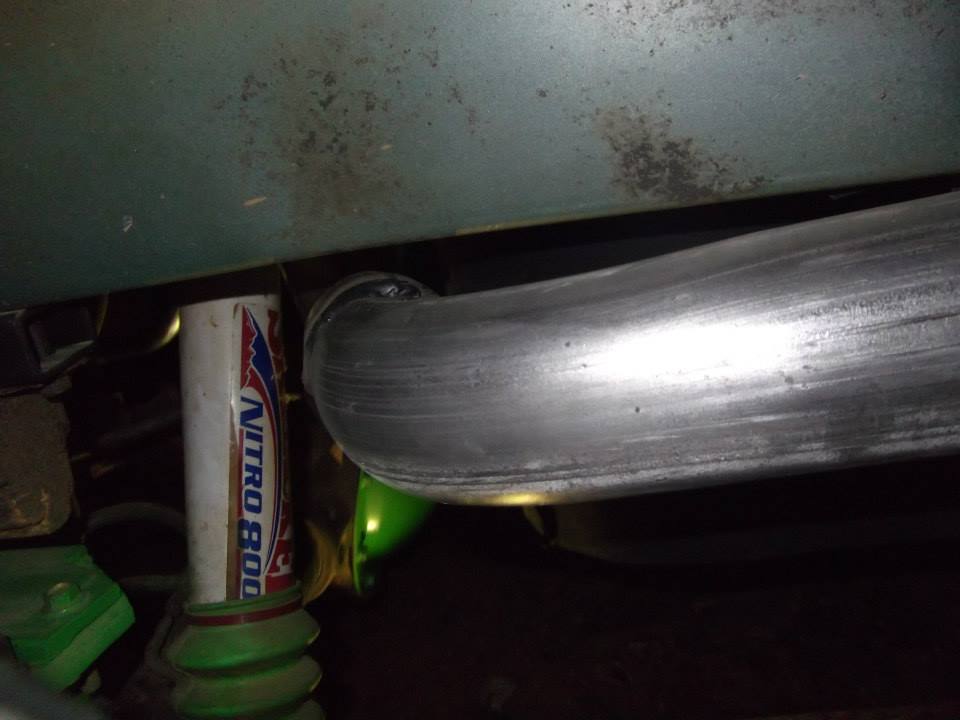
over the axle to the driver side.
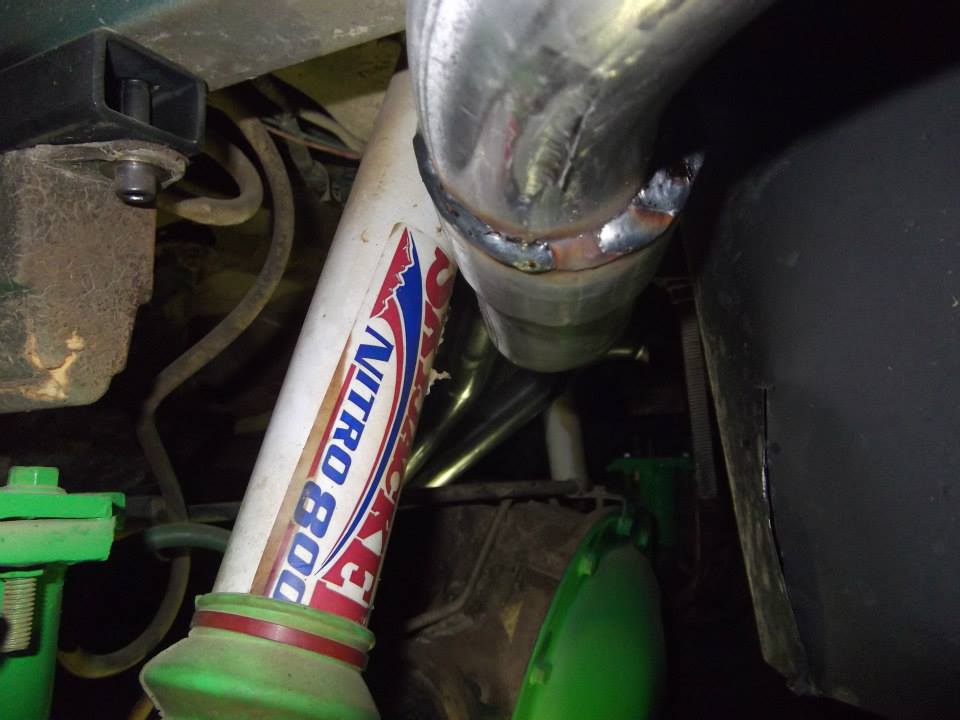
The pipe to the driver side towards the shock and tank
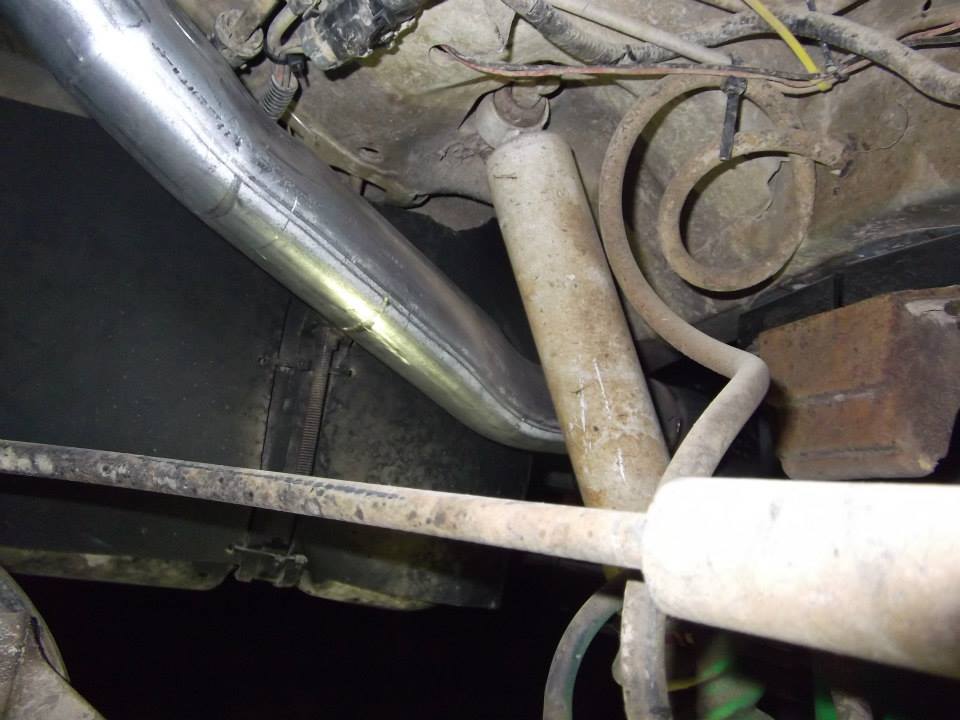
The space between the shock and pipe on driver side
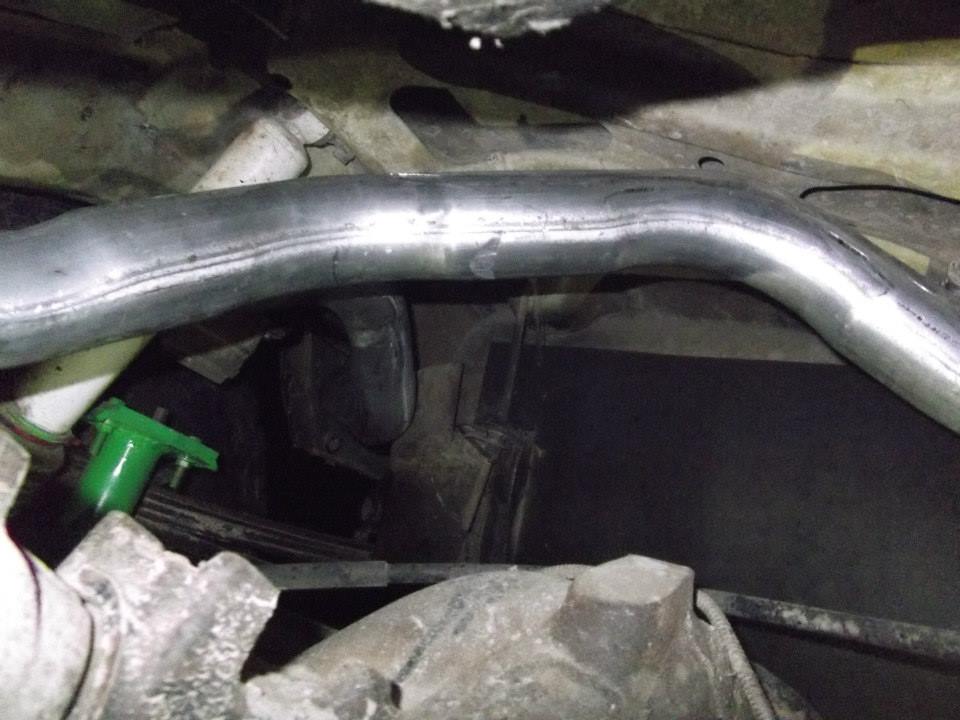
Space between tank and pipe on driver side
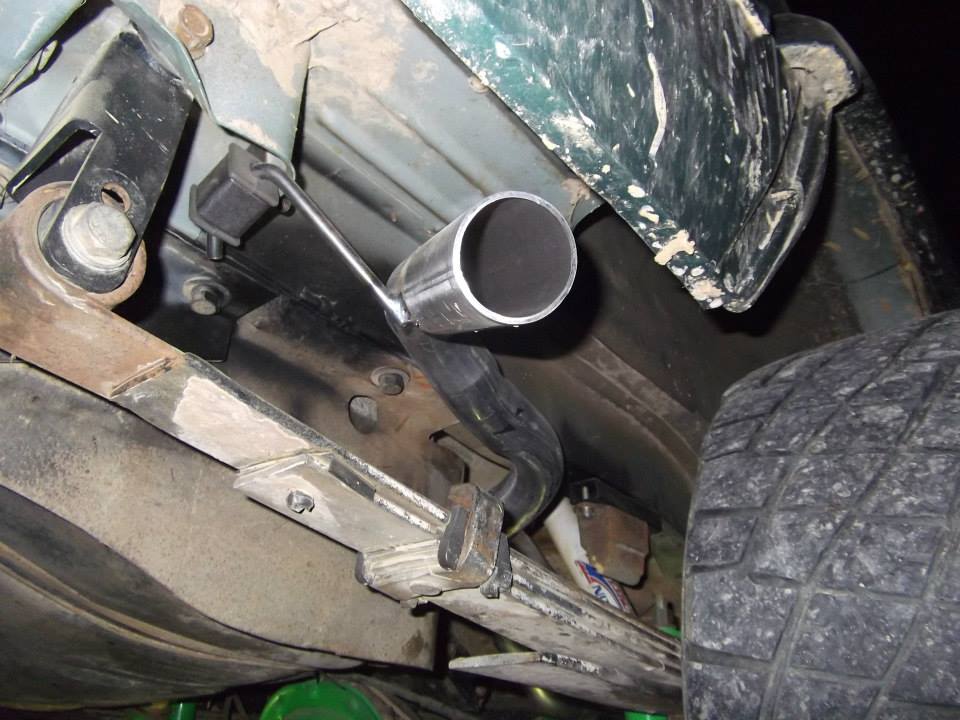
the driver side exit
Passenger side pipe over the axle
passenger side around the back
driver side exit
Both sides again.
I don't have an official exhaust video, but I do have a video from right after I got my exhaust done from me in the Pines behind me and my friends house because we got bored and he wanted to see if his truck would make it through the big ditch now that he has a 3" body and 33s, but you can hear my exhaust really well. So until I get a chance for a official video, this'll do.
Love the way it sounds now and the best part.... no more annoying exhaust drone inside because of a turndown under the back seat!! I really love how it turned out and I'm pretty unique now since I'm like the only person around here with a XJ with duals. I've only seen like one other one, but it had almost no sound and it looked 2wd. Hope to have another video later on that is an actual exhaust video. Also if I can get enough hours of work this summer I plan to have some MTZs and maybe a font locker by the time College starts again... but I'm only hoping. I need to be able to get at least the MTZs though because I need tires BAD.
So Monday after I posted I went ahead and finished my bump stops. Here is where I started Monday.
Driver side all spaced out.
Passenger and Driver side all finished before paint.
Passenger side all maxed out.
Driver side all maxed out.
Put a coat black on them.
Then some Grabber Green.
All done.
Passenger.
Driver
And now my exhaust. After it was all set and done, it ended up being $268. Which is still a heck of a deal. The reason it went up was adding that front pipe and welding in the new Cat. Ended up being $20 a side out the back ($40), $5 per hanger ($10), another $20 for the front pipe, $20 for something else (dont have the invoice in front of me, but probably for the cat), $150 labor, and like $28 in tax.
It's a 2 1/2" pipe in the front he replaced into a High Flow cat into a 15" long glasspack with a 3" in/out into a Y-pipe into 2 1/4" tail pipes out both sides.
This is right after he got done (which was quick too, took way less time than I thought), Came out a LOT better than I thought it would, and the welds are great too.
Passenger side.
Driver side.
Both sides after I got to my friends house.
LOVE how he made the pipe come out. I pretty much told him how I wanted it and told him I wanted him to miss the bolts for my rear bumper so I could takes it off later on if I needed to and pretty much showed him that I wanted it out the side. He just surprised me how well and even the pipe was, and I also like how he made it kinda downfire too. also the fact that he bolted in the rear hangers and didn't weld them so I could drop the exhaust if I needed too. With them being bolted I can also still add the shackle relocation later on, I'll just have to move the Passenger side to the outside of the shackle box when I do.
One of the under shots.
And here is the whole setup, from front to back.
The pipe that was replaced and the hanger and the cat.
The cat into the 15" long by 3" in/out glasspack.
Y pipe to over the axle.
over the axle to the driver side.
The pipe to the driver side towards the shock and tank
The space between the shock and pipe on driver side
Space between tank and pipe on driver side
the driver side exit
Passenger side pipe over the axle
passenger side around the back
driver side exit
Both sides again.
I don't have an official exhaust video, but I do have a video from right after I got my exhaust done from me in the Pines behind me and my friends house because we got bored and he wanted to see if his truck would make it through the big ditch now that he has a 3" body and 33s, but you can hear my exhaust really well. So until I get a chance for a official video, this'll do.
Love the way it sounds now and the best part.... no more annoying exhaust drone inside because of a turndown under the back seat!! I really love how it turned out and I'm pretty unique now since I'm like the only person around here with a XJ with duals. I've only seen like one other one, but it had almost no sound and it looked 2wd. Hope to have another video later on that is an actual exhaust video. Also if I can get enough hours of work this summer I plan to have some MTZs and maybe a font locker by the time College starts again... but I'm only hoping. I need to be able to get at least the MTZs though because I need tires BAD.
Last edited by dcp1992; Nov 26, 2016 at 10:13 PM. Reason: Fixed pictures
Seasoned Member
Joined: Dec 2010
Posts: 402
Likes: 2
From: Charlotte/Raleigh, NC
Year: 1999
Model: Cherokee
Engine: 4.0 MPI
I don't usually comment on build threads but I really enjoyed reading yours. A picture is worth a thousand words and you have plenty. Great thread and great XJ 
Thread Starter
Seasoned Member
Joined: Sep 2011
Posts: 280
Likes: 1
From: Arlington, TN (Memphis area)
Year: 2000
Model: Cherokee
Engine: 242 Power Tech I6 (4.0)
Thanks! Yeah, I try to get as many as I can, makes a build more enjoyable when you can actually see they're doing.
Thread Starter
Seasoned Member
Joined: Sep 2011
Posts: 280
Likes: 1
From: Arlington, TN (Memphis area)
Year: 2000
Model: Cherokee
Engine: 242 Power Tech I6 (4.0)
Here is another video of me doing the hill climbs on the 4th a couple of days ago.
I also got some new U-Joints for my Dana 30 because they are warn and have slack. I wanted to get the Dana spicer ones, but I got a $25 AutoZone gift card so I might as well use it to get some.
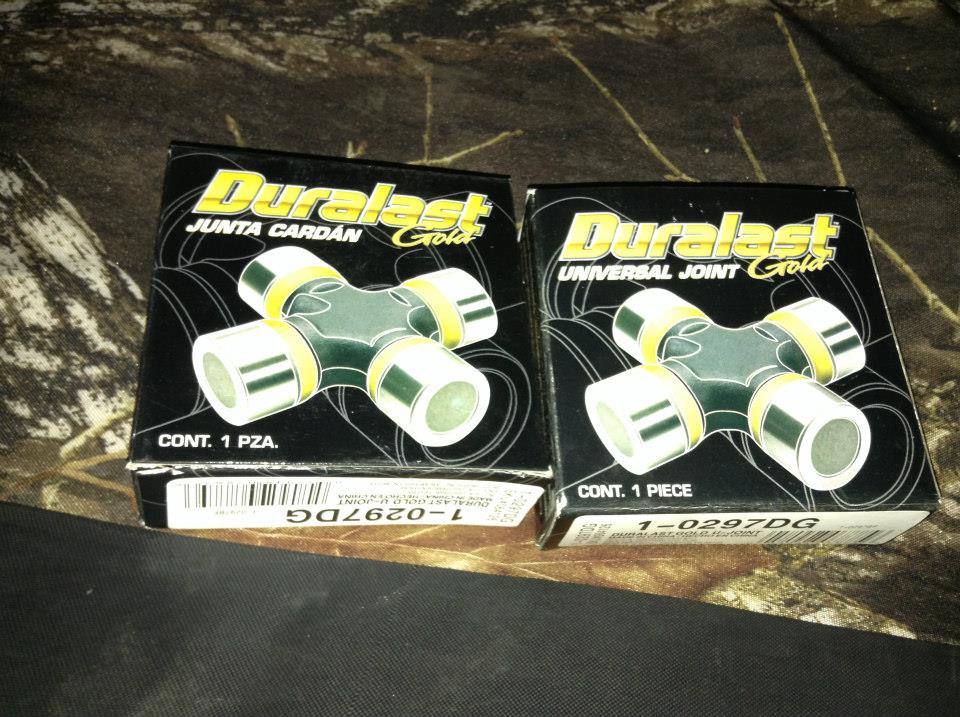
Going to put them in tomorrow.
I also got some new U-Joints for my Dana 30 because they are warn and have slack. I wanted to get the Dana spicer ones, but I got a $25 AutoZone gift card so I might as well use it to get some.
Going to put them in tomorrow.
Last edited by dcp1992; Nov 26, 2016 at 10:14 PM. Reason: Fixed pictures
Thread Starter
Seasoned Member
Joined: Sep 2011
Posts: 280
Likes: 1
From: Arlington, TN (Memphis area)
Year: 2000
Model: Cherokee
Engine: 242 Power Tech I6 (4.0)
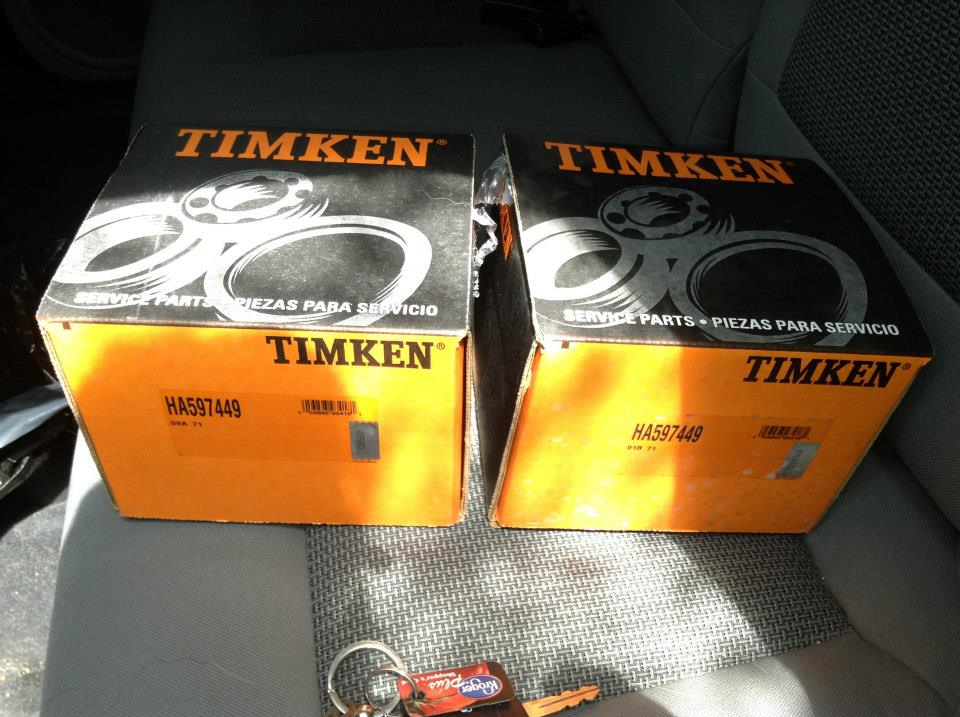
Well, ended up having a little complications changing the U Joints, which resulted it it sitting for 3 days, UPS 2nd day Air, and 2 new Timken hub bearings just to be safe.
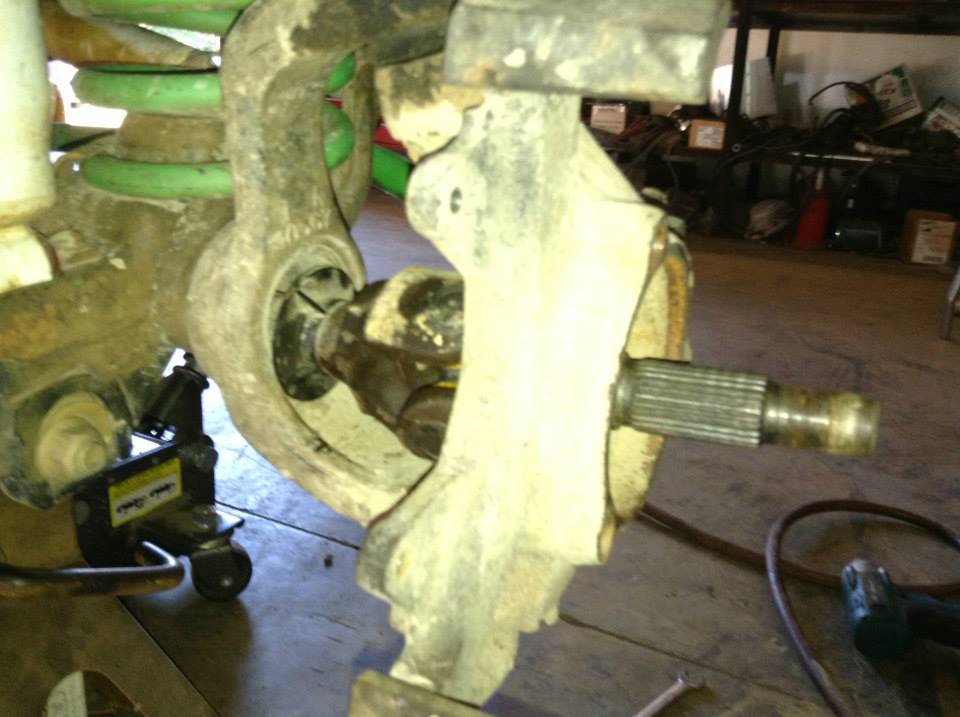
While I was pressing the driver U-Joint out the stub shaft it ended up being seized to the stub shaft and it bent the ear... So I had to order a new stub shaft and have it express delivered so I could get it out of my friend shop (not that it was a problem... just didn't wanna impose.) So while I was waiting for the stub shaft I went ahead and since my passenger Hub was bad I just went ahead and got 2 new ones. I also changed the diff fluids while I was at it.
But before we get to where I changed my U-Joints, here are some pictures from when I made those hill climb videos.
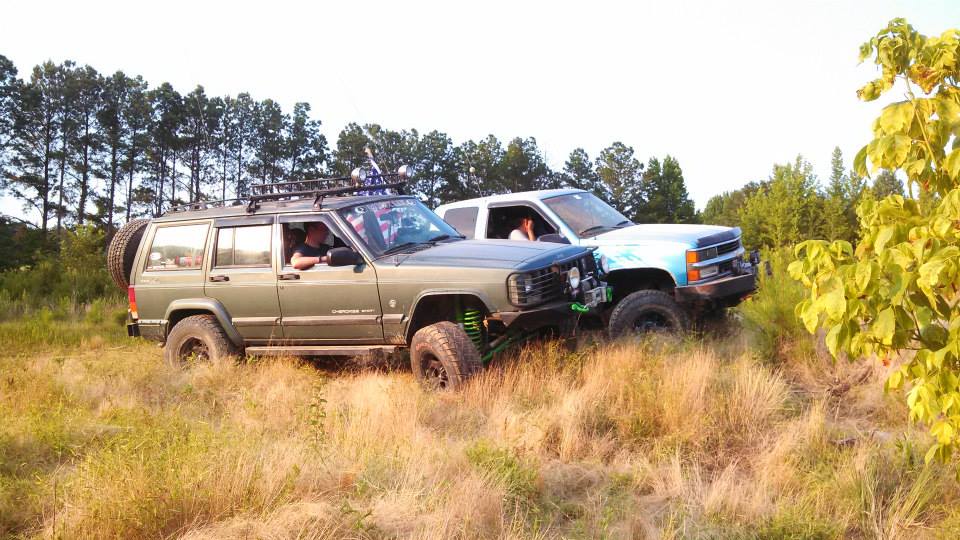
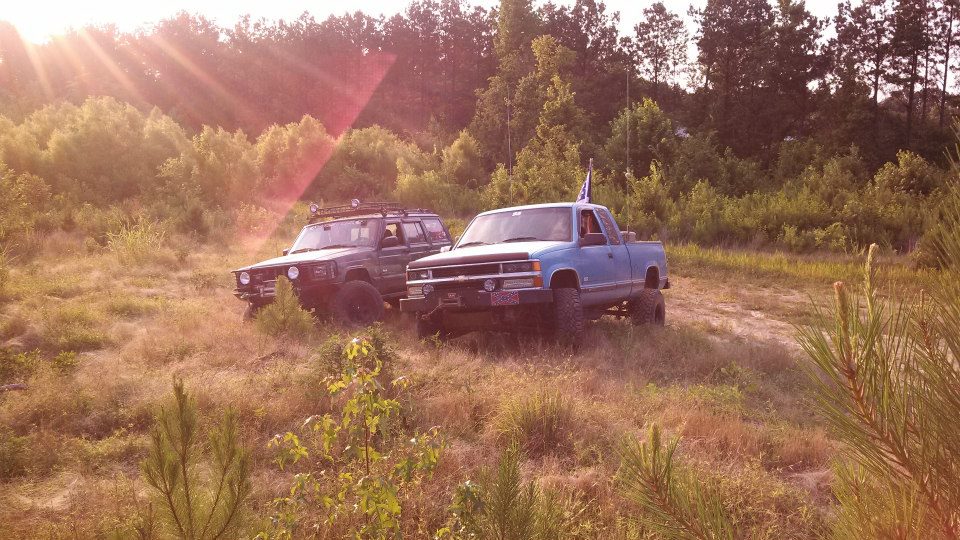
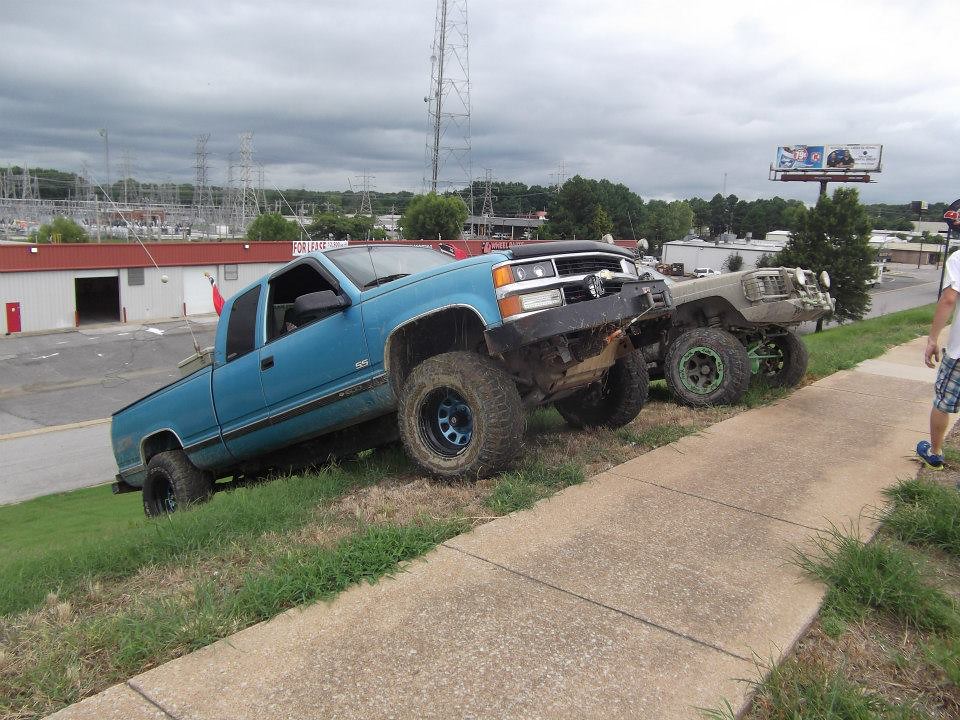
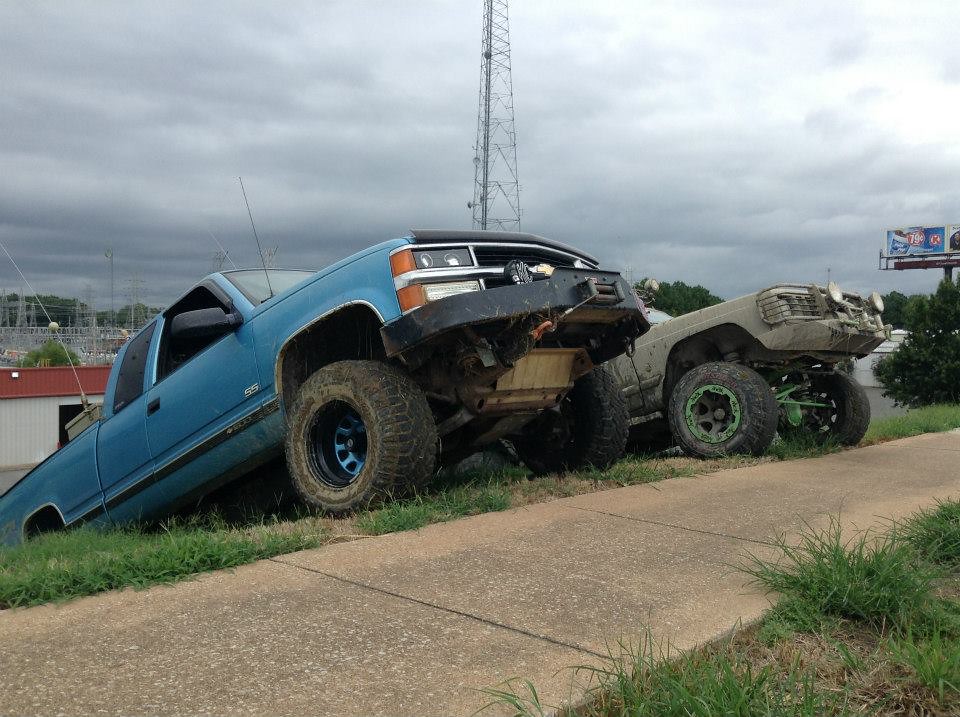
Me and my friend with the Z71.
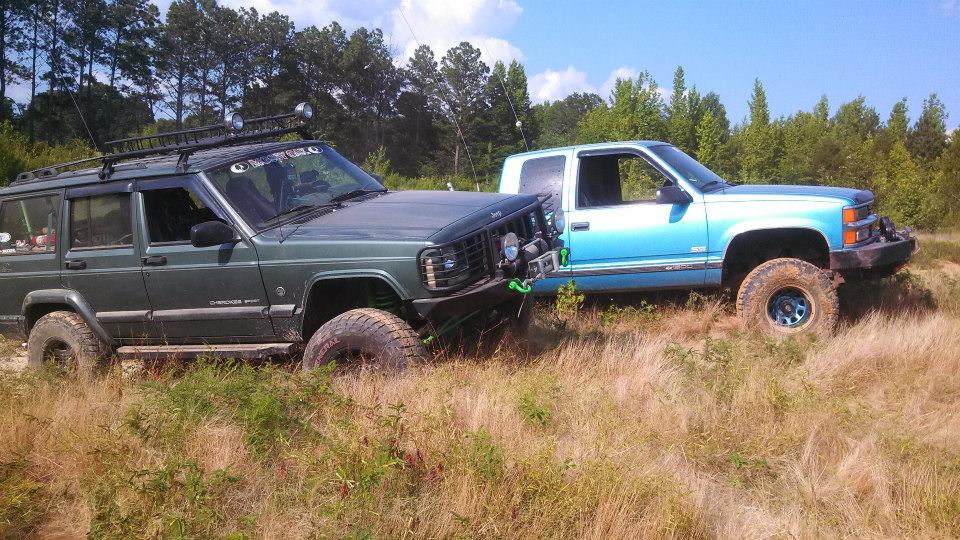
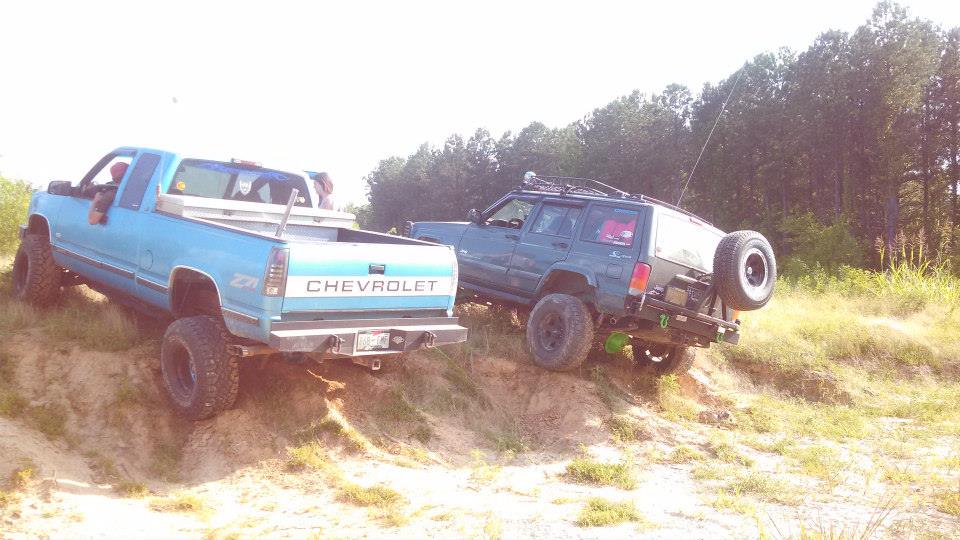
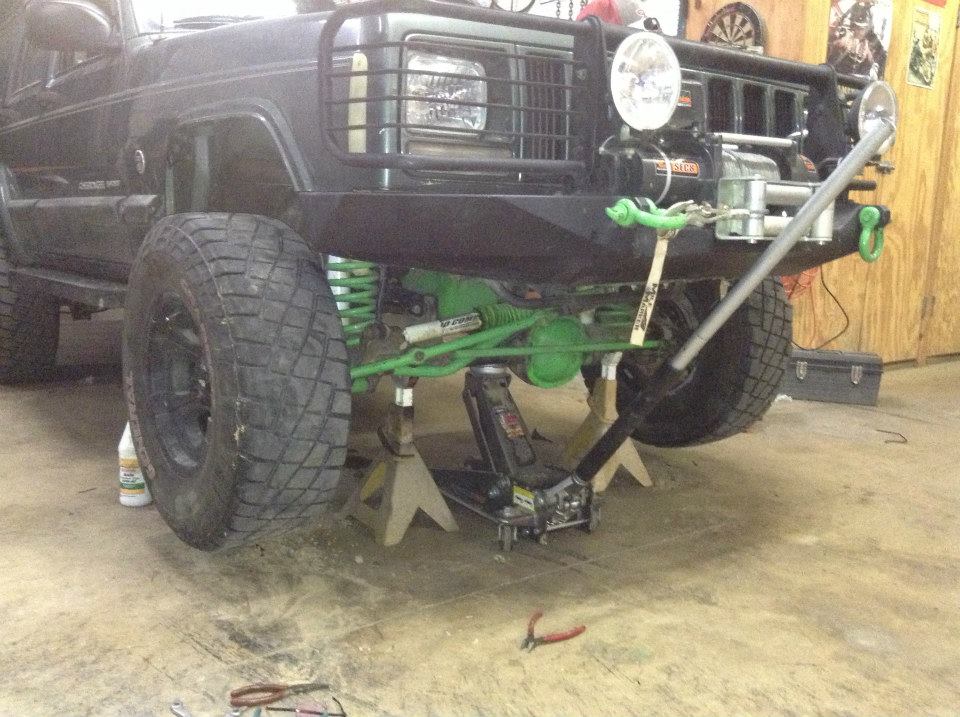
Here I was balancing on 2 wheels, since I still have my sway bar connected, my front axle couldn't drop enough so I was teetering not going anywhere. Nothing a little push didn't fix though.
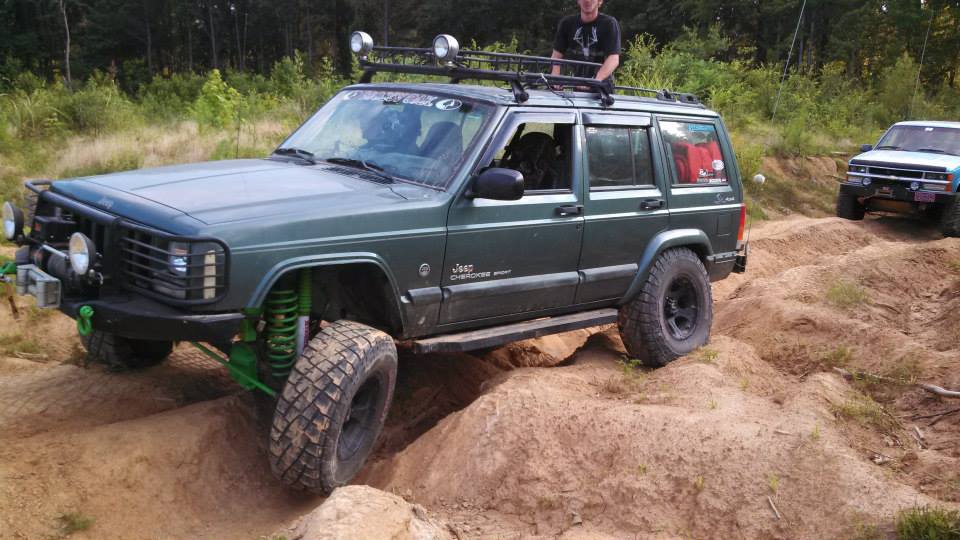
more on the same hill
And now to replacing the U-Joints.
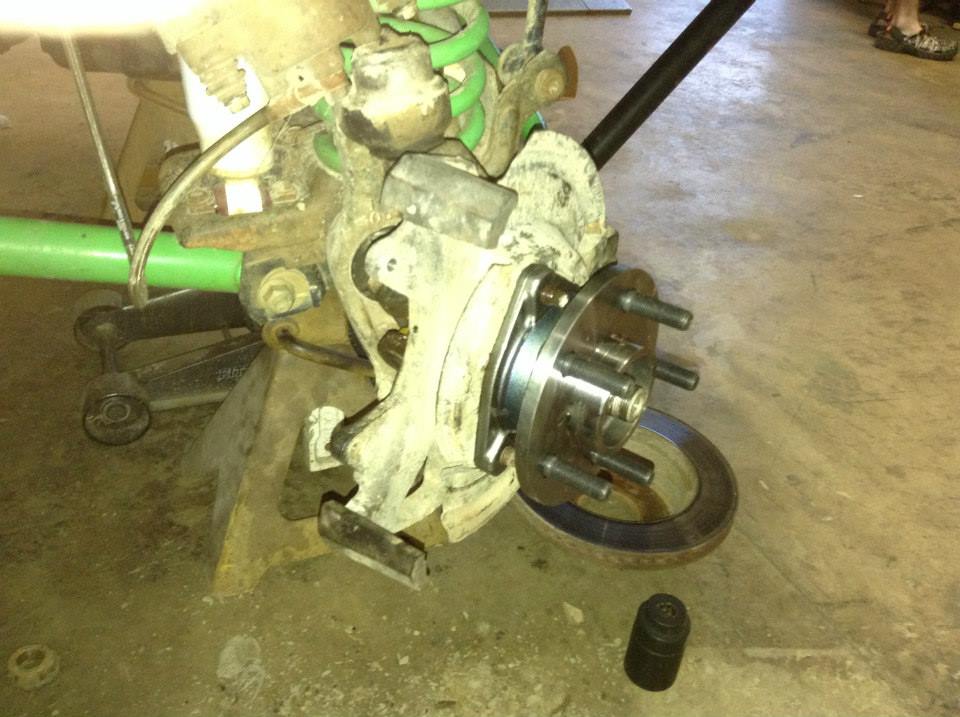
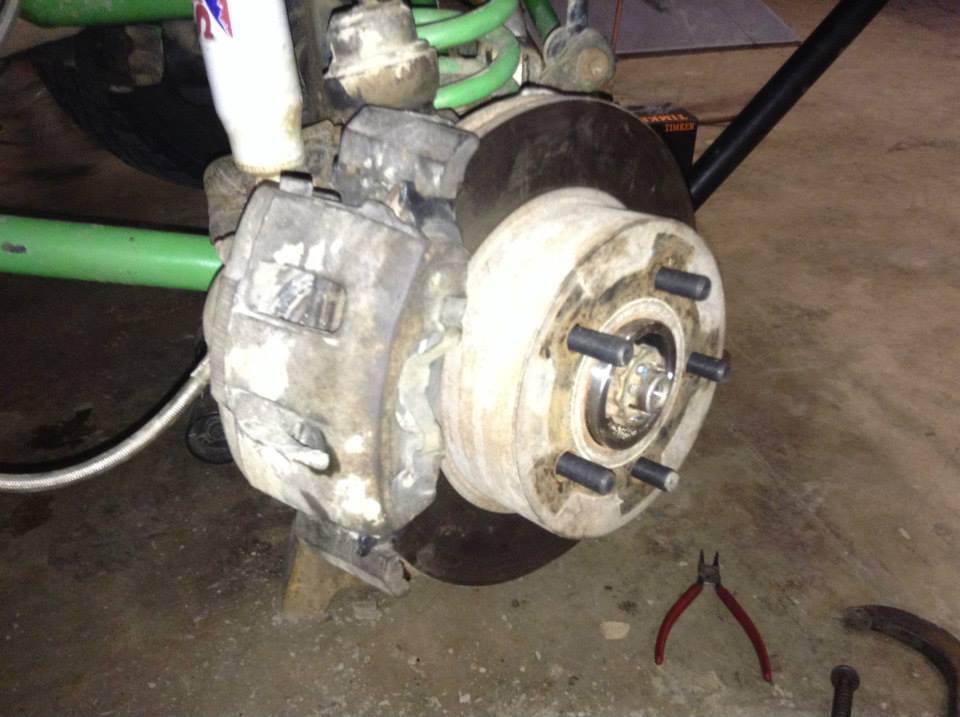
Took off the Wheel and caliper
Took off the rotor and stub shaft bolt.
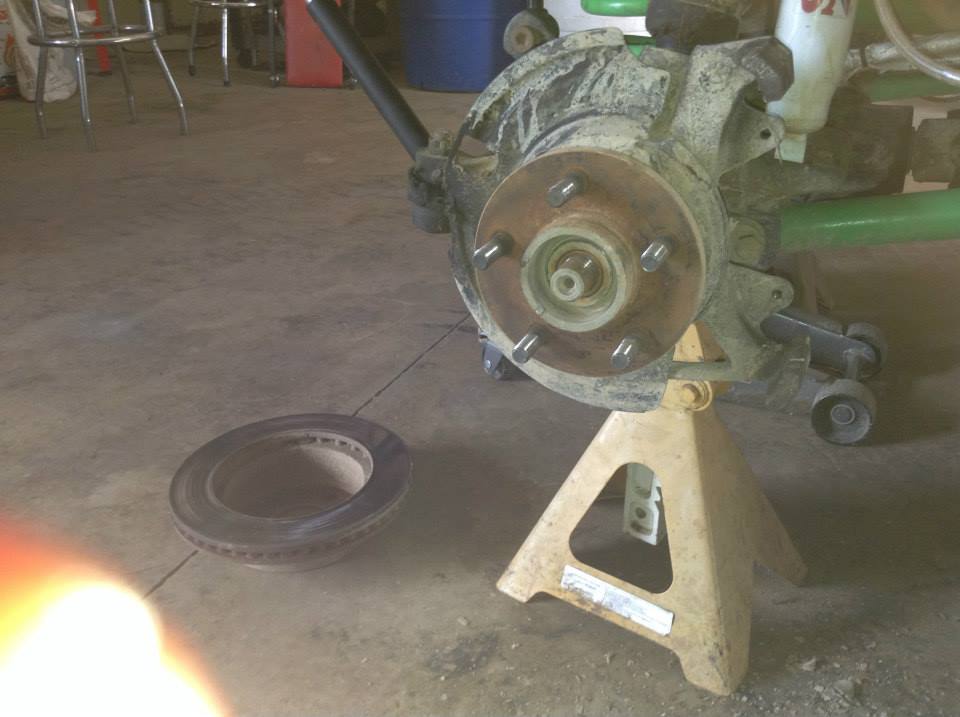
Went to the bench and pressed out the U-Joints.... All of them were bone dry, no grease at all except 2 on the driver side and 1 on the passenger side.

Here is the passenger side with U-Joints pressed in since I needed to wait on the driver side.

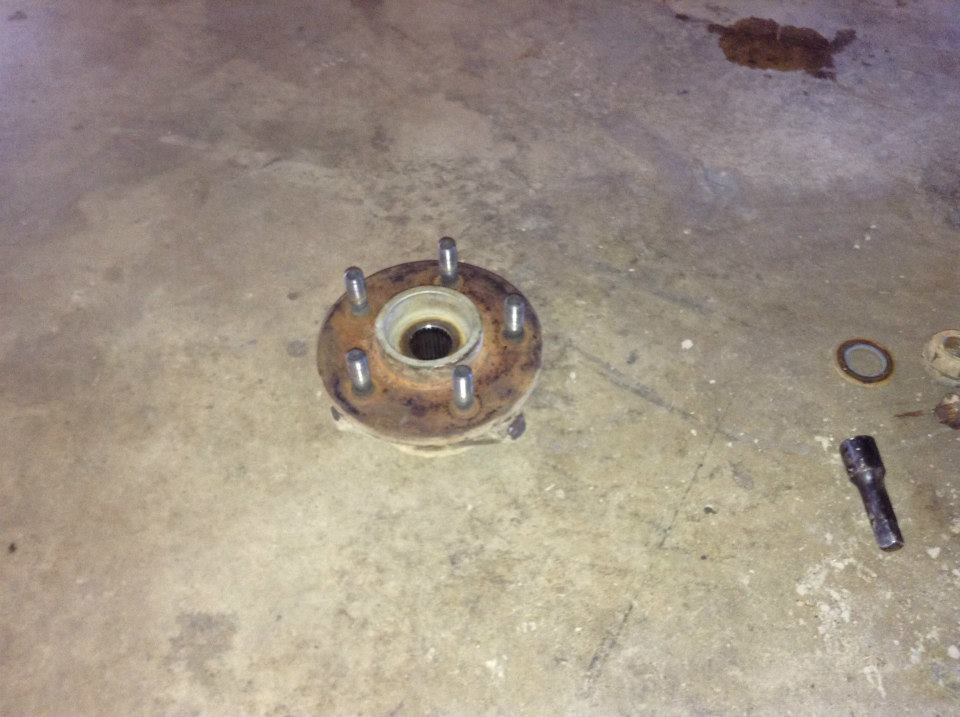
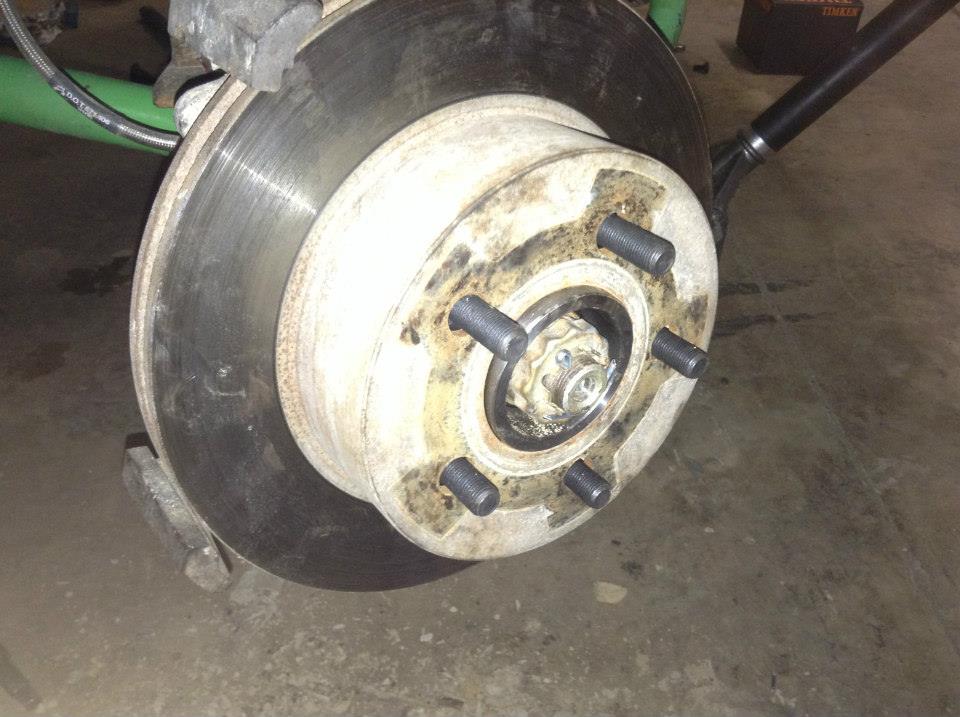
The bad passenger side Hub.
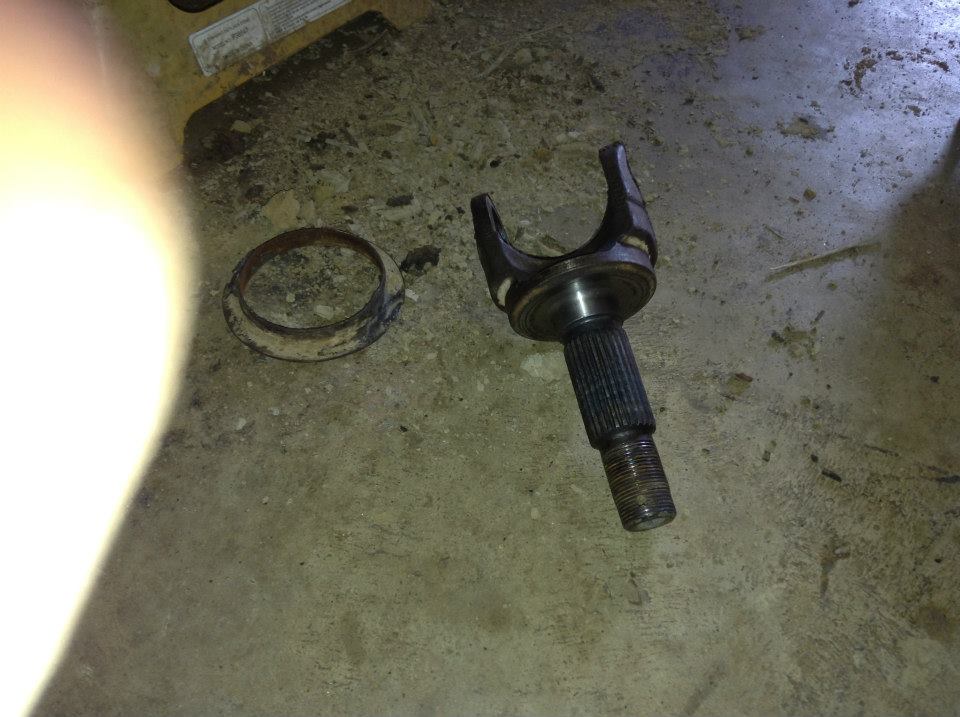
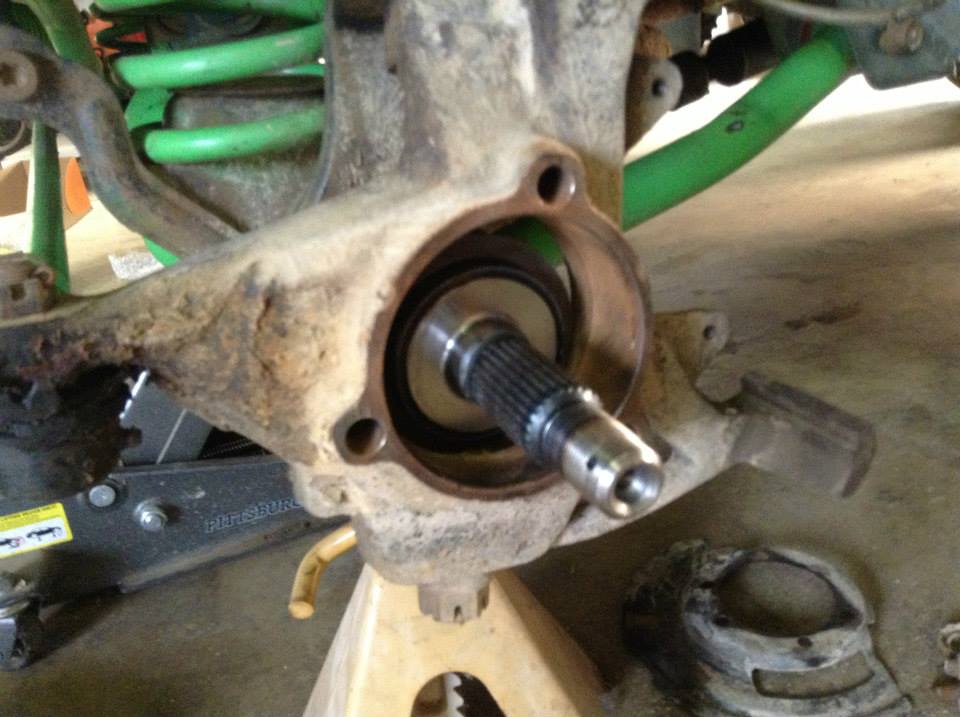
Messed up driver stub shaft.
Passenger side again.
Got the last 2 Timken Hubs for a Cherokee in Memphis, had to do to 2 AutoZone's too.
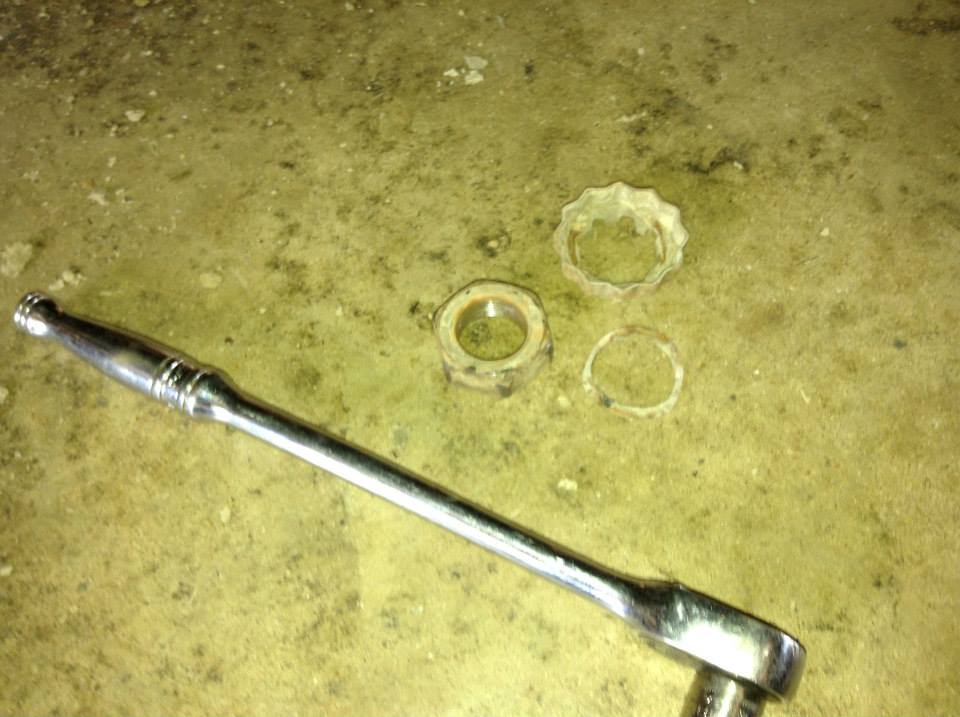
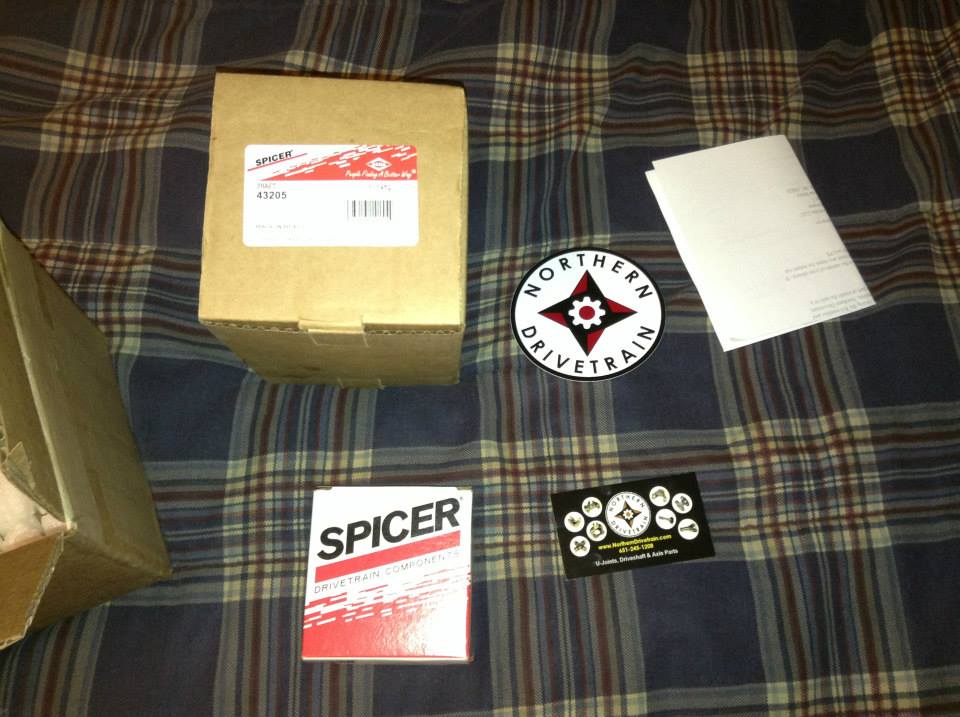
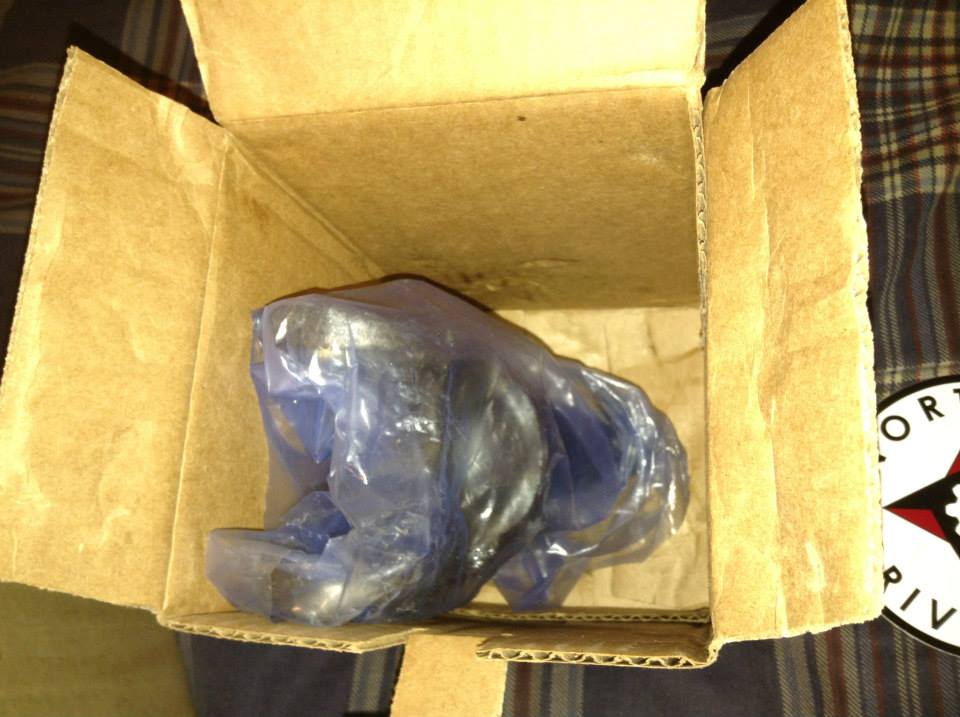
When my Stub shaft arrived from https://www.northerndrivetrain.com/
New ring.
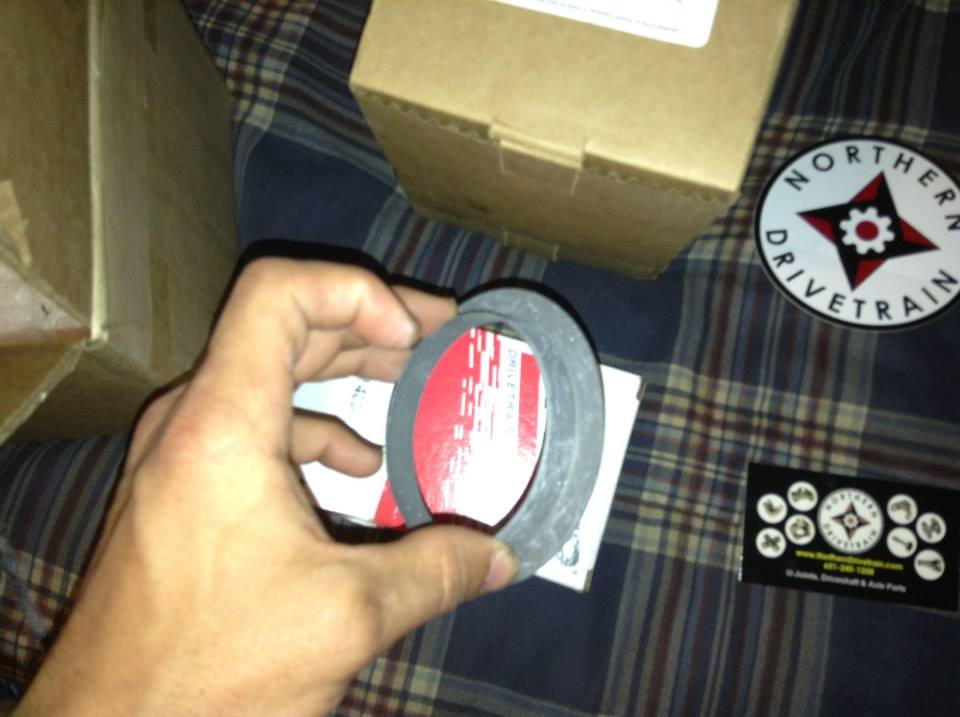
New stub shaft
New stub shaft and U-joints on the driver side shaft.

Driver side shaft in place.
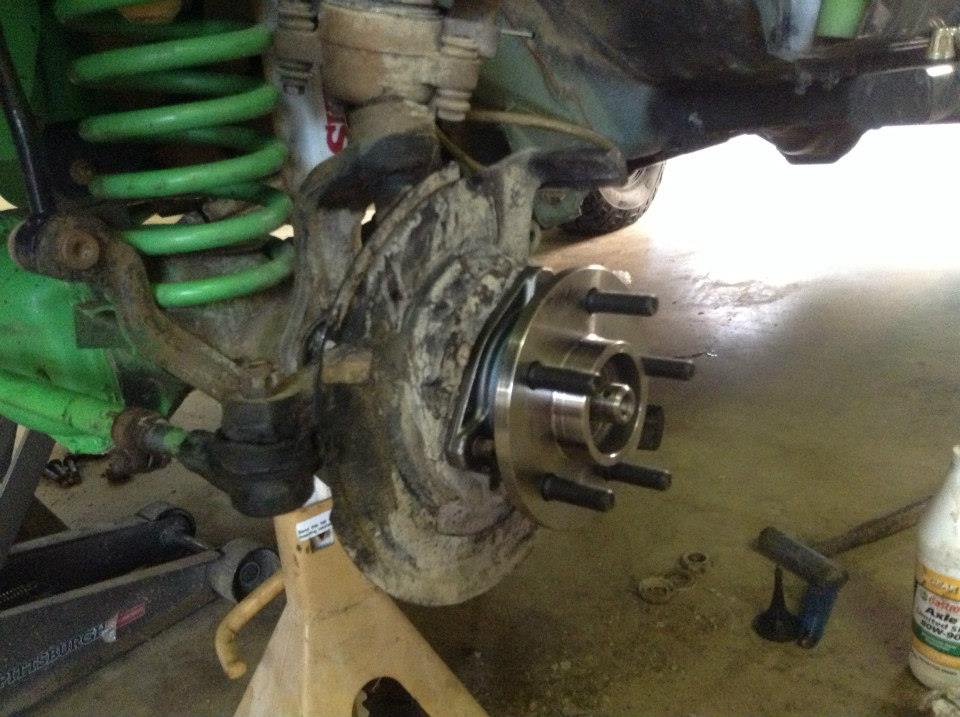
New Timken hubs in place.
driver
passenger
Shaft tightened down with rotor.
Caliper in place.
Both sides done.
Changing front diff fluid, no abnormal wear and everything looks good.
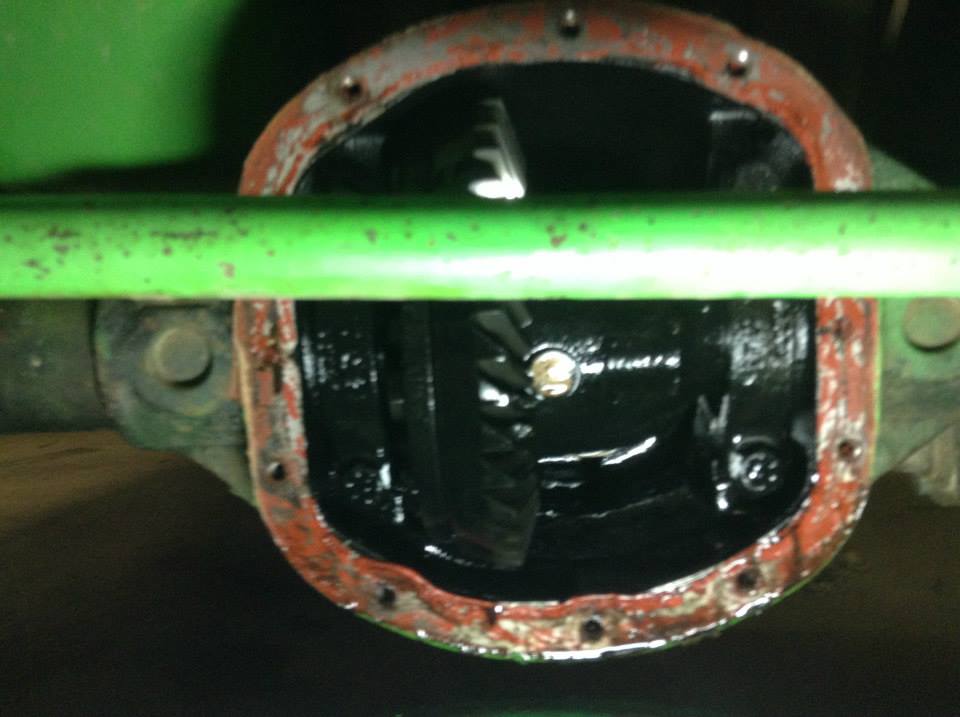
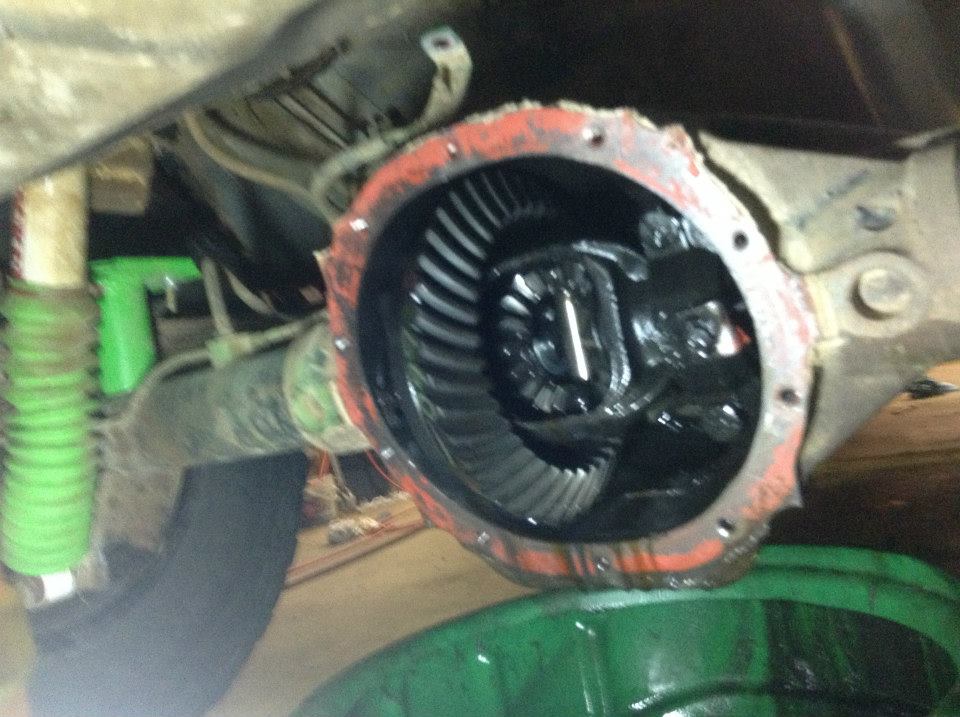
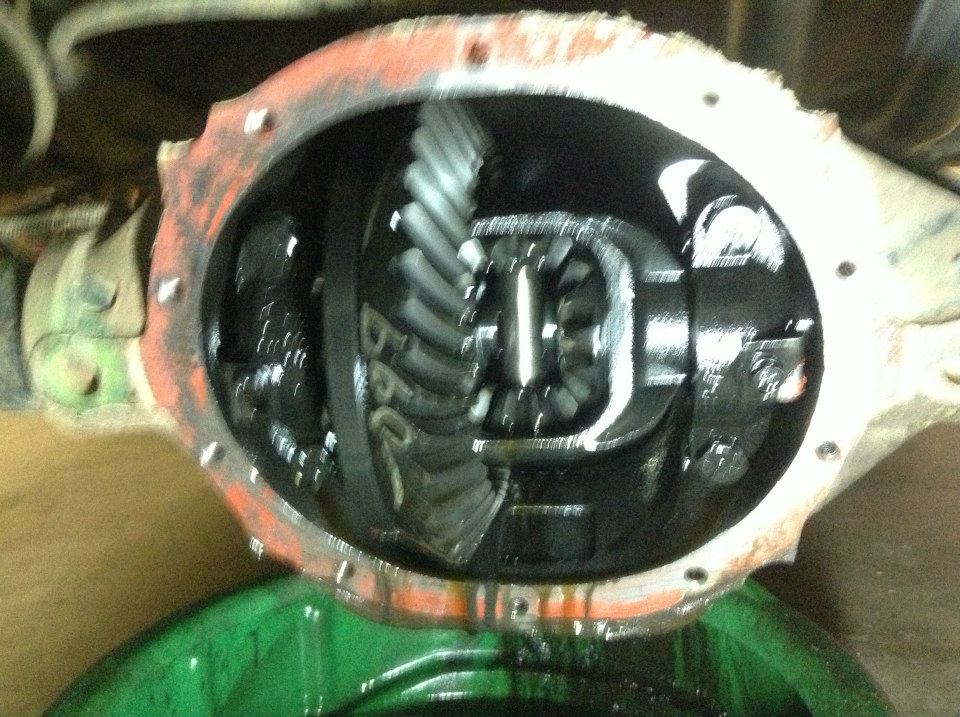
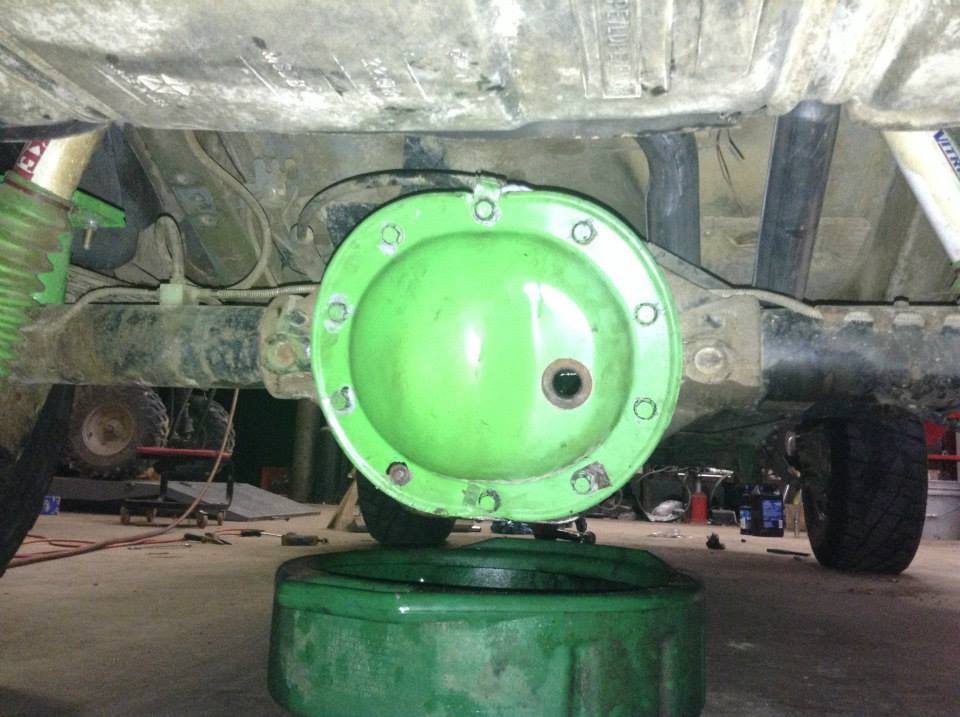
Changing rear diff fluid, no abnormal wear and everything looks good.
Front back together with RTV
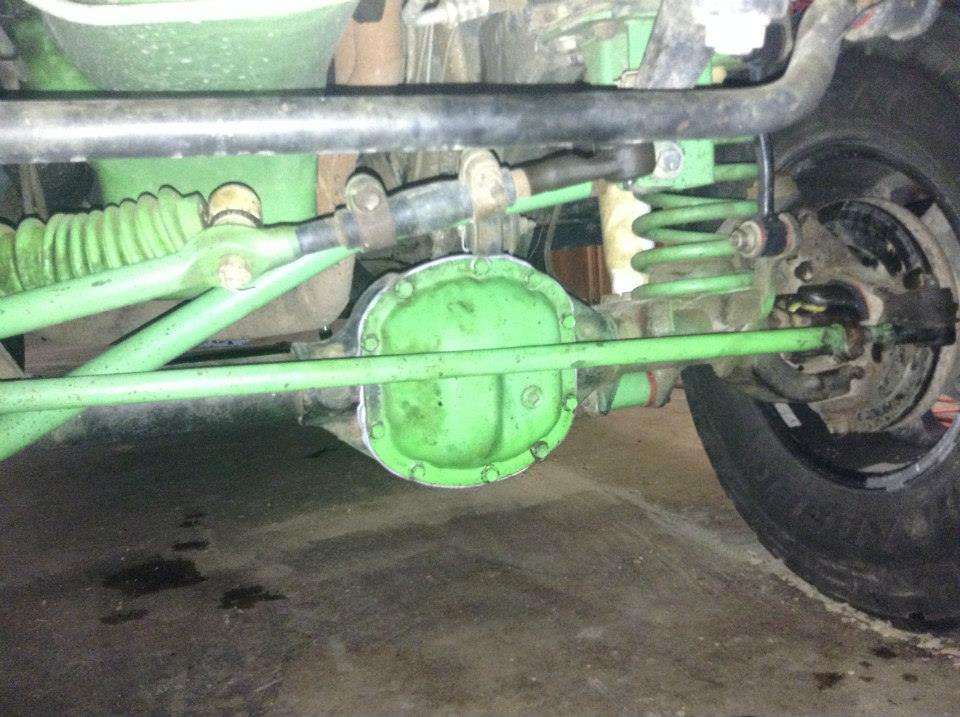
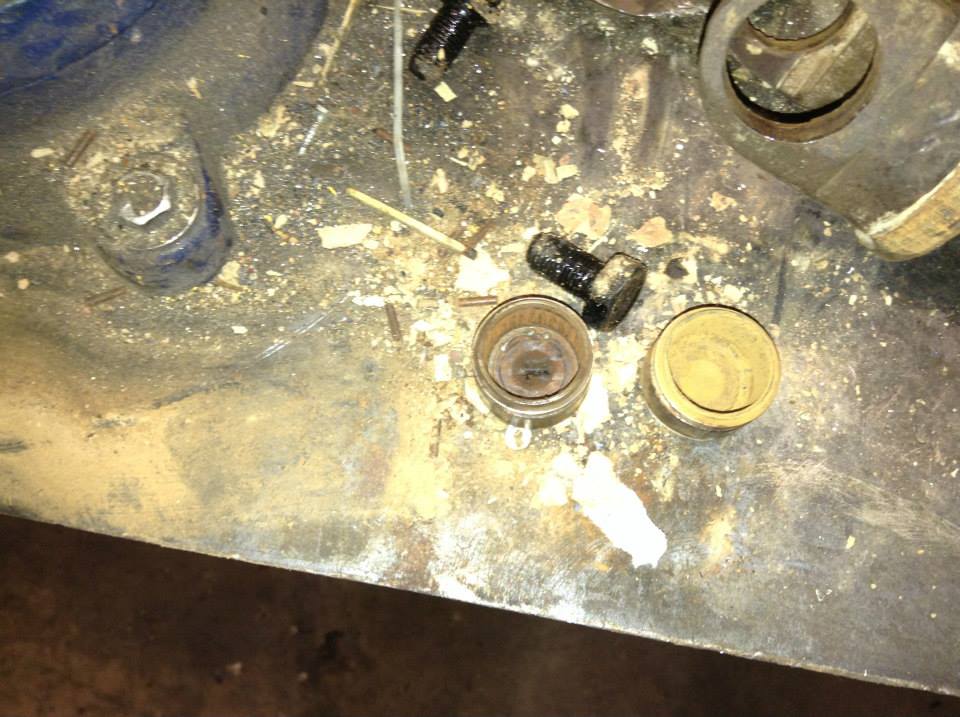
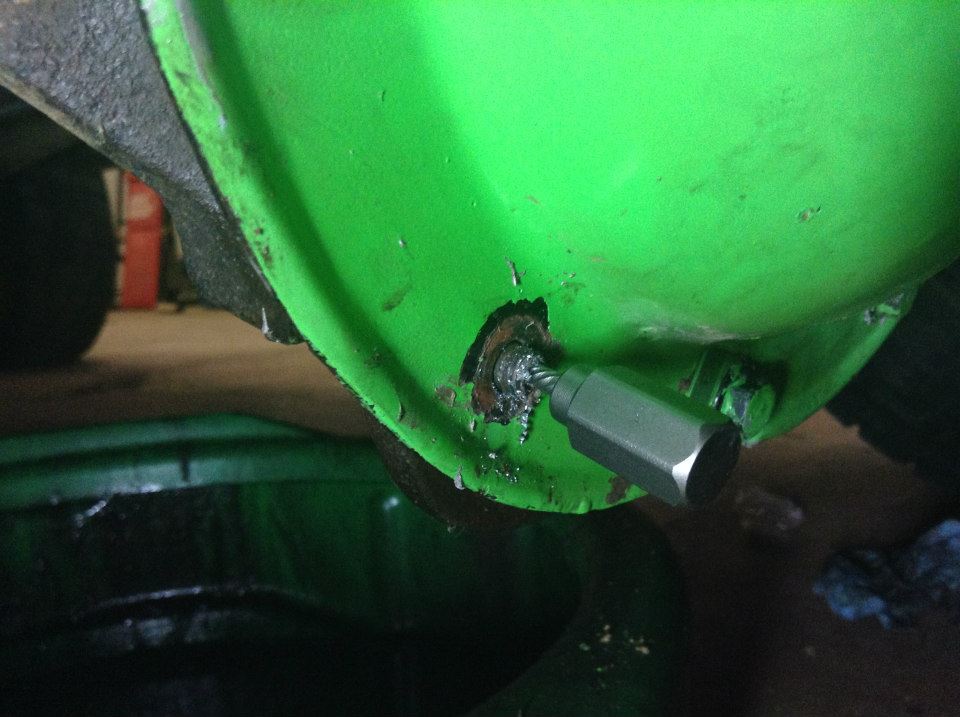
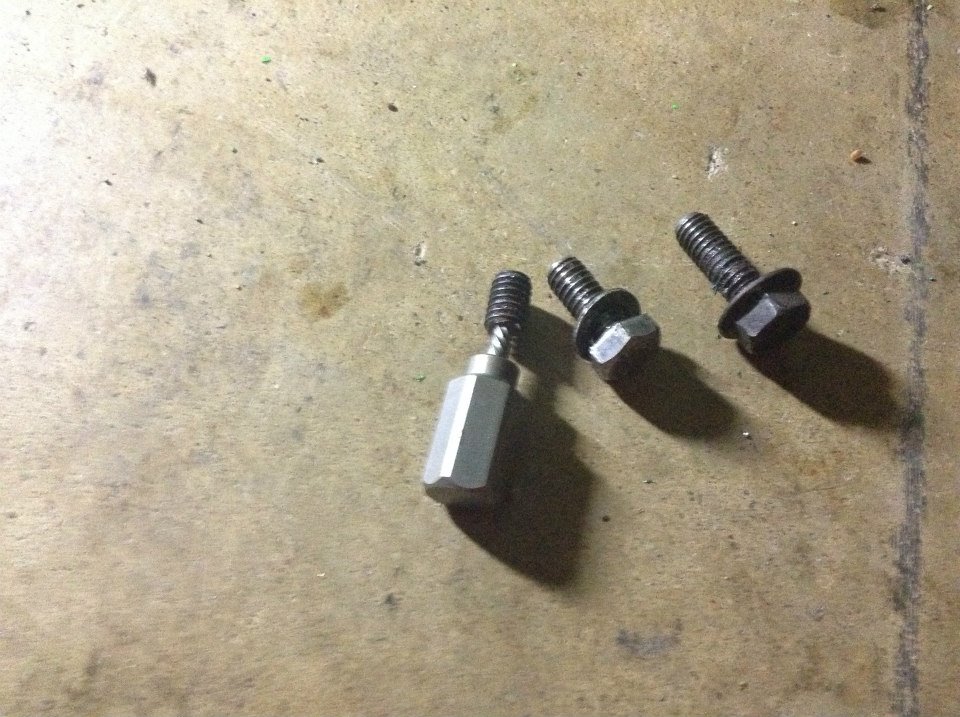
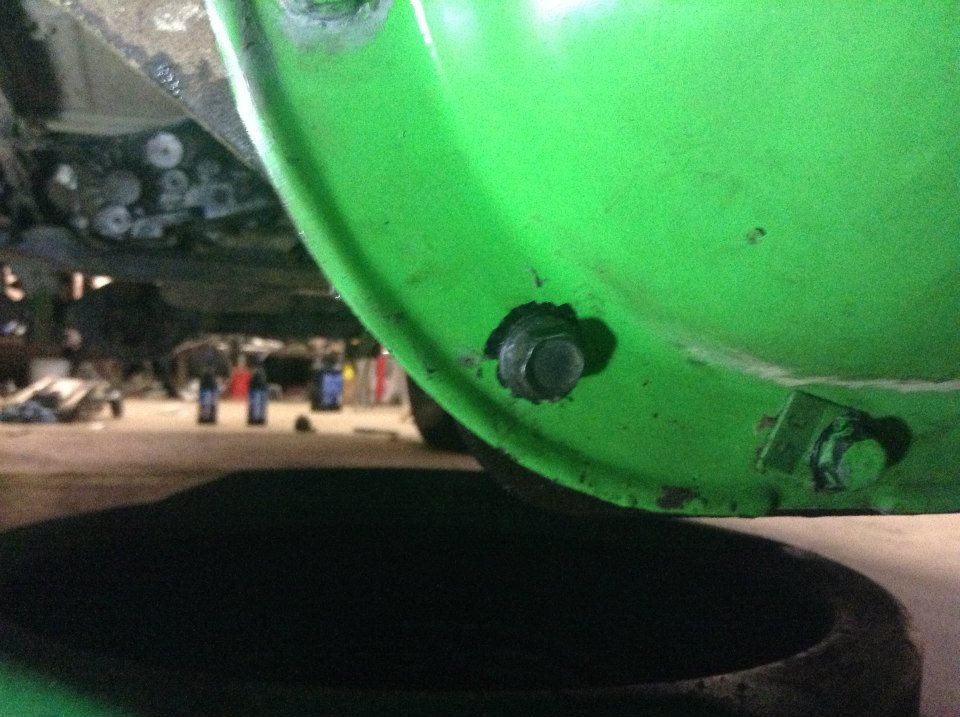
Rear back together with RTV.... but ran into a problem when I ran into a weak bolt.
taking the broken bolt out and putting in a new one.
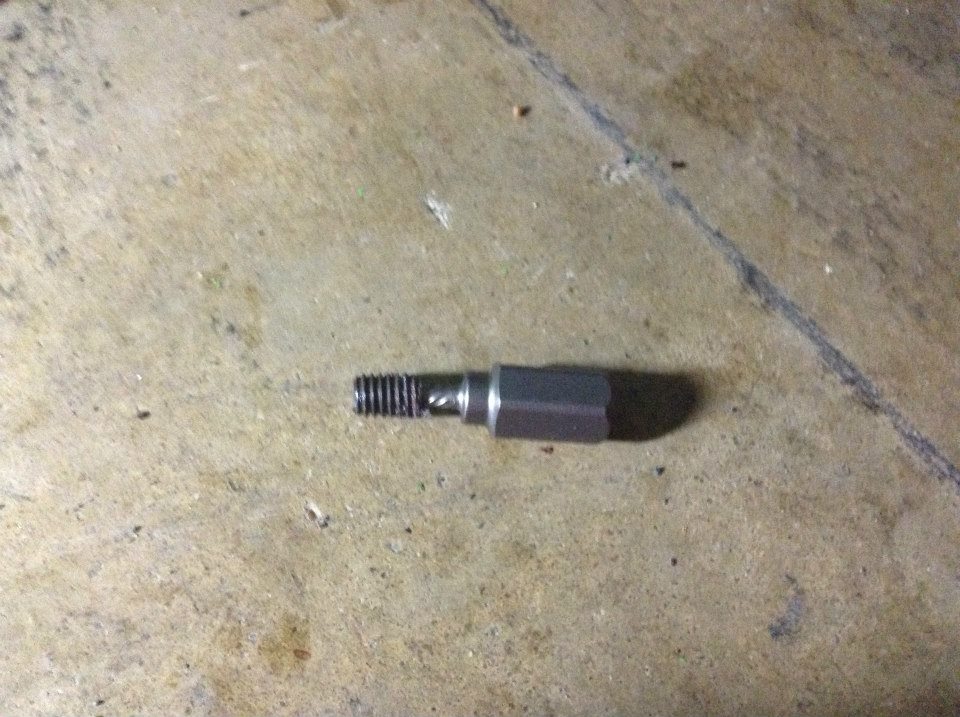
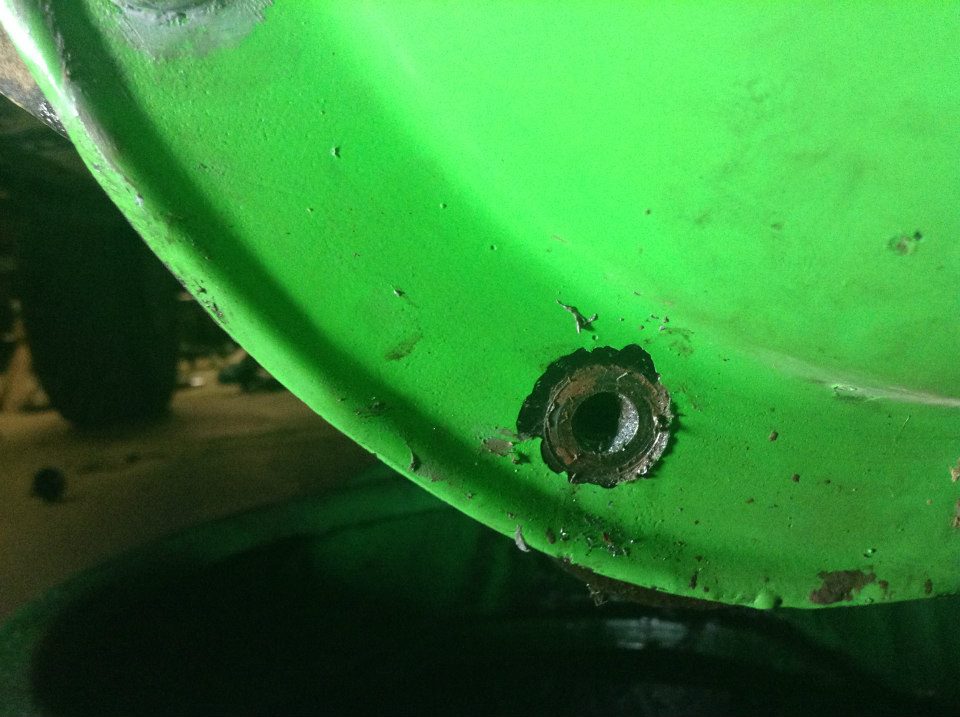
ended up using the long one.
All back together and running.
While I was pressing the driver U-Joint out the stub shaft it ended up being seized to the stub shaft and it bent the ear... So I had to order a new stub shaft and have it express delivered so I could get it out of my friend shop (not that it was a problem... just didn't wanna impose.) So while I was waiting for the stub shaft I went ahead and since my passenger Hub was bad I just went ahead and got 2 new ones. I also changed the diff fluids while I was at it.
But before we get to where I changed my U-Joints, here are some pictures from when I made those hill climb videos.
Me and my friend with the Z71.
Here I was balancing on 2 wheels, since I still have my sway bar connected, my front axle couldn't drop enough so I was teetering not going anywhere. Nothing a little push didn't fix though.
more on the same hill
And now to replacing the U-Joints.
Took off the Wheel and caliper
Took off the rotor and stub shaft bolt.
Went to the bench and pressed out the U-Joints.... All of them were bone dry, no grease at all except 2 on the driver side and 1 on the passenger side.
Here is the passenger side with U-Joints pressed in since I needed to wait on the driver side.
The bad passenger side Hub.
Messed up driver stub shaft.
Passenger side again.
Got the last 2 Timken Hubs for a Cherokee in Memphis, had to do to 2 AutoZone's too.
When my Stub shaft arrived from https://www.northerndrivetrain.com/
New ring.
New stub shaft
New stub shaft and U-joints on the driver side shaft.
Driver side shaft in place.
New Timken hubs in place.
driver
passenger
Shaft tightened down with rotor.
Caliper in place.
Both sides done.
Changing front diff fluid, no abnormal wear and everything looks good.
Changing rear diff fluid, no abnormal wear and everything looks good.
Front back together with RTV
Rear back together with RTV.... but ran into a problem when I ran into a weak bolt.
taking the broken bolt out and putting in a new one.
ended up using the long one.
All back together and running.
Last edited by dcp1992; Nov 26, 2016 at 10:34 PM. Reason: Fixed pictures
Thread Starter
Seasoned Member
Joined: Sep 2011
Posts: 280
Likes: 1
From: Arlington, TN (Memphis area)
Year: 2000
Model: Cherokee
Engine: 242 Power Tech I6 (4.0)
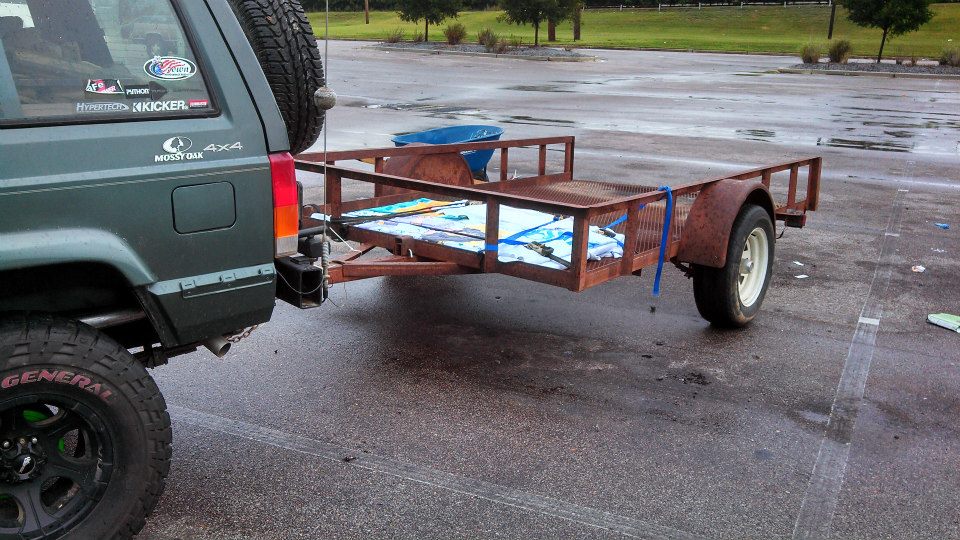
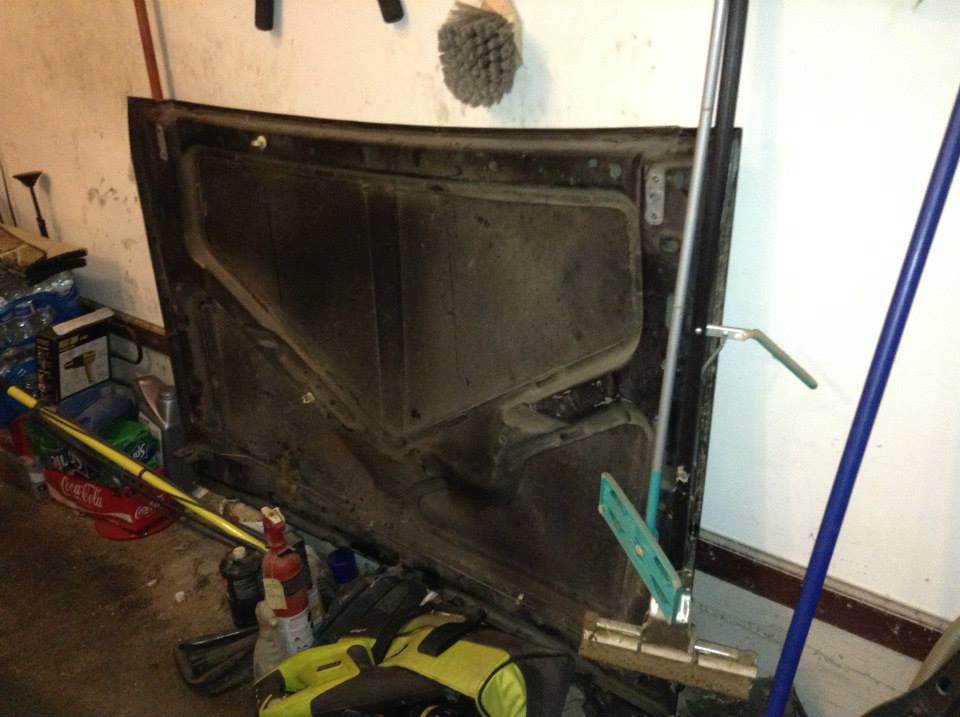
Went to Pull a Part today and got a Spare hood to start making a cowl hood for the XJ and I also picked up a ZJ Console lid that has the rear cup holders.
At Pull a Part with the hood loaded and strapped down wrapped in towels.
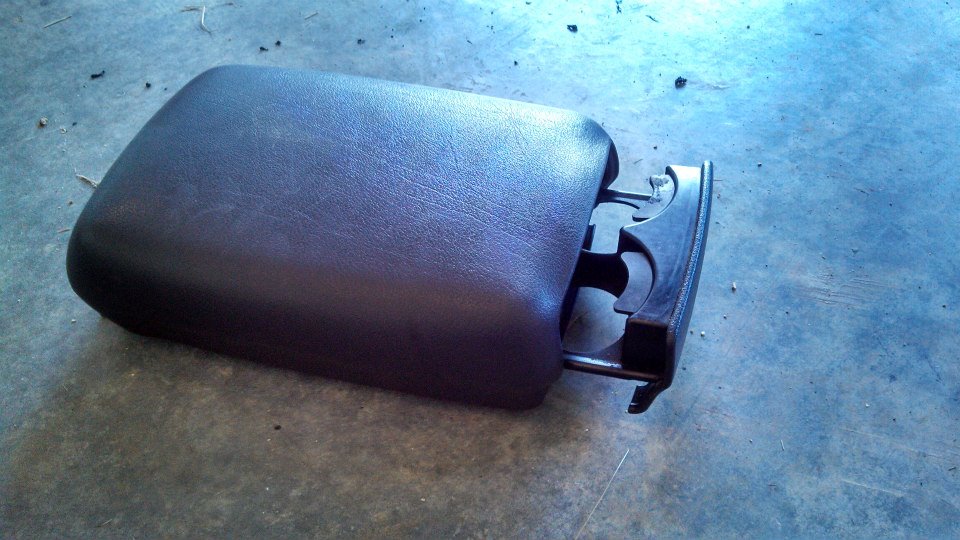
Here is the ZJ console lid.
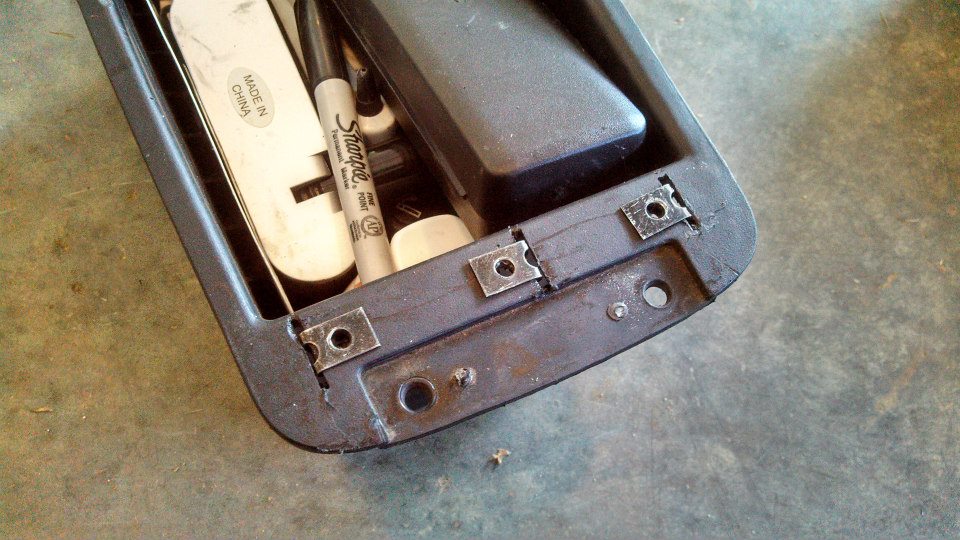
The inner console of the XJ drilled and slotted to where the clips would slide in.
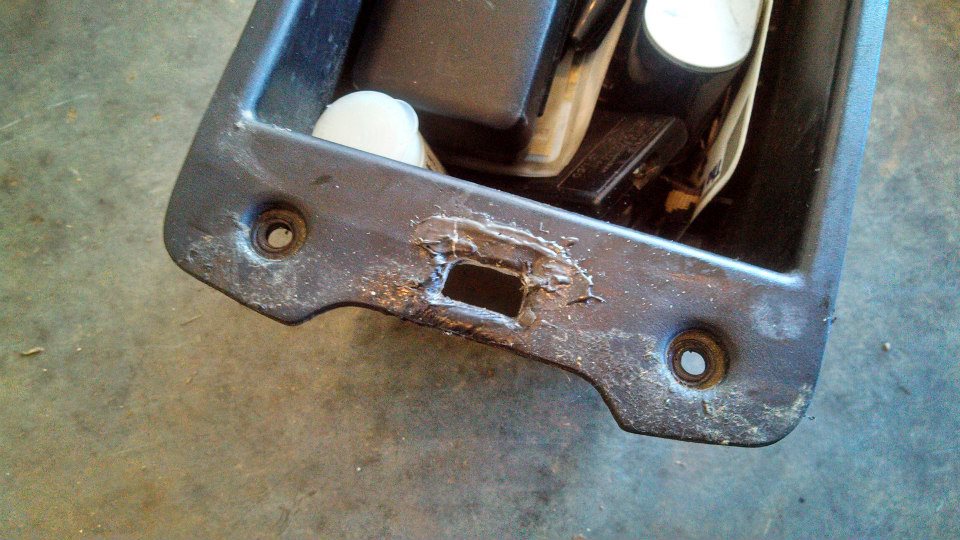
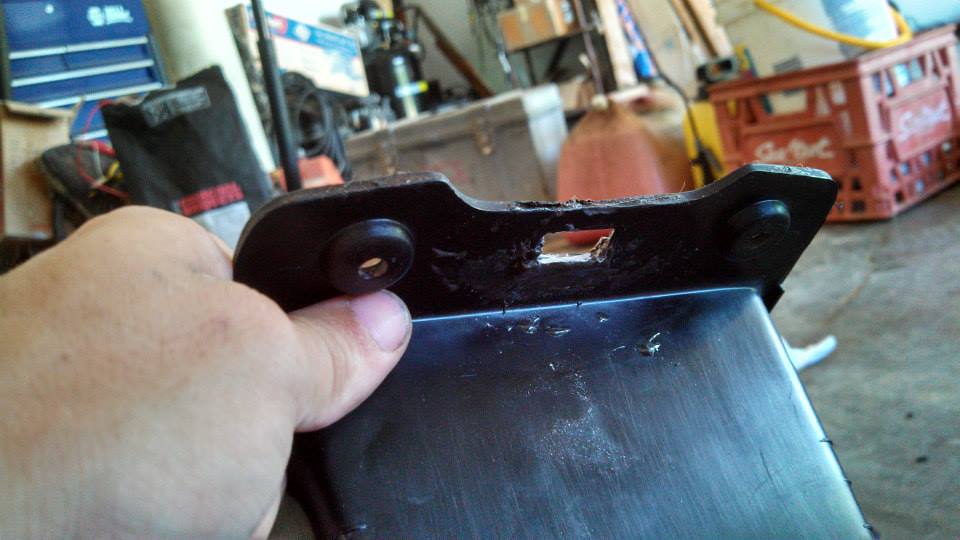
Ended up accidentally drilling and putting the clips too far forward so I had to JB weld the stock XJ latch slot smaller so it would latch.
The inner XJ console back in place with the ZJ lid.
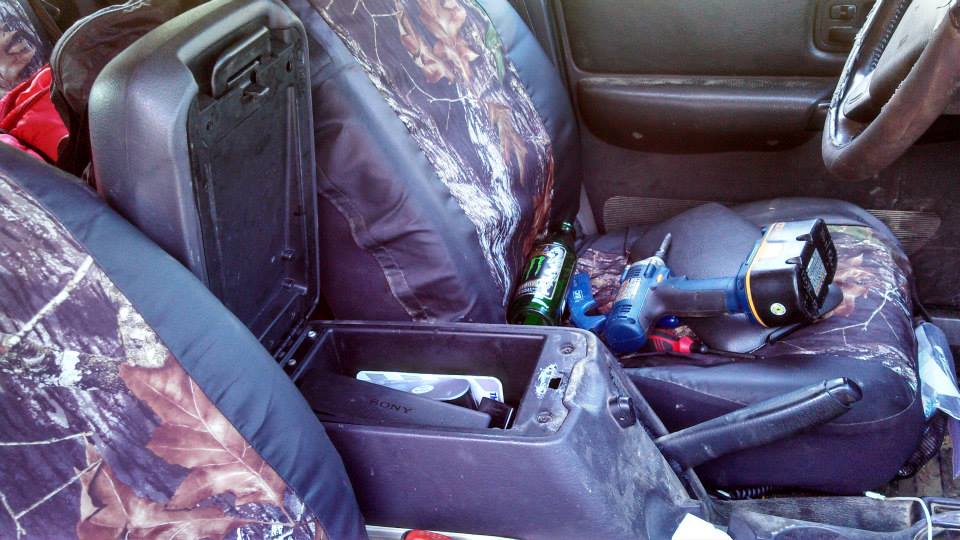
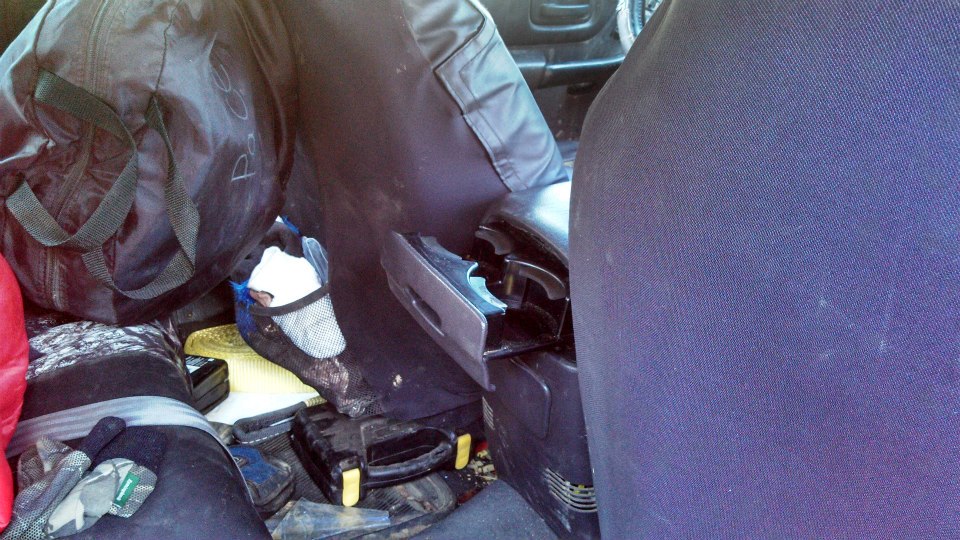
The back of the console with the ZJ lid, there is a gap where the XJ lid would normally go, but it doesn't look that bad... I can deal with it and I get rear cup holders, so it's a plus.
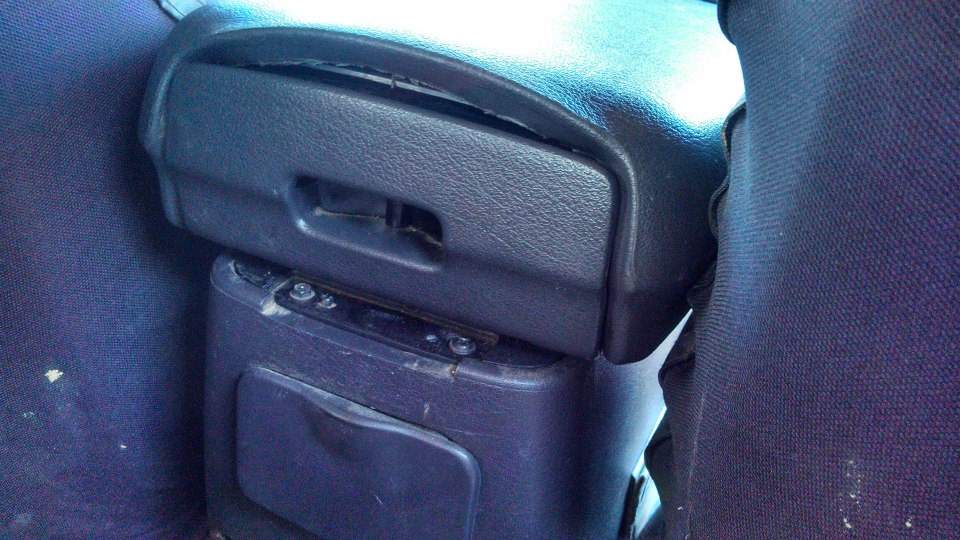
The rear cup holders.
At Pull a Part with the hood loaded and strapped down wrapped in towels.
Here is the ZJ console lid.
The inner console of the XJ drilled and slotted to where the clips would slide in.
Ended up accidentally drilling and putting the clips too far forward so I had to JB weld the stock XJ latch slot smaller so it would latch.
The inner XJ console back in place with the ZJ lid.
The back of the console with the ZJ lid, there is a gap where the XJ lid would normally go, but it doesn't look that bad... I can deal with it and I get rear cup holders, so it's a plus.
The rear cup holders.
Last edited by dcp1992; Nov 26, 2016 at 11:34 PM. Reason: Fixed pictures
Thread Starter
Seasoned Member
Joined: Sep 2011
Posts: 280
Likes: 1
From: Arlington, TN (Memphis area)
Year: 2000
Model: Cherokee
Engine: 242 Power Tech I6 (4.0)
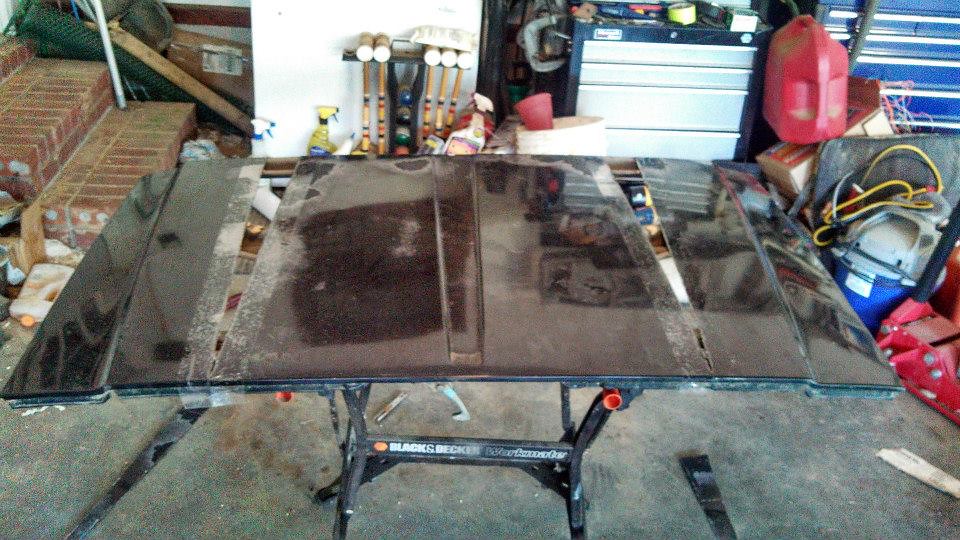
Here is some shots of the Hood I got.
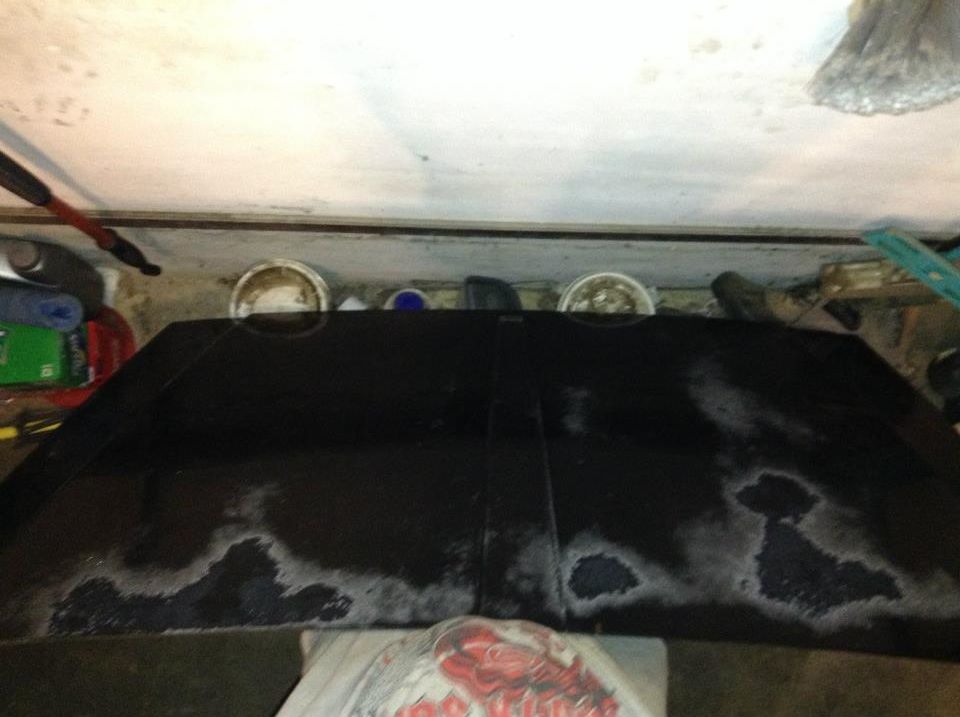
Hopefully I can start on it this week, it all depends if I get payed sometime this week for the work I did Monday-Wednesday last week, heck, even if I get paid the $40 I still need form working the Sunday before that. Need to buy the metal for the gap after I cut it.
Hopefully I can start on it this week, it all depends if I get payed sometime this week for the work I did Monday-Wednesday last week, heck, even if I get paid the $40 I still need form working the Sunday before that. Need to buy the metal for the gap after I cut it.
Last edited by dcp1992; Nov 26, 2016 at 11:48 PM. Reason: Fixed pictures
Thread Starter
Seasoned Member
Joined: Sep 2011
Posts: 280
Likes: 1
From: Arlington, TN (Memphis area)
Year: 2000
Model: Cherokee
Engine: 242 Power Tech I6 (4.0)
Here is the metal for my Cowl hood. I might start today, but I don't know. I don't have a grinder anymore since the last one fried and I don't plan to get another one since I have Air at the house now, but I also don't have a cut off wheel attachment for the air grinder.... so I might try to mark out where to cut today, but I don't think I'll get it cut since my friend with the shop is out of town for the week and I don't really want to go over to get a Air grinder while he is gone... Though I know I can, since they've always said I can use it or anything in it anytime.
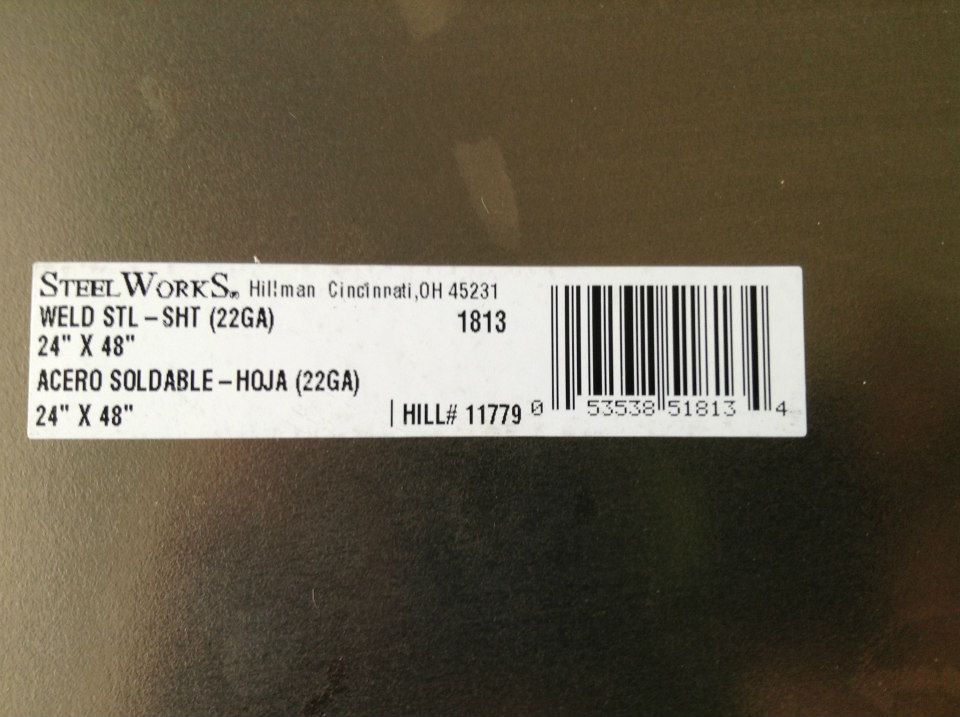
Here is the metal.
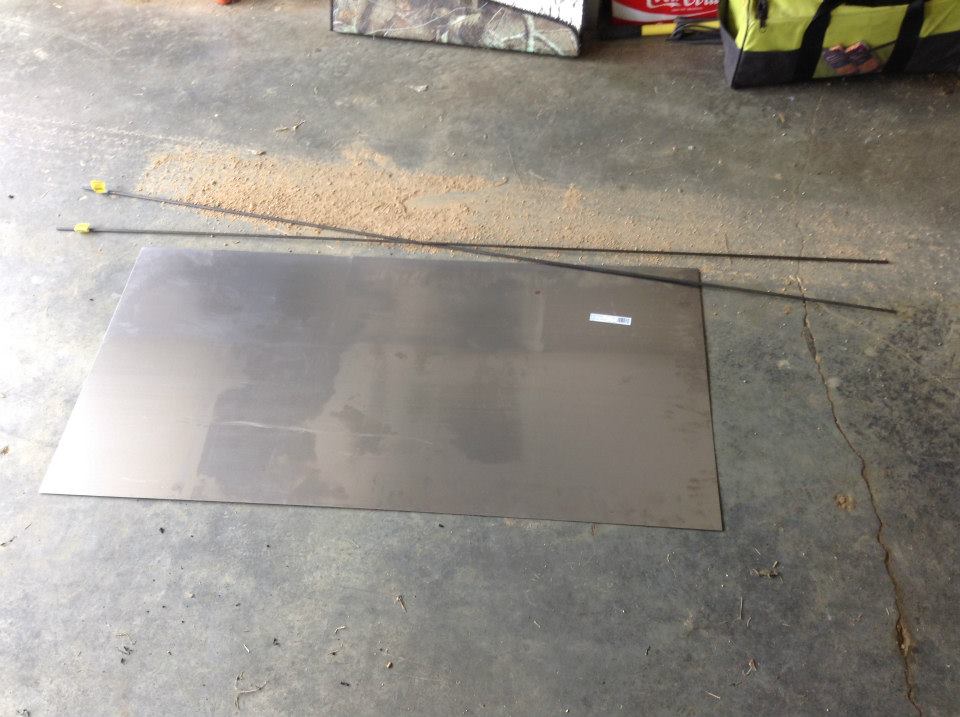
24" x 48" 22 gauge sheet. I was trying to get a 20 gauge, but all they had where I was at was 22 gauge then it skipped to 16 gauge. Of course they had one under 22 also. 22 gauge should work though. (Don't use 22 gauge, only use 16 gauge, 22 gauge is WAY to thin. - 11/27/2016)
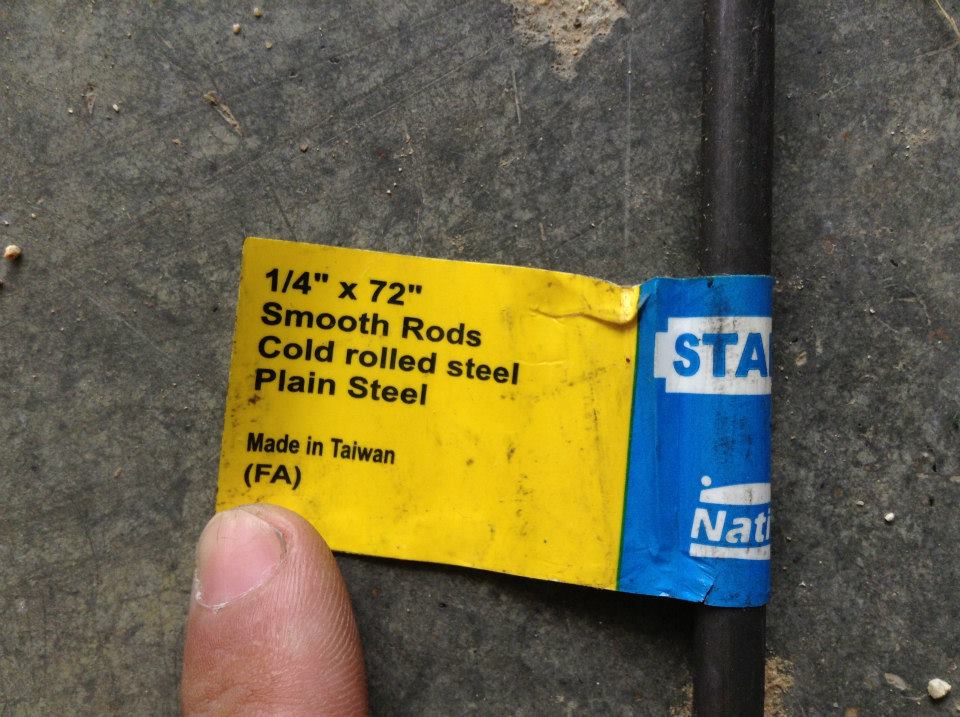
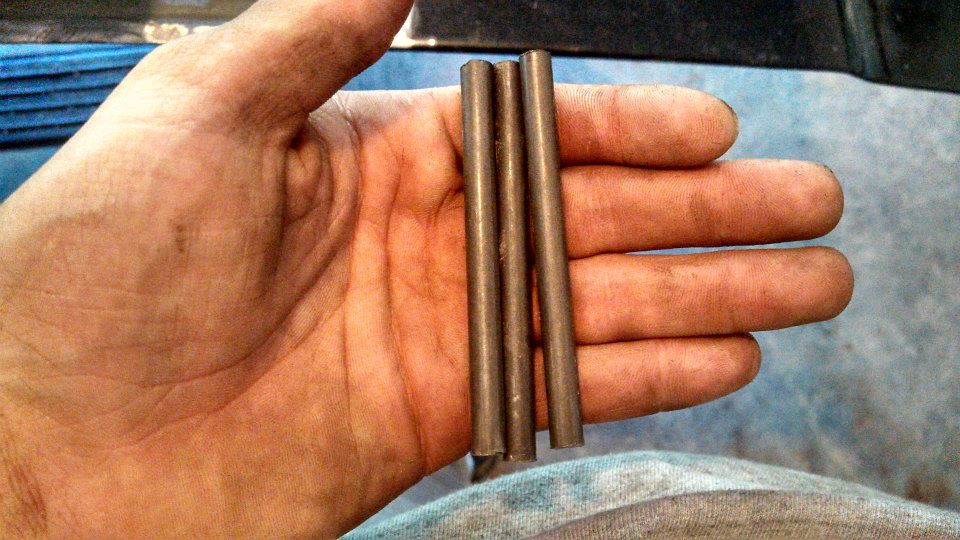
I also got two 1/4" rod 72" long for supports. I saw someone use it to keep the contour of the cowl and also support it while he laid the metal over it in the space. I don't know if I'll need to do that with the 22 gauge or not, but I still got it just in case. Plus I can still use it for supports underneath and in the back.
Here is the metal.
24" x 48" 22 gauge sheet. I was trying to get a 20 gauge, but all they had where I was at was 22 gauge then it skipped to 16 gauge. Of course they had one under 22 also. 22 gauge should work though. (Don't use 22 gauge, only use 16 gauge, 22 gauge is WAY to thin. - 11/27/2016)
I also got two 1/4" rod 72" long for supports. I saw someone use it to keep the contour of the cowl and also support it while he laid the metal over it in the space. I don't know if I'll need to do that with the 22 gauge or not, but I still got it just in case. Plus I can still use it for supports underneath and in the back.
Last edited by dcp1992; Nov 27, 2016 at 12:14 AM. Reason: Fixed pictures
Thread Starter
Seasoned Member
Joined: Sep 2011
Posts: 280
Likes: 1
From: Arlington, TN (Memphis area)
Year: 2000
Model: Cherokee
Engine: 242 Power Tech I6 (4.0)
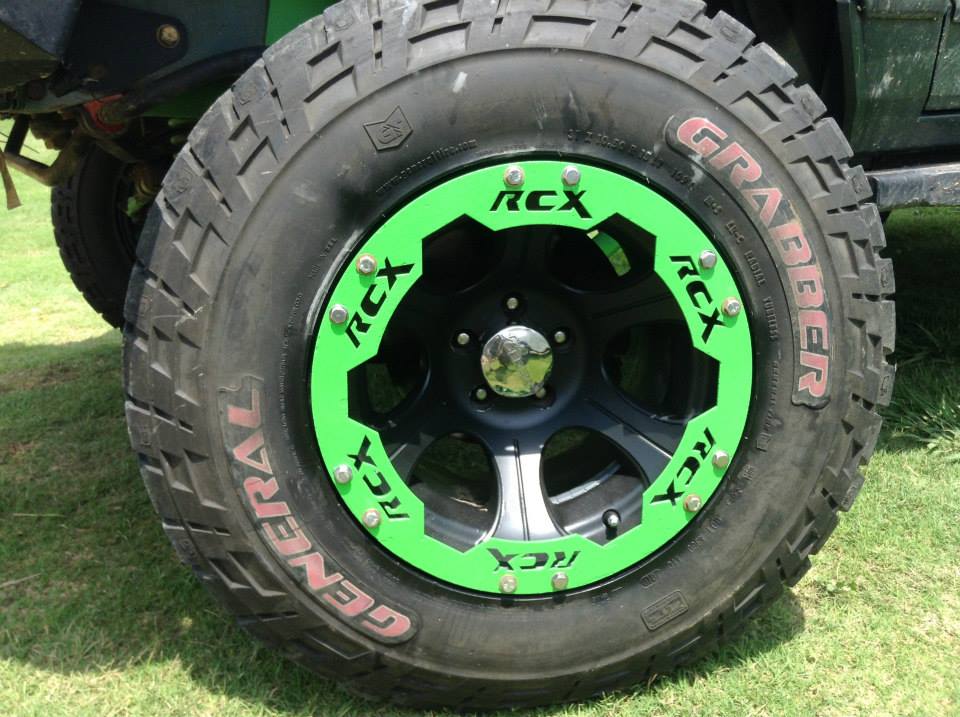
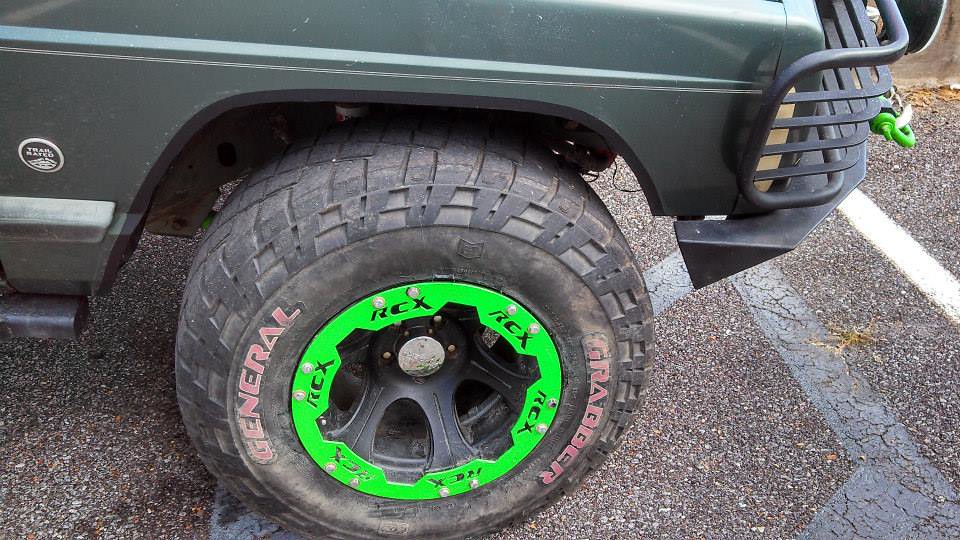
Well I haven't worked anymore on the hood besides measuring out and taping where I want to cut out. But I do have some new-to-me rims from IZAREBL, his old DC-1 rims with Rough Country rock rings. They are 15x10, my old DC-2s where 15x8. (I'd always wanted the DC-1's, though... Wish I would've never plasti dipped them though - 11/27/2016)
When I got them before I plasti dipped them.

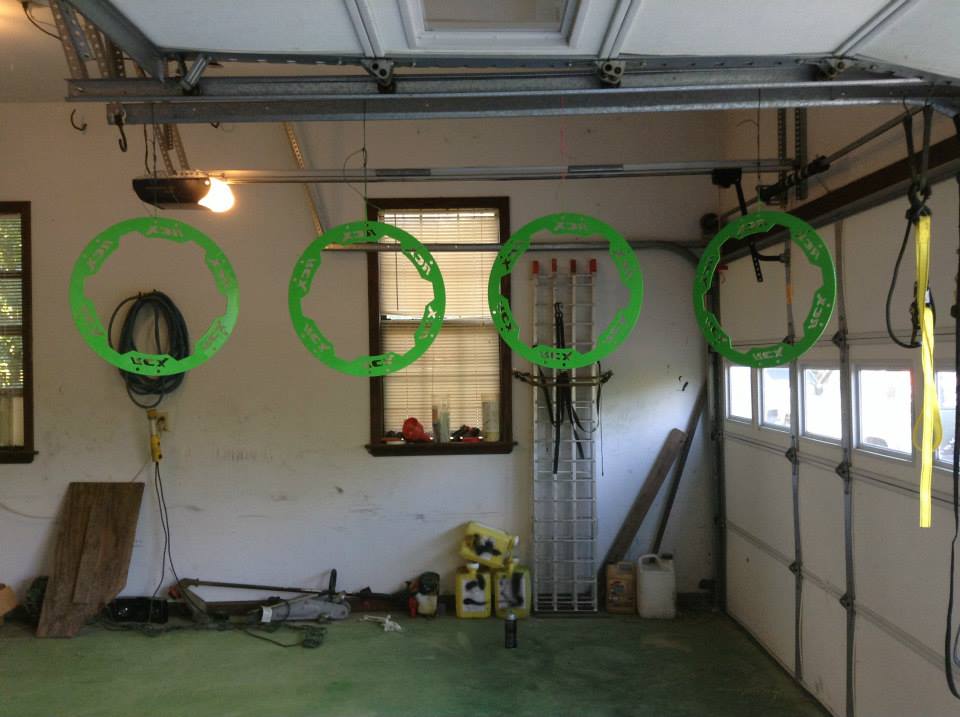
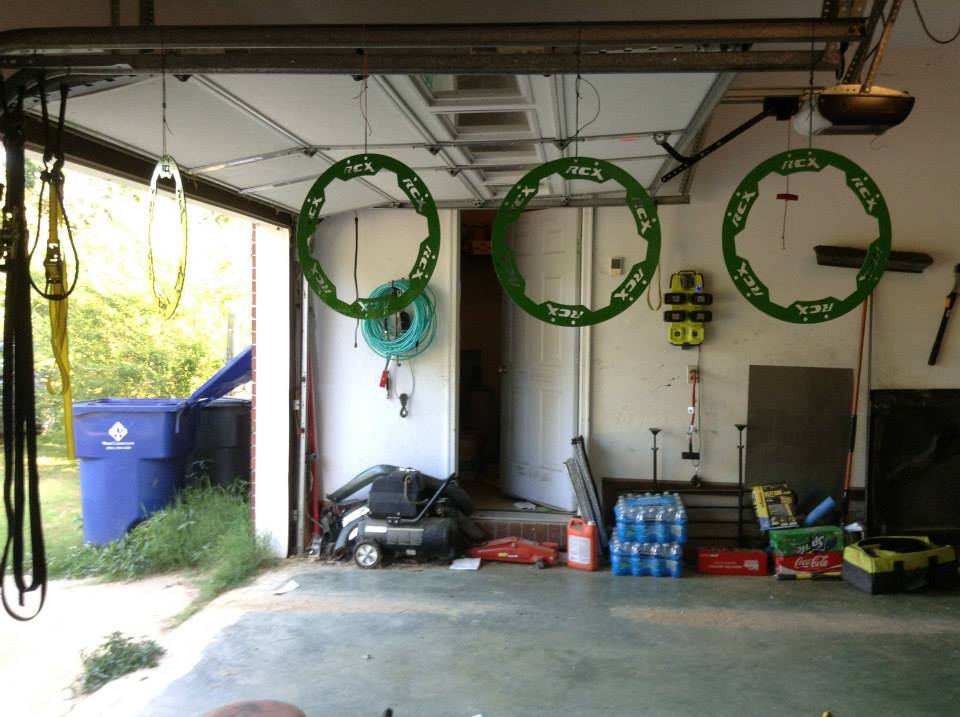
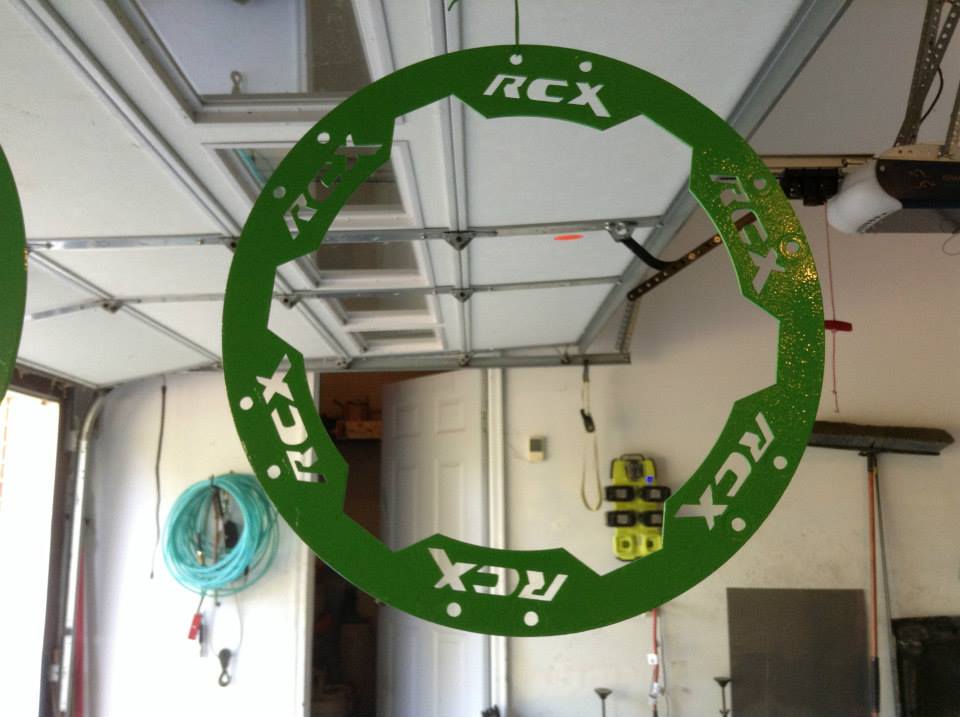
The Rough Country rock rings.
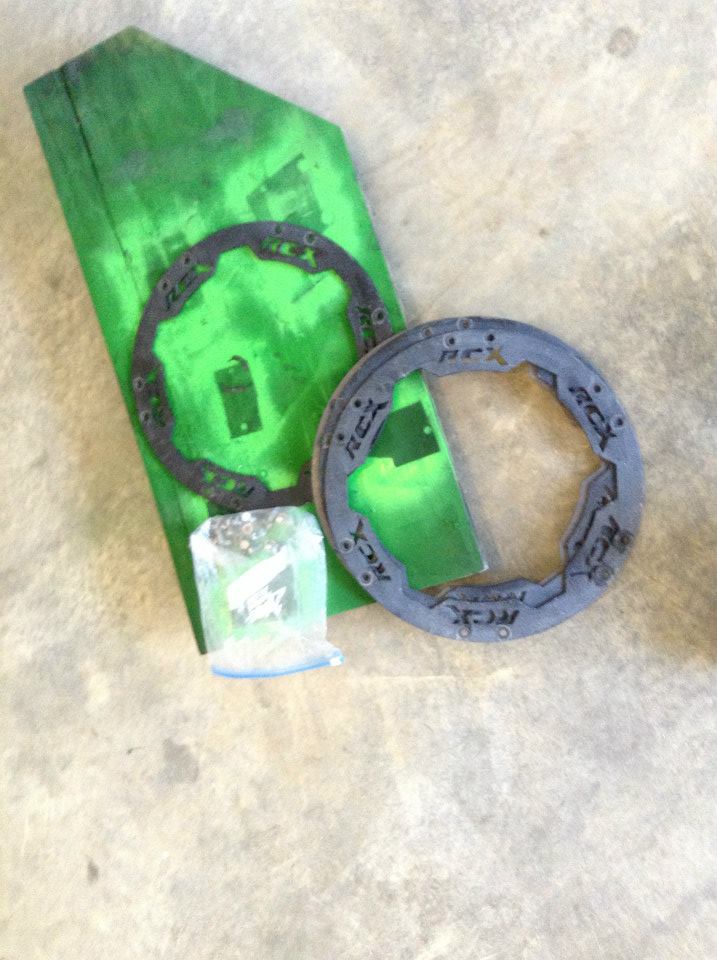
Taping off the rim to plasti dip them.
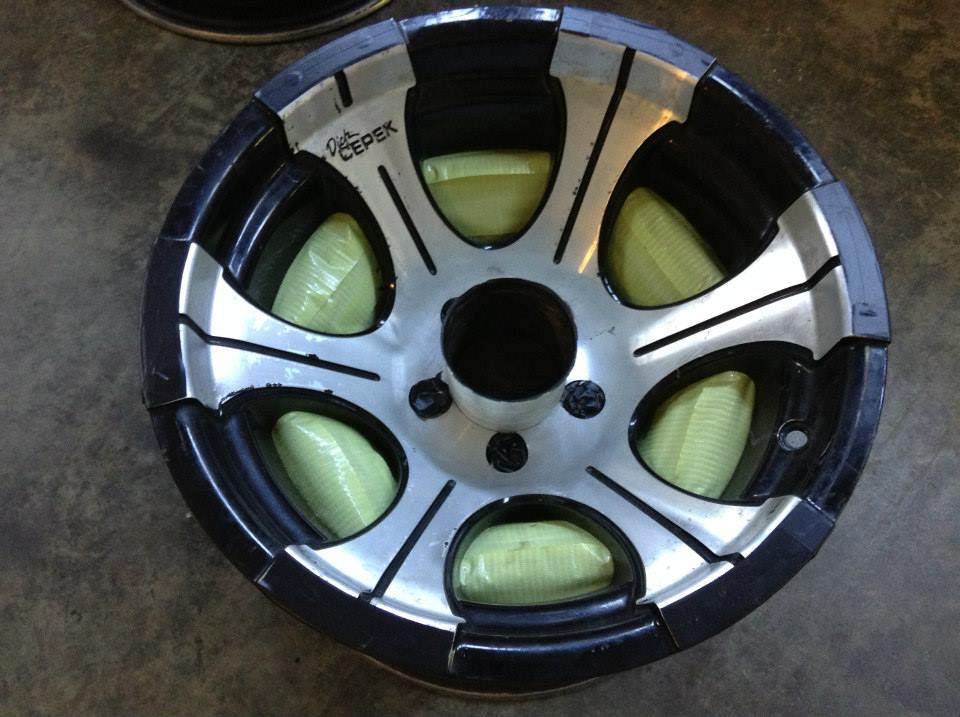
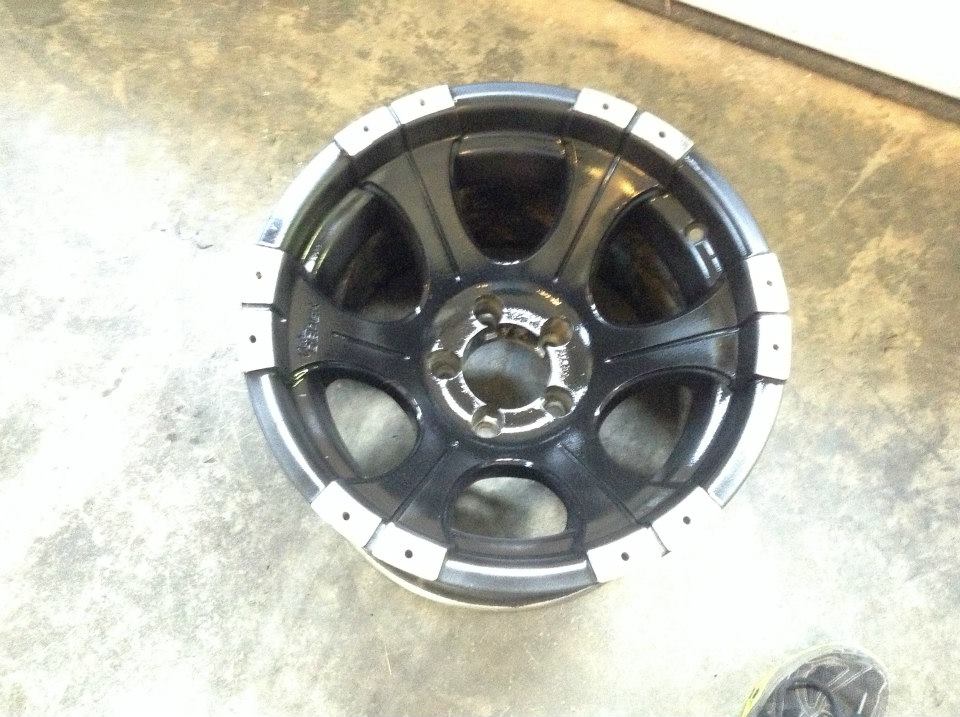
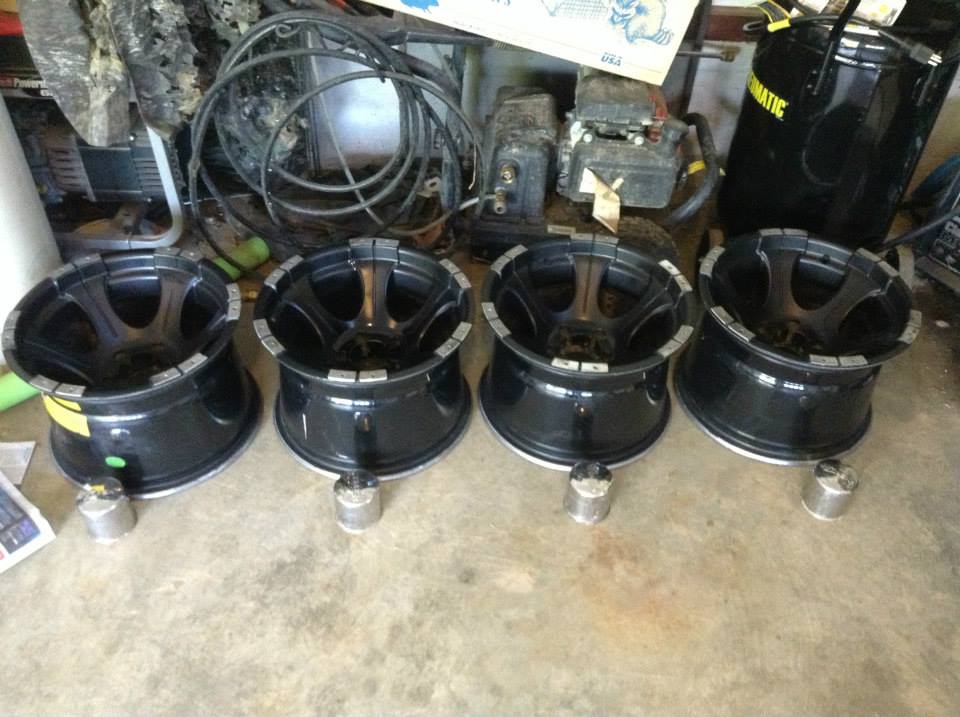
Then rims plasti dipped.
Painting the Rough Country rock rings.
Did a test look to see how it would look.
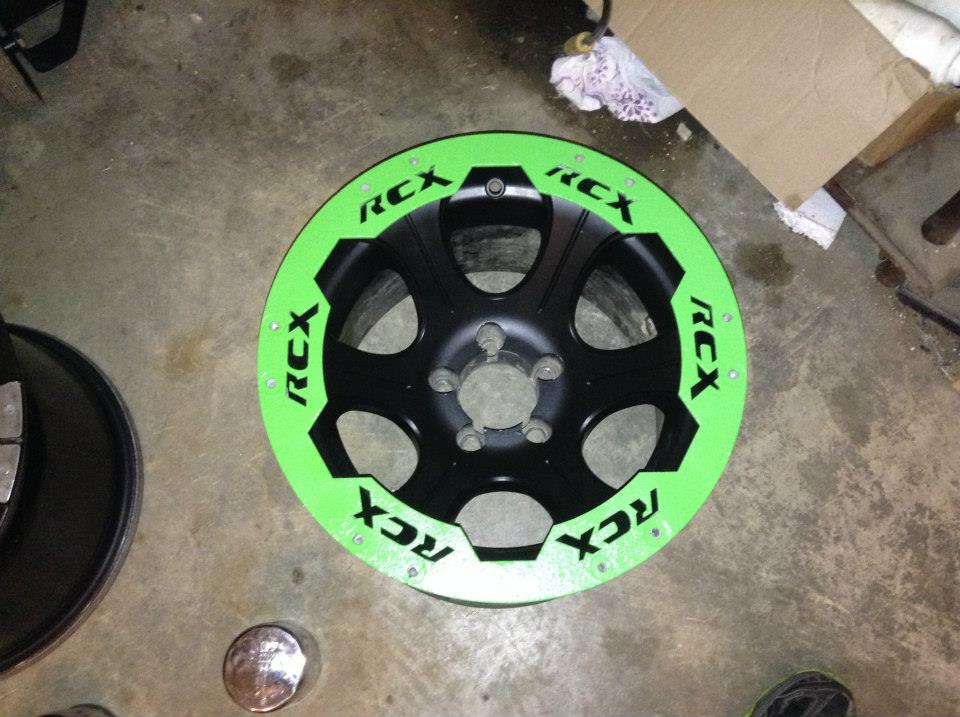
Test fit one.

Then went to little rock with my friend to get a dana 44 from a J10 for my friends solid axle swap that he is doing to his z71 in the future and on the way back he said I could use his discount to get my rims mounted... So I did.
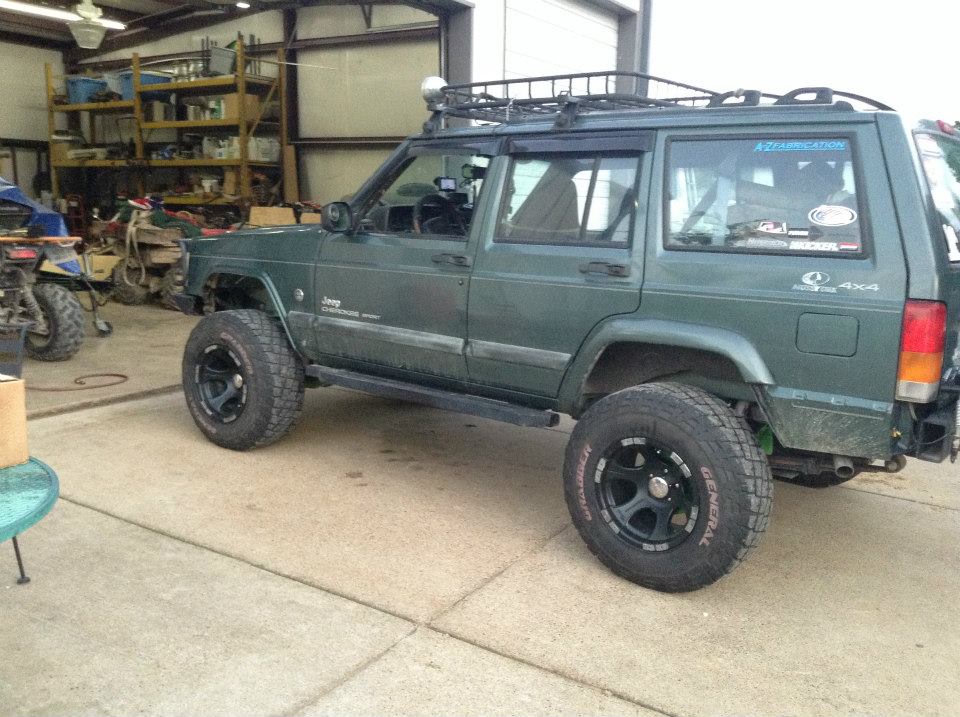
Got a wider stance now. (that Z71 in the background is the one that will eventually have a solid axle in the front.) SAS never happened, but part of the axle will be repoupoused for my other vehicle - 11/27/2016
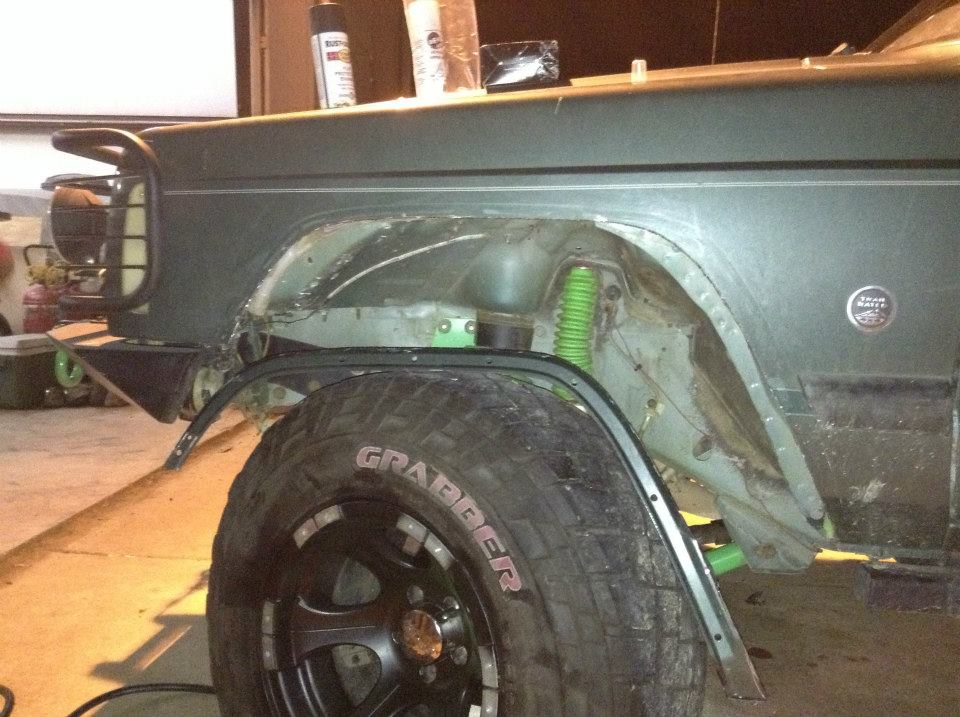
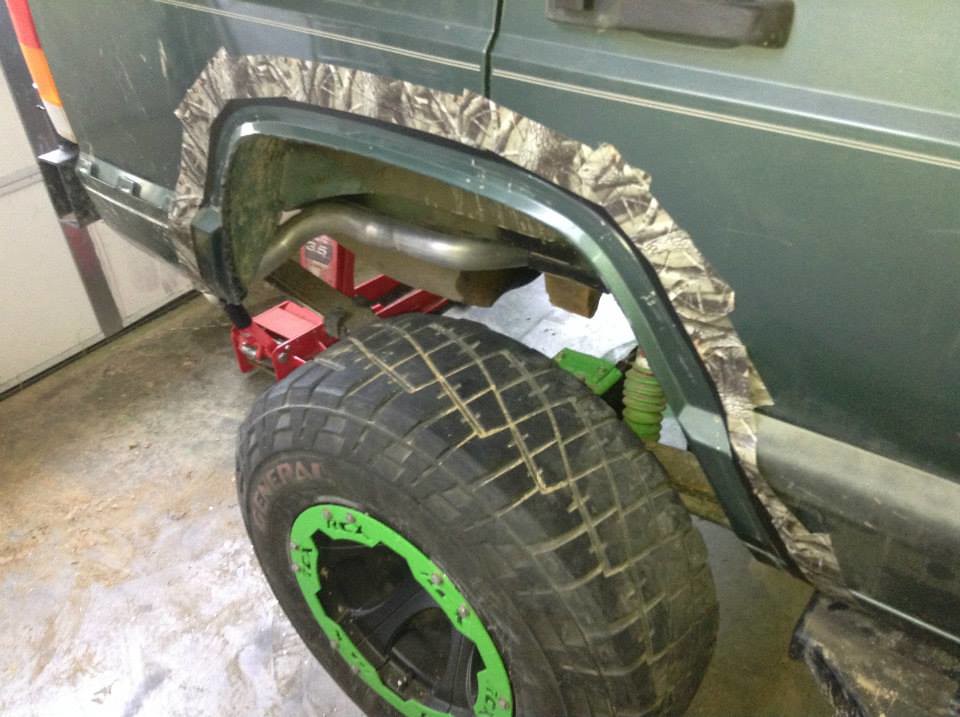
Cutting the fenders.
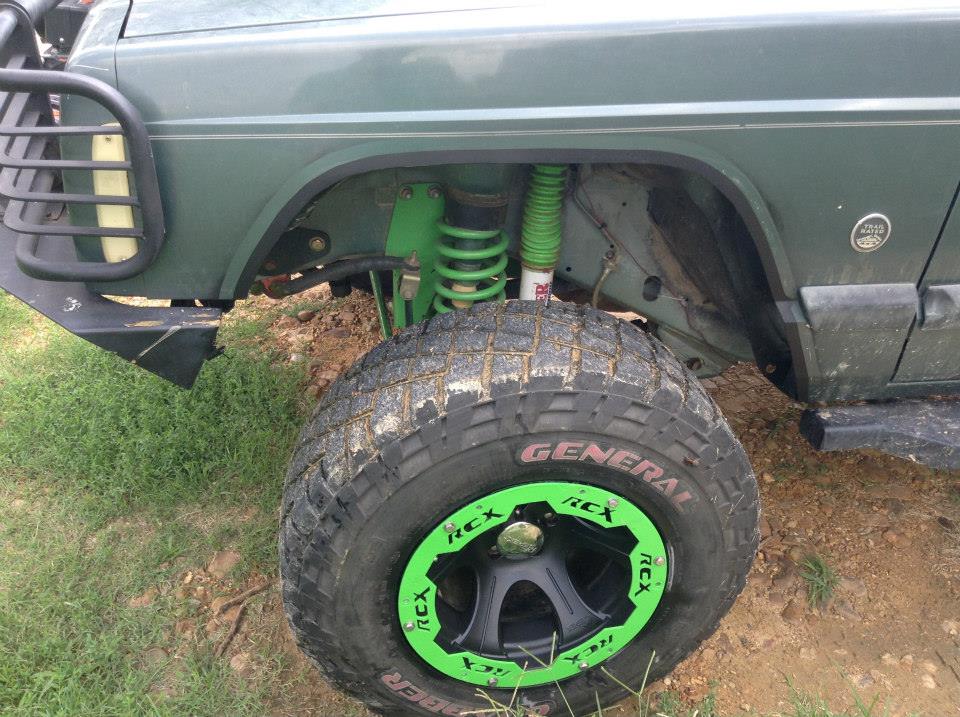
Before
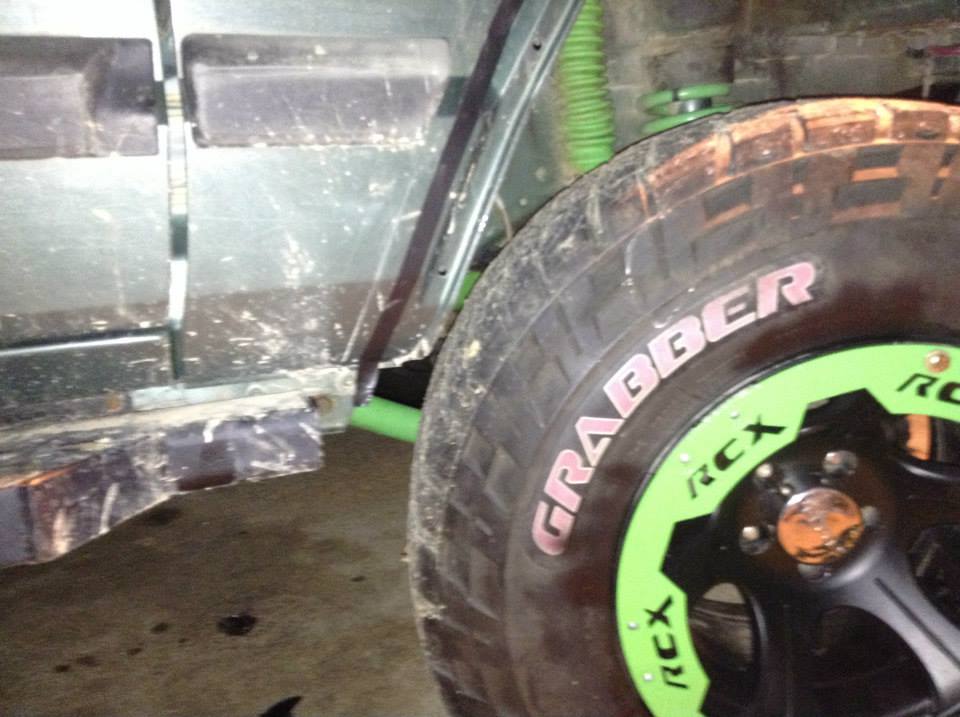
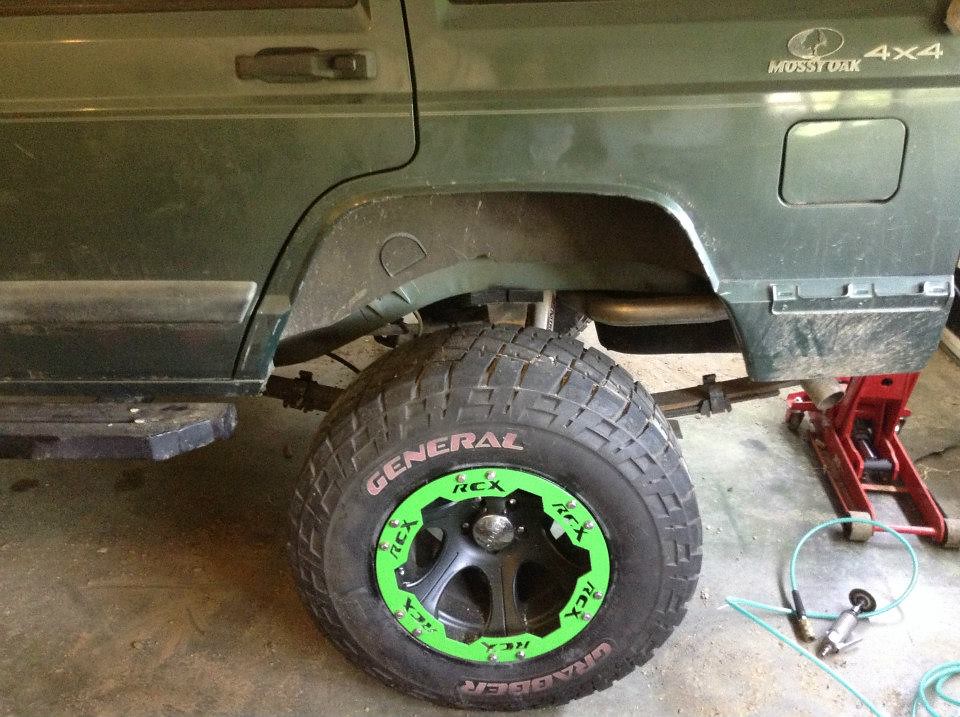
After. Definitely more room.
Got the rock rings mounted with 1/2 the bolts per wheel. (6 besides 12) since that was all the bolts I got.
Painted the fender. Still need to clean the overspray off.
And in daylight.
Got all the bolts. Lucky my friend had another 25 bolts the perfect length (1/2") and 5/16 x 18 thread. Still need to eventually get matching bolts all the way around.
I also got IZAREBL JKS disconnects, I was installing them today but had to cut off the passenger nut on the axle side to get the old link off and removed the swaybar. Then my friend got home so I drive over there, I'll get the JKS links and new-to-me swaybar installed tomorrow. I may also do the cuts for the cowl hood.
When I got them before I plasti dipped them.
The Rough Country rock rings.
Taping off the rim to plasti dip them.
Then rims plasti dipped.
Painting the Rough Country rock rings.
Did a test look to see how it would look.
Test fit one.
Then went to little rock with my friend to get a dana 44 from a J10 for my friends solid axle swap that he is doing to his z71 in the future and on the way back he said I could use his discount to get my rims mounted... So I did.
Got a wider stance now. (that Z71 in the background is the one that will eventually have a solid axle in the front.) SAS never happened, but part of the axle will be repoupoused for my other vehicle - 11/27/2016
Cutting the fenders.
Before
After. Definitely more room.
Got the rock rings mounted with 1/2 the bolts per wheel. (6 besides 12) since that was all the bolts I got.
Painted the fender. Still need to clean the overspray off.
And in daylight.
Got all the bolts. Lucky my friend had another 25 bolts the perfect length (1/2") and 5/16 x 18 thread. Still need to eventually get matching bolts all the way around.
I also got IZAREBL JKS disconnects, I was installing them today but had to cut off the passenger nut on the axle side to get the old link off and removed the swaybar. Then my friend got home so I drive over there, I'll get the JKS links and new-to-me swaybar installed tomorrow. I may also do the cuts for the cowl hood.
Last edited by dcp1992; Nov 27, 2016 at 12:32 AM. Reason: Fixed pictures
Thread Starter
Seasoned Member
Joined: Sep 2011
Posts: 280
Likes: 1
From: Arlington, TN (Memphis area)
Year: 2000
Model: Cherokee
Engine: 242 Power Tech I6 (4.0)
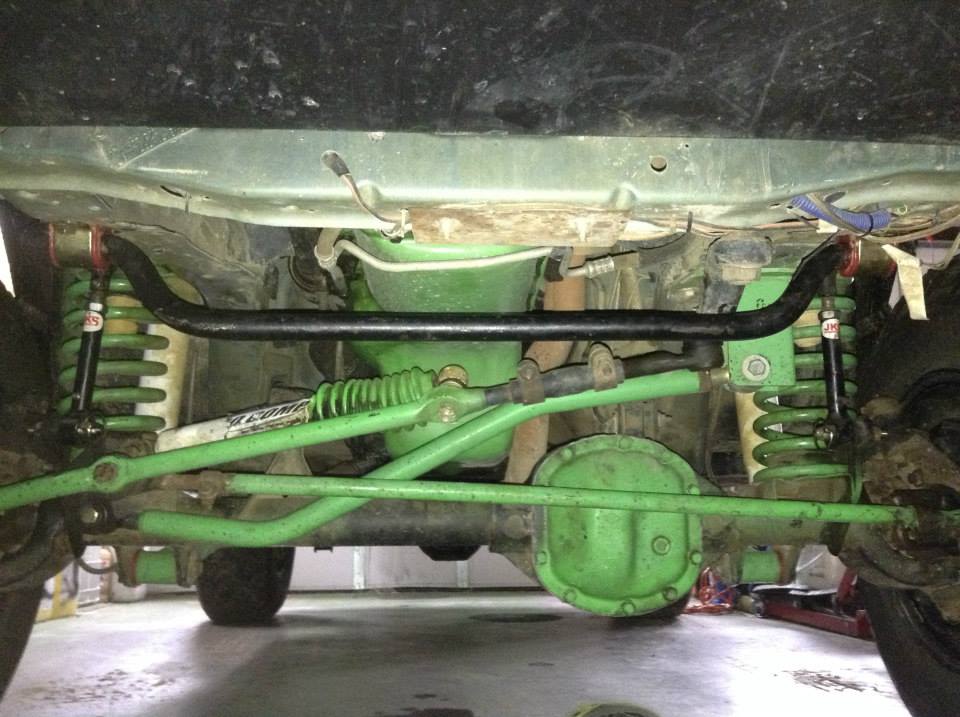
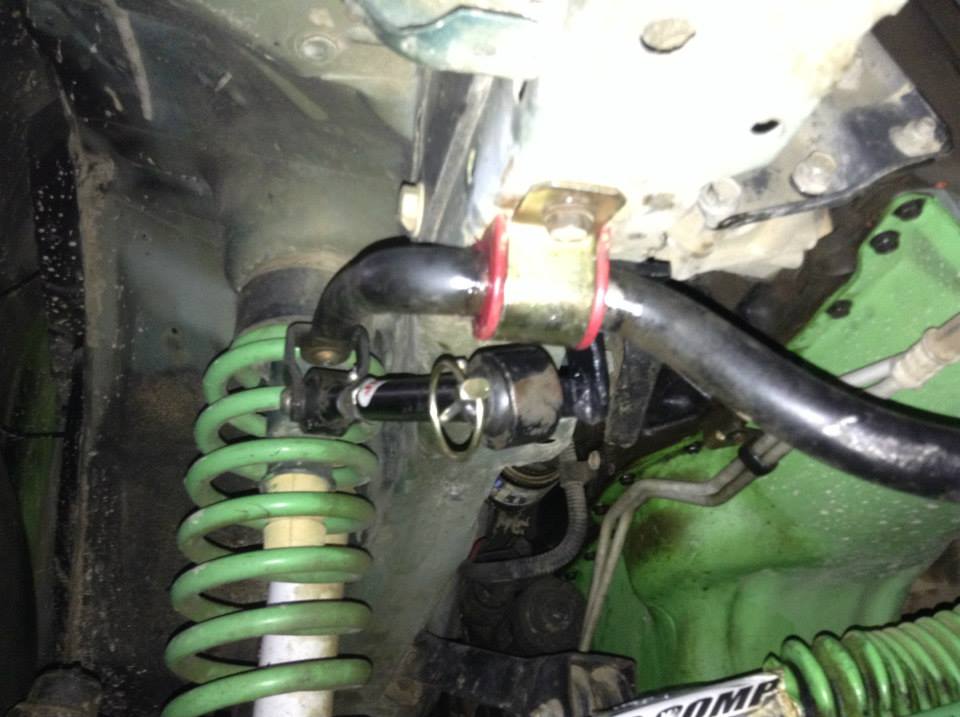
Got the JKS Swaybar disconnects and new-to-me swaybar installed today that I got from IZAREBL.
IZAREBL old swaybar and JKS disconnects.
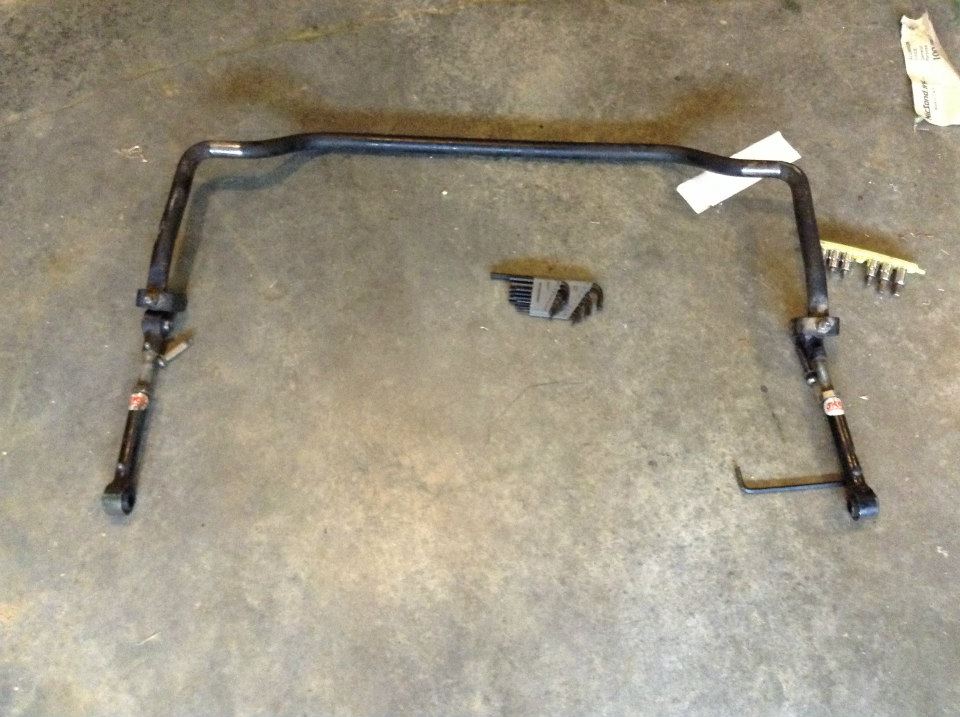
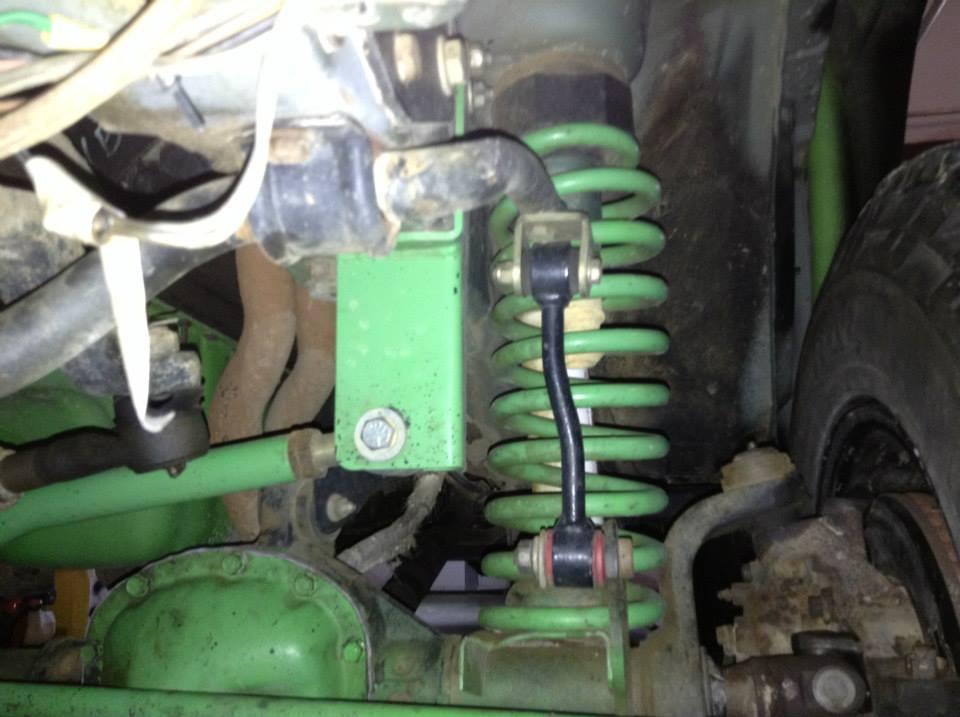
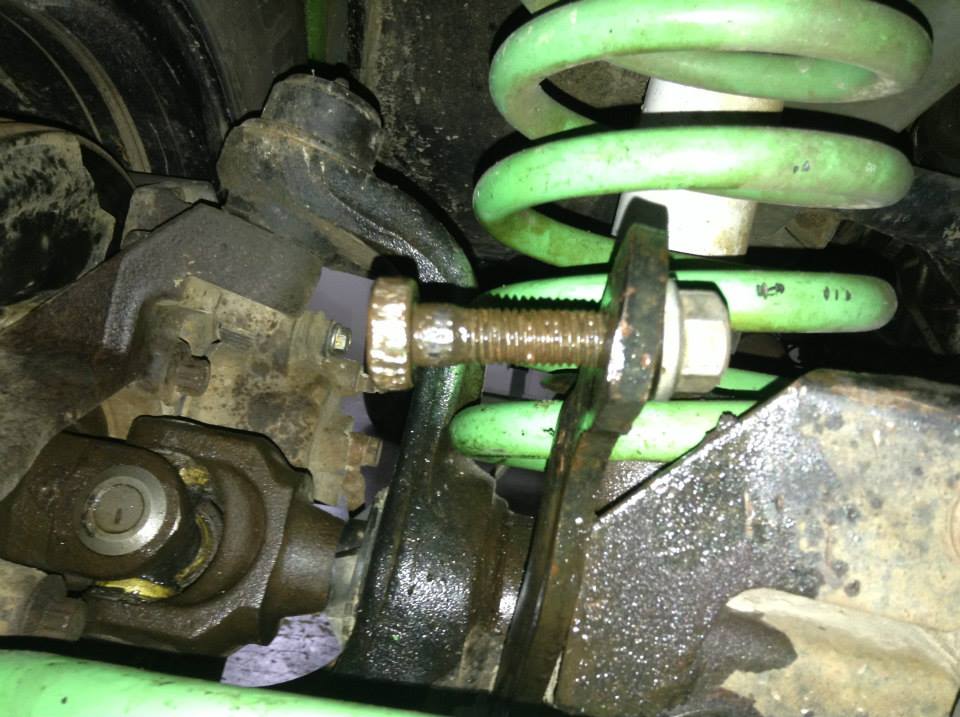
My swaybar and old links.
My old swaybar link.... which is actually too short for my lift.
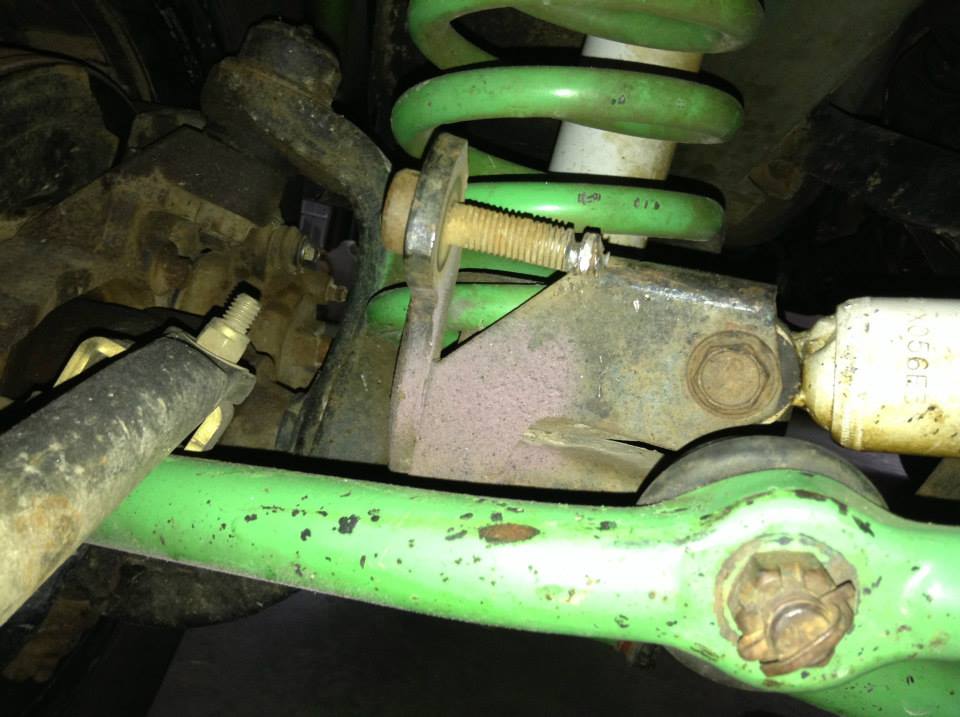
Had to cut the passenger side lower mount nut off since it wouldn't turn.
Didn't have a T55 torx so I used a monkey wrench to grab the head of the stud and a cheater pipe to move the stud until it was loose enough to get out.
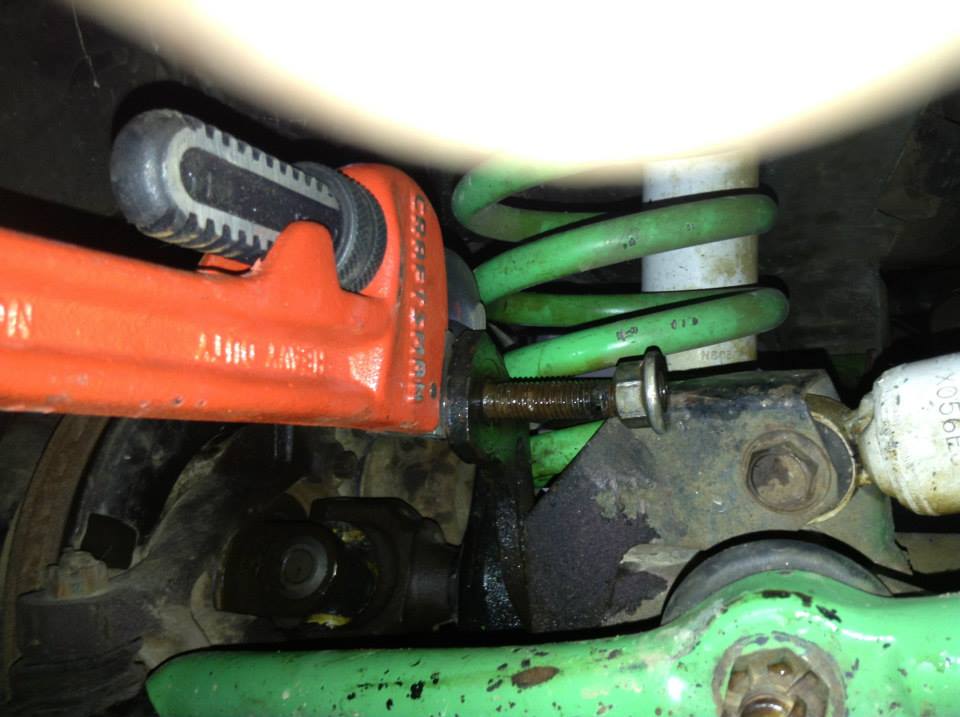
Then used a air hammer to knock it out.
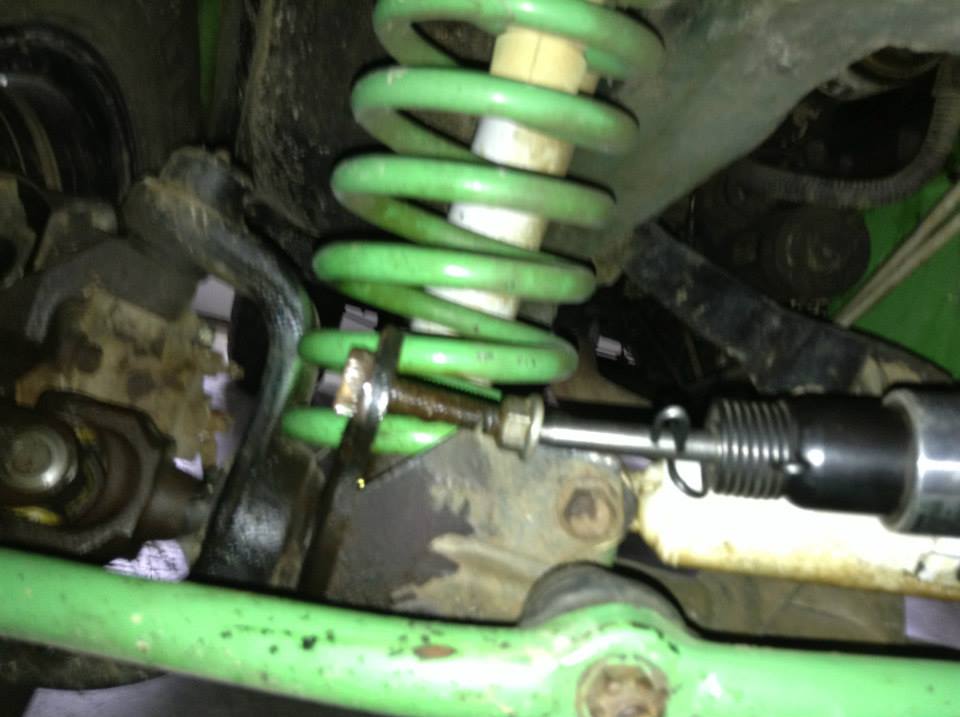
The dowel pin installed.
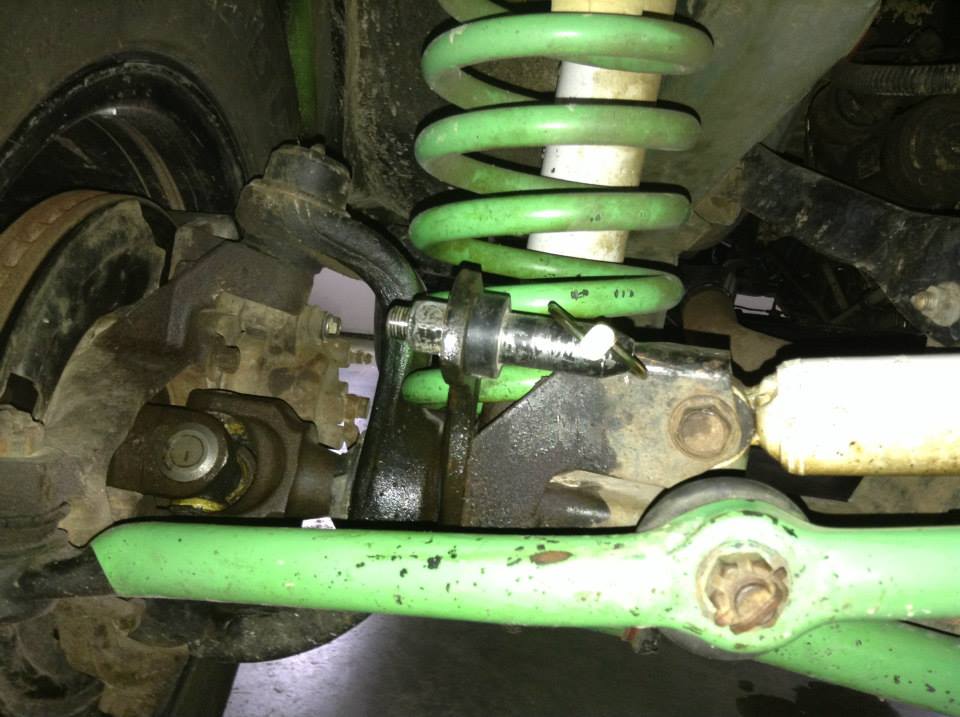
Both dowel pins installed
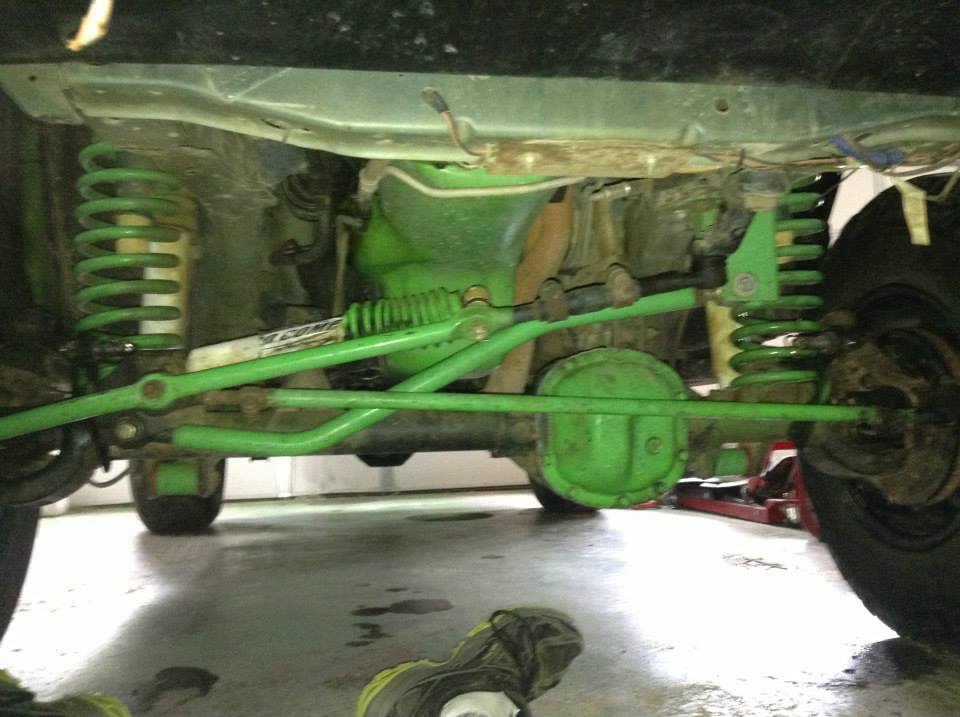
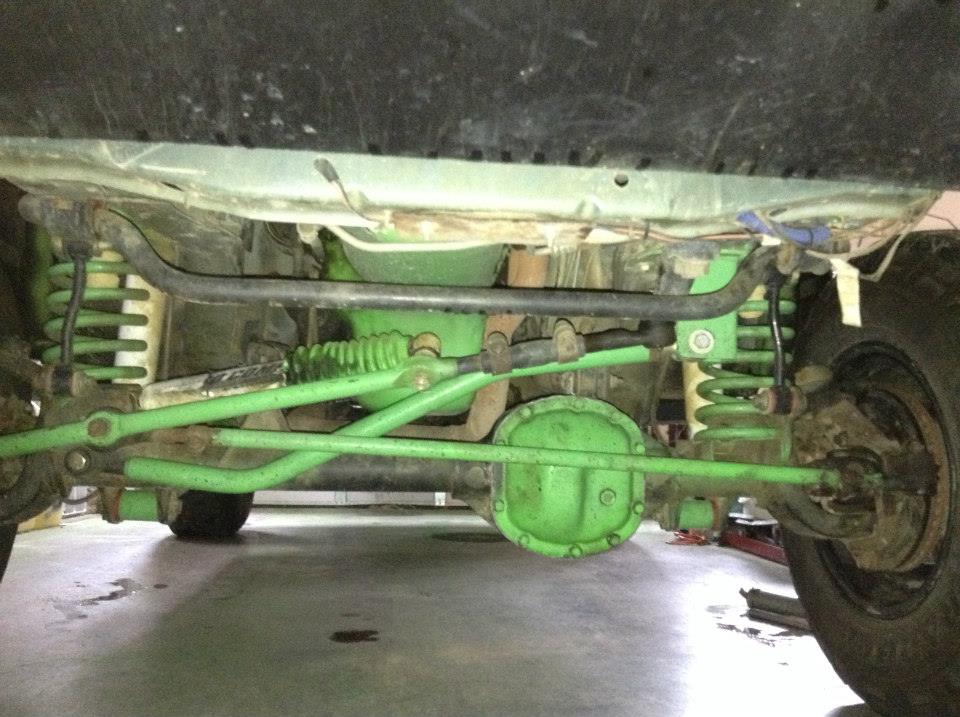
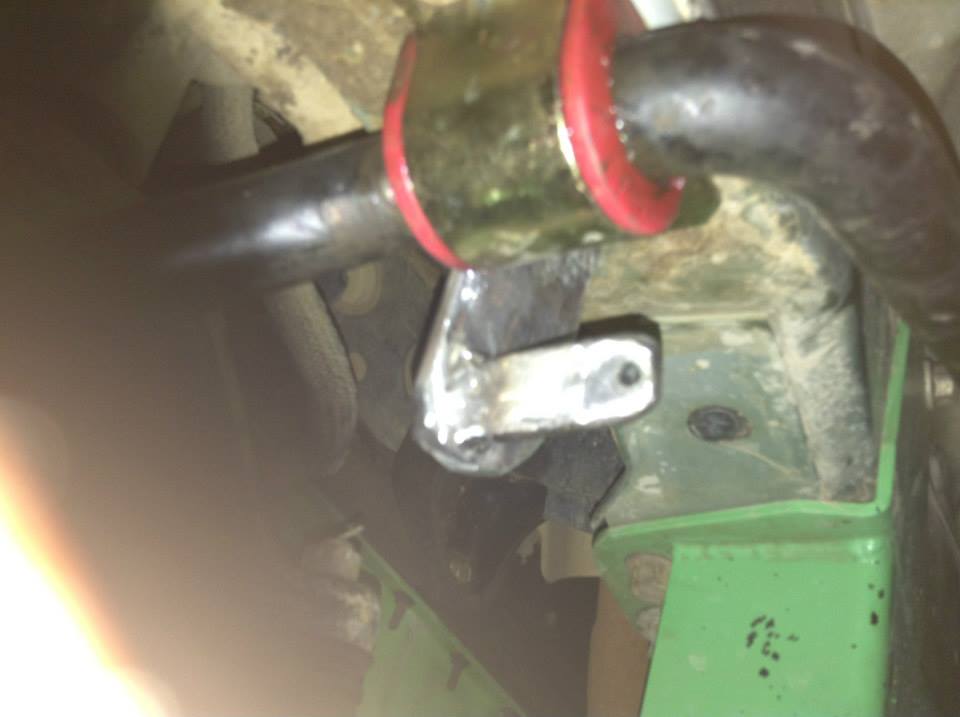
New-to-me swaybar installed with the gold mounting strap I got with the red poly bushings I installed a little over a year ago that wouldn't fit with my swaybar, but the gold strap worked great with this swaybar.
New-to-me swaybar installed with the JKS links adjusted for my lift height.
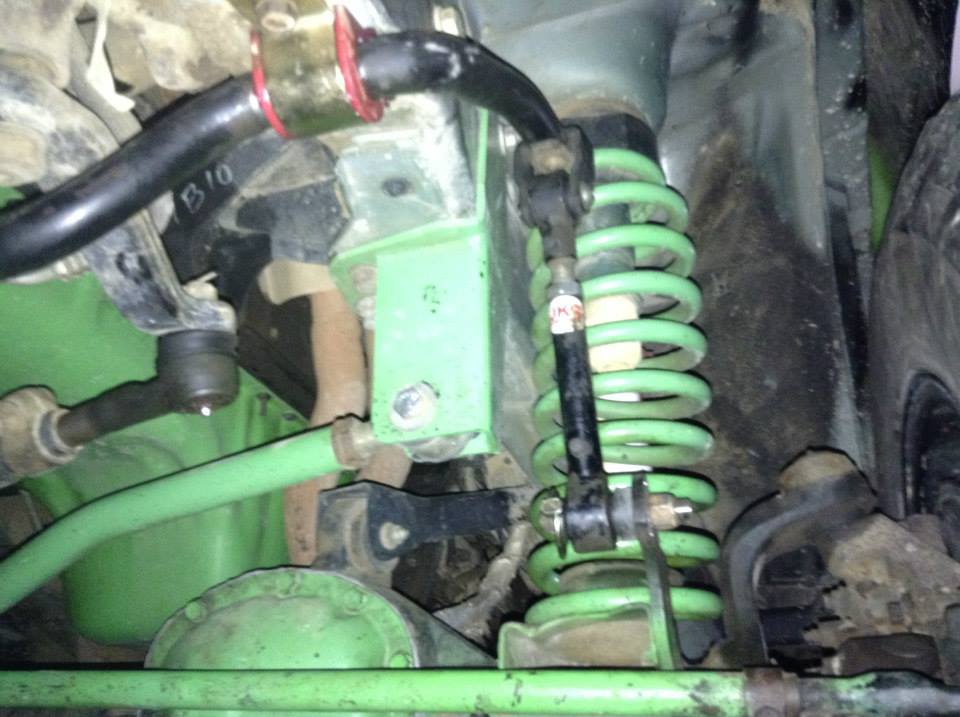
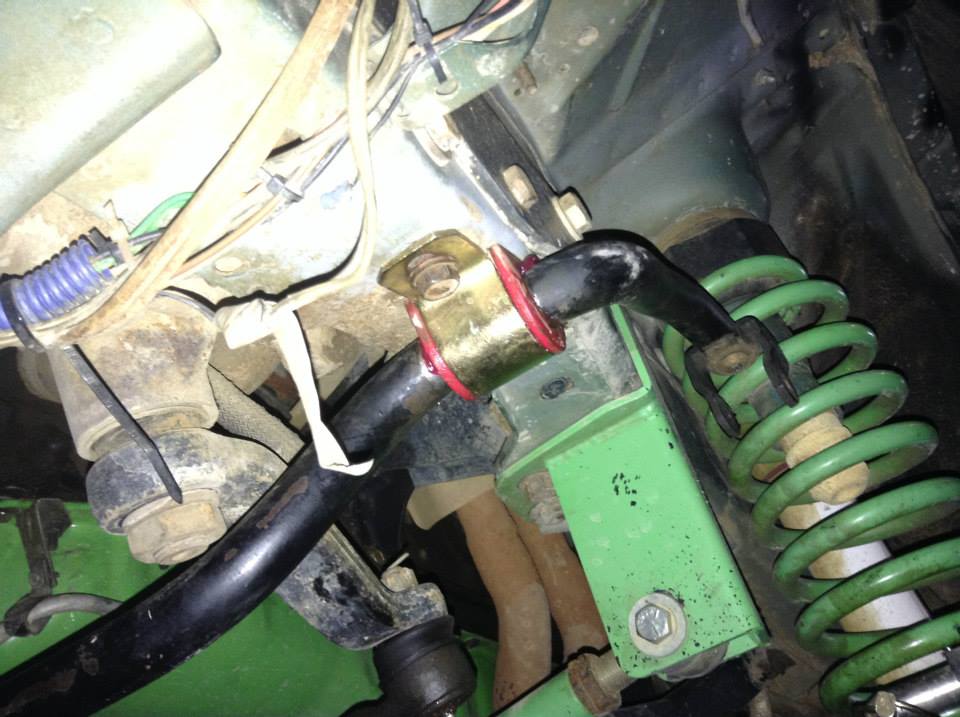
Driver side quick disconnect storage post I made. Just drilled a hole in the piece sticking out under the steering box and bolted it to that.
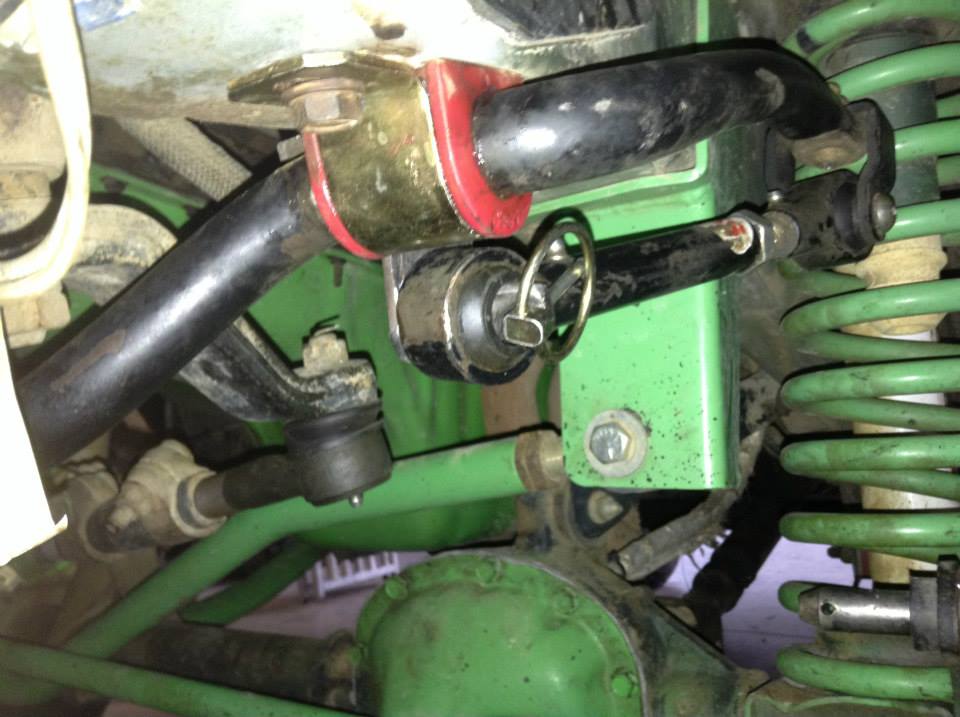
Passenger side quick disconnect storage post I made. Just used the existing hole towards the back next to where the swaybar mount goes.
Both JKS disconnects out of the way in the storage pins.

Love the JKS disconnects. Makes life a whole lot easier to disconnect the swaybar when going offroad. Used to take about 5-10 minutes to get the wrenches and take the links off, so 90% of the time I went offroad I didn't bother with them. And at least once that bit be in the butt since I was flexed out and couldn't move because my front axle wouldn't droop enough to touch the ground so I was just teetering on 2 wheels. Now since it takes less than a minute and I already get out to take out my hitch when I wheel, an extra 30 seconds or so to disconnect the swaybar is nothing and plan to do it all the time now.
Also I noticed on the first couple of pages I'm missing pictures.... don't know why because they are still on Facebook. I do know that some of the URL's changed though and that's the pictures that are missing. I'll eventually re URL the pictures but if it keeps happening I'll use one of the other image hosting places I have. Just hate to use them since I don't know the longevity of those sites and it's just SOO much easier to use Facebook since I upload them their anyway for my friends and relatives to see... Of well, I'll figure something out.
IZAREBL old swaybar and JKS disconnects.
My swaybar and old links.
My old swaybar link.... which is actually too short for my lift.
Had to cut the passenger side lower mount nut off since it wouldn't turn.
Didn't have a T55 torx so I used a monkey wrench to grab the head of the stud and a cheater pipe to move the stud until it was loose enough to get out.
Then used a air hammer to knock it out.
The dowel pin installed.
Both dowel pins installed
New-to-me swaybar installed with the gold mounting strap I got with the red poly bushings I installed a little over a year ago that wouldn't fit with my swaybar, but the gold strap worked great with this swaybar.
New-to-me swaybar installed with the JKS links adjusted for my lift height.
Driver side quick disconnect storage post I made. Just drilled a hole in the piece sticking out under the steering box and bolted it to that.
Passenger side quick disconnect storage post I made. Just used the existing hole towards the back next to where the swaybar mount goes.
Both JKS disconnects out of the way in the storage pins.
Love the JKS disconnects. Makes life a whole lot easier to disconnect the swaybar when going offroad. Used to take about 5-10 minutes to get the wrenches and take the links off, so 90% of the time I went offroad I didn't bother with them. And at least once that bit be in the butt since I was flexed out and couldn't move because my front axle wouldn't droop enough to touch the ground so I was just teetering on 2 wheels. Now since it takes less than a minute and I already get out to take out my hitch when I wheel, an extra 30 seconds or so to disconnect the swaybar is nothing and plan to do it all the time now.
Also I noticed on the first couple of pages I'm missing pictures.... don't know why because they are still on Facebook. I do know that some of the URL's changed though and that's the pictures that are missing. I'll eventually re URL the pictures but if it keeps happening I'll use one of the other image hosting places I have. Just hate to use them since I don't know the longevity of those sites and it's just SOO much easier to use Facebook since I upload them their anyway for my friends and relatives to see... Of well, I'll figure something out.
Last edited by dcp1992; Nov 27, 2016 at 12:46 AM. Reason: Fixed pictures
Thread Starter
Seasoned Member
Joined: Sep 2011
Posts: 280
Likes: 1
From: Arlington, TN (Memphis area)
Year: 2000
Model: Cherokee
Engine: 242 Power Tech I6 (4.0)
Well, it's been a little bit. Done a couple things since the update... and put off uploading them again...
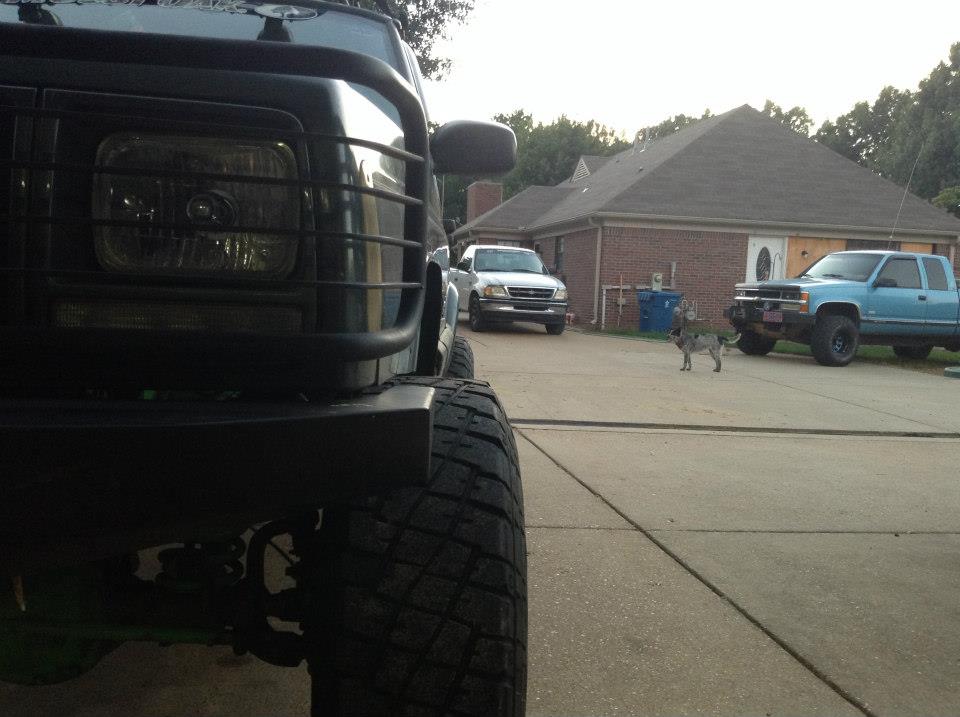
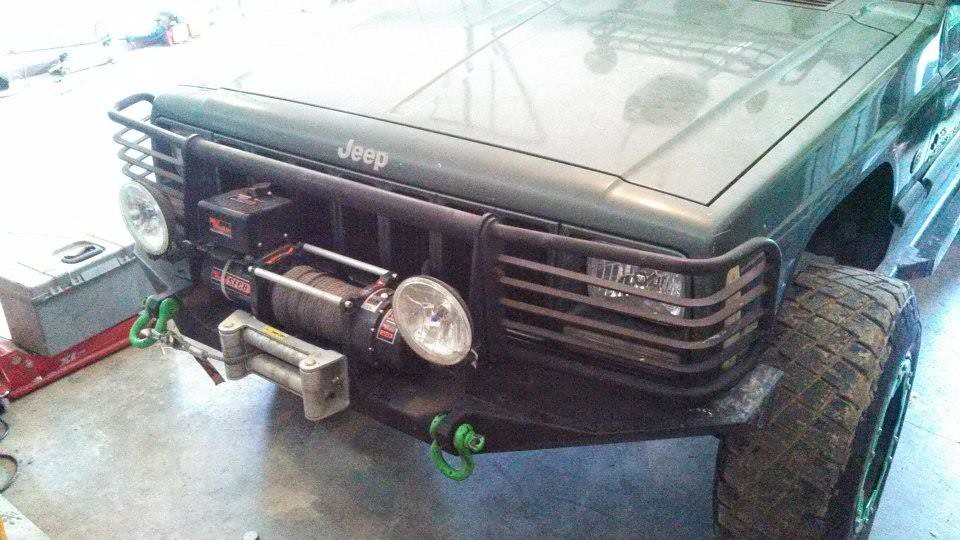
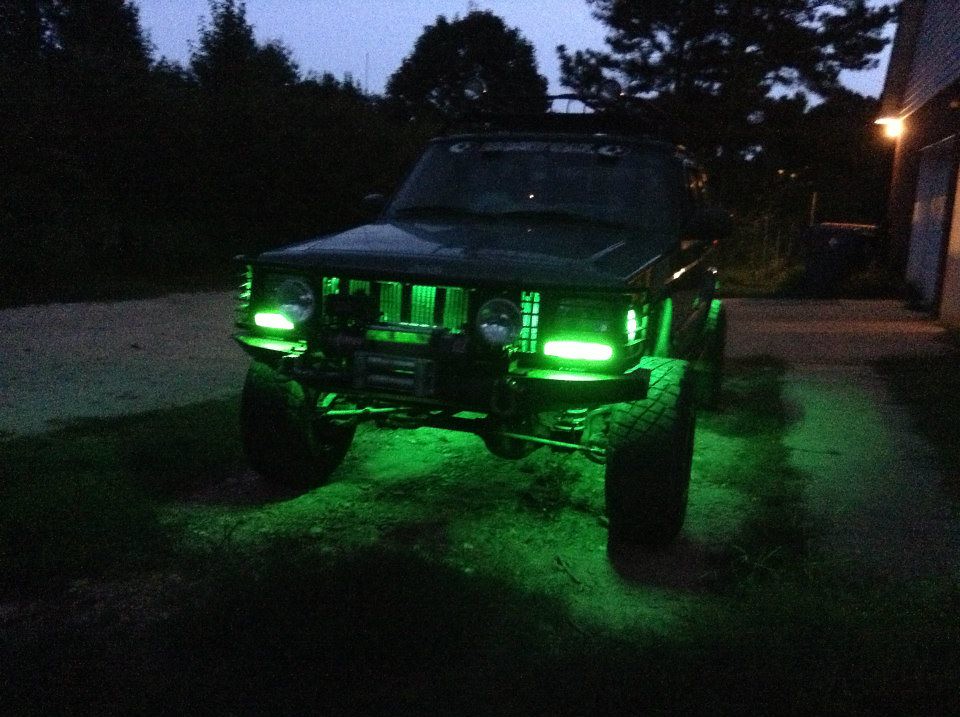
Anyway, the first thing I did after I got done with my JKS disconnects was use up my final green LED strip set I've had for over a year to put in my grill. I still need at least one more set of strips to get a little better ground coverage over my axles later on but I didn't feel like doing all the at the time.
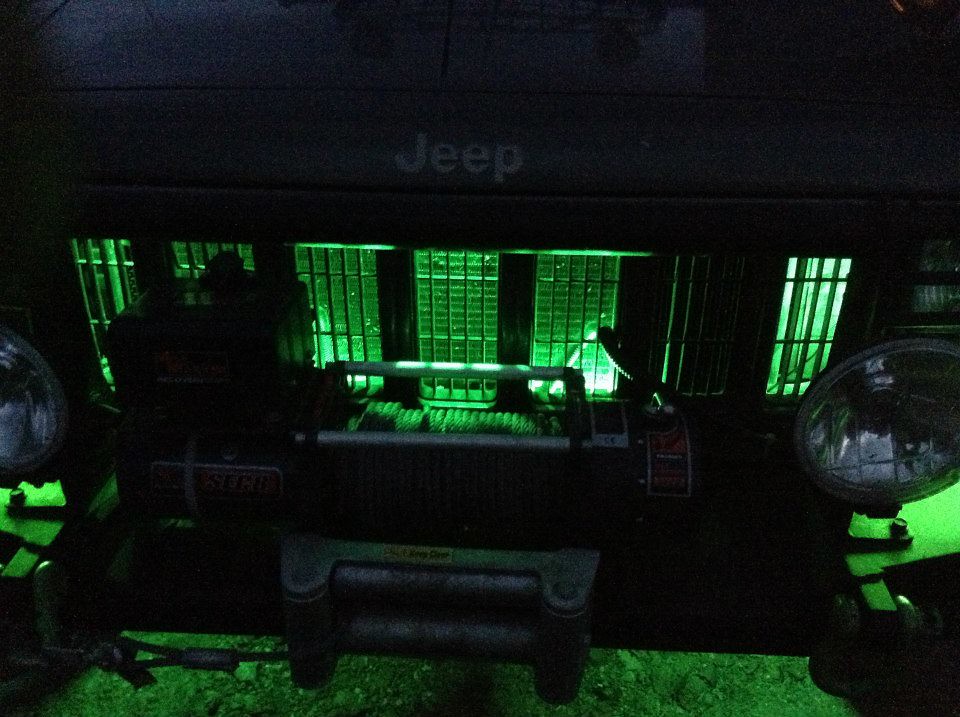
So first thing first. Take the brush guard off and take out my grill and light bezels.

Then I measured out what I needed and cut to length and soldered them together for top and bottom. of grill.
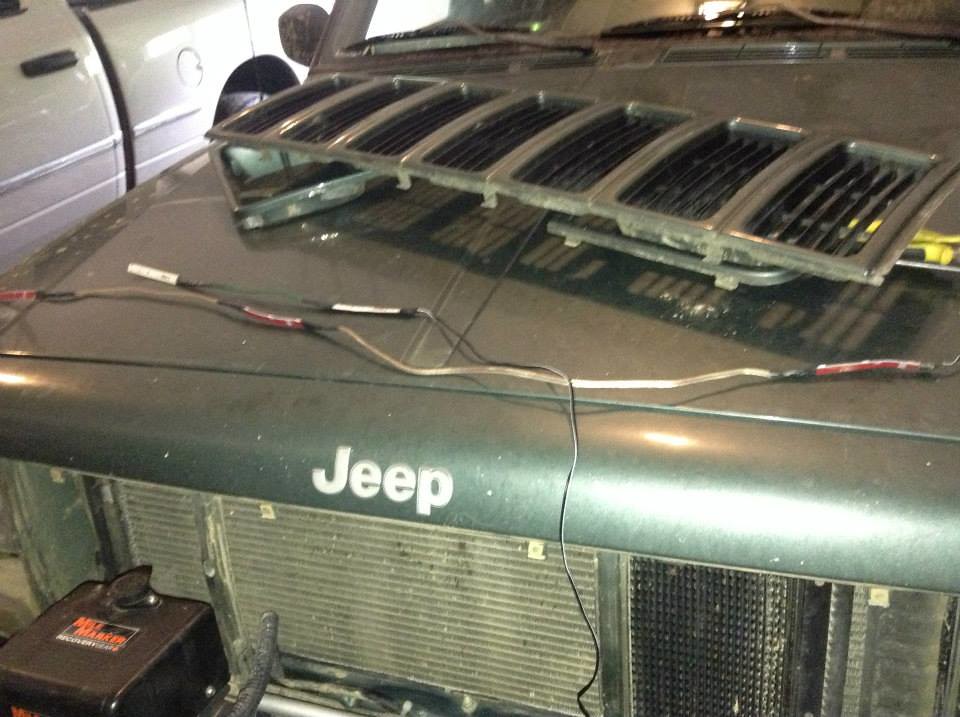
Then mounted them.
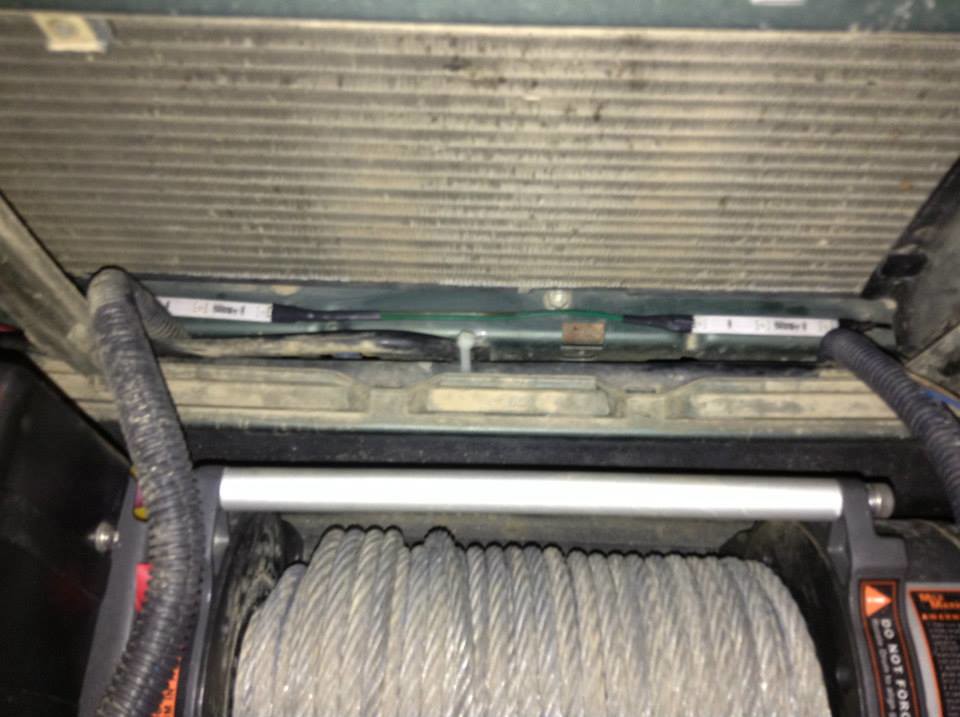
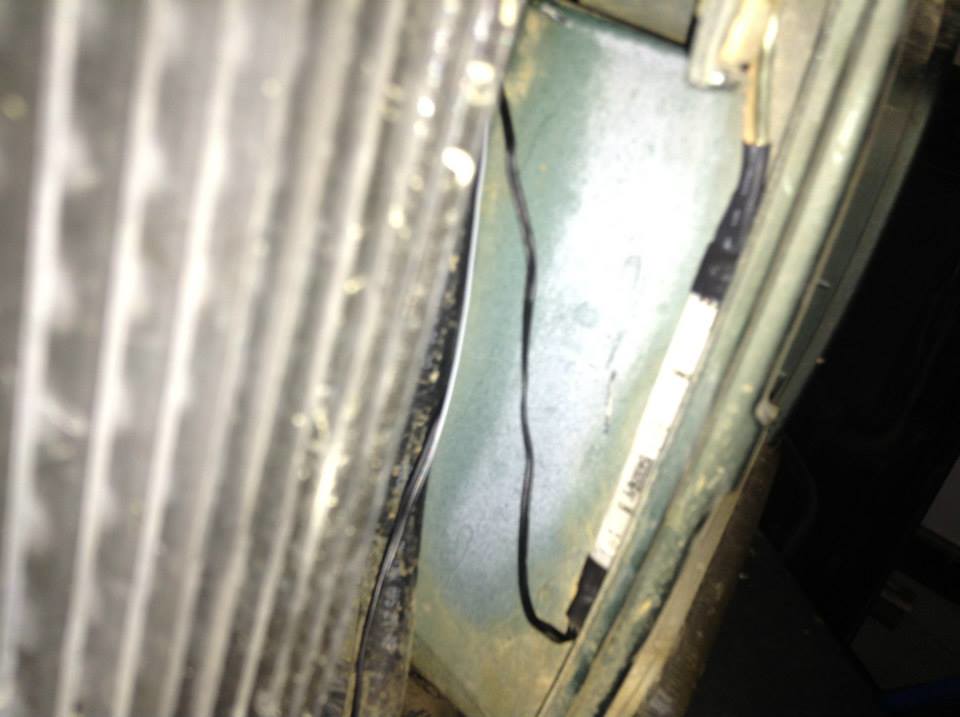
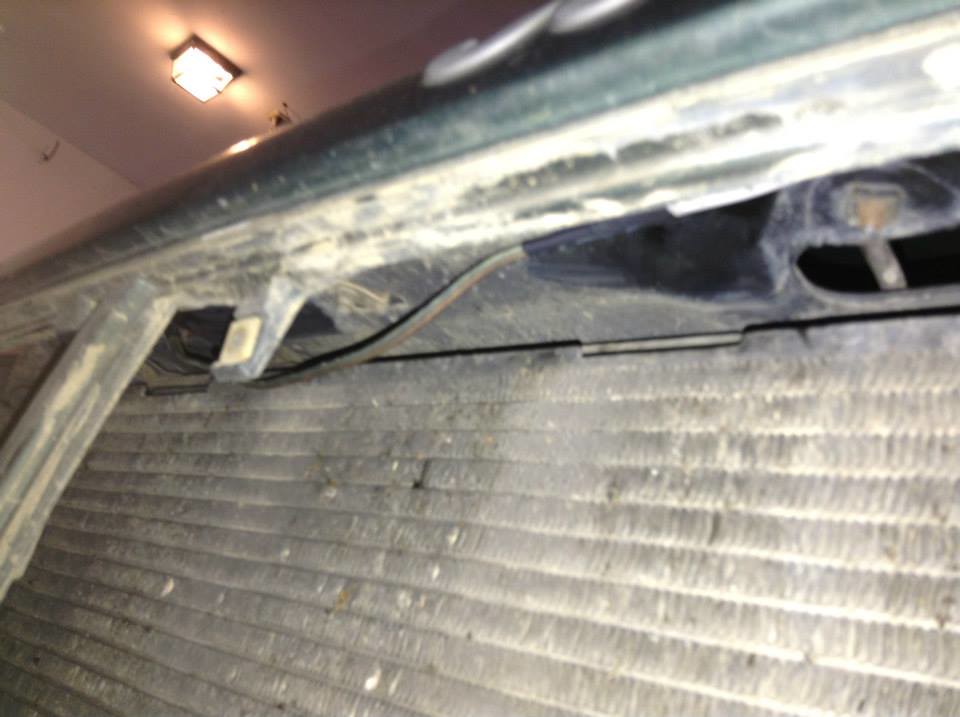
Then wired them up and tested them.
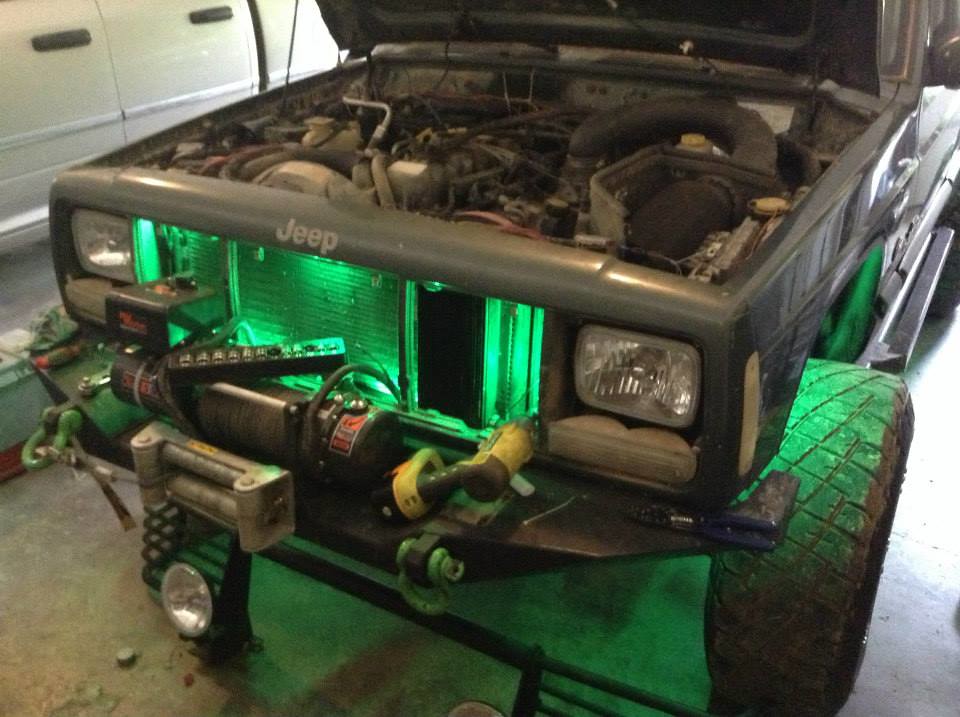
Put everything back on.
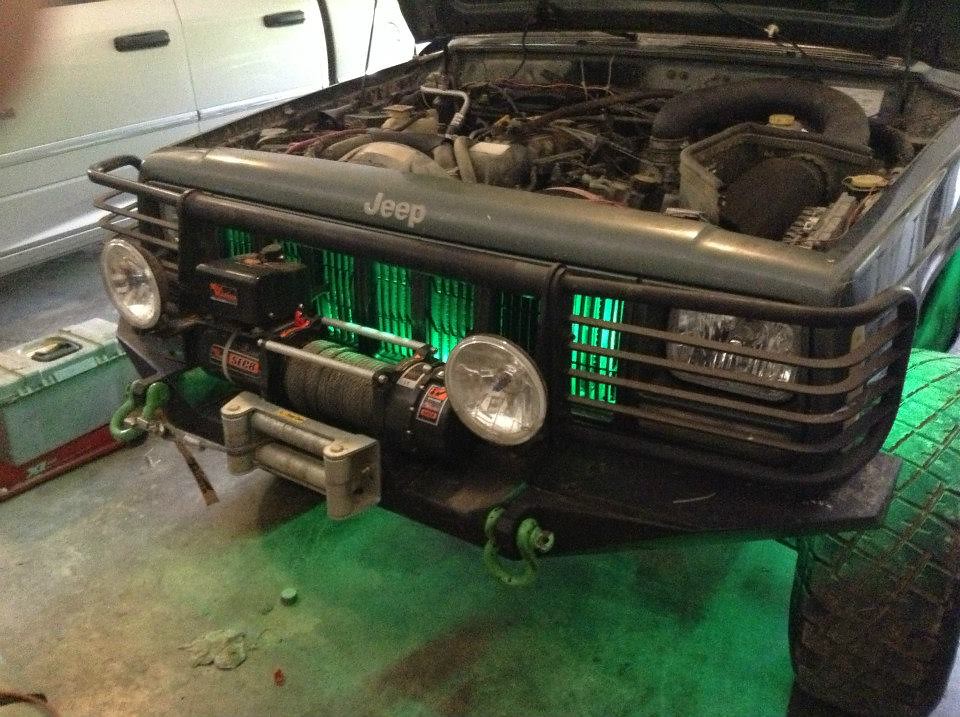
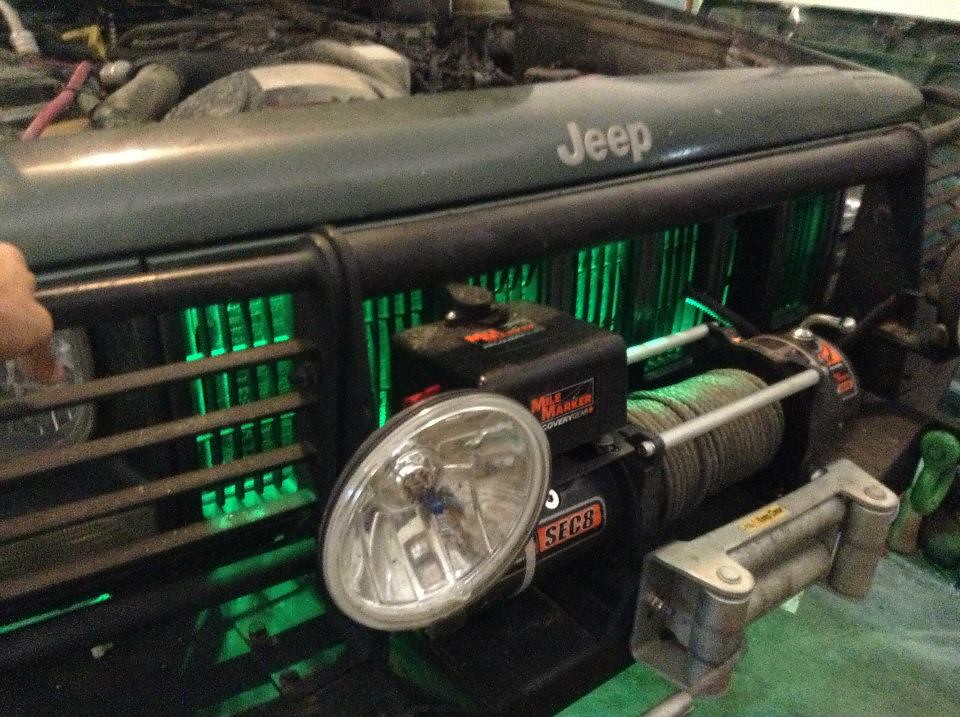
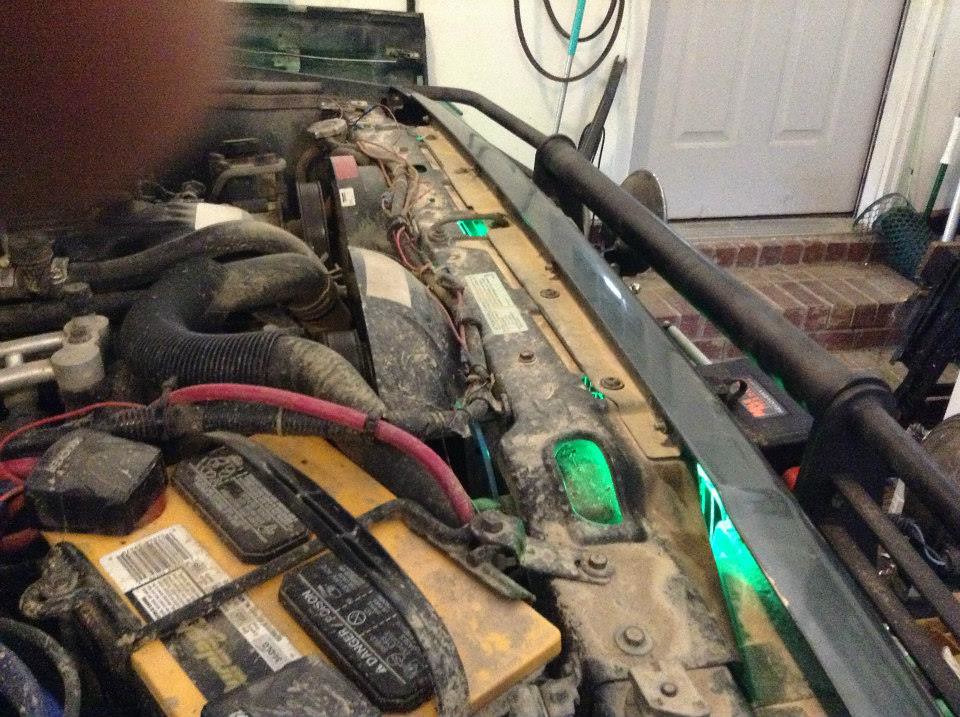
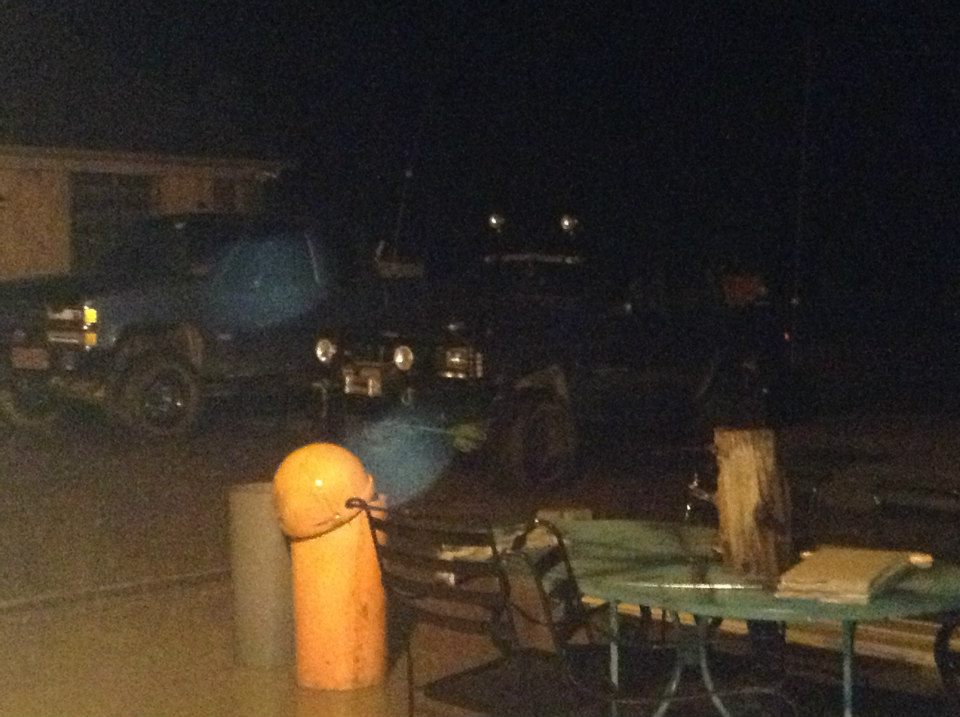
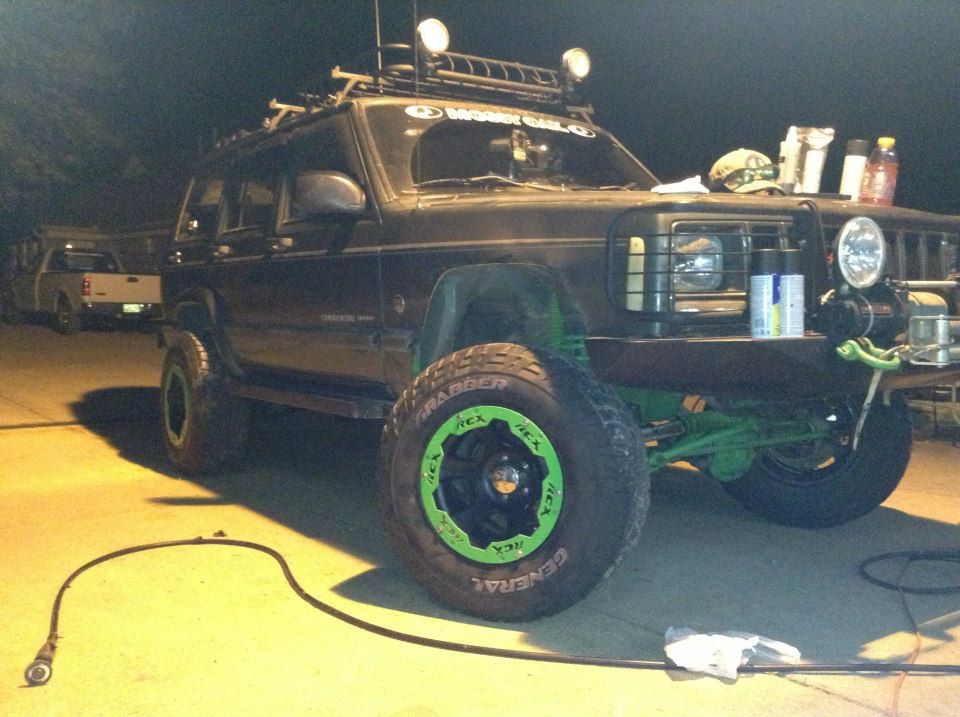
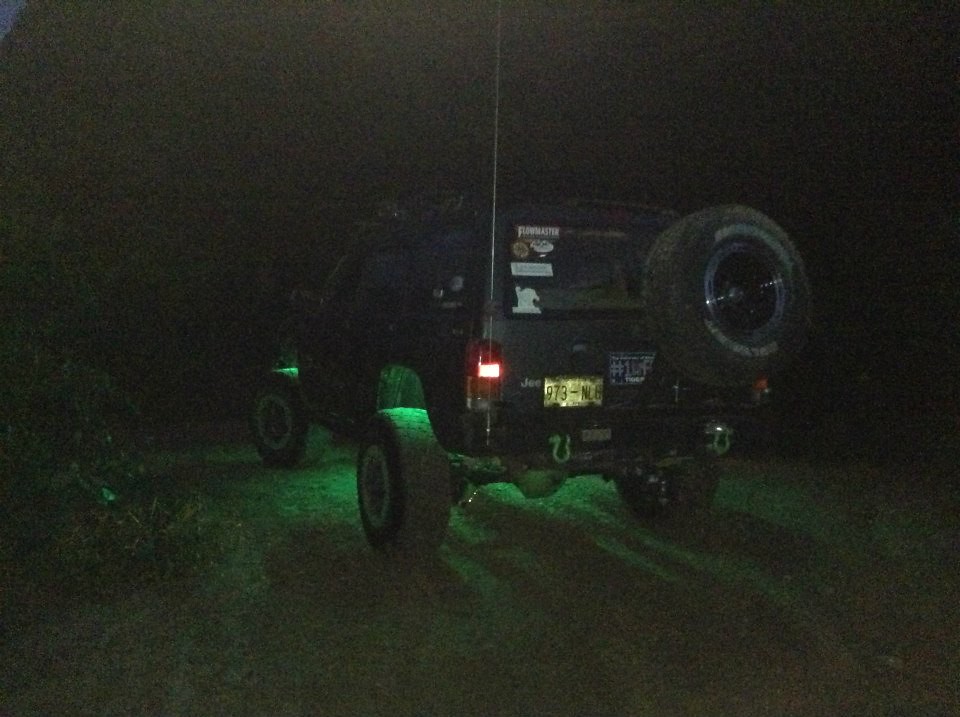
Then took some night pictures.
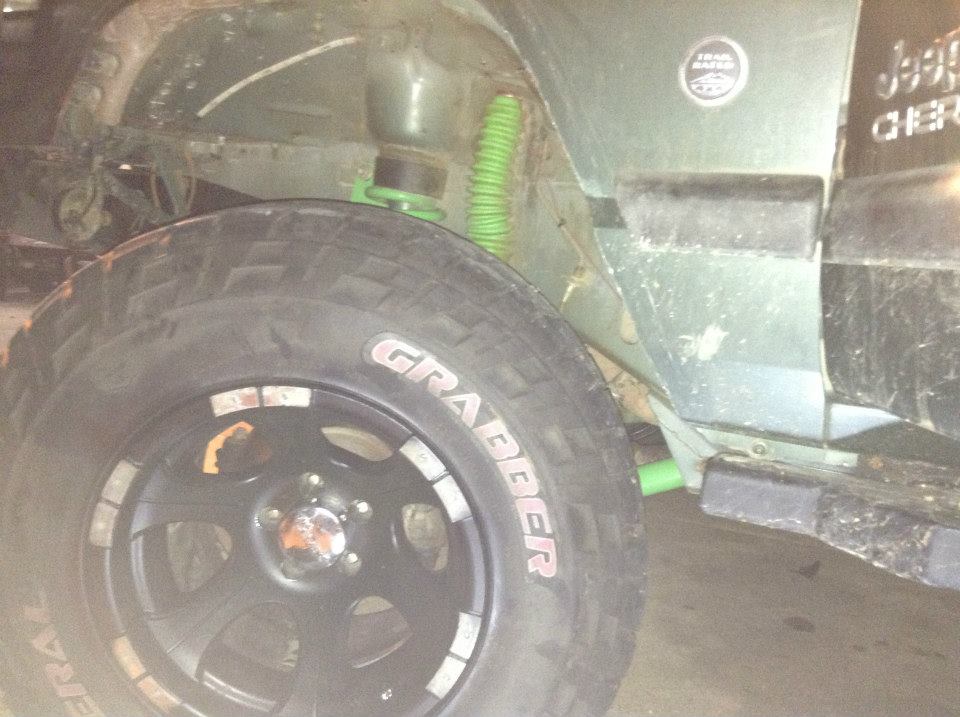
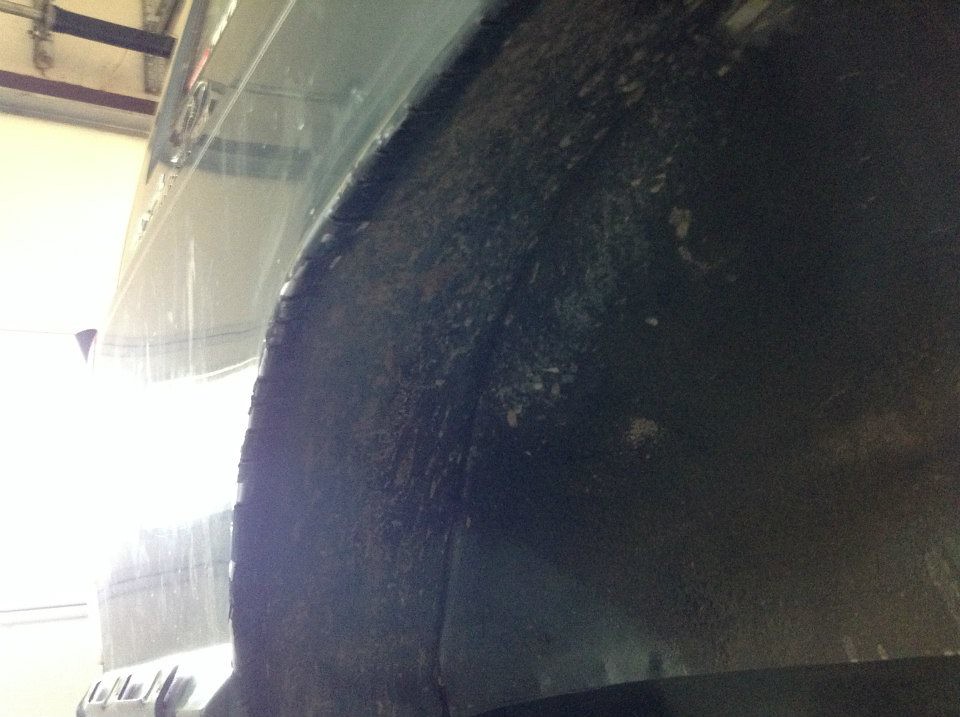
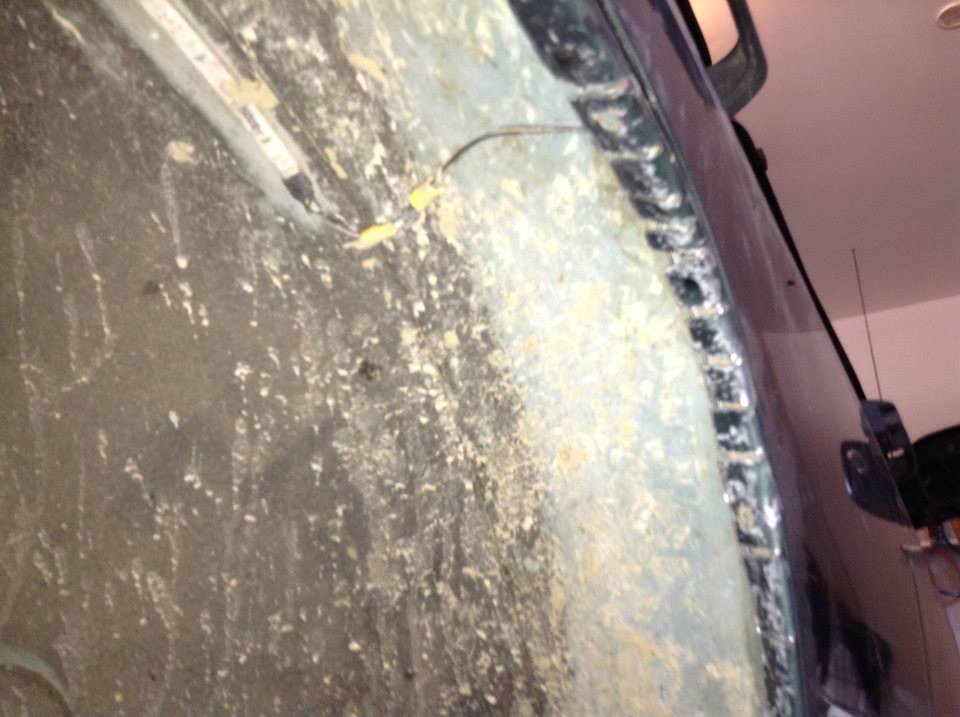
Then that Friday I did the cut and fold on the rear since it looked a little weird to me having the front cut and not the back.
Took the flares off and and mounting plates AND took a marker and marked all the spot welds.
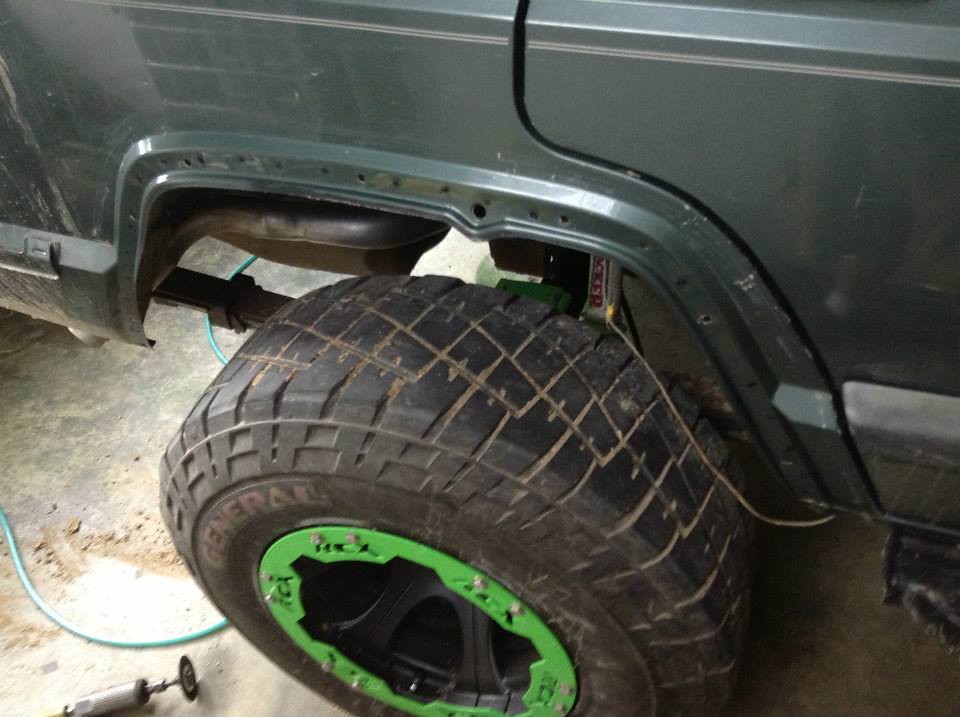
Cut the lip off.

Did all the little cuts making sure to miss the stop welds and going more on the curves and folded it, little by little.
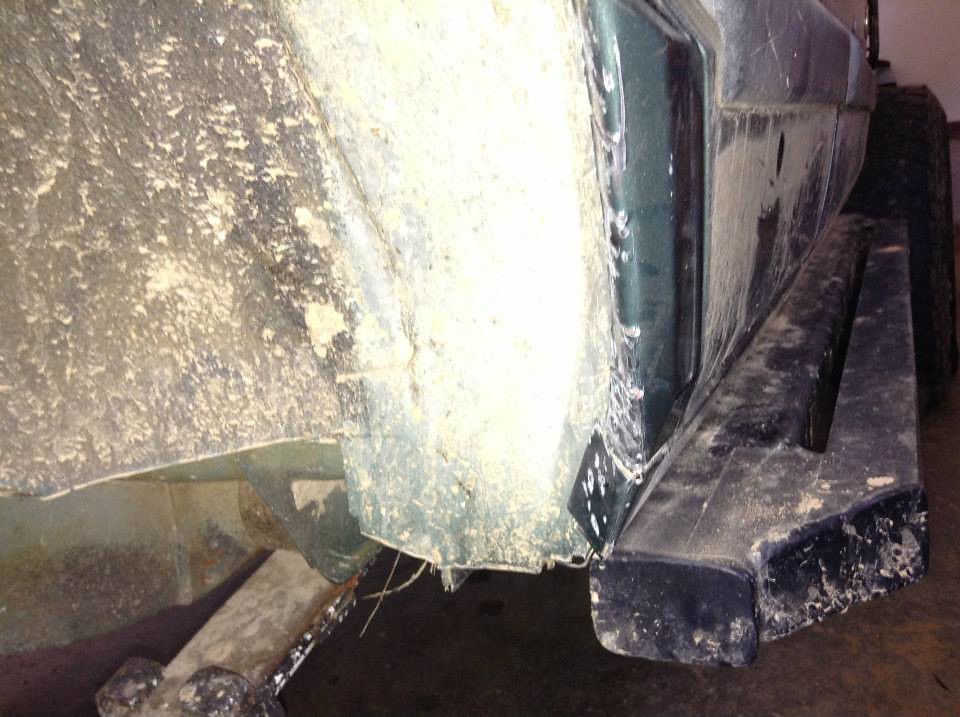
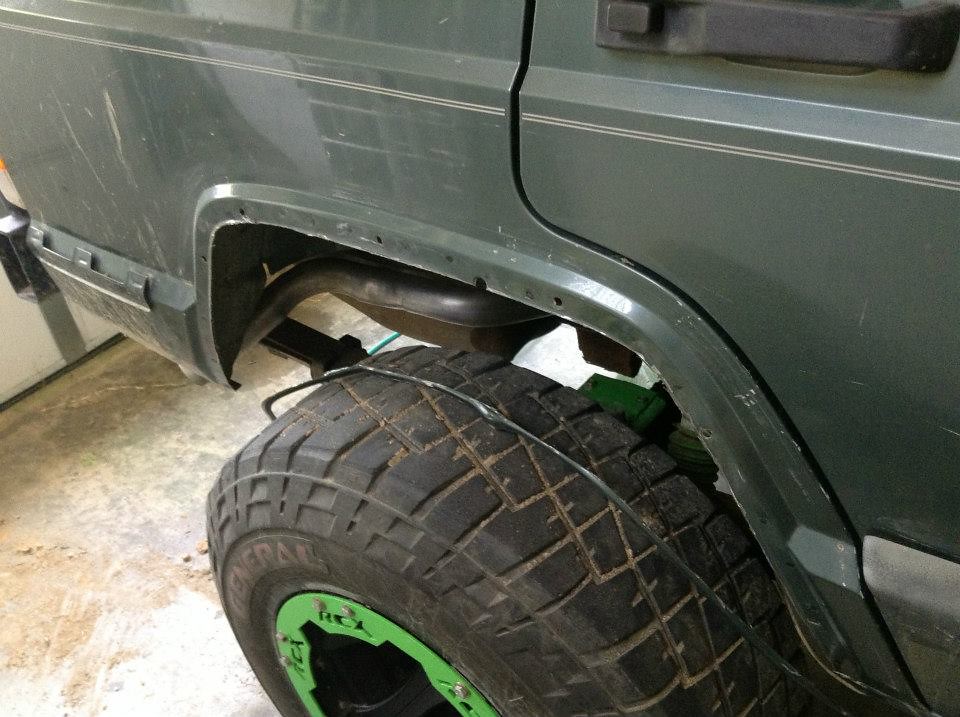
Then marked out for paint.
Cut the other side and folded.
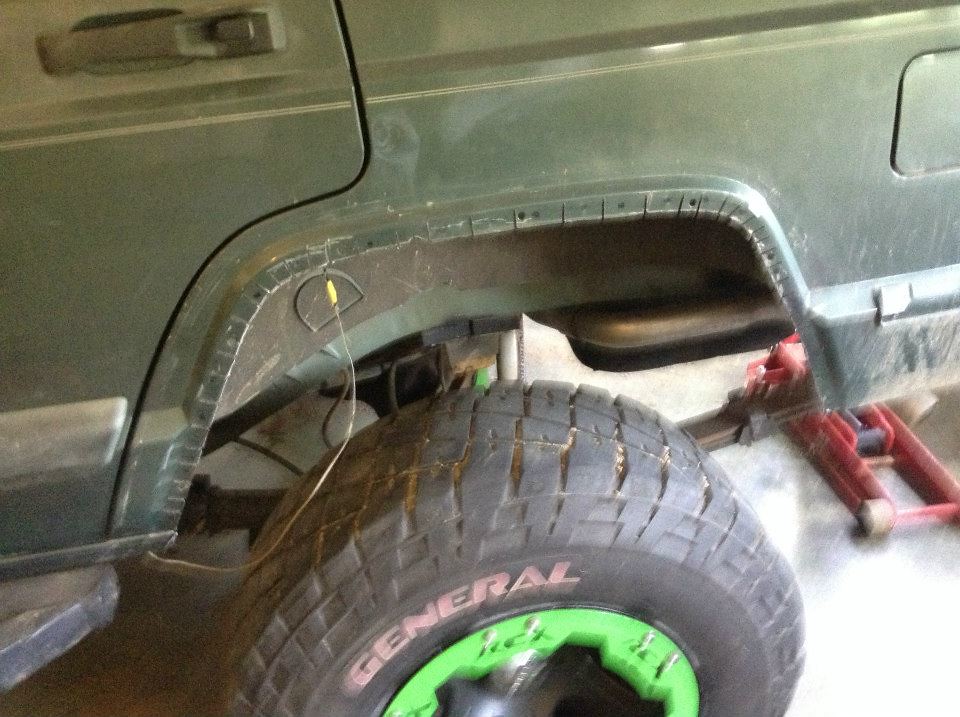
All done and painted.
Until I realized I pinched the back two rock lights and caused a little smoke display while the little wire on the back two lights burned up.... nothing major, just had to re wire the back two lights and zip tie the wires.... witch I should of done that in the first place.
Anyway, then the next day was the 4 wheel parts sale thing. But it wasn't as it normally was since they had a different club set up. It was more of just a small meeting then an event. Nevertheless it was alright. Did a little wheeling and hill climbs too. Will have a video of climbing the hill and mudding later when I upload them.
Here are some pictures of me and my friend at the top of the hill though.


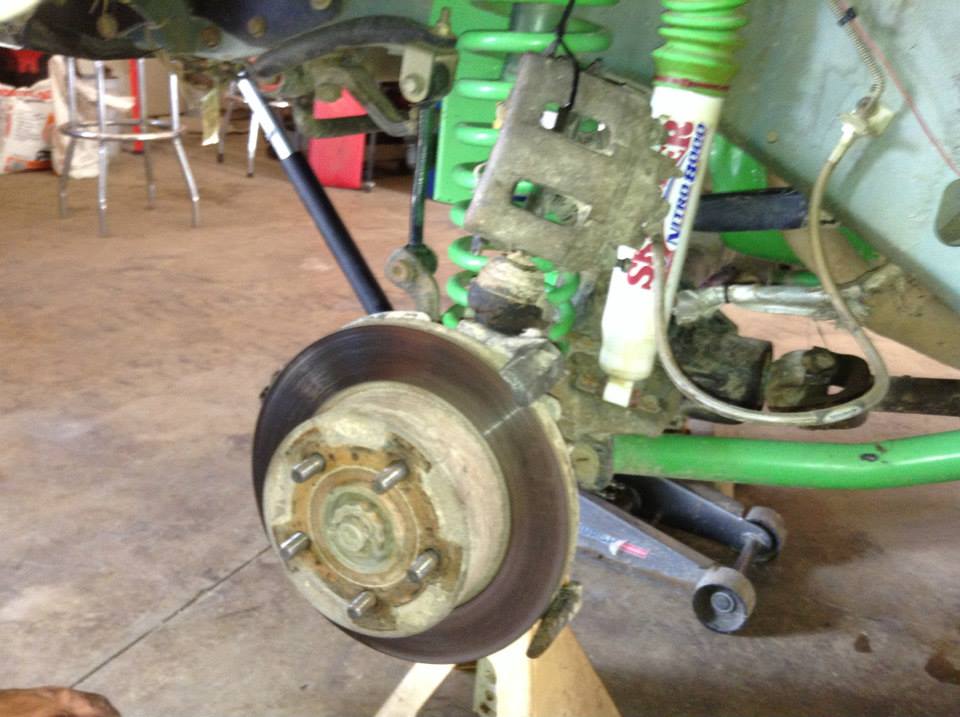
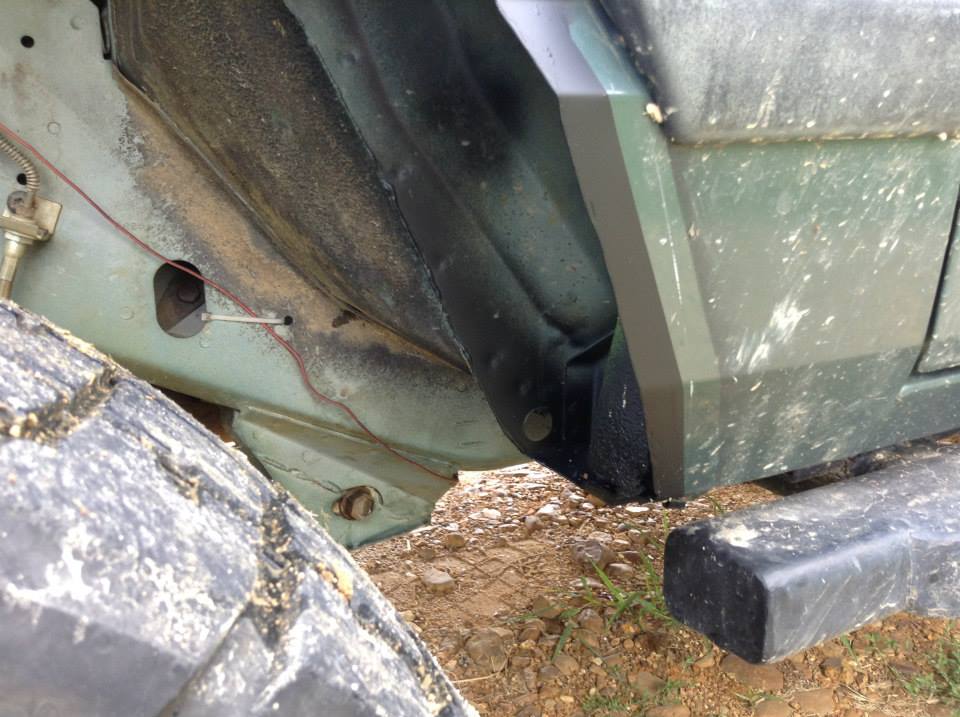
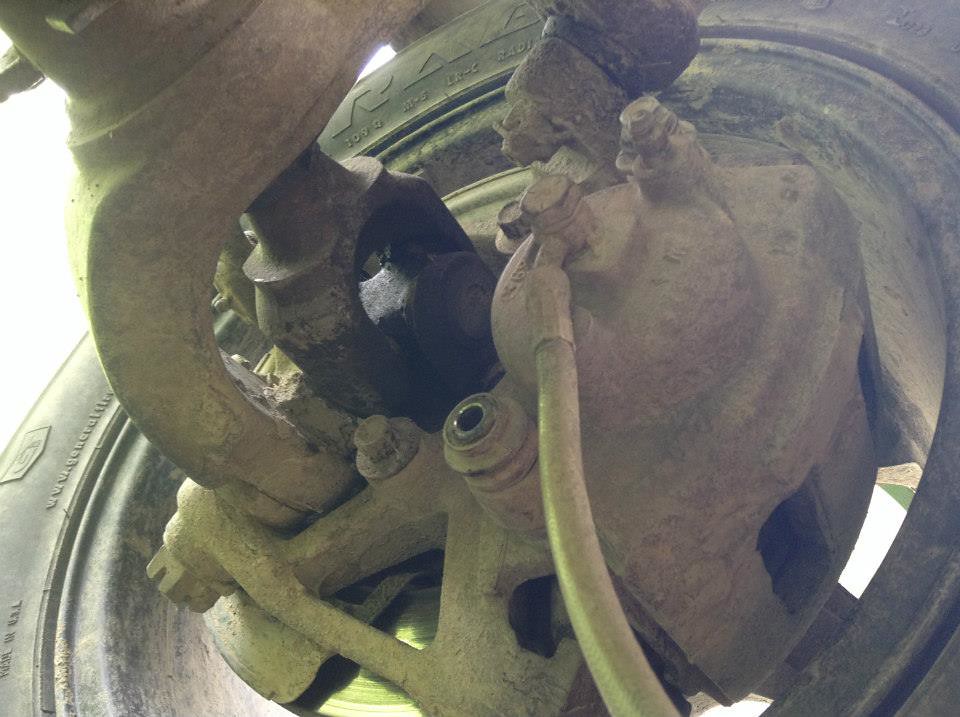
Then last week when I was cleaning my Jeep so I could go with my friend to his work to get all the overspray off from my fenders. I ran across this.
Ever since I did my front end it has been making a little noise while going slow or barely breaking. Now the first time I changed the front brakes on the Jeep was right after I got it. I noticed the passenger side threaded holes that keep the caliper on were deteriorated and stripping. Well, I got new bolted and that seemed to help and they got tighter than they were. Well, over the years and taking the calipers on and off caused it to pretty much not tighten.... and the bottom hole finally gave out and the bolt came out. So now I need to go to pull-a-part to get a knuckle. Will probably do it this weekend.
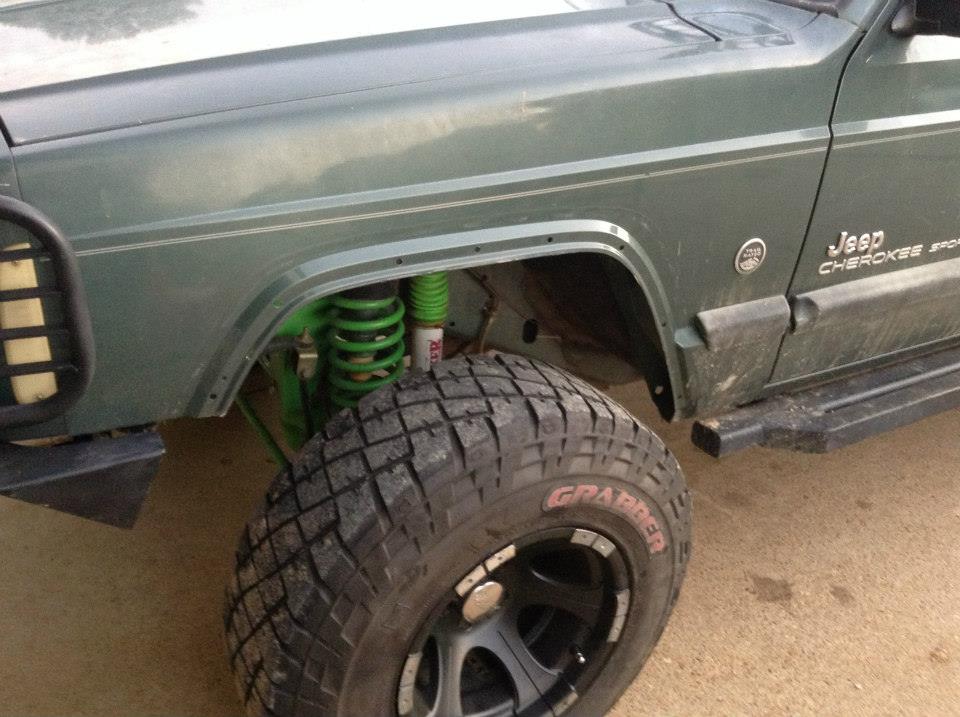
After I cleaned the overspray and while we were waiting for the painter at my friend's body shop to paint his mom's rims. We went to 4 wheel parts to get him a sock for his air breather, and while we were there, there is another ABRA right next to 4 Wheel Parts but by friend works at a different one, I decided to do some flexing on the wall along with a vertical wall climb.
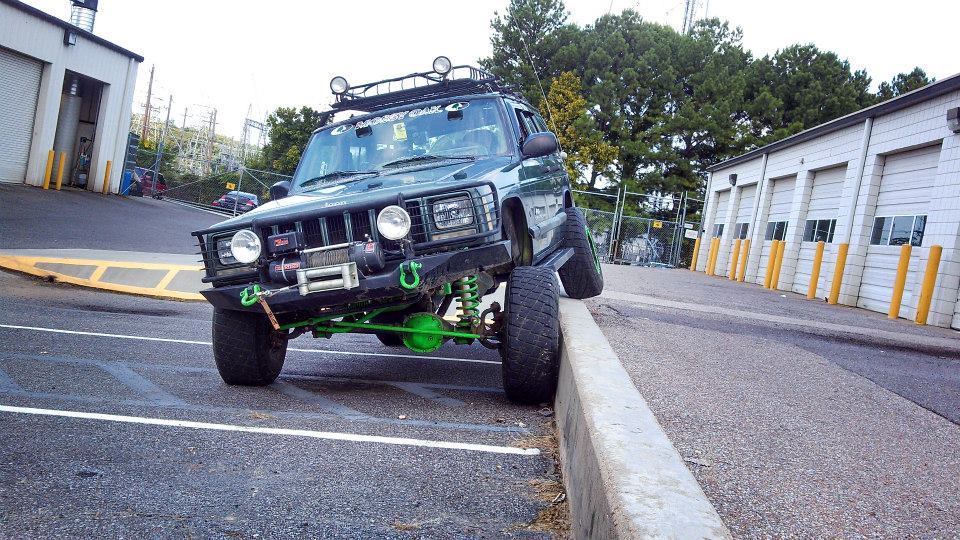
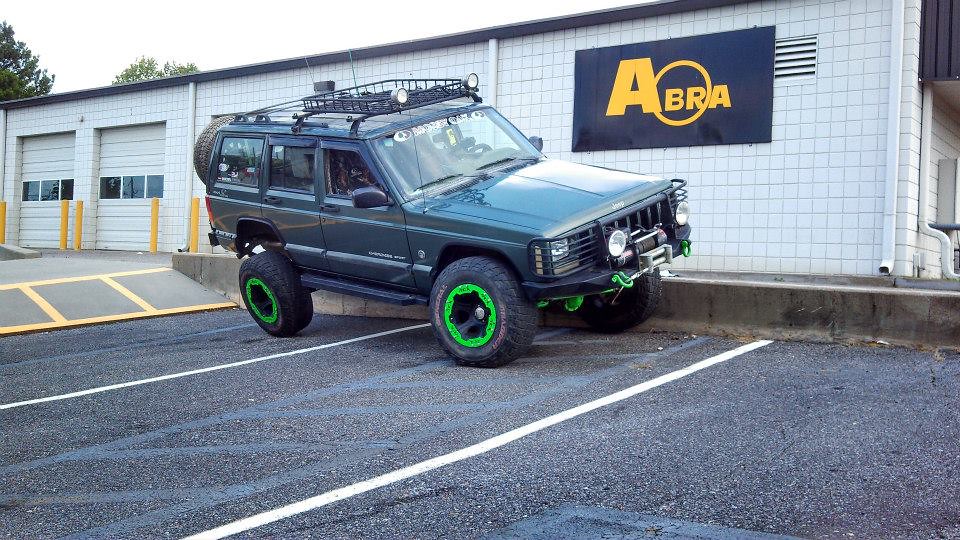
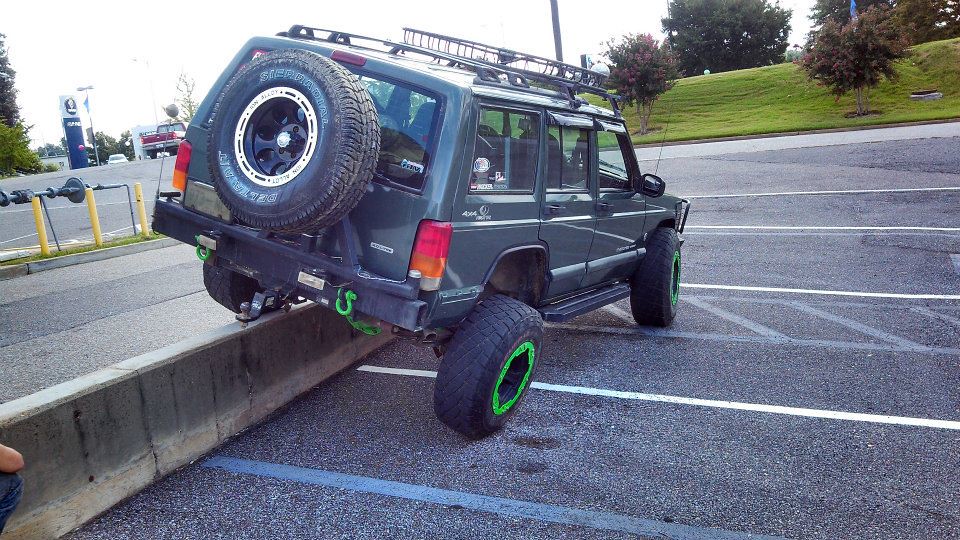
Glad I cut the fenders and much as I did, Still have more room though and more droop but I ran out of room without falling off.
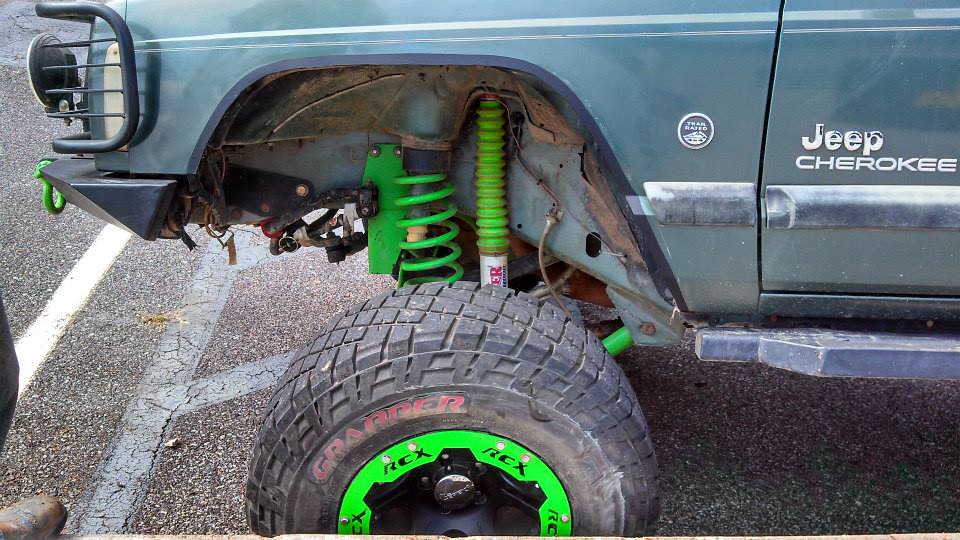
All the green looks good.
Here is the vertical wall climb
Then later on that night we were to Sugar Creek and I took my Jeep though some trails.
Well I'm off to, finally, cut my Cowl hood and cut the metal pieces.
Anyway, the first thing I did after I got done with my JKS disconnects was use up my final green LED strip set I've had for over a year to put in my grill. I still need at least one more set of strips to get a little better ground coverage over my axles later on but I didn't feel like doing all the at the time.
So first thing first. Take the brush guard off and take out my grill and light bezels.
Then I measured out what I needed and cut to length and soldered them together for top and bottom. of grill.
Then mounted them.
Then wired them up and tested them.
Put everything back on.
Then took some night pictures.
Then that Friday I did the cut and fold on the rear since it looked a little weird to me having the front cut and not the back.
Took the flares off and and mounting plates AND took a marker and marked all the spot welds.
Cut the lip off.
Did all the little cuts making sure to miss the stop welds and going more on the curves and folded it, little by little.
Then marked out for paint.
Cut the other side and folded.
All done and painted.
Until I realized I pinched the back two rock lights and caused a little smoke display while the little wire on the back two lights burned up.... nothing major, just had to re wire the back two lights and zip tie the wires.... witch I should of done that in the first place.
Anyway, then the next day was the 4 wheel parts sale thing. But it wasn't as it normally was since they had a different club set up. It was more of just a small meeting then an event. Nevertheless it was alright. Did a little wheeling and hill climbs too. Will have a video of climbing the hill and mudding later when I upload them.
Here are some pictures of me and my friend at the top of the hill though.
Then last week when I was cleaning my Jeep so I could go with my friend to his work to get all the overspray off from my fenders. I ran across this.
Ever since I did my front end it has been making a little noise while going slow or barely breaking. Now the first time I changed the front brakes on the Jeep was right after I got it. I noticed the passenger side threaded holes that keep the caliper on were deteriorated and stripping. Well, I got new bolted and that seemed to help and they got tighter than they were. Well, over the years and taking the calipers on and off caused it to pretty much not tighten.... and the bottom hole finally gave out and the bolt came out. So now I need to go to pull-a-part to get a knuckle. Will probably do it this weekend.
After I cleaned the overspray and while we were waiting for the painter at my friend's body shop to paint his mom's rims. We went to 4 wheel parts to get him a sock for his air breather, and while we were there, there is another ABRA right next to 4 Wheel Parts but by friend works at a different one, I decided to do some flexing on the wall along with a vertical wall climb.
Glad I cut the fenders and much as I did, Still have more room though and more droop but I ran out of room without falling off.
All the green looks good.
Here is the vertical wall climb
Then later on that night we were to Sugar Creek and I took my Jeep though some trails.
Well I'm off to, finally, cut my Cowl hood and cut the metal pieces.
Last edited by dcp1992; Nov 30, 2016 at 09:41 PM. Reason: Fixed pictures
Thread Starter
Seasoned Member
Joined: Sep 2011
Posts: 280
Likes: 1
From: Arlington, TN (Memphis area)
Year: 2000
Model: Cherokee
Engine: 242 Power Tech I6 (4.0)
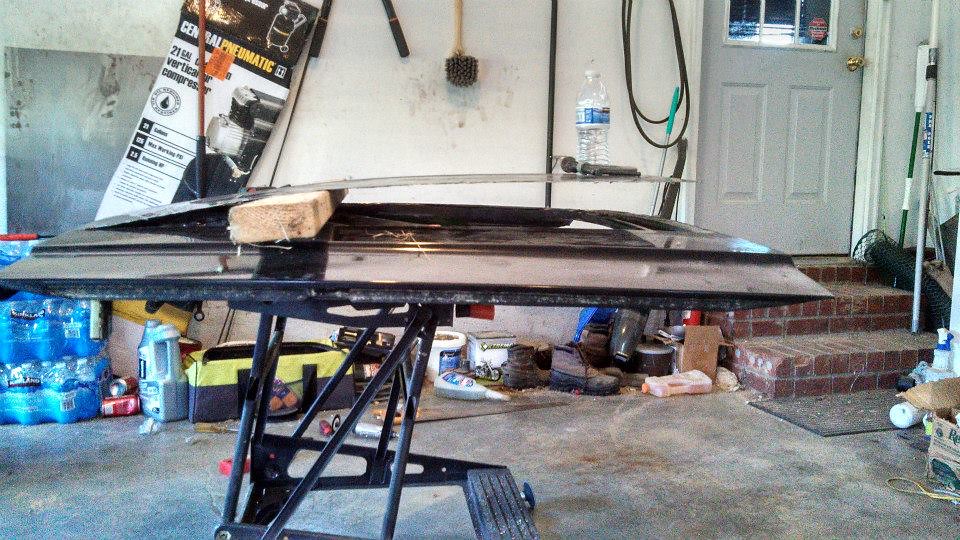
Well, I got the Skin on the Hood cut, I'm going to cut out the metal pieces tomorrow and might try to weld them with my welder.
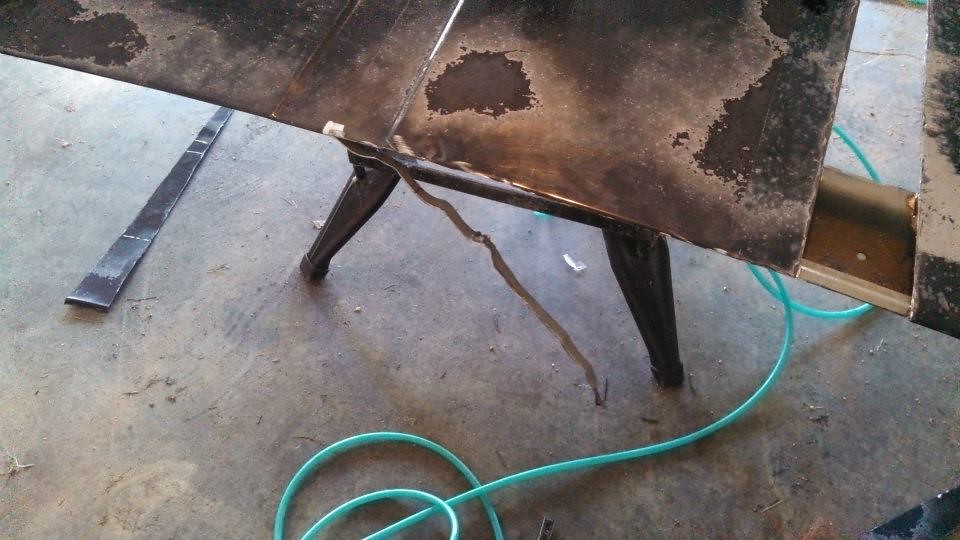
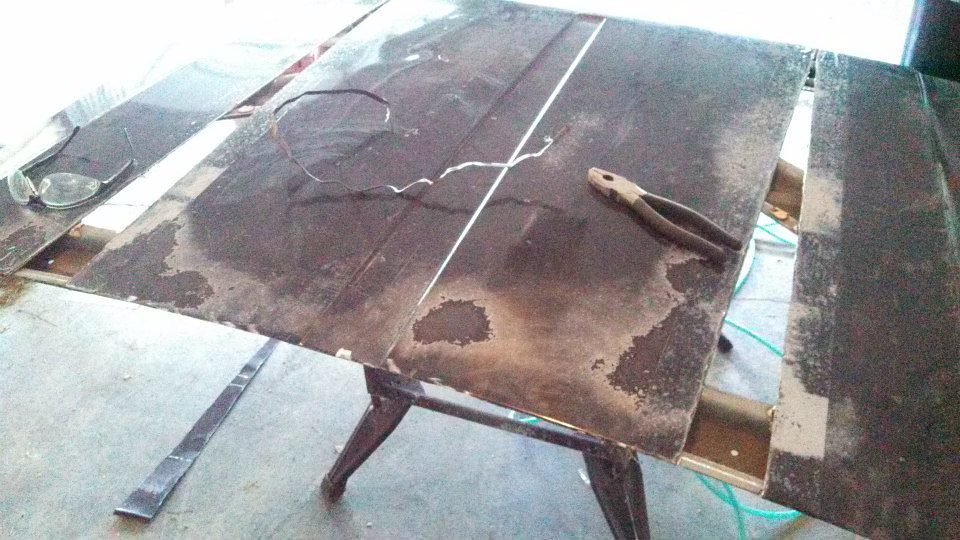
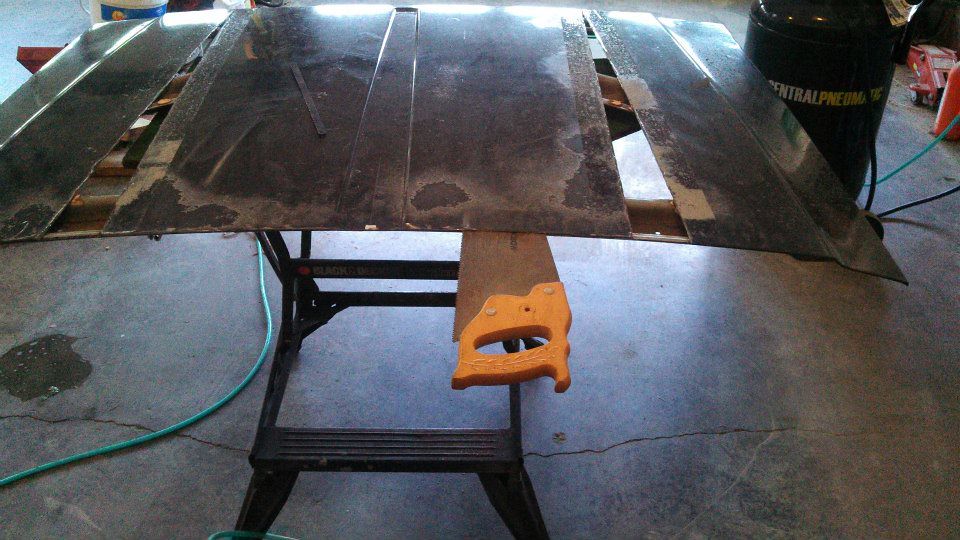
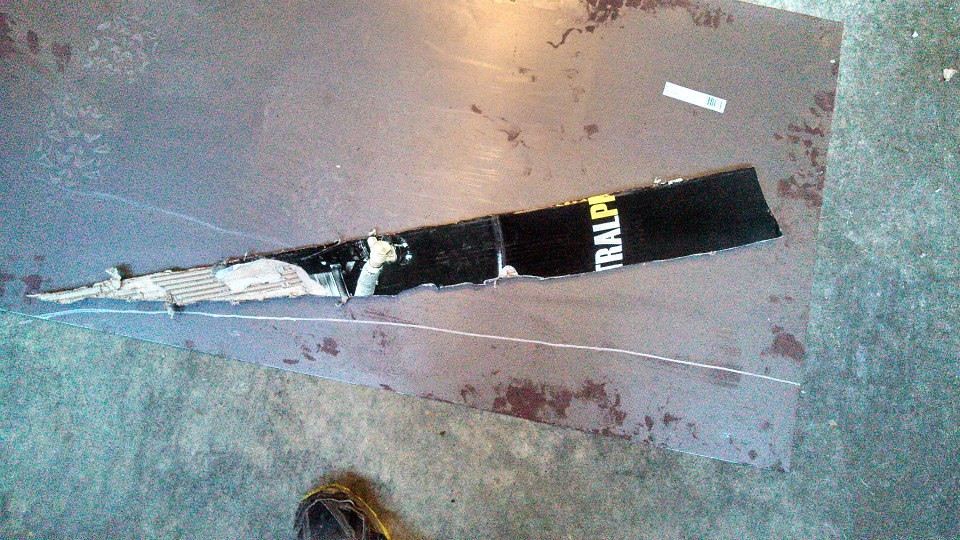
Started to cut the metal skin.
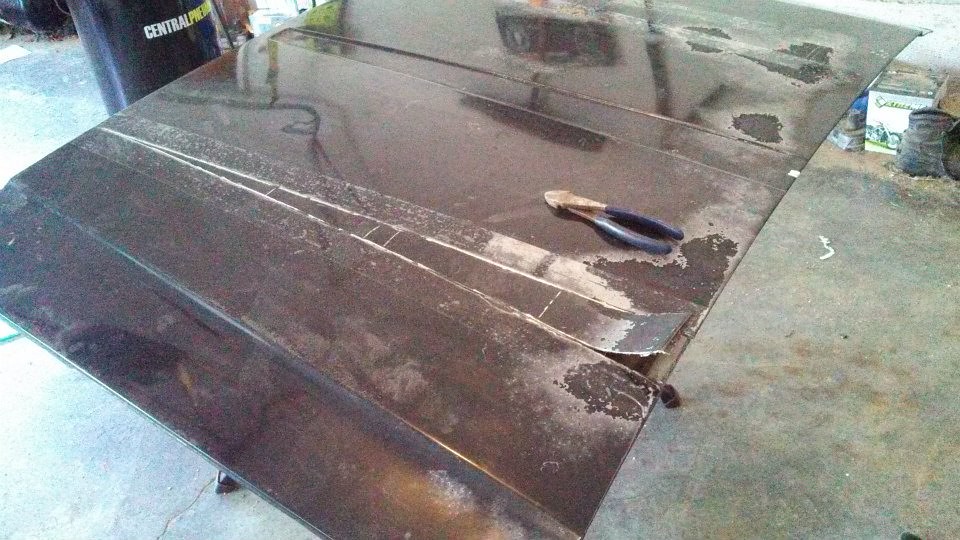
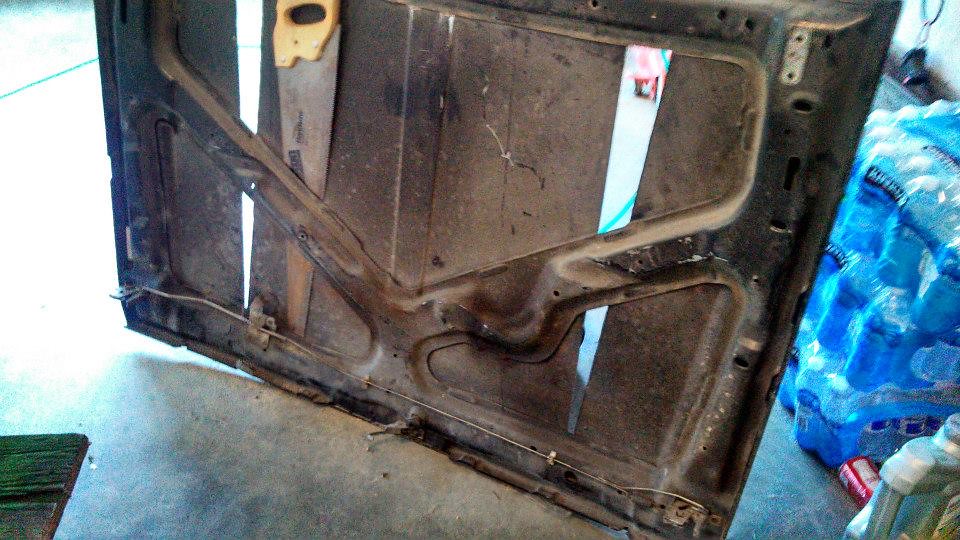
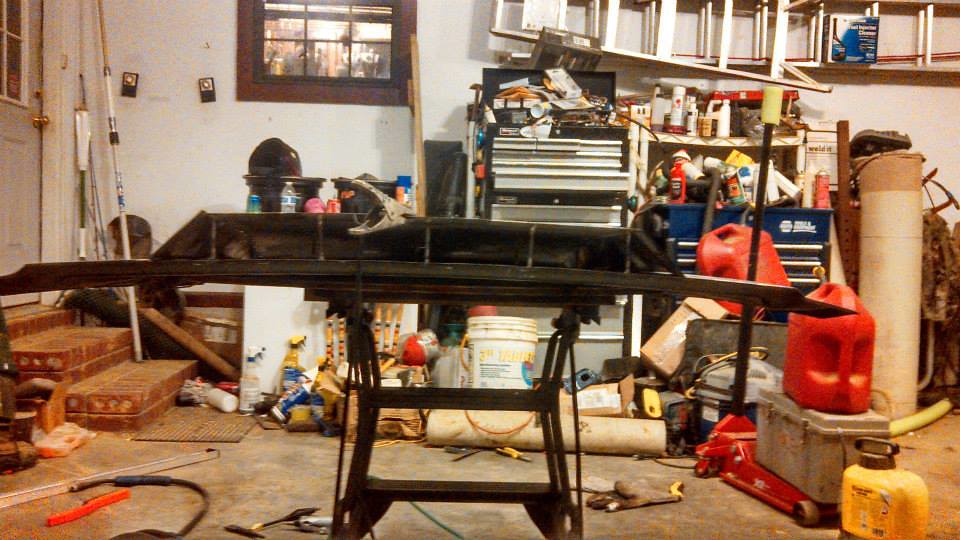
The Hood skin separated from the supports.
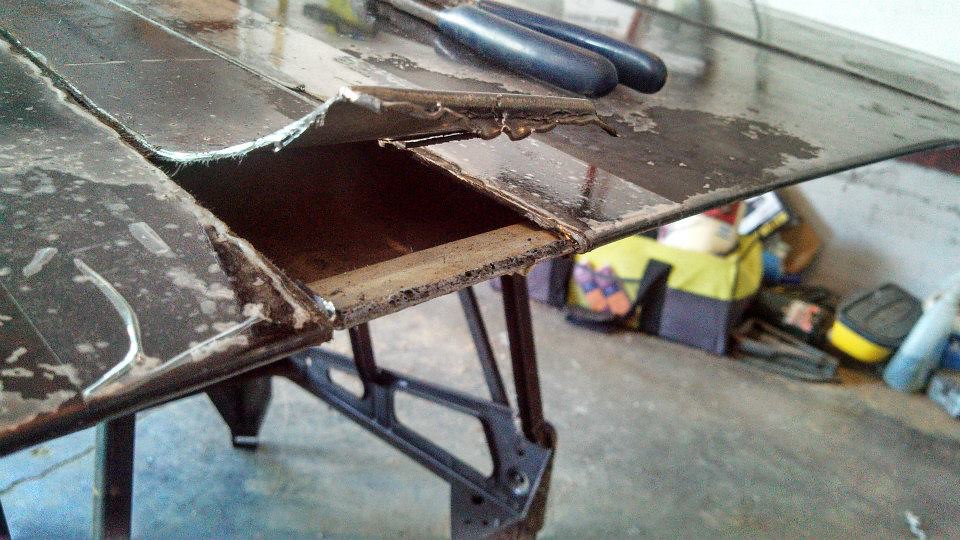
One side cut off.
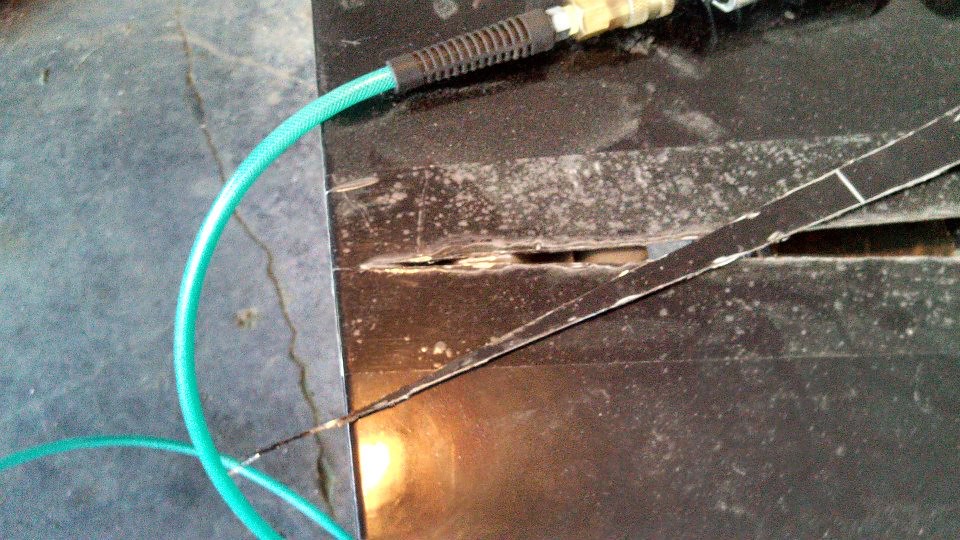
The other side cut off.
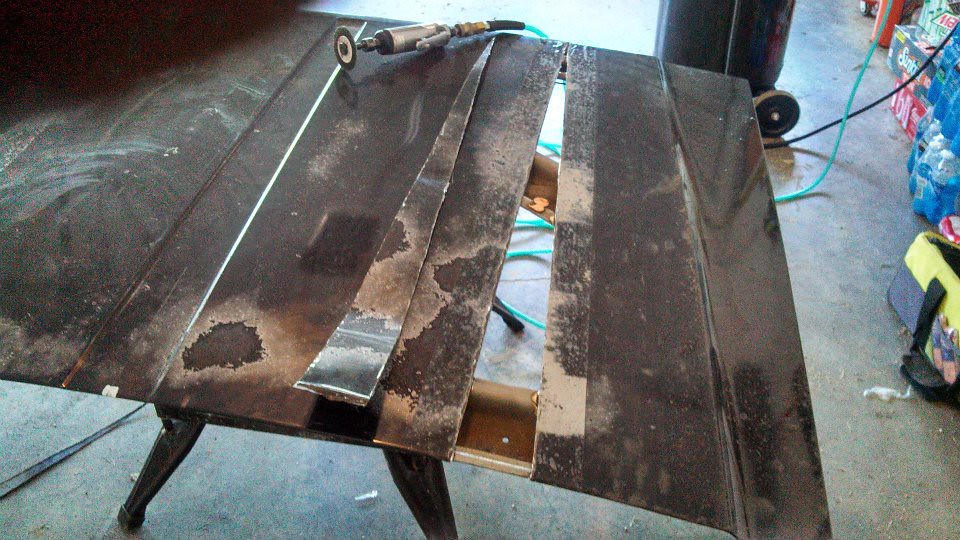
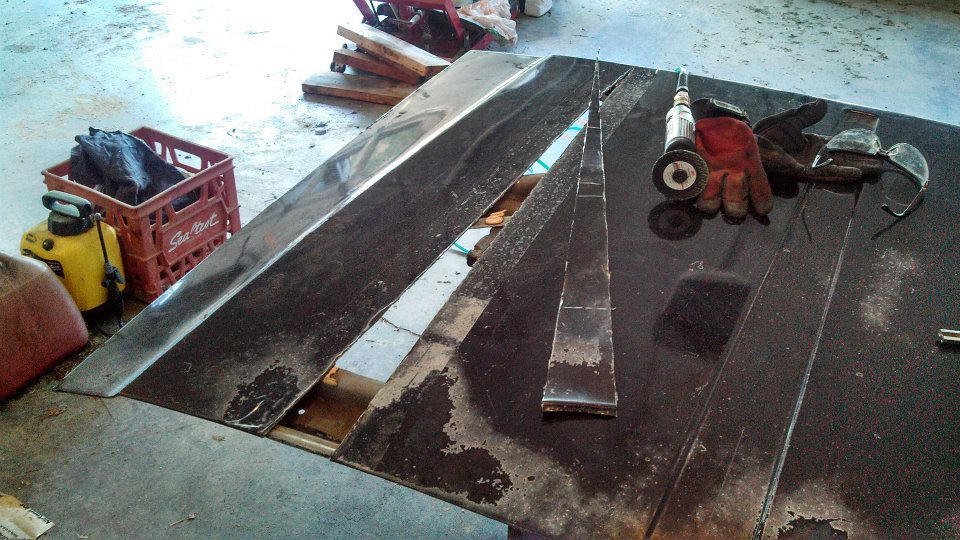
Both sides cut.
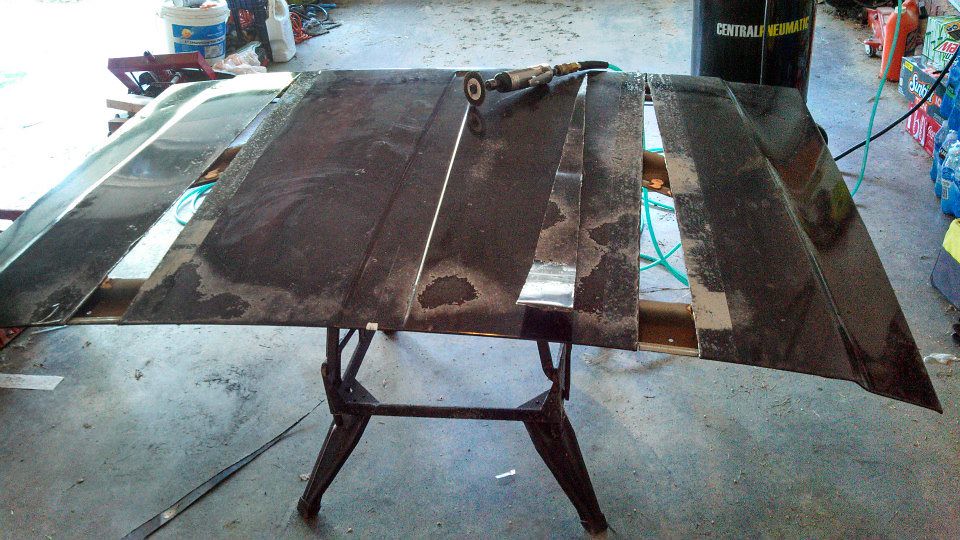
Cutting off the lip in the back.
Tomorrow I'll separate the hood skin from the hood skeleton and figure out the shape I want the cowl to be. Then cut the metal for the sides of the cowl and maybe weld it with supports.
Started to cut the metal skin.
The Hood skin separated from the supports.
One side cut off.
The other side cut off.
Both sides cut.
Cutting off the lip in the back.
Tomorrow I'll separate the hood skin from the hood skeleton and figure out the shape I want the cowl to be. Then cut the metal for the sides of the cowl and maybe weld it with supports.
Last edited by dcp1992; Nov 30, 2016 at 11:33 PM. Reason: Fixed pictures
Thread Starter
Seasoned Member
Joined: Sep 2011
Posts: 280
Likes: 1
From: Arlington, TN (Memphis area)
Year: 2000
Model: Cherokee
Engine: 242 Power Tech I6 (4.0)
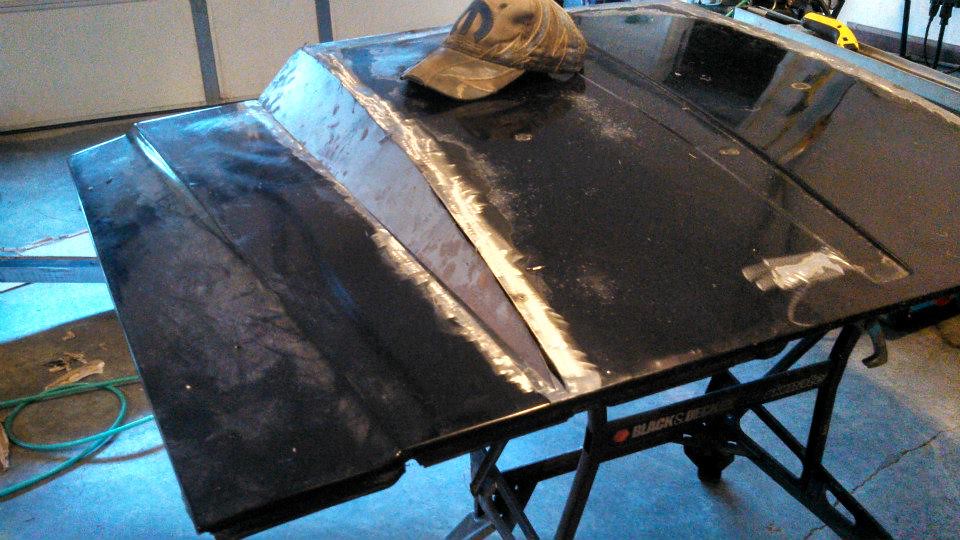
Got pretty far on my Cowl hood today.
Separating the hood skin form the frame.
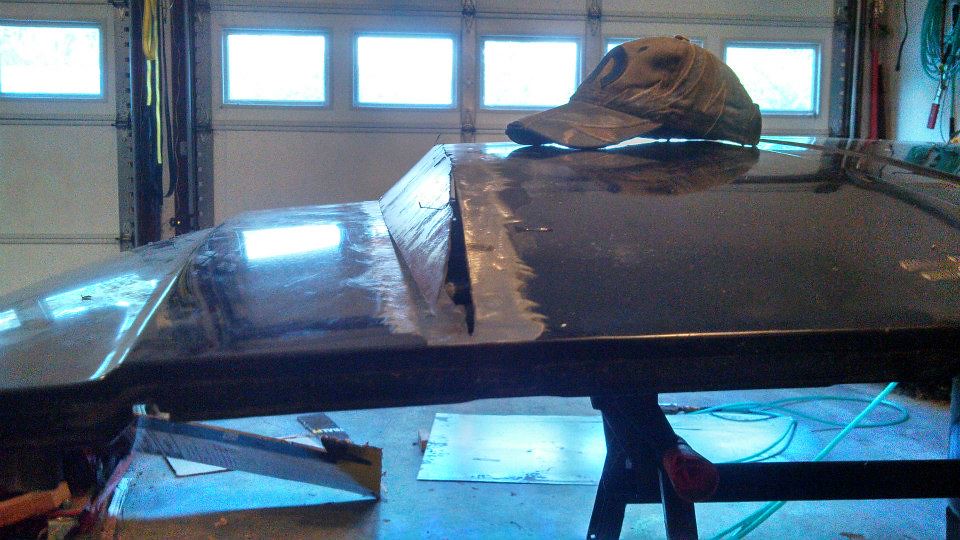
Using a 2x4 to get the rough shape of the Cowl.
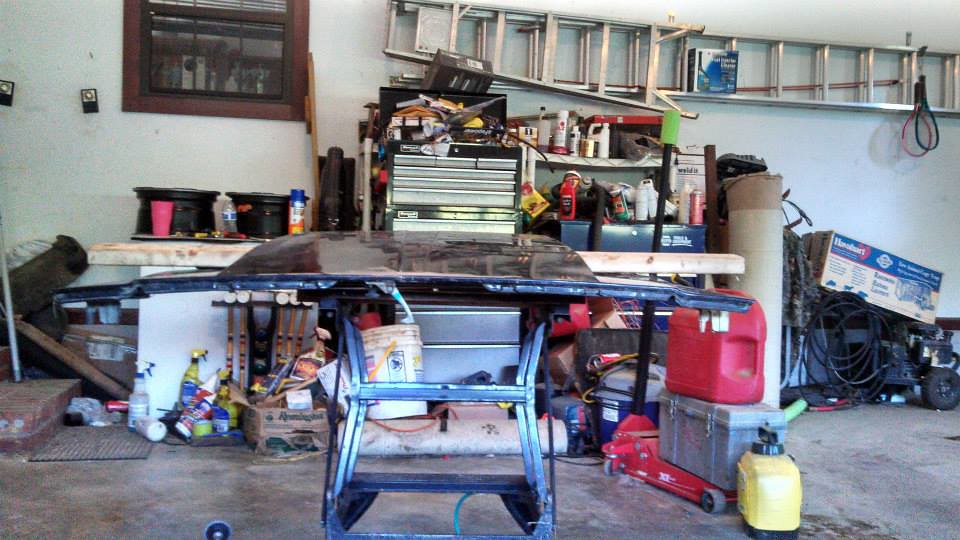
Using some weights to get close to 3" in the back for a more accurate rough shape of the cowl.
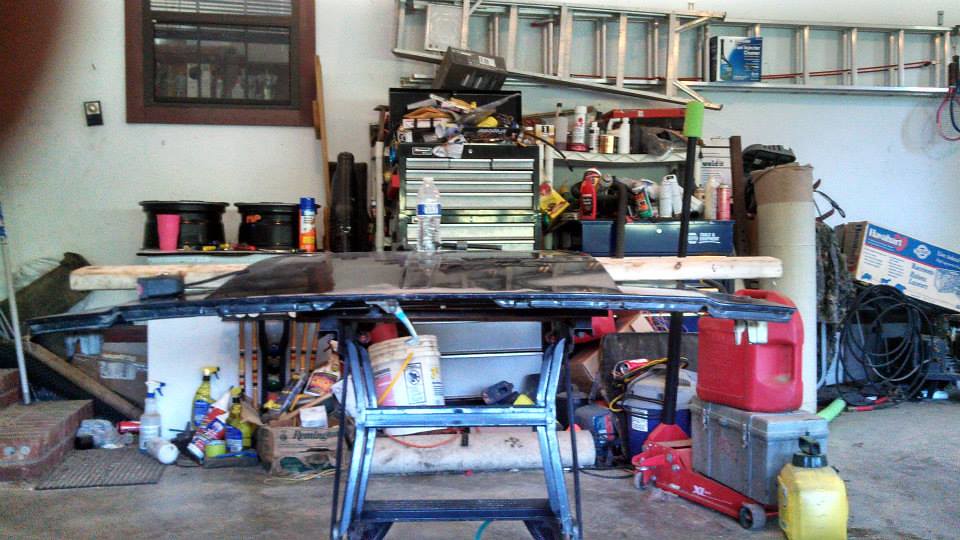

Cut some of the 1/4" rod to 3" for supports to weld for the back of the cowl.
Some of the rods welded in place.
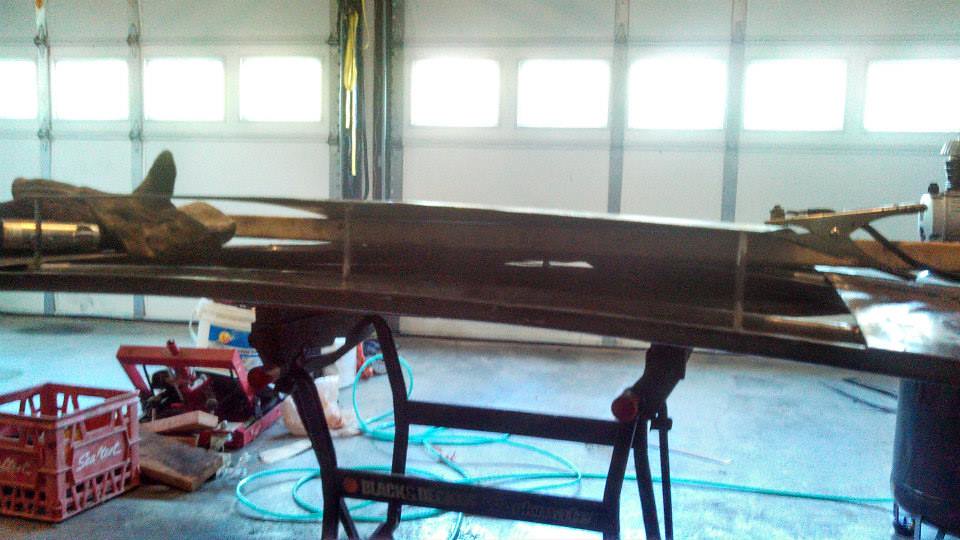
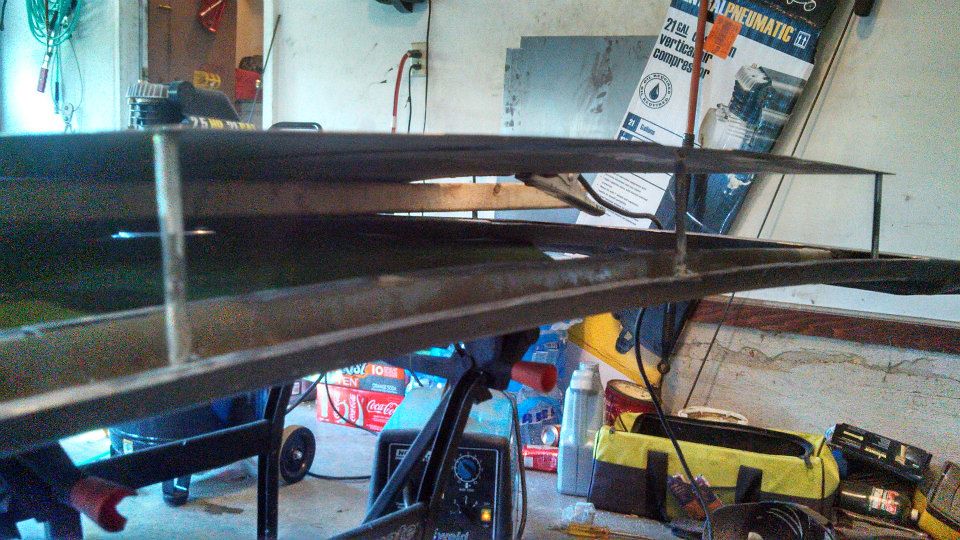
All of the cowl supports in the back welded in place.
Some cowl supports down the sides
Cowl supports for the center.
All the supports in place. The final cowl shape.
Going to try to get the filler metal welded in place tomorrow but before that I'm going to try to get an auto-darkening helmet because I'm tired of not being able to see what I'm welding because it's too dark. So an auto-darkening helmet is a must since welding the hood skin is tedious and easy to burn through and I don't want to burn through and make holes.
Separating the hood skin form the frame.
Using a 2x4 to get the rough shape of the Cowl.
Using some weights to get close to 3" in the back for a more accurate rough shape of the cowl.
Cut some of the 1/4" rod to 3" for supports to weld for the back of the cowl.
Some of the rods welded in place.
All of the cowl supports in the back welded in place.
Some cowl supports down the sides
Cowl supports for the center.
All the supports in place. The final cowl shape.
Going to try to get the filler metal welded in place tomorrow but before that I'm going to try to get an auto-darkening helmet because I'm tired of not being able to see what I'm welding because it's too dark. So an auto-darkening helmet is a must since welding the hood skin is tedious and easy to burn through and I don't want to burn through and make holes.
Last edited by dcp1992; Nov 30, 2016 at 11:46 PM. Reason: Fixed pictures
Thread Starter
Seasoned Member
Joined: Sep 2011
Posts: 280
Likes: 1
From: Arlington, TN (Memphis area)
Year: 2000
Model: Cherokee
Engine: 242 Power Tech I6 (4.0)
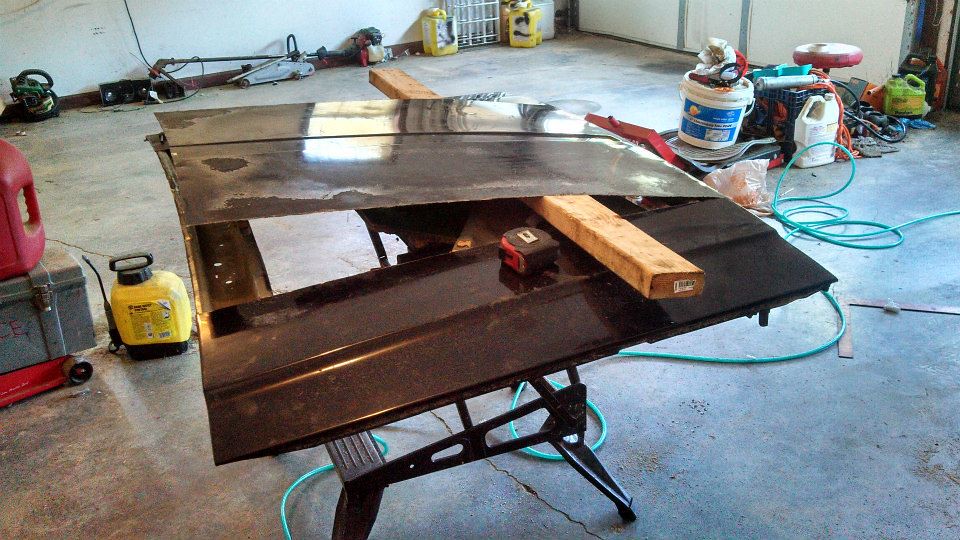
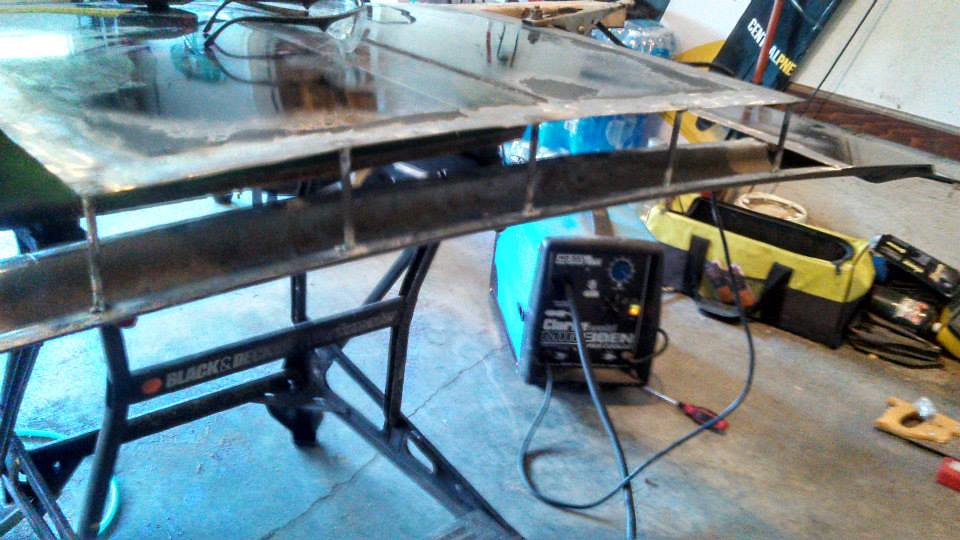
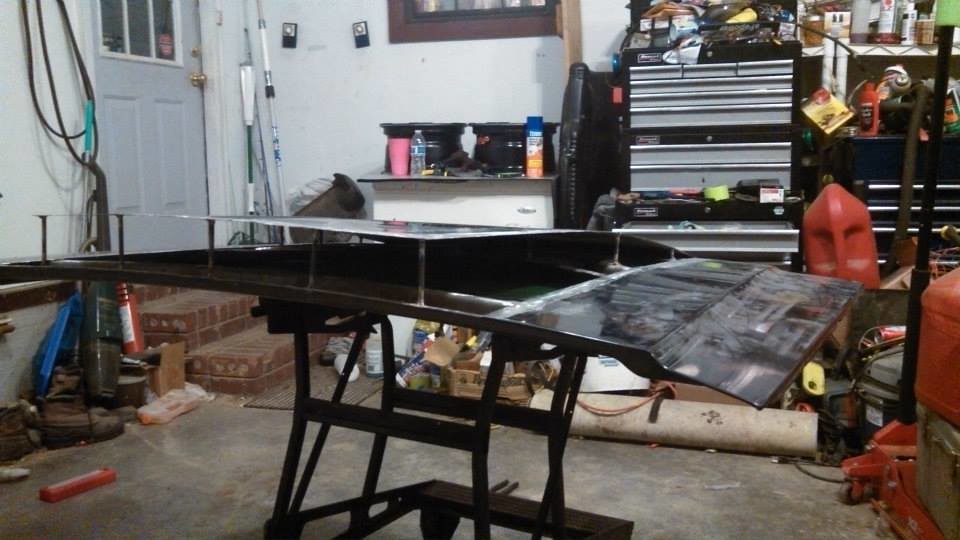
Got pretty far on my Cowl Saturday and yesterday.
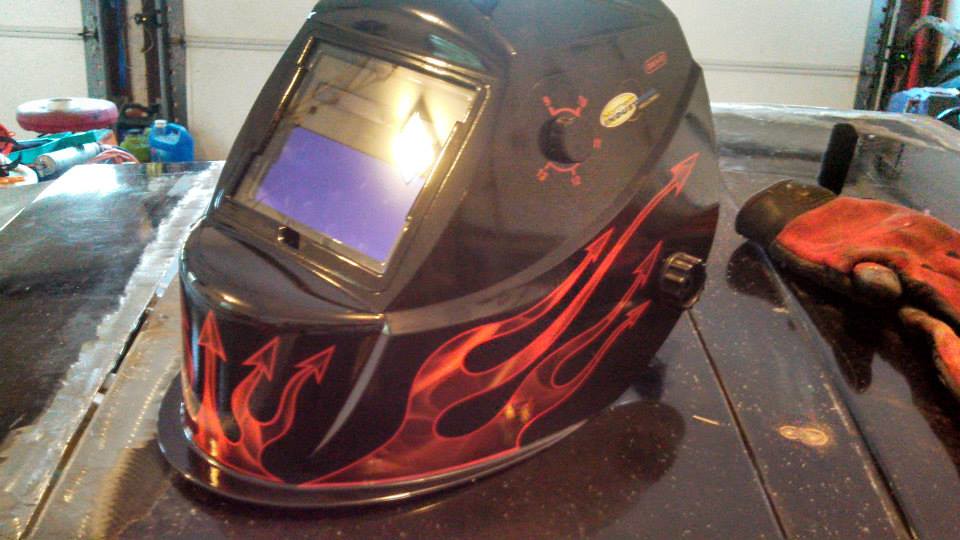
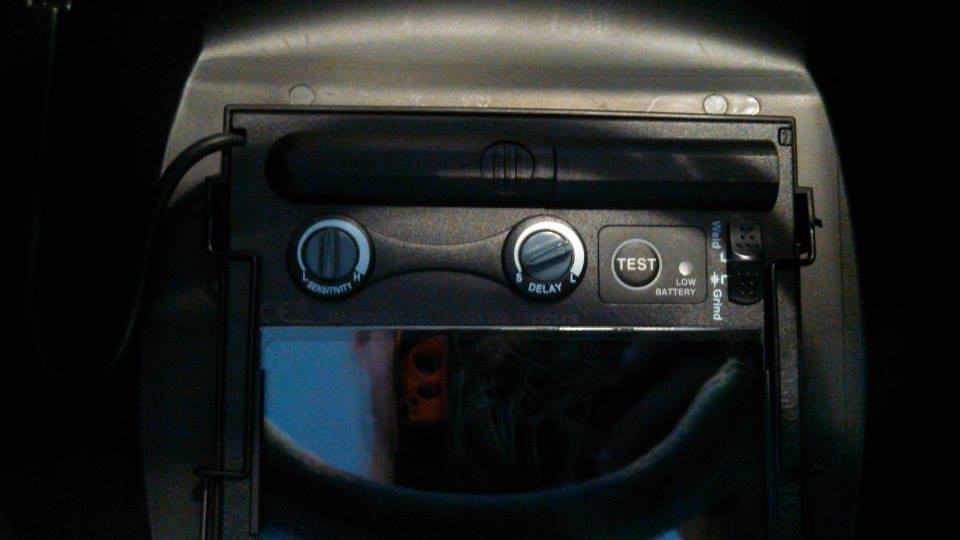
Finally got a auto-darkening welding helmet, now I can actually see what I'm welding. Will make using our flux core welder easier. Ended up getting the more expensive one for $70 because the cheaper ones didn't have enough setting for me and didn't have grinding modes.
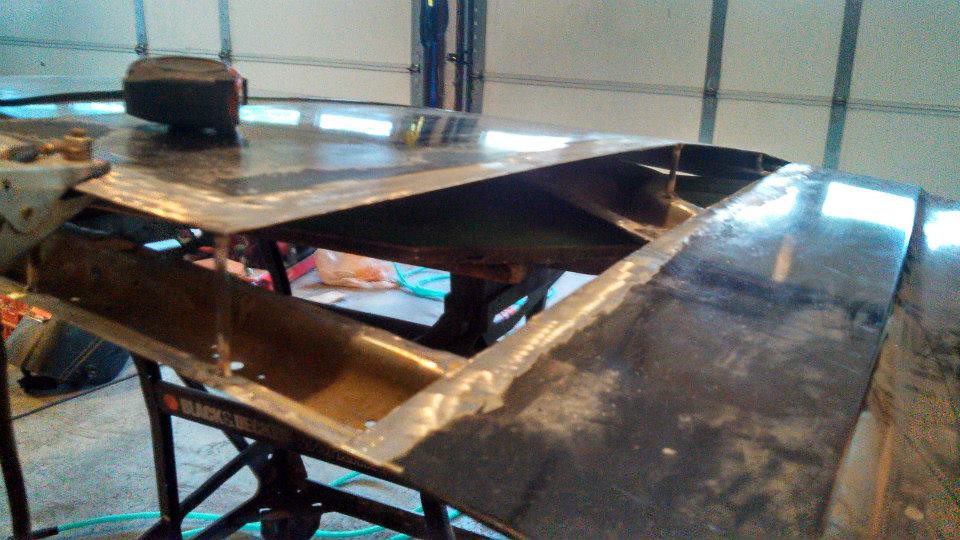
Started Saturday off by cutting out a cardboard template of the cowl sides and transferring them to the sheet of steel and cutting them out.
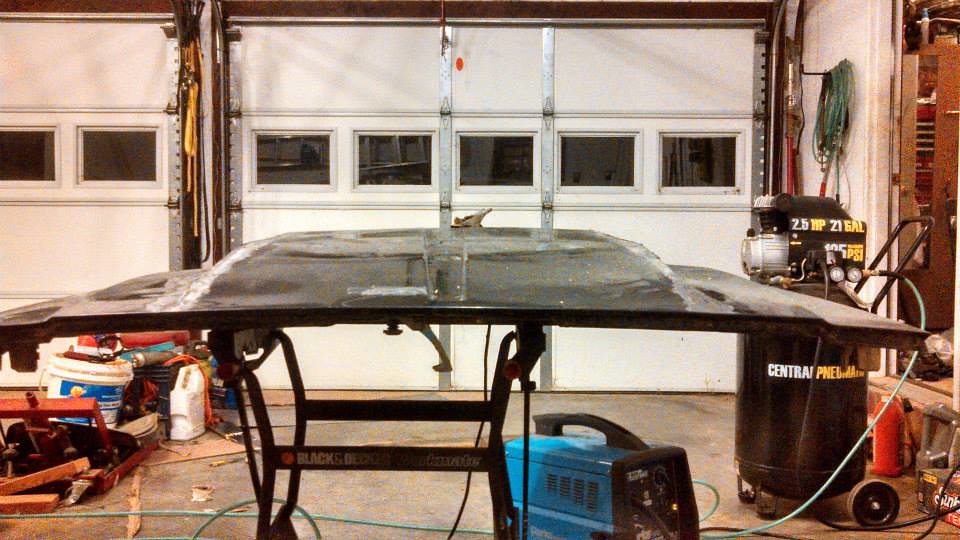
Test fitting the sides.
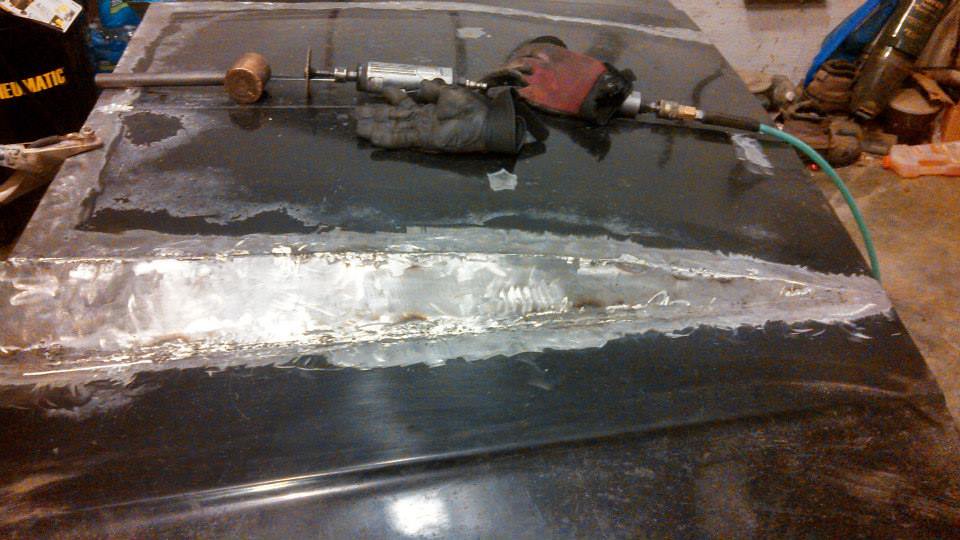
Spot welded the bottom of the metal in place to shave off the top to match the curve more accurate.
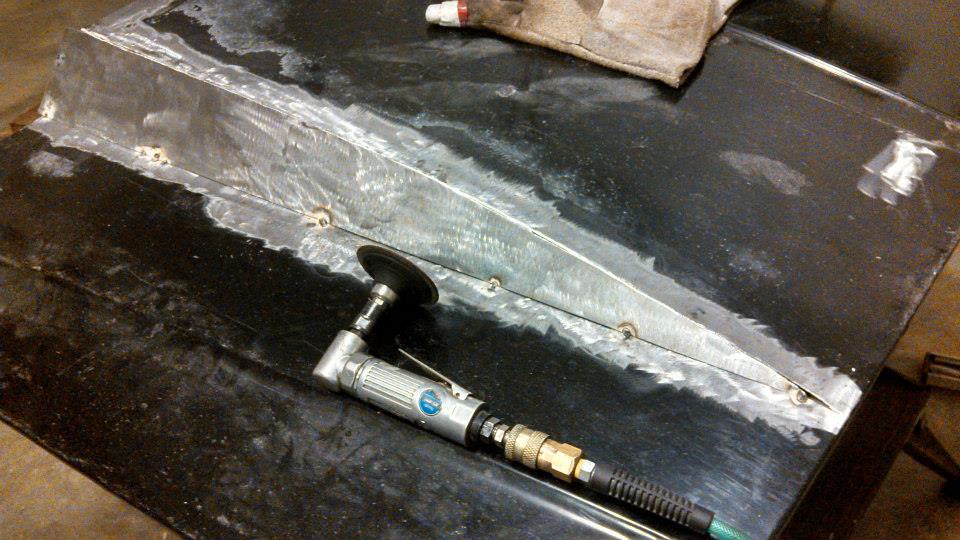
Shaved the tops down and tacked the top.
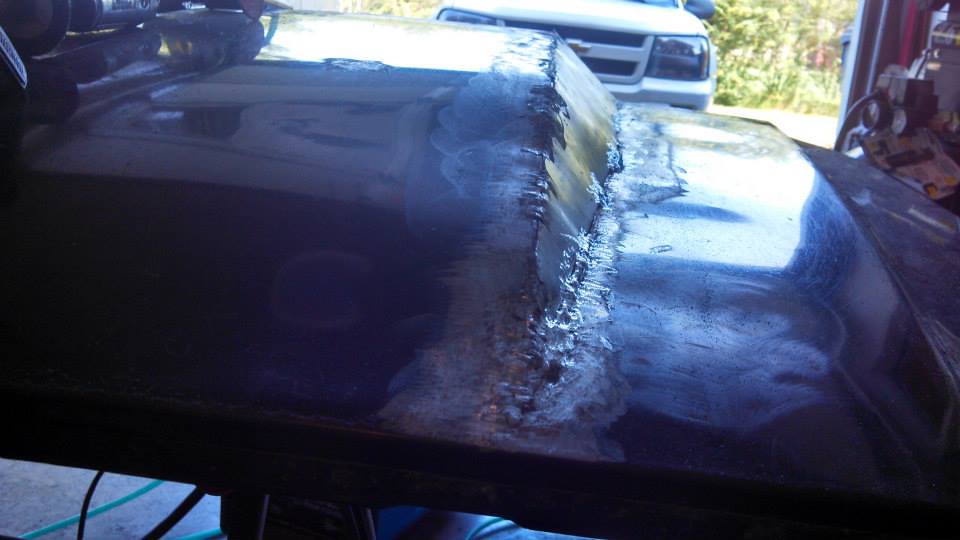
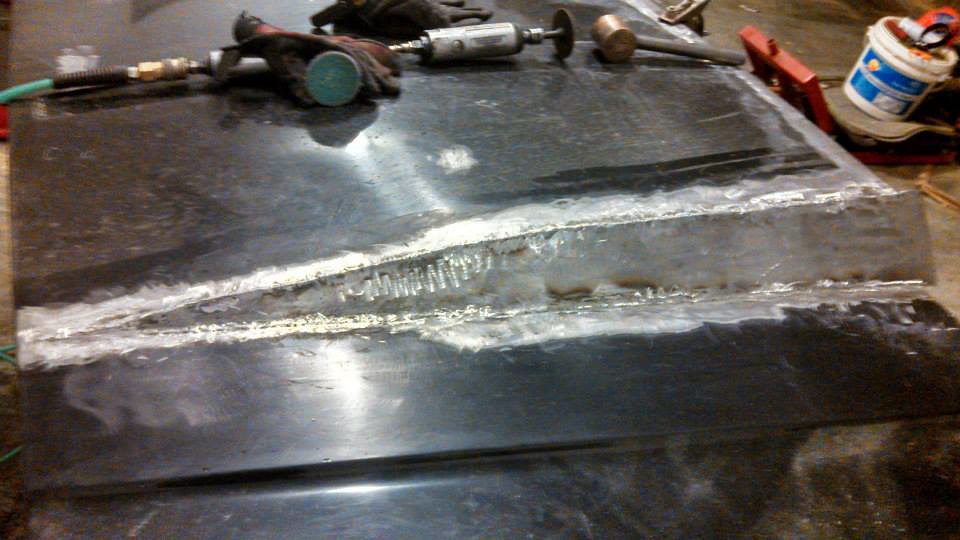
Started stitching the metal in place. (Don't fully weld, only tack and maybe some stitches but DO NOT fully weld - 12-1-2016)

This is as far as I got Saturday night.

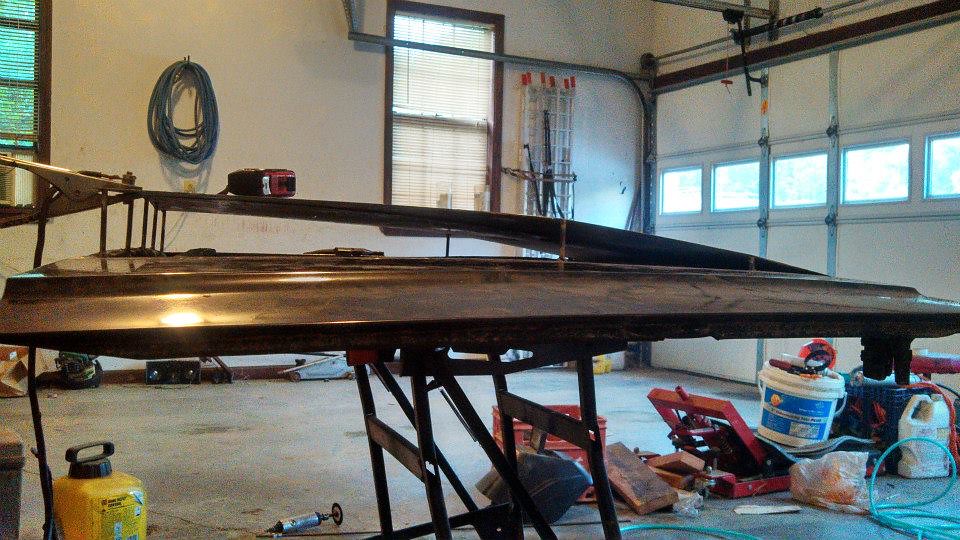
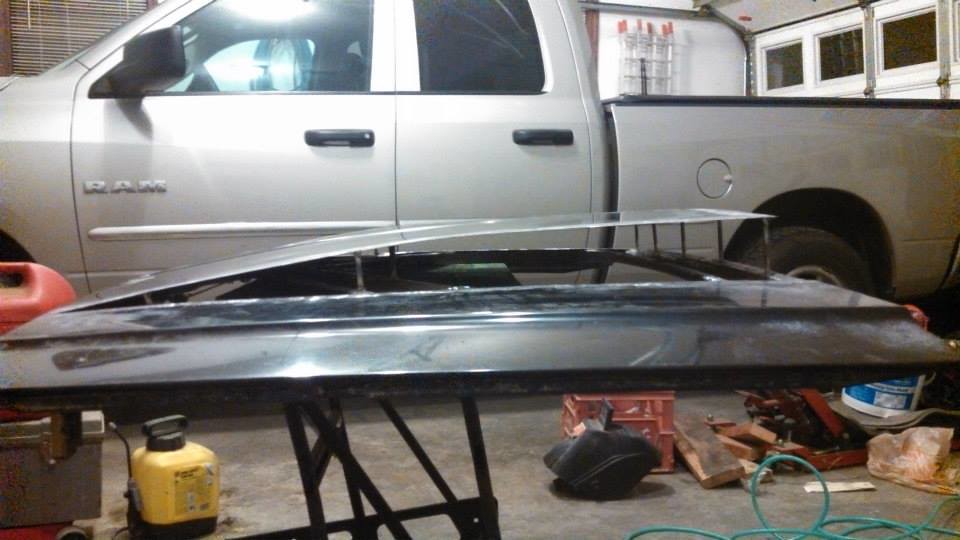
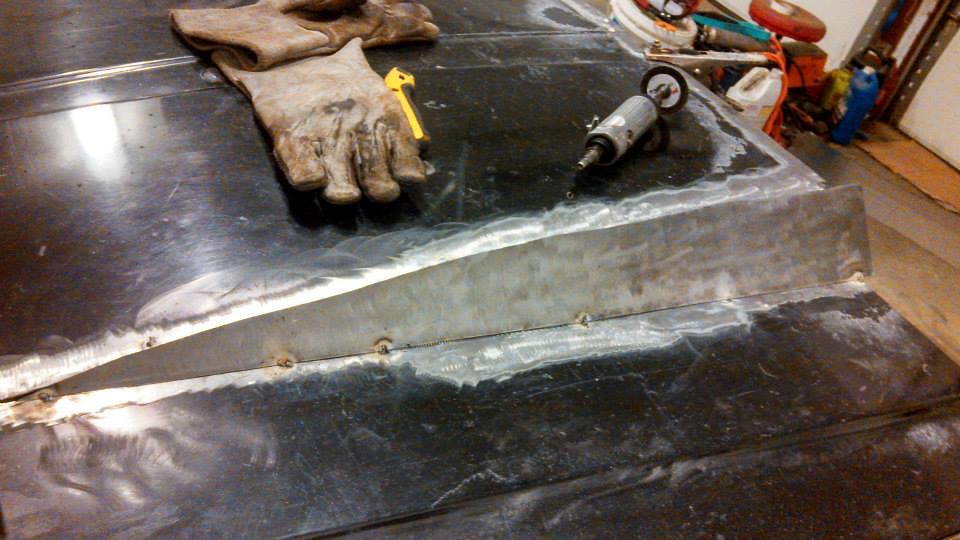
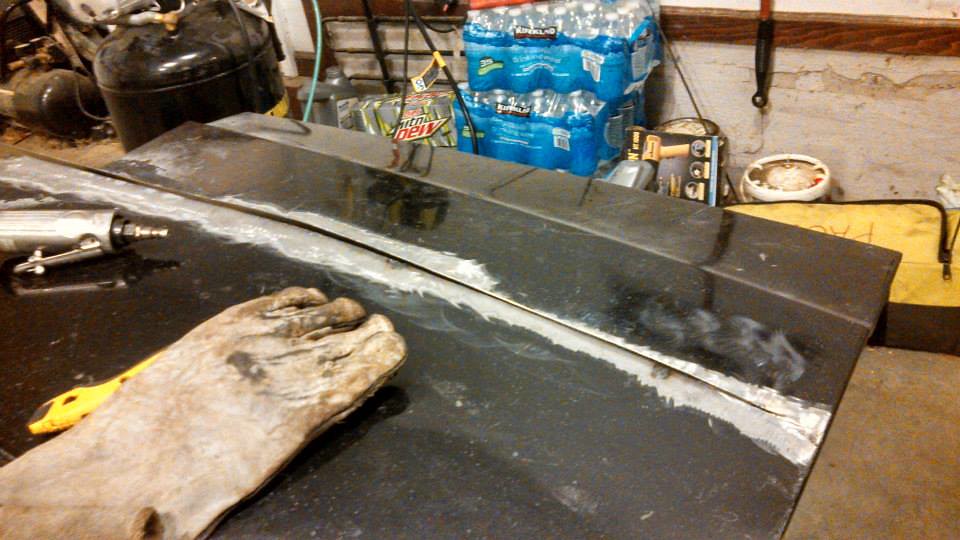
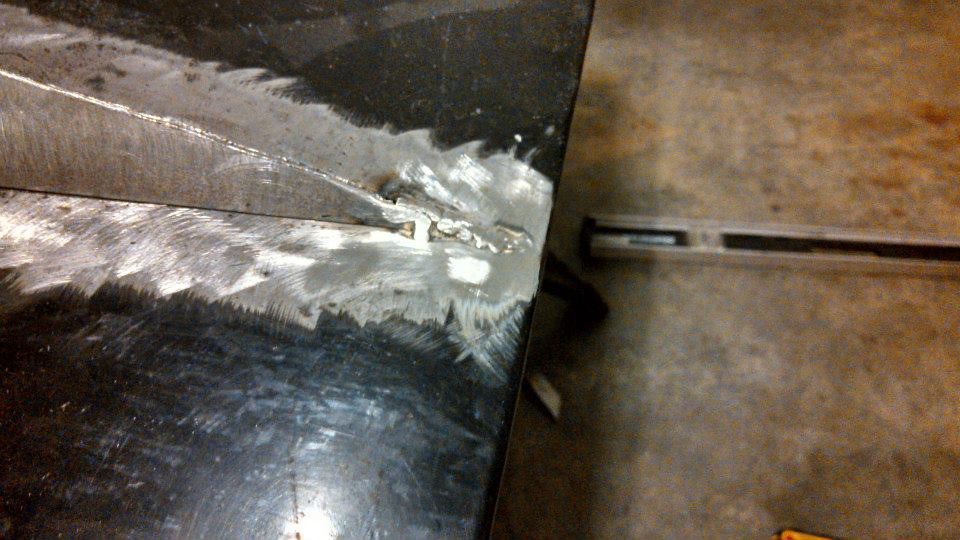
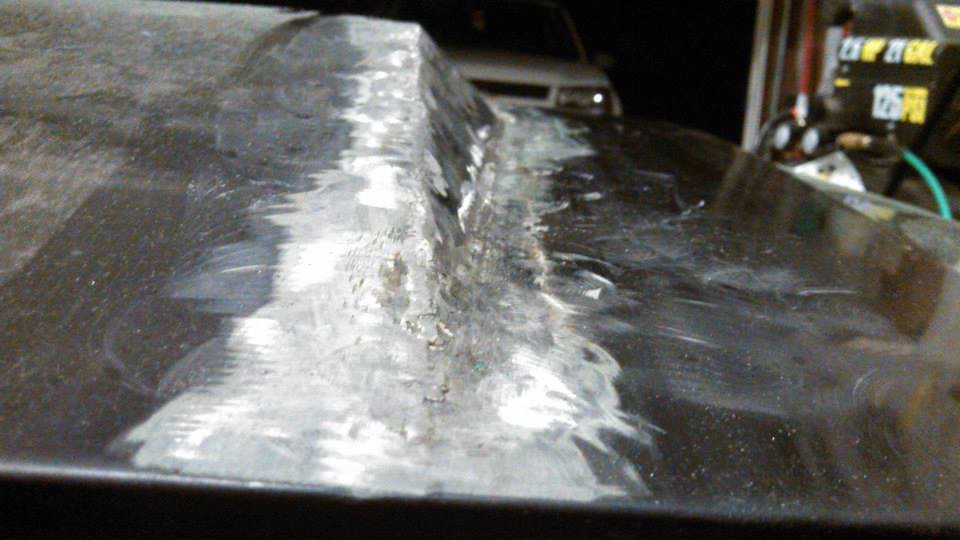
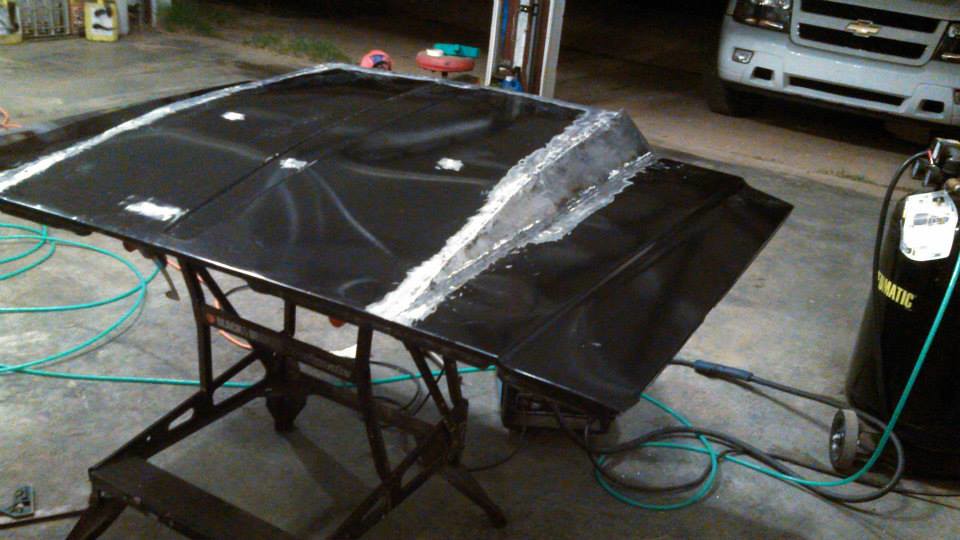
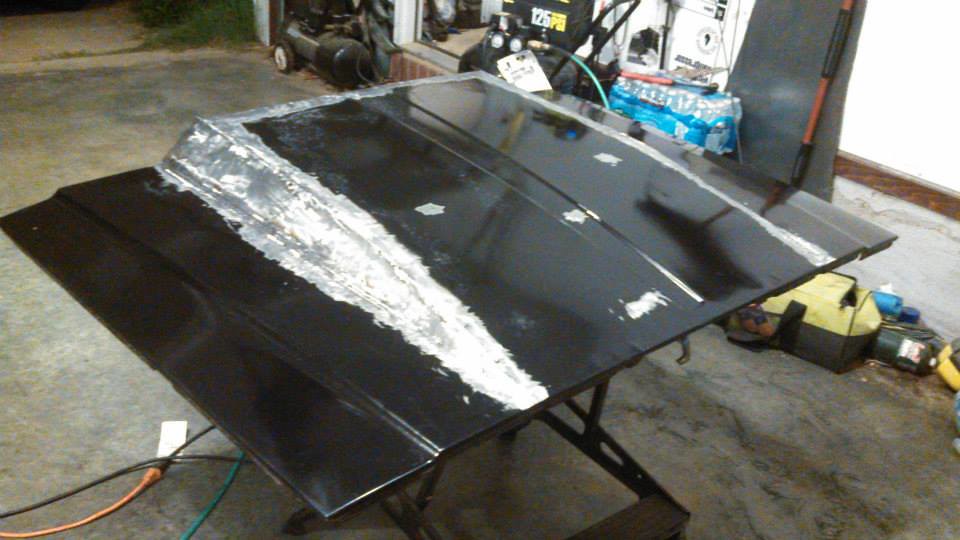
Sunday I started to tack more in place... Even still, I was moving too fast and it started to warp on me. Hopefully Most of it will bang out and be filled with the filler.
Let's do the Wave!!.... Oh, well.. could've been worse.... and at least I'm showing it and not hiding the mistakes.
(Again, DO NOT fully weld!!! If you just tack it, the bondo will fill the holes and won't cause as much warping. - 12-1-2016)
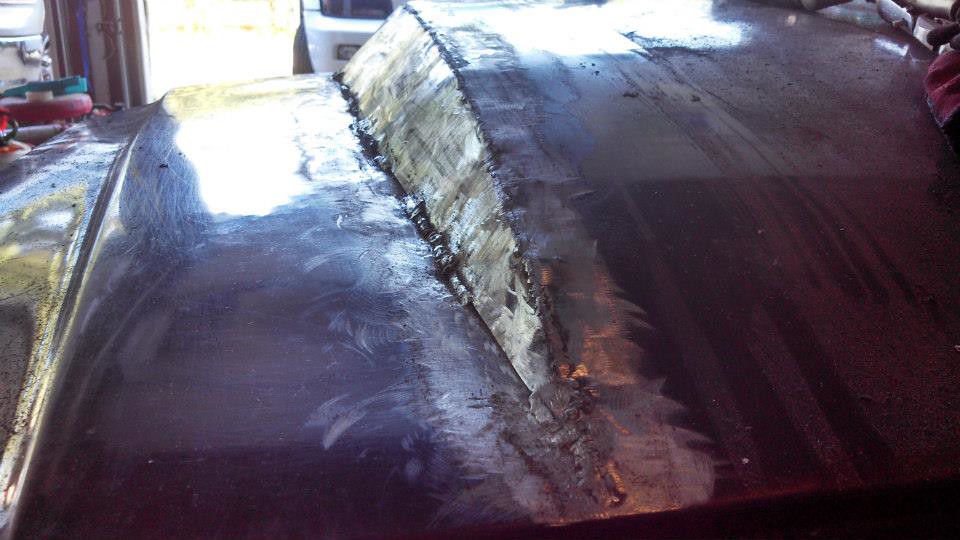
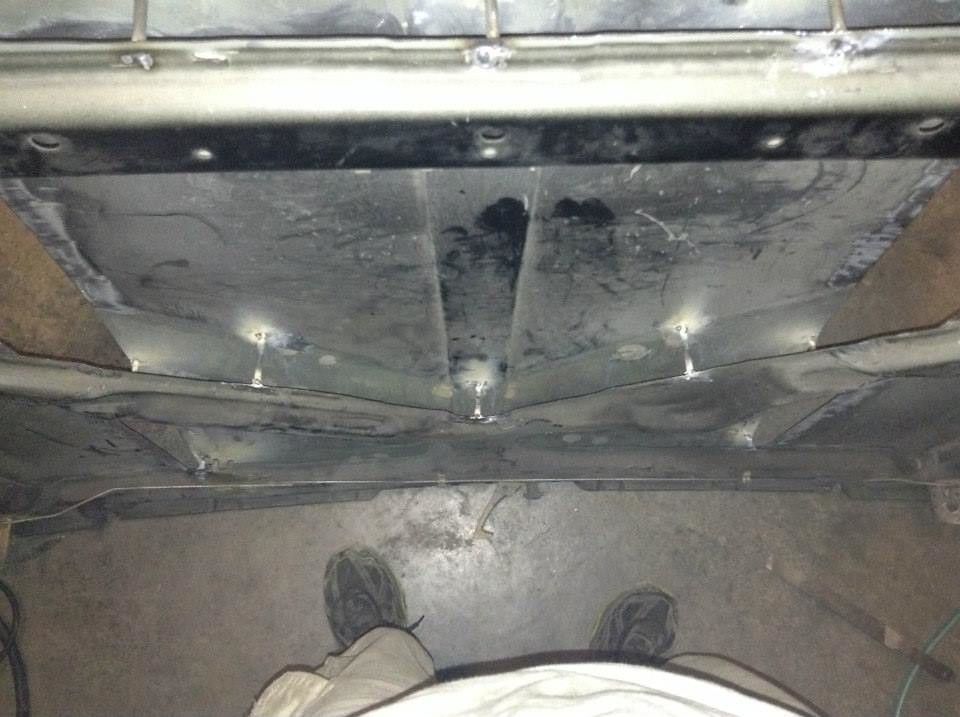
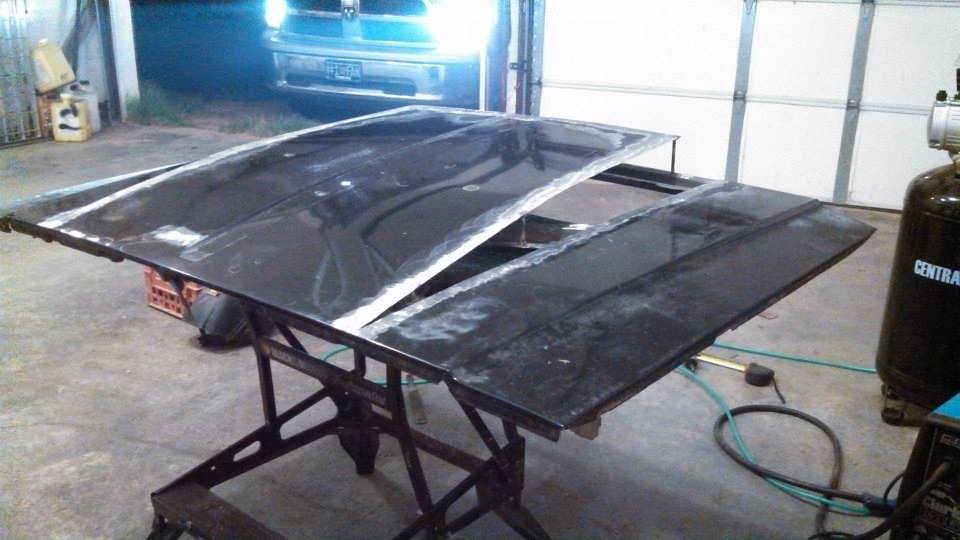
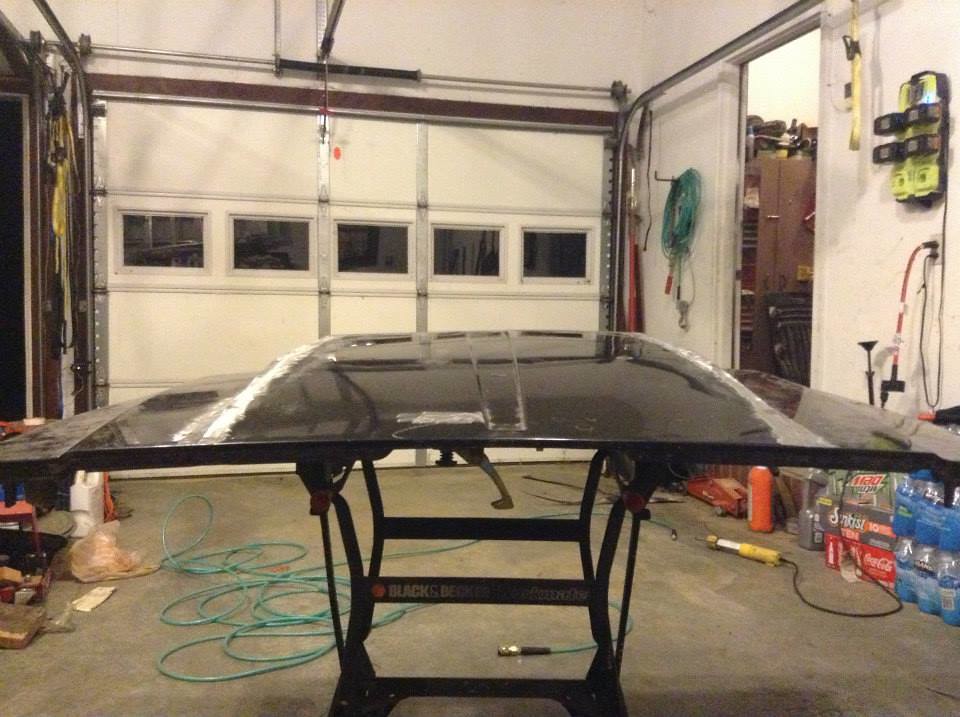
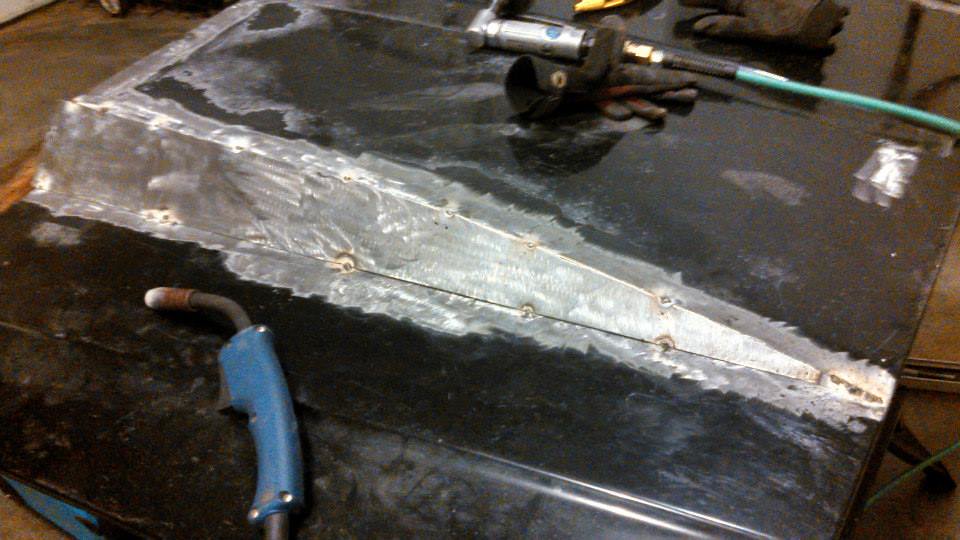
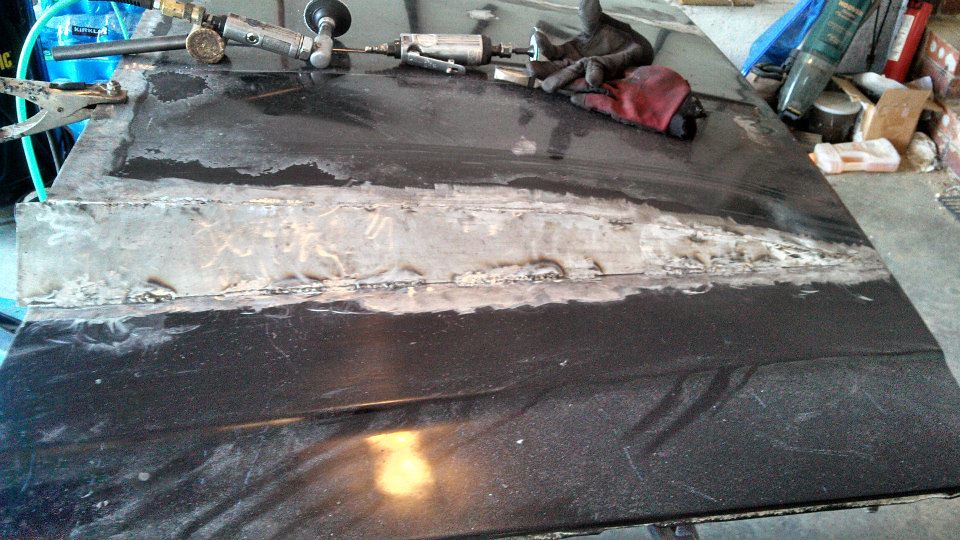
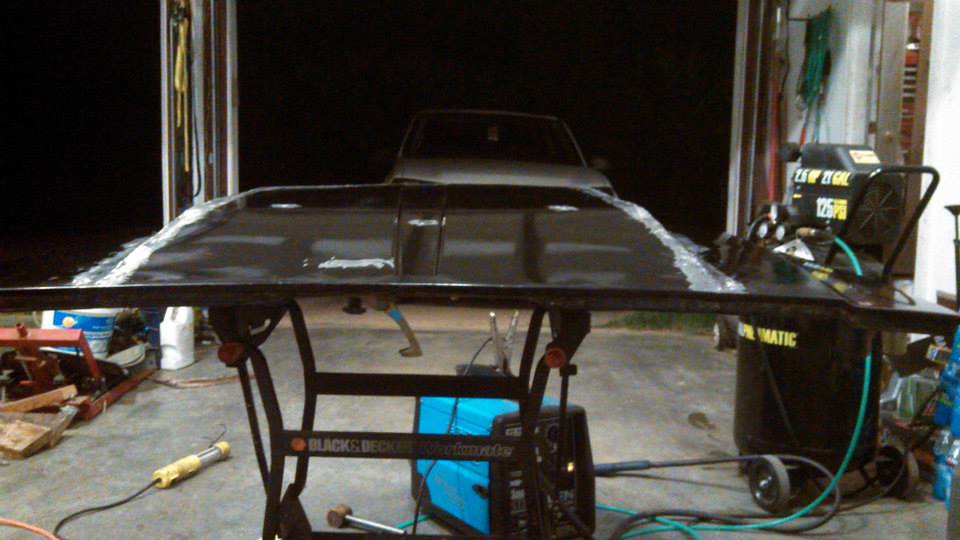
All done with the sides... Welded and ground down. All that's left is to weld the grill in the back and fit it up to see if i can add a lip in the back, and if I can how long. Then filler, smoothing out, and paint.
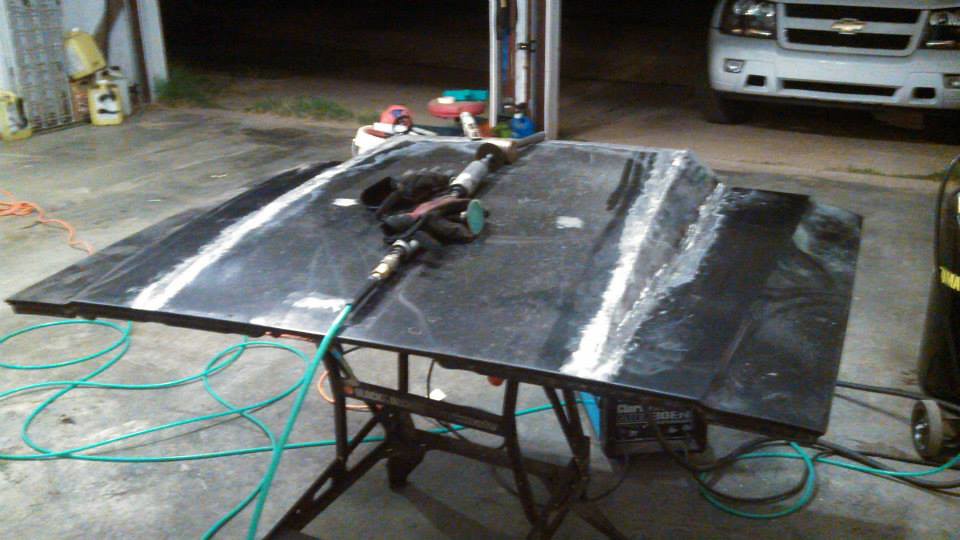
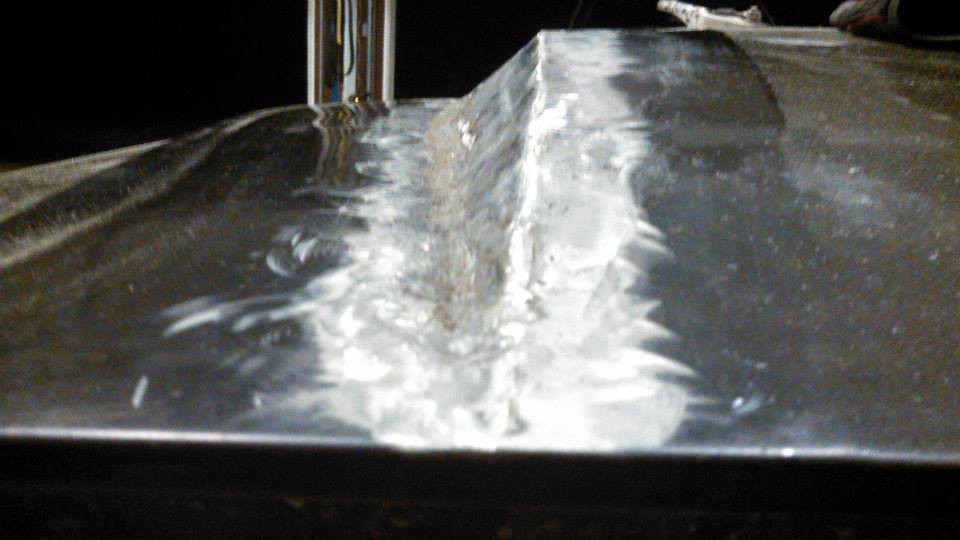
Before I put it up I cleaned off all of the grinding dust and metal from the hood.
Finally got a auto-darkening welding helmet, now I can actually see what I'm welding. Will make using our flux core welder easier. Ended up getting the more expensive one for $70 because the cheaper ones didn't have enough setting for me and didn't have grinding modes.
Started Saturday off by cutting out a cardboard template of the cowl sides and transferring them to the sheet of steel and cutting them out.
Test fitting the sides.
Spot welded the bottom of the metal in place to shave off the top to match the curve more accurate.
Shaved the tops down and tacked the top.
Started stitching the metal in place. (Don't fully weld, only tack and maybe some stitches but DO NOT fully weld - 12-1-2016)
This is as far as I got Saturday night.
Sunday I started to tack more in place... Even still, I was moving too fast and it started to warp on me. Hopefully Most of it will bang out and be filled with the filler.
Let's do the Wave!!.... Oh, well.. could've been worse.... and at least I'm showing it and not hiding the mistakes.
(Again, DO NOT fully weld!!! If you just tack it, the bondo will fill the holes and won't cause as much warping. - 12-1-2016)
All done with the sides... Welded and ground down. All that's left is to weld the grill in the back and fit it up to see if i can add a lip in the back, and if I can how long. Then filler, smoothing out, and paint.
Before I put it up I cleaned off all of the grinding dust and metal from the hood.
Last edited by dcp1992; Dec 1, 2016 at 12:08 AM. Reason: Fixed pictures