Jeep Grand Cherokee 1993-1998: How to Replace Door Speakers
Cool! You just got a set of really nice speakers for your birthday and want to do the installation yourself. Or maybe you upgraded your Jeep with a new head unit and the old speakers couldn't handle the power and are now fried. Whatever the reason, now you want to replace your speakers. Don't worry. It's a pretty simple and frustration-free job.
This article applies to the Jeep Grand Cherokee ZJ (1993-1998).
You've spent some good money on keeping your Jeep in good shape, keeping it looking rugged good or shiny sharp. Well, what looks good should sound good too, so drop in some new speakers and you are there—your ride, your road trips, and your dates are going to get better, or at least they'll sound better. Alright, let's get to it.

Materials Needed
- Phillips screwdriver
- Flat head screwdriver
- Wire strippers
- Soldering Kit
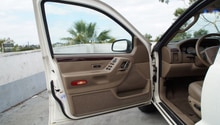
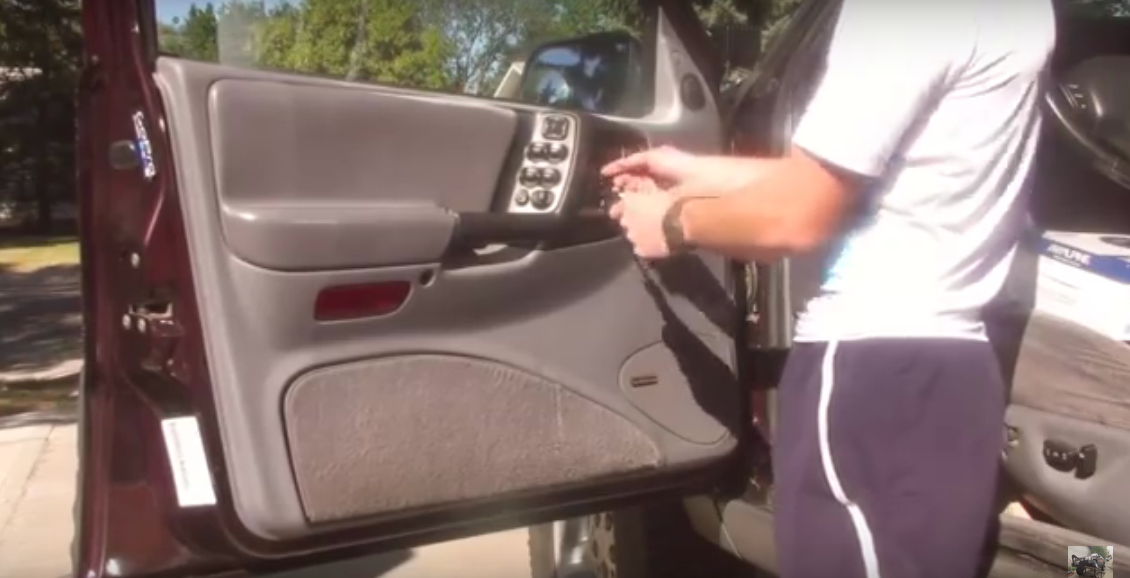
Step 1 – Remove the door panel
- Using a flat head screwdriver, remove the small cover behind the driver's side door handle. It should pop right out.
- Then remove the Phillips screw behind the panel you just removed.
- Remove two additional screw covers. One is located near the top of the door by the front door pillar, and the other is located below the armrest near the midway point.
- Then remove the two Phillips screws behind the covers you just removed.
- After you've removed the screws, grab the door handle and lift it up while at the same time pulling the panel toward you.
- Carefully work the door panel off, but be careful as there are wires inside that need to be detached.
- Unplug the top wires first.
- To detach the lower set of wires, use your flat head screwdriver to release the clip at the rear side of the plug and then pull them free.
- Pull the panel off and set it aside.
Step 2 – Remove and replace the speaker
- Using your Phillips screwdriver, remove the screws surrounding the factor speaker.
- Then pull the speaker free from the door.
- Cut the speaker wires using wire strippers.
- Using the wire strippers again, remove about a 3/4 inch of insulation (the plastic coating) from the speaker wire.
- Solder the wires to the new speaker using a soldering iron and solder. Make sure the polarity of the speaker wires match up to the polarity of the speaker.
- Mount the new speaker onto the door, and re-install the door panel.
- Repeat the installation for the passenger's side door speaker. The process is identical to the driver's side removal and installation.

Pro Tip
Mount the speaker backward to hold the speaker while soldering. Also, you can add the solder to the speaker wires first by heating the wire and soldering it at the same time. This will pre-load the wire with solder, making it easier to attach the wires to the speaker prongs. Make sure the wires are snug after attaching.
Featured Video: How to Replace Door Speakers
Related Discussions
- Wire Connection and Radio Install - CherokeeForum.com
- Speaker Wires & Tweeters - CherokeeForum.com