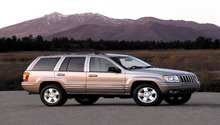
This article applies to the Jeep Grand Cherokee WJ (1999-2004).
Replacing the side view mirrors on the 1999-2004 Grand Cherokee WJ is fairly easy to do. However, unlike other cars, there are several additional steps to take before you can actually remove the mirrors, such as removing the door side panels and then disconnecting the power harnesses. Once that is done, you can remove the screws holding the mirrors on. Besides the standard mirrors, there are the optional power heated mirrors and the power heated mirrors with the auto-dim and memory function.
Materials Needed
Set of metric sockets
Torx T25 screwdriver
Phillips screwdriver
Putty knife
Masking tape
Small flat head screwdriver
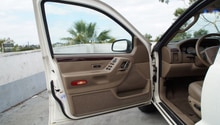
Step 1 – Remove side panels
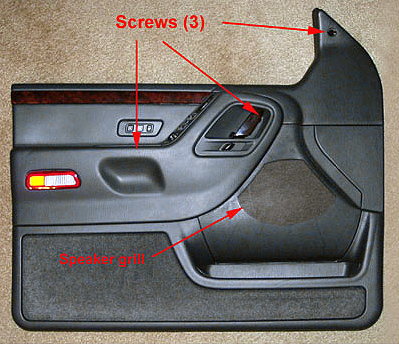
Remove the three door trim panel screws using a Phillips screwdriver on the inside of the pull-handle. Then use a T25 Torx driver behind the chrome handle on the last screw which is on the upper right top area, covered by a plastic trim plug. Use a small flat head screwdriver to pop the trim plug out. The door panel does not have to be removed completely. The right hand side of the door can be unsnapped from the fasteners to access the mirror bolts.
Figure 1. The door trim panel is held in place by three screws.
Step 2 – Remove fasteners and actuator rods
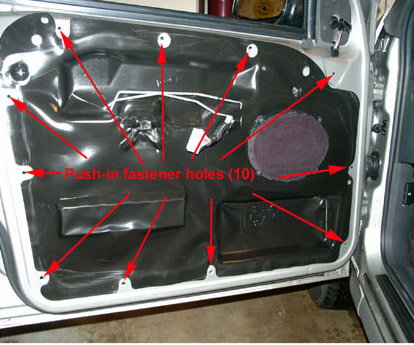
Use a plastic putty knife to pry the 10 fasteners loose and then work around the door trim to pop the remaining fasteners loose. You might want to use a rag to cover the putty knife to protect the panel. Next, while you are holding the loose trim panel in place, remove both of the metal actuator rods. These are held in place by yellow snap-on clips on the side of the metal rods. Then lift the rods straight up out of the sockets.
Figure 2. The 10 door trim fasteners hold the door panel in place.
Step 3 – Remove wiring connectors
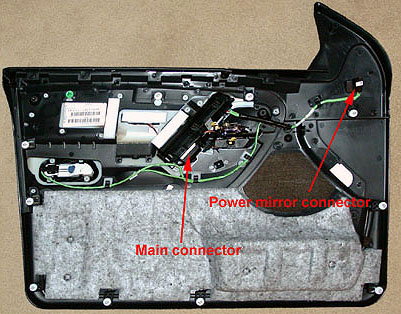
Remove the two wiring connectors. One is for the main connector and the other is for the power mirror connector. In addition, vehicles with the day/night mirrors also have a two-pin harness which has to be removed as well.
Figure 3. The main connector and the power mirror connector harnesses.
Step 4 – Remove 6x9" speaker
Remove the 6x9" speaker which is held in place by four Phillips screws.
Figure 4. The stock 6x9" speaker.
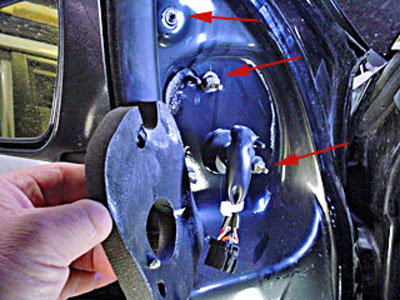
Step 5 – Disengage power mirror harness
First, disengage the power mirror harness. Then, disengage the foam seal that covers the mounting area.
Figure 5. This cutaway shows the foam seal and the other mirror connectors.
Step 6 – Remove nuts attaching mirror to door
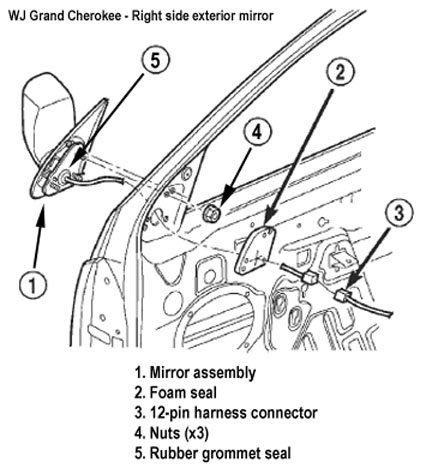
Remove the three nuts that hold on the mirror to the door.
Figure 6. The three bolts you'll need to remove.
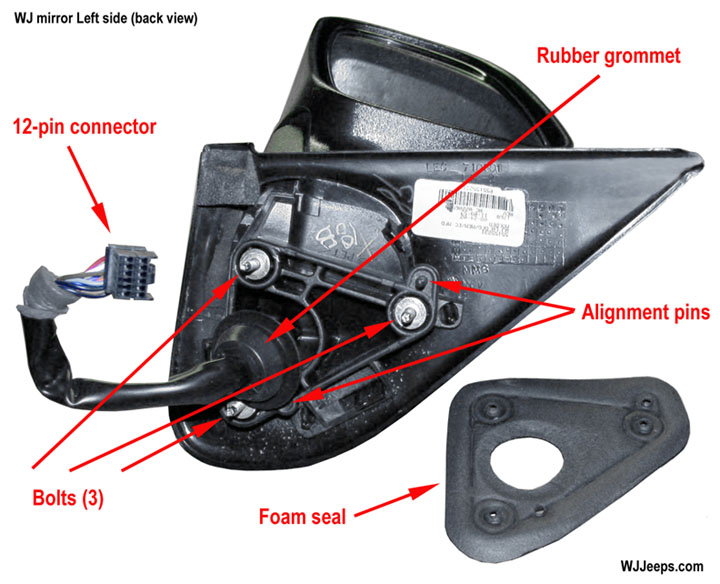
Step 7 – Separate mirror from door
Separate the mirror from the door, taking care to push the rubber gasket that holds the wires.
Figure 7. The back side of the mirror.
Step 8 – Installation is reverse of removal
Attach mirror to door with the three nuts.
Engage power mirror harness.
Put back door speaker using the four Phillips screws.
Attach the wire connectors back.
Put back the 10 door trim fastners and two actuator rods.
Put back the side panels.
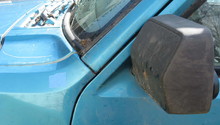
All done!
Figure 8. Get out there and enjoy a full range of vision again.
Featured Video: How To Install Replace Side Rear View Mirror Jeep Grand Cherokee 99-04
How to Replace Side Mirror
It’s a very common occurrence for a side mirror to be swiped off or become inoperable. Here are a few simple solutions to these problems.
This article applies to the Jeep Cherokee ...
How to Replace Power Window Regulator
Do you have a stuck window with impending rainstorm coming your way? Time to fix that window regulator.
This article applies to the Jeep Grand Cherokee WJ (1999-2004).
The ...
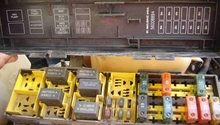
Fuse Box Diagram
Blown fuses might make for a literal "no go." If you suspect a blown fuse has afflicted your Jeep, it's time to learn all about the fuse box.
This article applies to the Jeep Cherokee WJ ...
Why is My Power Window Not Working?
Non-op windows are no fun, and can be a safety concern. If yours aren't working, then let's get it sorted.
This article applies to the Jeep Grand Cherokee ZJ and WJ ...
How to Replace Door Speakers
Maybe there is a hum or buzz coming from your speakers that's driving you crazy, and you just can't take it anymore. Yep, it's about time to improve that sound.
This article applies to ...
Recalls and Technical Service Bulletins
Read on to learn which recalls and technical service bulletins might have been issued for your 1984-2001 XJ Jeep Cherokee.
This article applies to the Jeep Cherokee XJ ...