Jeep Cherokee 1984-2001: Why is My Car Losing Power?
An engine needs fuel, air, ignition, and compression to create the power that moves the Jeep Cherokee down the road. When one of these is missing, no power or lower power will result. Finding out which and why is difficult, but with the right diagnostic process, the problem will soon be isolated.
This article applies to the Jeep Cherokee XJ (1984-2001).
When your engine suddenly begins to feel sluggish and cut out, it can get frustrating to think of the many things that can cause the problem. It's best to approach problems like these with a diagnostic strategy that produces pass/fail results. These results will let you move onto testing the next possible part until a particular one is narrowed down as the cause. Read on to learn how to diagnose a loss of power issue in the Jeep Cherokee.

Materials Needed
- Scan tool
- Flashlight
- Safety glasses
- Rubber gloves
- Fuel pressure tester
- Ignition system spark tester
- Ohm meter
- Mechanics stethoscope
- Injector noid light
- Vacuum gauge
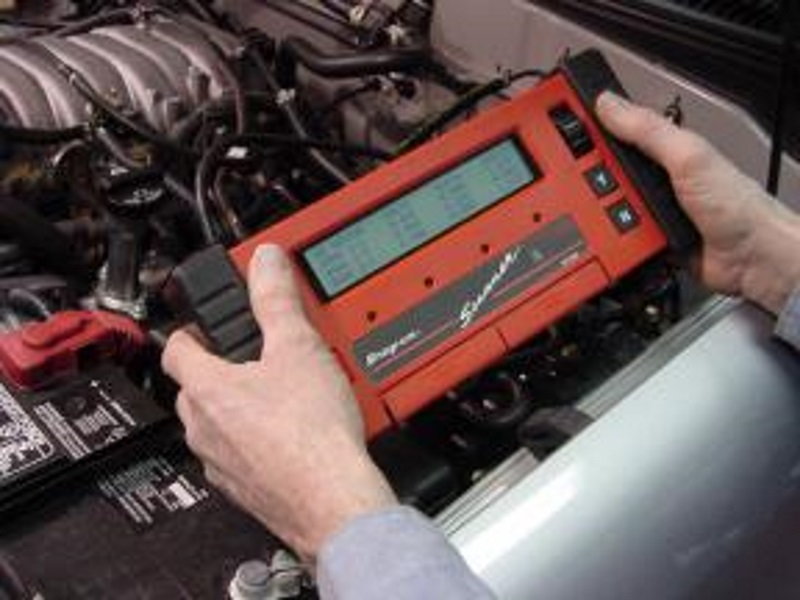
Start your diagnostic process by checking for OBD-II trouble codes. With the code number, you can move straight to the affected component or system.
Step 1 – Perform a visual inspection/leak test
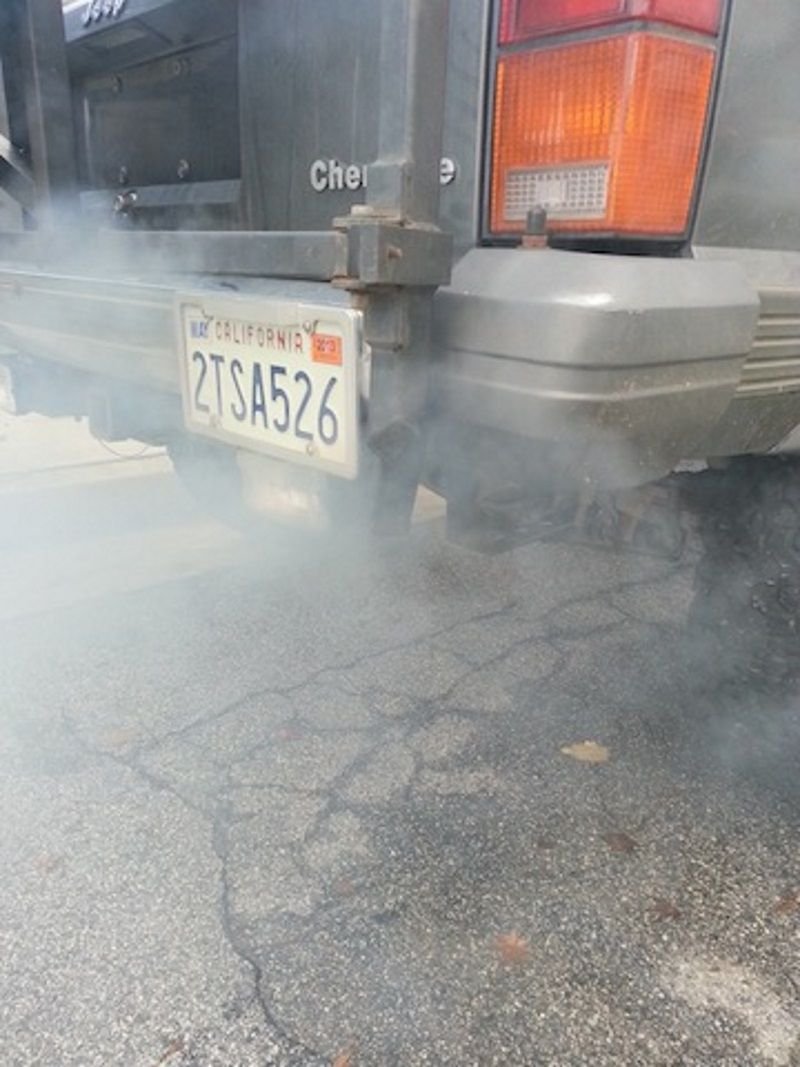
Start the engine unless there is a problem causing it to overheat quickly, the low oil light is illuminated, or a knocking sound is heard that increases with engine RPM. If the battery light is illuminated, try trickle charging the battery for at least 12 hours. Note any smoke emitting from the tailpipe and its color. Problems are present if:
- The exhaust is blue: This is indicative of oil burning in the combustion chamber due to internal engine damage, such as piston ring failure. Valve stem seals can leak, which emits blue smoke for a moment after the throttle is snapped.
- The exhaust is white: Indicative of coolant burning in the combustion chamber. Head gasket failures and cracked cylinder heads/blocks can create this condition.
- The exhaust is dark brown/black: Excessive fuel is being used. The causes for this are an inoperative ignition system, such as a distributor, spark plug, or spark plug wire. A stuck open fuel injector or a high fuel system pressure can create black smoke as well.
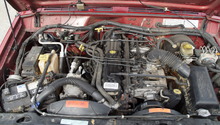
Now move to the engine bay. Note any times when an erratic low or high idle is present.
- An erratic (up and down) idle is usually present when there's a misfire.
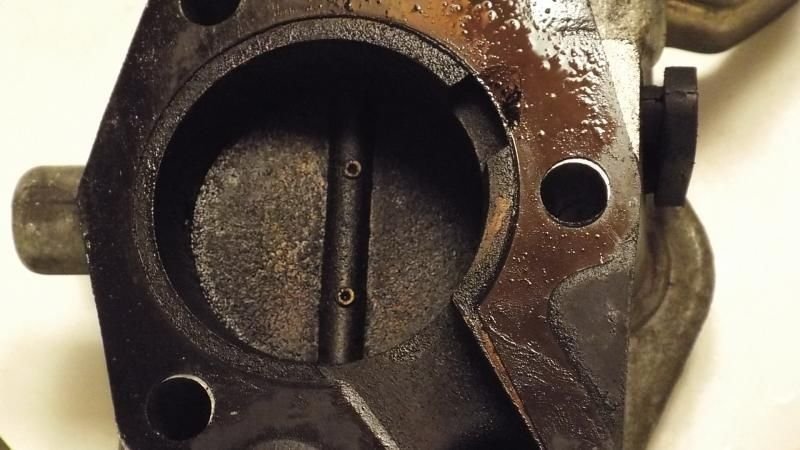
- A low idle may be present because of a throttle body with carbon buildup or an intake/exhaust restriction. A poorly operating ignition/fuel system may also cause this.
- A high idle is most often caused by excessive, un-metered airflow into the combustion chamber. Vacuum leaks and electronic errors within the throttle position sensor/manifold pressure sensor may create a high idle as well.
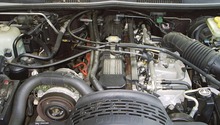
Look around the engine bay for any loose electrical connectors and/or vacuum lines. Make sure the intake piping is fully connected and the clamps are tight. Intake system leaks can be heard as "whistling" as the engine RPM vary. Exhaust system leaks are noticeable from the increased noise level and puffing sound created as the exhaust moves past the manifold.
Spraying propane around the intake system is a quick check for vacuum leaks. Spray the propane around the intake piping, intake manifold, and vacuum lines. If the engine RPM increases, a vacuum leak is present.
Step 2 – Check the ignition system
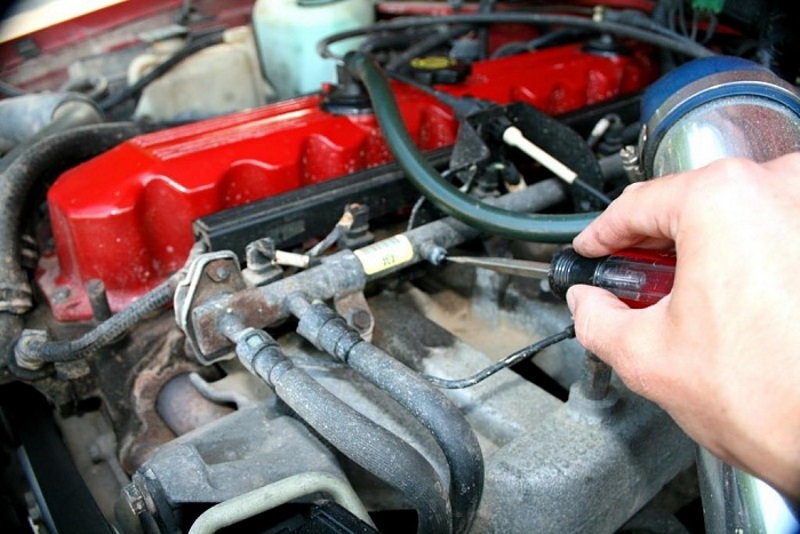
Place the spark tester into the end of the spark plug wire or coil pack nearest to the spark plug. Attach the tester clamp to a good ground. Start the engine and observe the spark. It should continuously arc on and off; if it doesn't, there is a problem with the distributor, coil packs, or spark plug wires. The spark plug wires can be quickly tested by measuring the resistance with an ohm meter. The average spark plug wire measures close to 1,500 ohms. Wires can be moved to another cylinder to see if the problem follows.
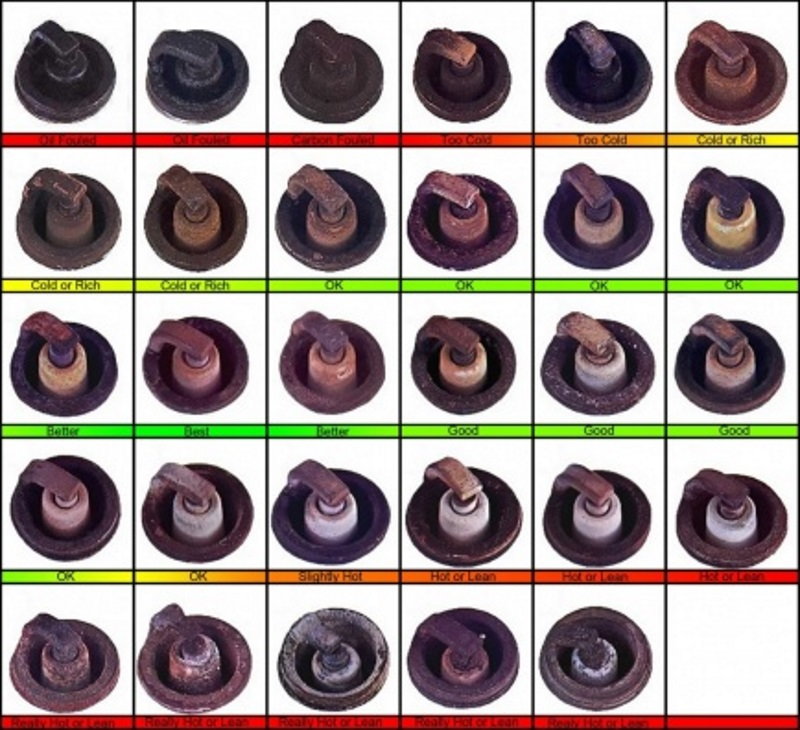
Remove the spark plugs with a 5/8" spark plug socket. Note their color and condition (refer to Figure 3). This will tell you about the engine's air fuel mixture.
- If the plugs are dark blue/wet, oil is burning inside the combustion chamber.
- If they are black, a rich condition is present.
- If they are white, a lean condition is present.
Step 3 – Check the fuel system
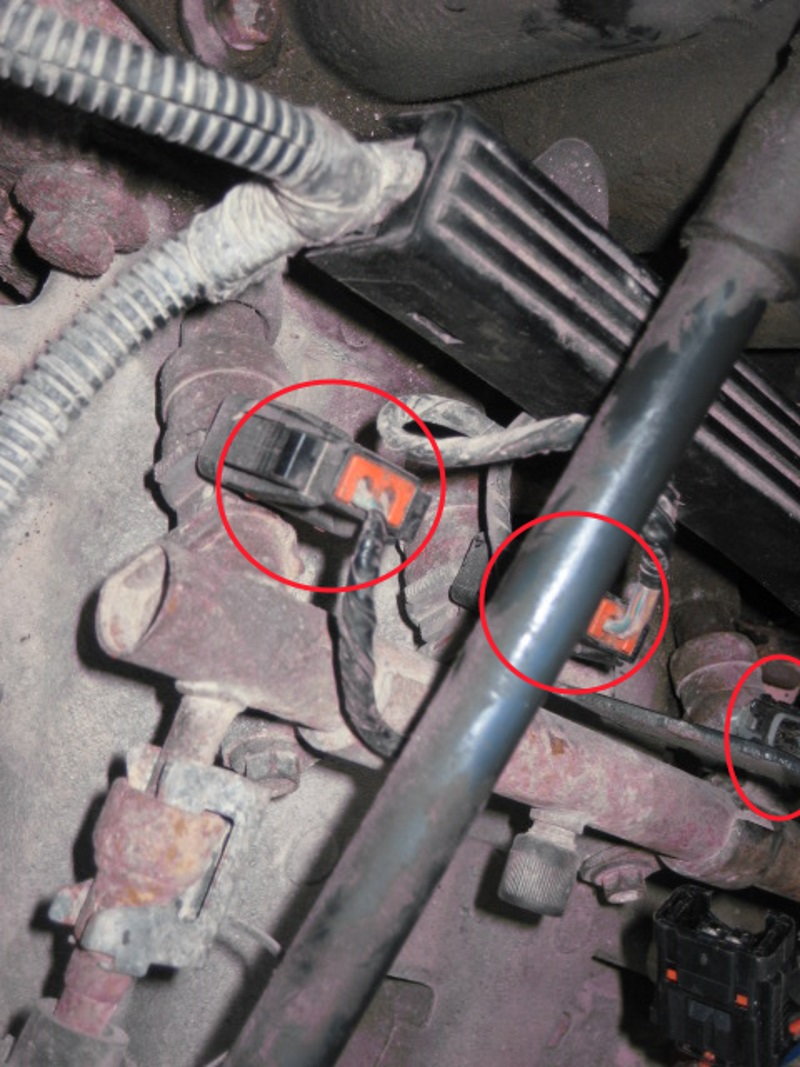
Begin by disconnecting the injector's electrical connector plugs. Insert a noid light into the injector's electrical connector plug. Start the engine and watch for a blinking light. If the light does not blink, there is a problem with the wiring between the fuel injector and computer, or the computer is not signaling the injector to open.
A mechanic's stethoscope can be used to listen for the clicking that's created when the injector opens and closes. Place the stethoscope against the body of the injector while the engine is running. If no clicking is present or it's not continuous, the injector will need to be replaced.
The injectors may be operating, but there may not be enough fuel available to them. This is when fuel pressure testing is needed. First, remove the pressure from the system. Remove the fuel pump relay from the underhood fuse box. Use the diagram on the bottom side of the fuse box cover for its location. Start the engine and wait for it to stall. Connect the tester to the fuel rails Schrader valve. Install the relay and start the engine. Fuel pressure should remain between 40 to 55 psi.
It's also possible for there to be adequate pressure but low fuel volume. This will only create problems when the engine is under load. If your pressure tester has an open/close port, a hose can be ran into a large container. The return line coming off the fuel pressure regulator can be used as well. As a rule of thumb, 3/4 to 1-quart of fuel should flow every 30 seconds.
Step 4 – Check for exhaust restriction and perform vacuum test
Hook a vacuum gauge to a port on the intake piping or intake manifold. Start the engine and observe the reading. If the gauge slowly drops from the initial reading, there may be an exhaust restriction. Also, record the reading with the RPM held at 2,000 and see if the reading lowers faster.
- At idle if the reading oscillates back and forth 4" to 8", there may be a burned or constantly leaking valve. If the reading is low and steady, the engine may have late valve or ignition timing.
- While snapping the throttle if the reading drops to zero then only raises to 20 psi or below, the engine may have worn piston rings.
Step 5 – Use a scan tool to watch live data
Many sensors can be watched in real time with live data capture. These sensors include the manifold pressure sensor, intake air temperature, and oxygen sensors, among others.
Map sensor voltage levels should lower near zero volts when engine vacuum is at its highest. The level should be close to five volts when snapped to full throttle.
Intake air temperature sensor voltage levels range from zero to five volts as well, and will drop as the temperature rises. An intake air temp of 100 degrees Fahrenheit should equal about two volts.
Oxygen sensors operate at a zero to one volt scale. When the engine reaches closed loop (operating temp), the sensors will oscillate between 200 to 800 milli-volts, indicating a properly reading sensor. A sensor that reads at a higher milli-volt level indicates a higher level of fuel in the exhaust system.
Related Discussions
- Loss of Power - CherokeeForum.com
- Losing Power When Turning - CherokeeForum.com
- Engine Sputtering - CherokeeForum.com