Jeep Cherokee 1984-2001: Why is My Brake Light On?
Your Jeep Cherokee's brake light goes on to alert you of one of two things: either your parking brake are on, or something is wrong with your brakes. This is not something to be ignored, so read on to learn the causes.
This article applies to the Jeep Cherokee XJ (1984-2001).
The brake light is triggered whenever the parking brake is implemented, or if there is a problem with the brake system. If you're only concerned about the brake light, start with Step 1, but if you're noticing problems with the brake system, start with Step 2. It's always recommended that you don't drive your Jeep Cherokee until you figure out the reason for the brake light to go on. Continue reading to learn what you need to do when this occurs.
Step 1 – Check parking brake
Make sure it's fully disengaged.
Sometimes the E-brake sensor can get stuck when it isn't all the way down. Start by pushing the E-brake down as far as it can go. If that doesn't work you'll need to take a look at the switch under the handle. You'll need to remove the center console, which is held down by several screws. Once it's out of the way, there should be enough of an opening to check the switch. If it's dirty or corroded you'll need to replace it.
If the parking brake is not locked but the light is still on, continue to Step 2.
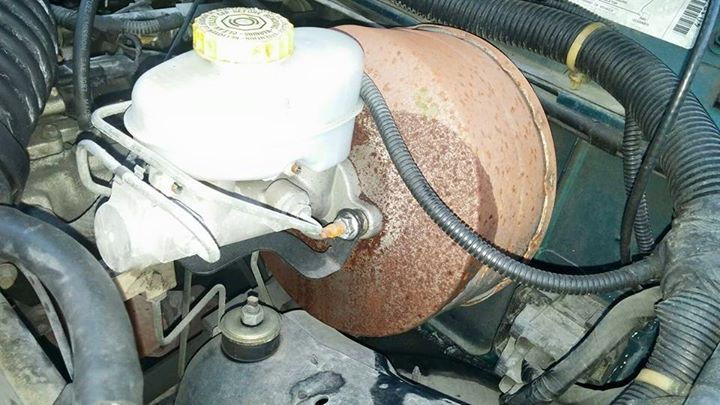
Step 2 – Check brake fluid
See if the fluid is low.
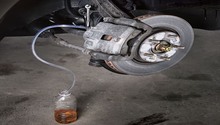
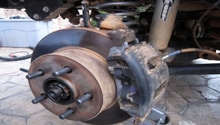
If there is nothing wrong with the E-brake, then the problem is with the brake system itself. Check the brake fluid level in the master cylinder. Is it low? If so then get underneath the Jeep and start looking for leaks. Low fluid levels can be caused by either leaks or a backup somewhere in the system. If there are leaks at the master cylinder or calipers, you should replace them. However, if there is a leak in the brake line you should take it to a brake specialist immediately. It's not simple to repair a brake line and it requires special tools and equipment.
If the brake fluid is topped off, then proceed to Step 3.
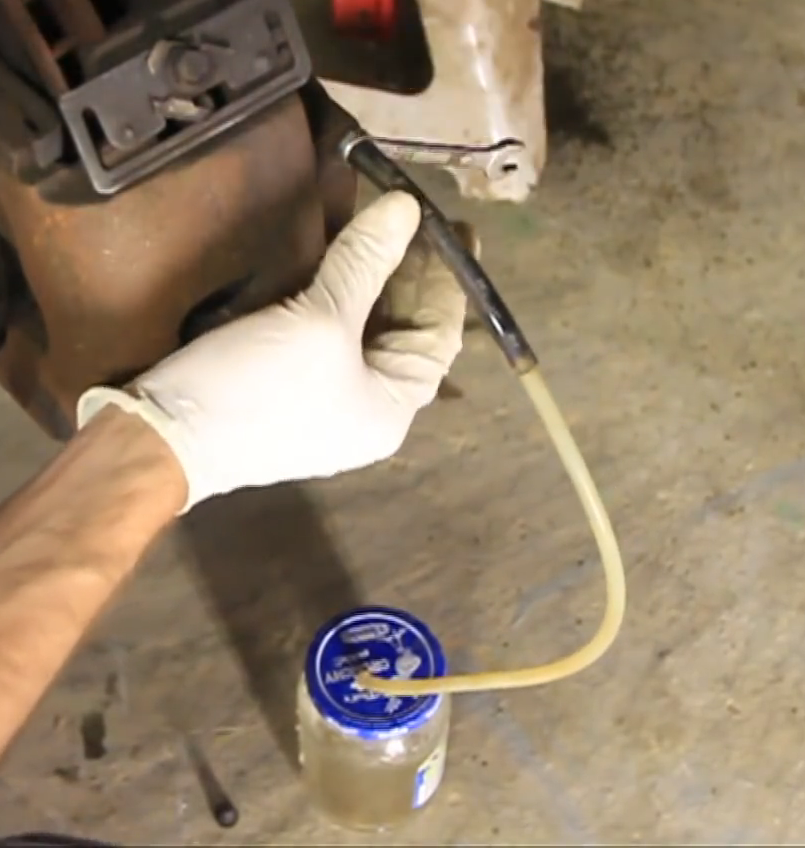
Step 3 – Bleed brakes
Release that pent up air.
Pump and hold the brakes for a little bit. Does it feel like it's getting harder or softer? If so, then you likely have air bubbles in the system. These can often be caused when the master cylinder is allowed to run empty or when changing the brake fluid. If this is the cause of your problem, then you'll need to bleed the brakes. Use a clear plastic hose and container to the bleeder screw so you can watch for air bubbles. Then keep pumping fluid out until you stop seeing air bubbles come out.
If the brakes have been bled and the light is still on, then go on to Step 4.
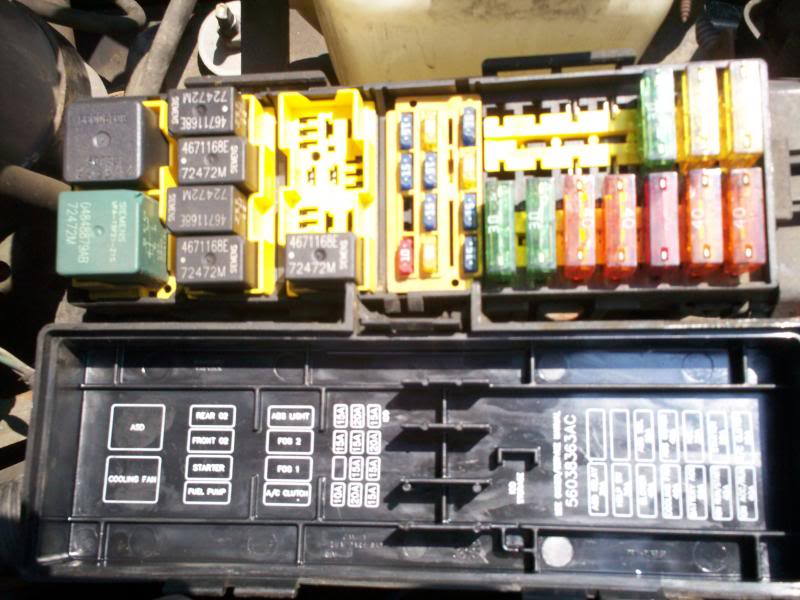
Step 4 – Pull fuse
This could all stem from a bad fuse.
If nothing else works then it could be that the light itself is just stuck. Try removing the brake light sensor fuse in the engine compartment's fuse box, then wait a little bit, and finally reinsert it. If you've recently done modifications to your brakes, it could also trigger the light. Sometimes pulling the ABS fuse will turn off the light. If none of this helps, try taking it to the dealership to have them reset it for you.
Related Discussions
- Brake Light on Dash won't Turn Off? - CherokeeForum.com
- Bendix ABS Removed but Brake Light On - CherokeeForum.com
- "Brake" Indicator Light Randomly Came On, and Won't Turn Off - CherokeeForum.com
- Brake Light Fuse Location? 91 Cherokee - CherokeeForum.com
- Brake Light no Fluid - CherokeeForum.com