Jeep Cherokee XJ 1984-1996: How to Replace Brake Fluid
Replacing the brake fluid in your Jeep Cherokee restores brake pedal feel and response. Here's how to do it yourself.
This article applies to the Jeep Cherokee XJ (1984-1996).
If you've never had your Jeep Cherokee's brake fluid changed, now is as good a time to learn how it's done. Changing brake fluid and bleeding the brakes is as basic of a procedure as changing the engine oil. It's good to keep fresh brake fluid in your Cherokee because over time the brake fluid will absorb moisture. This results in brake fade, which makes the brakes feel spongy and unresponsive. Keep reading to learn how to change your own brake fluid and ensure your car stops as soon as you want it to.
Materials Needed
- DOT 3, 4, or 5.1 brake fluid
- Turkey baster
- Clear container
- Clear plastic hose
- Box-ended wrench
- Lug nut wrench or tire iron
- Towels
- Jack
- Jack stands
Note
Most brake fluid you find at the auto parts store will work, but do not use DOT 5 fluid. It's different from DOT 5.1 and is incompatible with ABS brakes.
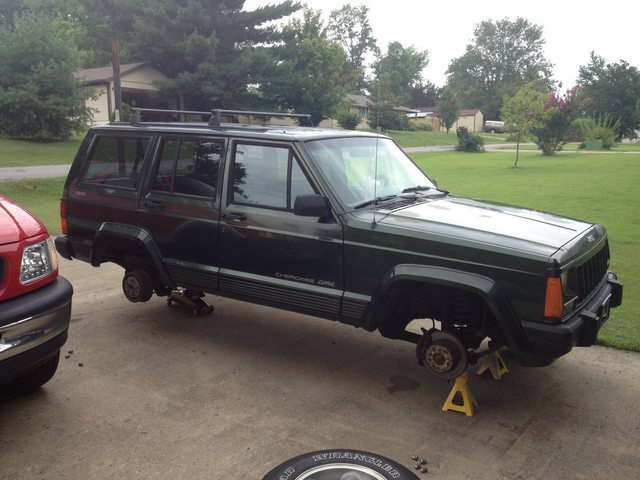
Step 1 – Remove wheels
Loosen the lug nuts and lift your Cherokee with a jack. Then carefully set it down on four jack stands. Use your lug nut wrench or tire iron to remove the wheels.
(Related Article: How to Jack Up Your Car - CherokeeForum.com)
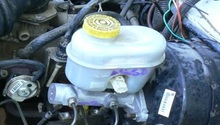
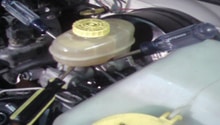
Step 2 – Replace brake fluid in the master cylinder
Open the hood and unscrew the cap on the master cylinder. Use a turkey baster to suck out as much of the old brake fluid as you can without emptying the master cylinder completely. You may want to set towels on the sides of the hood because brake fluid will strip the paint off your Jeep. Now fill your master cylinder with new brake fluid until it's full. Don't forget to set the cap back on, so you don't let too much moisture into the master cylinder.

Pro Tip
Never let the master cylinder completely drain of fluid or you'll introduce air into the system, which will need to be bled out.
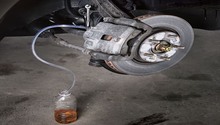
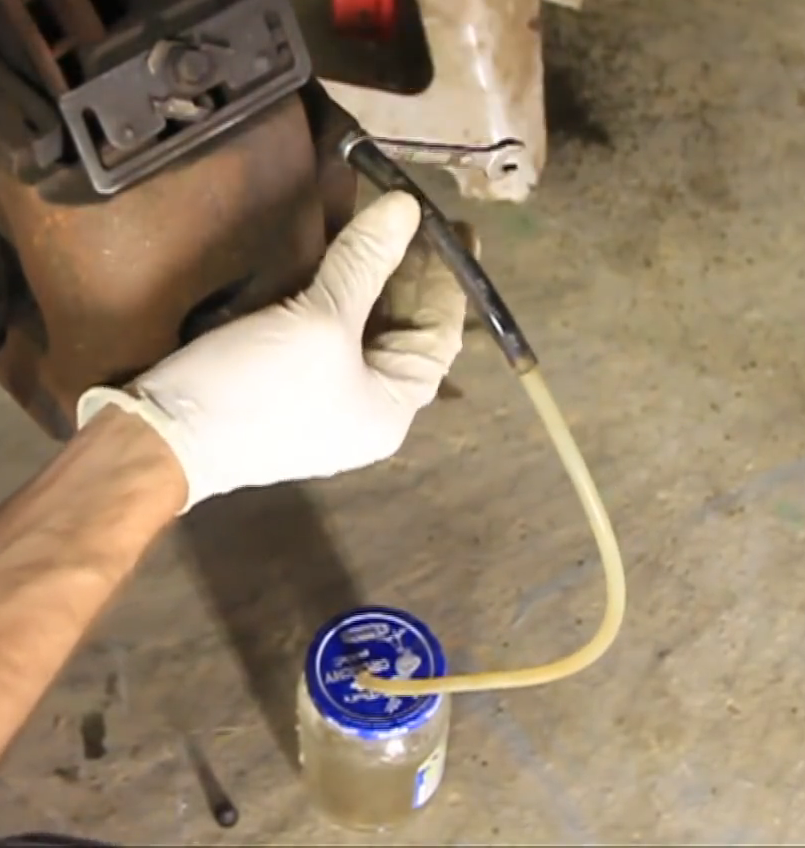
Step 3 – Bleed brakes
This is the part where you'll need a friend to help you out. Start at the brake farthest from the master cylinder. Put your box-ended wrench around the bleeder screw, then attach a clear plastic hose that goes into a clear container. Have your friend pump the brake pedal five times, holding the pedal down on the fifth time. Crack open the bleeder screw and watch the fluid pour out. Tighten the screw before you let go of the brake pedal or it'll suck air back into the system. Keep pumping and holding the brake pedal until you see clear fluid starting to pour out. Then, move on to the next brake to repeat the same process all over again. The typical order is right rear, left rear, right front, then left front. Don't forget to stop every once in a while to top off the master cylinder. Once you've bled all four brakes, you're done.
Pro Tip
Make sure you don't push the brake pedal all the way down. If pressed too far, the rubber seals will tear and brake fluid will start to leak.
Featured Video: How to Bleed Your Brakes
Related Discussions
- How to Change Brake Pads and Fluid - CherokeeForum.com
- Fluid Level in Brake Reservoir - Behaving Badly - CherokeeForum.com