231 AA HD SYE install
 07-25-2008, 05:43 PM
#1
Seasoned Member
Thread Starter
Join Date: Apr 2008
Location: Grand Junction, Colorado
Posts: 377
Likes: 0
Received 2 Likes
on
1 Post
Year: 1999
Model: Cherokee
Engine: 4.0L
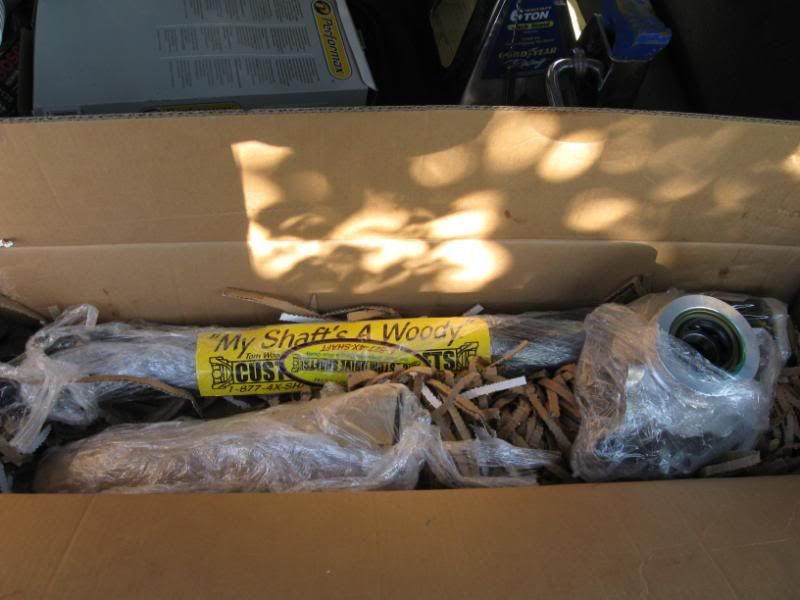
Okay so this morning I got up and got to working on my jeep around 8:00. I started with the AA HD SYE kit that I bought from 4x4groupbuy.com. I was a little nervous about attempting the SYE by myself but figured what the hell I might as well try it. So this is what I started with. NP241 HD SYE from AA and a Tom Woods DS.
So I started by removing the driveshafts like the instructions said.
Then from there I removed the oil slinger (didn't have a long enough puller) so I used a HUGE flat screw driver and a BFH (if you don't know what that is PM me). Next I removed the seal, and then proceeded to remove the lockring with my new HD lockring pliers. I messed with that for a couple of minutes (10 or so) and then it came right off. After that I proceeded to tackle the large snap ring that held on the tailshaft housing. Oh yeah I removed the Speedo sensor before going after the Oil Slinger.
Anyways, so after snapping the 2 pairs of snapring pliers tips I had to travel to the local Napa Autoparts (only 1 in my town) and bought a better set. I didn't have the $90 to spend on the HD ones but the pair I got was a selectable inner or outer snapring set ($30). Got back and attempted them and after like 5 minutes of adjusting the tips out on the pliers I got it.
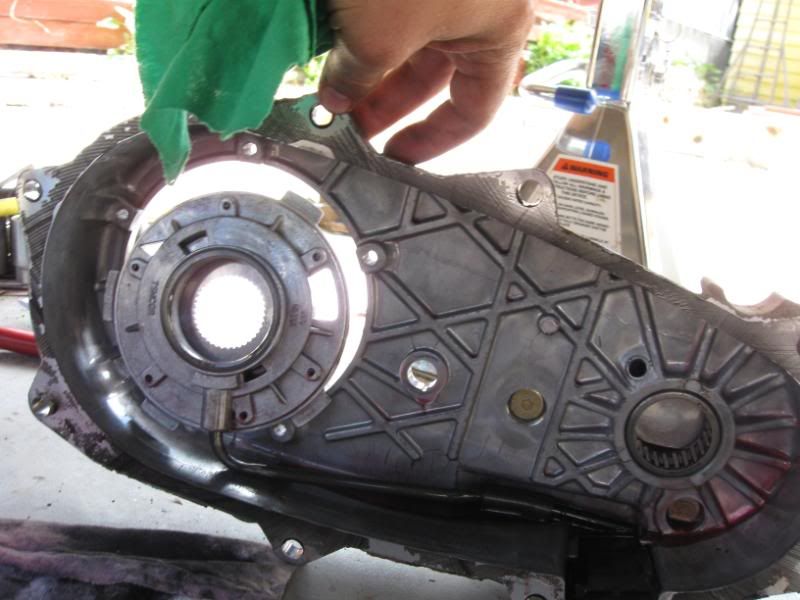
Okay so then I took the tailshaft housing off and pulled 2 more sets of lockrings and then unbolted the 10mm 12point bolt and the rest of the case uses 15mm sockets. By the way I used Air for unbolting everything except the drivelines.
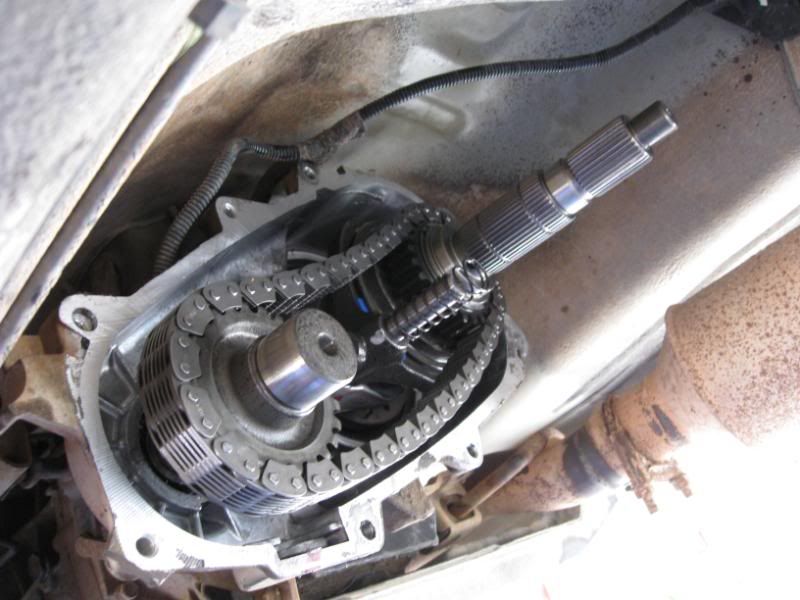
So this is what I was down to.
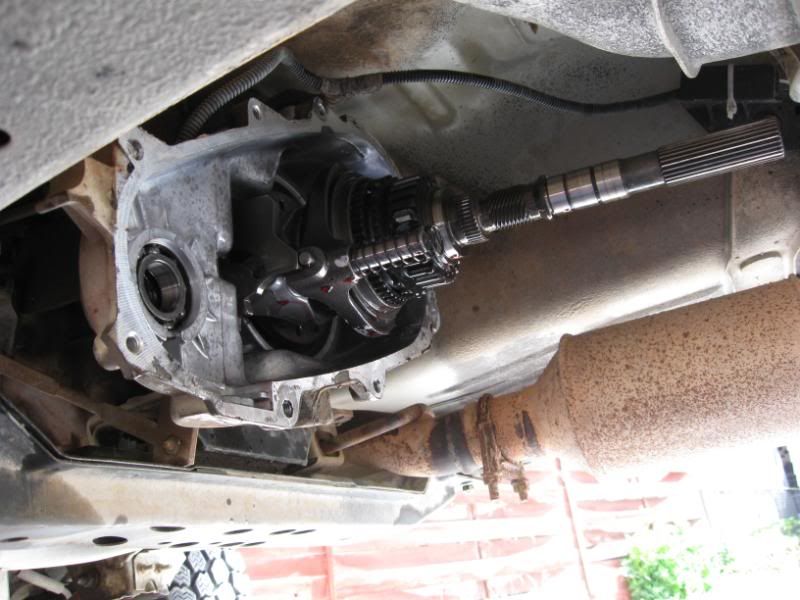
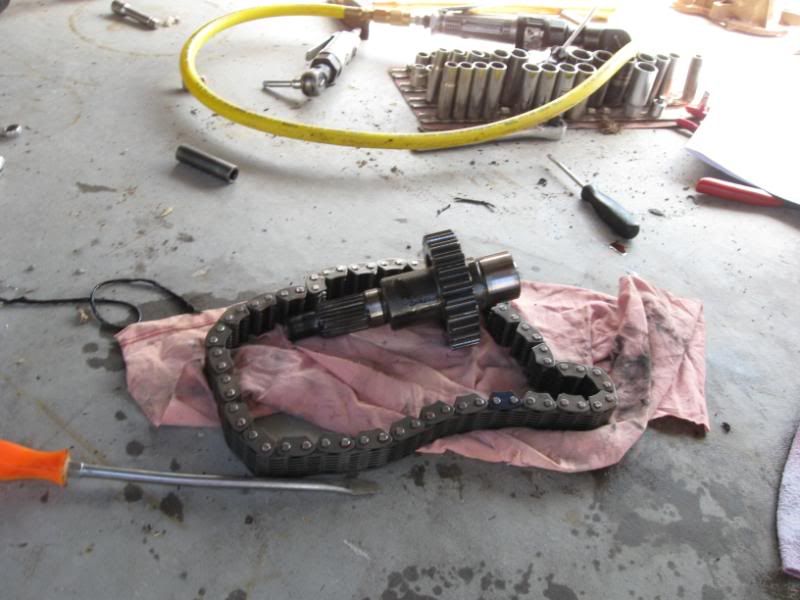
After removing the case half and inspecting the O-ring for the pump I layed it to the side. Next you pull out the front output shaft and tilt it towards the passenger side to unhook the chain. Then I inspected that.
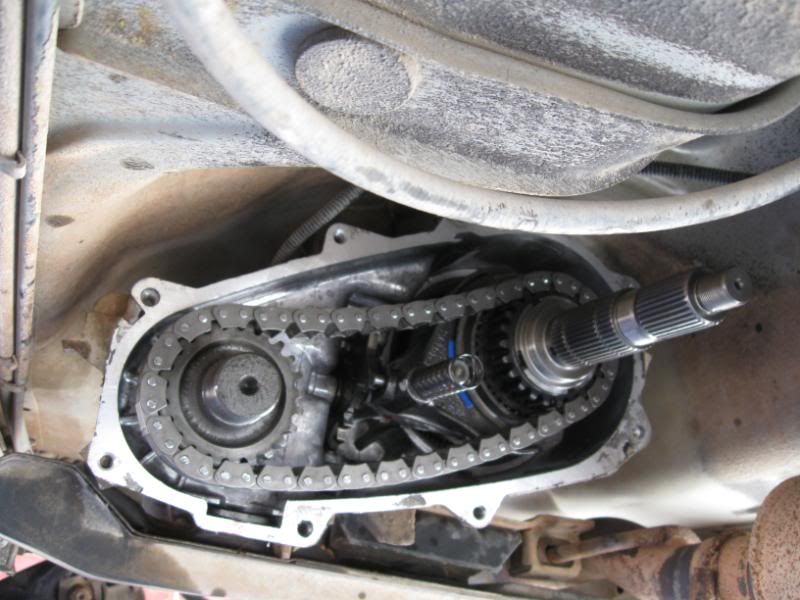
Then I pulled the stock slipyoke shaft and removed the 1 lockring, and the 2 gears that it held on.
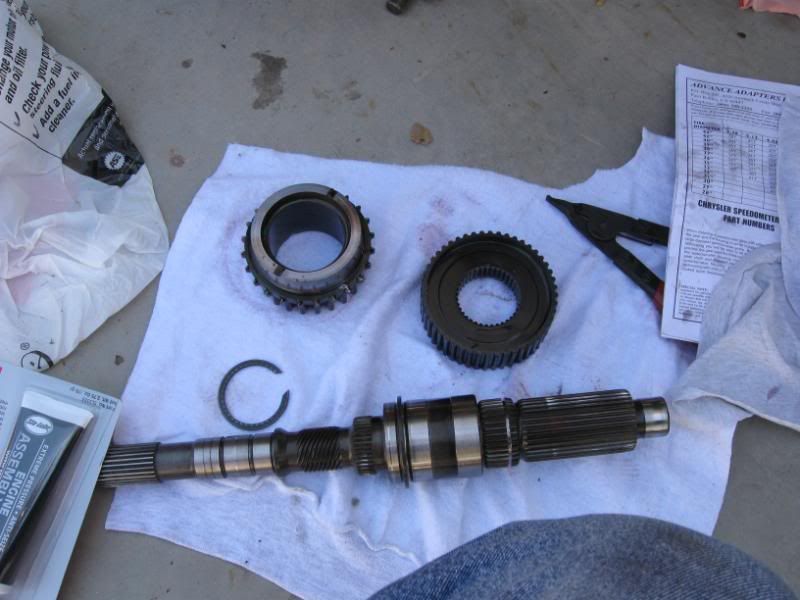
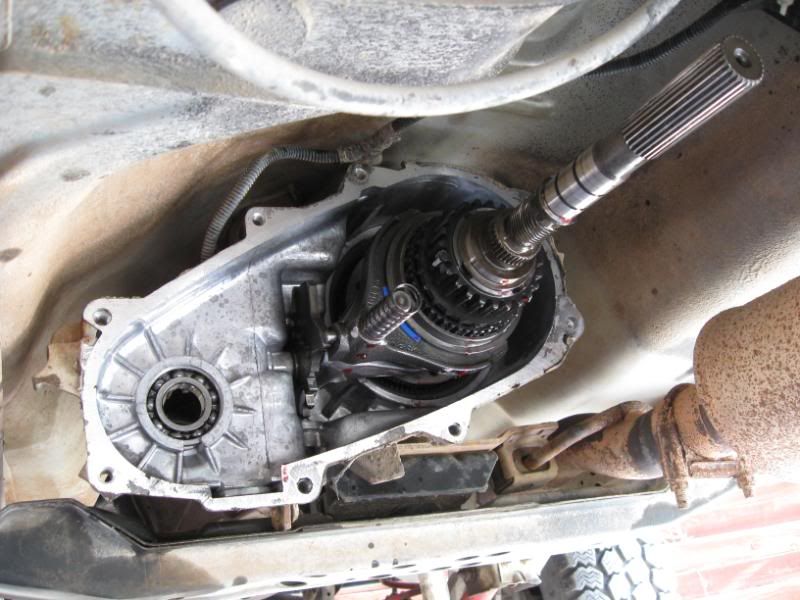
Then using some assembly lube I transfered the gears to the new output shaft and stuck it back into place being carefull not to be over aggressive.
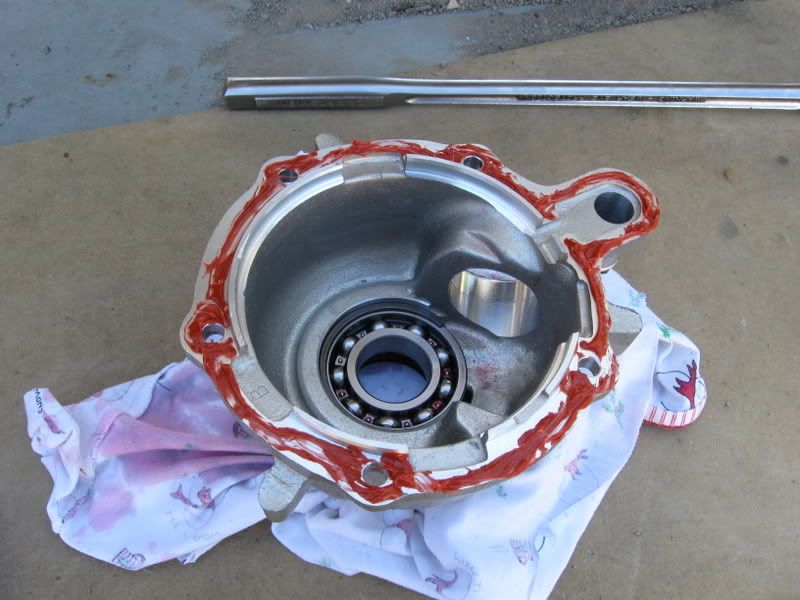
After that I cleaned up the case half and the oil pump and layed a layer of orange RTV arount the back half of the case.
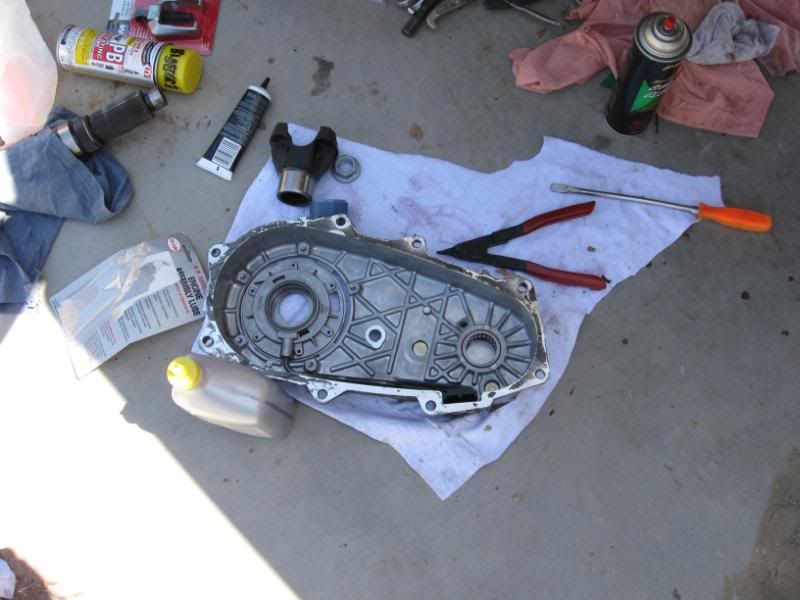
Next step was to put the case half back together and torque all of the bolts to 25ft lbs. So I did that and then went to the next step.
The next step after putting the case half back on was to clean the surfaces of the pump area and make sure that the new tailshaft housing was clean. After that I installed the first lockring that goes between the pump and the speedo gear. Then the speedo gear goes on, with the next lock ring holding it in place. There was one more lockring in the package that was unused because the bearing in the tailshaft housing was already installed.
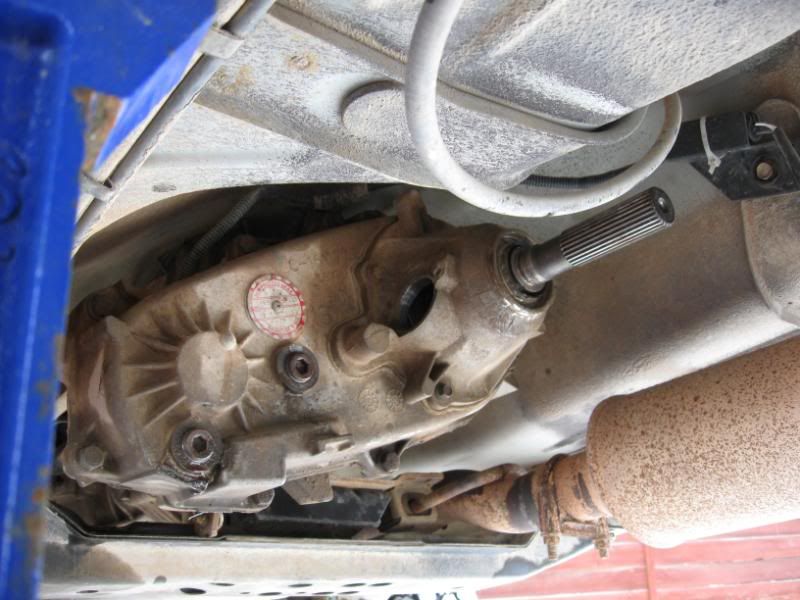
Next a nice bead of the RTV was applied to the tailshaft housing. After making sure that the pump was in the correct position, I pre-lubed the bearing inside the housing along with the shaft, then slid the housing over the shaft and tourqed the 10mm bolts to 25ft lbs.
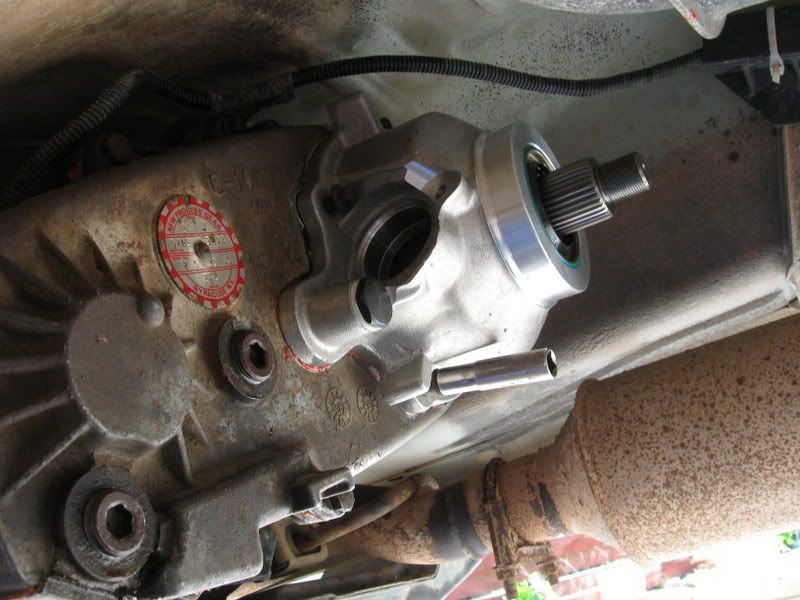
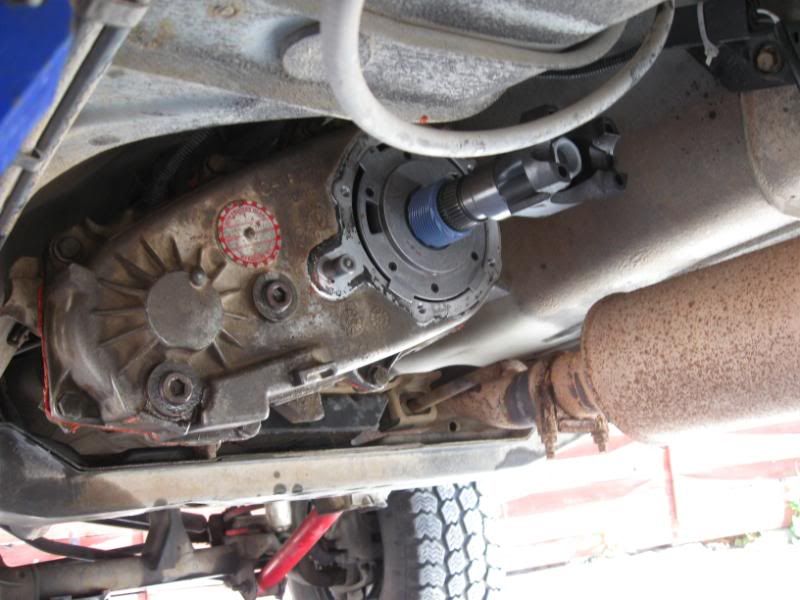
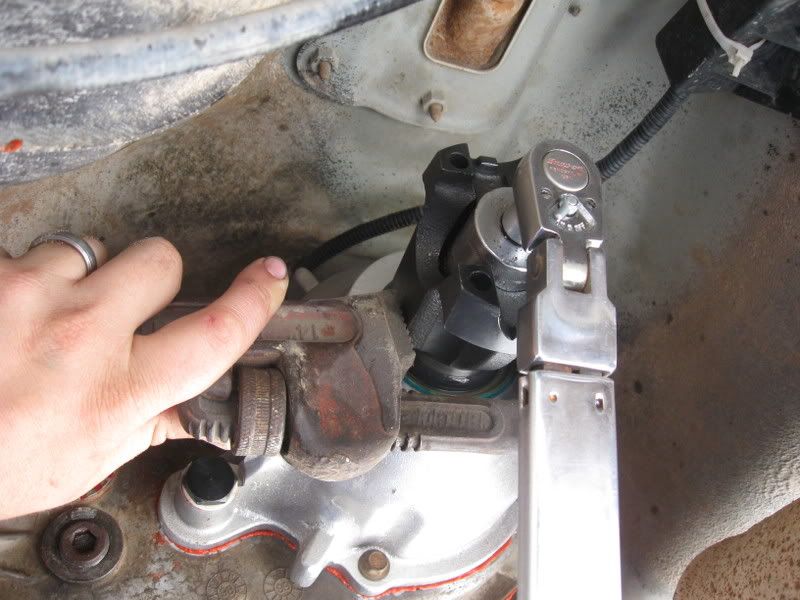
Next order of buisness was to put the supplied yoke o-rings on along with the yoke's. So after lubing the 2 rubber washers (large one on the rear, small on the front) I slid those into place. Then the yoke went on and recieved a hefty 150ft lbs of tourqing.
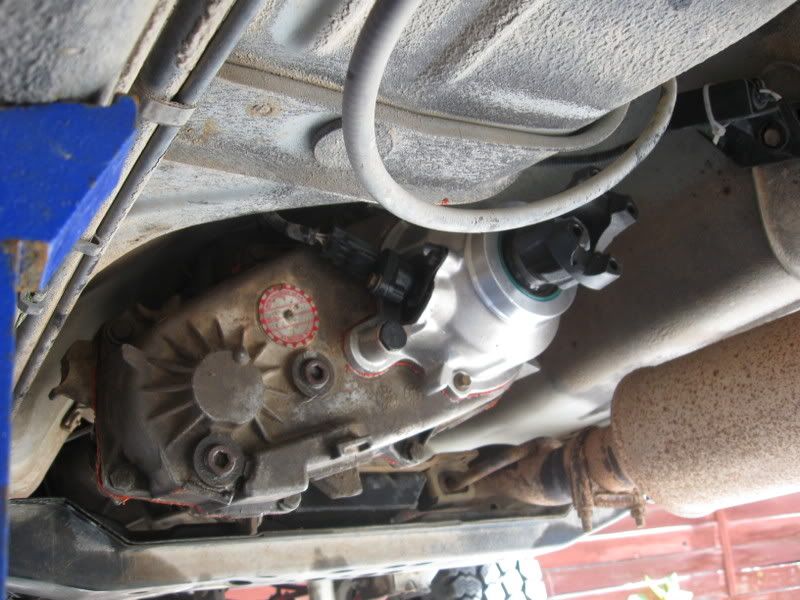
All that is left to do is add the speed sensor and hook up the connection, also reattach the lever selector, fill with fluid, and attach driveshafts. All I did was install the speedsensor and plug it back in.

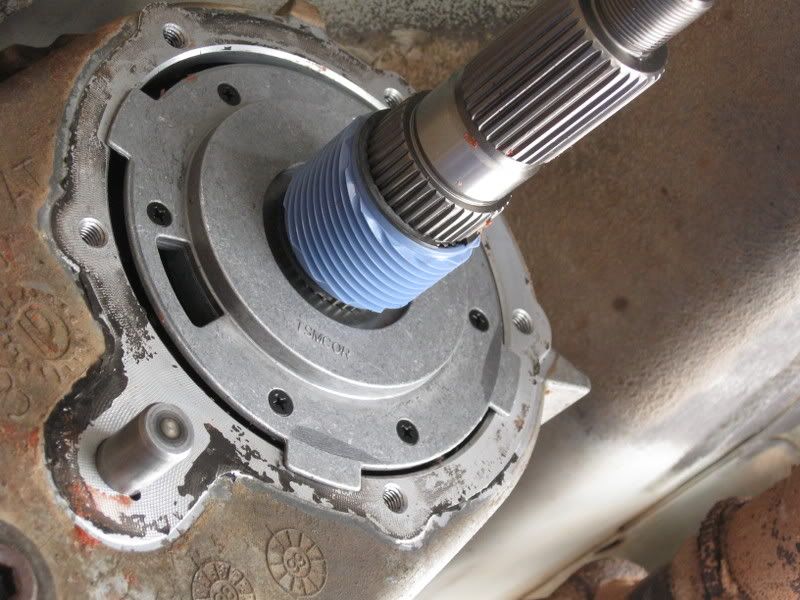
After having the SYE installed for a little over a month now every thing is going well. When I installed the star washer it said to let the washer be pushed on by the yoke when you tighten it down. This method ended up making the splines shave off some of the washer, because it wasn't exactly lined up right. If I had to do it all over again I would have put the washer inside the yoke to match up the splines that way it would seal up right. I ended up pulling the yoke to find that the washer was worn out on one side already.
So after the slight leak for a little over a month of driving. Roughly 400 miles, of moderate driving some at 60mph plus and mostly back and for the work only about a mile away, I pulled the yoke off and used some RTV to seal the gasket from both sides inside of the yoke. That was on thursday the 24th of july. So far it seems to be fine. If I have to get a new washer I will still use the RTV for insurance.
I might as well try it. So this is what I started with. NP241 HD SYE from AA and a Tom Woods DS.So I started by removing the driveshafts like the instructions said.
Then from there I removed the oil slinger (didn't have a long enough puller) so I used a HUGE flat screw driver and a BFH (if you don't know what that is PM me). Next I removed the seal, and then proceeded to remove the lockring with my new HD lockring pliers. I messed with that for a couple of minutes (10 or so) and then it came right off. After that I proceeded to tackle the large snap ring that held on the tailshaft housing. Oh yeah I removed the Speedo sensor before going after the Oil Slinger.
Anyways, so after snapping the 2 pairs of snapring pliers tips I had to travel to the local Napa Autoparts (only 1 in my town) and bought a better set. I didn't have the $90 to spend on the HD ones but the pair I got was a selectable inner or outer snapring set ($30). Got back and attempted them and after like 5 minutes of adjusting the tips out on the pliers I got it.
Okay so then I took the tailshaft housing off and pulled 2 more sets of lockrings and then unbolted the 10mm 12point bolt and the rest of the case uses 15mm sockets. By the way I used Air for unbolting everything except the drivelines.
So this is what I was down to.
After removing the case half and inspecting the O-ring for the pump I layed it to the side. Next you pull out the front output shaft and tilt it towards the passenger side to unhook the chain. Then I inspected that.
Then I pulled the stock slipyoke shaft and removed the 1 lockring, and the 2 gears that it held on.
Then using some assembly lube I transfered the gears to the new output shaft and stuck it back into place being carefull not to be over aggressive.
After that I cleaned up the case half and the oil pump and layed a layer of orange RTV arount the back half of the case.
Next step was to put the case half back together and torque all of the bolts to 25ft lbs. So I did that and then went to the next step.
The next step after putting the case half back on was to clean the surfaces of the pump area and make sure that the new tailshaft housing was clean. After that I installed the first lockring that goes between the pump and the speedo gear. Then the speedo gear goes on, with the next lock ring holding it in place. There was one more lockring in the package that was unused because the bearing in the tailshaft housing was already installed.
Next a nice bead of the RTV was applied to the tailshaft housing. After making sure that the pump was in the correct position, I pre-lubed the bearing inside the housing along with the shaft, then slid the housing over the shaft and tourqed the 10mm bolts to 25ft lbs.
Next order of buisness was to put the supplied yoke o-rings on along with the yoke's. So after lubing the 2 rubber washers (large one on the rear, small on the front) I slid those into place. Then the yoke went on and recieved a hefty 150ft lbs of tourqing.
All that is left to do is add the speed sensor and hook up the connection, also reattach the lever selector, fill with fluid, and attach driveshafts. All I did was install the speedsensor and plug it back in.
After having the SYE installed for a little over a month now every thing is going well. When I installed the star washer it said to let the washer be pushed on by the yoke when you tighten it down. This method ended up making the splines shave off some of the washer, because it wasn't exactly lined up right. If I had to do it all over again I would have put the washer inside the yoke to match up the splines that way it would seal up right. I ended up pulling the yoke to find that the washer was worn out on one side already.
So after the slight leak for a little over a month of driving. Roughly 400 miles, of moderate driving some at 60mph plus and mostly back and for the work only about a mile away, I pulled the yoke off and used some RTV to seal the gasket from both sides inside of the yoke. That was on thursday the 24th of july. So far it seems to be fine. If I have to get a new washer I will still use the RTV for insurance.
Last edited by 99xjlove; 07-25-2008 at 08:55 PM.
 08-08-2008, 05:47 PM
#2
Seasoned Member
Thread Starter
Join Date: Apr 2008
Location: Grand Junction, Colorado
Posts: 377
Likes: 0
Received 2 Likes
on
1 Post
Year: 1999
Model: Cherokee
Engine: 4.0L
Okay so I got some pictures of the problem area.
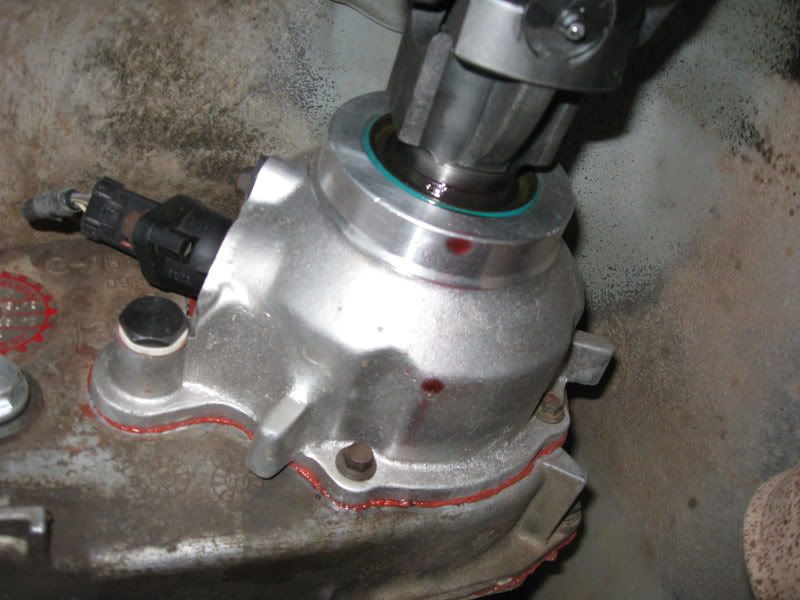
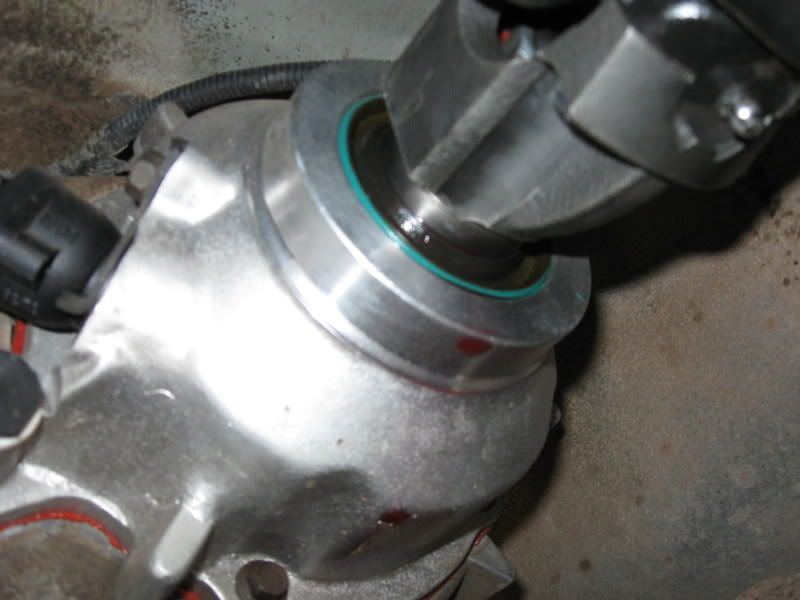
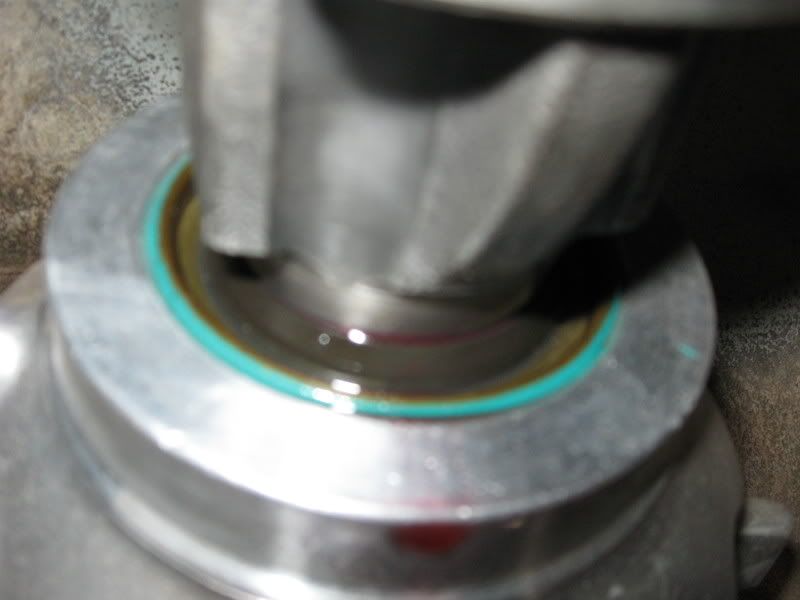
I also talked to someone at Advance Adapters today. He seemed to think that it is a problem with the ouput shaft seal. They are shipping me one along with a new star washer free of charge UPS ground. So I should be able to report back on how it goes by the end of next week.
I also talked to someone at Advance Adapters today. He seemed to think that it is a problem with the ouput shaft seal. They are shipping me one along with a new star washer free of charge UPS ground. So I should be able to report back on how it goes by the end of next week.

Thread
Thread Starter
Forum
Replies
Last Post
98JGC826
Stock Grand Cherokee Tech. All ZJ/WJ/WK Non-modified/stock questions go here!
2
09-03-2016 08:10 PM
Currently Active Users Viewing This Thread: 1 (0 members and 1 guests)