D30 differential cover swap writeup
 07-29-2008, 10:40 PM
#1
Front D30 Ruff Stuff Specialties Differential Cover Swap
I have done this swap before, and it is extremely easy, but takes a lot of time, patience and you must be on your toes at every step of the way or else you will crash and burn.
First, I will explain: Ever since I lifted the jeep, my D30 has been hitting rocks like no ones business. After my first drive home with a leaky differential cover, I thought to myself, maybe I should get a stinkin differential cover guard. Needless to say I cheaped out big time for it was a no name half cover that looked like a warn knockoff, and it was almost paper thin. I figured it would do the job and I wheeled with it for months, even hit it a few times and to my amazement, it worked.
Well, my most recent trip to Rauche Creek proved it was the most useless thing on my jeep in terms of armor. Now, be aware that my XJ is on a Rubicon Express 3.5� lift kit, D30 / 8.25 29 Spline - 4.56 Gear ratio and locked front and rear and I�ve got 33x12.5 Mickey Thompson MTZ for tires, so I was going over all of the black trails at Rauche Creek with relative ease. Well, at the beginning of the second day at Rauche, we found ourselves at Tombstone, a good sized uphill rock climb. Looks intense, but of course, I did it with very few problems, so little problems in fact that no one was looking where I was going and ( not even myself ) I hit a rock, square in the front differential doing a good 10 mph. The guard saved my life, literally. The cheap warn knockoff actually got ripped off my front D30 but luckily the ring gear and even the stock diff cover remained unscathed. Only damage was that when the differential cover got ripped off, it took a few of the bolt heads with it. I had to get a Beefier Differential cover.
So I shopped around
And found RuffStuff specialties and their overly excessive differential guards and I had to get �em. At $100 a pop, it was well worth the money because I knew this was going to be the last differential cover I would ever need in my ******* life. If I ever hit a rock at any sort of speed and hit the differential guard head on, my front axle would wrap around the rock and my cover would remain untouched. A nuke could go off and take out this entire planet, and my diff guards would still be floating in space and they would still be fine, welds still solid and the plate still as rigid as when it arrived at my house.
Well, the first thing I did to it when the differential cover arrived was paint it. So I got myself a can of Rust-oleum Automobile Primer in flat gray.
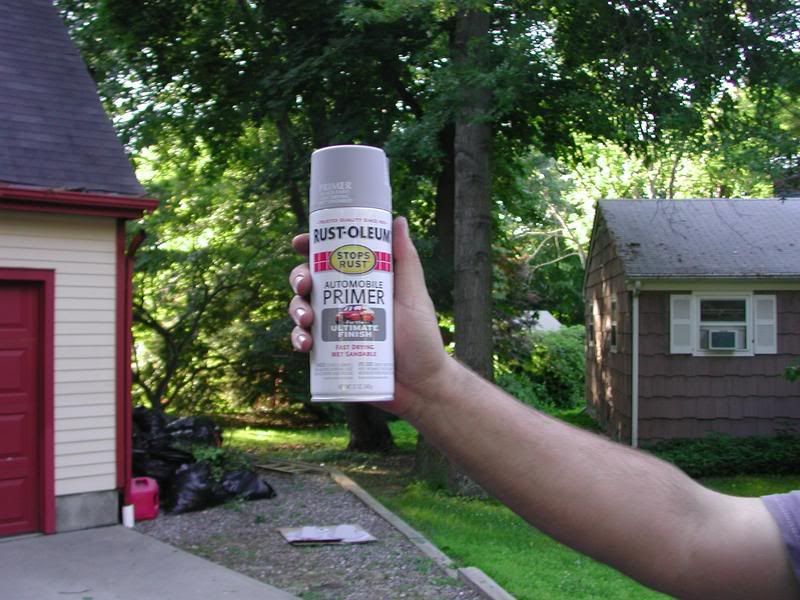
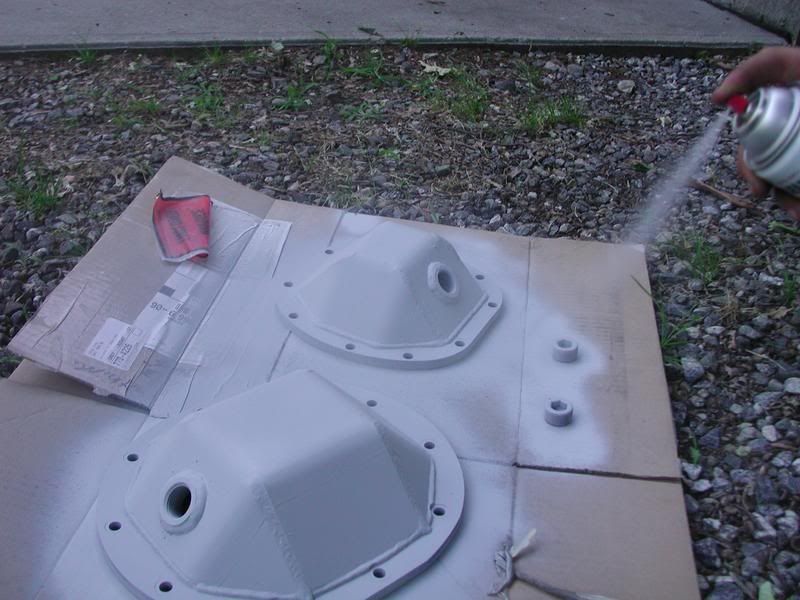
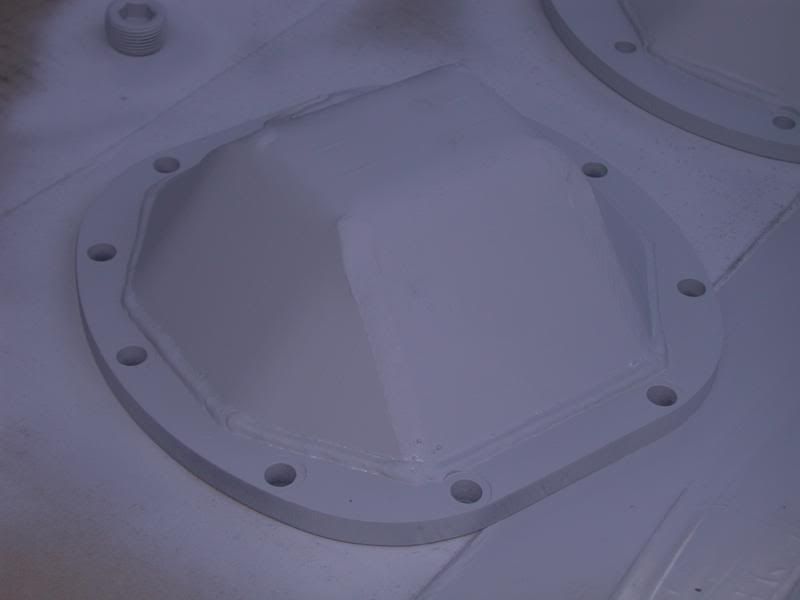
Now hold the can in the upwards position and shake violently. Hold the nozzle in the correct direction and press, letting the paint exit the rattle can. Spray liberally all over the differential guard and the fill plug. I applied a few coats to give it a strong and even finish.
Next, I began planning what I would want to do.
This is a good stage to plan, because we already painted it. It would be good to figure out here and now to gather supplies and figure out exactly what I will be doing with the differential guard.
My plans are:
- Mount it on my Dana 30, replacing the stock cover.
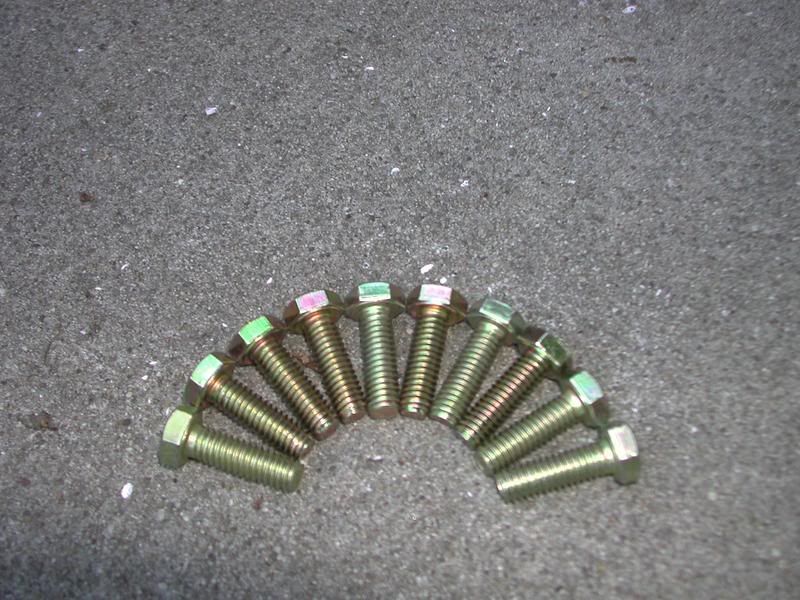
From there, I got obtained new bolts.
I went to the local hardware store and got some brand new bolts for the rear differential cover. Now since the ring around the new guard is half and inch thick, I had to find new bolts that where at least a quarter inch longer and I did. These bolts where zinc plated and hardened by the manufacturers and they looks pretty badass too.
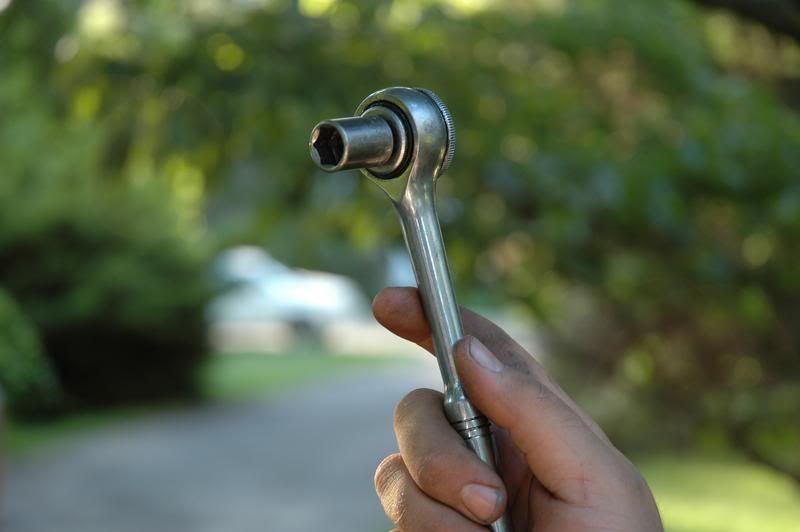
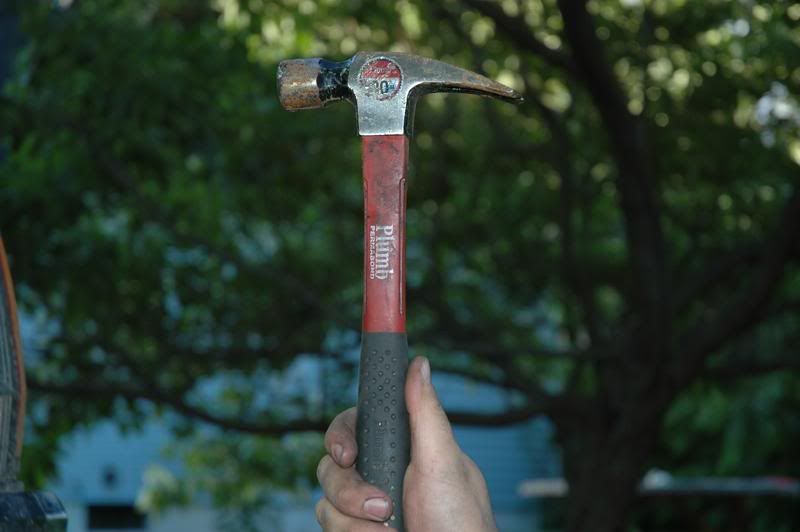
Well, now since we have the bolts all squared away, we must remove the stock D30 cover. It is quite simple and only requires your hands, a hammer and a ratcheting wrench with a half inch socket. Now, to capture the used fluid, we just used some plastic oil gathering container. We placed it strategically under the differential cover to prevent any oil from getting on the driveway. Also, have a roll of paper towels handy just to clean your hands and for future use when you remove the differential cover.
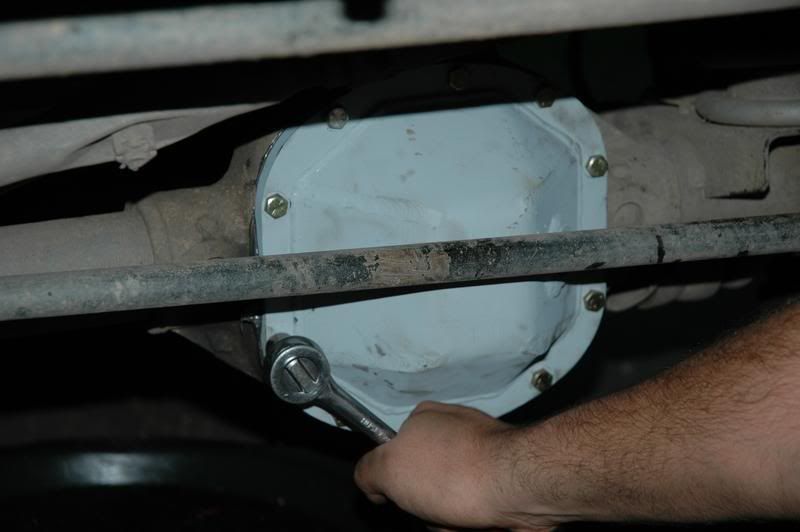
Now, get your half inch socket and ratcheting wrench.
Now we remove the Stock differential cover.
Now Place the half inch socket over one of the bolts and begin to loosen it.
I have done this swap before, and it is extremely easy, but takes a lot of time, patience and you must be on your toes at every step of the way or else you will crash and burn.
First, I will explain: Ever since I lifted the jeep, my D30 has been hitting rocks like no ones business. After my first drive home with a leaky differential cover, I thought to myself, maybe I should get a stinkin differential cover guard. Needless to say I cheaped out big time for it was a no name half cover that looked like a warn knockoff, and it was almost paper thin. I figured it would do the job and I wheeled with it for months, even hit it a few times and to my amazement, it worked.
Well, my most recent trip to Rauche Creek proved it was the most useless thing on my jeep in terms of armor. Now, be aware that my XJ is on a Rubicon Express 3.5� lift kit, D30 / 8.25 29 Spline - 4.56 Gear ratio and locked front and rear and I�ve got 33x12.5 Mickey Thompson MTZ for tires, so I was going over all of the black trails at Rauche Creek with relative ease. Well, at the beginning of the second day at Rauche, we found ourselves at Tombstone, a good sized uphill rock climb. Looks intense, but of course, I did it with very few problems, so little problems in fact that no one was looking where I was going and ( not even myself ) I hit a rock, square in the front differential doing a good 10 mph. The guard saved my life, literally. The cheap warn knockoff actually got ripped off my front D30 but luckily the ring gear and even the stock diff cover remained unscathed. Only damage was that when the differential cover got ripped off, it took a few of the bolt heads with it. I had to get a Beefier Differential cover.
So I shopped around
And found RuffStuff specialties and their overly excessive differential guards and I had to get �em. At $100 a pop, it was well worth the money because I knew this was going to be the last differential cover I would ever need in my ******* life. If I ever hit a rock at any sort of speed and hit the differential guard head on, my front axle would wrap around the rock and my cover would remain untouched. A nuke could go off and take out this entire planet, and my diff guards would still be floating in space and they would still be fine, welds still solid and the plate still as rigid as when it arrived at my house.
Well, the first thing I did to it when the differential cover arrived was paint it. So I got myself a can of Rust-oleum Automobile Primer in flat gray.
Now hold the can in the upwards position and shake violently. Hold the nozzle in the correct direction and press, letting the paint exit the rattle can. Spray liberally all over the differential guard and the fill plug. I applied a few coats to give it a strong and even finish.
Next, I began planning what I would want to do.
This is a good stage to plan, because we already painted it. It would be good to figure out here and now to gather supplies and figure out exactly what I will be doing with the differential guard.
My plans are:
- Mount it on my Dana 30, replacing the stock cover.
From there, I got obtained new bolts.
I went to the local hardware store and got some brand new bolts for the rear differential cover. Now since the ring around the new guard is half and inch thick, I had to find new bolts that where at least a quarter inch longer and I did. These bolts where zinc plated and hardened by the manufacturers and they looks pretty badass too.
Well, now since we have the bolts all squared away, we must remove the stock D30 cover. It is quite simple and only requires your hands, a hammer and a ratcheting wrench with a half inch socket. Now, to capture the used fluid, we just used some plastic oil gathering container. We placed it strategically under the differential cover to prevent any oil from getting on the driveway. Also, have a roll of paper towels handy just to clean your hands and for future use when you remove the differential cover.
Now, get your half inch socket and ratcheting wrench.
Now we remove the Stock differential cover.
Now Place the half inch socket over one of the bolts and begin to loosen it.
 07-29-2008, 10:41 PM
#2
]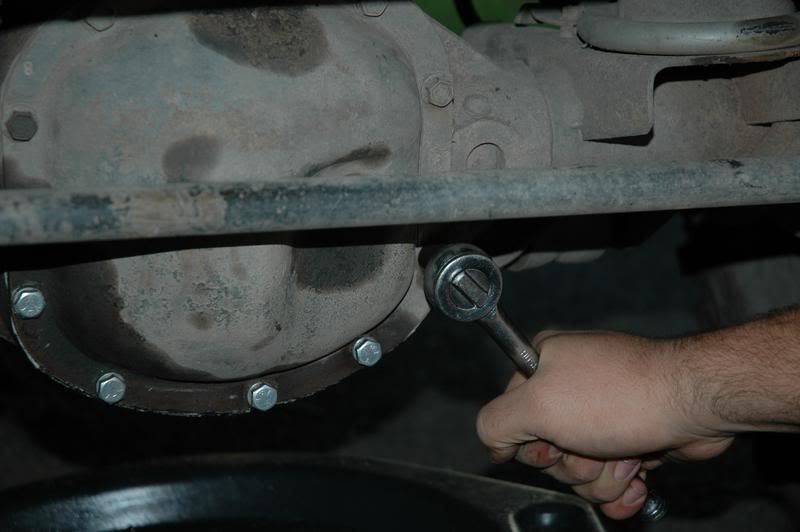
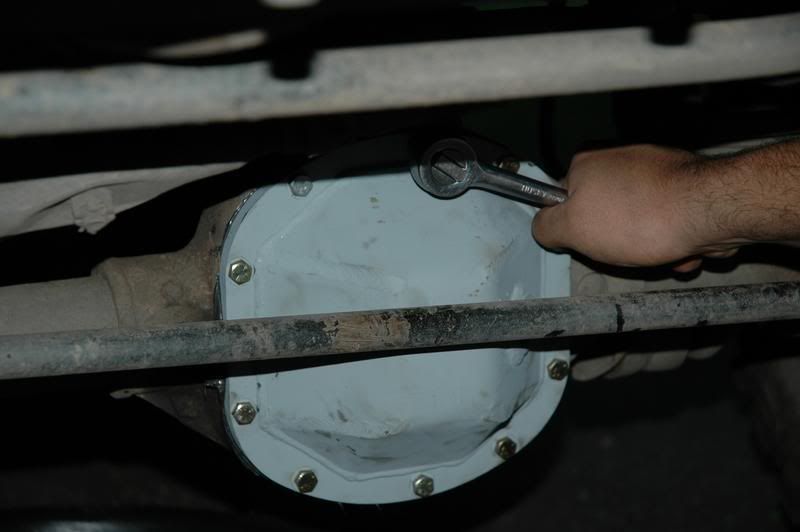
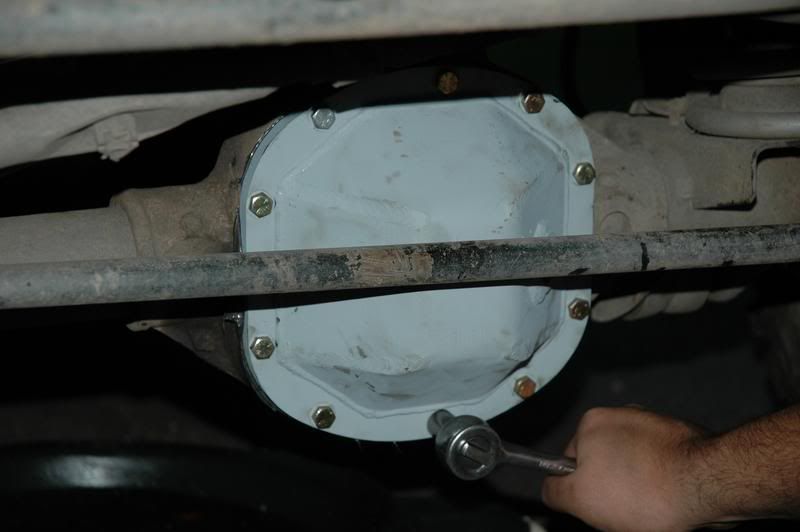
Now, do this with all of the bolts except for the very top bolt. Then go around again and remove them from the differential, once again, leaving the top bolt in the differential. Now when all of the bolts are removed and set aside, you can then loosen the top bolt. By doing this what you have done is kept the cover on, so you can pry the cover open and let the differential bleed out in a slow and steady manner into the oil pan so you don�t have a large mess.
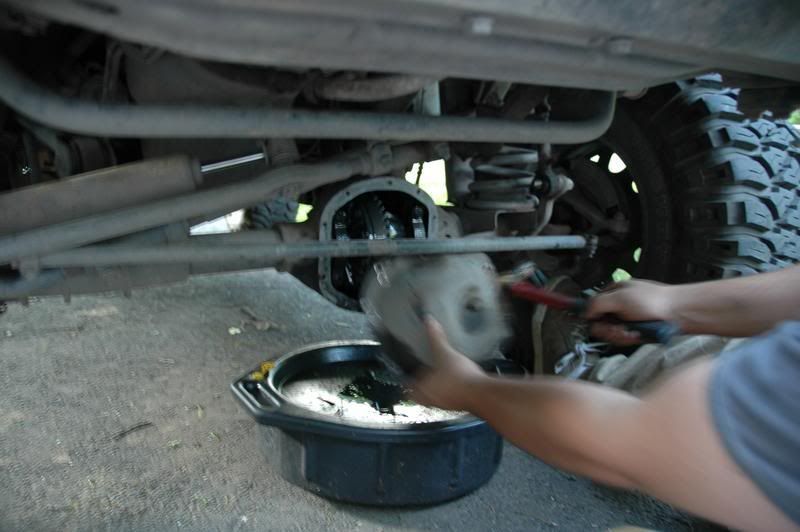
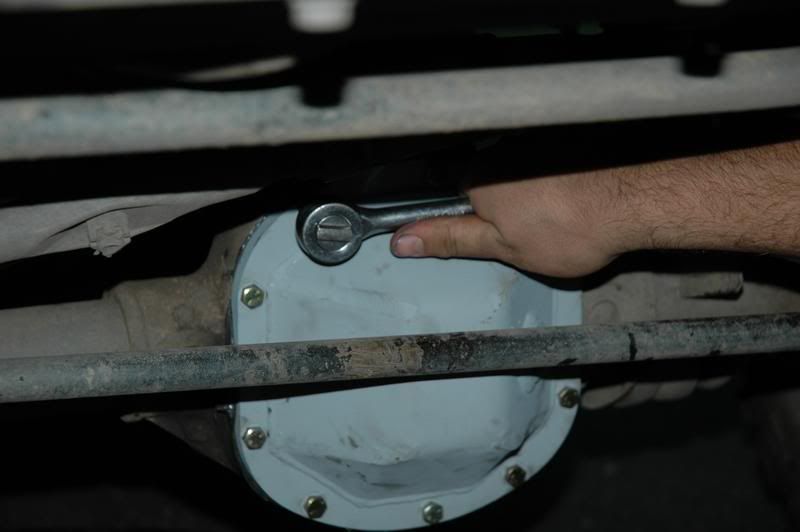
So, grab the hammer and tap the bottom of the differential so that the cover pivots on the top bolt.
The oil should start bleeding down into the pan when the old RTV seal is broken.
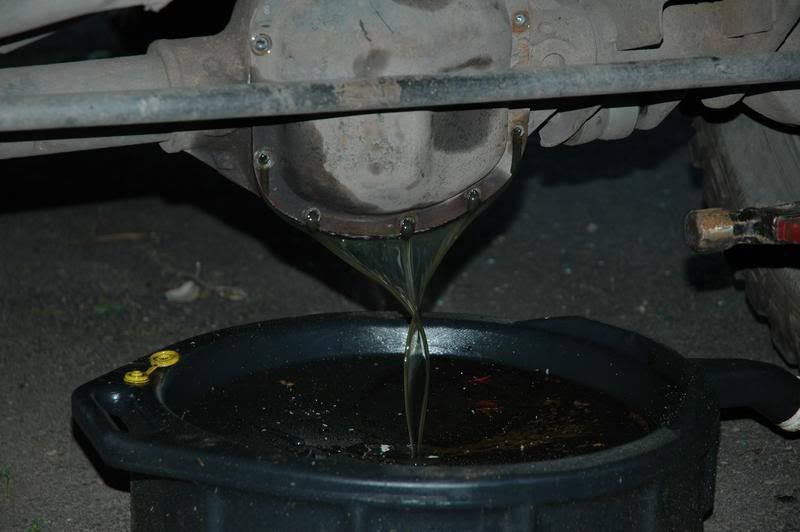
Use the claw end of your hammer to pry open the differential cover slowly. Use the leverage of the rounded top of the hammer to keep it open while the rest of the gear fluid spills out into the oil pan. Be very careful with this. Claw hammers are very dangerous and you can break the differential cover if you pry it open too far. When the oil is done bleeding down into the oil pan, you may remove the top bolt completely and remove the front differential cover.
This is a good time to use your hands.
I hope you don�t like staying clean, because this stuff can get messy.
When you are finished removing the front differential cover, set it aside with the other bolts, for you probably won�t need it anymore. It would be good to keep it as a spare or even to sell it. Someone might need it and it could be worth a few bucks.
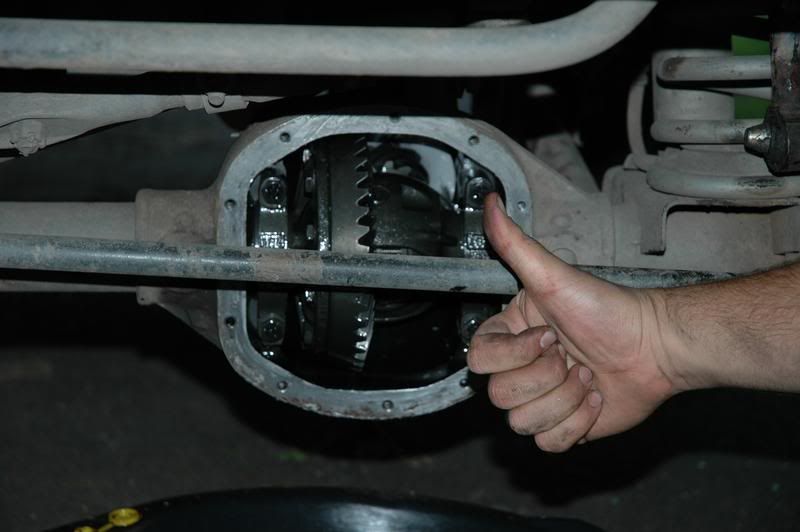
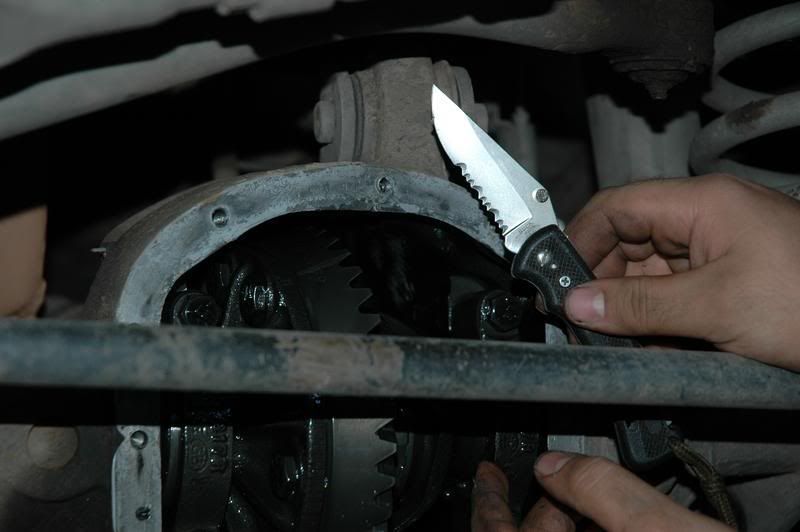
Now, since the differential cover is open, you mine as well visually inspect your gears for any damage or wear. Mine where good to go.
I can now proceed with cleaning off the mating surface of the differential cover and the axle face. I reached deep into my pockets and removed my trusty old Buck Knife. This knife cots me $1 and hasn�t failed me yet.
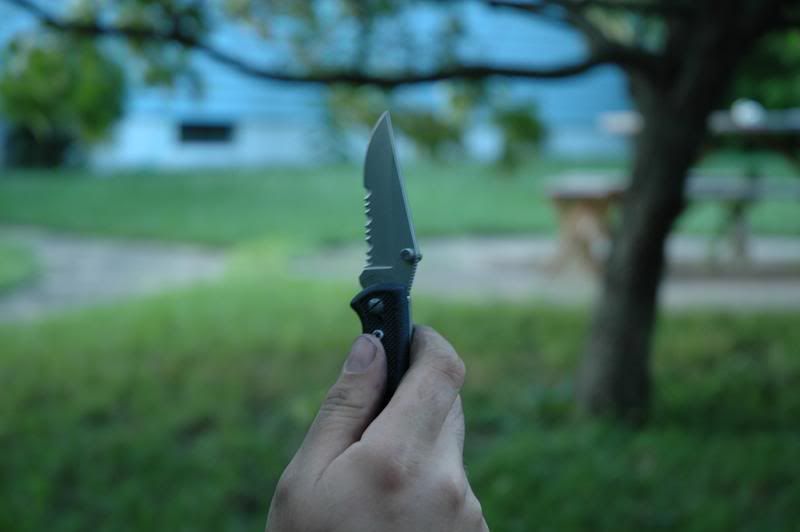
Now, use the knife to clean off the mating surface. It would be recommended to use razor blades with a safety edge, so you do not in fact cut yourself. Now, please. I am not liable for any injuries you inflict upon your person during this guide, so be careful and use all the tools responsibly.
Now, if you do not clean off the old RTV with your knife of razor blade, then you will not get an adequate seal and you will have leaks. It is best that you get the surface as clean as possible, even go as far as filing away some burrs that are around the outer edge of the differential to get the desired effect. Also, makes sure that surface has no gear oil on it at all, or else the new RTV will not set, so wipe it down thoroughly and remove all excess gear oil from within the differential.
Now, do this with all of the bolts except for the very top bolt. Then go around again and remove them from the differential, once again, leaving the top bolt in the differential. Now when all of the bolts are removed and set aside, you can then loosen the top bolt. By doing this what you have done is kept the cover on, so you can pry the cover open and let the differential bleed out in a slow and steady manner into the oil pan so you don�t have a large mess.
So, grab the hammer and tap the bottom of the differential so that the cover pivots on the top bolt.
The oil should start bleeding down into the pan when the old RTV seal is broken.
Use the claw end of your hammer to pry open the differential cover slowly. Use the leverage of the rounded top of the hammer to keep it open while the rest of the gear fluid spills out into the oil pan. Be very careful with this. Claw hammers are very dangerous and you can break the differential cover if you pry it open too far. When the oil is done bleeding down into the oil pan, you may remove the top bolt completely and remove the front differential cover.
This is a good time to use your hands.
I hope you don�t like staying clean, because this stuff can get messy.
When you are finished removing the front differential cover, set it aside with the other bolts, for you probably won�t need it anymore. It would be good to keep it as a spare or even to sell it. Someone might need it and it could be worth a few bucks.
Now, since the differential cover is open, you mine as well visually inspect your gears for any damage or wear. Mine where good to go.
I can now proceed with cleaning off the mating surface of the differential cover and the axle face. I reached deep into my pockets and removed my trusty old Buck Knife. This knife cots me $1 and hasn�t failed me yet.
Now, use the knife to clean off the mating surface. It would be recommended to use razor blades with a safety edge, so you do not in fact cut yourself. Now, please. I am not liable for any injuries you inflict upon your person during this guide, so be careful and use all the tools responsibly.
Now, if you do not clean off the old RTV with your knife of razor blade, then you will not get an adequate seal and you will have leaks. It is best that you get the surface as clean as possible, even go as far as filing away some burrs that are around the outer edge of the differential to get the desired effect. Also, makes sure that surface has no gear oil on it at all, or else the new RTV will not set, so wipe it down thoroughly and remove all excess gear oil from within the differential.
07-29-2008, 10:42 PM
#3
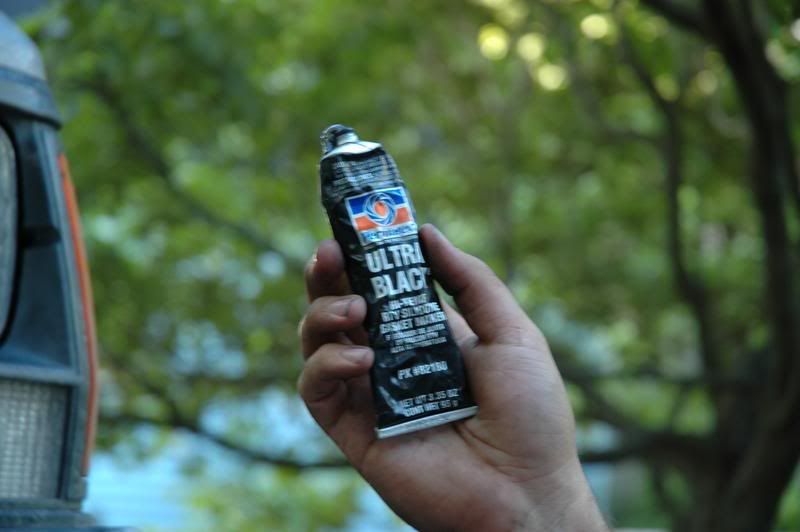
]Now, consult your brand new differential cover and your tube of RTV.
Installation under the Jeep
Before you install the differential cover into the jeep, you first must apply the RTV to the new differential cover. Now, clean off the mating surface of the differential cover with a paper towel and then apply the RTV. To use the RTV, remove the cap and hold on a downward angle at a 45 degree angle downward. This gives you the most control when creating the bead. Now, hold the RTV tube to the differential cover and squeeze slowly and evenly, maintaining your 45 degree angle and start applying the RTV. The bead must be at least � inch in diameter and you must lay the bead on the inside of the screw holes or else you will not get the desired seal when the differential cover is placed in the axle.
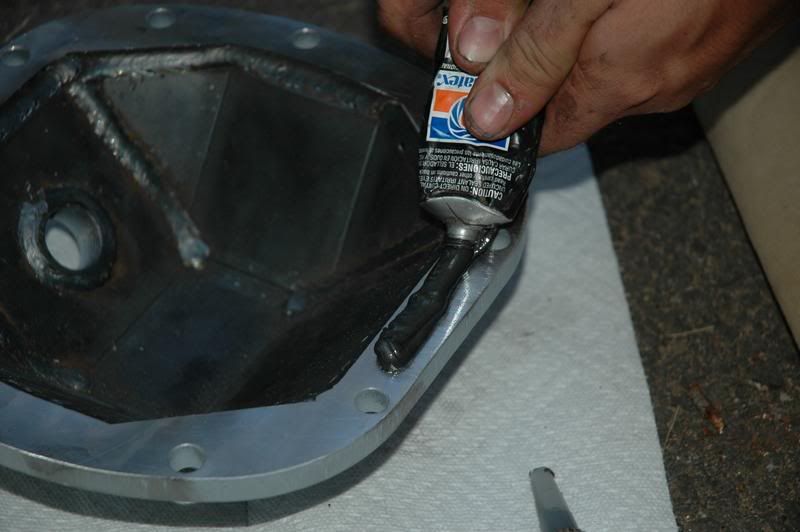
Now bring that clean and even bead all around the differential cover and be sure not to get any inside of the differential cover. When you are done laying the bead around the differential cover, wipe down the axle face one more time to get rid of any oil that could have leaked onto the axles clean surface.
Application onto the Axle
Now, this is another great time to you�re your hands! Gather up your brand new screws you obtained from the local hardware store or off road shop. Get them all read next to you so you aren�t bumbling around looking for them when you are holding the differential cover up.
Now, let�s begin to apply the differential cover on the axle. Hold up the differential cover and maneuver it around your steering and be careful not to drop it and ruin your perfect RTV bead that you laid around the differential cover. Place the differential cover onto the axle and line up the hold as best you can. Now reach for one of the screws and place it in the very top hole. This will release the stress from your arms of holding up this 6 pound differential guard. With the differential guard suspended by the top screw, you may now insert the rest of the screws.
Now here is where I ran into a problem: I had lost one of the ten screws, leaving me with nine. I seriously almost walked away from the project all together seeing as how I took great care in maintaining all of the screws together in an orderly fashion. To have one go missing was almost blasphemous. I got my cool and continued and just ended up using one of the stock screws.
Now, like with the lug nuts, I tightened the differential screws in a star shaped pattern, shown here.
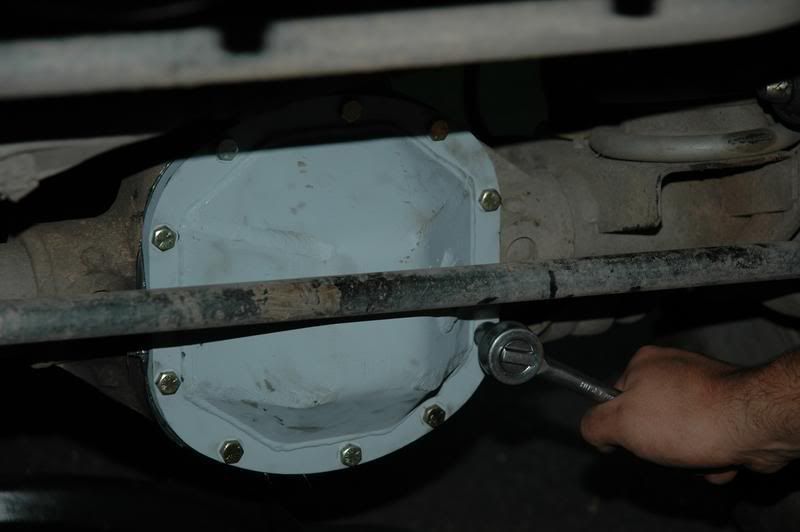
Tighten them, but do not torque them down. The bolts and the RTV will hold the differential guard on there very well without having to apply excessive force to the bolts.
Congratulations, you have now successfully installed the new differential guard! Now the last thing you must do is add the gear oil. I had purchased a few bottles of Lucas Heavy Duty Gear Oil for use in my D30.
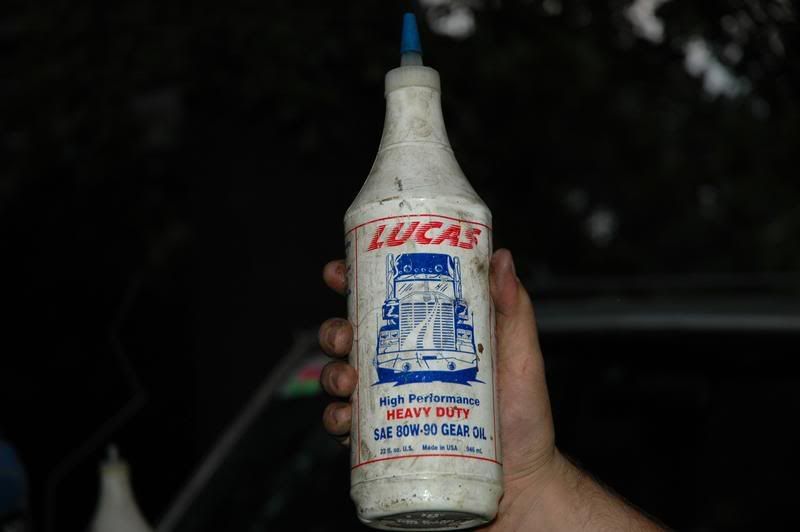
Now to apply the gear oil, take all necessary steps to assure that the gear oil comes out of the desired nozzle to prevent any unnecessary messes. Hold the bottle upwards and then squeeze the bottle with the nozzle placed inside of the plug hole.
Installation under the Jeep
Before you install the differential cover into the jeep, you first must apply the RTV to the new differential cover. Now, clean off the mating surface of the differential cover with a paper towel and then apply the RTV. To use the RTV, remove the cap and hold on a downward angle at a 45 degree angle downward. This gives you the most control when creating the bead. Now, hold the RTV tube to the differential cover and squeeze slowly and evenly, maintaining your 45 degree angle and start applying the RTV. The bead must be at least � inch in diameter and you must lay the bead on the inside of the screw holes or else you will not get the desired seal when the differential cover is placed in the axle.
Now bring that clean and even bead all around the differential cover and be sure not to get any inside of the differential cover. When you are done laying the bead around the differential cover, wipe down the axle face one more time to get rid of any oil that could have leaked onto the axles clean surface.
Application onto the Axle
Now, this is another great time to you�re your hands! Gather up your brand new screws you obtained from the local hardware store or off road shop. Get them all read next to you so you aren�t bumbling around looking for them when you are holding the differential cover up.
Now, let�s begin to apply the differential cover on the axle. Hold up the differential cover and maneuver it around your steering and be careful not to drop it and ruin your perfect RTV bead that you laid around the differential cover. Place the differential cover onto the axle and line up the hold as best you can. Now reach for one of the screws and place it in the very top hole. This will release the stress from your arms of holding up this 6 pound differential guard. With the differential guard suspended by the top screw, you may now insert the rest of the screws.
Now here is where I ran into a problem: I had lost one of the ten screws, leaving me with nine. I seriously almost walked away from the project all together seeing as how I took great care in maintaining all of the screws together in an orderly fashion. To have one go missing was almost blasphemous. I got my cool and continued and just ended up using one of the stock screws.
Now, like with the lug nuts, I tightened the differential screws in a star shaped pattern, shown here.
Tighten them, but do not torque them down. The bolts and the RTV will hold the differential guard on there very well without having to apply excessive force to the bolts.
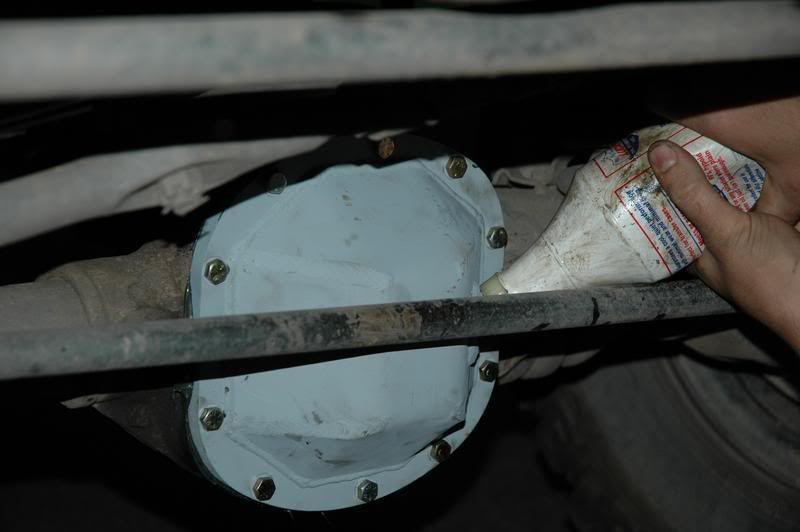
Congratulations, you have now successfully installed the new differential guard! Now the last thing you must do is add the gear oil. I had purchased a few bottles of Lucas Heavy Duty Gear Oil for use in my D30.
Now to apply the gear oil, take all necessary steps to assure that the gear oil comes out of the desired nozzle to prevent any unnecessary messes. Hold the bottle upwards and then squeeze the bottle with the nozzle placed inside of the plug hole.
07-29-2008, 10:43 PM
#4
]
Now, you might have to use more then one bottle of the gear oil, as long as it fills up as far as it can go. I attempted to fill the gear oil higher then the plug hole, but attempts seemed almost futile, as the gear oil simply would not stay inside the differential when it got past the plug hole, so I left it simply right at the plug hole. That should be enough gear oil anyway. Now, install the differential plug and you are done!
Conclusions:
Hope you have enjoyed reading this as much as I enjoyed writing it. I hope this write up becomes very helpful to those who have not changed their differential cover before and want to give it a try. It isn�t hard, but you must be careful and thorough with each step or all your labor would have been for nothing.
The front cover already feels stronger. It seems like I would be able to drive this thing into every rock I see and it would still remain unscathed.
This also requires a good set of tools and the knowledge to use them correctly. If you don�t know how to operate a ratcheting wrench, a razor blade or a hammer please consult your local mechanic and he would be very glad to tell you how he feels about your situation.
Once again, thanks a bunch! Hope you enjoyed the read!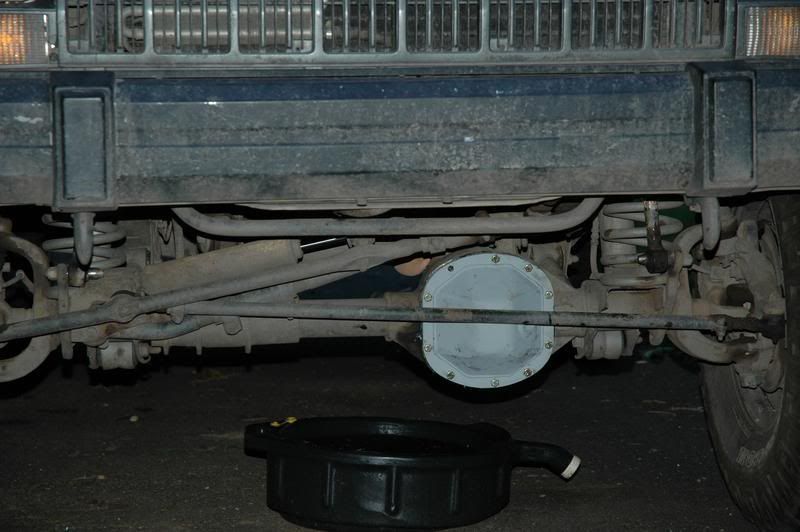

Thread
Thread Starter
Forum
Replies
Last Post
weswins
Stock XJ Cherokee Tech. All XJ Non-modified/stock questions go here
4
09-14-2015 10:09 AM
Ibanezz
Stock XJ Cherokee Tech. All XJ Non-modified/stock questions go here
24
09-10-2015 07:15 PM
Sandyman
Stock XJ Cherokee Tech. All XJ Non-modified/stock questions go here
5
09-05-2015 07:56 PM
Currently Active Users Viewing This Thread: 1 (0 members and 1 guests)