When you click on links to various merchants on this site and make a purchase, this can result in this site earning a commission. Affiliate programs and affiliations include, but are not limited to, the eBay Partner Network.
Damn fine looking machine. Chrome wheels with that blue paint is beautiful.
I appreciate it! I'm happy with the way the chrome turned out, especially since chrome wheels don't seem to be "in" right now.
Originally Posted by RubenZ
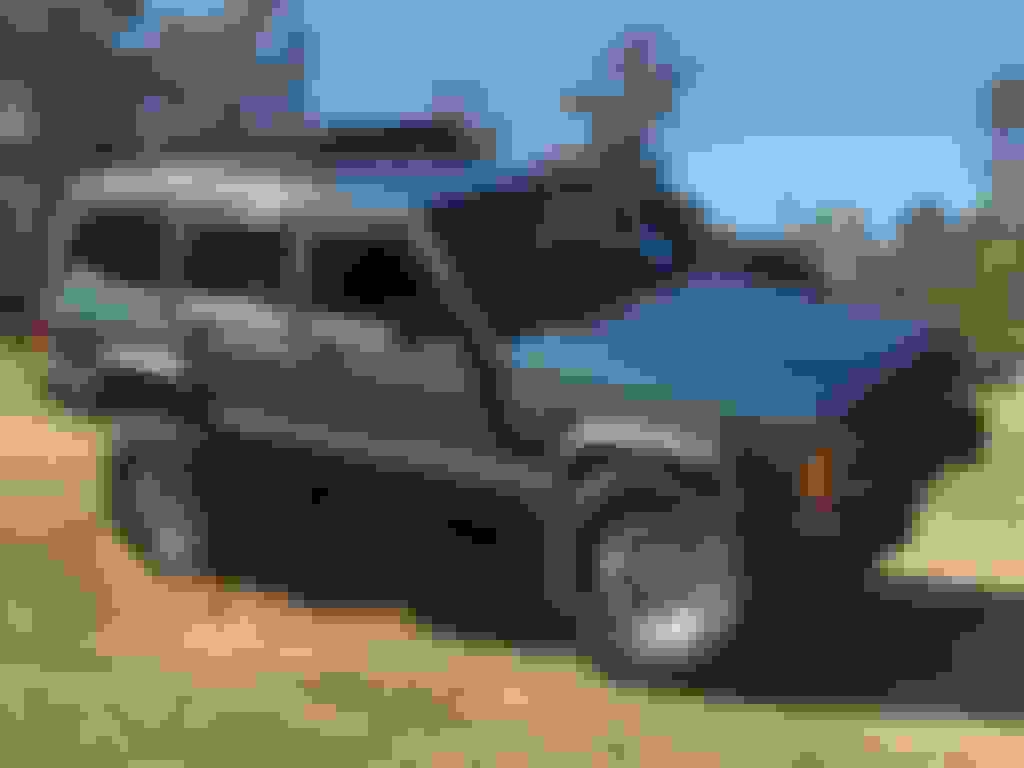
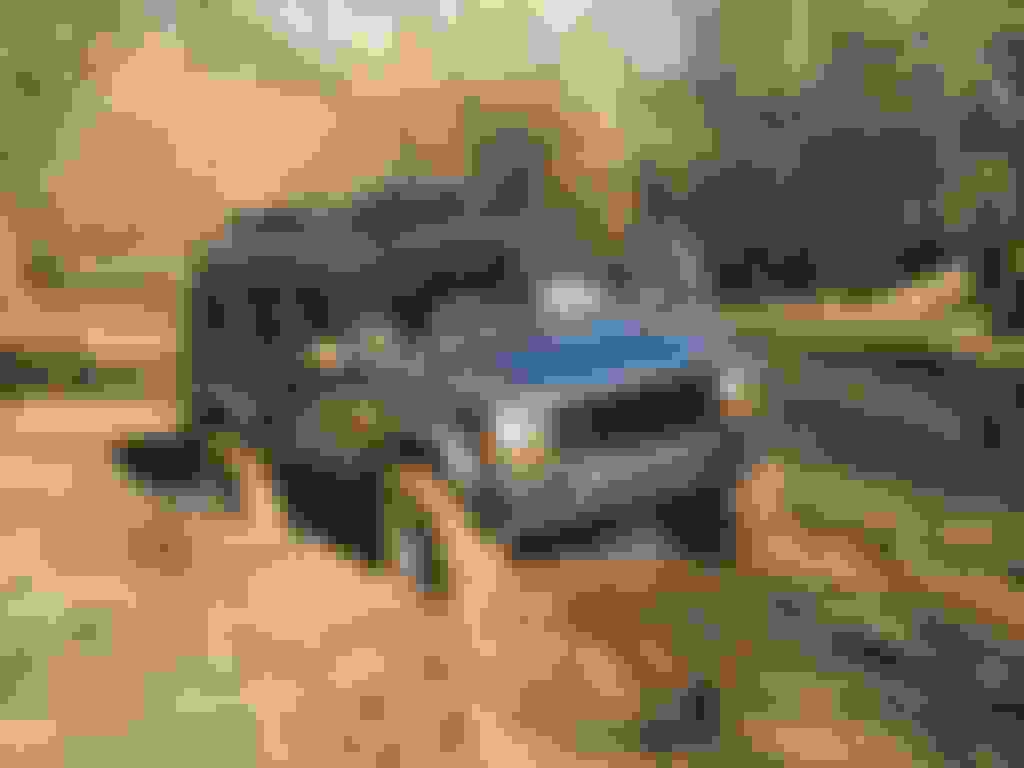
Nice! I really was hoping I'd find my XJ in that BLUE color but I just couldn't turn down my Silverstone Metallic. It was in great shape. Nice lady friend too
Thanks! This was probably my favorite color on this vehicle. I wasn't going to be particular on the color though, I'd have taken whatever I found. So you can imagine how excited I was when I stumbled across this one.
And as far as the lady friend, she's been great about the whole build! Hasn't complained one bit while I was spending every evening and weekend in the garage. In fact she would sit out in the garage with the laptop doing homework and hand me tools as I needed them. And the best thing is she hasn't asked or said one word about how much money I've been pouring into this thing!
I ordered the MOOG sway bar bushings with free 2-day (prime) shipping for $11. That'll be a good excuse to do a little work on the Jeep over this long weekend. Hopefully that will motivate me to go ahead and install the SYE that's been sitting in the garage and I can measure and order a new driveshaft.
I realized that I haven't been on here in several months. I got to a point where I was just enjoying the Jeep, so I didn't really have anything to update. I'm not sure what happened to all of my pictures through out this thread, but I'll work on getting those back in here. But for the time being, I figured I would post a few updates. I'm going to try to upload them directly to the forum instead of linking them from photo bucket. Bear with me, I'll have to learn how to resize these massive pics.
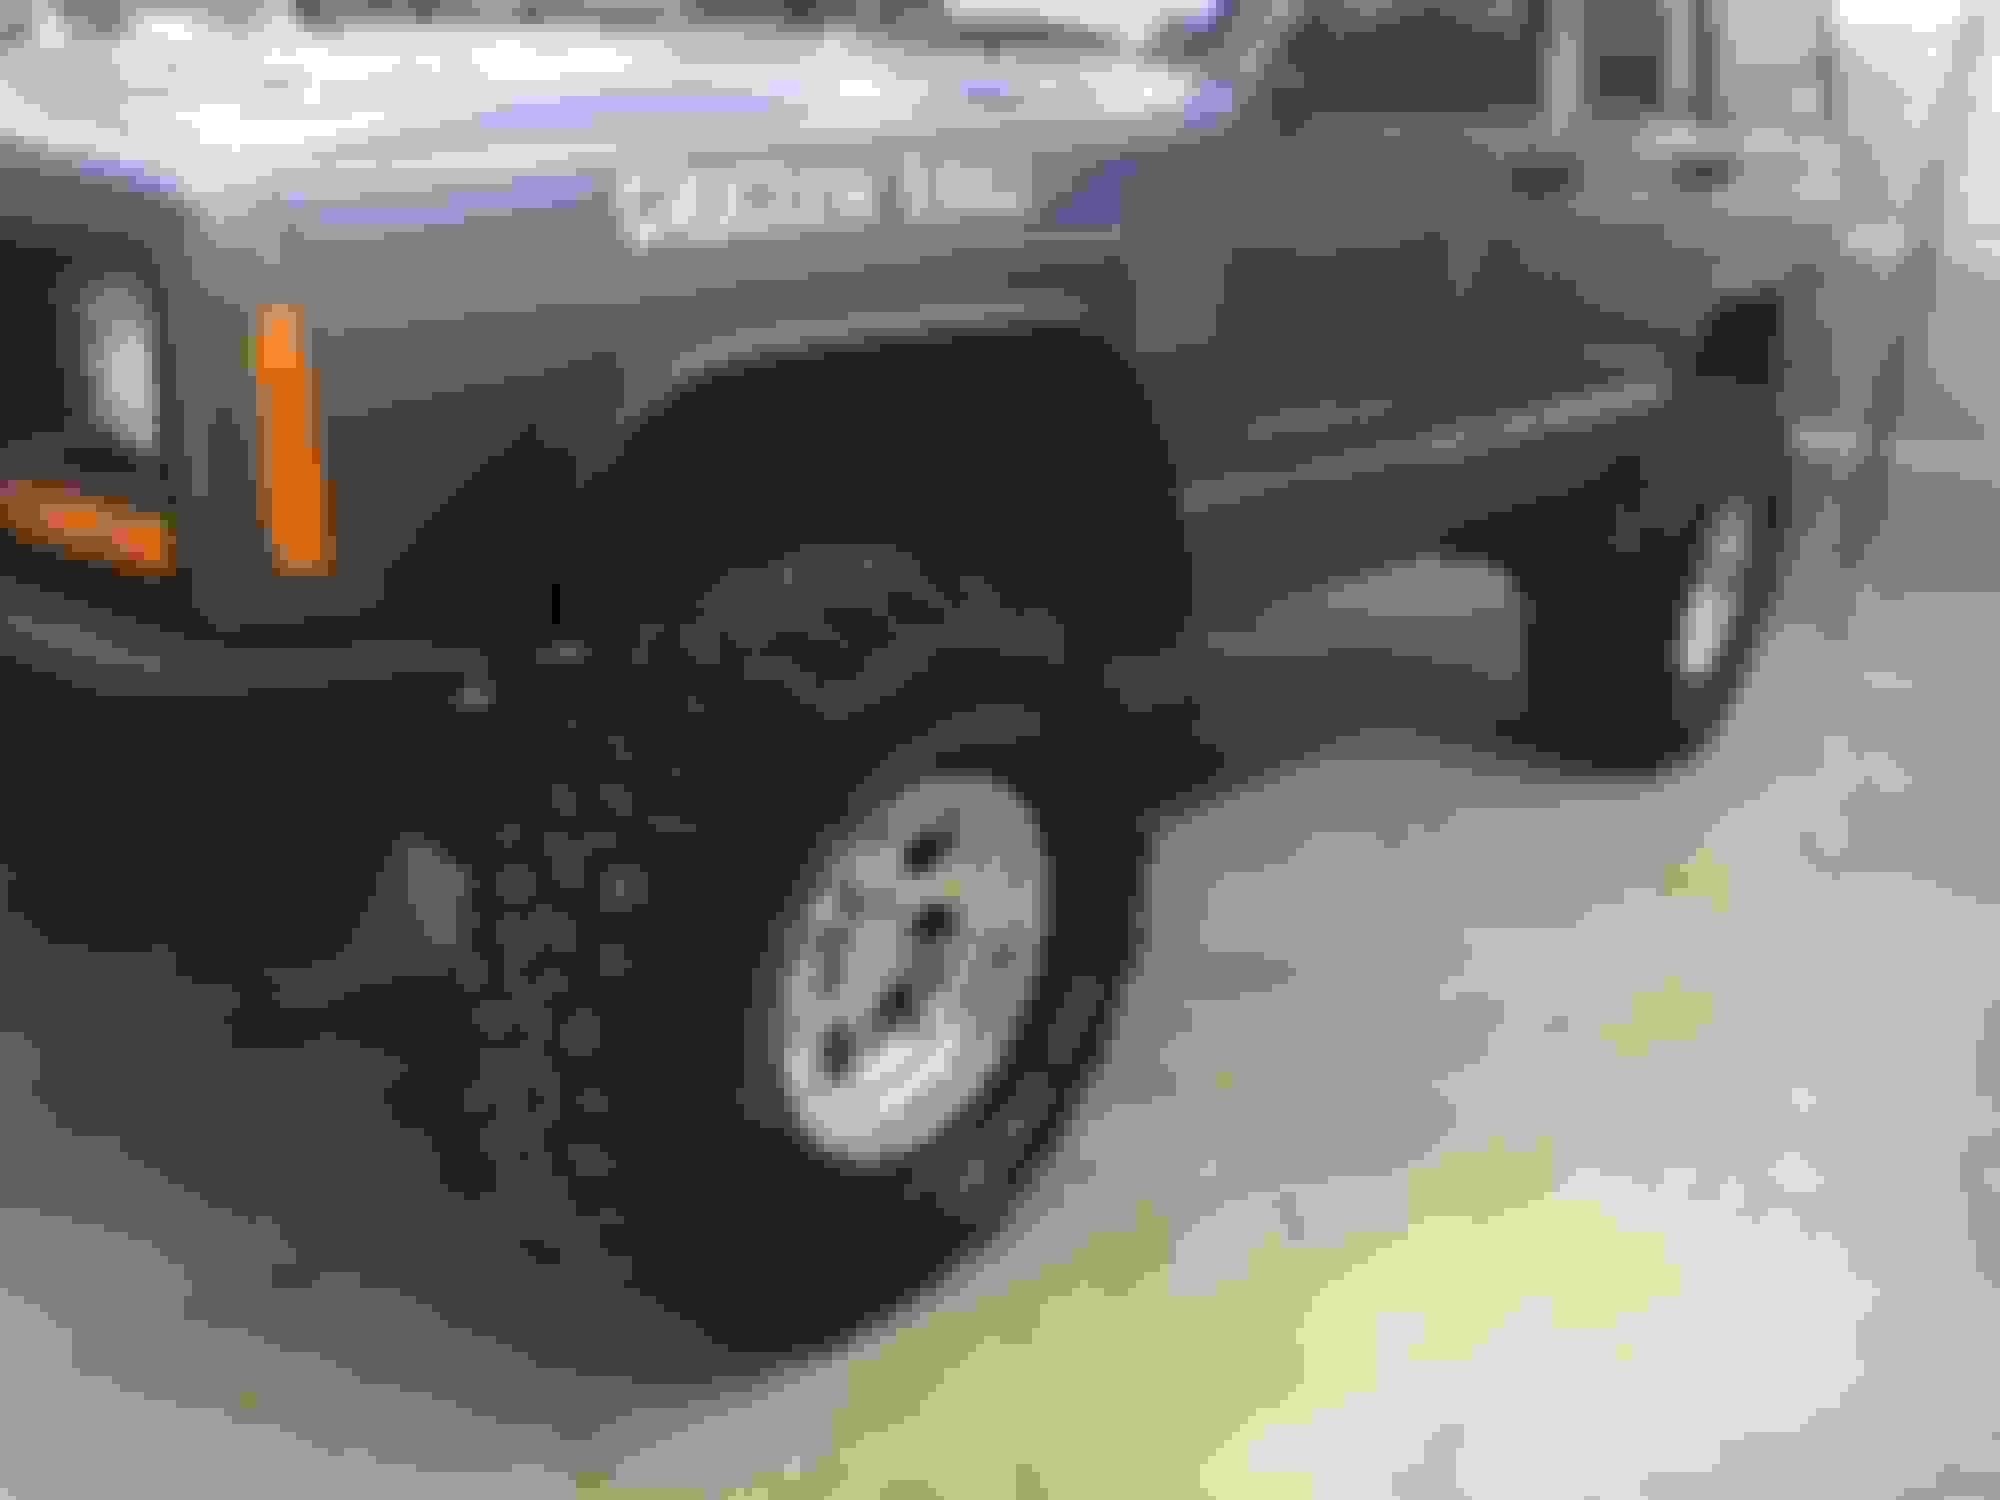
I took the spare off of the rack to fit it in the garage and I've yet to put it back on. It looks cool mounted up top, but highway driving is much better with it off.
When an opportunity arises...
I made the mistake of parking next to my buddy at work, those 40's gave me an inferiority complex.
I finally had the vinyls for the name made up and installed.
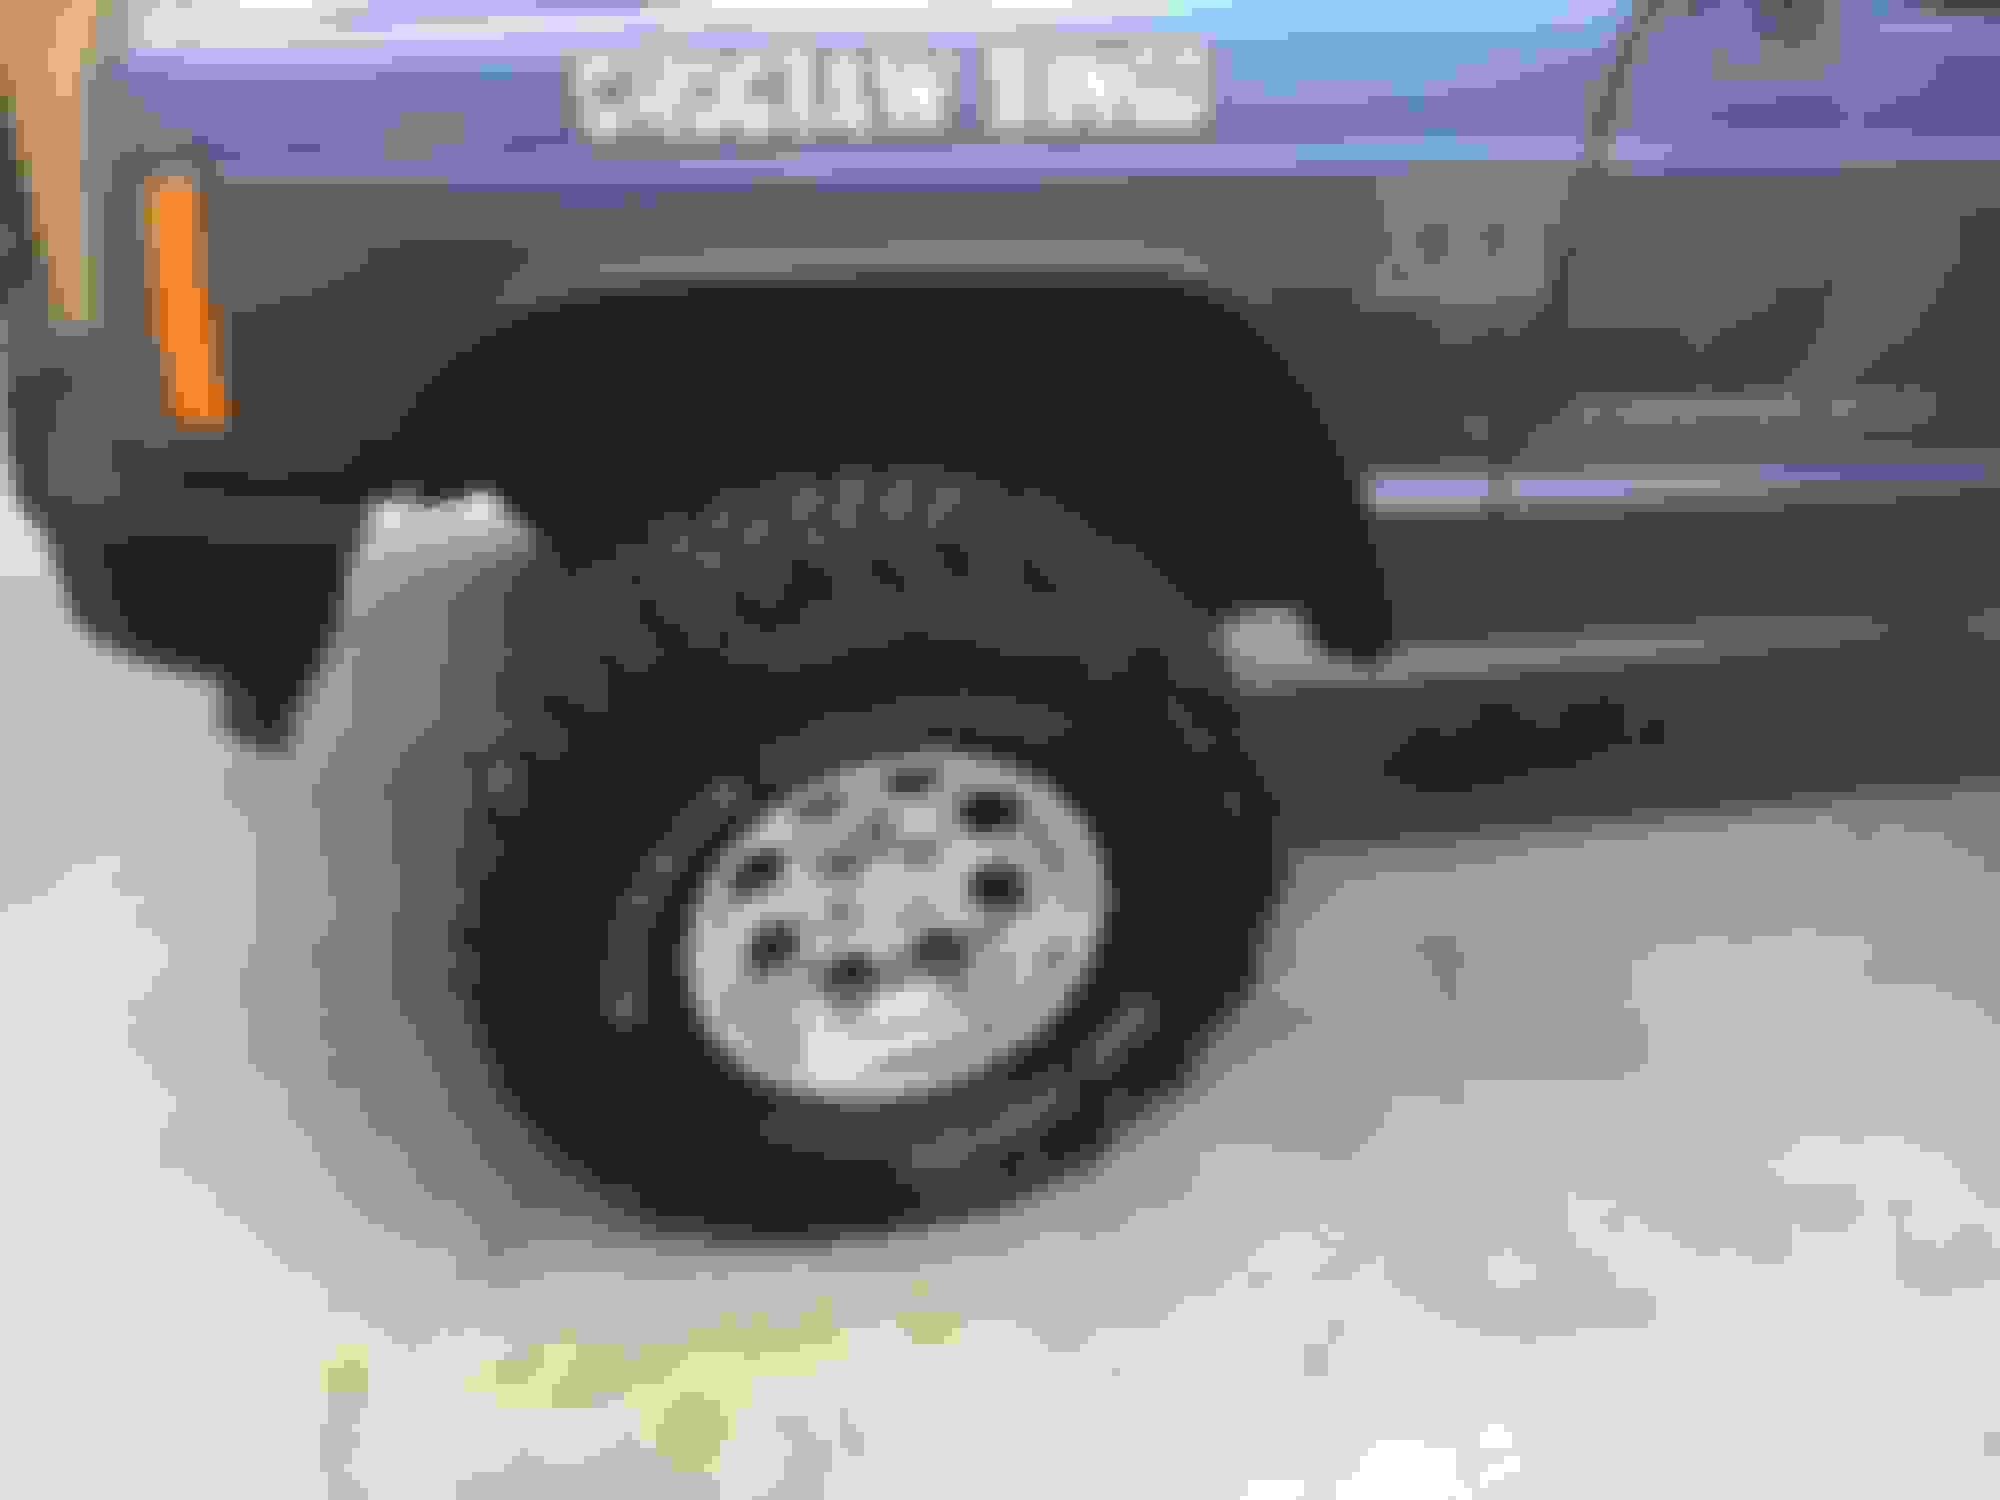
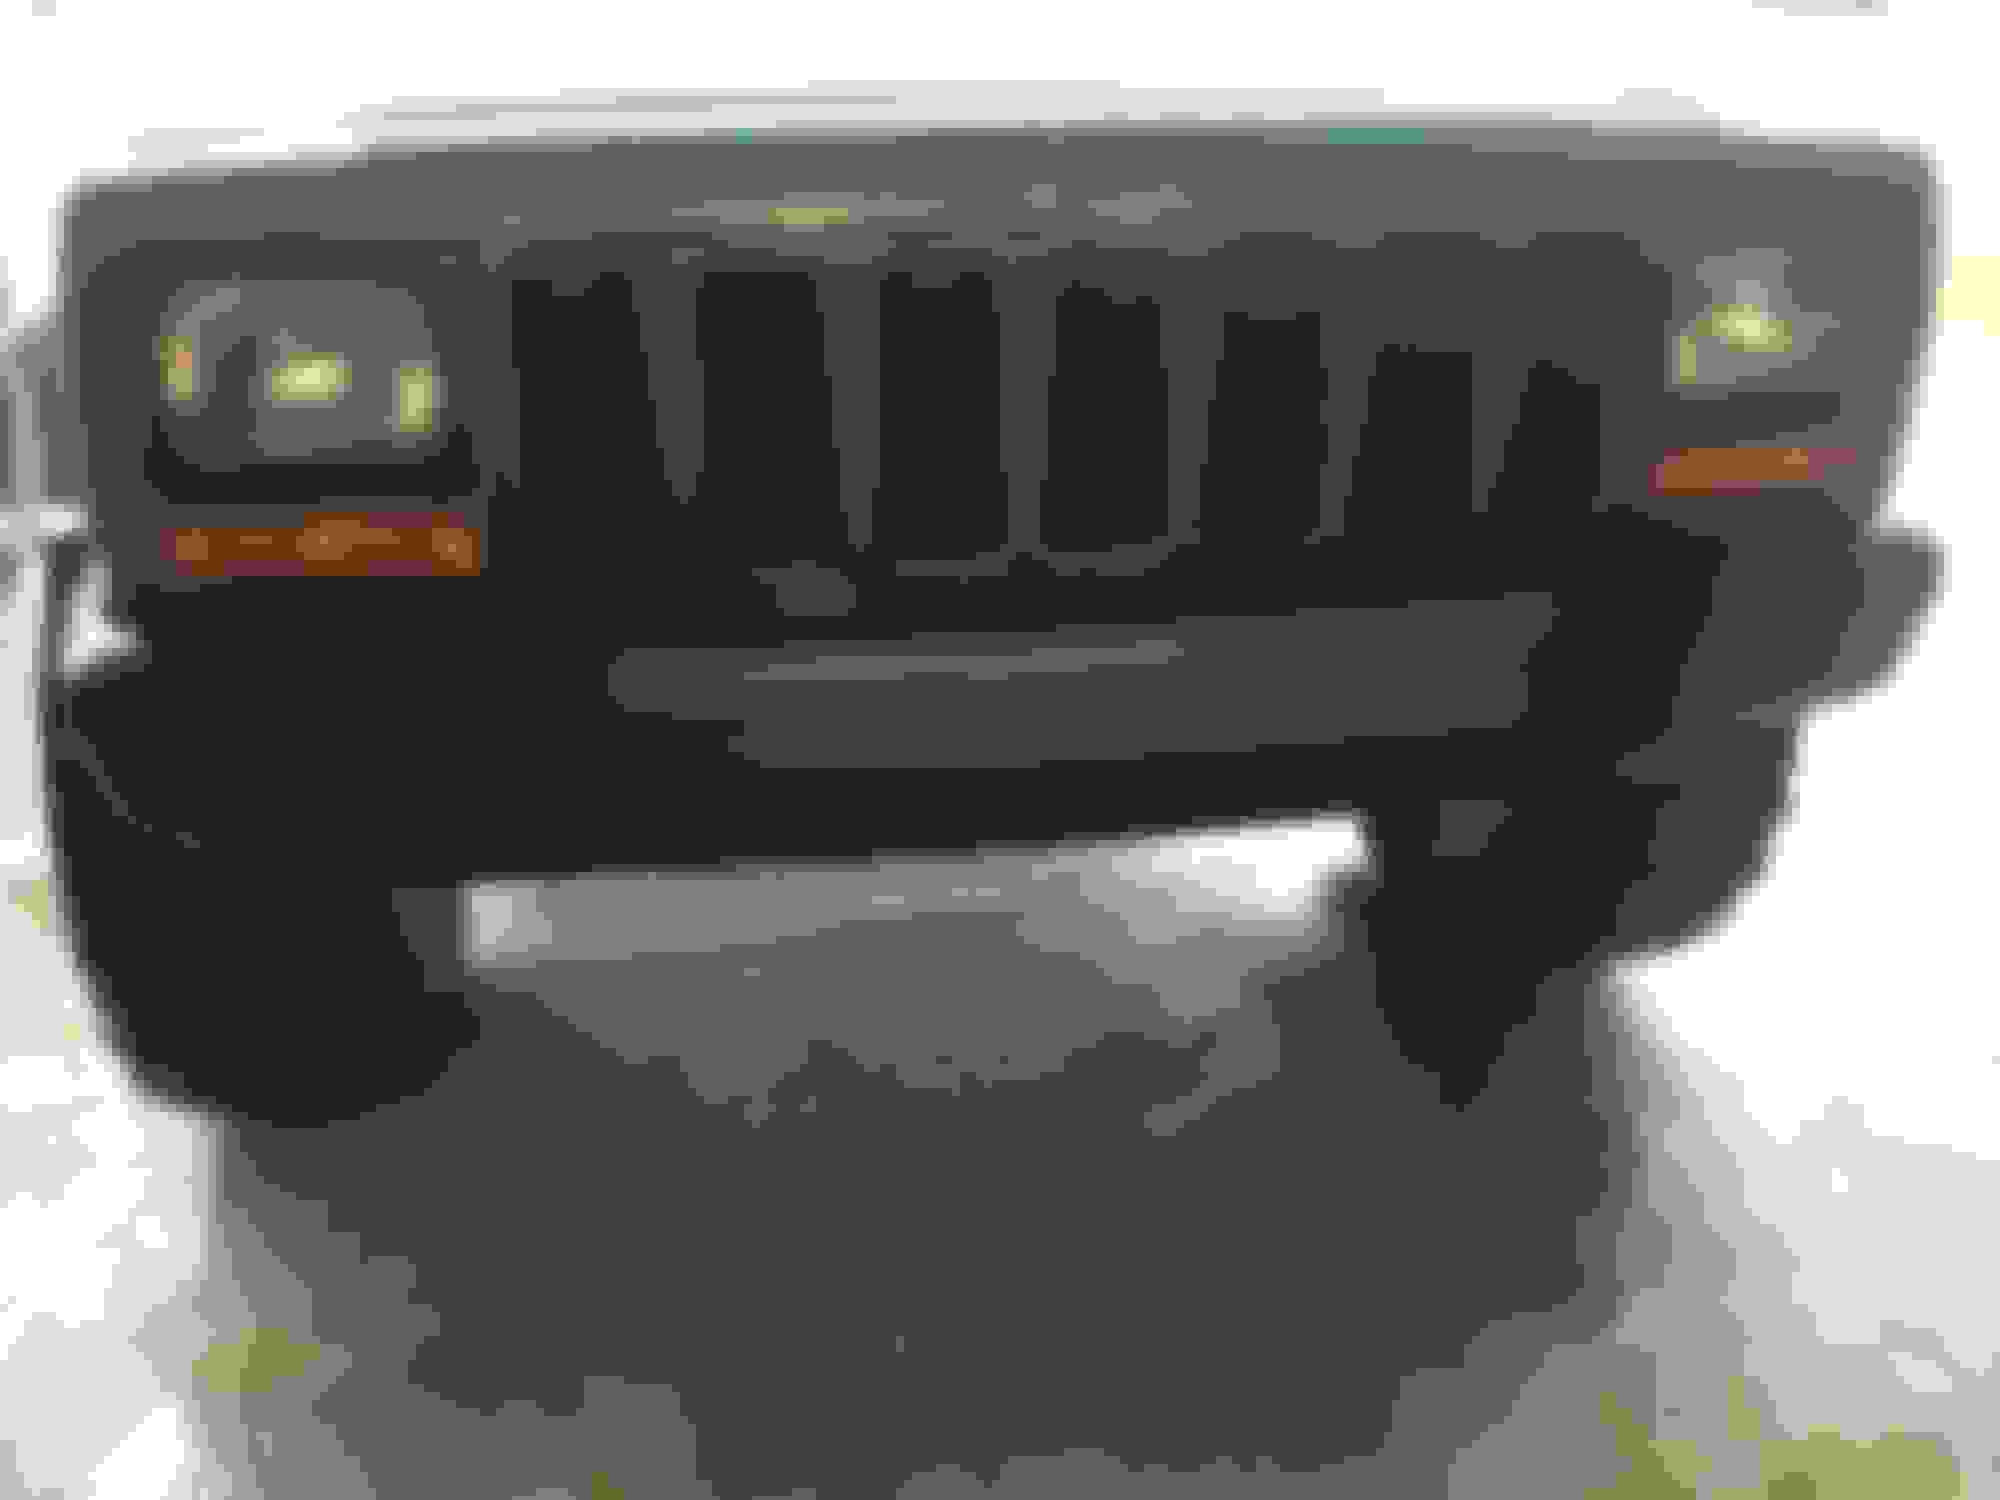
I got bored on New Year's Eve with all of the nasty weather we had, so I decided to put the Jeep in and swap the grill and headlight surrounds out. I bought these a while back with the intention of painting them, but I'll roll around with them in black for now. Just enough to change it up a little.
Another opportunity...
This was the first time I got into any real mud with some ruts in it. It did pretty well.
More to come, I'm getting the itch again. Plus I was cleaning up the garage a couple of weeks ago and starting a stack of Jeep parts that I bought but never installed. I didn't realize that I had so many things that needed to be done.
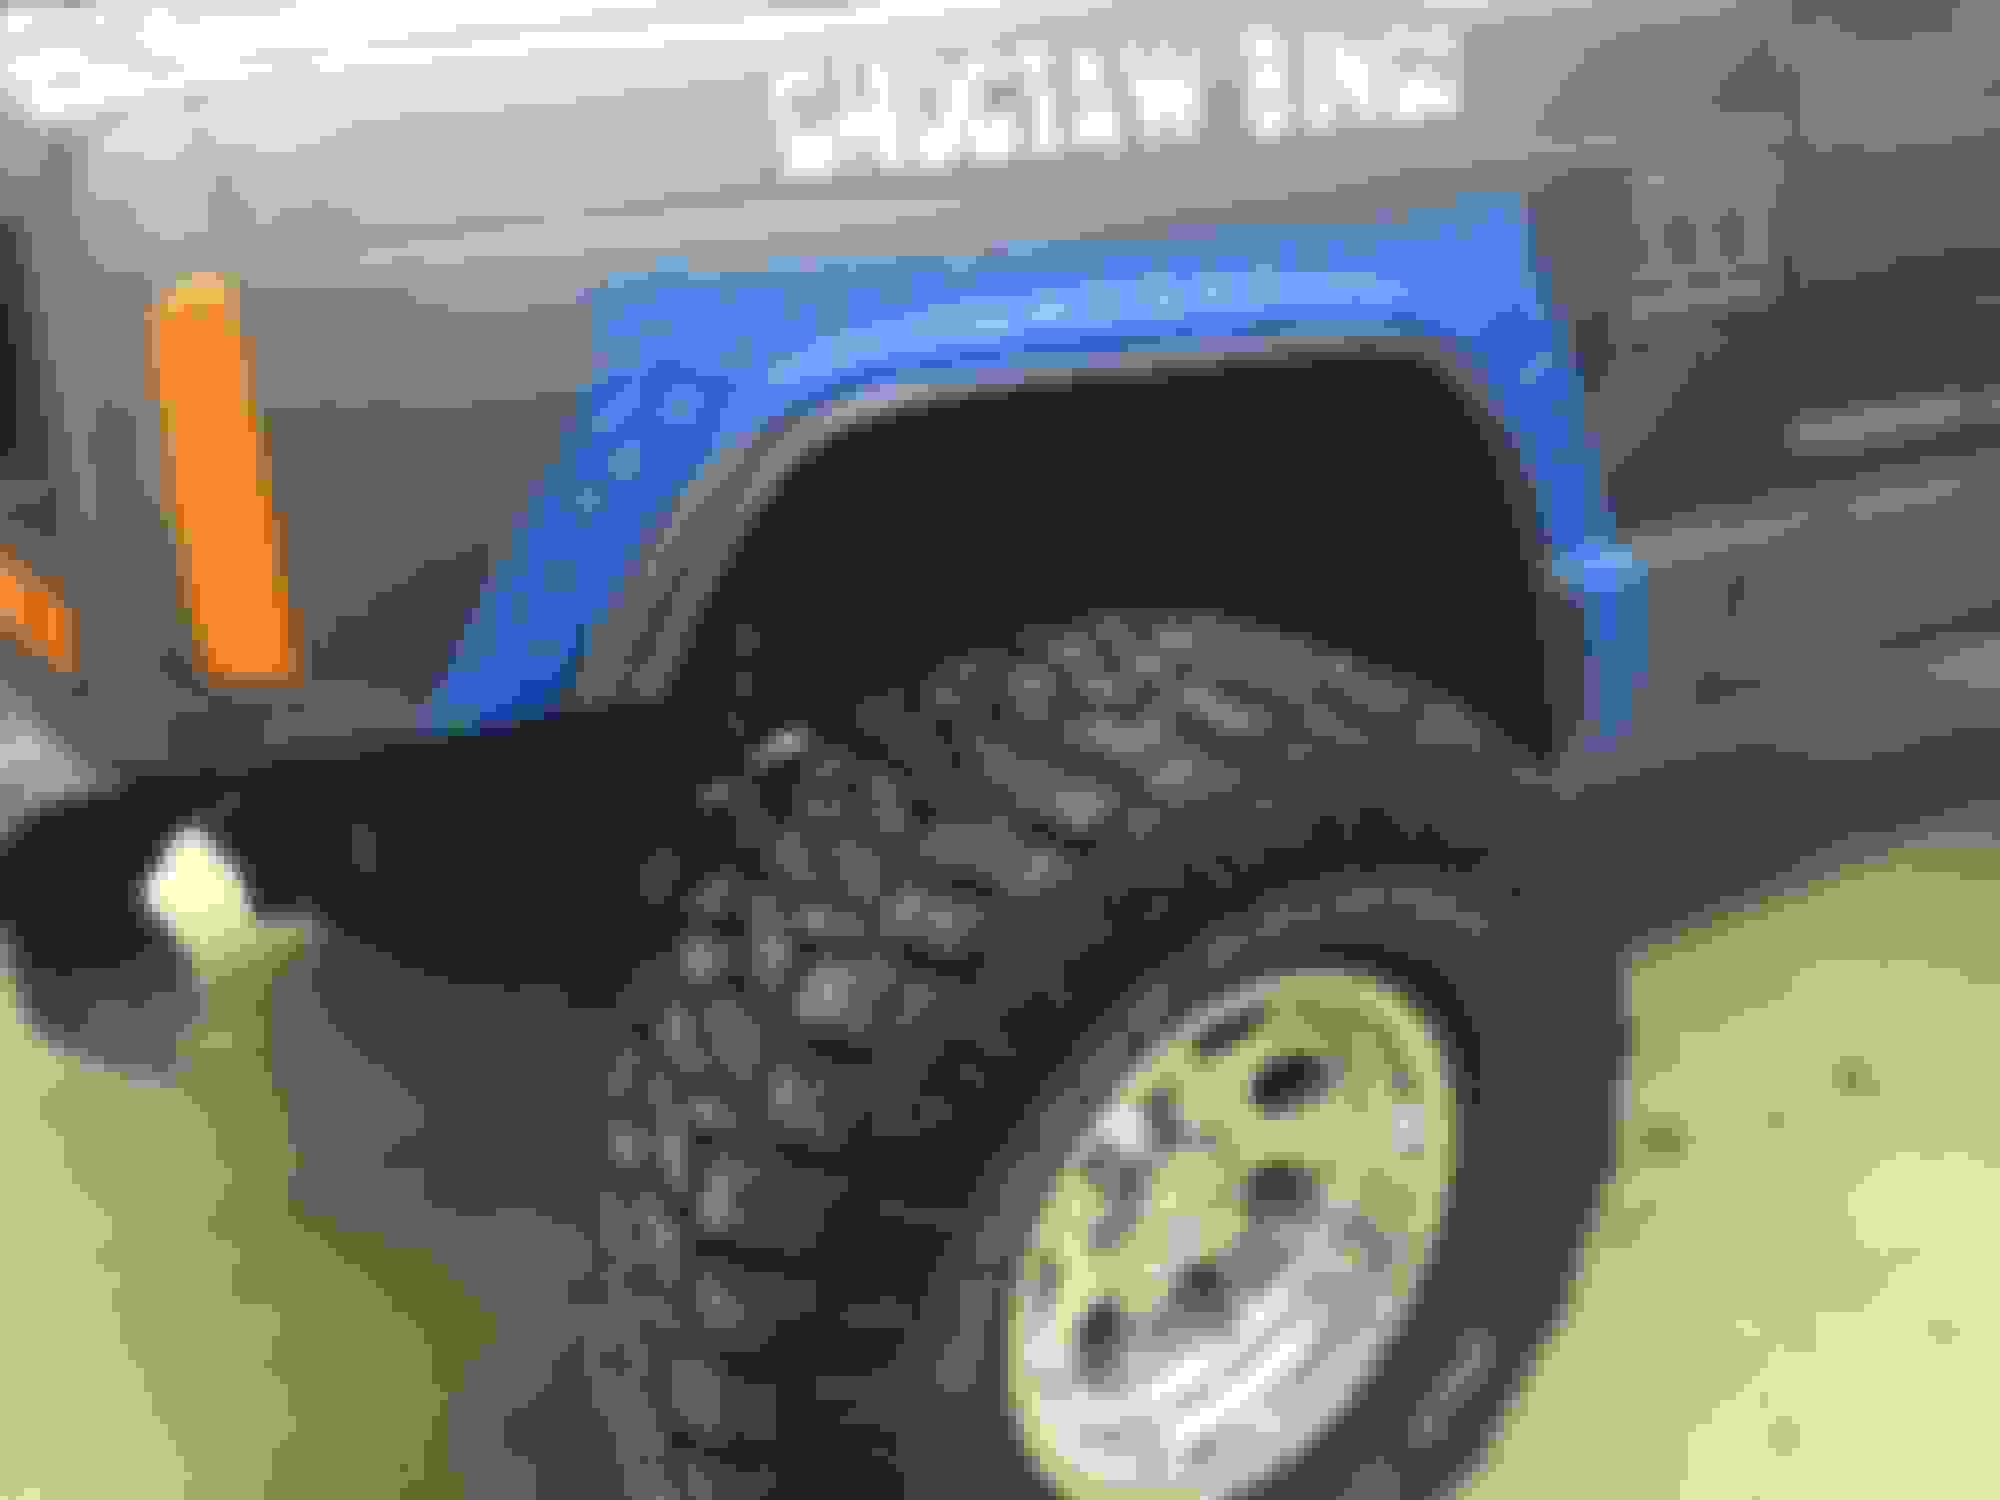
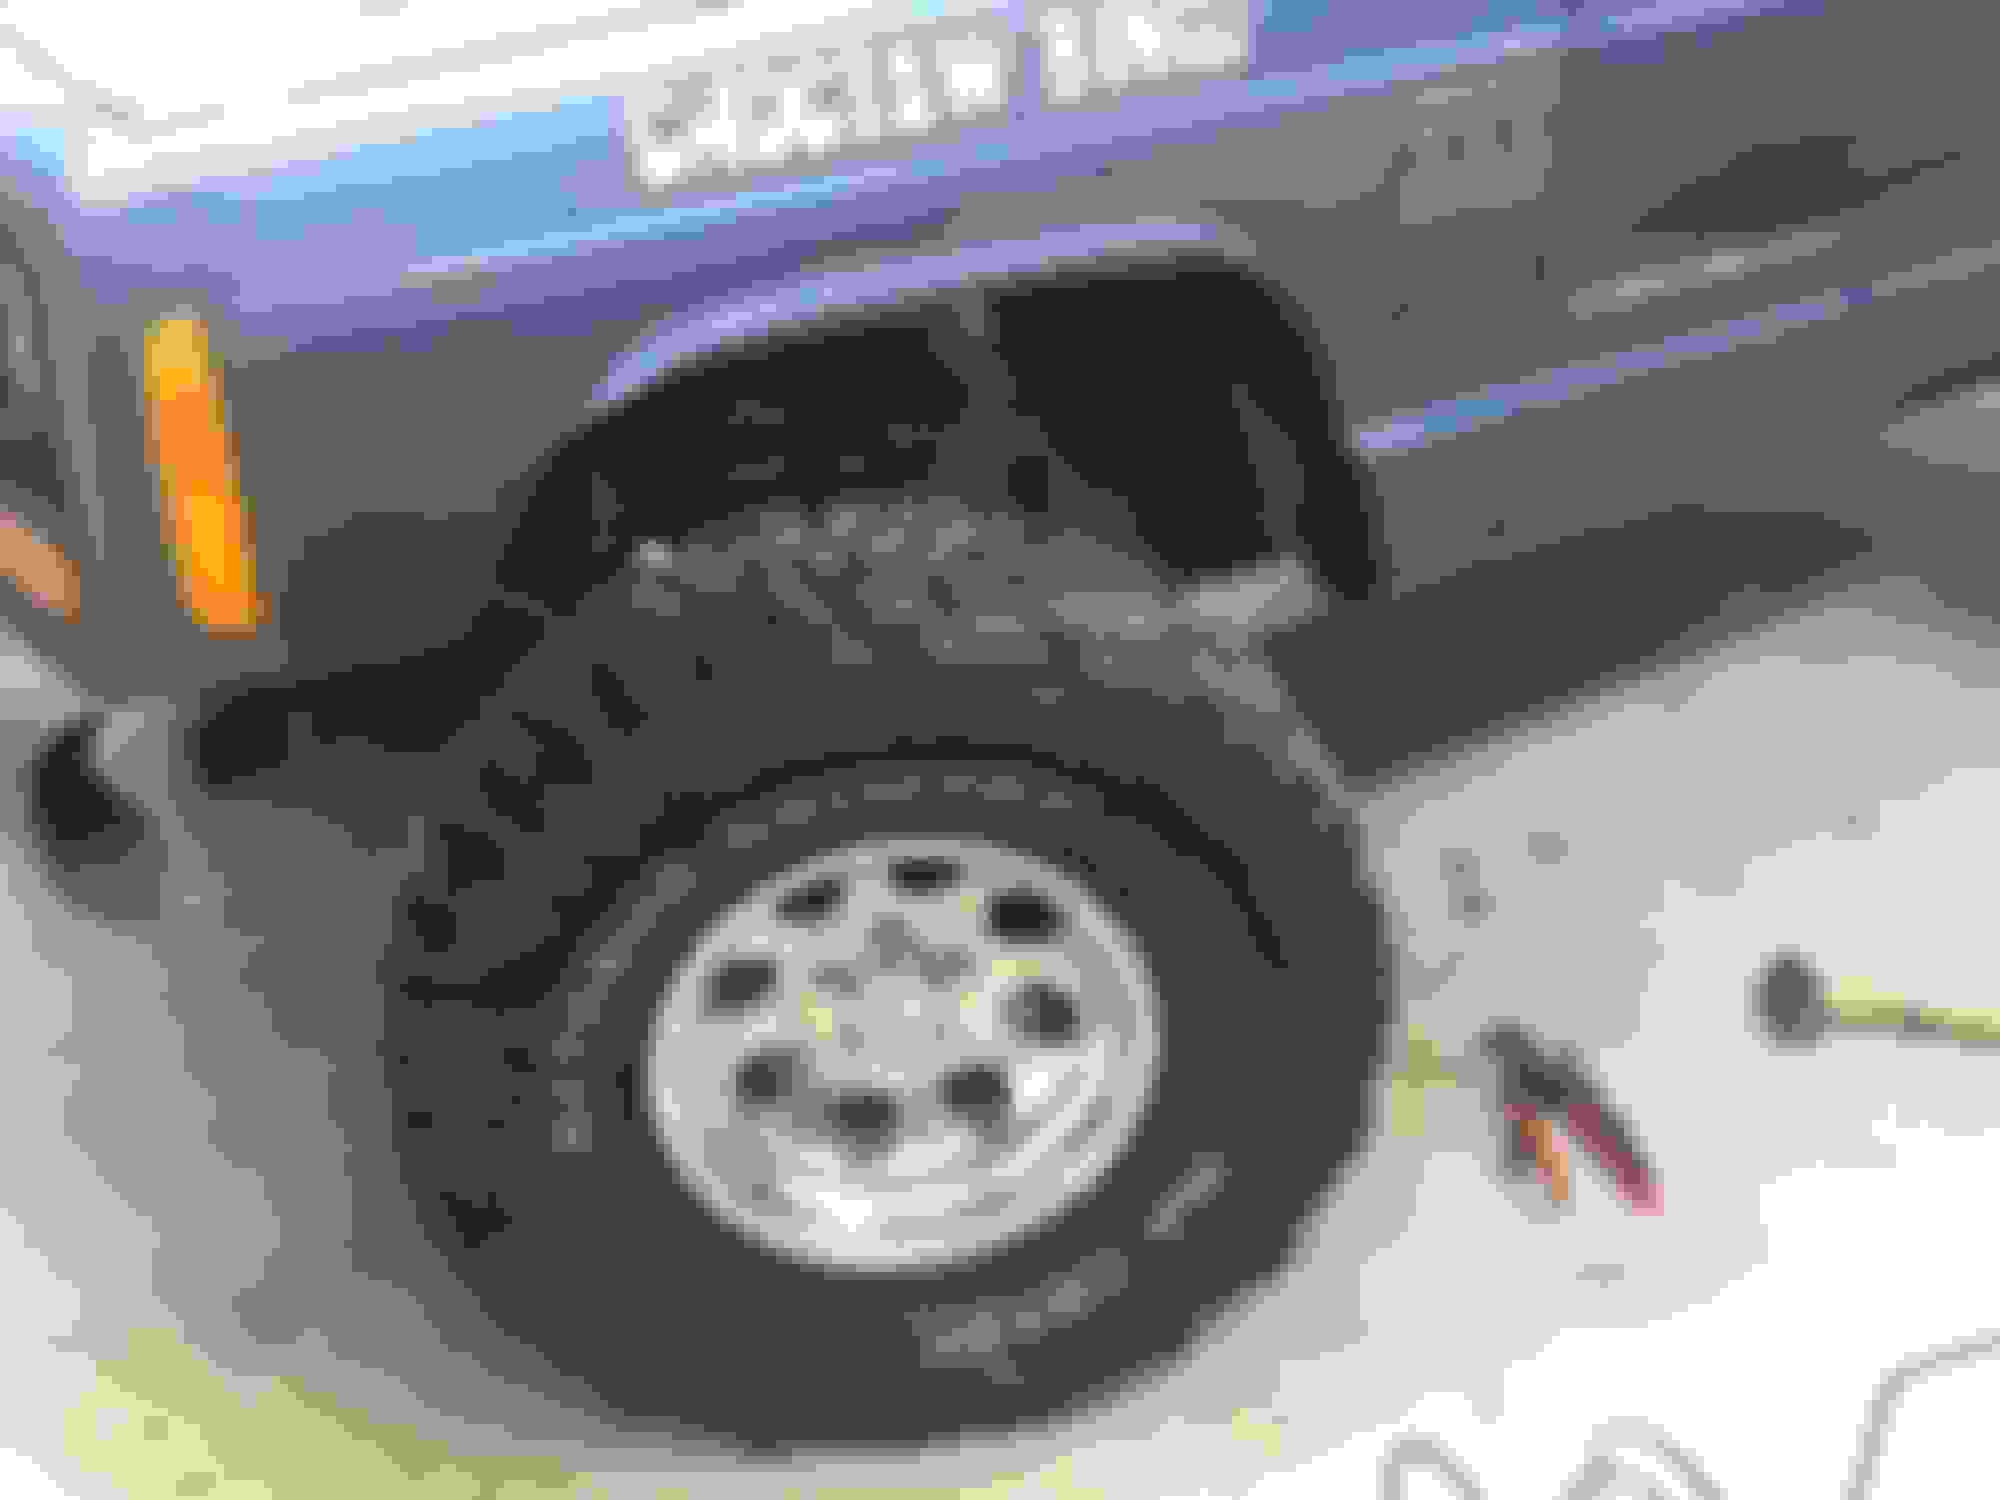
Among my stack of parts, I found a box full of Bushwacker flat flares. It's almost too pretty to cut up, but I need more room for the tires.
I got the additional holes drilled and the inner structure pieces mocked up so that I could mark my cut lines.
I was using a jigsaw, so I put painters tape along the border to protect the paint.
And there you have it, that metal sliced like butter.
I mounted the inner structural pieces, slid the flares on, marked and cut the lines on the bumper cap. I'll be doing some additional cutting on those to clean the overall profile up.
Before:
After:
(So much room for activities!!)
Before:
After:
One down, three to go. I'm not fully mounting these with the screws and adhesive tape yet. Once I get them all mocked up and the bumper caps cut, the flares and caps are going to get paint matched to the body. I'll have the grill and headlight surrounds painted a different color for some contrast.
Looking good! I thought the rear flares were more of a pain to install then the front. Less cutting but more folding. And then the rear bumper caps... I wont even talk about trimming them. Good luck!
Awesome. That looks killer. Again, I love the blue jeeps with chrome wheels. Beautiful!
Thank you kindly, I'm very happy with how it has turned out.
Originally Posted by 5-Speed
Looking good! I thought the rear flares were more of a pain to install then the front. Less cutting but more folding. And then the rear bumper caps... I wont even talk about trimming them. Good luck!
Thank you. And I appreciate the heads up. From the write up that I was using it didn't look like the rears had much more to it than the fronts, I guess I'll find out soon enough. I'll probably work on the front passenger side this evening and will start on the rears if I have time. What makes the rear cap trimming more difficult?
Thank you. And I appreciate the heads up. From the write up that I was using it didn't look like the rears had much more to it than the fronts, I guess I'll find out soon enough. I'll probably work on the front passenger side this evening and will start on the rears if I have time. What makes the rear cap trimming more difficult?
What makes the trimming the worst is the fact that you cant bolt the cap on and trace a line down it like the front. The cap will literally run in to the flare if you try to install it. So you have to guess on how far you need to cut. Plus, you have to cut it on an angle. Getting it to line up flush with the flare and have no gap is the nightmare. You can see on mine, it is fairly close right now. I still need to cut more off the top of the cap. The whole cap sits at an angle right now leaving a small gap at the bottom. Lots of cutting, checking and more cutting. Just take your time and cut small sections. If you want, I can take some measurements off mine tonight to give you a rough idea on where to start.
What makes the trimming the worst is the fact that you cant bolt the cap on and trace a line down it like the front. The cap will literally run in to the flare if you try to install it. So you have to guess on how far you need to cut. Plus, you have to cut it on an angle. Getting it to line up flush with the flare and have no gap is the nightmare. You can see on mine, it is fairly close right now. I still need to cut more off the top of the cap. The whole cap sits at an angle right now leaving a small gap at the bottom. Lots of cutting, checking and more cutting. Just take your time and cut small sections. If you want, I can take some measurements off mine tonight to give you a rough idea on where to start.
That makes sense, I hadn't even thought about that. I'll start with taking measurements from the rear of the Jeep to the flares and see how that goes. Thanks for the advice.
Originally Posted by TFitzPat87
To add to the rear, you cant just cut it with a jigsaw like the front. There are pinch welds that can't be cut out.
I'm not quite understanding here, it looks to be the same/similar set up as in the front. What am I missing?
Originally Posted by 3link94xj
i ilke it
Thank you, I appreciate it.
Originally Posted by 5-Speed
X2 on that one. Do not cut past the pinch point!
I guess I'm going to have to do some more research before I tackle the rear, I'm not sure what it is that I'm missing here.

 08-23-2016, 07:20 AM


 )
)