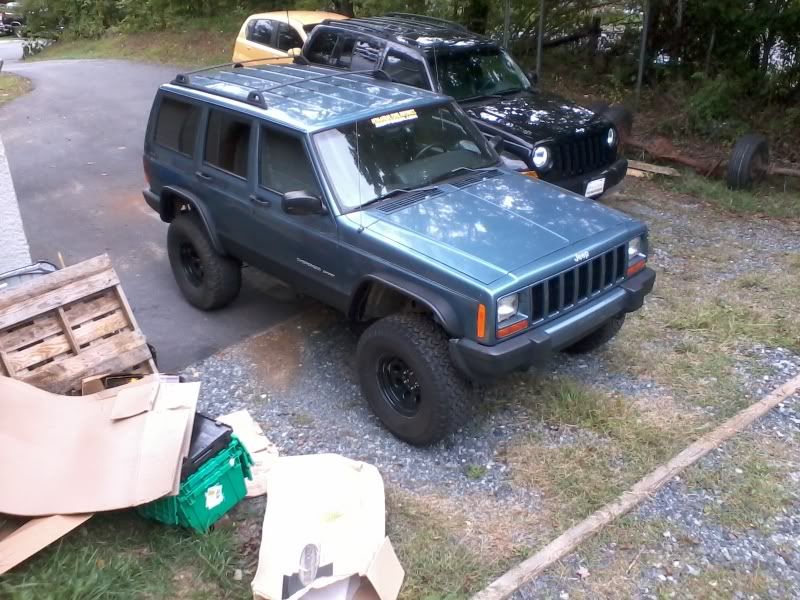
biggn235's XJ Sport build

Thread Starter
Seasoned Member
Joined: Aug 2011
Posts: 328
Likes: 0
From: Boone, NC
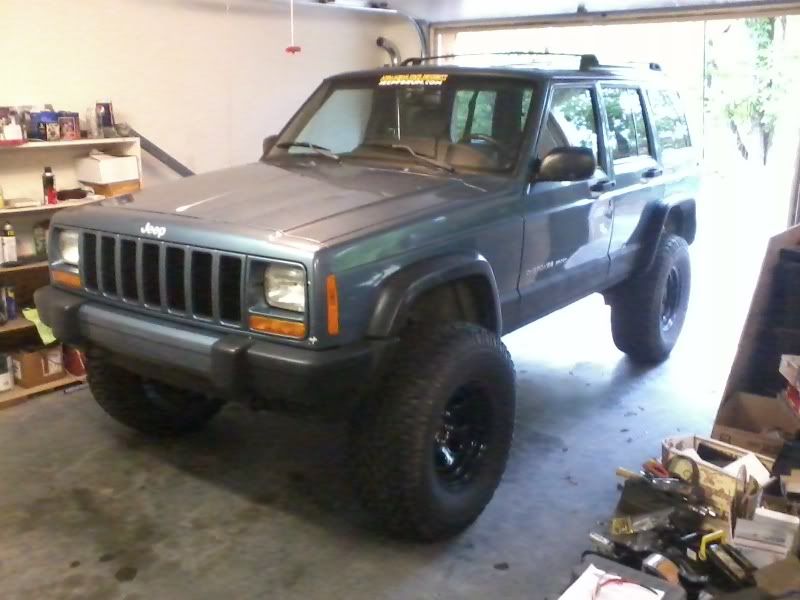
Year: 1998
Model: Cherokee
Engine: 4.0L I6
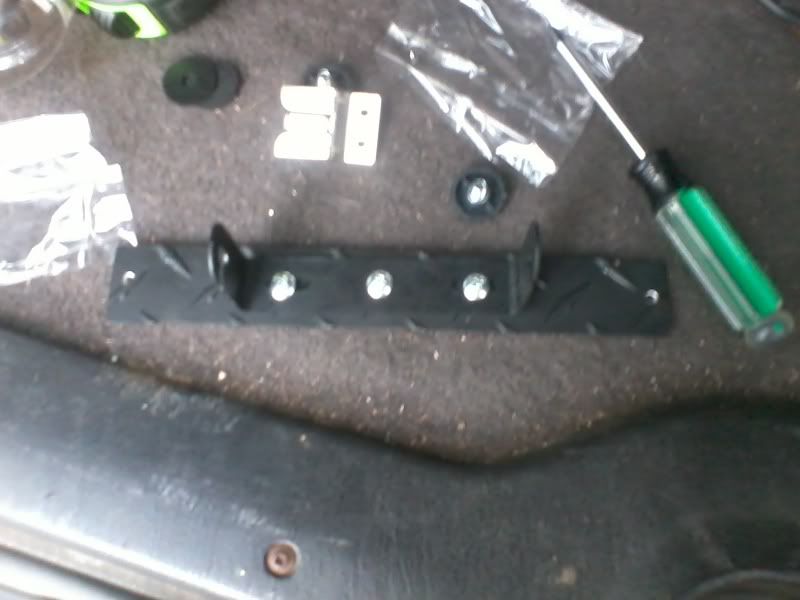
Finished the CB bracket.
Test fit.

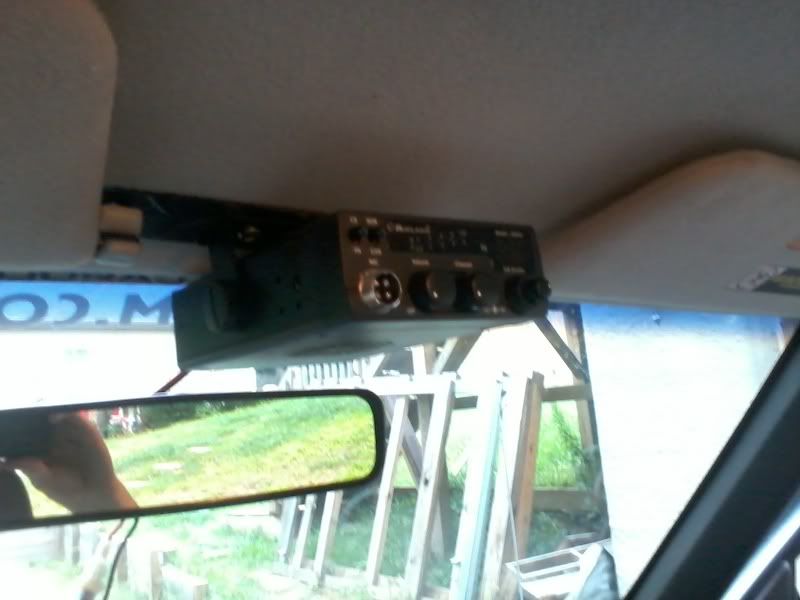
PA installed.

Wired up and running.

How it will be while I'm driving.
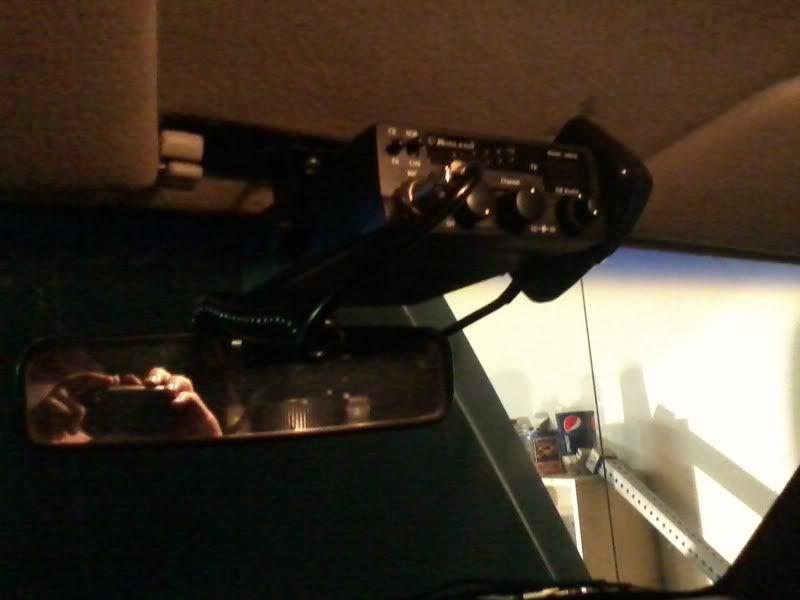
Still isn't fully functional yet, I bought the wrong connector for my coax cable so I can't connect it to the antenna just yet, but at least I can yell at people through the PA. I also ordered a Firestik quick disconnect for the antenna so that I'll be able to get in the garage without having to unscrew the antenna every time.
I briefly considered buying the Rough Country disconnects, but remembered that I needed to get gas, so I spent all my money on that instead
I have to run to town for awhile but when I get back I'm going to start on the rear flares.
Test fit.
PA installed.
Wired up and running.
How it will be while I'm driving.
Still isn't fully functional yet, I bought the wrong connector for my coax cable so I can't connect it to the antenna just yet, but at least I can yell at people through the PA. I also ordered a Firestik quick disconnect for the antenna so that I'll be able to get in the garage without having to unscrew the antenna every time.
I briefly considered buying the Rough Country disconnects, but remembered that I needed to get gas, so I spent all my money on that instead
I have to run to town for awhile but when I get back I'm going to start on the rear flares.
Thread Starter
Seasoned Member
Joined: Aug 2011
Posts: 328
Likes: 0
From: Boone, NC
Year: 1998
Model: Cherokee
Engine: 4.0L I6
Didn't make much progress, it's really late and I don't want to start cutting and wake the roommates/neighbors, so I'm going to hold off till tomorrow. No class and no work all day so I should make some progress.
Starting.
Goodbye stock flares. Both sides are marked and ready to be cut. I'll pick it back up tomorrow.
Starting.
Goodbye stock flares. Both sides are marked and ready to be cut. I'll pick it back up tomorrow.
Thread Starter
Seasoned Member
Joined: Aug 2011
Posts: 328
Likes: 0
From: Boone, NC
Year: 1998
Model: Cherokee
Engine: 4.0L I6
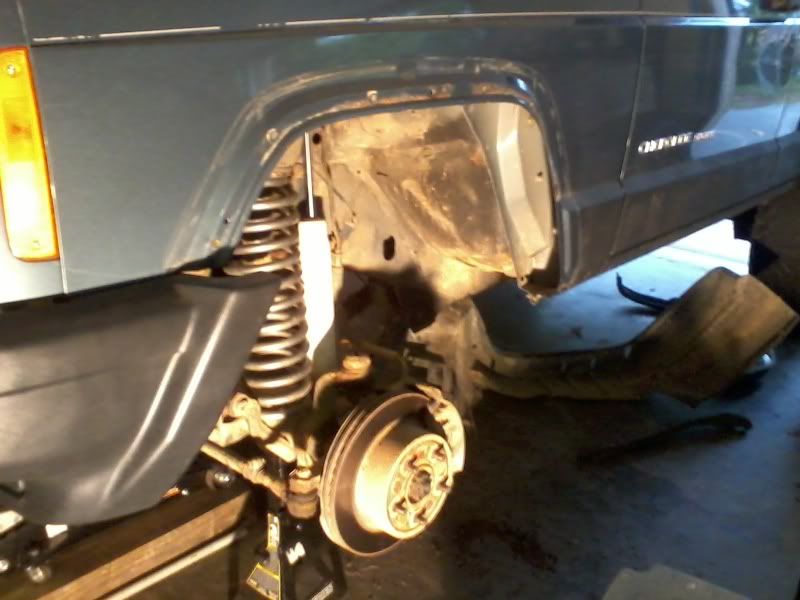
Got stuff done today.
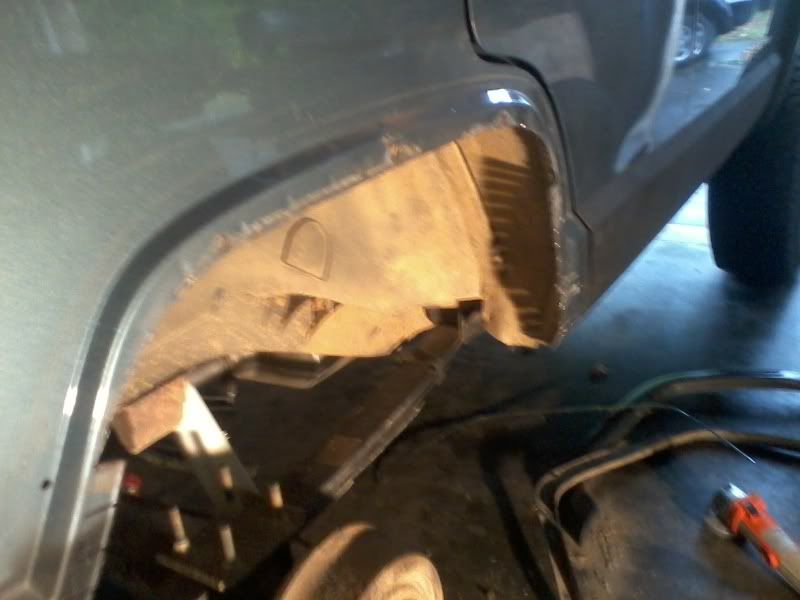
First thing, cut lip off.
Test fit inner flare to use as guide.
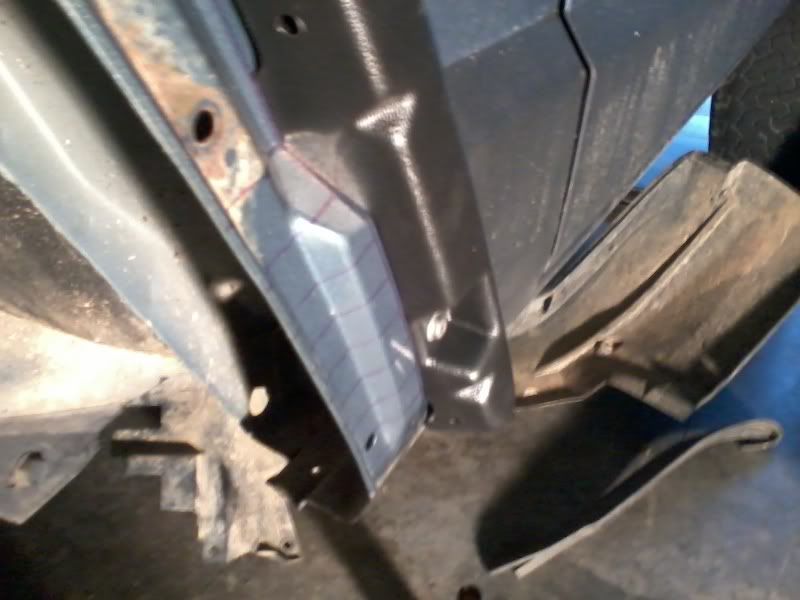
Mark cut lines.
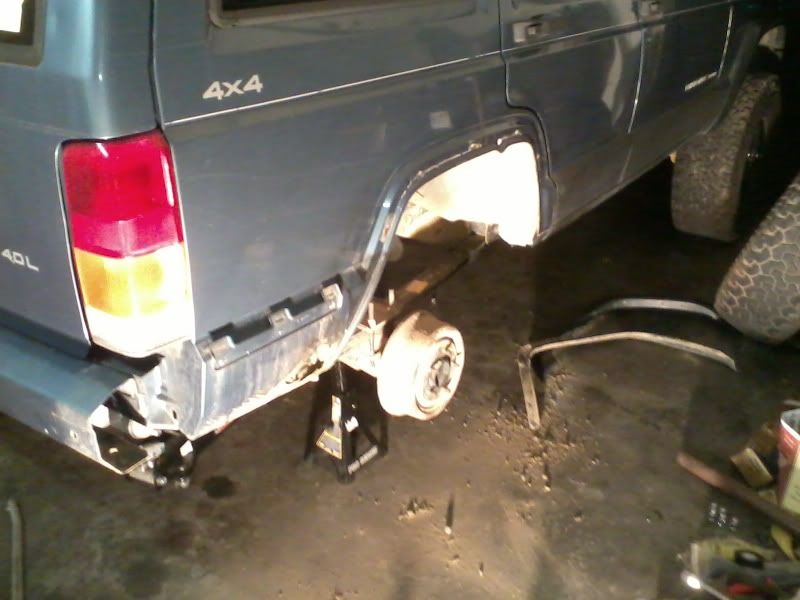
Remove inner flare and cut.
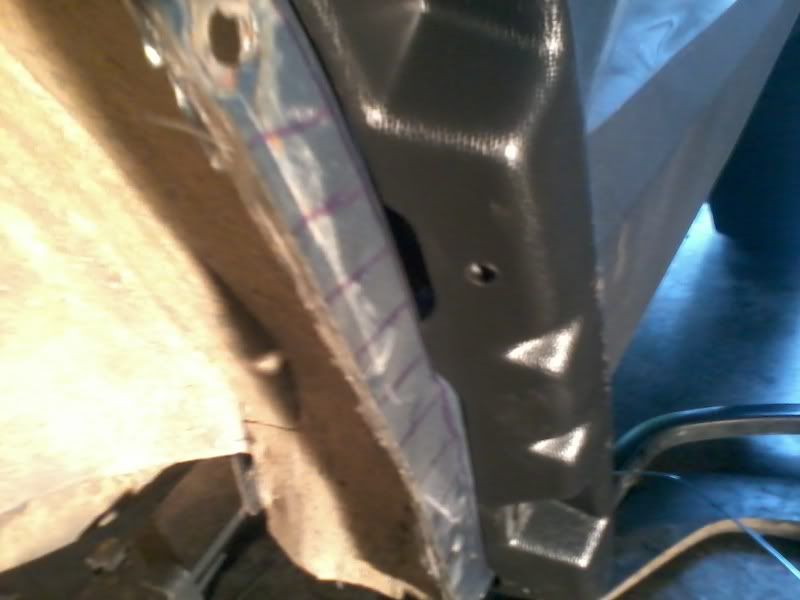
Notch lower fender.

Bend back.

Hammer flush.
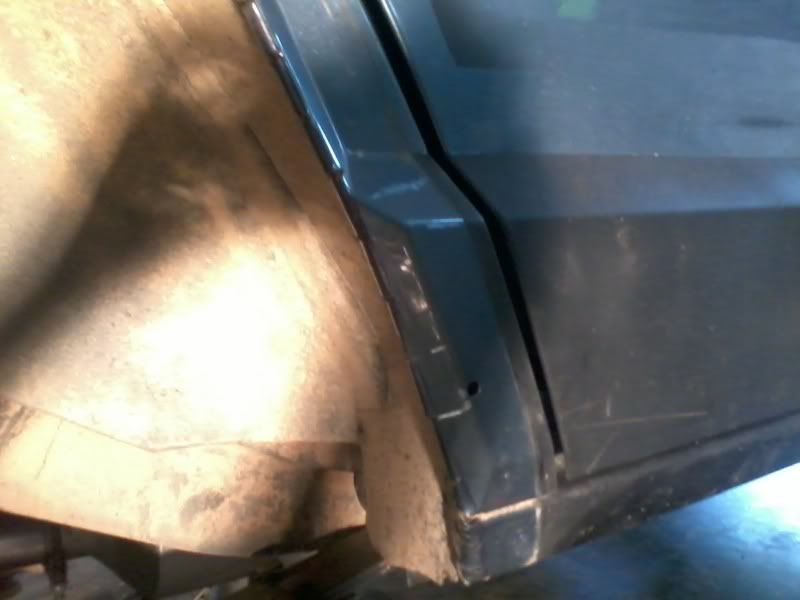
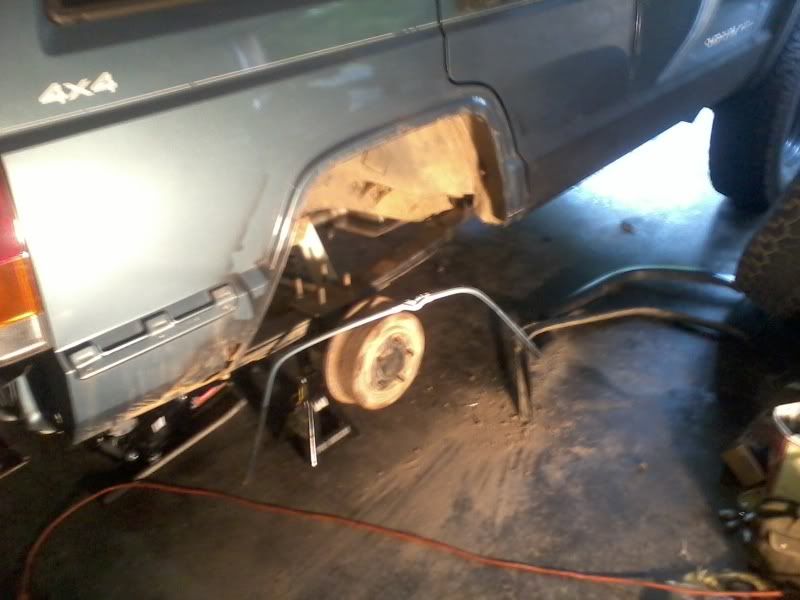
Cutting done, fender opened up.
Reinstall inner flares.
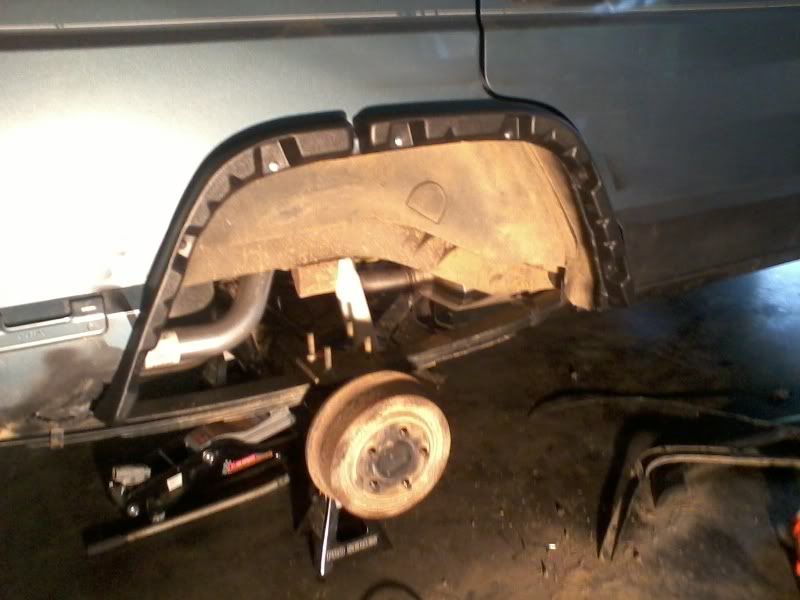
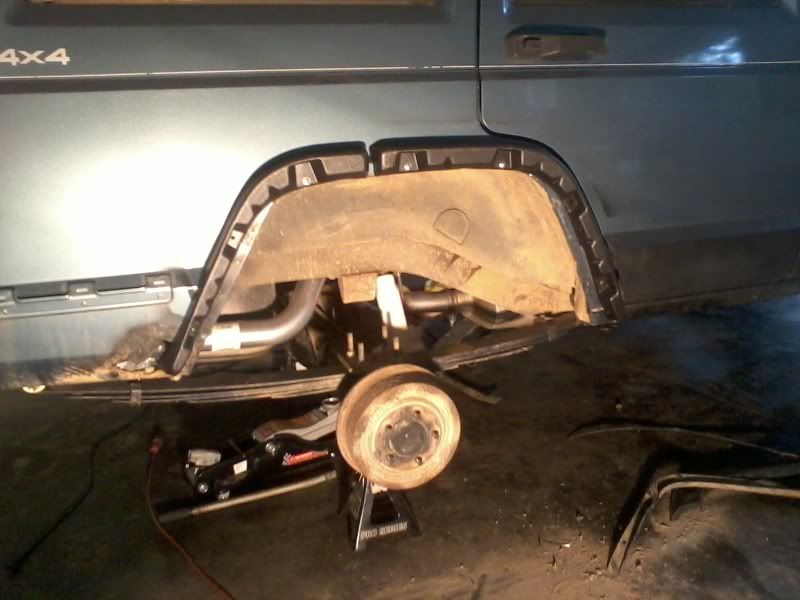
Align and install outer flare.
Trim factory bumper cap if you desire, I made a lot of measurements and a lot of small cuts to get it as close as I could.
Driver's side is done too, I did both sides at the same time so that I would know exactly what to do and wouldn't skip any steps.
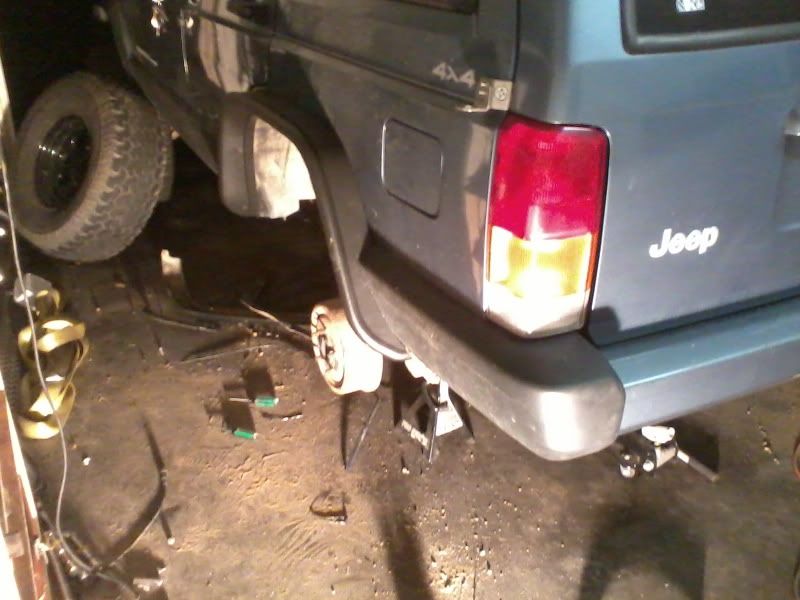
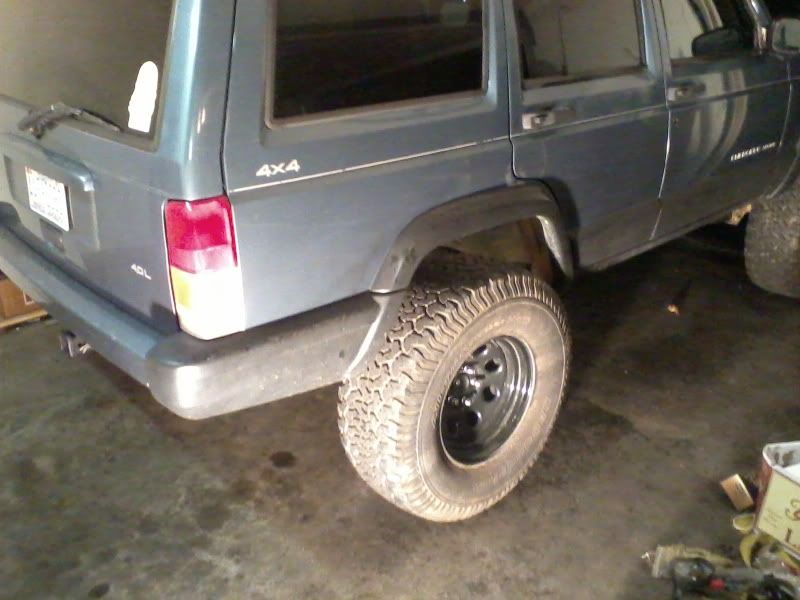
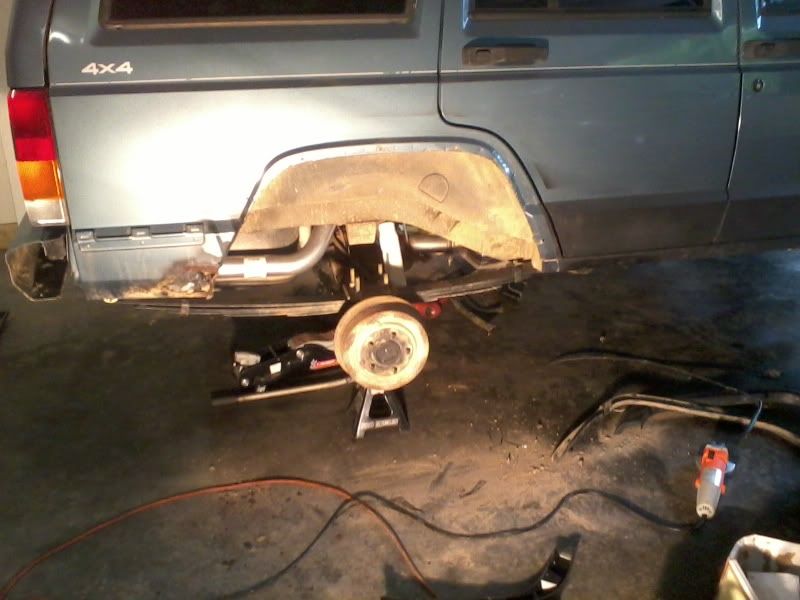
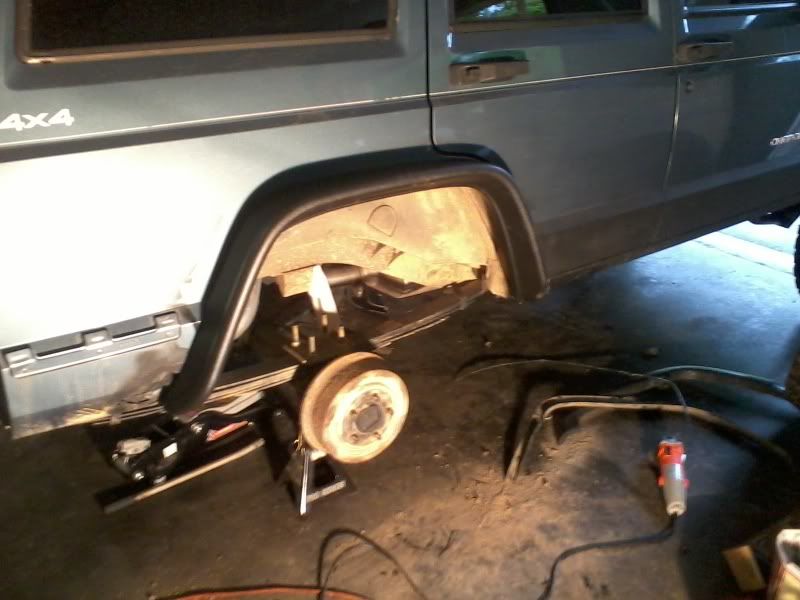
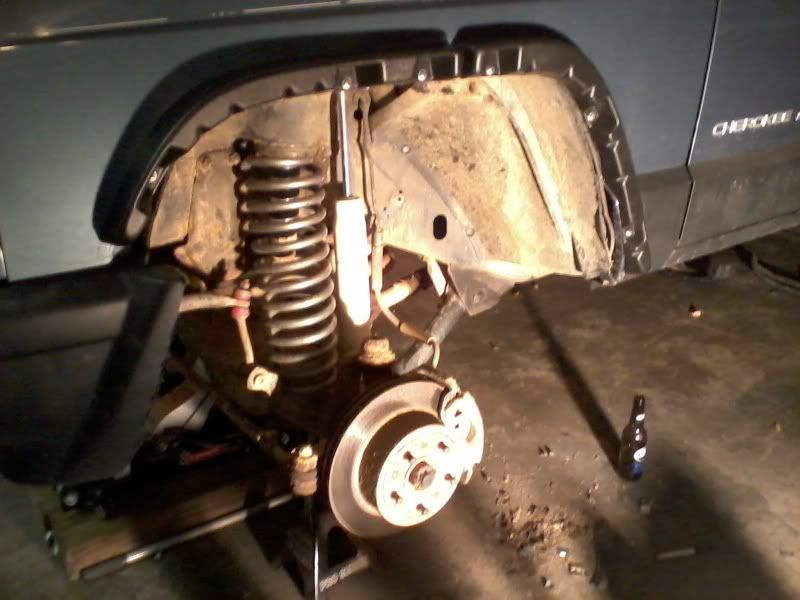
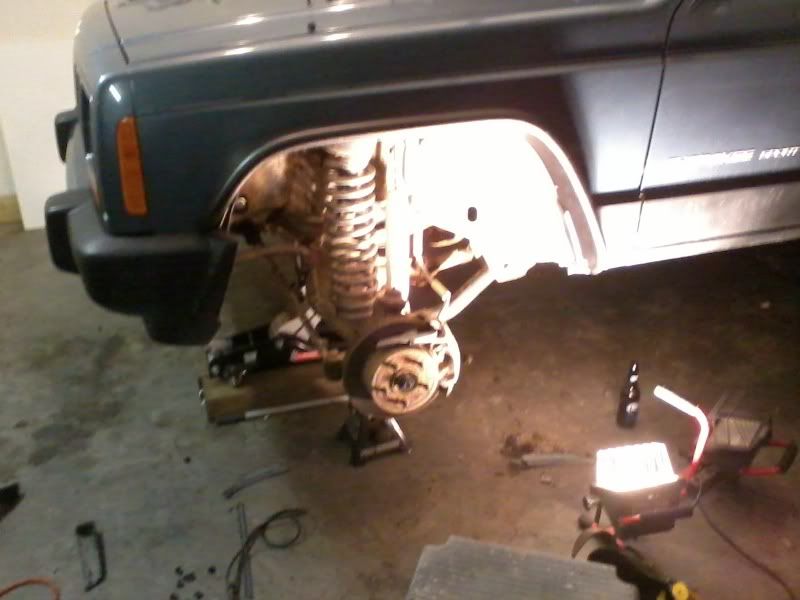
All finished with the rear.
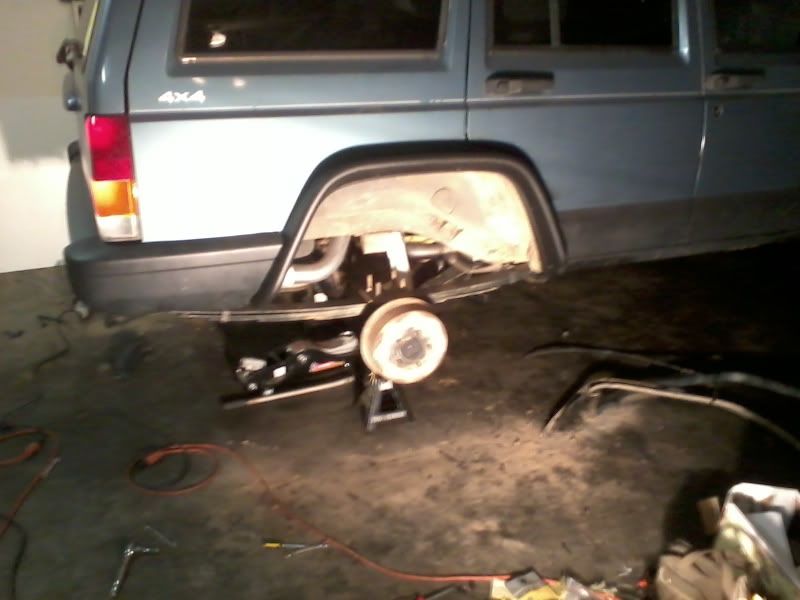
Back on all four!
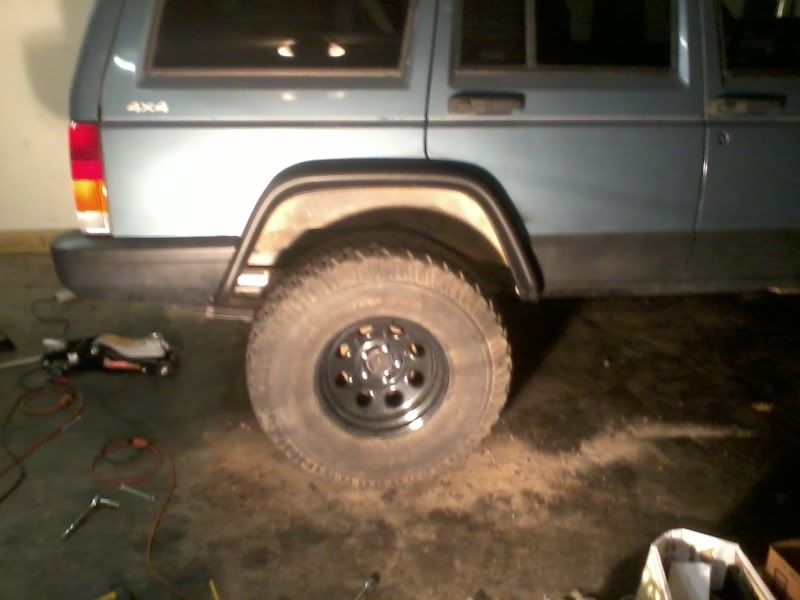
The flares look great I really like them, however I do not like the tufflocks that hold the corners of the flares on, they are just little plastic studs that are already bending outward away from the Jeep. I didn't use the included adhesive with the flares because I plan on going back, taking them off, and redoing the corners with some self tapping screws or something similar to make it a little more solid, I don't like plastic connectors.
Overall the rear was a very straightforward install, I had no problems doing it alone with basic tools.
First thing, cut lip off.
Test fit inner flare to use as guide.
Mark cut lines.
Remove inner flare and cut.
Notch lower fender.
Bend back.
Hammer flush.
Cutting done, fender opened up.
Reinstall inner flares.
Align and install outer flare.
Trim factory bumper cap if you desire, I made a lot of measurements and a lot of small cuts to get it as close as I could.
Driver's side is done too, I did both sides at the same time so that I would know exactly what to do and wouldn't skip any steps.
All finished with the rear.
Back on all four!
The flares look great I really like them, however I do not like the tufflocks that hold the corners of the flares on, they are just little plastic studs that are already bending outward away from the Jeep. I didn't use the included adhesive with the flares because I plan on going back, taking them off, and redoing the corners with some self tapping screws or something similar to make it a little more solid, I don't like plastic connectors.
Overall the rear was a very straightforward install, I had no problems doing it alone with basic tools.
Seasoned Member
Joined: Sep 2010
Posts: 413
Likes: 0
From: Camp Casey South Korea
Year: 1993
Model: Cherokee
Engine: 4.0
Got stuff done today.
First thing, cut lip off.
Test fit inner flare to use as guide.
Mark cut lines.
Remove inner flare and cut.
Notch lower fender.
Bend back.
Hammer flush.
Cutting done, fender opened up.
Reinstall inner flares.
Align and install outer flare.
Trim factory bumper cap if you desire, I made a lot of measurements and a lot of small cuts to get it as close as I could.
Driver's side is done too, I did both sides at the same time so that I would know exactly what to do and wouldn't skip any steps.
All finished with the rear.
Back on all four!
The flares look great I really like them, however I do not like the tufflocks that hold the corners of the flares on, they are just little plastic studs that are already bending outward away from the Jeep. I didn't use the included adhesive with the flares because I plan on going back, taking them off, and redoing the corners with some self tapping screws or something similar to make it a little more solid, I don't like plastic connectors.
Overall the rear was a very straightforward install, I had no problems doing it alone with basic tools.
Thread Starter
Seasoned Member
Joined: Aug 2011
Posts: 328
Likes: 0
From: Boone, NC
Year: 1998
Model: Cherokee
Engine: 4.0L I6
Yeah I want to get 35s later on down the road, but I want to get 1.5-2" more inches of lift before I do that, so my 33s will be fine for now. What did you use instead of the plastic connectors? I want to use self tapping screws but I've already drilled the hole for the tufflocks.
Seasoned Member
Joined: Dec 2009
Posts: 269
Likes: 1
From: Eastern NC
Year: 93
Model: Grand Cherokee
Engine: 5.2
Good job on those bumper caps. Looks super clean..
Do you happen to know Trey McClanahan? He's a friend of mine who lives in Boone and goes to ASU. He drives a blue xj, I think.
Do you happen to know Trey McClanahan? He's a friend of mine who lives in Boone and goes to ASU. He drives a blue xj, I think.
Thread Starter
Seasoned Member
Joined: Aug 2011
Posts: 328
Likes: 0
From: Boone, NC
Year: 1998
Model: Cherokee
Engine: 4.0L I6
I don't know a Trey, what year is he? There are a ton of XJs and Jeeps in general up here.
Seasoned Member
Joined: Sep 2010
Posts: 413
Likes: 0
From: Camp Casey South Korea
Year: 1993
Model: Cherokee
Engine: 4.0
Yeah I want to get 35s later on down the road, but I want to get 1.5-2" more inches of lift before I do that, so my 33s will be fine for now. What did you use instead of the plastic connectors? I want to use self tapping screws but I've already drilled the hole for the tufflocks.

They are holding good so far.
Thread Starter
Seasoned Member
Joined: Aug 2011
Posts: 328
Likes: 0
From: Boone, NC
Year: 1998
Model: Cherokee
Engine: 4.0L I6
Finished the front flares today. I REALLY like the way the fronts mount, there are no stupid plastic "tufflocks" or screws, it's just 6 bolts with washers and flange nuts. They are very sturdy compared to the rears.
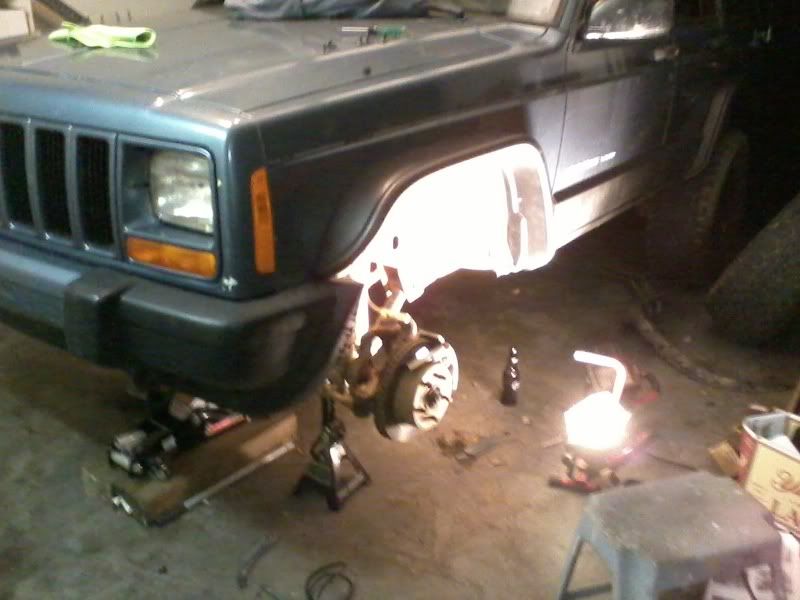
Pulled into the garage, last picture with the stock flares.
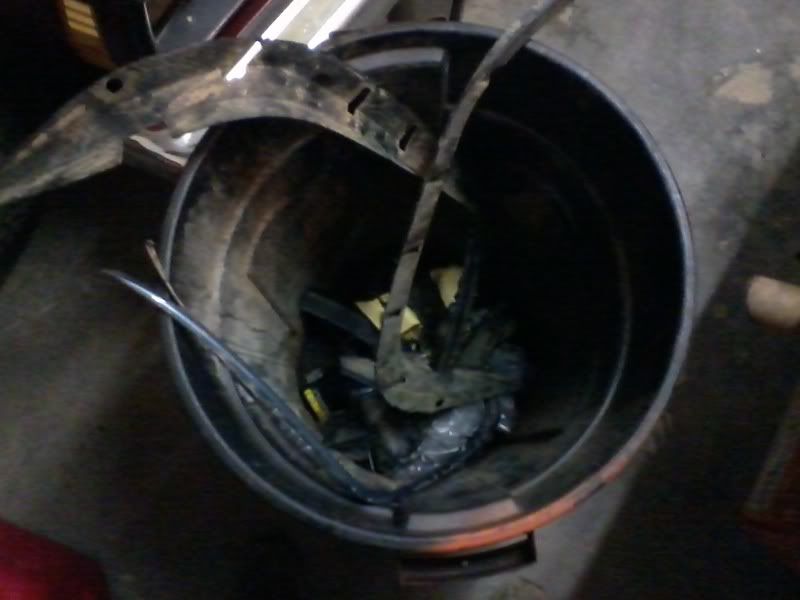
Gone.
Mocking up bolt holes.
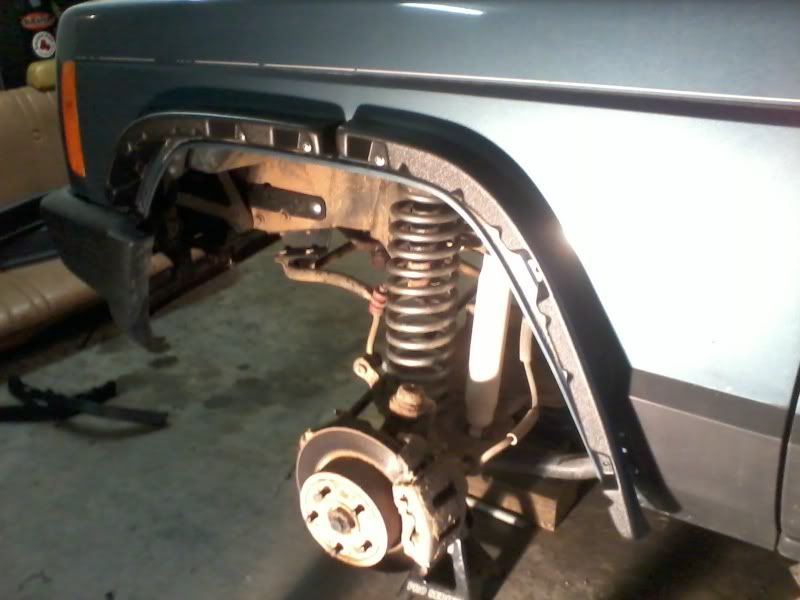
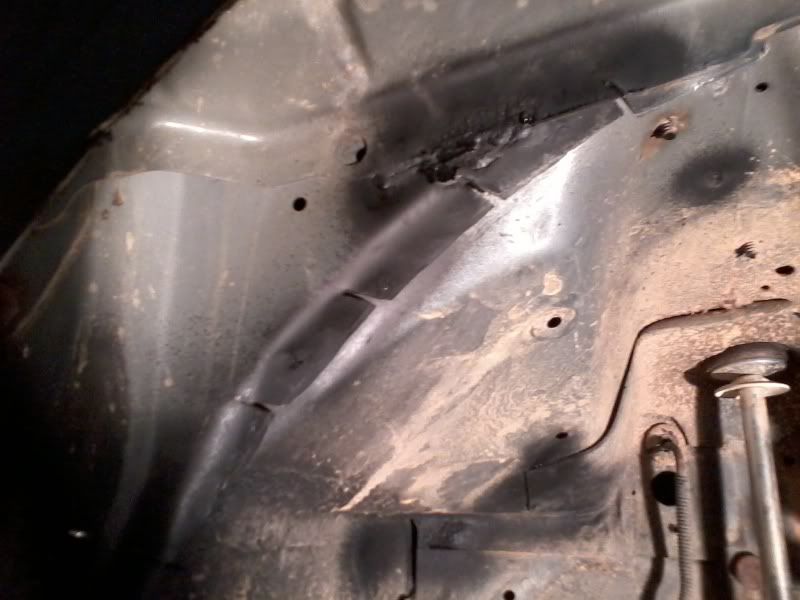
Marking cut lines.
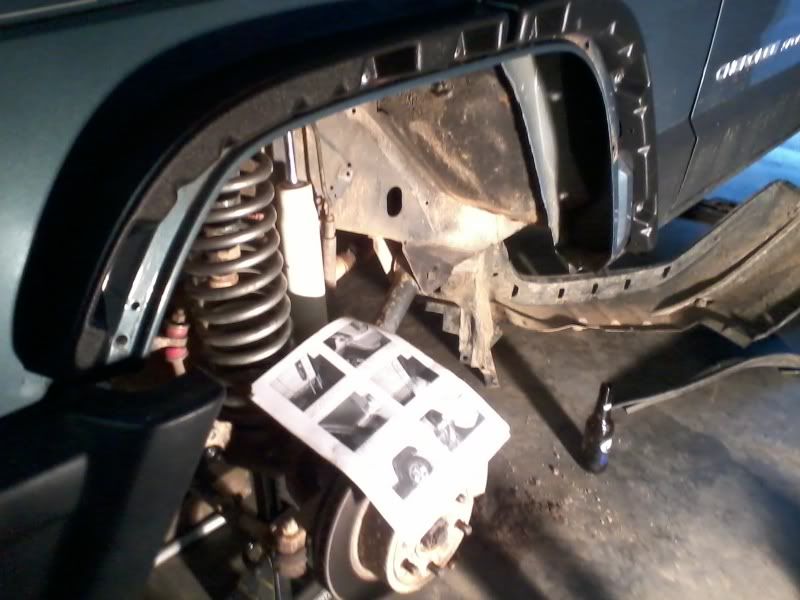
Cut.


Inner flares on.
Outer flares with splash shield and bumper end cap trimmed.

Cut and folded the pinch weld, also sprayed all exposed metal with Rustoleum.
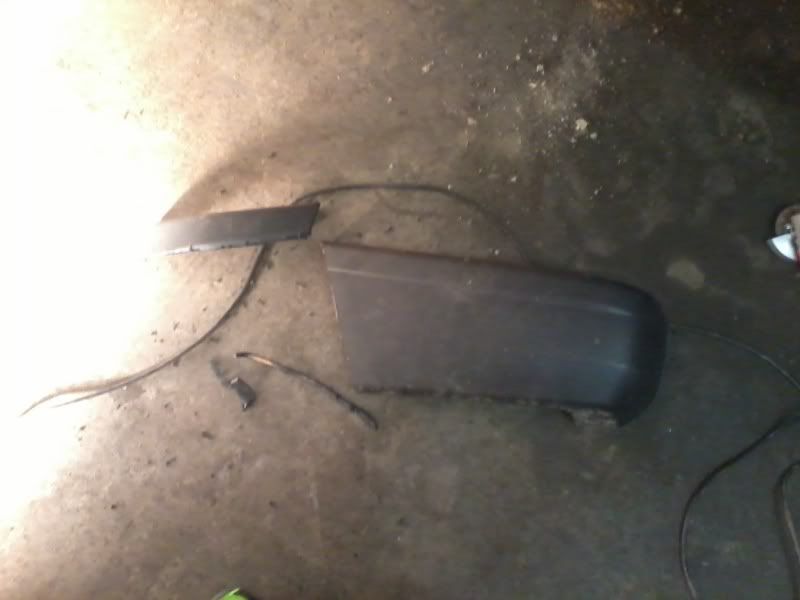
Trashed.
Back on the ground again.
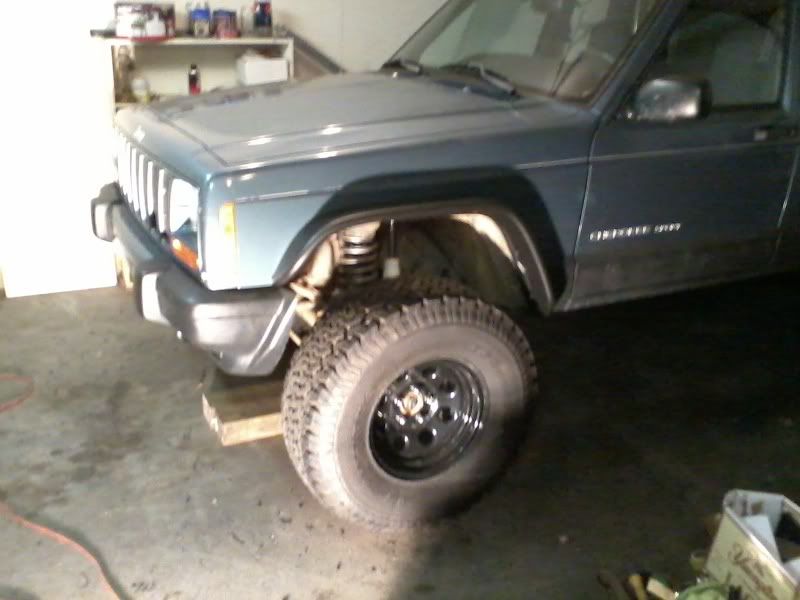
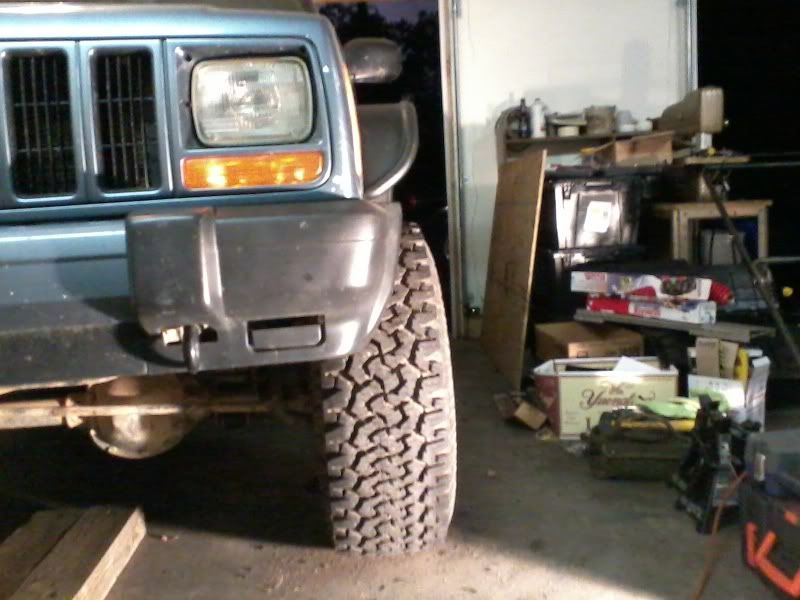
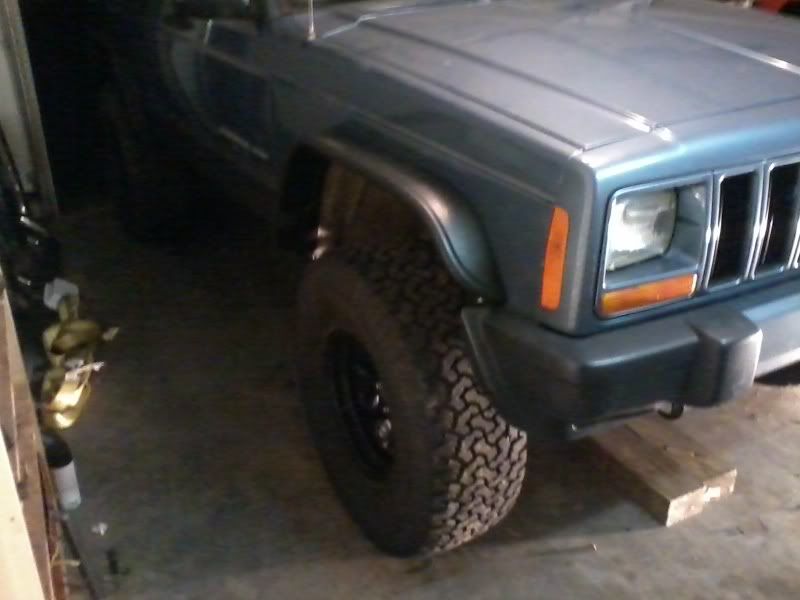
No more rubbing!
Pulled into the garage, last picture with the stock flares.
Gone.
Mocking up bolt holes.
Marking cut lines.
Cut.
Inner flares on.
Outer flares with splash shield and bumper end cap trimmed.
Cut and folded the pinch weld, also sprayed all exposed metal with Rustoleum.
Trashed.
Back on the ground again.
No more rubbing!
Thread Starter
Seasoned Member
Joined: Aug 2011
Posts: 328
Likes: 0
From: Boone, NC
Year: 1998
Model: Cherokee
Engine: 4.0L I6
Stephen's XJ on the other hand, is not going to be much of a street Jeep haha, it got sized up for new shoes today.
39.5x13.5" IROKS

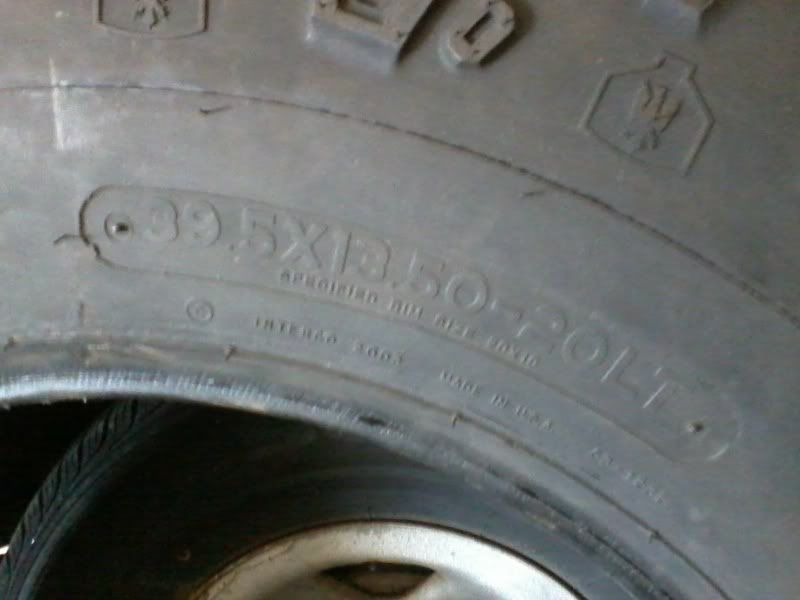
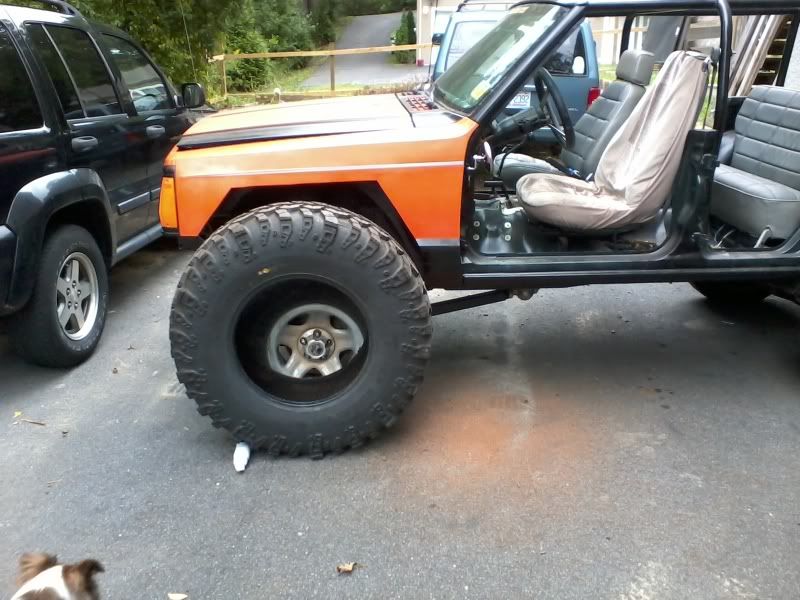
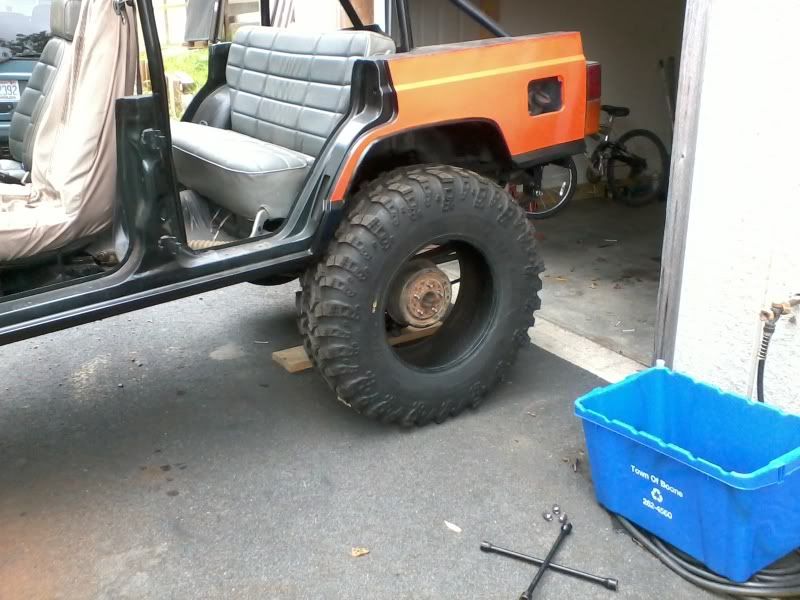
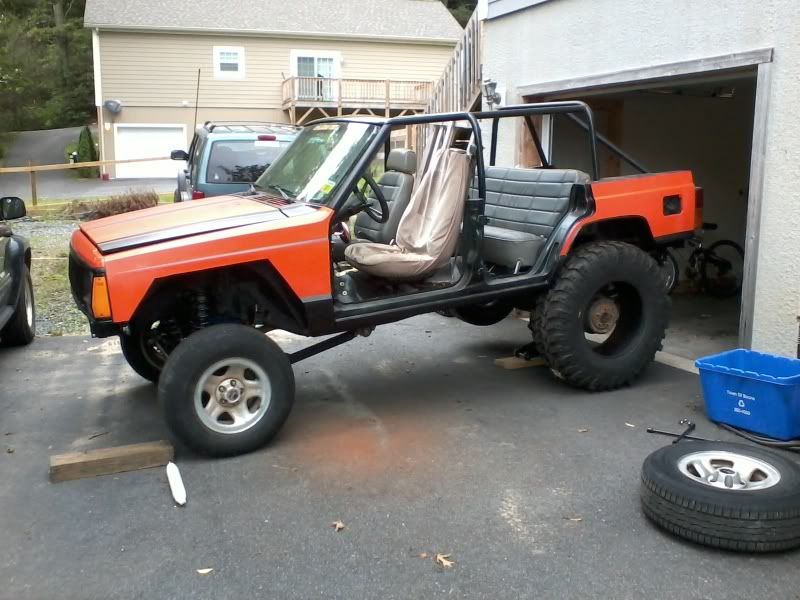
And just for fun. I doubt I'll ever go this big.


39.5x13.5" IROKS
And just for fun. I doubt I'll ever go this big.