When you click on links to various merchants on this site and make a purchase, this can result in this site earning a commission. Affiliate programs and affiliations include, but are not limited to, the eBay Partner Network.
The build is looking great and I love that you're being creative with your solutions!! Former Navy guy myself out of SanDog...OS2. Inspiring efforts bro!!
The build is looking great and I love that you're being creative with your solutions!! Former Navy guy myself out of SanDog...OS2. Inspiring efforts bro!!
Mine isn't 100% a trail rig, has to continue to be the daily driver until I pay off the wife's WK2. I'm also trying to keep everything looking as professional as possible because at some point I would like to be able to show this Jeep. I mean the paint will always be kind of jacked up because I rattle canned it, but everything else is on point and looks great.
I did some work today putting connectors on my lights. I decided to go with male blades on the negative and females on the positive so that when I do the wiring if I were to need to replace one or disconnect something they can't be reconnected improperly
Last edited by Ozark Mountain Ranger; 05-20-2018 at 02:58 PM.
so I started a little while ago getting parts and pieces together to build a cowl intake from scratch. The price charged by Trailhead Offroad I've always felt is a little high for the basic Simplicity of the components. I'll be sure to come back to this post with a price breakdown
The first thing I did was pick up one of these Spectre aluminum mass air flow sensor adapters at my local car parts store. As you can clearly see there's a metal angle in there I cut a piece of 3in OD exhaust 2 and JB Weld epoxy to get in there at an angle so that I could get everything together properly.
Next I picked up some 3in OD buy 18 inch long exhaust pipe the end is flared up to be 3 inch ID. I wanted the extra length so I can make sure I cut it down to the right size but it only really needed to be 12 in with the flex hose that I was using.
The next piece I needed was this flex hose. It came off of a Dodge Dakota I pick n' pulled it in the junkyard for maybe $5 which is a lot better than the $65 they charge for this hose online
Next I hooked everything up including the stock intake flex hose. As you can see the intake pipe is rather close to the engine oil fill cap. It's fine if it touches the valve cover but I'd rather it not be right on the oil fill cap so I'm going to put it in the vice and flatten it out in the middle.
The flex hose on both ends was pretty warm already. The ambient temperature today was a hundred so when I went to flatten out the pipe the ends of the hose reformed with it.
For this project I ordered a unifilter, mainly because it was the best thing I could find for the small space in the cowl compartment.
I thought it would probably be easier with a flexible intake like the unifilter to be able to remove it from the cow side and not have to disturb the engine compartment when I needed to clean the filter so I went ahead and cut a box opening out where the pre-existing indentation is on the body.
I pretty much got everything hooked up at this point. I've only driven it a few miles today but it sounds like I'm running a V8 when I'm about to shift in the three to four thousand RPM range. I will have to make adjustments to this and the future but I'll be sure to post more pictures once I get everything finished.
Last edited by Ozark Mountain Ranger; 05-24-2018 at 10:34 PM.
So I started working on the rest of the paint this week. It's just been a process of going panel by panel and hand washing it, then taping sanding, priming, sanding again, and then painting. I actually did the roof first because it was the largest single panel.
The finished product. I think it looks quite good. I chose to Accent the rear license plate with a flat black inlay. It's probably actually good that I took the housing apart for the rear license plate light because I didn't even know it was burn out.
Rattle can came out pretty good. I imagine a nice buff and polish would make it look even better! Love the cowl intake, I agree with you and can't justify $225 for a few hunks of metal. I will gladly steal some concepts from yours along with many others DIY builds and piece one together for mine so I can finally eliminate the stock airbox.
Rattle can came out pretty good. I imagine a nice buff and polish would make it look even better! Love the cowl intake, I agree with you and can't justify $225 for a few hunks of metal. I will gladly steal some concepts from yours along with many others DIY builds and piece one together for mine so I can finally eliminate the stock airbox.
The saving grace was my local O'Reilly's has a good selection of Spectre pieces for $10 to $20 each. I also went with a unifilter which is considerably cheaper than buying a spectre or a K&N and is rated for mud sand and snow because the filters are technically for dirt bikes and snowmobiles. It's also important to note that the oil for unifilter is much thicker than a spectre or K&N so you want to get the unifilter cleaning and oiling kit. I will be making revisions to the housing that goes into the firewall because I notice that the plate is tall and currently causing my hood to push up quarter inch on the passenger side.
I also haven't got a picture of it yet but I picked up some sound deadener and removed the crappy fiberglass mat from under the hood and filled in just the cavities on the bottom side of the hood with 10 mm mat
Unifilter 6300ast
Last edited by Ozark Mountain Ranger; 06-02-2018 at 10:45 AM.
Oh wow that's a great idea!! Might have to steal that
So I gave a little bit more time towards this idea tonight. I have to say I had kind of put it on the back burner for a while as the multifunction switch is pretty much completely burnt out.
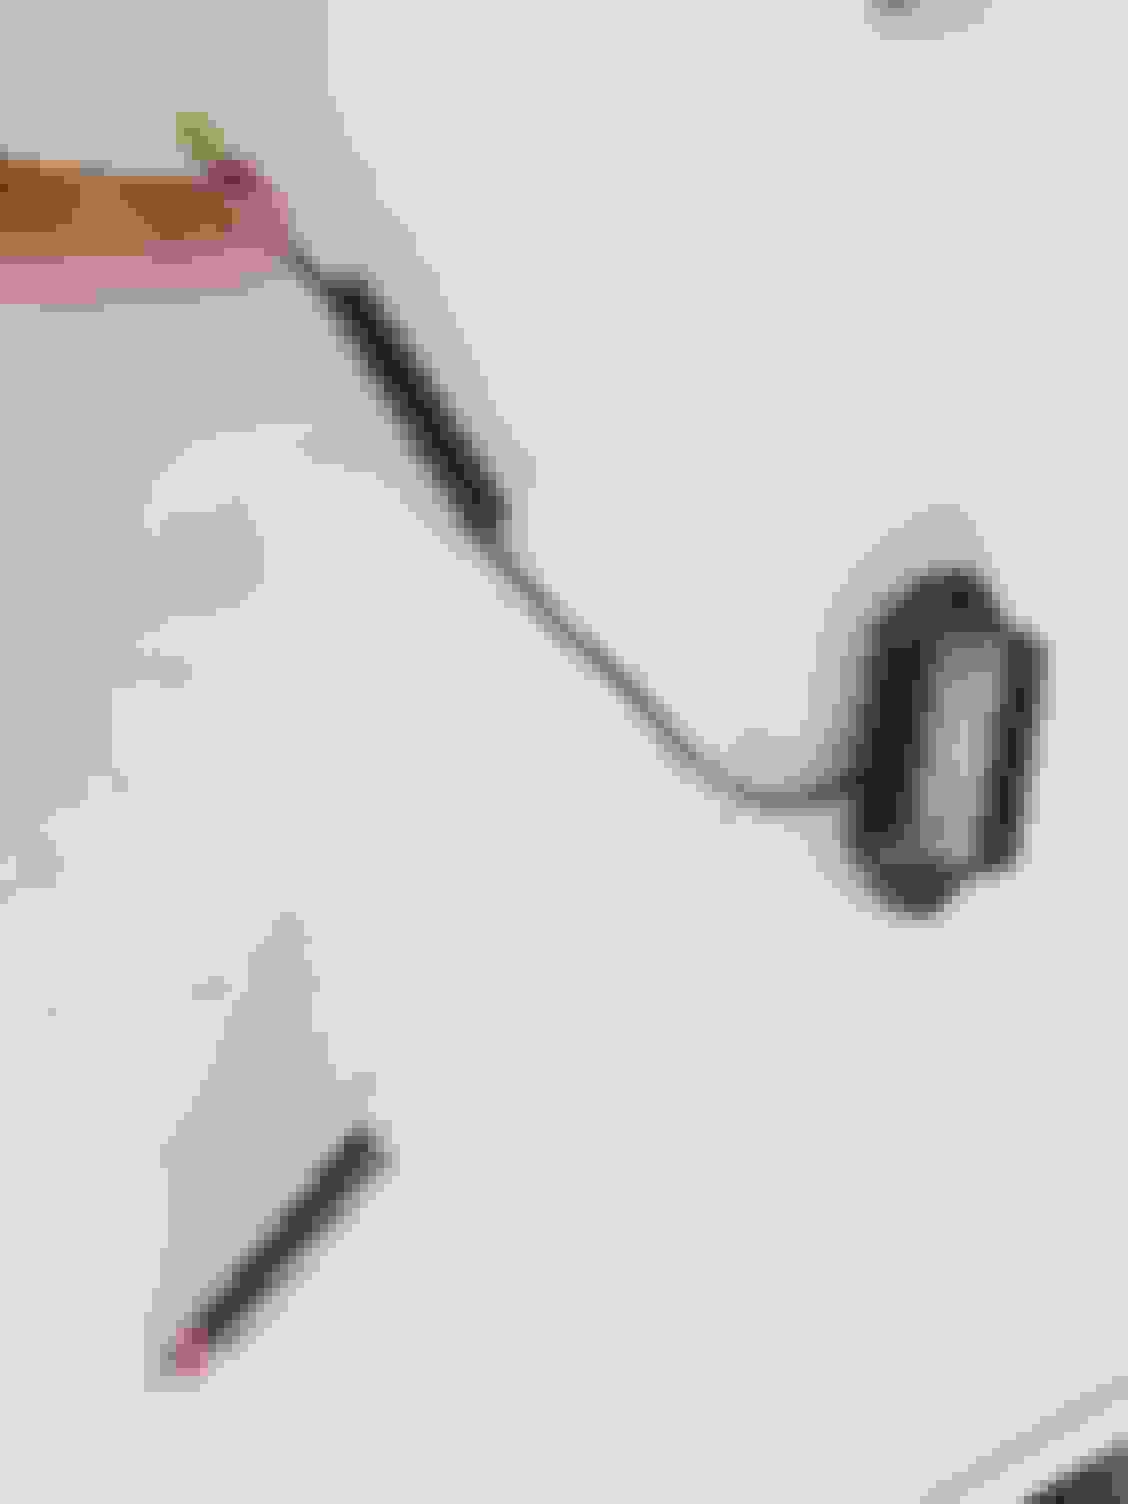
Simple 9 volt and alligator clip tester I came up with. Works good for figuring out where the lights need to go
Lime green tape marks where the under the hood lights will go. I changed my mind about putting the other two engine compartment lights on the inside of the wheel wheel wells facing the sides of the block after I realize that they serve very little purpose there.
Did a simple test with just one LED light hanging from the top of the hood with the entire garage completely pitch black. I have to say when I get three lights ran in here I think it will look pretty awesome
It's been awhile since I've posted. Work has been crazy and I've had some real issues with the Jeep. Last Summer the return Reservoir on the radiator cracked causing me to have to replace the entire radiator. In the process I somehow failed the coolant flush and managed to cause rust in the block. Well I didn't think much of it before, it ended up causing a whole mess of problems. I'm in the process of fixing them now including flushing everything once a week until I'm able to get as much rust as possible and I am also replacing the thermostat with one that has a lower temperature so that I can get coolant through the block sooner. This year has seen record heat in the Mojave Desert, with Death Valley reaching a record of 127 degrees. I've just got to string her along until fall when I no longer have to worry about the outside temperatures.
 05-20-2018, 01:52 PM