Jeep Cherokee 1984-2001: How to Install HID Headlights
Follow these instructions to install HIDs yourself and save money. The installation is not difficult, but it does require patience and some electrical skill. The results will be much brighter headlights in your Jeep Cherokee.
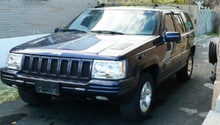
This article applies to the Jeep Cherokee XJ (1984-2001).
High Intensity Discharge (HID) headlights are a type of arc lamp. They produce light by means of an electric arc between tungsten electrodes housed inside a transparent or fused alumina arc tube. This tube is filled with gas and metal salts. The gas facilitates the arc's initial strike. Once the arc starts, it heats up and then evaporates the metal salts. This forms plasma, which substantially increases the intensity of the light the arc produces. It also reduces power consumption.

Materials Needed
- HID kit
- Ratchet
- 7mm socket
- Zip ties
- Wire cutters
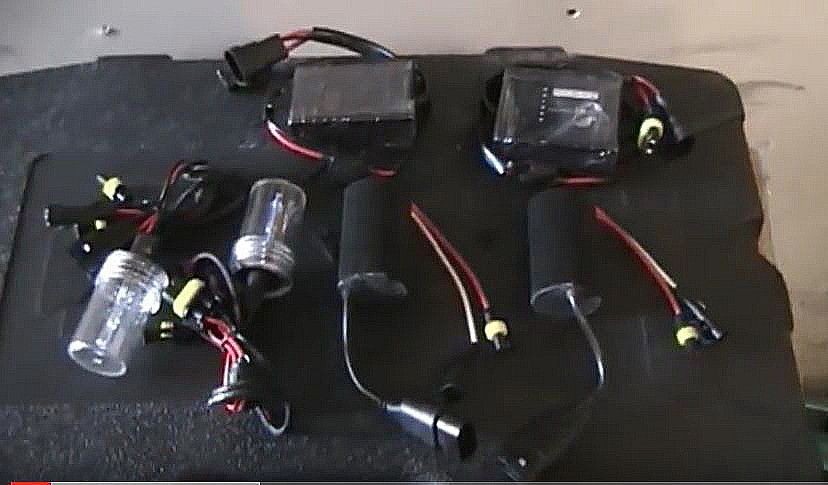
These are the components that come with the HID kit:
- HID lights (lower left)
- Ballasts (lower right)
- Electrical modules (upper)
The electrical modules modify the electrical current, so that the computer on your Jeep Cherokee doesn't think you have a burned out headlight (HIDs use less power). Note that you only need these if your daytime running lights double as your night low-beam driving lights. This article includes installing the electrical modules.
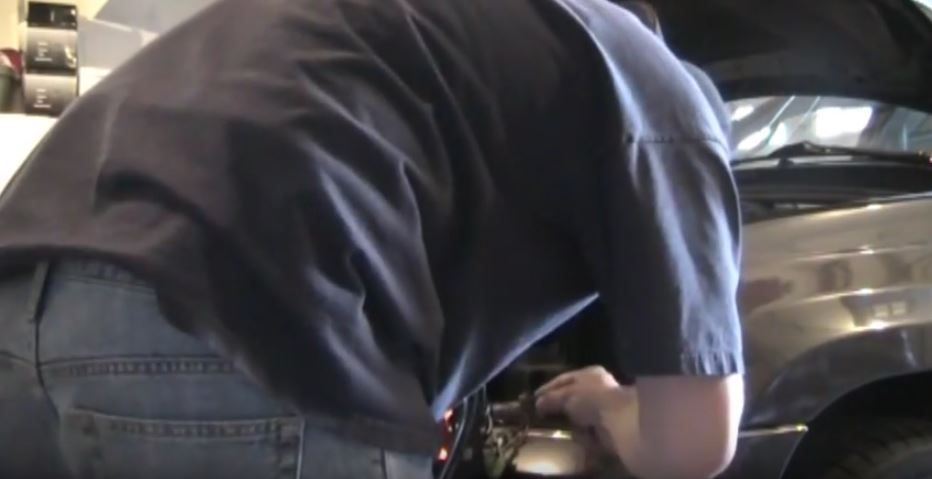
Step 1 – Remove old headlight
Find the nut on top of the headlight assembly. Use your 7mm socket and ratchet to remove the nut. Then remove the headlight.
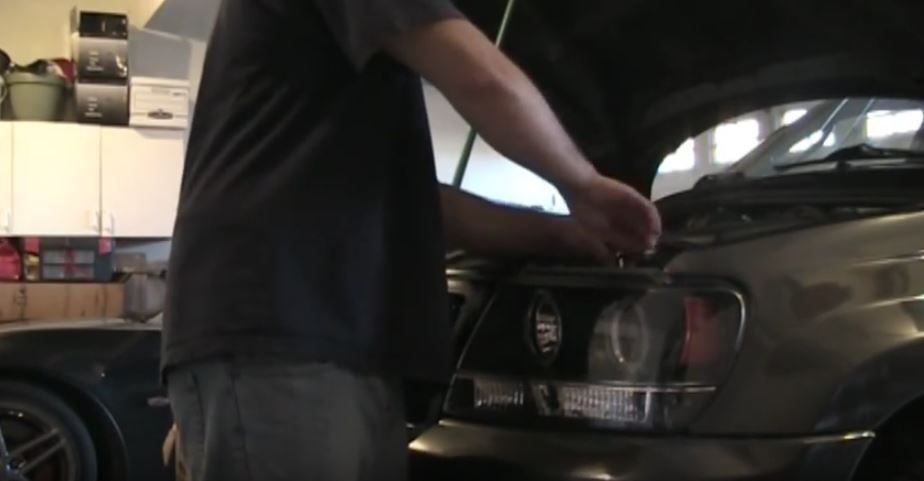
Figure 2. Remove the headlight nut. 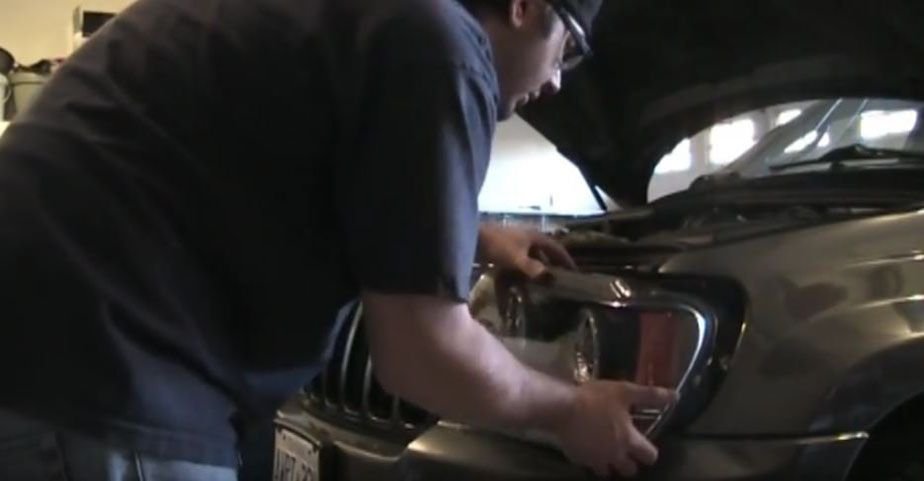
Figure 3. Remove the headlight.
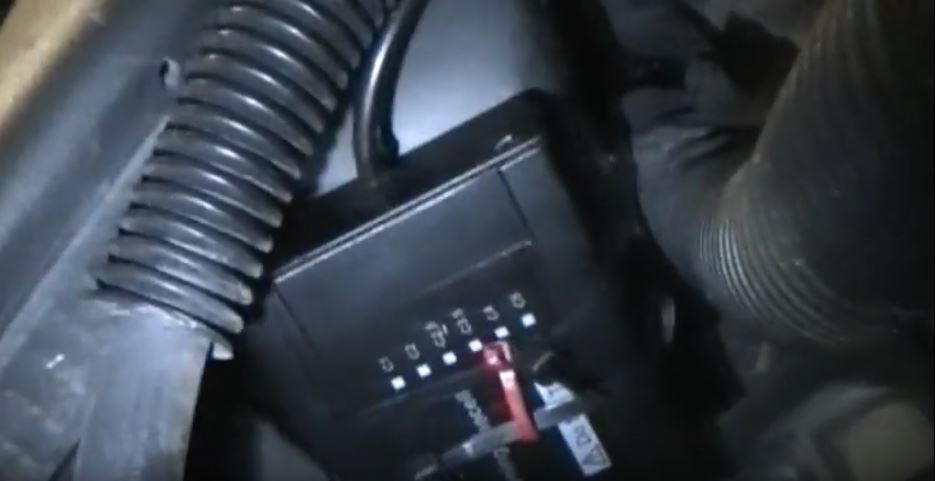
Step 2 – Mount the electrical modules
Somewhere near the headlight openings, mount the electrical modules. You may mount the modules on the wheel well or similar place inside the engine compartment. You can use zip ties to mount the modules, since they generate little heat.
Pro Tip
You only need these if your daytime running lights double as your night low-beam driving lights.
Step 3 – Remove the factory bulbs
From the back of the headlight housing, grasp the factory bulb on its base and turn it out of the headlight housing.

Step 4 – Cut away excess wires from the new headlights
You only need the wires that connect the electrical modules, the headlight itself, and the ballasts. Cut off and remove any extra wires.
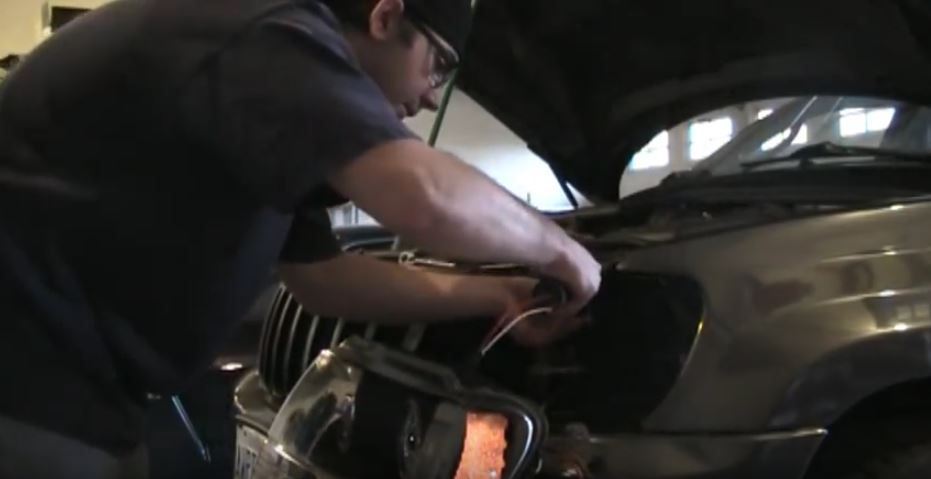
Step 5 – Remove the bulb housing
Remove the plastic bulb housing from the new bulb. Also, cut away the plastic base because you do not need it. Be cautious not to touch the HID bulb or you may damage it.
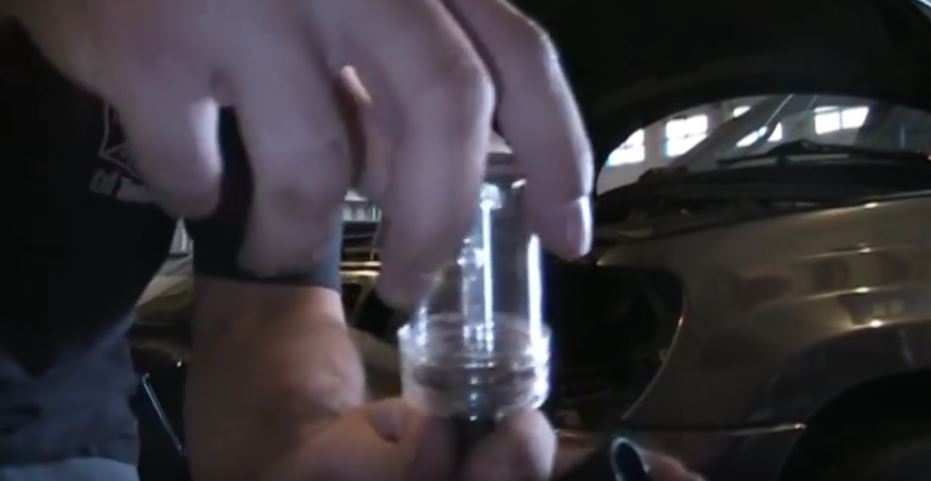
Figure 7. Remove plastic housing from bulb. 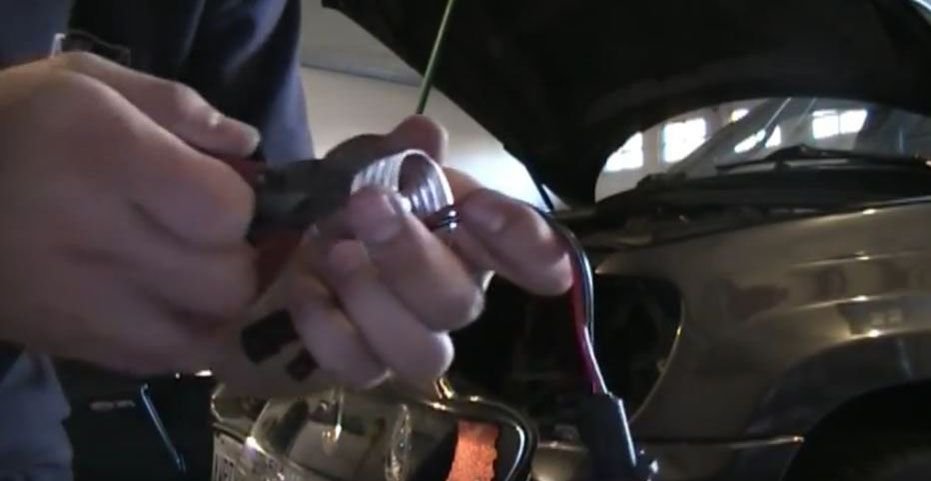
Figure 8. Cut off the plastic base.
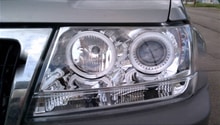
Step 6 – Install new bulb into headlight housing
Carefully place the new bulb into the headlight housing, and then twist it into place.
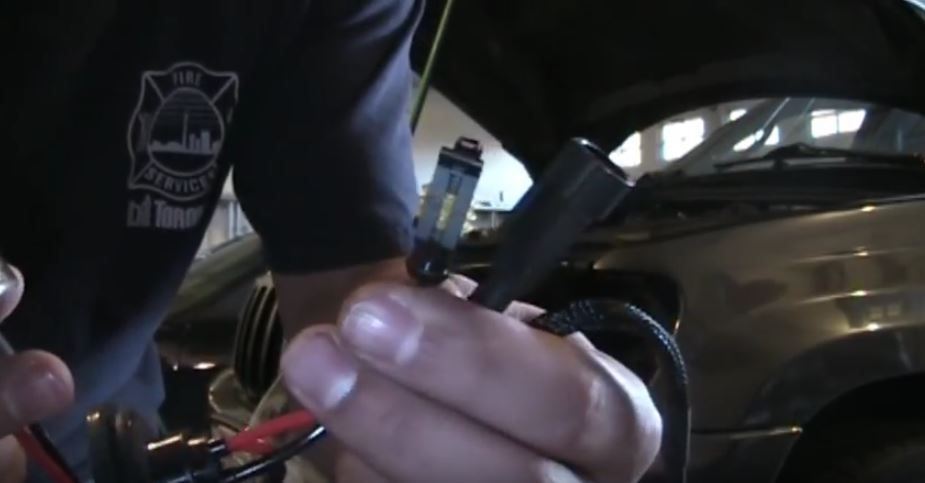
Step 7 – Connect the headlight to the module and ballast
Connect the headlight wires to the electrical module and to the ballast.
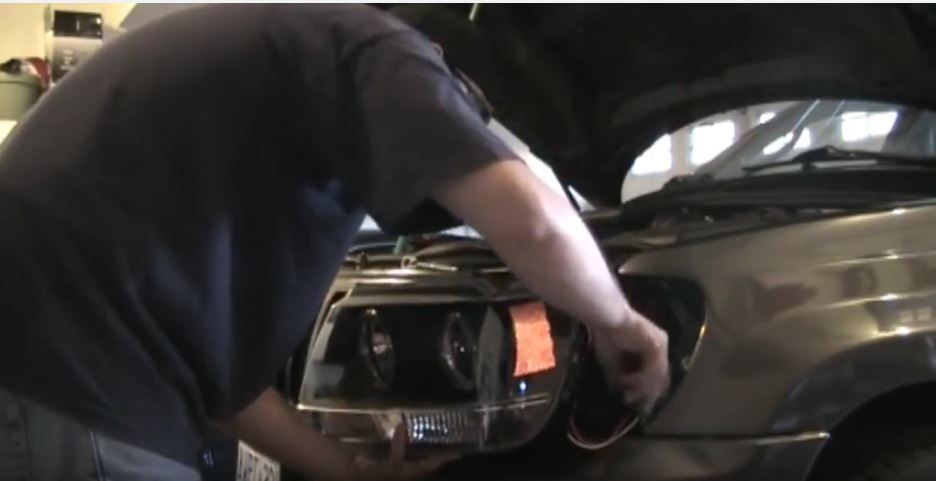
Step 8 – Reinstall the headlight
After you have connected the wires for the electrical module and the ballast, reinstall the headlight. Find room behind the headlight where you can place the ballast.
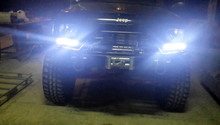
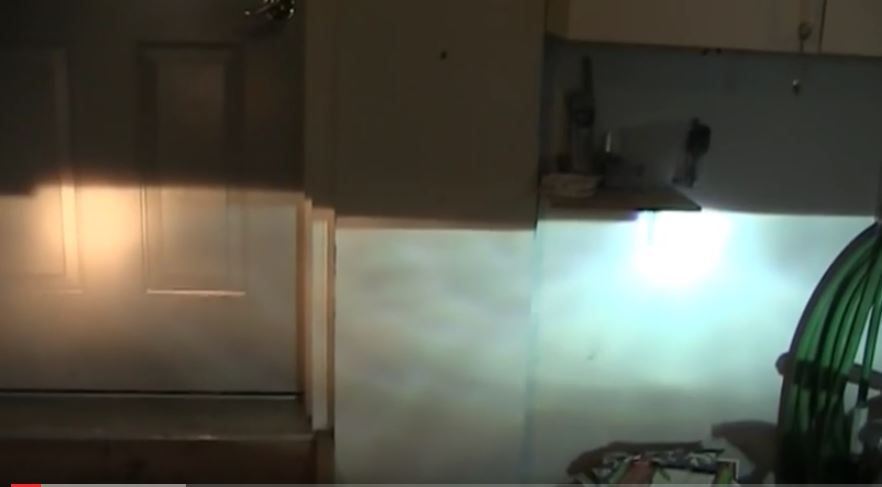
Step 9 – Test and secure new headlight
Before securing, test the new headlight to make sure all connections are tight and that the headlight operates properly. Then, use your ratchet and 7mm socket to tighten the nut on top of the headlight housing that secures it to your Jeep Cherokee. Enjoy your new headlights!
Featured Video: How to Install HID Headlights
Related Discussions
- HID Headlights - CherokeeForum.com
- HID Kits - CherokeeForum.com.com
- HID Conversion - CherokeeForum.com