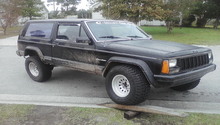
Jeep Cherokee 1984-1996: How to Replace Valve Cover Gasket
A leaky valve cover spreads the nastiness all down your engine from the top. Continue reading to find out how to replace it before it causes more damage.
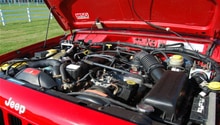
This article applies to the Jeep Cherokee XJ (1984-1996).
The valve cover gasket is the seal between the valve cover and top end of the motor. A leaky valve cover gasket makes a mess of your engine, inside and out, because it allows oil to leak. That oil can get on your spark plugs as well as wires and ruin them. While changing one isn't high on the fun list, it is not as bad as you may think. Since your engine has a cast aluminum valve cover, after you change the gasket with a good one it should not leak any more and will last a long time. Let's go in, clear the jungle of cables, and change it so there is no more leaks. It will be worth it.

Materials Needed
- 1/4" and 3/8" ratchet, extensions, wobble joint
- 11mm 1/4" deep socket
- 13mm 3/8" socket
- Latex gloves
- Bungee
- Pry bar
- Scraper
- Spray cleaner
- Locking pliers
- Rags
- Valve cover gasket set
Step 1 – Remove air filter assembly
If your Cherokee has an air cleaner assembly, it will be easier to take it off. If it does not have one that obscures the valve cover partially, you can go on to Step 2.
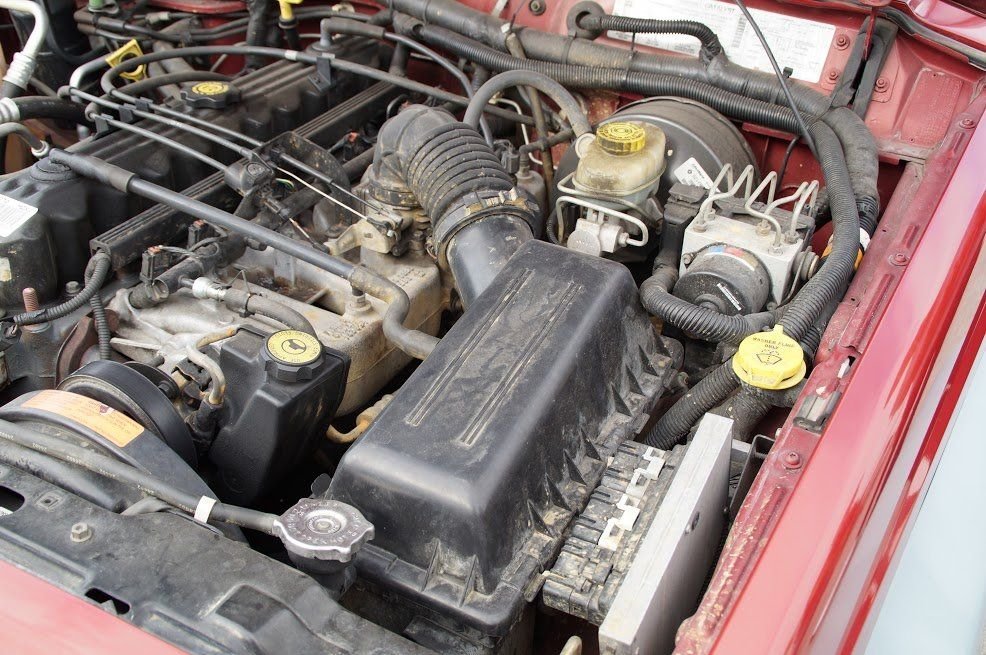
Pro Tip
If the top of the throttle body is exposed, cover it with a rag to keep anything from going into the engine.
Step 2 – Remove cables to throttle
The cables to the throttle body run over the valve cover, so you will need to move them. They attach to the throttle body in one of two ways: ball or clip.
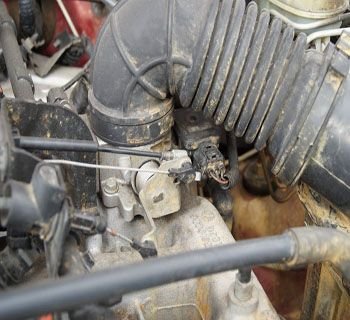
Figure 2. Remove throttle assembly. 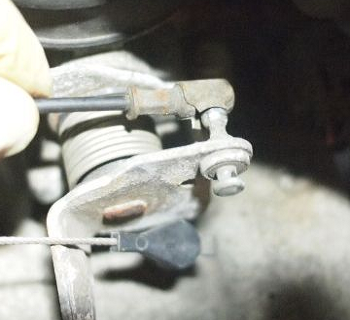
Figure 3. Ball type clip. 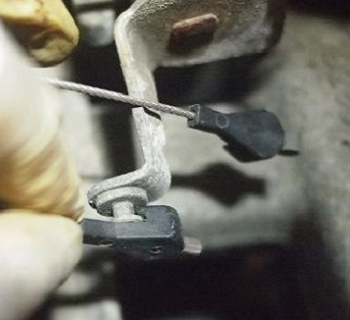
Figure 4. Clip type end.
To release the ball type cable, just pull or pry it off of the ball as in Figure 3. The clip type has to be slid back over the metal stud. After you get the cables disconnected, the bracket is held on with three 10mm bolts. You may have to un-clip one of the fuel injector harness ends to gain access to one of the bolts.
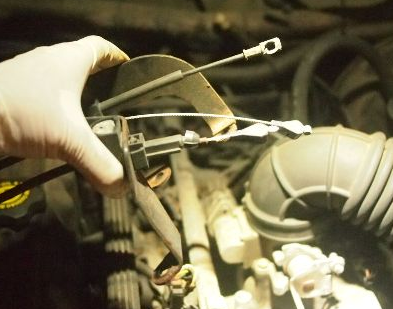
Pro Tip
Be sure to either remember or mark where the bolts go. If you want to use a bungee to hold things back out o the way, they work great.
Step 3 – Remove items attached to valve cover
There are many things running along the valve cover. There is a heat shield on the side by the throttle body that has to go. Lift it off and set it aside.
Figure 6. Injector heat shield. 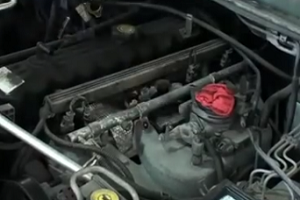
Figure 7. Injector harness.
The heater hoses are on the other side. They run through a plastic clip. Remove them from the plastic clip and bungee to the side. The clip can just be pulled up off of the stud. There is another of this type at the rear to hold a harness; remove it as well. If an A/C hose goes across the front, it is also held on by a plastic clip. Remove it.
Pro Tip
Plastic clips may be old and brittle, so be careful removing them. Patience may keep them from getting broken.
Step 4 – Remove hoses on valve cover
There are two large PCV hoses on the top of the valve cover. The grommets and plastic fittings will be difficult to remove without breaking. Carefully pry them out of the valve cover.
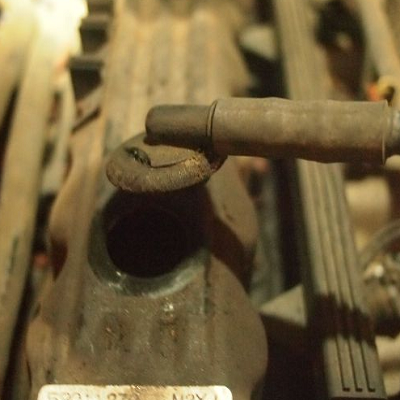
Figure 8. Front PCV point. 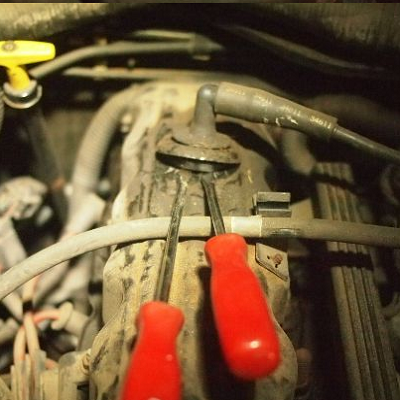
Figure 9. Rear PCV section. 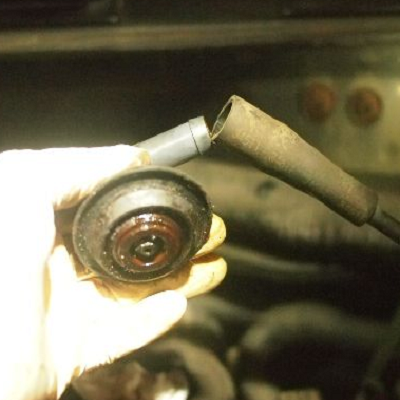
Figure 10. PCV hose loosened.
Pro Tip
If you are doing this on a day when no auto supply store is open, you may want to get replacements on your first trip just in case.
Step 5 – Deal with radiator hose
One clamp on the upper radiator hose may be in the way of getting the cover off. You can attempt to compress the spring clamp and rotate it out of the way.
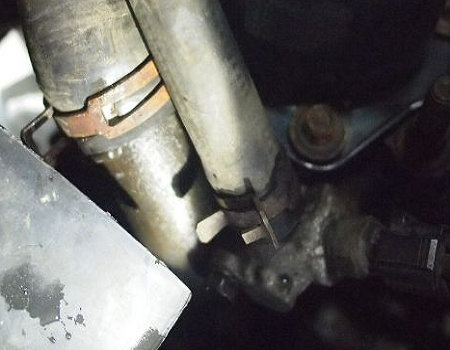
Figure 11. Hose housing. 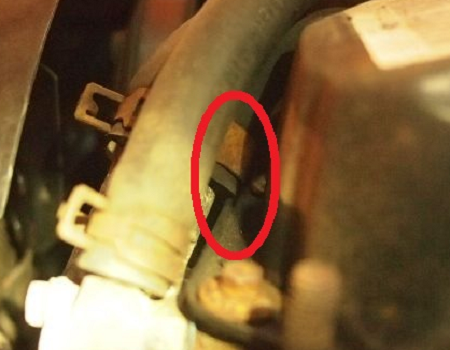
Figure 12. Hose clamp interference.
Pro Tip
It may be easier to just take the hoses and cover off. It will give you more room. You will have to drain some coolant, but only enough to get below the level of the thermostat.
Step 6 – Remove bolts and cover
Remove the 17 valve cover bolts with an 11mm deep socket. Take care to mark where they go since they are different. Figure 14 shows a tricky bolt.
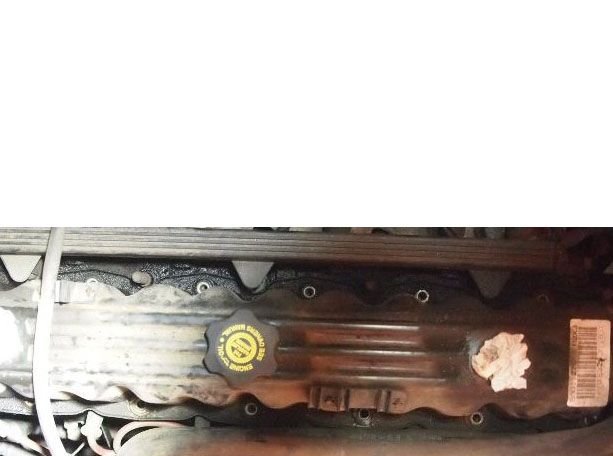
Figure 13. Valve cover bolts. 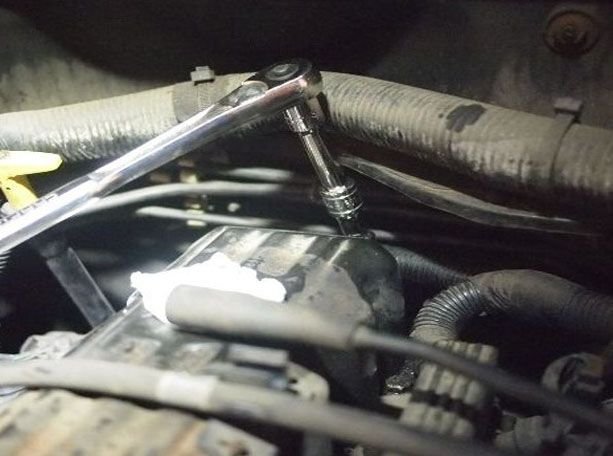
Figure 14. Tricky bolt at the back of the valve cover.
Now you can gently pry the valve cover loose. It should not be stuck down. You may have to work it up and off.
Pro Tip
A universal or wobble joint will make it easier to get some bolts.
Step 7 – Clean valve cover and head
Each bolt has a grommet and spacer. Keep the spacers, as you do not get these in a gasket set. The surfaces where the gasket sets must be clean and flat. Use your scraper to get all of the old gasket off of both. Once it is clean, use some brake cleaner to get the surface clean.
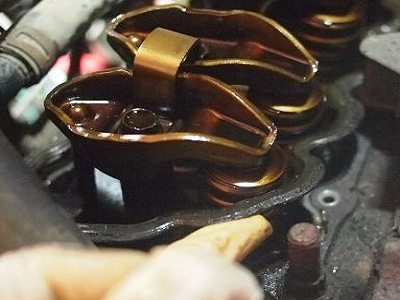
Figure 15. Removing old gasket. 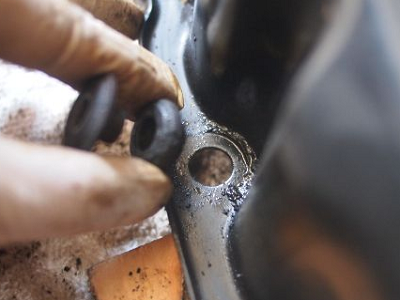
Figure 16. Grommet and spacer.
Step 8 – Install gasket
There are two different styles of gaskets. Corks have been used for years and are cheap. Synthetic rigid style is newer and far better. It is $40, where as a cork one is $10. The new style will last and last without leaks. The gasket set comes with new grommets to seal the bolt holes. Use the metal spacers from your old gasket.

Pro Tip
New style gasket are made to not need any sealer, especially since they mate between two machined surfaces. If you just have to use some, use it sparingly.
Step 9 – Install valve cover and bolts
Once the new gasket is set, carefully put the valve cover down on top of it. You may have to work it down like you did when you took it off. Once down, be sure the gasket is still in place.
Use a 1/4" ratchet and deep socket to put the bolts back. Start tightening in the middle and go in a circular motion. A 1/4" ratchet will be plenty big to tighten the bolts.
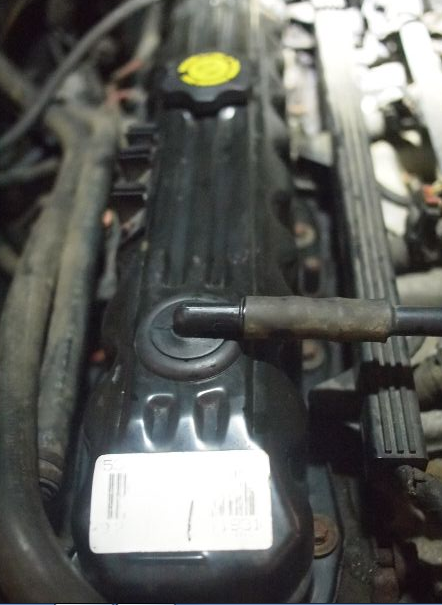
Step 10 – Install remainder
Now you can reinstall the parts taken off in reverse order.
- Reinstall radiator hose and clamps.
- Refit the PCV system to the top of the valve cover.
- Put the injector harness and cover back on.
- Reinstall the throttle cable assembly.
- Reassemble the airbox and install back onto the vehicle.
Featured Video: How to Replace Valve Cover Gasket
Related Discussions
- Valve Cover Gasket DIY - CherokeeForum.com
- Valve Cover Gasket Replacement - CherokeeForum.com
- Changing Out Valve Cover Gasket - CherokeeForum.com
- Basic Valve Cover Gasket Change - CherokeeForum.com