Tubular Back Bumper - Something to match the front finally

Thread Starter
CF Veteran
Joined: Dec 2009
Posts: 1,396
Likes: 2
Model: Cherokee
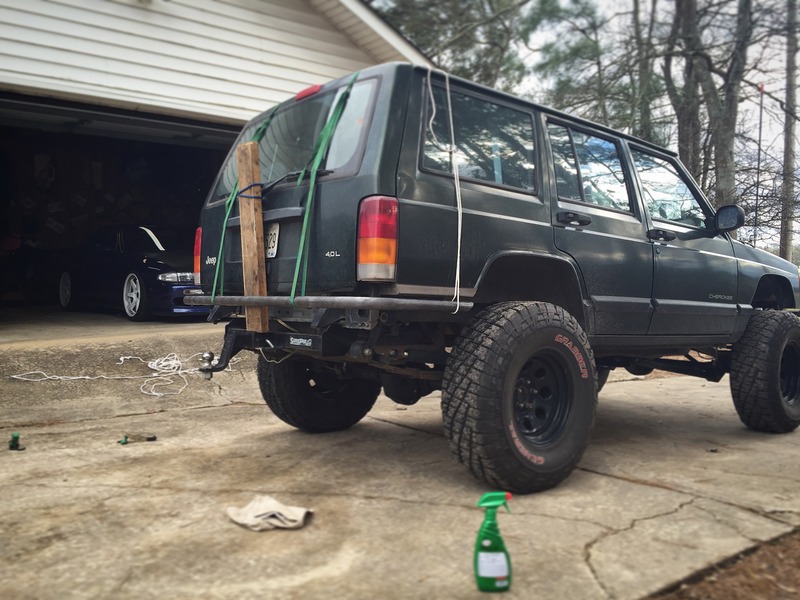
I can't believe it's taken me this long to finally get around to fabricating a back bumper for the XJ. I have to say though, it's not from laziness - finally kind-of getting a shop together and this is the first product - so I've been working, just not on this. I recently purchased a tube bender from Rogue Fab and so now I don't need to bug people to use theirs. Game on.
On with the build...
So here's why I'm doing what I'm doing. I know the big popular thing is to stuff rectangular tubing down the backs of the "frame" rails, but I'm not convinced that's buying you much. On my truck, my receiver is bolted into the unibody with a JCR nut strip and sandwiched between the HD Engineering shackle relocation brackets. So if you think about it, between those three components, that's 14 bolts spread across the entire back of the truck and they're all tied into each other. Good enough for me.
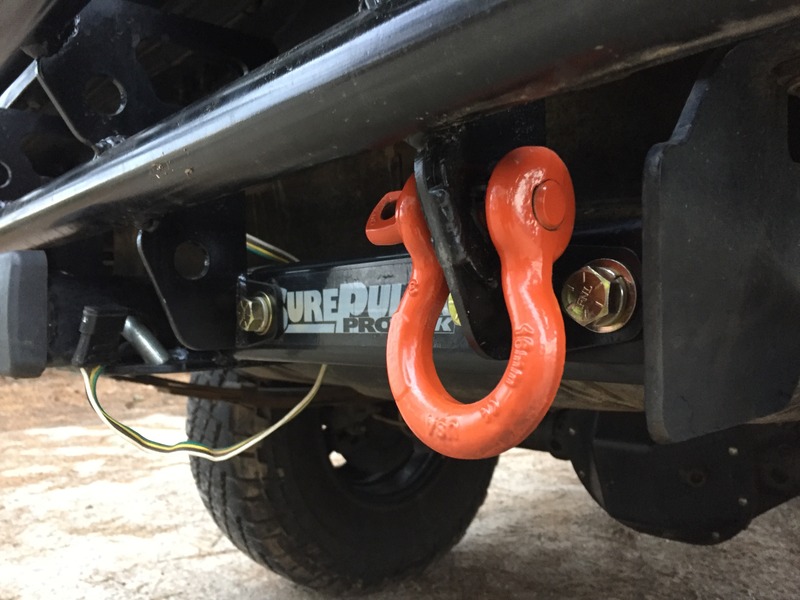
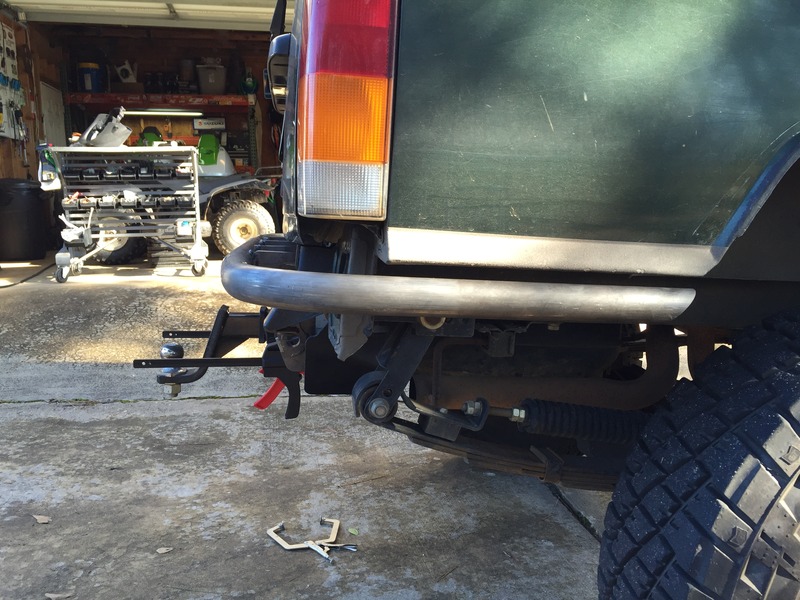
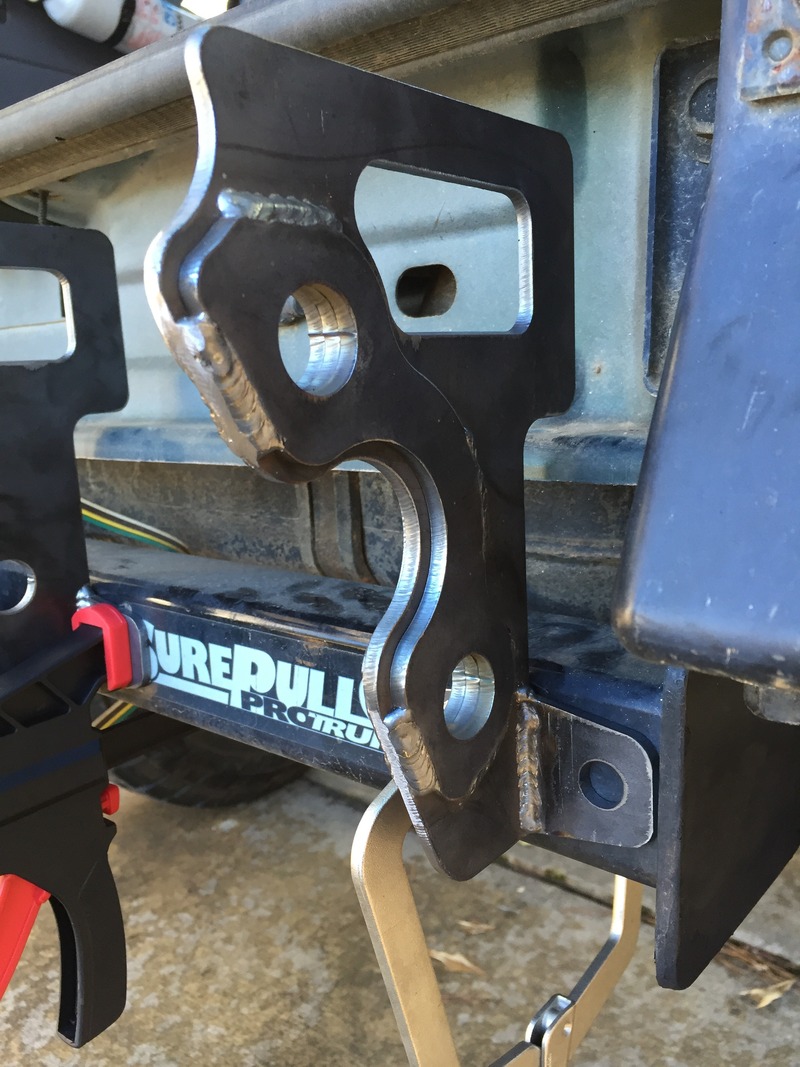
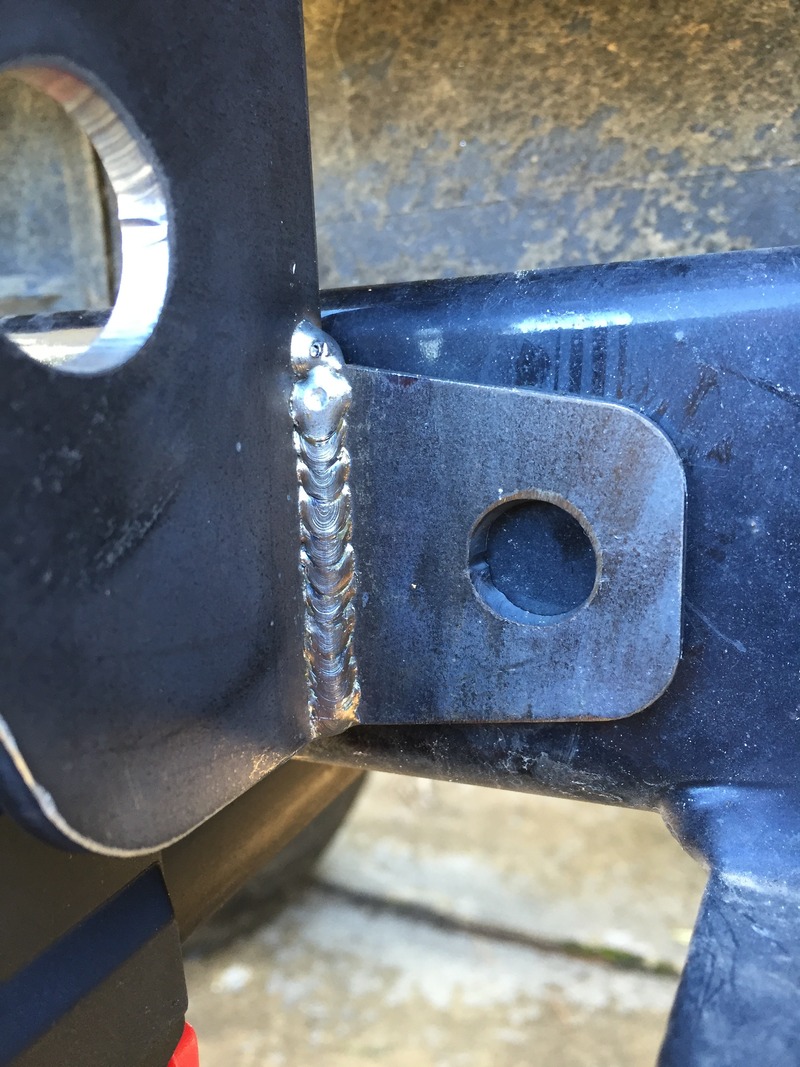
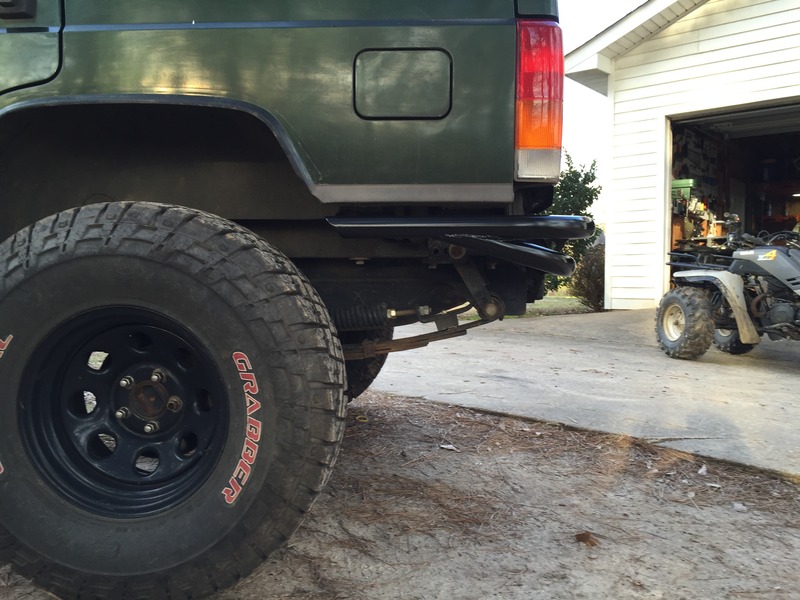
So, the bumper bolts across the rear face of the square receiver tube in 8 places with 1/2" hardware through 3/16" brackets. I would have just welded it to the receiver, but as I said, it's sandwiched between the body and the relocation brackets. So needless to say, it's a bit of a ***** to remove that receiver. I've also chosen to retain the stock rear bumper mounts. Why you ask, b/c they're a dye stamping and honestly just as strong as a square tube extending off a flat plate for what's needed here and better looking. I notched those to receive the lower cross tube; so there's 8 more bolts holding it on. Two of the 3/16" plates, on the outsides, are sandwiched with two more 3/16" plates each - making them 9/16" thick. These will serve as the recover points. All of the tubing is 1.75" OD x .120 wall.
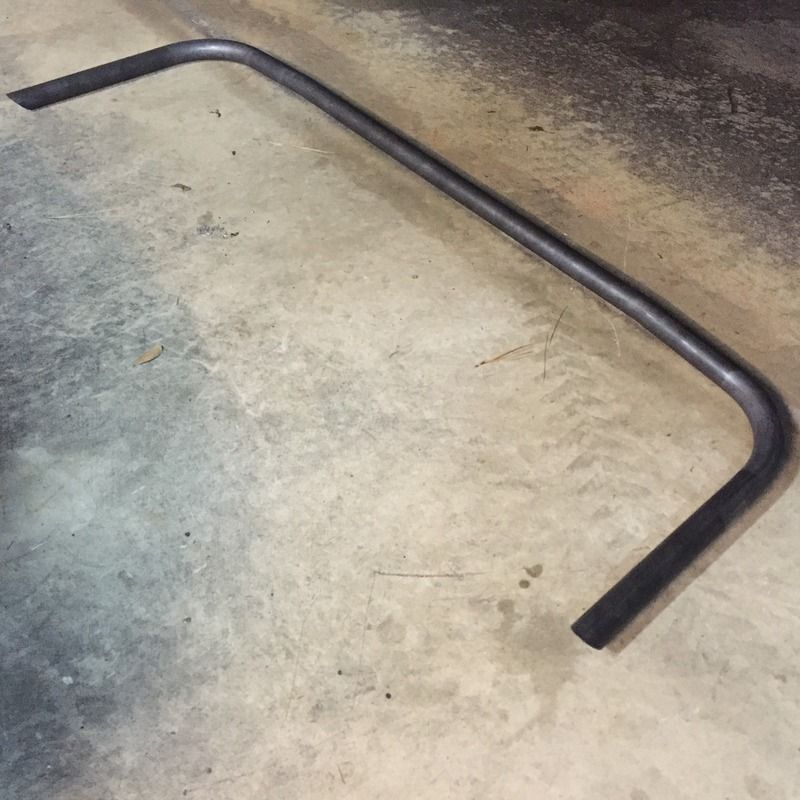
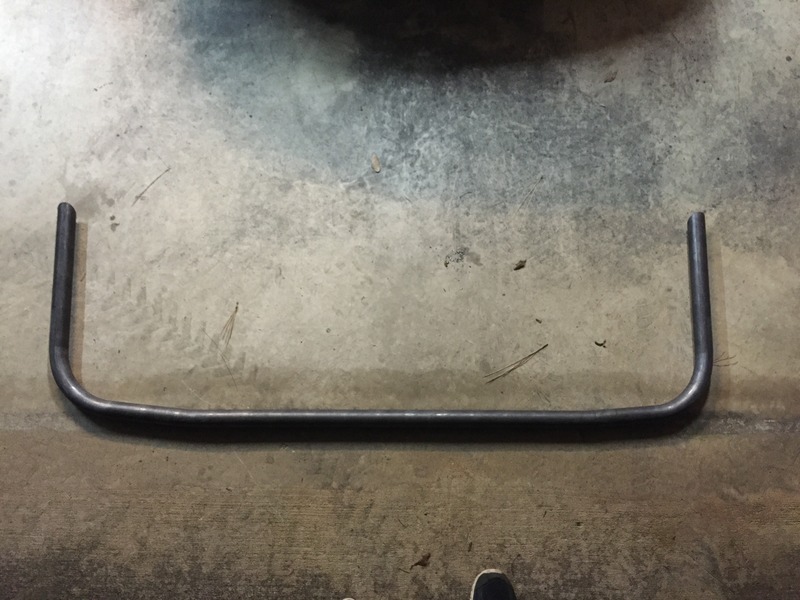
First off, check out this sweet bender by Rogue Fab. Shows up in a 117lb box and you weld it together. I love it! The vertical feed of the tubing is the **** and the air/hydraulic ram from Harbor Freight has been working out great. Still need to paint everything. On with the pics!

On with the build...
So here's why I'm doing what I'm doing. I know the big popular thing is to stuff rectangular tubing down the backs of the "frame" rails, but I'm not convinced that's buying you much. On my truck, my receiver is bolted into the unibody with a JCR nut strip and sandwiched between the HD Engineering shackle relocation brackets. So if you think about it, between those three components, that's 14 bolts spread across the entire back of the truck and they're all tied into each other. Good enough for me.
So, the bumper bolts across the rear face of the square receiver tube in 8 places with 1/2" hardware through 3/16" brackets. I would have just welded it to the receiver, but as I said, it's sandwiched between the body and the relocation brackets. So needless to say, it's a bit of a ***** to remove that receiver. I've also chosen to retain the stock rear bumper mounts. Why you ask, b/c they're a dye stamping and honestly just as strong as a square tube extending off a flat plate for what's needed here and better looking. I notched those to receive the lower cross tube; so there's 8 more bolts holding it on. Two of the 3/16" plates, on the outsides, are sandwiched with two more 3/16" plates each - making them 9/16" thick. These will serve as the recover points. All of the tubing is 1.75" OD x .120 wall.
First off, check out this sweet bender by Rogue Fab. Shows up in a 117lb box and you weld it together. I love it! The vertical feed of the tubing is the **** and the air/hydraulic ram from Harbor Freight has been working out great. Still need to paint everything. On with the pics!
Last edited by s14unimog; Jan 28, 2016 at 09:13 AM.

Thread Starter
CF Veteran
Joined: Dec 2009
Posts: 1,396
Likes: 2
Model: Cherokee
 .
.
Trending Topics

Newbie
Joined: Jan 2016
Posts: 6
Likes: 0
From: Salmon Arm, BC, Canada
Year: 1998
Model: Cherokee
Engine: 4.0l Inline-6
Looks good! could you share some more pictures of the mounting brackets? also a picture or two of your front bumper? I've just ordered the materials to start the build on my tubular front bumper. the rear bumper is going to be next. been trying to figure out the best way to mount it. thanks!
Thread Starter
CF Veteran
Joined: Dec 2009
Posts: 1,396
Likes: 2
Model: Cherokee
Looks good! could you share some more pictures of the mounting brackets? also a picture or two of your front bumper? I've just ordered the materials to start the build on my tubular front bumper. the rear bumper is going to be next. been trying to figure out the best way to mount it. thanks!
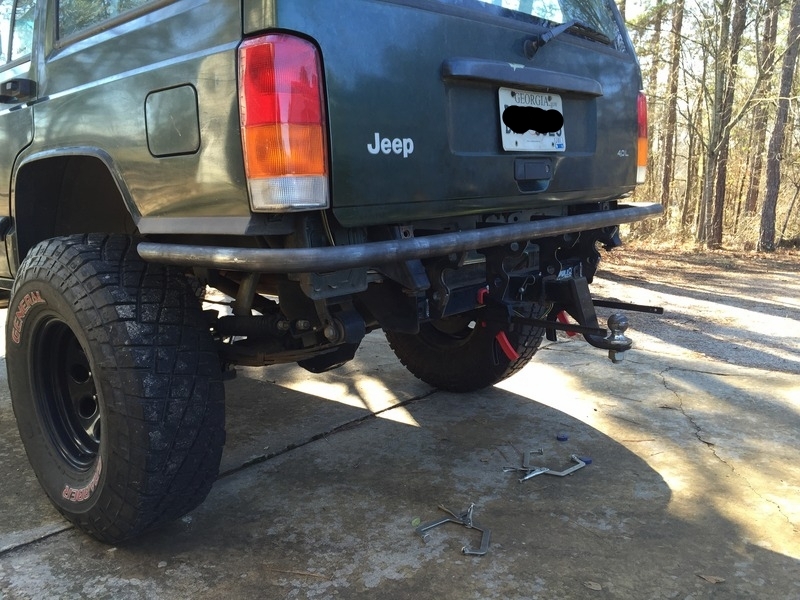
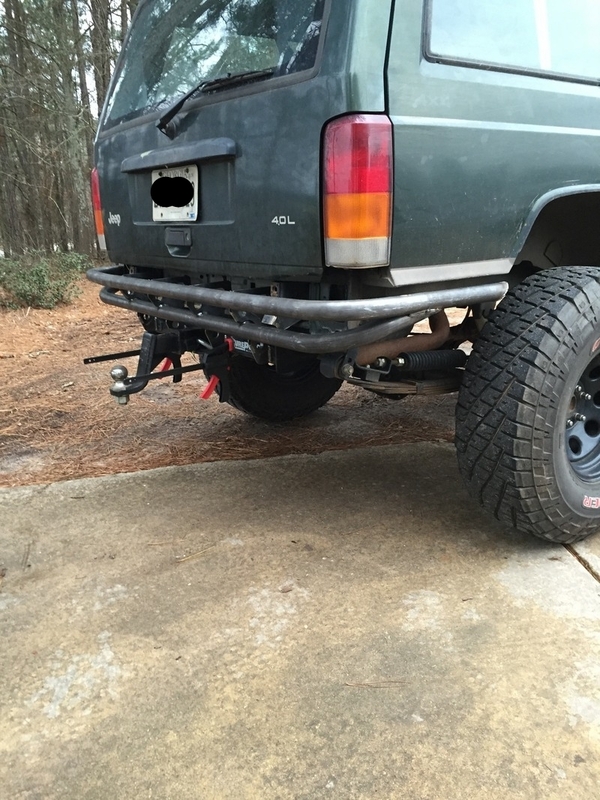
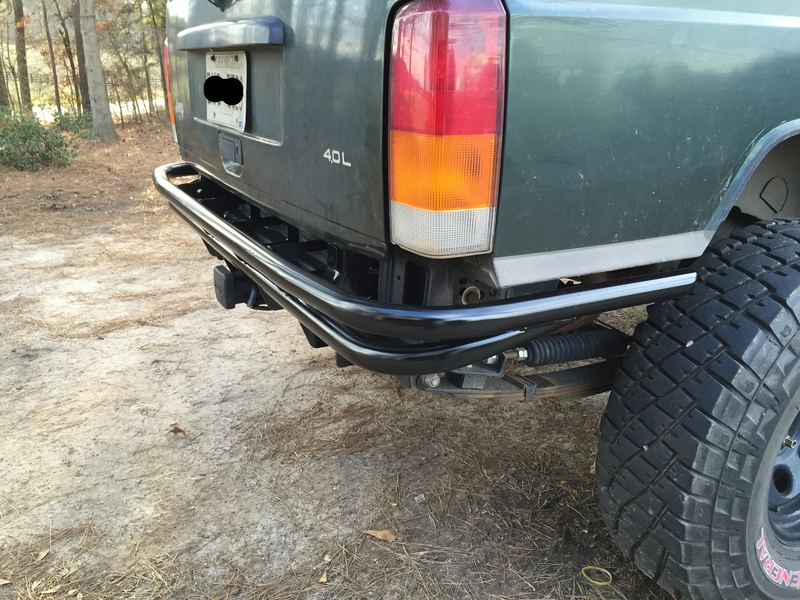
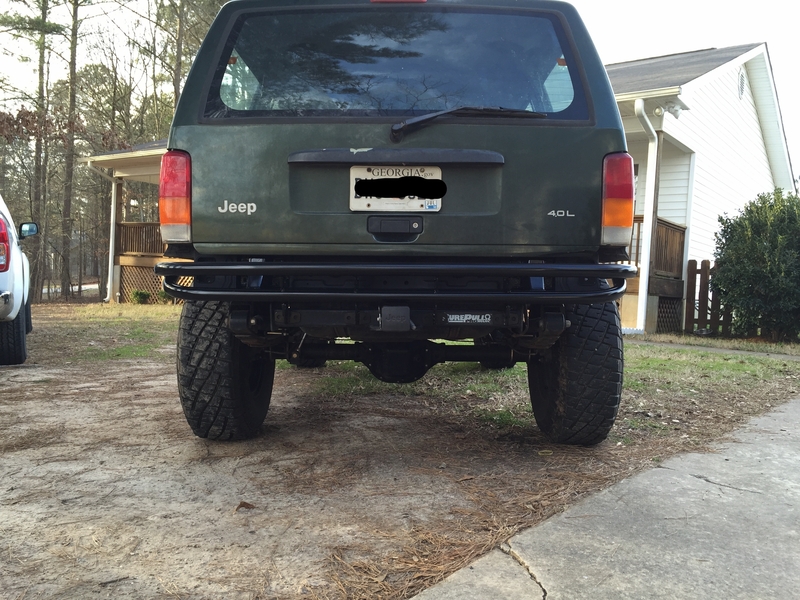
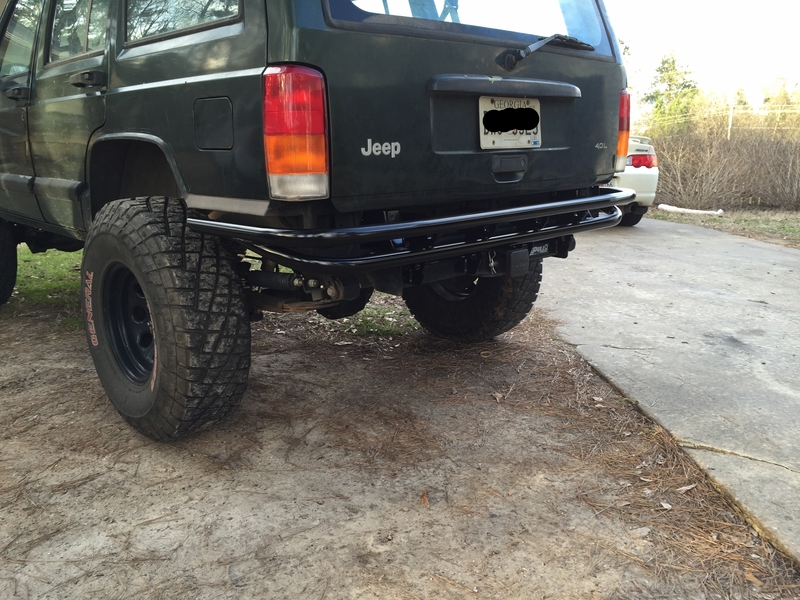
Going to grab hardware tomorrow for the receiver mount portion, but for now, it's done. Needs scratches…
Last edited by s14unimog; Jan 31, 2016 at 09:02 PM.
::CF Administrator::


Joined: Feb 2011
Posts: 14,479
Likes: 805
From: Blunt, South Dakota
Year: 97
Model: Cherokee (XJ)
Engine: 4.6 stroker
Not bad sir, but I have a couple of questions...how do you like that bender? Have seen it online, but not heard much on it. Does it do 180* bends?
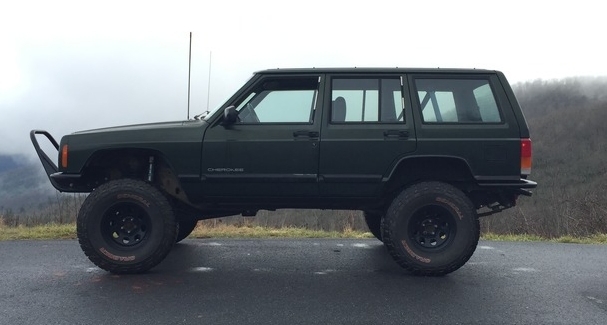
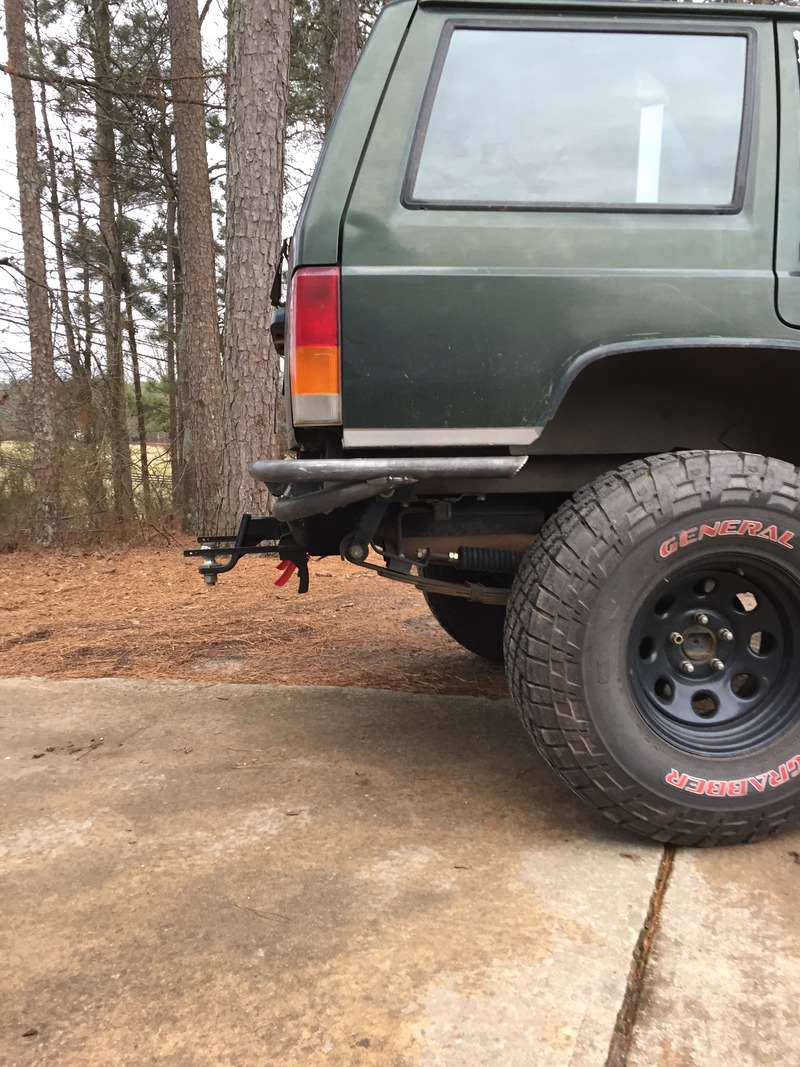
Also, what's up with your rear suspension? Looks like you have some kind of dampers on there, never seen such a setup...explain please, LOL
Also, what's up with your rear suspension? Looks like you have some kind of dampers on there, never seen such a setup...explain please, LOL
Thread Starter
CF Veteran
Joined: Dec 2009
Posts: 1,396
Likes: 2
Model: Cherokee
Not bad sir, but I have a couple of questions...how do you like that bender? Have seen it online, but not heard much on it. Does it do 180* bends?
Also, what's up with your rear suspension? Looks like you have some kind of dampers on there, never seen such a setup...explain please, LOL
Also, what's up with your rear suspension? Looks like you have some kind of dampers on there, never seen such a setup...explain please, LOL
The rear is a Road Master Active suspension setup. Typically these are marketed for load helping on full size and HD pickups. I contact the owner and convinced him to spec me a setup for the XJ. I talk about why in *THIS* thread.
Installed that setup on some 3yr old Rough Country leafs and it's still kicking butt today. I love them. The preload adjustability makes it perfect for load leveling and go-fast ride comfort.
::CF Administrator::
Joined: Feb 2011
Posts: 14,479
Likes: 805
From: Blunt, South Dakota
Year: 97
Model: Cherokee (XJ)
Engine: 4.6 stroker
I'm a big fan of it. Having used a JD bender, I can say I prefer a vertical feed hands down. Not to mention, it's cheaper, mobile and only comes with 180* bend capability - not an up charge. Best yet, the dies are less expensive and it only works hydraulic, so you aren't expected to pay more for that option.
The rear is a Road Master Active suspension setup. Typically these are marketed for load helping on full size and HD pickups. I contact the owner and convinced him to spec me a setup for the XJ. I talk about why in *THIS* thread.
Installed that setup on some 3yr old Rough Country leafs and it's still kicking butt today. I love them. The preload adjustability makes it perfect for load leveling and go-fast ride comfort.
Thread Starter
CF Veteran
Joined: Dec 2009
Posts: 1,396
Likes: 2
Model: Cherokee
Finally got all of the hardware sorted and picked up some shackles. (8) 1/2" Grade 8 bolts across the back of the receiver tube on top of the (8) at the factory location. We'll see how she holds up. For now I plan to leave the top of the bumper open, but will likely come back and stitch in a sheet metal platform with dimpled holes, but I haven't decided on which sizes I want to order and the next step is to tie in a tire carrier across the hatch, so I'm going to leave it open for some inevitable anchoring brackets. Another reason I don't powder coat fabricated components for the jeep. never know when you're going to add to it; lol.