another no weld roof rack


Thread Starter
Newbie
Joined: Oct 2011
Posts: 13
Likes: 0
Model: Cherokee
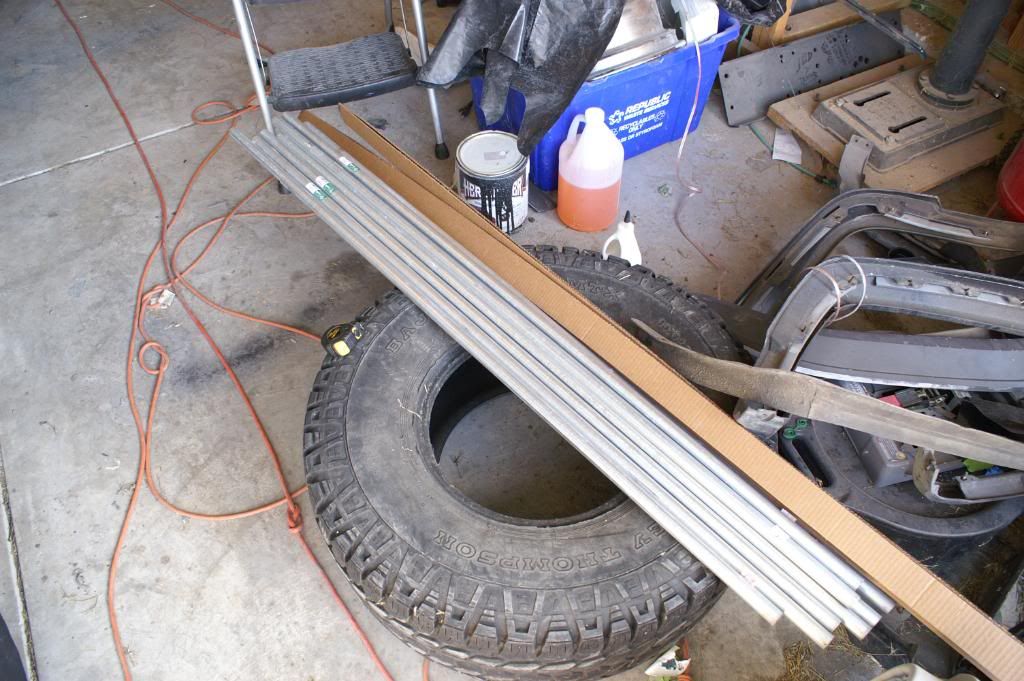
Well I saw 4x4Daltons (Great idea man thanks) post and really liked his roof rack plus I do not have a welder nor do I know how to weld. So I thought I would go this route with some changes. So after a trip to Lowes here is what I have so far.
I bought 8 pieces because mine is going to be a little longer.
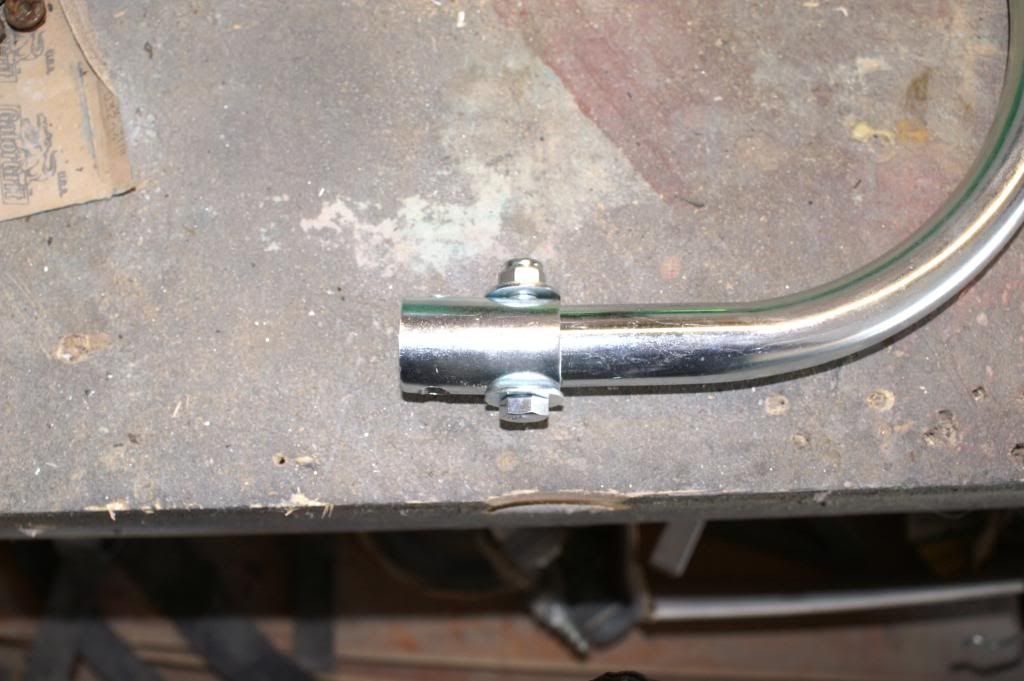
Connectors
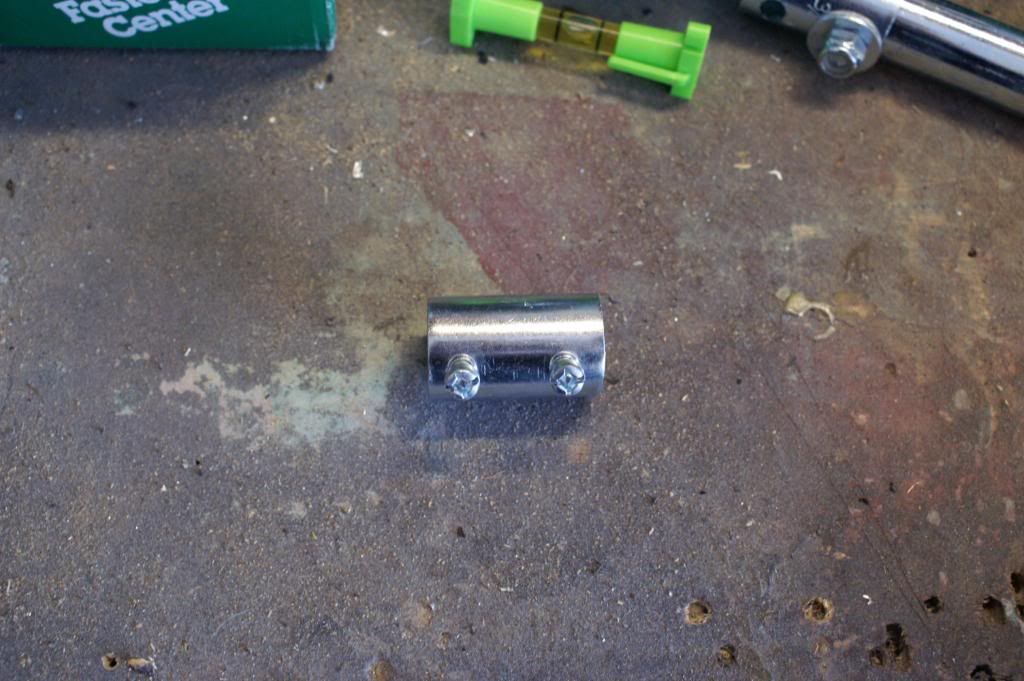
Now instead of using the screws that came with it I drilled through them so I could use larger bolts with lock nuts.
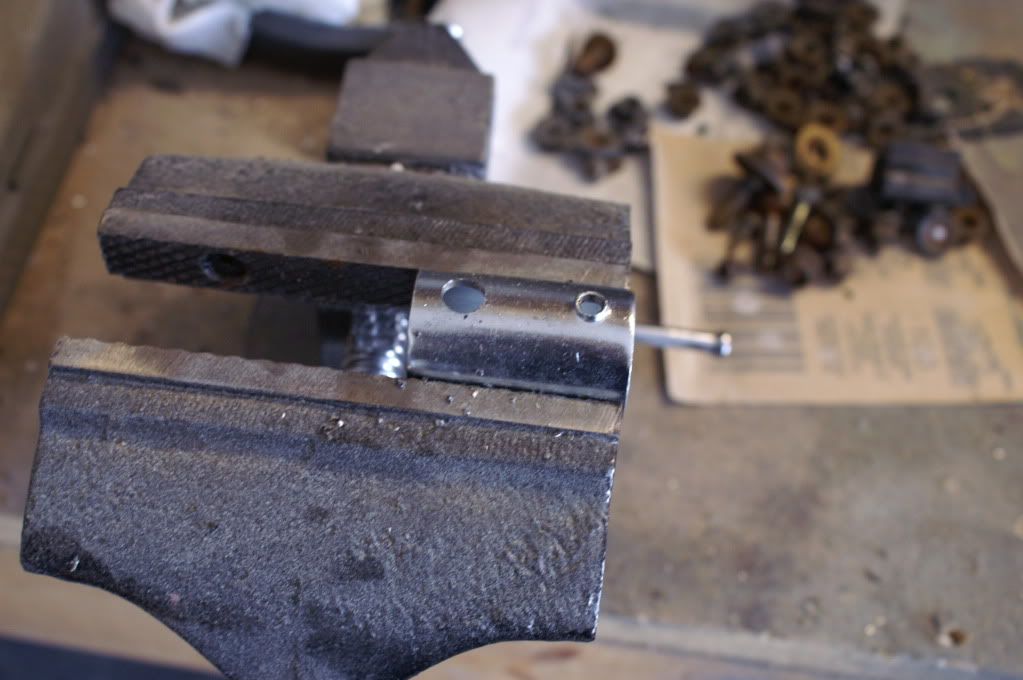
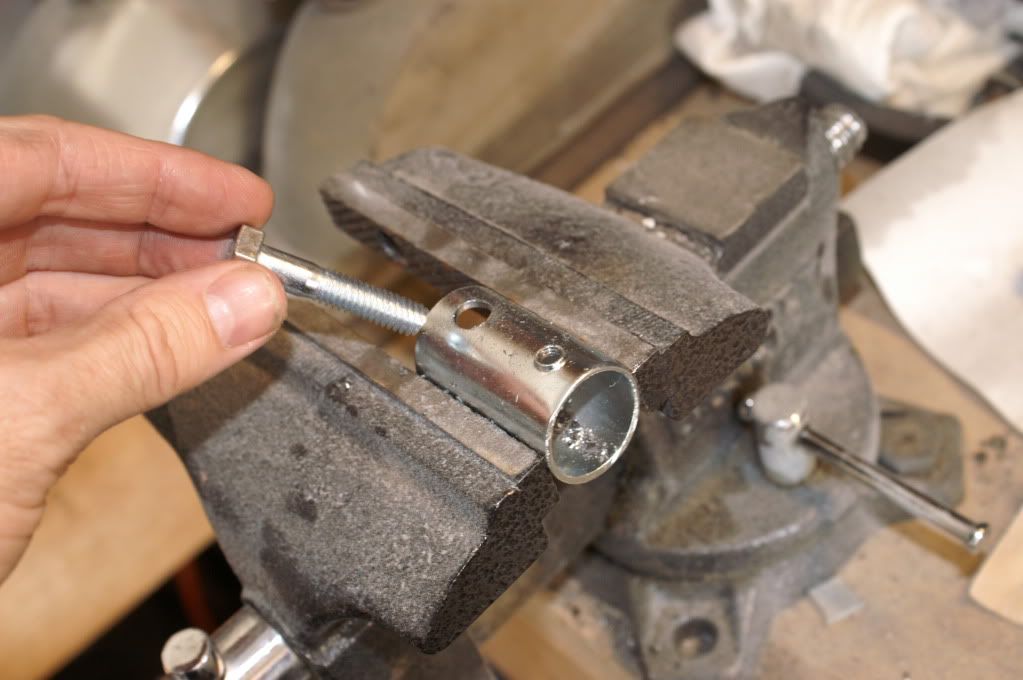
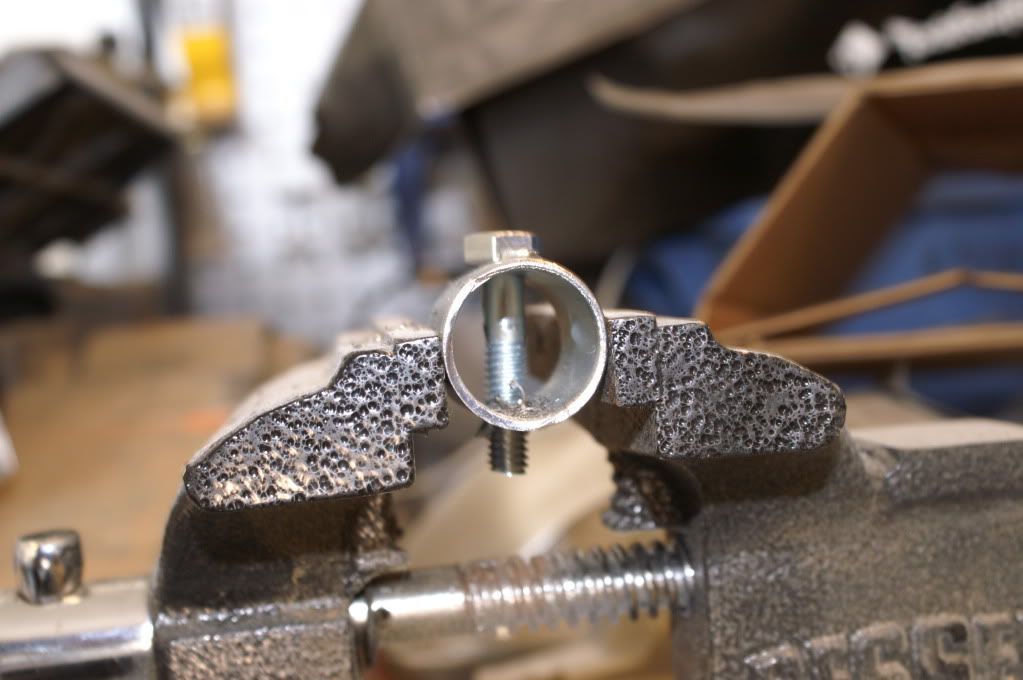
This will add more strength and helped keep it together.
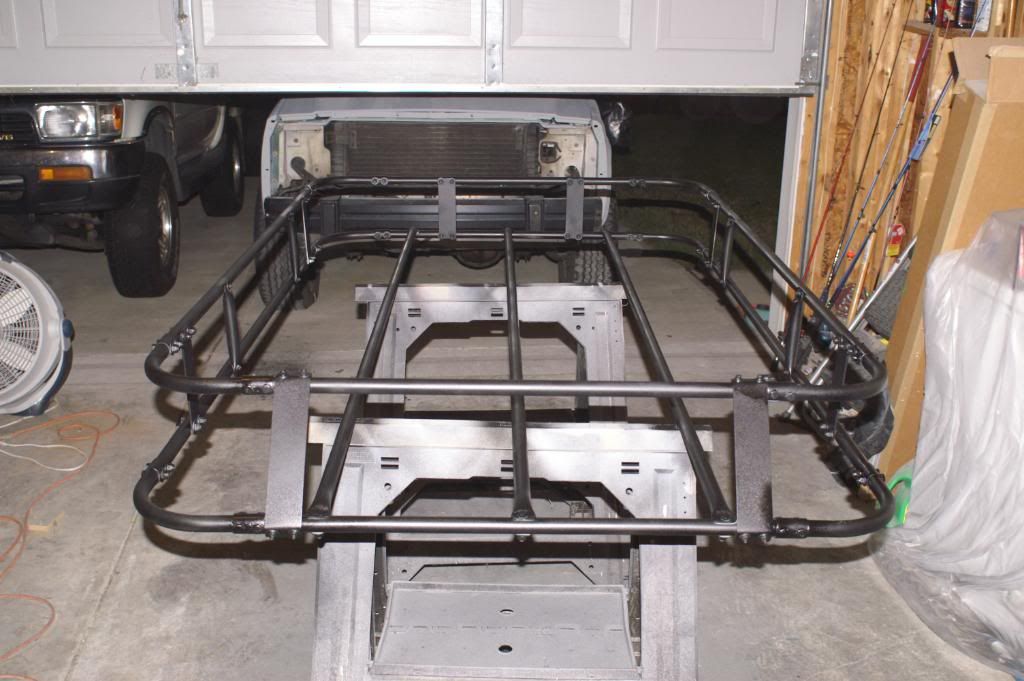
Started putting it together
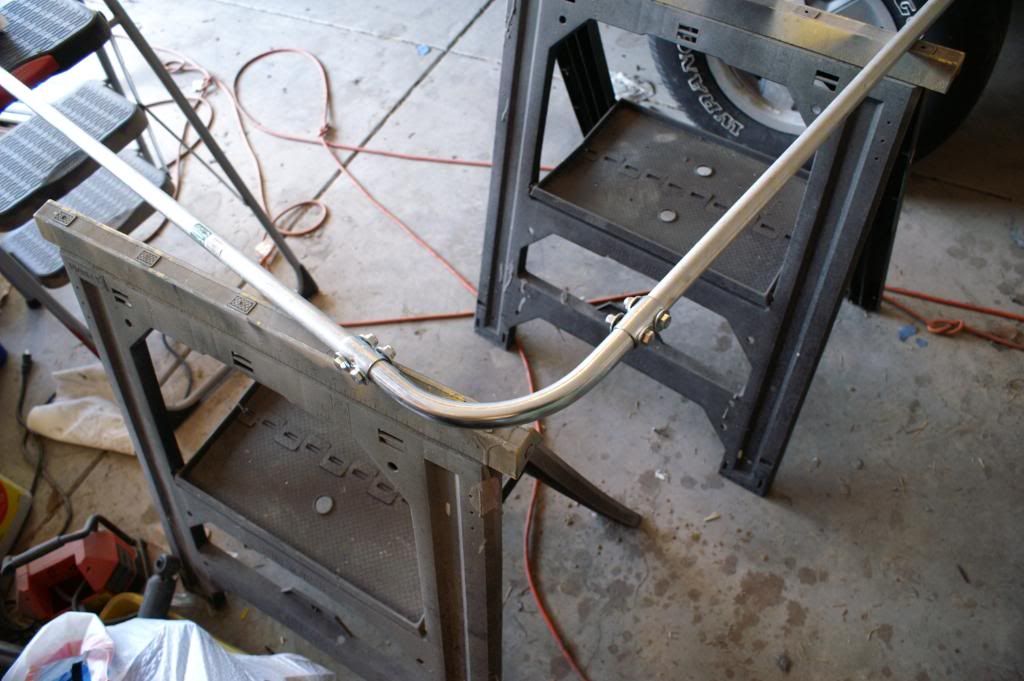
To connect the upper and lower section I cut and drilled some brackets

With both sections connected
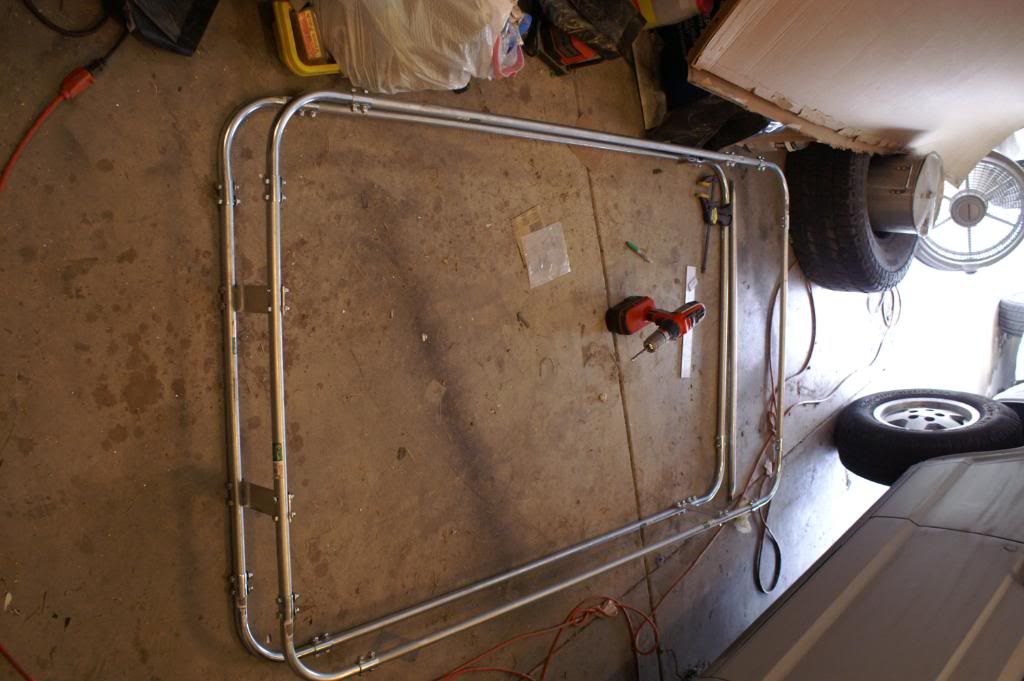
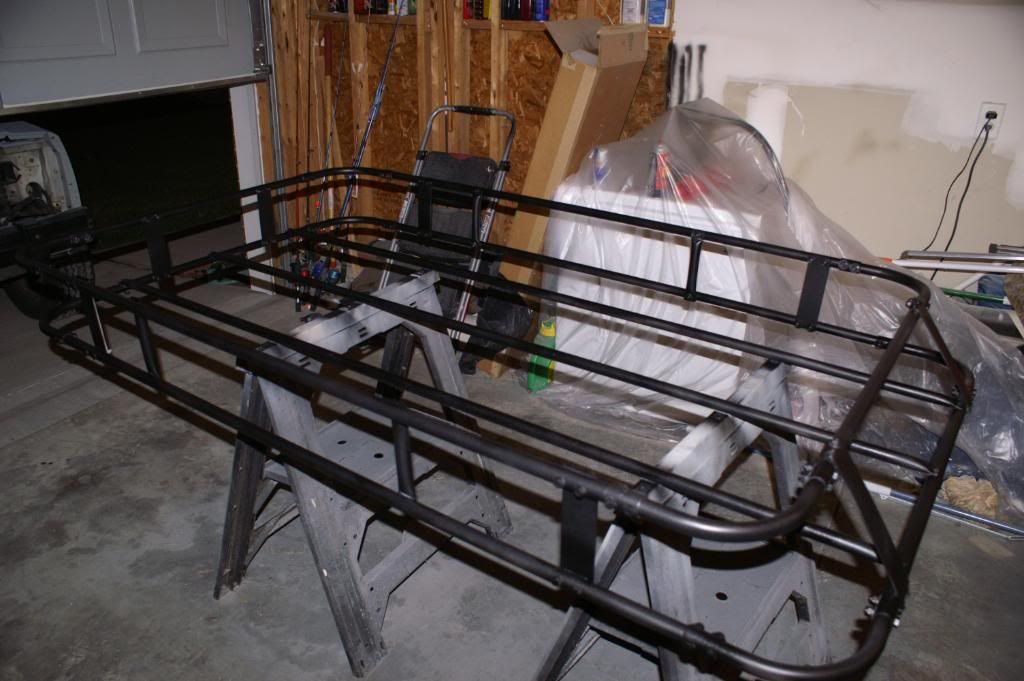
Almost complete. I added a few more braces on the sides and front.
The fron part is angled and I plan and putting some lights inside there.
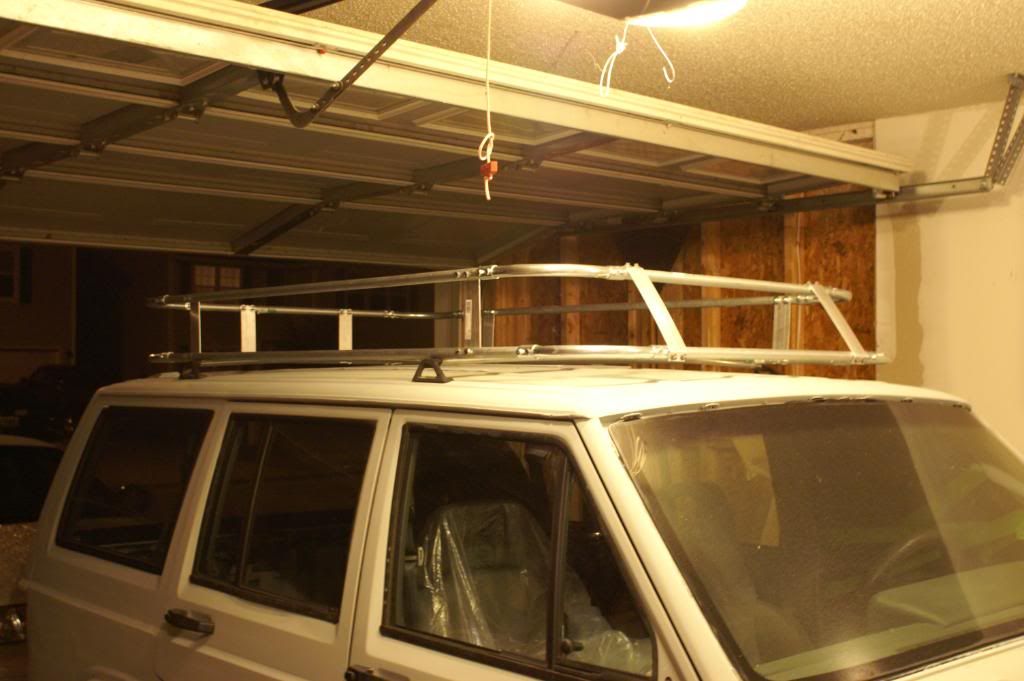
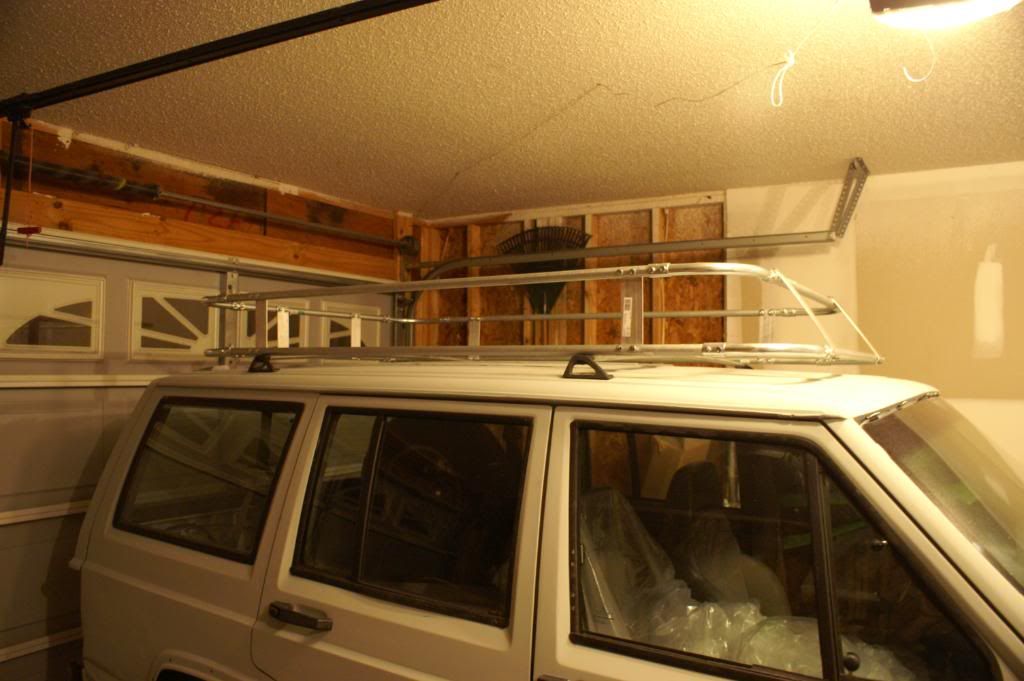
Thats pretty much were it is now. Tomorrow I plan on adding three support pieces from front to rear. Once it is done it will be primed and coated with bedliner.
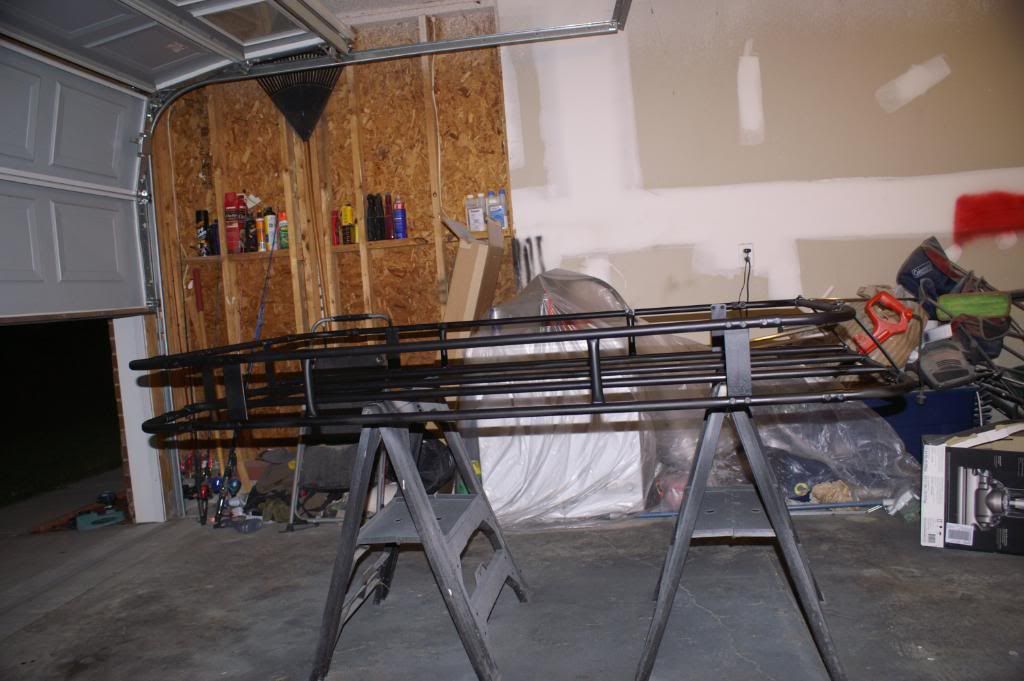
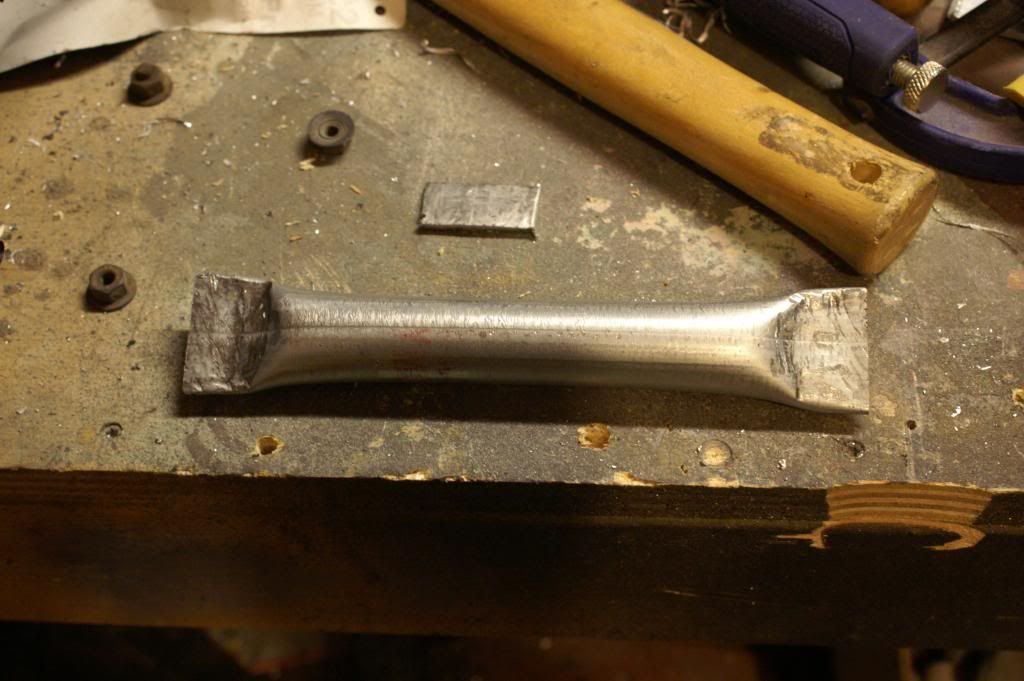
I may add these along the side for more support and to help keep stuff in. Basically its just more pipe that I have flattened on each end. Crude but effective.
It is solid as a rock right now. Ill post more pics later. Let me know what you think.
I bought 8 pieces because mine is going to be a little longer.
Connectors
Now instead of using the screws that came with it I drilled through them so I could use larger bolts with lock nuts.
This will add more strength and helped keep it together.
Started putting it together
To connect the upper and lower section I cut and drilled some brackets
With both sections connected
Almost complete. I added a few more braces on the sides and front.
The fron part is angled and I plan and putting some lights inside there.
Thats pretty much were it is now. Tomorrow I plan on adding three support pieces from front to rear. Once it is done it will be primed and coated with bedliner.
I may add these along the side for more support and to help keep stuff in. Basically its just more pipe that I have flattened on each end. Crude but effective.
It is solid as a rock right now. Ill post more pics later. Let me know what you think.
Seasoned Member
Joined: Jun 2010
Posts: 448
Likes: 0
From: Charleston, SC
Year: 1990 - 2000
Model: Cherokee
Engine: 4.0
It would be cool (and possibly stronger) if you could have put you aluminum plate brackets where the couplers are. Do you have plans for the decking?
Thread Starter
Newbie
Joined: Oct 2011
Posts: 13
Likes: 0
Model: Cherokee
Ya I was thinking of that but my bolts were just a tad short and I bought a box of 100 lol. So I really didnt want to go buy new ones. As for the decking im going today to get 3 pieces to put in from the front to the back.
Thread Starter
Newbie
Joined: Oct 2011
Posts: 13
Likes: 0
Model: Cherokee
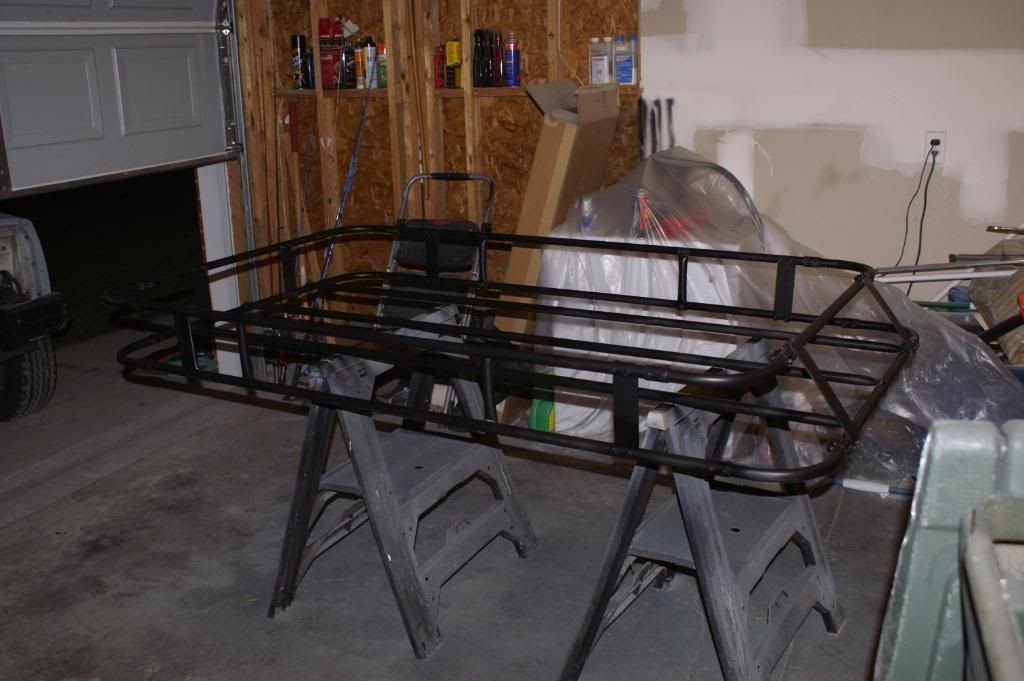
I finished it today. Just need to mount it. The liner is still wet thats why the shading is kinda different in spots. Garage is kinda messy also lol. Getting ready to toss a bunch of stuff.