


RC Drop Bracket Installation

Thread Starter
CF Veteran
Joined: Oct 2007
Posts: 3,883
Likes: 6
From: W-PA
Year: 2001
Model: Cherokee
Engine: 4.0
 RC Drop Bracket Installation
This is a write-up for Rough Country's control arm drop bracket kit. This lowers the control arm frame mounting points to get your control arms closer to being parallel with the ground. This drastically improves ride quality.
http://www.roughcountry.com/jeep_xj_..._arm_drop.html
I ordered this from Rough Country and got it just a few days later. Fast shipping
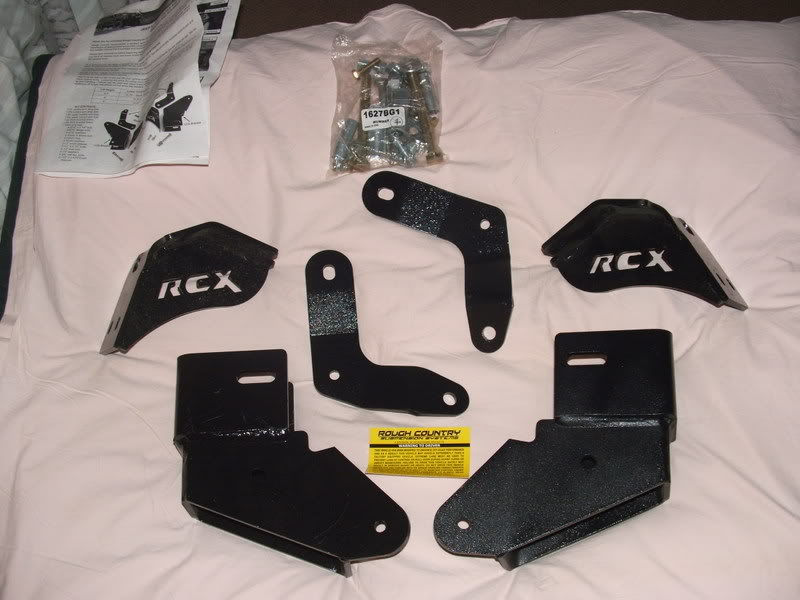
Here's what's included in the kit:
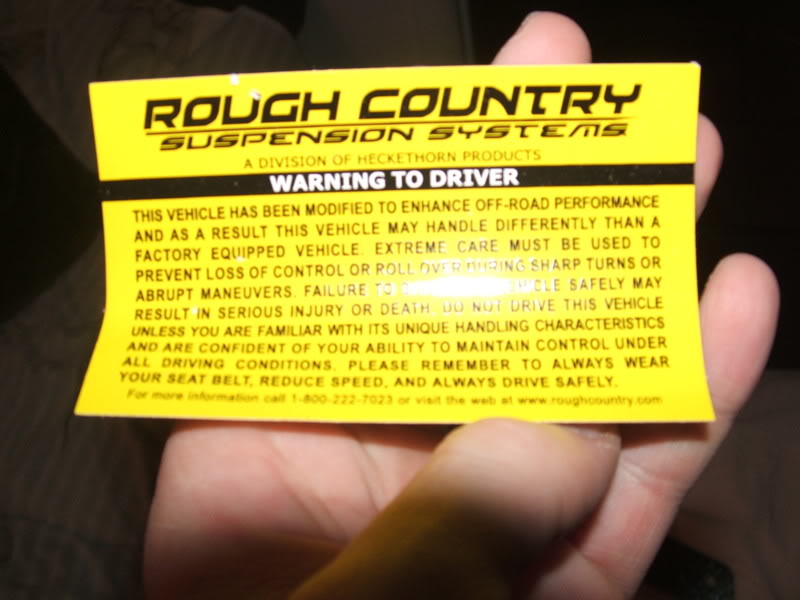
the special sticker:
Everything seems very beefy and I have no fear in this breaking or causing any issues. It is stated on the website that this kit is designed for 4.5"+ lift but I spoke with the customer service and they said it will work with a 4" too. I have 4" coil/spacer setup on it's way but for now I will install this on my current 3.5" lift just to see what it does and if it works at that height. The upgrade to 4" is still planned but for now the 3.5" will remain until i receive the springs.
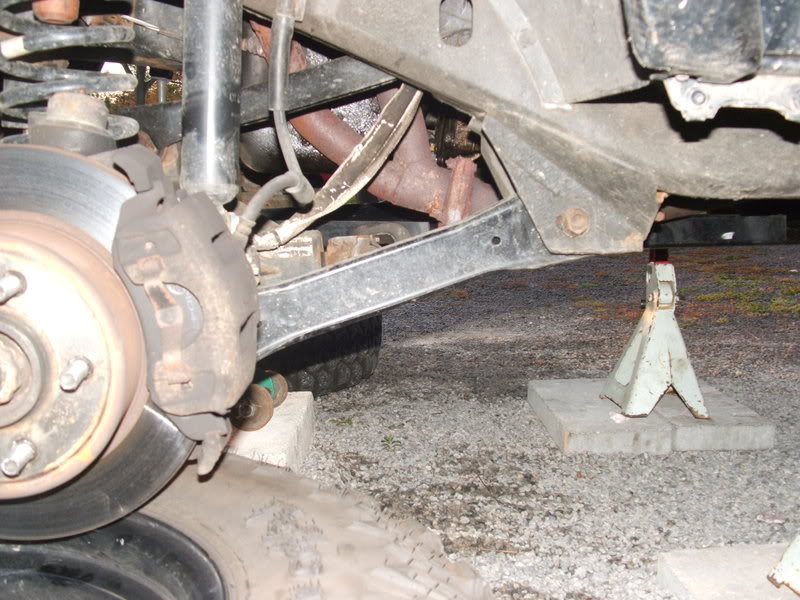
Here's a picture of the arms as they look on my 3.5" lift:
First you gotta remove the upper and lower arms, plus take out the caster adjustment shoe:
Upper uses 15mm nut:
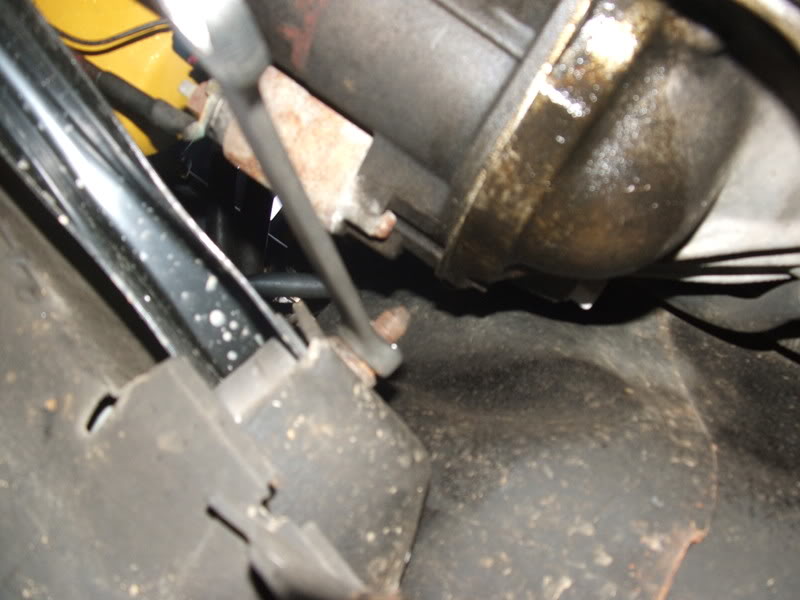
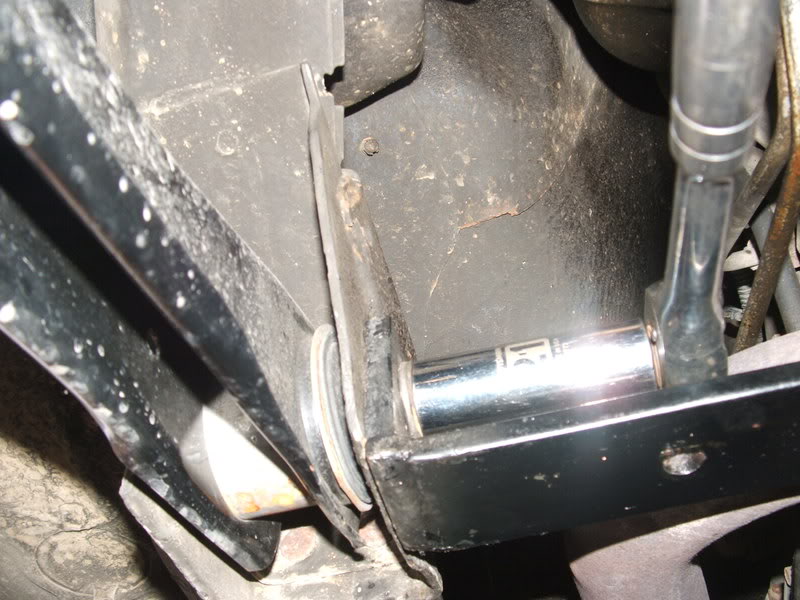
Lower uses 21 mm nuts:
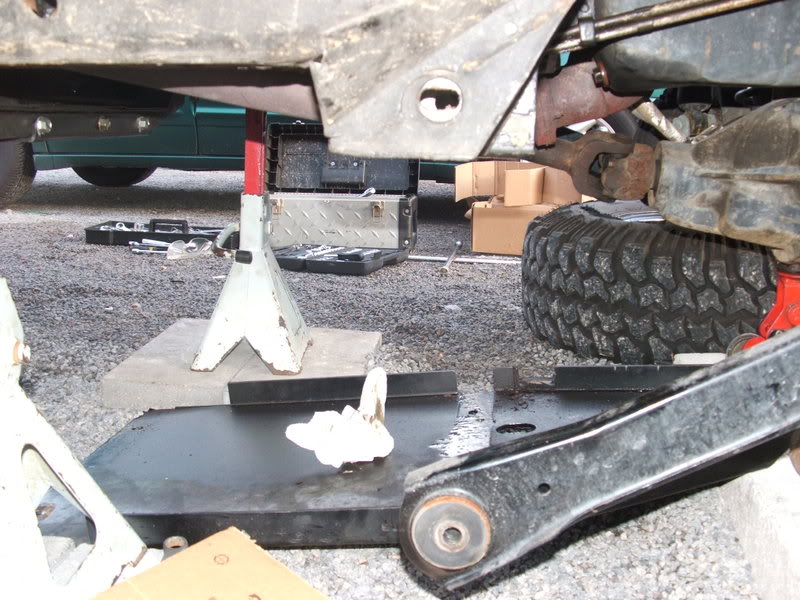
Lower arm removed:
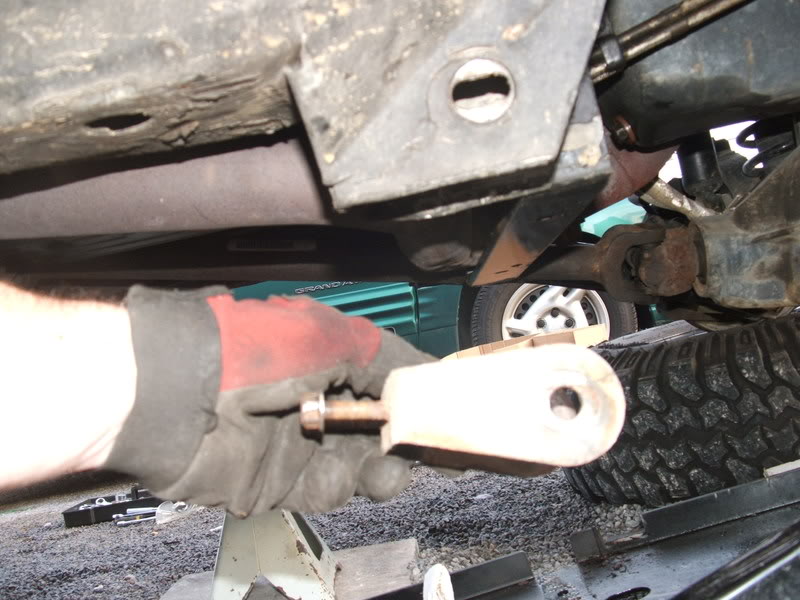
Caster adjustment shoe removed. It uses 13mm nuts on the backside of the bracket:
Now it's time to install the bracket using the supplied hardware and crush sleeves:
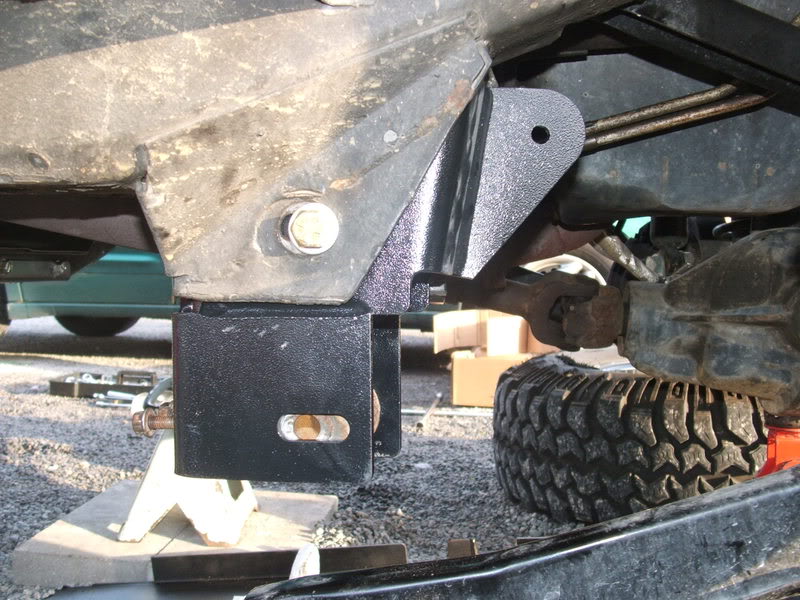
Installing the inside upper control arm bracket:
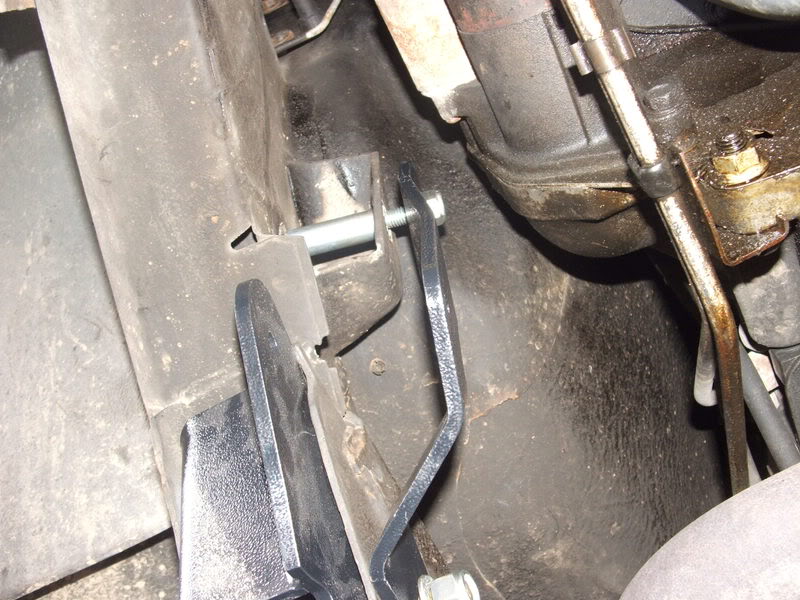
Once those are bolted down, but not tightened fully yet, you can put the upper control arm on:
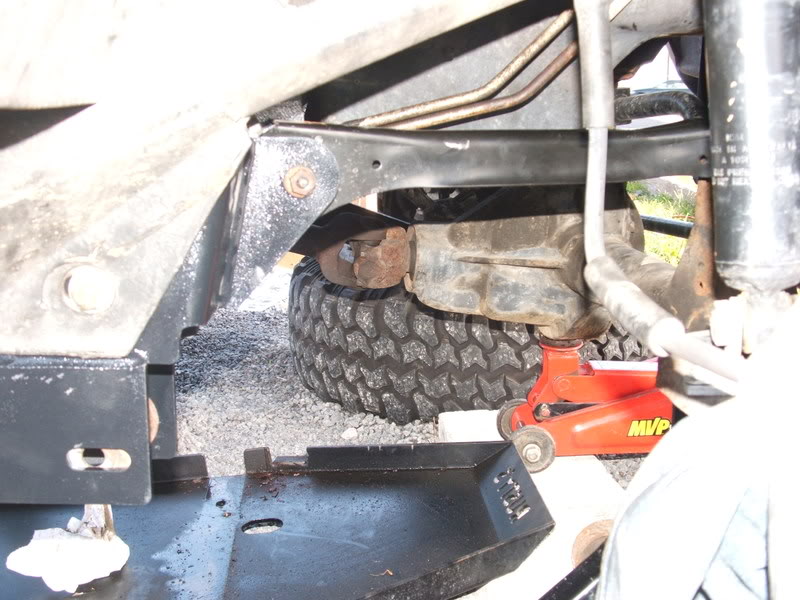
After you get the upper control arm hooked up then you move on to the bottom arm. It took some muscle to move the axle around and get the holes lined up:
Lower Arm installed:
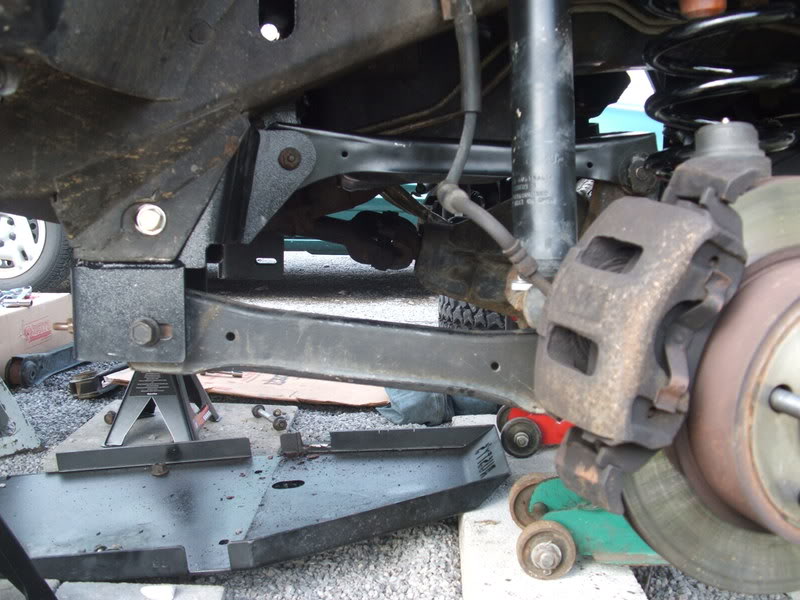
Once you have
You can see the big difference from the before and after picture of the upper control arms. Angles have changed a good bit.
That's all i have done for today. I will update this tomorrow.
http://www.roughcountry.com/jeep_xj_..._arm_drop.html
I ordered this from Rough Country and got it just a few days later. Fast shipping
Here's what's included in the kit:
the special sticker:
Everything seems very beefy and I have no fear in this breaking or causing any issues. It is stated on the website that this kit is designed for 4.5"+ lift but I spoke with the customer service and they said it will work with a 4" too. I have 4" coil/spacer setup on it's way but for now I will install this on my current 3.5" lift just to see what it does and if it works at that height. The upgrade to 4" is still planned but for now the 3.5" will remain until i receive the springs.
Here's a picture of the arms as they look on my 3.5" lift:
First you gotta remove the upper and lower arms, plus take out the caster adjustment shoe:
Upper uses 15mm nut:
Lower uses 21 mm nuts:
Lower arm removed:
Caster adjustment shoe removed. It uses 13mm nuts on the backside of the bracket:
Now it's time to install the bracket using the supplied hardware and crush sleeves:
Installing the inside upper control arm bracket:
Once those are bolted down, but not tightened fully yet, you can put the upper control arm on:
After you get the upper control arm hooked up then you move on to the bottom arm. It took some muscle to move the axle around and get the holes lined up:
Lower Arm installed:
Once you have
You can see the big difference from the before and after picture of the upper control arms. Angles have changed a good bit.
That's all i have done for today. I will update this tomorrow.
Last edited by muddeprived; Oct 21, 2008 at 01:43 AM.
Thread Starter
CF Veteran
Joined: Oct 2007
Posts: 3,883
Likes: 6
From: W-PA
Year: 2001
Model: Cherokee
Engine: 4.0
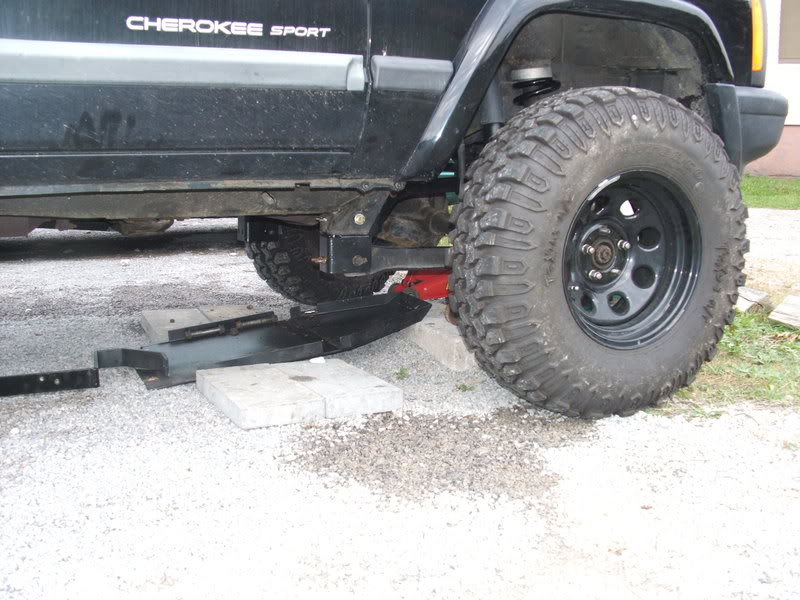
I was able to get some more done today. I hooked up 3 of the arms, both uppers and passenger lower but was unable to get the driver's side lower control arm back on because of this:
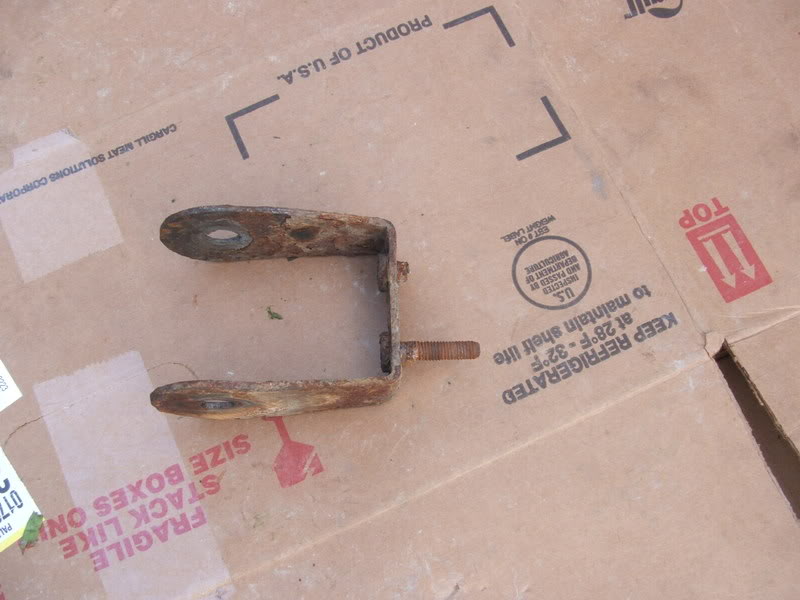
That's the caster adjustment shoe. One of the bolts decided to snap and halted my progress. I have to wait till tomorrow to get the new one. Can you imagine that little bracket thingie is $60 at the dealership? ridiculous.....
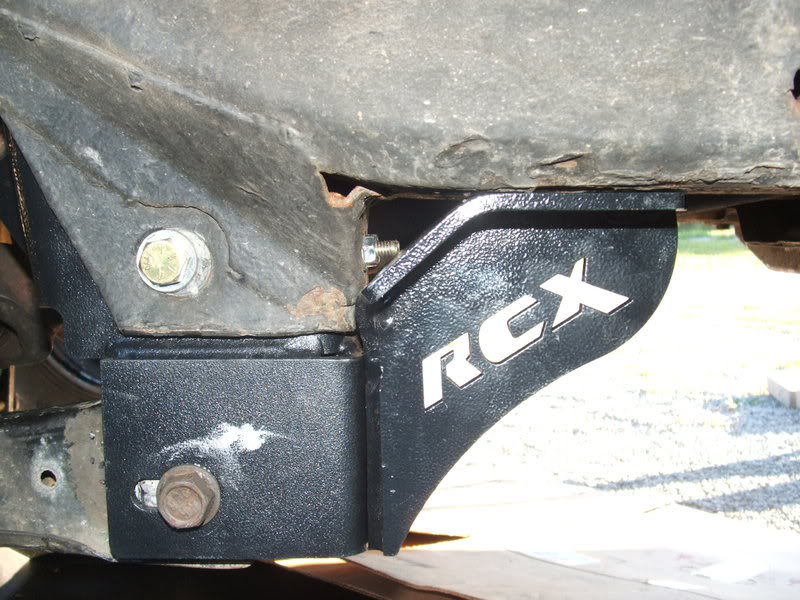
Here are some more pictures of the brackets:
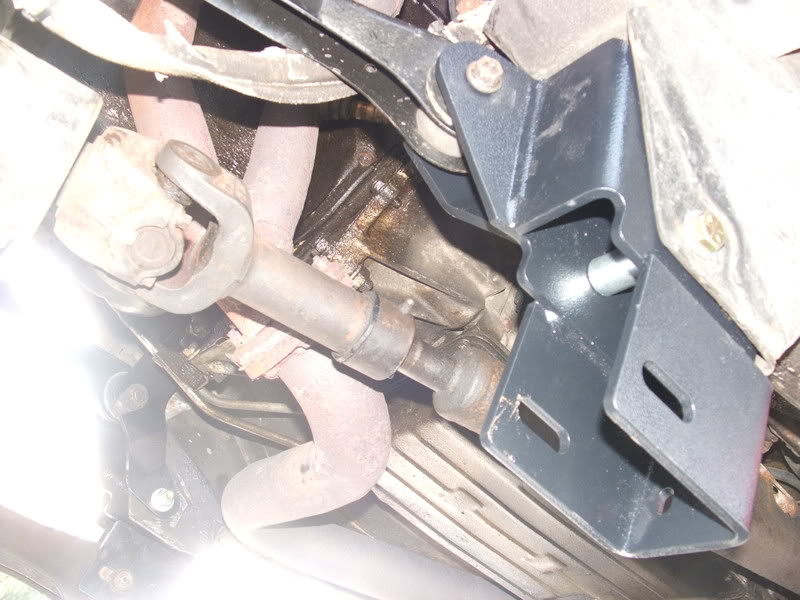
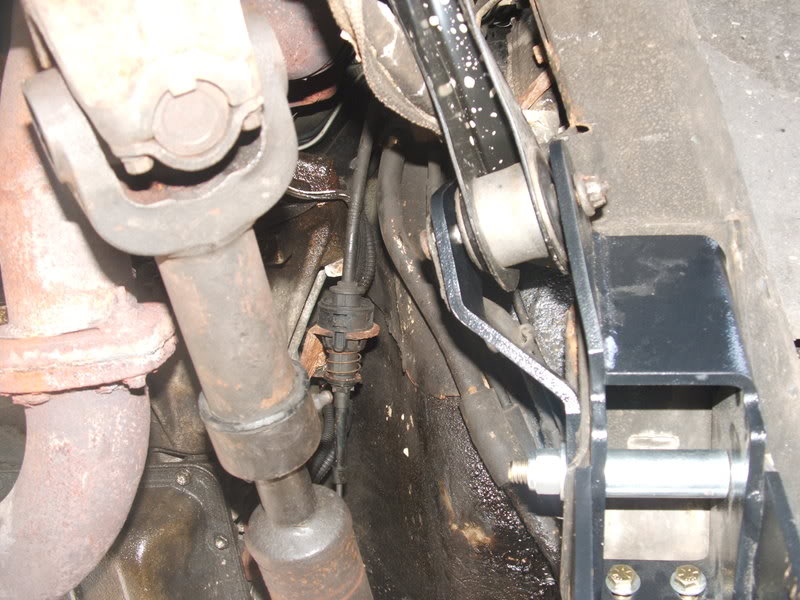
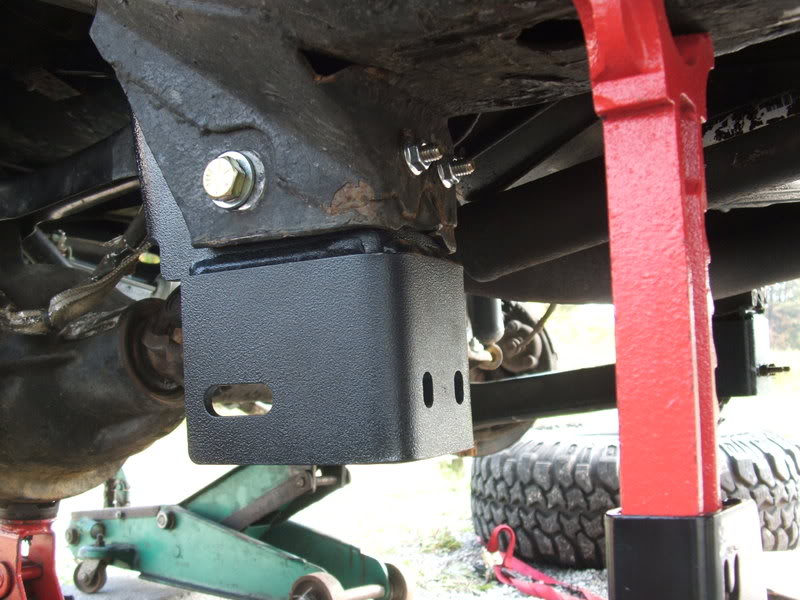
I'll probably the get back support brackets on tomorrow and everything else connected. I did get Rusty's springs on and netted 5" of lift with 1" spacer. I was hoping for 4" but i got more i guess because they are HD springs. I'll update this with final pictures, ride height, and how it rides.
That's the caster adjustment shoe. One of the bolts decided to snap and halted my progress. I have to wait till tomorrow to get the new one. Can you imagine that little bracket thingie is $60 at the dealership? ridiculous.....
Here are some more pictures of the brackets:
I'll probably the get back support brackets on tomorrow and everything else connected. I did get Rusty's springs on and netted 5" of lift with 1" spacer. I was hoping for 4" but i got more i guess because they are HD springs. I'll update this with final pictures, ride height, and how it rides.
Last edited by muddeprived; Oct 21, 2008 at 01:44 AM.
Thread Starter
CF Veteran
Joined: Oct 2007
Posts: 3,883
Likes: 6
From: W-PA
Year: 2001
Model: Cherokee
Engine: 4.0
I finally got it done today. It's hard to find time when you work nights and sleep days.
Place the rear support bracket in place and temporarily bolt it down with the caster bracket nuts:
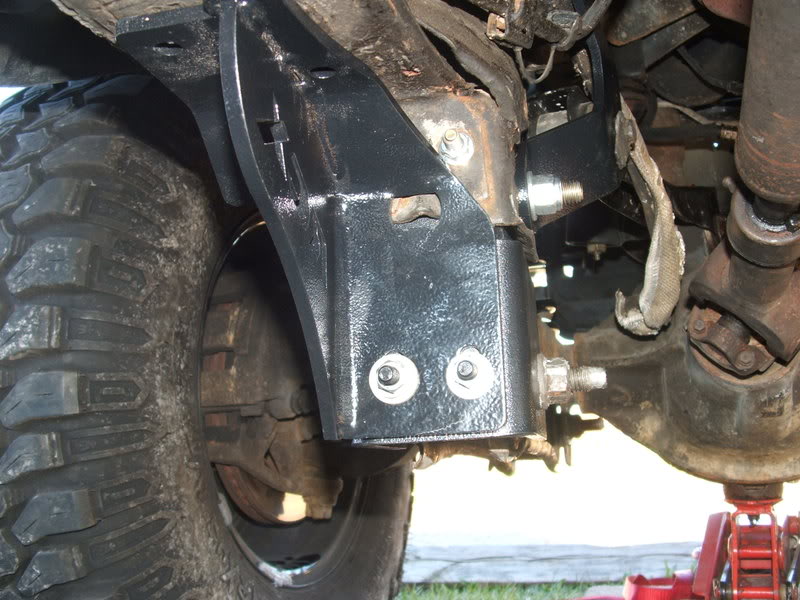
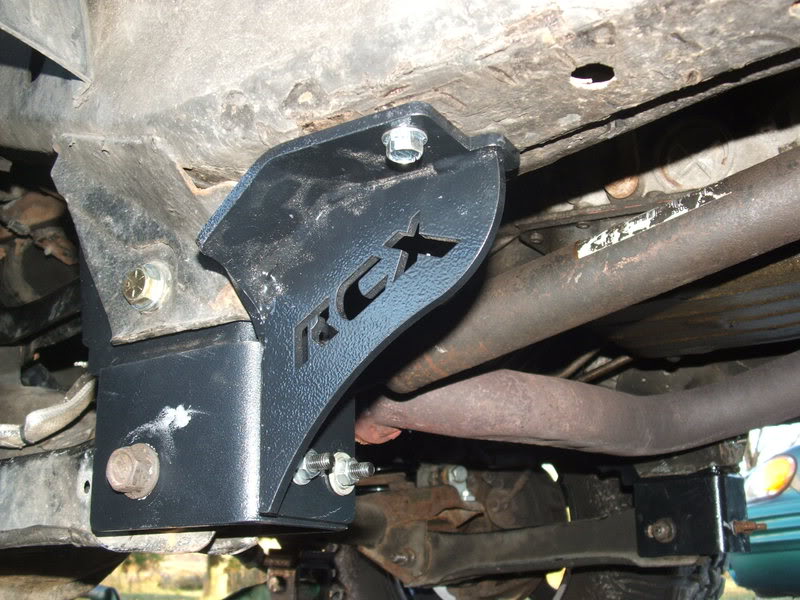
Now you have to drill two holes on top through the framerails. you can see the holes already on the bracket. Use 11/32 drill bit. I used a slightly smaller bit since i did not have that size and it still worked ok:
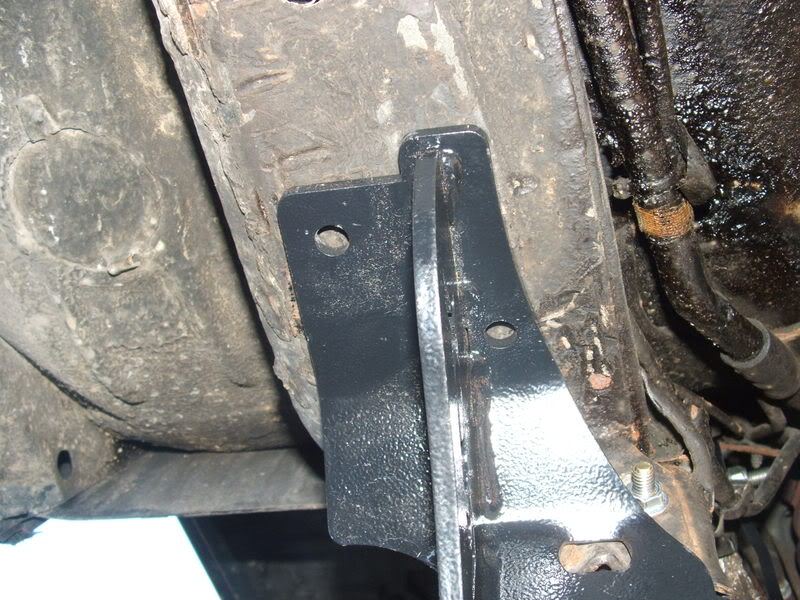
Finally you install the self tapping bolts on top and then tighten up the caster bracket bolts:
After the brackets are on, tighten everything up while the jeep is on the ground. Reconnect anything you disconnected, sway bar, trackbar, steering components, etc.
It appears my driveshaft angles are just right visually. I don't have any vibrations coming from the front, even with 5" lift and LP 30.
Road Test: I gotta say that this kit was not worth the $200 i spent for it. It's actually worth about $300! The way it drives on the street reminds me of a car in some ways. It tracks straight unlike before where it would follow the angle of the road. I can no longer feel cracks and bumps in the road. There's no more road noise being transfered to my seat. In short, this thing rides NICE. I would recommend this kit to anyone who can't afford long arms because it rides just like it, maybe even better.
Place the rear support bracket in place and temporarily bolt it down with the caster bracket nuts:
Now you have to drill two holes on top through the framerails. you can see the holes already on the bracket. Use 11/32 drill bit. I used a slightly smaller bit since i did not have that size and it still worked ok:
Finally you install the self tapping bolts on top and then tighten up the caster bracket bolts:
After the brackets are on, tighten everything up while the jeep is on the ground. Reconnect anything you disconnected, sway bar, trackbar, steering components, etc.
It appears my driveshaft angles are just right visually. I don't have any vibrations coming from the front, even with 5" lift and LP 30.
Road Test: I gotta say that this kit was not worth the $200 i spent for it. It's actually worth about $300!
The way it drives on the street reminds me of a car in some ways. It tracks straight unlike before where it would follow the angle of the road. I can no longer feel cracks and bumps in the road. There's no more road noise being transfered to my seat. In short, this thing rides NICE. I would recommend this kit to anyone who can't afford long arms because it rides just like it, maybe even better.
Last edited by muddeprived; Oct 21, 2008 at 01:48 AM.

Thread
Thread Starter
Forum
Replies
Last Post
ButtStripe
Stock XJ Cherokee Tech. All XJ Non-modified/stock questions go here
11
Sep 3, 2015 07:57 PM
XJUSMC
Modified XJ Cherokee Tech
2
Aug 28, 2015 04:52 AM
Currently Active Users Viewing This Thread: 1 (0 members and 1 guests)