
Tried putting LEDs in your Jeep and been disappointed that they flash on and off like a strobe light or worse, they don't flash at all? Well you're in the right place. This write-up will guide you on how to rid yourself of those finicky thermal flashers that many older vehicles utilized in the stone age. This applies to those of us with Renix Jeep XJs/MJs/YJs/etc. who have done an LED conversion and/or just need a consistent flash-rate because those cheap thermal flashers don't know what the heck is going on.
If you haven't checked out my other write-up on Homebrew LED front turn signals ('84-'96), then head over there to get an idea of why I did this conversion.
What you'll need:
You're going to want to connect everything as shown in the schematic below. Please ignore the color of the wires as they will likely not match the physical relay socket.
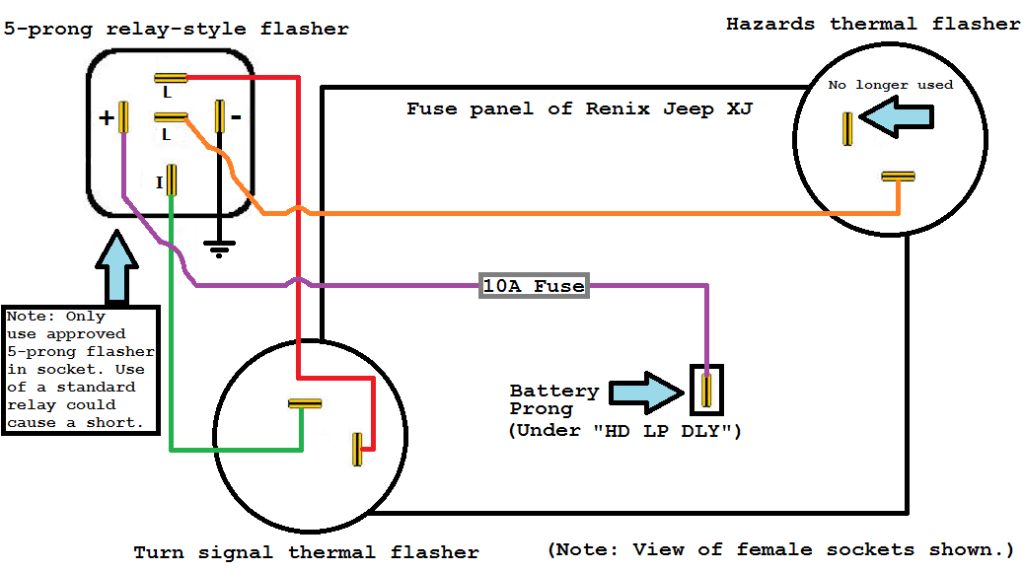
The male blade terminals will be crimped to the striped wires coming from the relay socket. These male blade terminals will then be inserted in the female blade sockets that the thermal flashers once plugged to. You will need to find somewhere on the metal chassis to ground the negative (-) terminal of the relay socket. No ground or a poor ground will lead to bad results. If you have a basic understanding of electrical and you're able to use a wire stripper/cutter/crimper, then you will be fine. However, if there is any confusion, please feel free to message me and I will try my best to help you.
Note: When looking at the above schematic, keep in mind that all sockets are viewed from the top. In other words, you're looking down on the sockets.
If you haven't checked out my other write-up on Homebrew LED front turn signals ('84-'96), then head over there to get an idea of why I did this conversion.
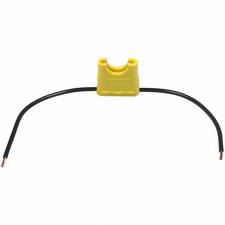
What you'll need:
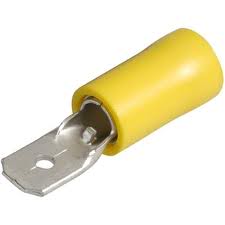
- Male blade terminals
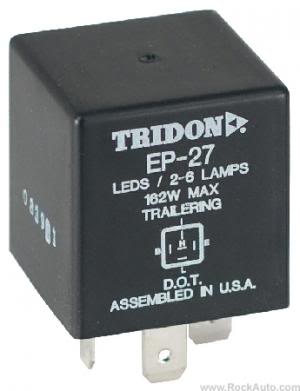
- 5-prong LED flasher (Tridon EP-27)
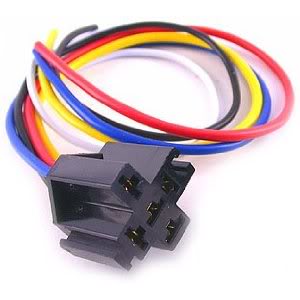
- 5-prong relay socket (
)
- Inline fuse holder (blade style or glass-tube style)
- Wire cutters/stripers/crimpers
You're going to want to connect everything as shown in the schematic below. Please ignore the color of the wires as they will likely not match the physical relay socket.
The male blade terminals will be crimped to the striped wires coming from the relay socket. These male blade terminals will then be inserted in the female blade sockets that the thermal flashers once plugged to. You will need to find somewhere on the metal chassis to ground the negative (-) terminal of the relay socket. No ground or a poor ground will lead to bad results. If you have a basic understanding of electrical and you're able to use a wire stripper/cutter/crimper, then you will be fine. However, if there is any confusion, please feel free to message me and I will try my best to help you.
Note: When looking at the above schematic, keep in mind that all sockets are viewed from the top. In other words, you're looking down on the sockets.