Scorpion Build - 96 XJ
 07-02-2014, 10:59 AM
#1
Newbie
Thread Starter

Join Date: Jul 2014
Location: St. Louis
Posts: 23
Likes: 0
Received 0 Likes
on
0 Posts
Year: 1996
Model: Cherokee
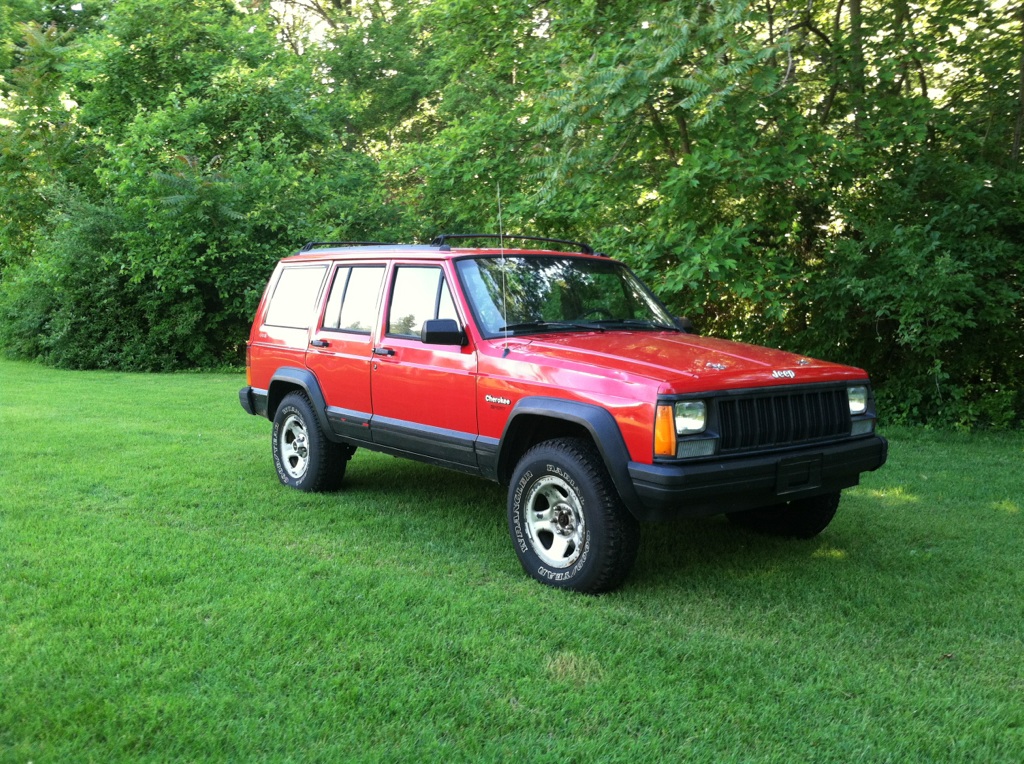
Just picked up my first (yep..first) Jeep Cherokee. I have been creeping on here for a few months and have lots of plans and ideas in store. This will not be some lift and lift again thread. I plan to basically restore the XJ, wheel on the weekends and use it as my DD...
Got the rig with 220k on it. Newish tires 235/75/15 and new exhaust. Previous owner had already done the tranny mount, motor mounts, fluids, flush, plugs & water pump...nice start or mechanical basicsf
First fix will be exhaust manifold and then shocks.
Plan on new coils from a ZJ v-8 for 1in additional in front and new up-country leaf springs for 1.5 in rear
http://www.quadratec.com/products/56010_11.htm
headlight upgrade
new seats
custom headliner
31 tires on some takeoffs from CL.
Feel free to add comments and suggestions..god knows I will need some...lol
red/black scheme with some cool scorpion graphics
Should be a fun ride!!!


 07-08-2014, 11:52 AM
#4
Newbie
Thread Starter
Join Date: Jul 2014
Location: St. Louis
Posts: 23
Likes: 0
Received 0 Likes
on
0 Posts
Year: 1996
Model: Cherokee
Replaced them hood with another red one from the local pick-a-part:
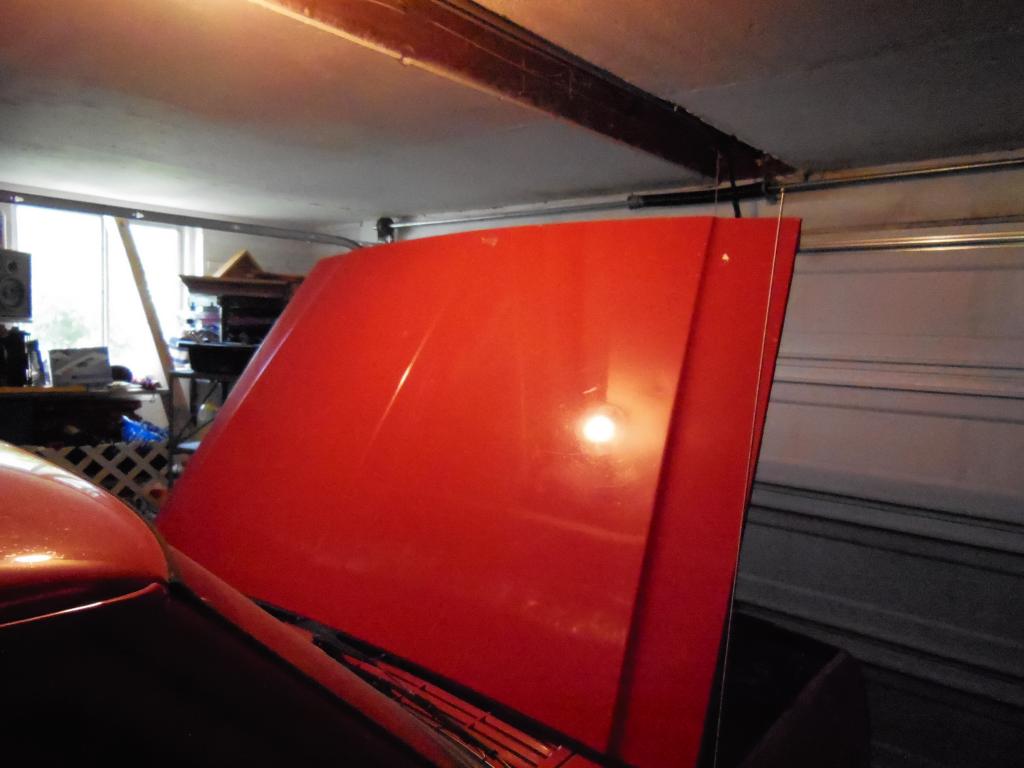
By the way--anyone looking for a rust free hood for a XJ i red...with hood pins..lol
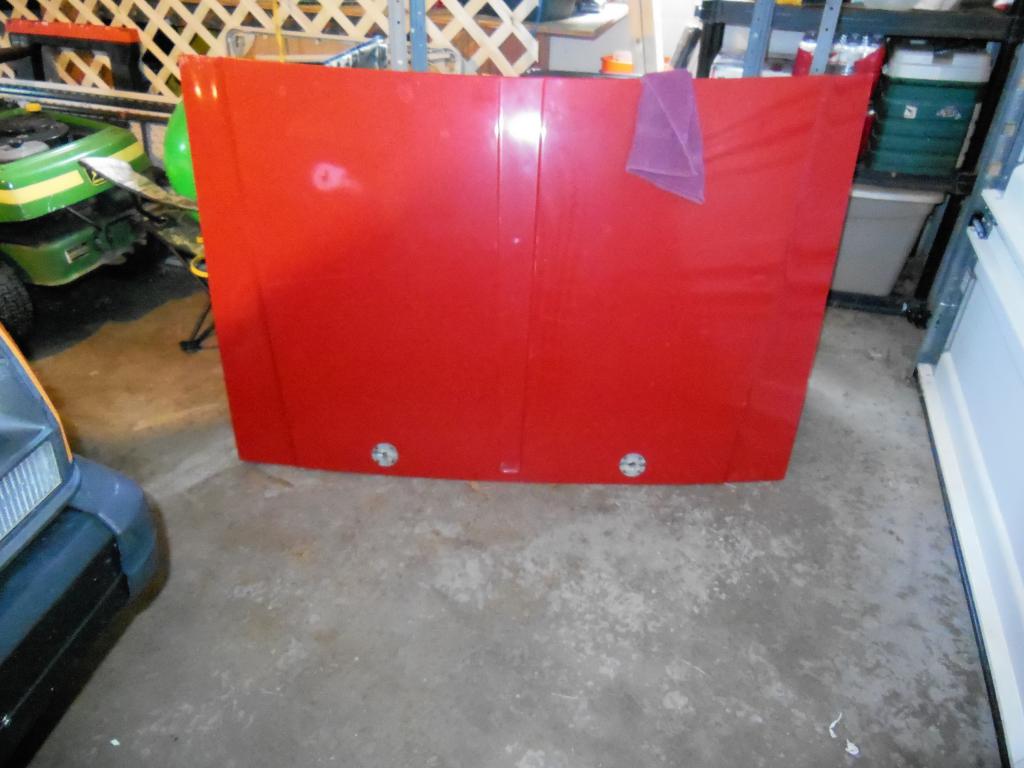
Was thinking of using it to fab a gas tank skid plate..thoughts?
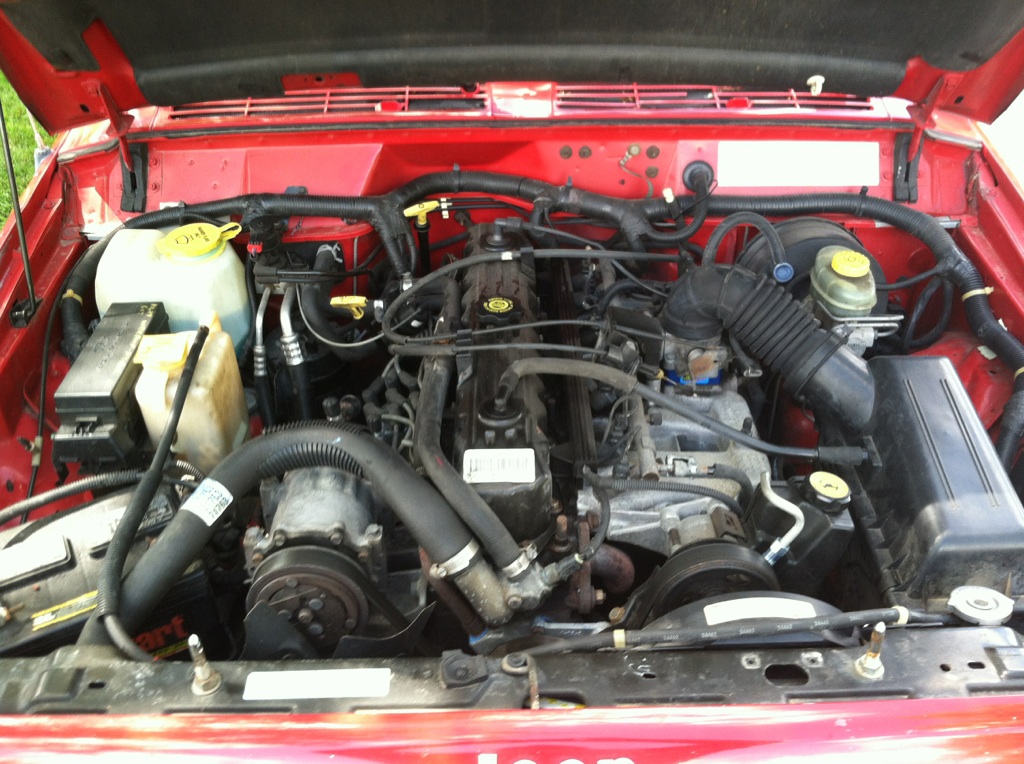
Installed new throttle body spacer:

Noticeable gain in mid range response

By the way--anyone looking for a rust free hood for a XJ i red...with hood pins..lol

Was thinking of using it to fab a gas tank skid plate..thoughts?
Installed new throttle body spacer:

Noticeable gain in mid range response
07-31-2014, 12:57 PM
#5
Newbie
Thread Starter
Join Date: Jul 2014
Location: St. Louis
Posts: 23
Likes: 0
Received 0 Likes
on
0 Posts
Year: 1996
Model: Cherokee
No updates for a while but here goes a few changes...
Tore out the old headliner and soundbar and recovered it. I used grey fabric from wallyworld. (3 yards covered the headliner and sound bar easily - $9) 1 complete can of spray adhesive (3m - $6). Came out really nice.
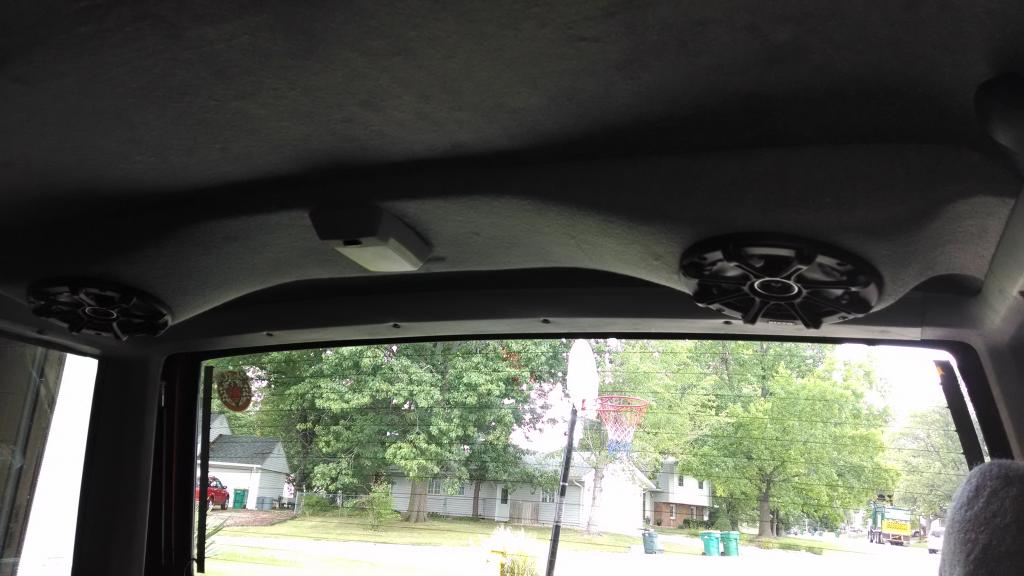
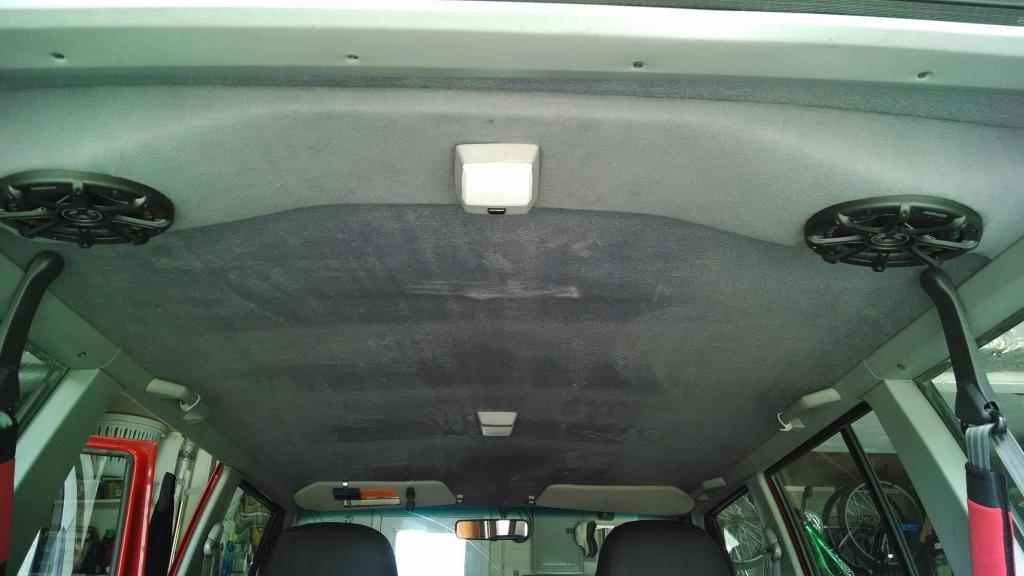
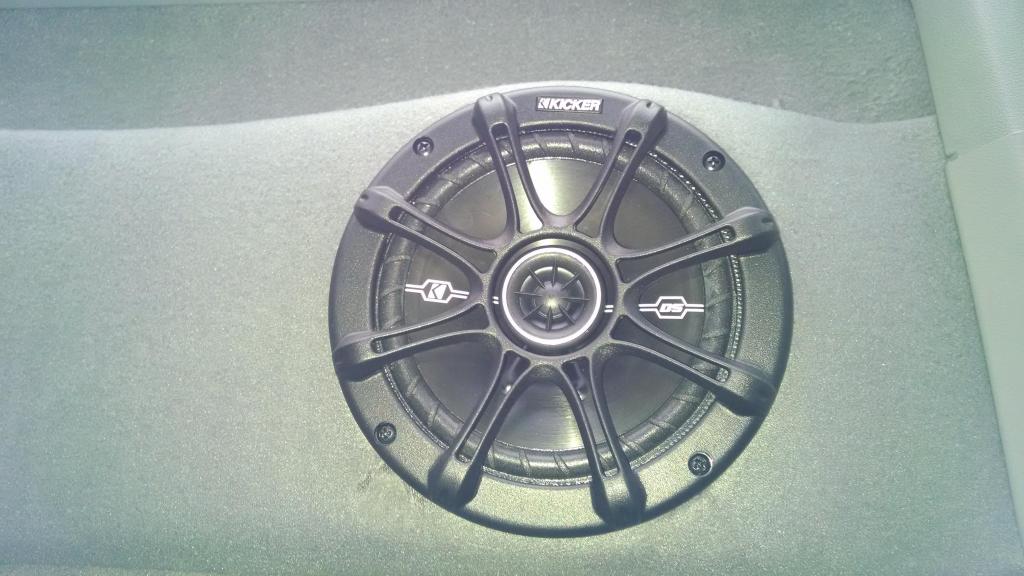
Good time to upgrade the stock 6.5 speakers as well. Cut off the stupid wiring harness and hook them right up.
In all reality I have done this to a few vehicles and it is pretty straightforward...
1) Remove
2) Scrape off all the old foam
3) lay out fabric and trim with a few inches overlap
4) Fold back 1/2 and spray fabric and headliner, let it set up for about 30 sec or so
5) DONT USE YOUR HANDS - GET A ROLLER - much smoother. Pay attention to the curves. I also like to wrap the edges over about an inch or so.
6) Reinstall
The only thing to keep in mind is those little round metal holders on your dome lights. They are a PITA. I used needle nose pliers and wiggle wiggle wiggle yeah.
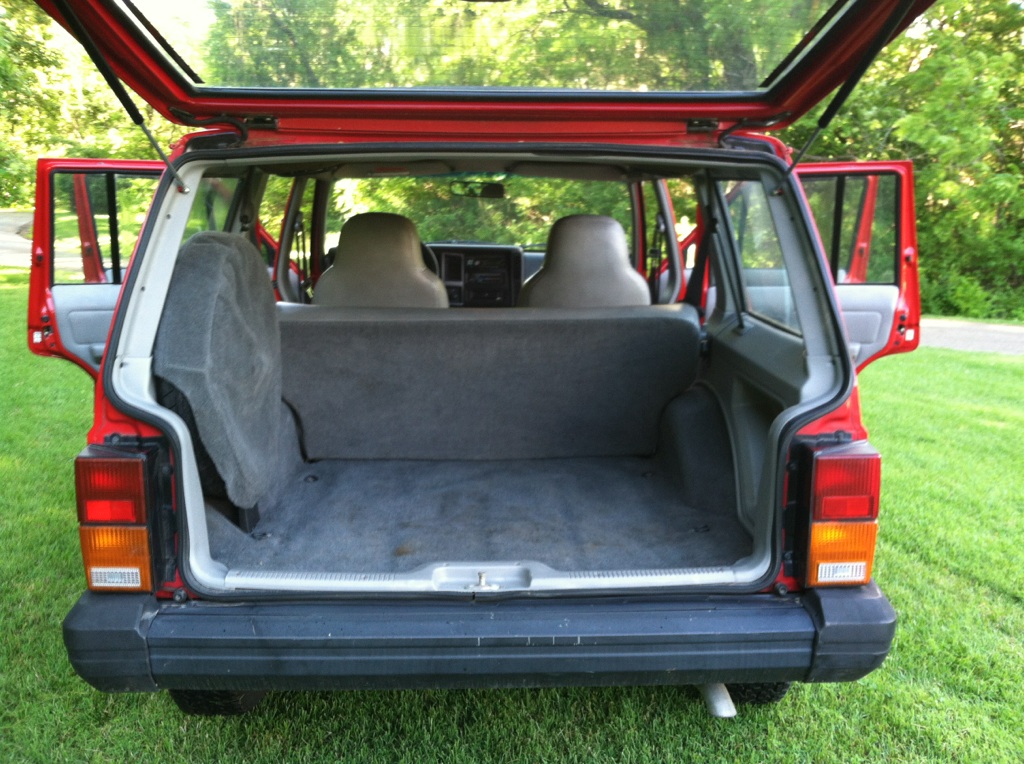
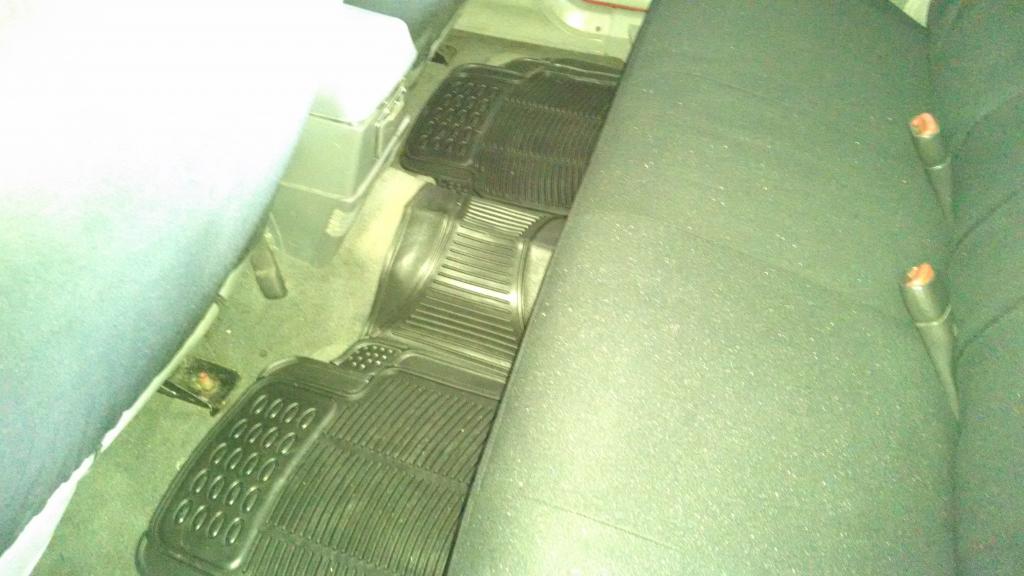
Ordered a rear floor mat off ebay for 15 bucks - F that $50 action from RC..lol
looks good - trim to fit nicely
Tore out the old headliner and soundbar and recovered it. I used grey fabric from wallyworld. (3 yards covered the headliner and sound bar easily - $9) 1 complete can of spray adhesive (3m - $6). Came out really nice.


Good time to upgrade the stock 6.5 speakers as well. Cut off the stupid wiring harness and hook them right up.

In all reality I have done this to a few vehicles and it is pretty straightforward...
1) Remove
2) Scrape off all the old foam
3) lay out fabric and trim with a few inches overlap
4) Fold back 1/2 and spray fabric and headliner, let it set up for about 30 sec or so
5) DONT USE YOUR HANDS - GET A ROLLER - much smoother. Pay attention to the curves. I also like to wrap the edges over about an inch or so.
6) Reinstall
The only thing to keep in mind is those little round metal holders on your dome lights. They are a PITA. I used needle nose pliers and wiggle wiggle wiggle yeah.
Ordered a rear floor mat off ebay for 15 bucks - F that $50 action from RC..lol
looks good - trim to fit nicely

Last edited by papaslack73; 07-31-2014 at 01:05 PM.
07-31-2014, 01:01 PM
#6
Newbie
Thread Starter
Join Date: Jul 2014
Location: St. Louis
Posts: 23
Likes: 0
Received 0 Likes
on
0 Posts
Year: 1996
Model: Cherokee
Next up is the removal of the body molding. It was painted by the PO and was starting to flake off. I decided to gpo ahead and take it all off and do the bedliner method from body line on down. It had been done (****ty I might add) by the PO as well when he painted the moldings.
Before:

Taken off:
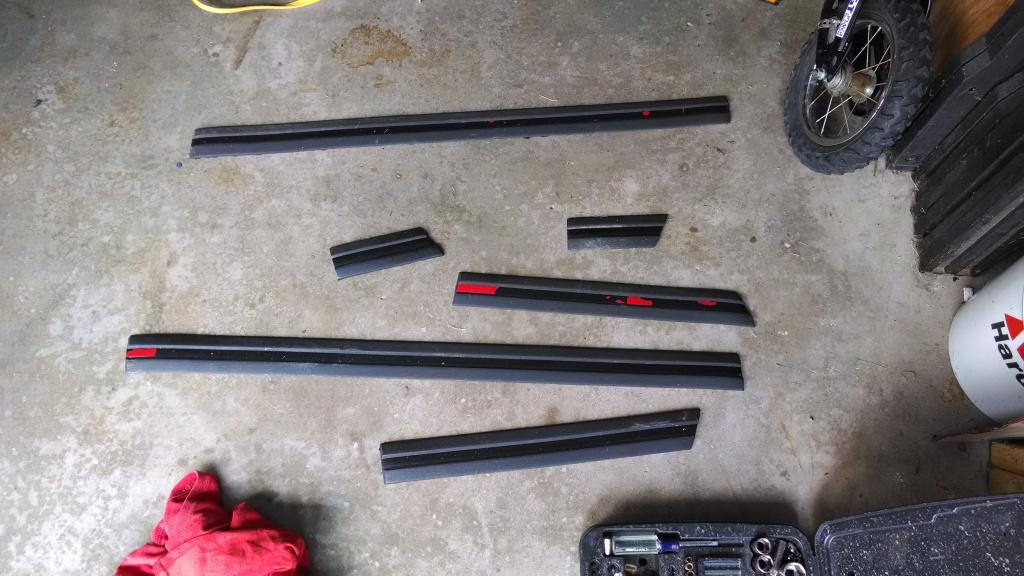
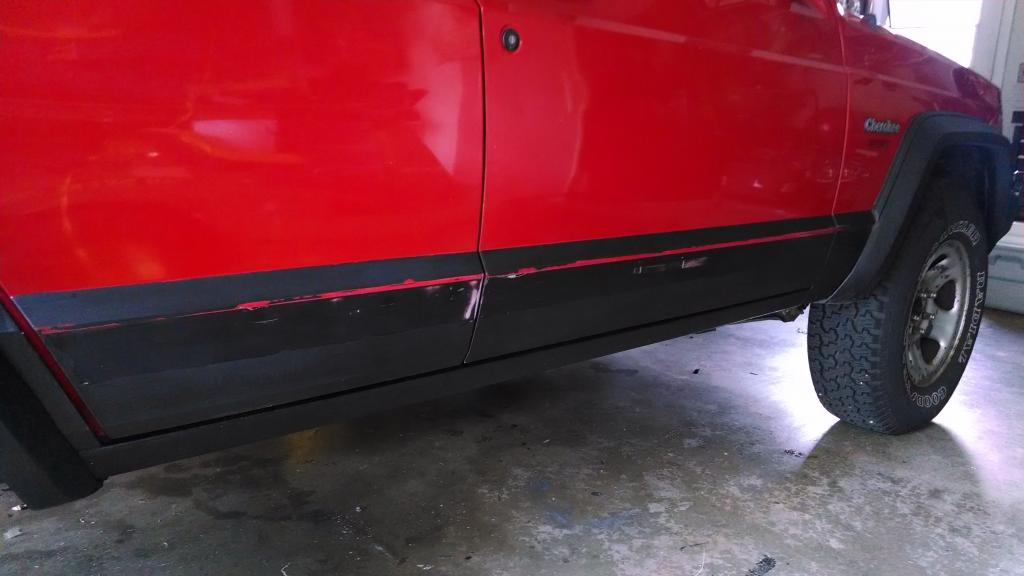
heat gun = easy removal, goof off wiped off the rest. sanded with 150 to scuff it up

Before:
Taken off:


heat gun = easy removal, goof off wiped off the rest. sanded with 150 to scuff it up
 07-31-2014, 01:02 PM
#7
Newbie
Thread Starter
Join Date: Jul 2014
Location: St. Louis
Posts: 23
Likes: 0
Received 0 Likes
on
0 Posts
Year: 1996
Model: Cherokee
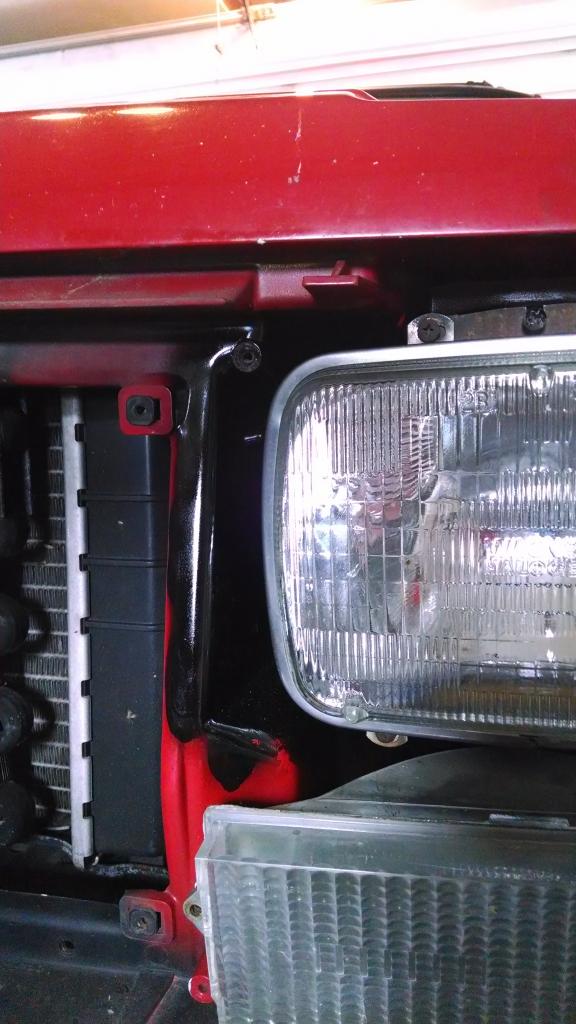
I really bothered me that I could see red in the cracks around the headlights so I took off the bezels and headlights, shot them with some black...blends much better now


Trending Topics
07-31-2014, 01:03 PM
#8
Banned

Join Date: Jul 2014
Location: Las Vegas
Posts: 820
Likes: 0
Received 1 Like
on
1 Post
Year: 1997
Model: Cherokee
Engine: 4.0
Looks great... My first XJ will be delivered next week, I hope it is in as good of a condition as yours! I know I will have to do the headliner already.


Thread
Thread Starter
Forum
Replies
Last Post
Currently Active Users Viewing This Thread: 1 (0 members and 1 guests)