Scbmx87's 99 XJ Classic Build
 10-12-2010, 12:27 AM
#1
Member
Thread Starter

Join Date: Oct 2009
Posts: 120
Likes: 0
Received 0 Likes
on
0 Posts
Year: 1999
Model: Cherokee
Engine: 4.0 I6
Hey everyone, I'm Doug from Maryland and this is my to date progress on my XJ. Any questions, just post up and I'll be glad to answer them.
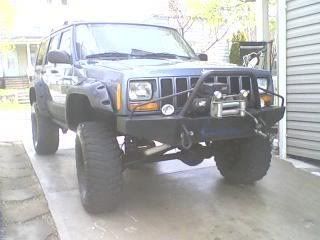
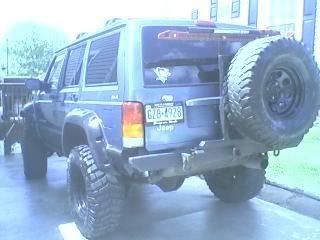
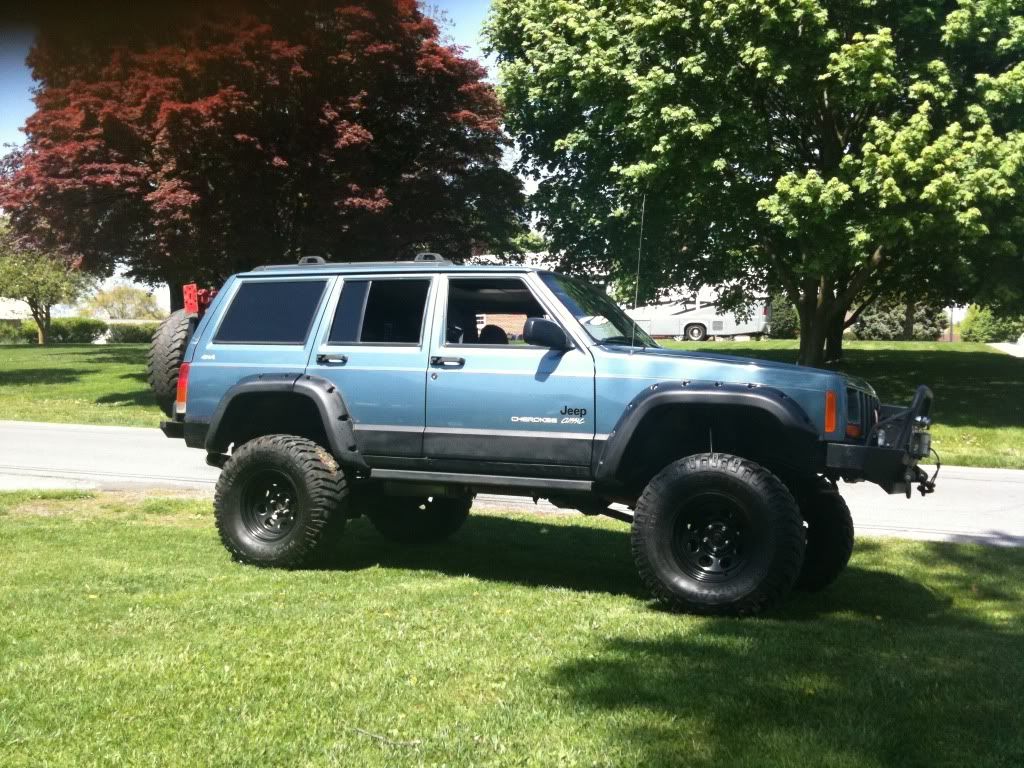
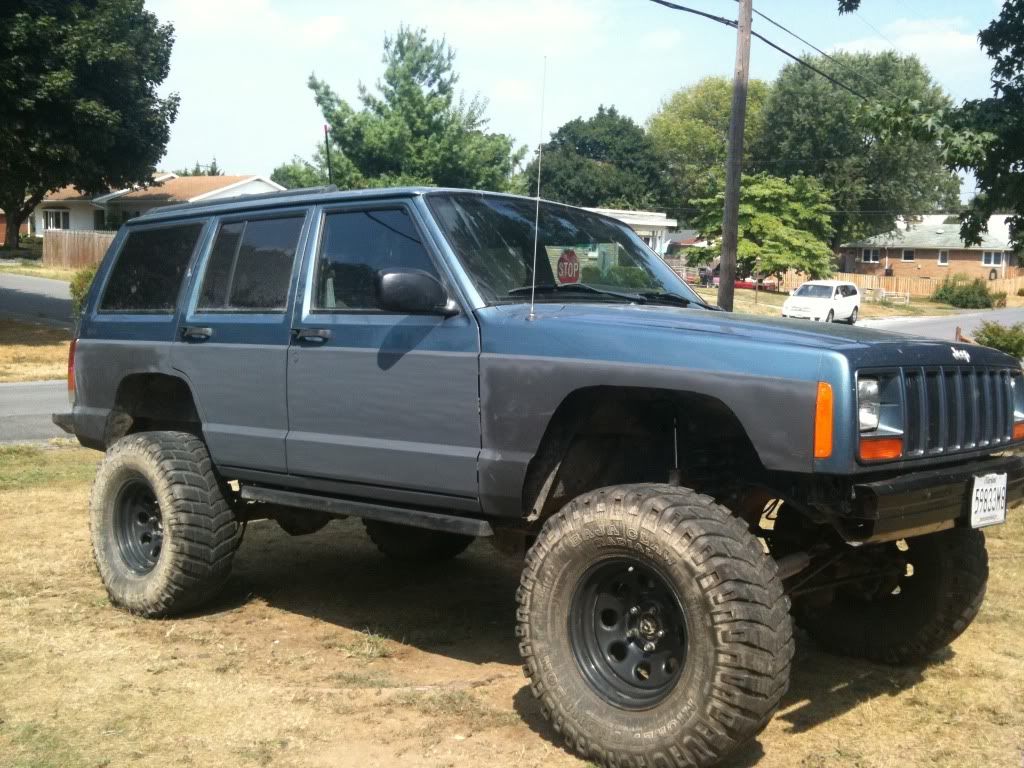
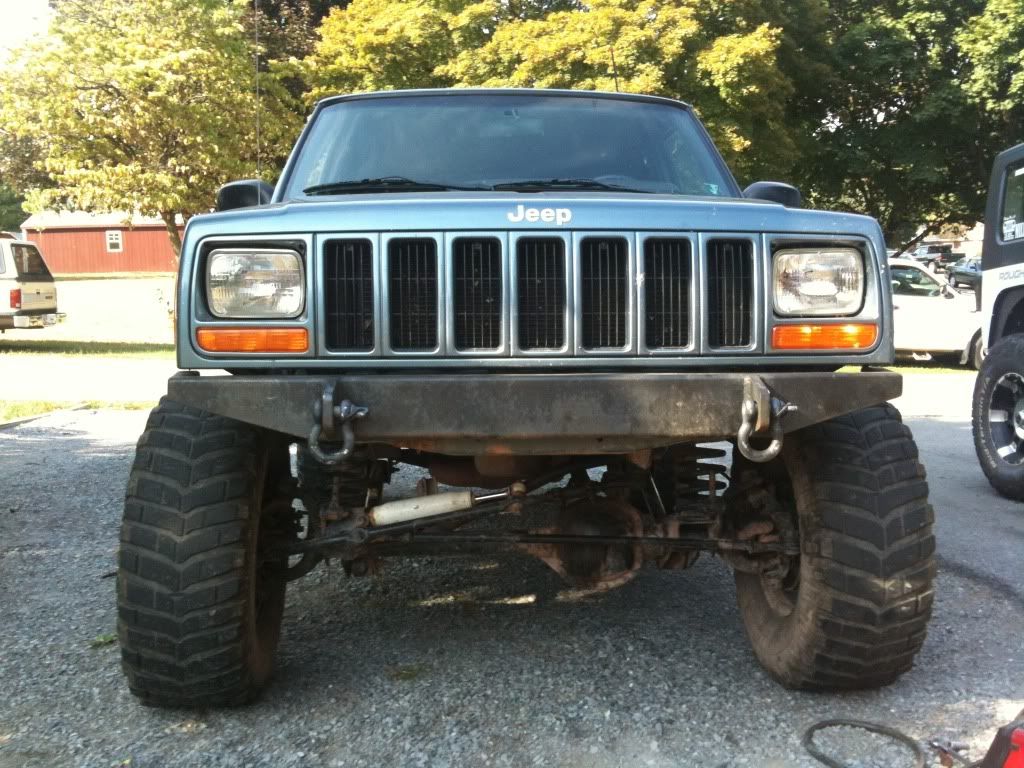
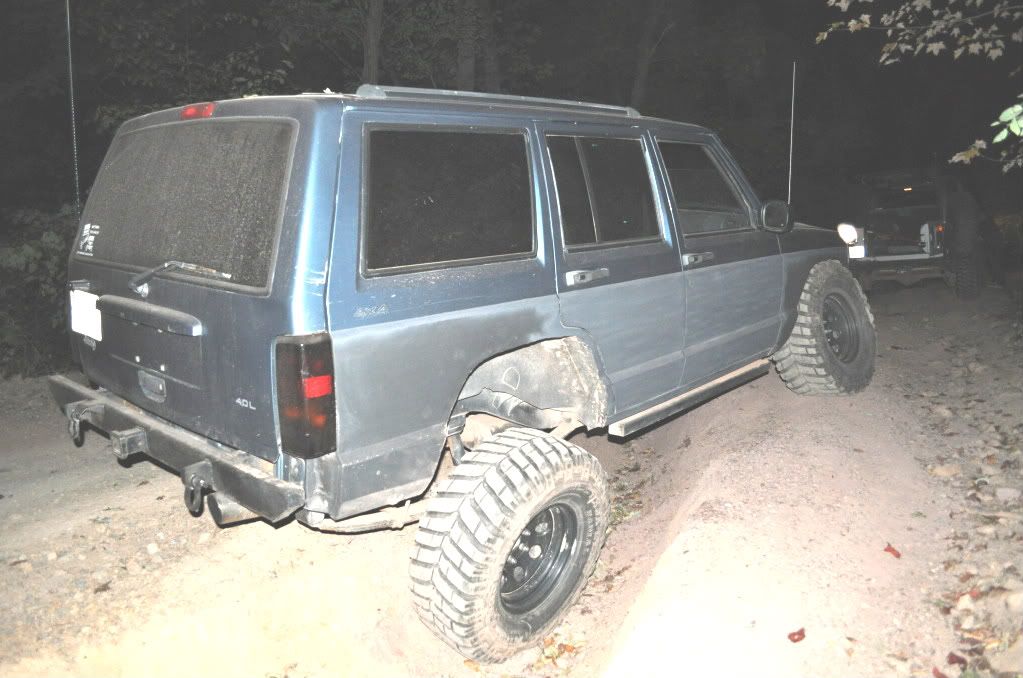
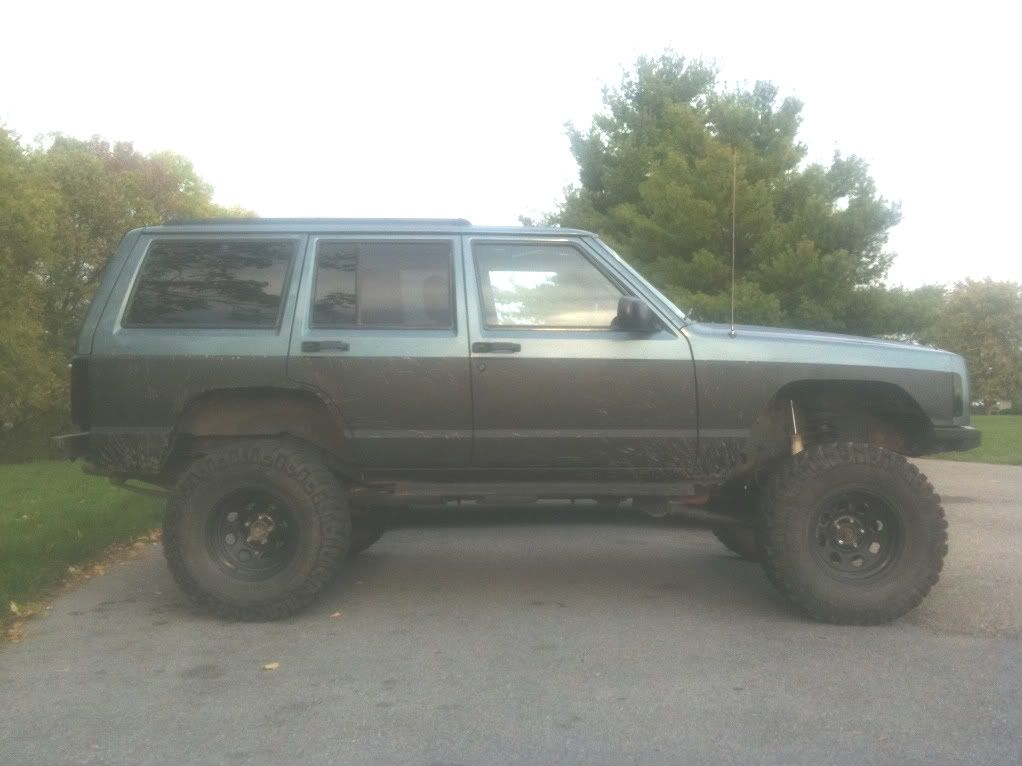
It was a 99 XJ Classic with 129k, 6.5" rock krawler long arm kit, 33" tires, soft 8s, gortec winch bumper with smittybuilt winch, rear bumper with swing out tire carrier and hi-lift Jack, bushwacker flares and some other odds and ends. I only paid $4k for it so I really couldn't say no, even though it was lifted already I knew there would be much more I'd wanna do to it.
The day I brought it home.
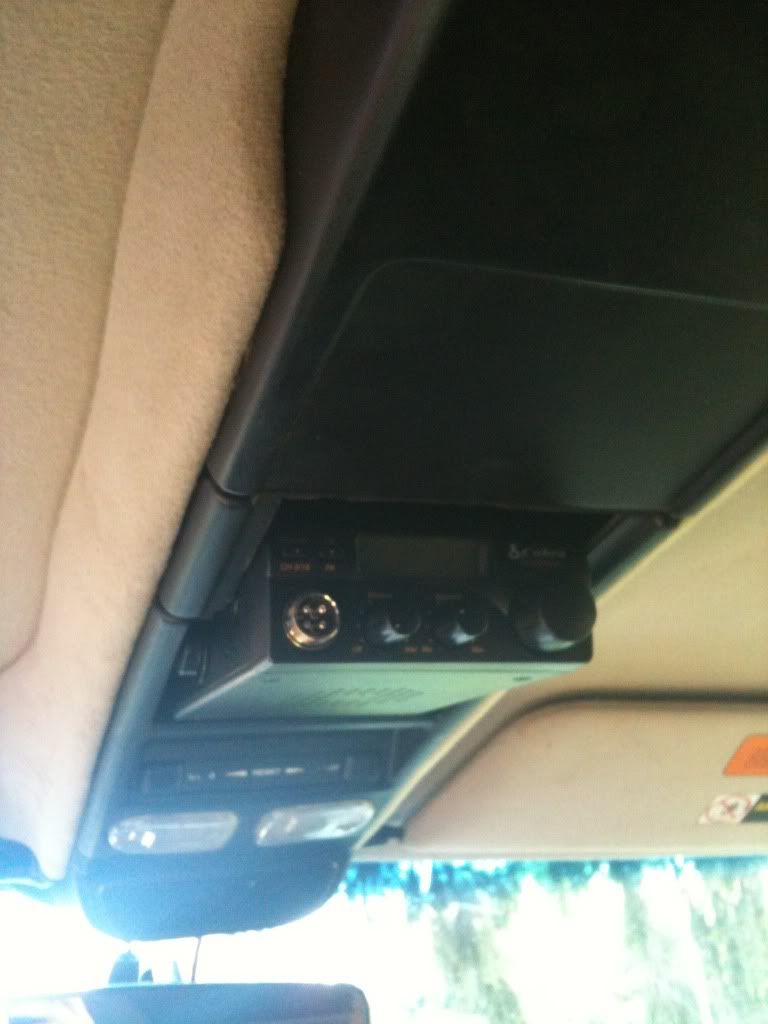
Then I installed a Cobra CB in my overhead console to keep the interior stock looking.
Then I took it wheeling and busted up my one Bushwhacker flare pretty bad.
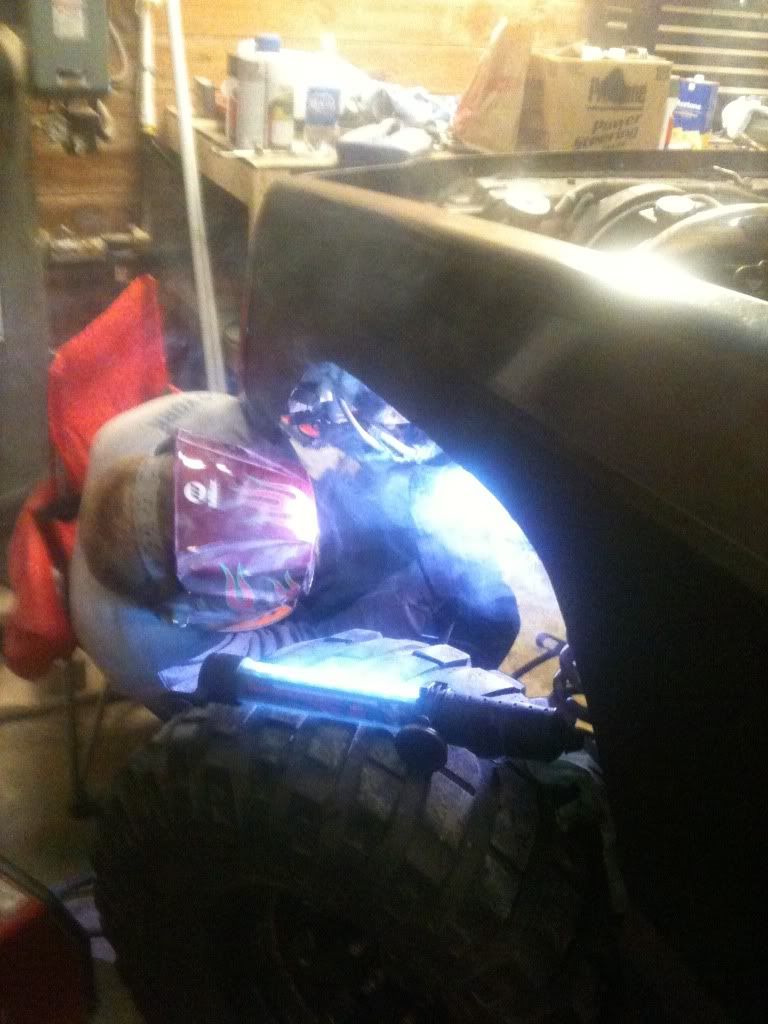
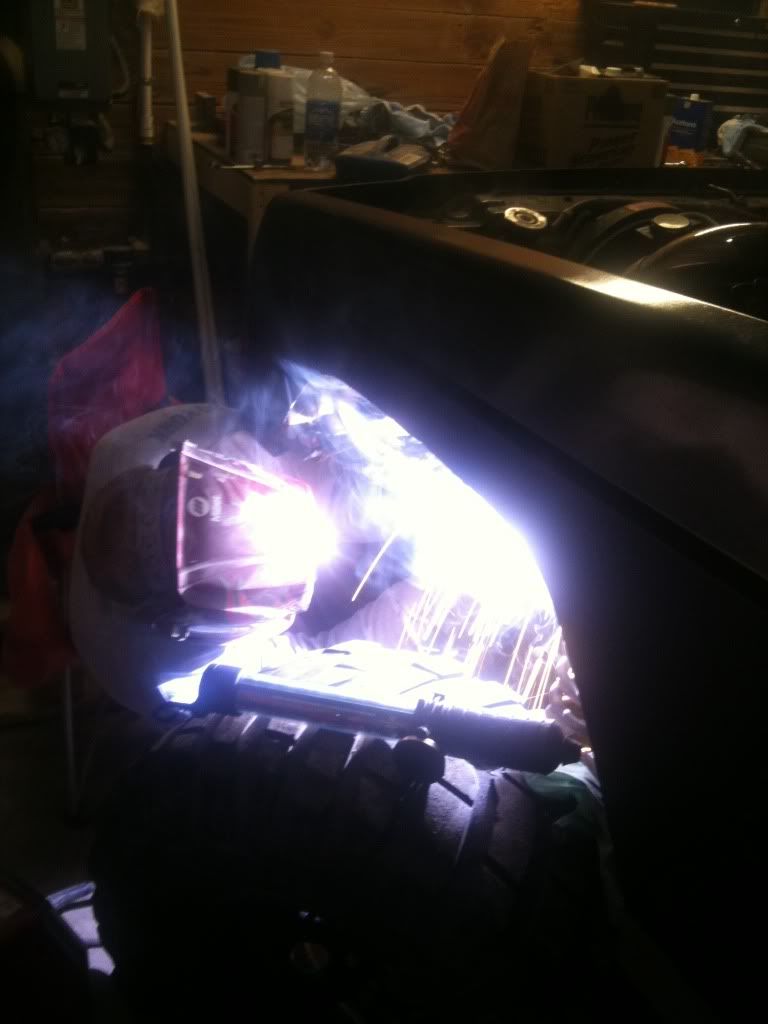
I took off the rest of the flares on the trail to avoid breaking the rest until I could trim them. Upon removing the flares I found big *** holes in the body from the PO trimming the fenders incorrectly. I had to weld in metal plates to fix this and weld along the entire fender well. It was tough due to the metal being so thin.
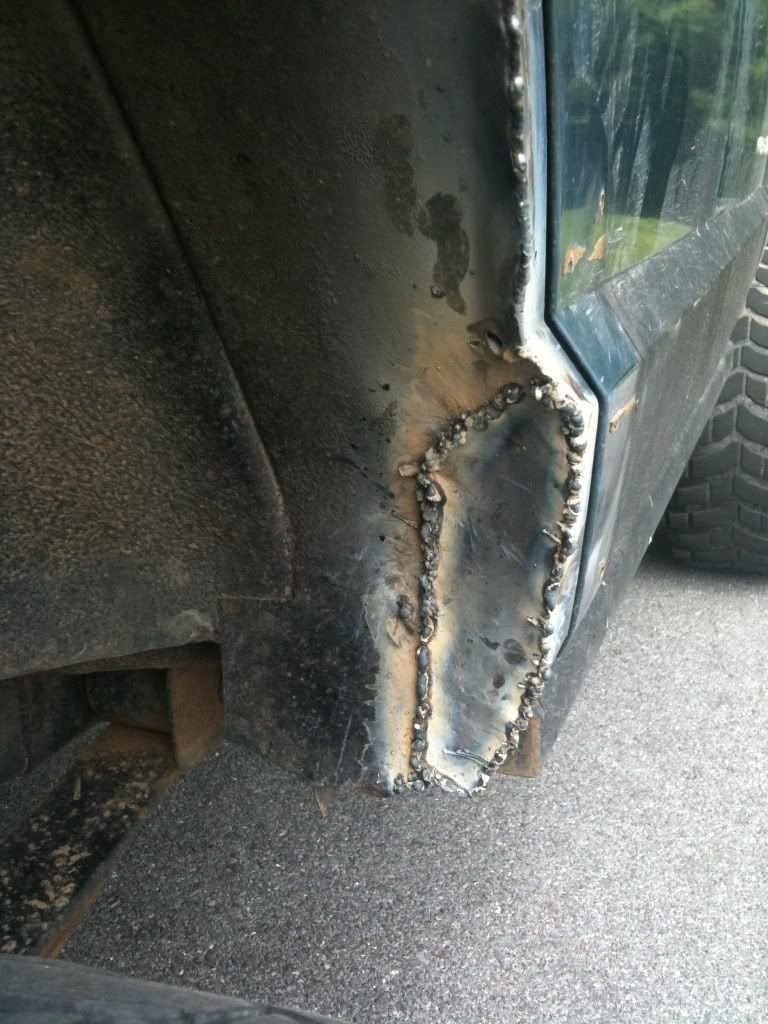
Then I had to use some body filler to fix the imperfections left from welding in the holes from the flares and the seam of the fender well.

I then primered the XJ from the body line down to cover up all the body work and prevent rust.

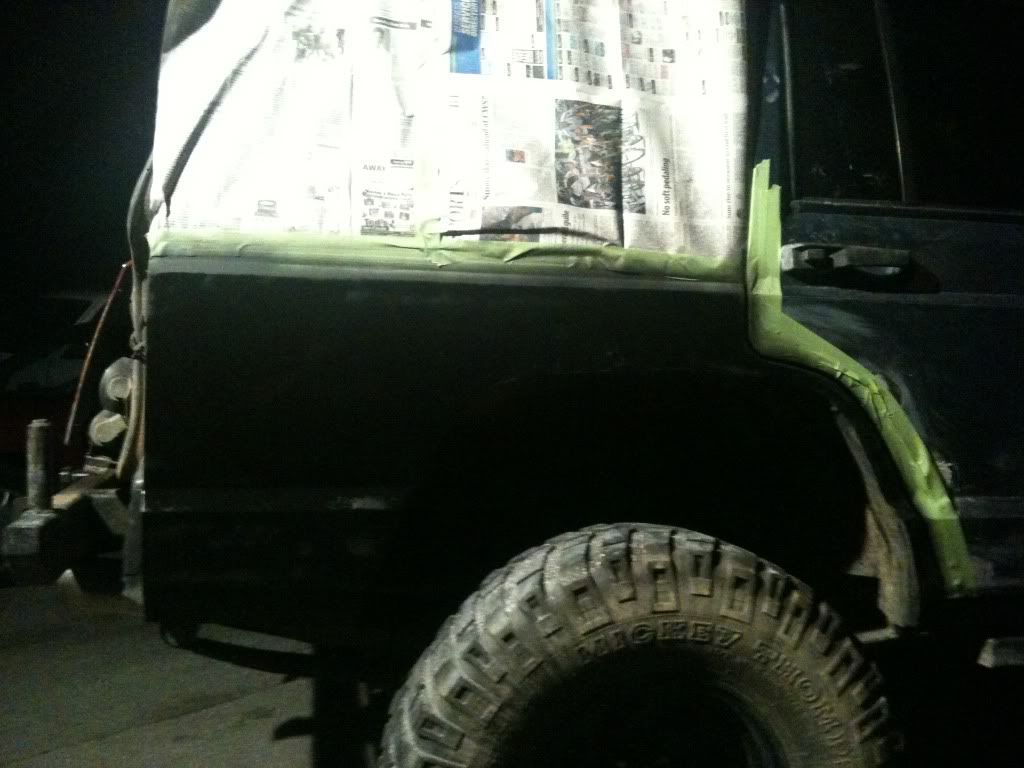
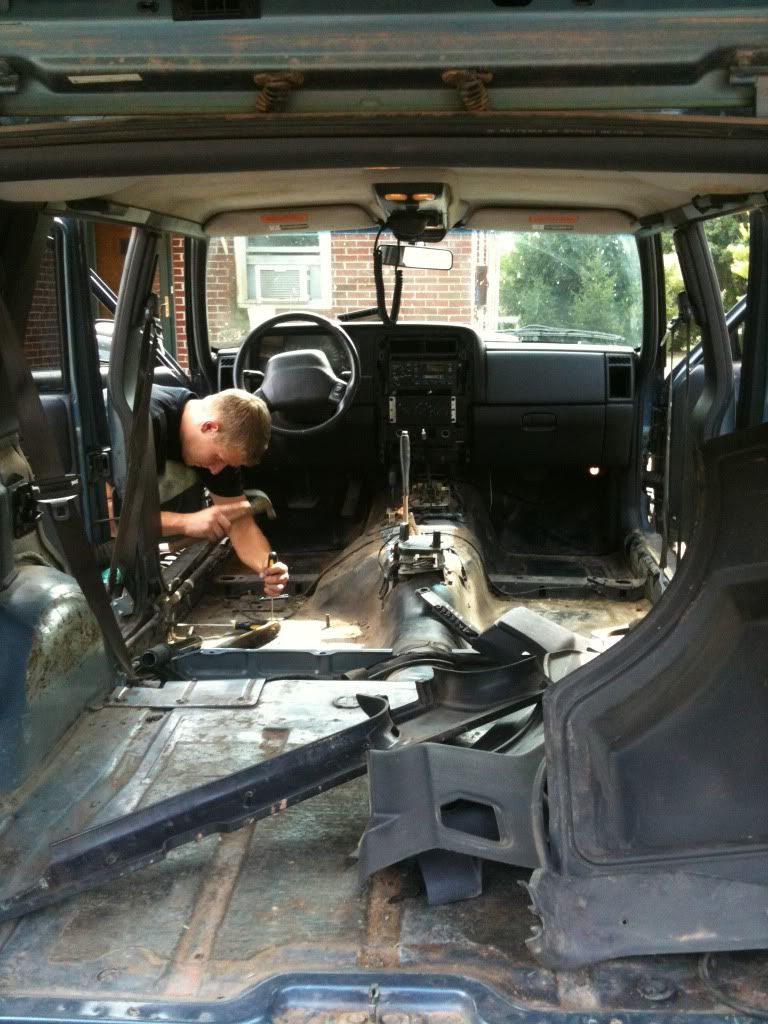
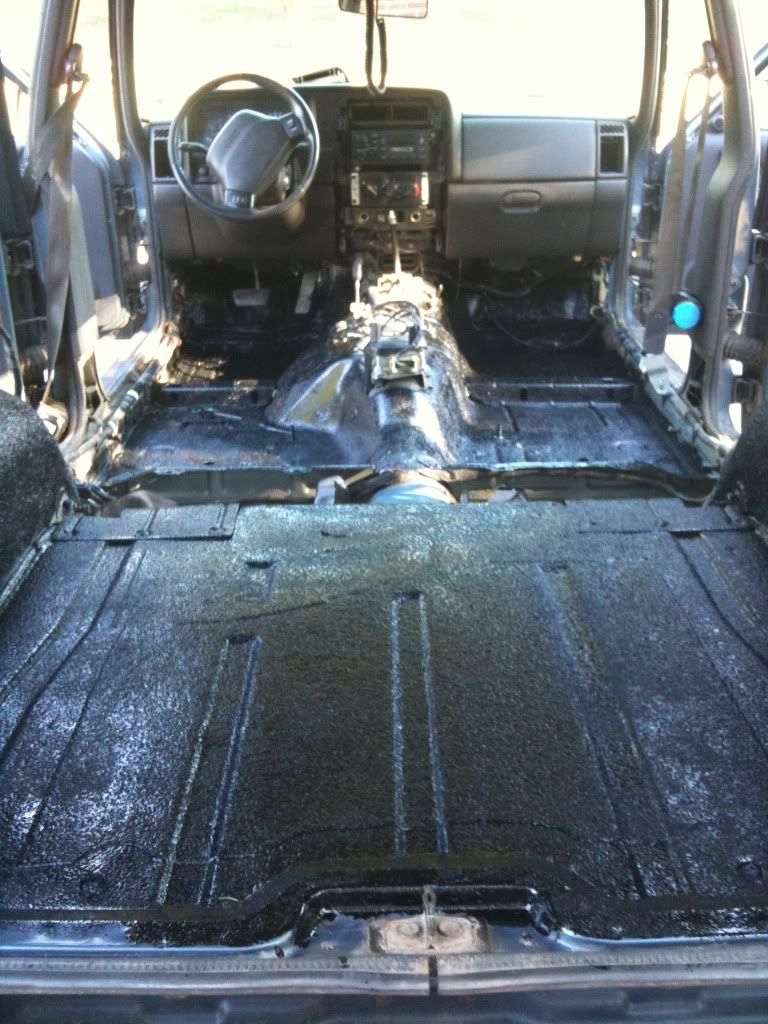
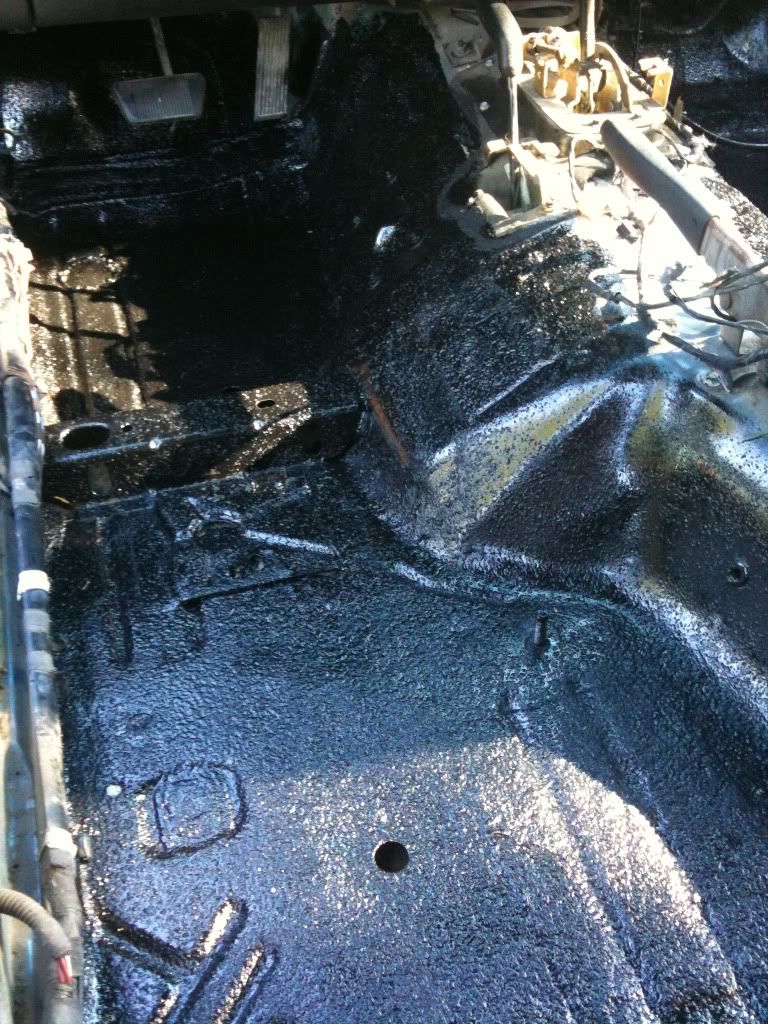
I had purchased a gallon of Herculiner to do the outside of the XJ but I decided it was too thick to go on the body. I then decide to use it on my interior.
I also sold the Gortech front bumper due to it being friggin huge and not fitting the rest of the Jeeps body lines very well. I sold it for $750 with the winch and bought a JCR stage 3 bumper with tie in brackets for $160. I made out pretty good on that deal.
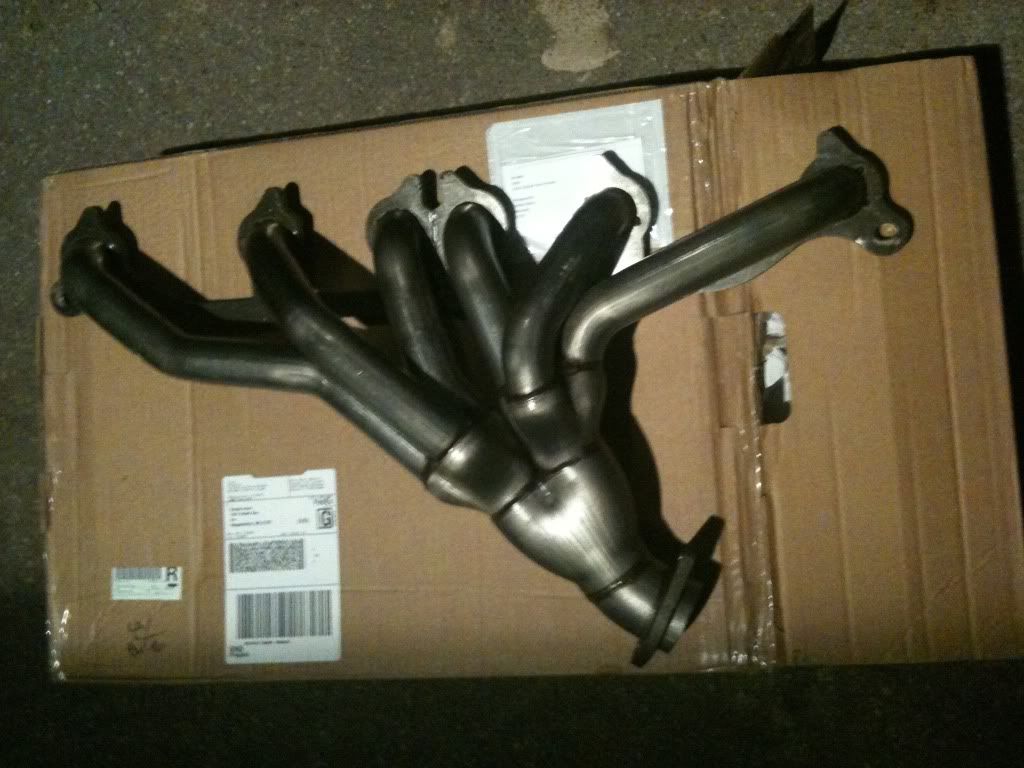
Somewhere in there I got the Jeep inspected and found out it had a cracked header so after reading a lot i decided on the APN due to the price and lifetime warranty. Since I have the 99 intake I had to grind down one of the flanges on the header and dent a tube in slightly.
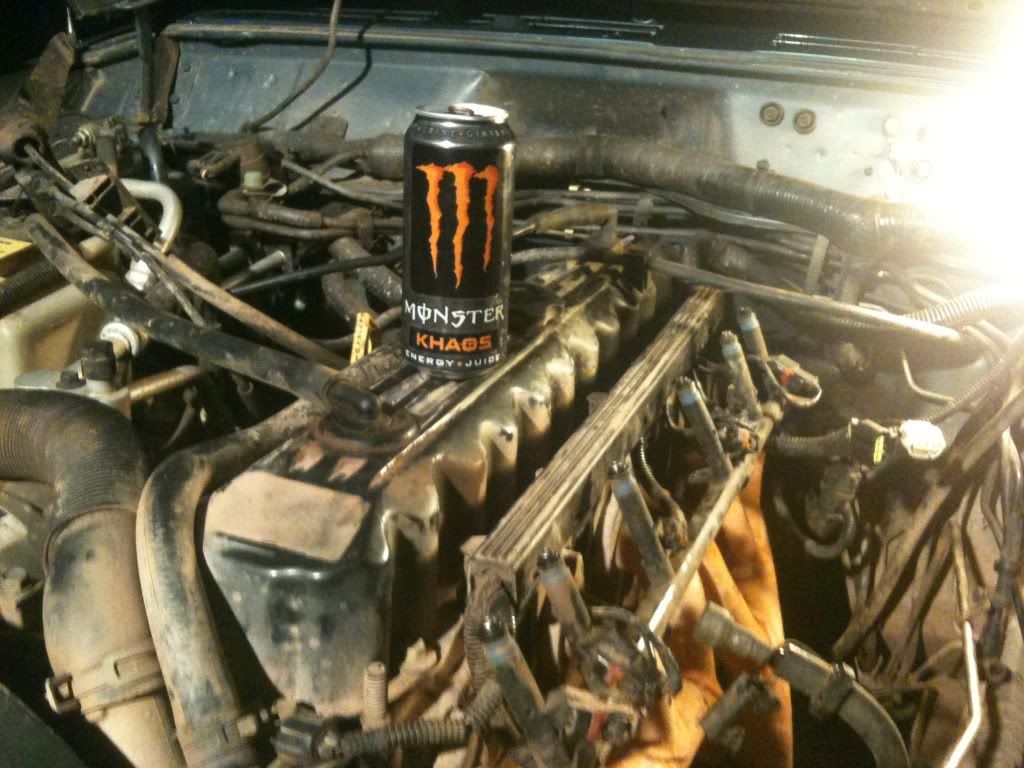
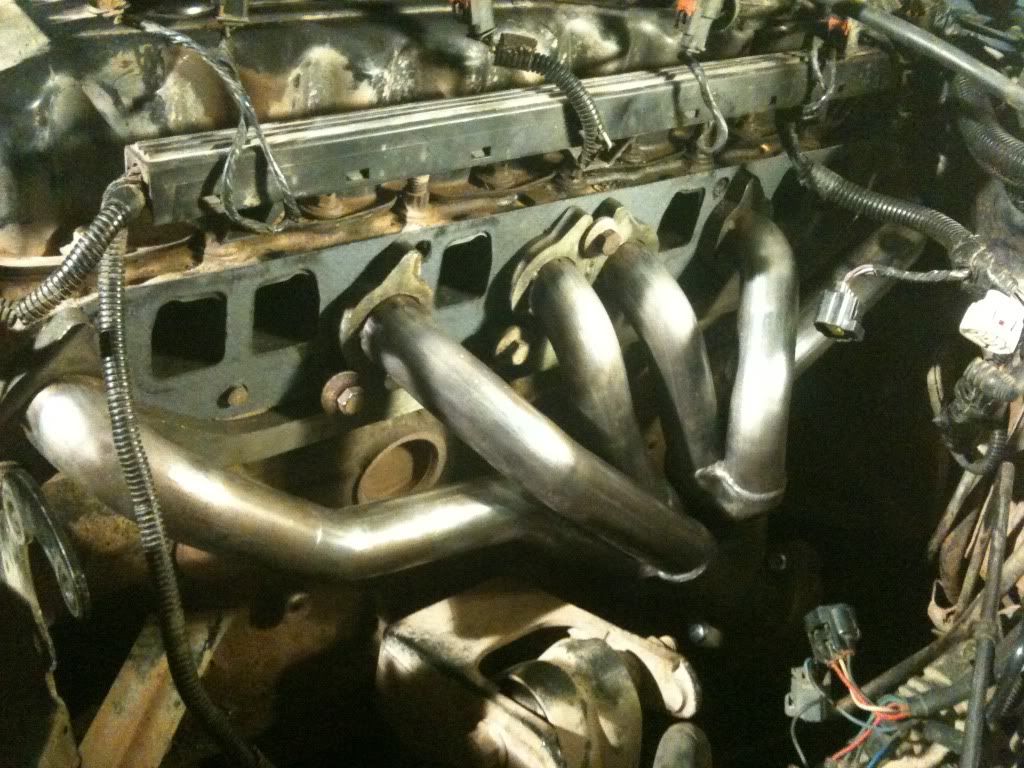
I also added an Edge Programmer and 1" TB spacer. It made a big difference in performance, sound and even MPG.
It was a 99 XJ Classic with 129k, 6.5" rock krawler long arm kit, 33" tires, soft 8s, gortec winch bumper with smittybuilt winch, rear bumper with swing out tire carrier and hi-lift Jack, bushwacker flares and some other odds and ends. I only paid $4k for it so I really couldn't say no, even though it was lifted already I knew there would be much more I'd wanna do to it.
The day I brought it home.
Then I installed a Cobra CB in my overhead console to keep the interior stock looking.
Then I took it wheeling and busted up my one Bushwhacker flare pretty bad.
I took off the rest of the flares on the trail to avoid breaking the rest until I could trim them. Upon removing the flares I found big *** holes in the body from the PO trimming the fenders incorrectly. I had to weld in metal plates to fix this and weld along the entire fender well. It was tough due to the metal being so thin.
Then I had to use some body filler to fix the imperfections left from welding in the holes from the flares and the seam of the fender well.
I then primered the XJ from the body line down to cover up all the body work and prevent rust.
I had purchased a gallon of Herculiner to do the outside of the XJ but I decided it was too thick to go on the body. I then decide to use it on my interior.
I also sold the Gortech front bumper due to it being friggin huge and not fitting the rest of the Jeeps body lines very well. I sold it for $750 with the winch and bought a JCR stage 3 bumper with tie in brackets for $160. I made out pretty good on that deal.
Somewhere in there I got the Jeep inspected and found out it had a cracked header so after reading a lot i decided on the APN due to the price and lifetime warranty. Since I have the 99 intake I had to grind down one of the flanges on the header and dent a tube in slightly.
I also added an Edge Programmer and 1" TB spacer. It made a big difference in performance, sound and even MPG.
 10-12-2010, 12:28 AM
#2
Member
Thread Starter
Join Date: Oct 2009
Posts: 120
Likes: 0
Received 0 Likes
on
0 Posts
Year: 1999
Model: Cherokee
Engine: 4.0 I6
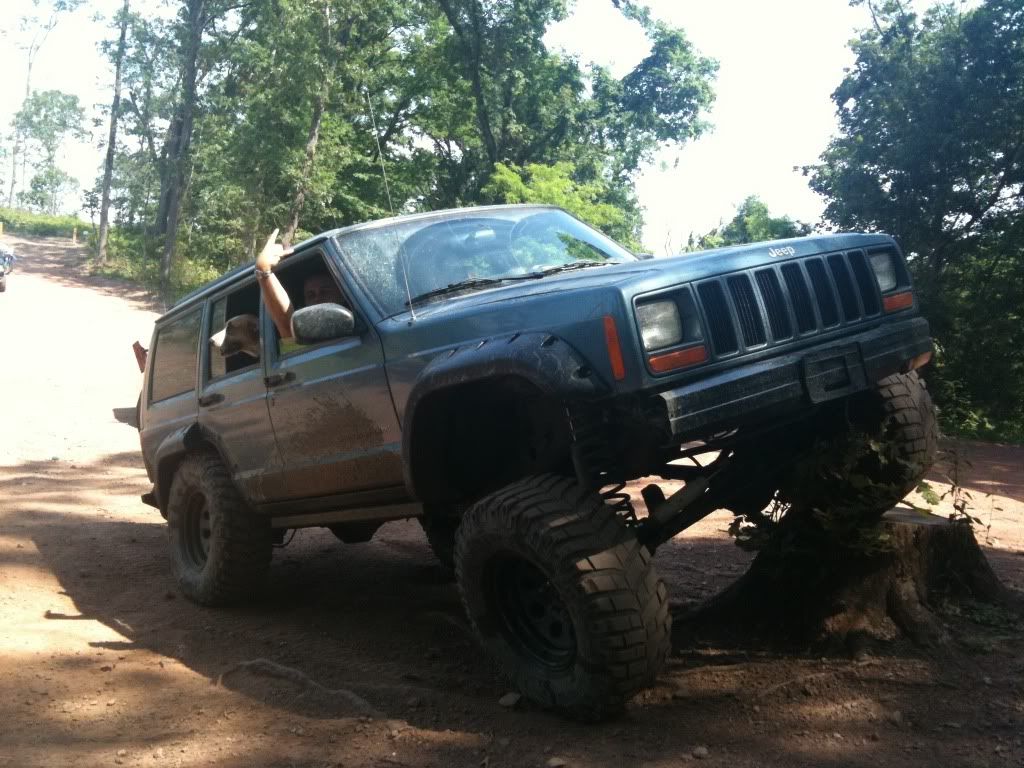
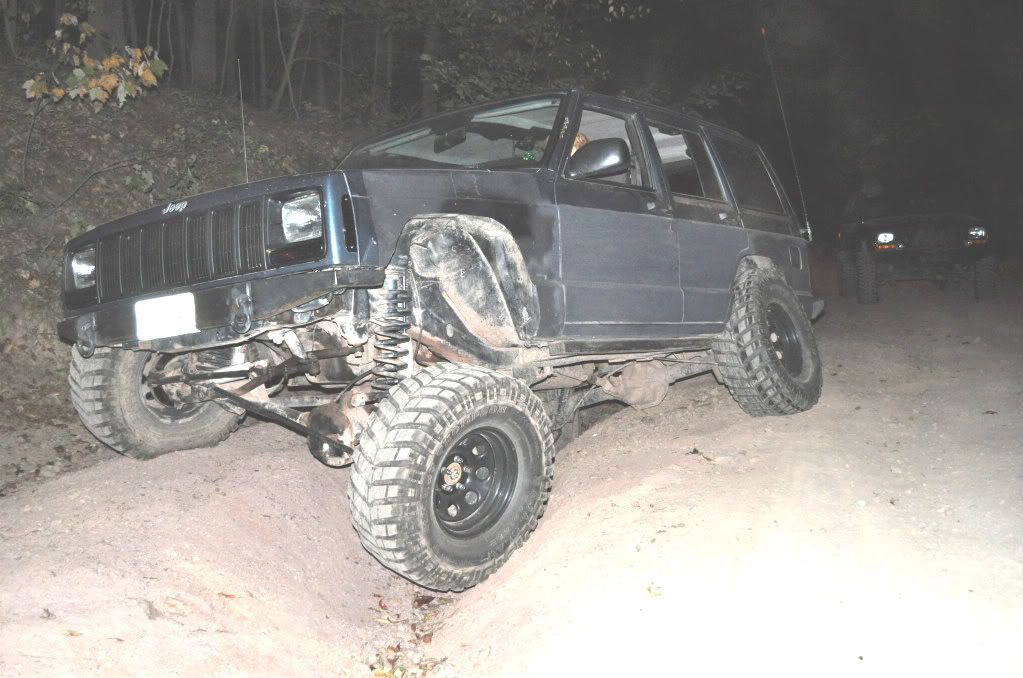
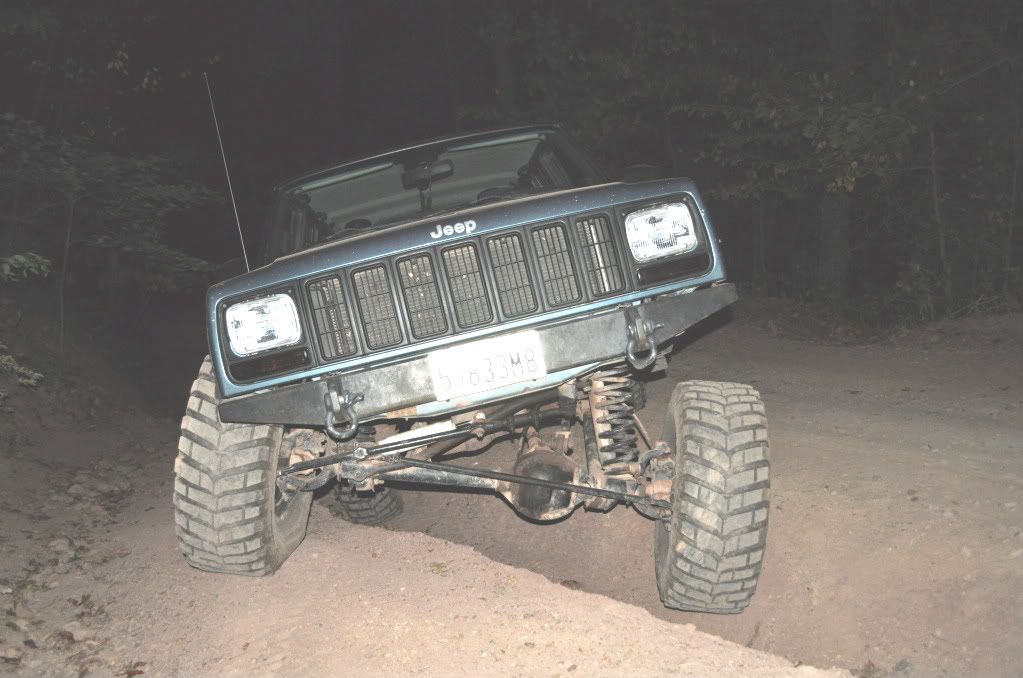
Then I took it wheeling again and flexed it out.
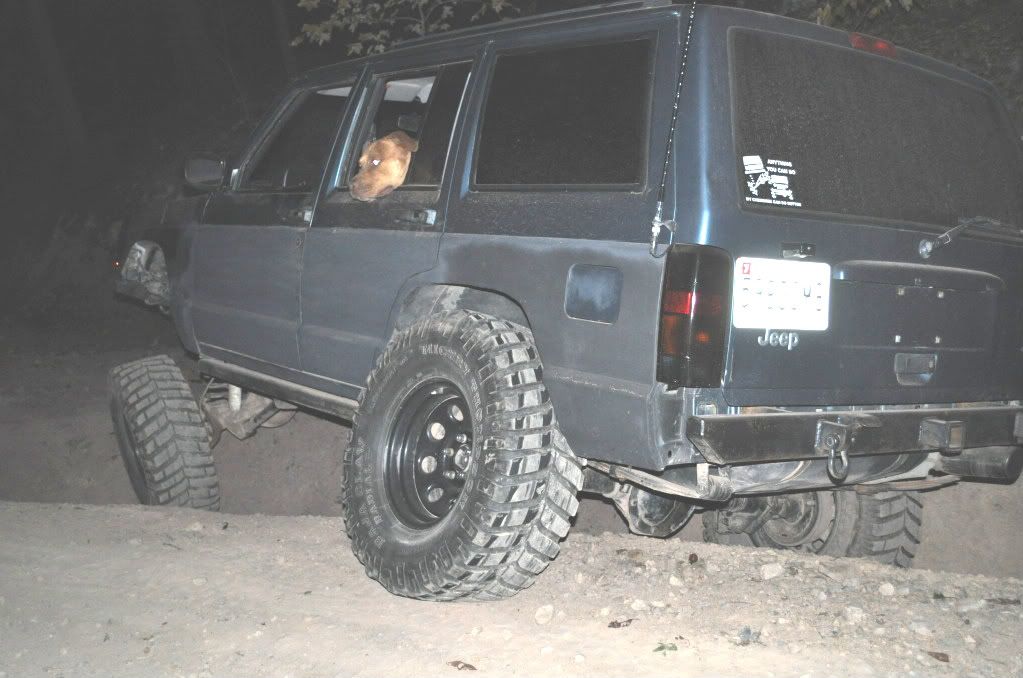
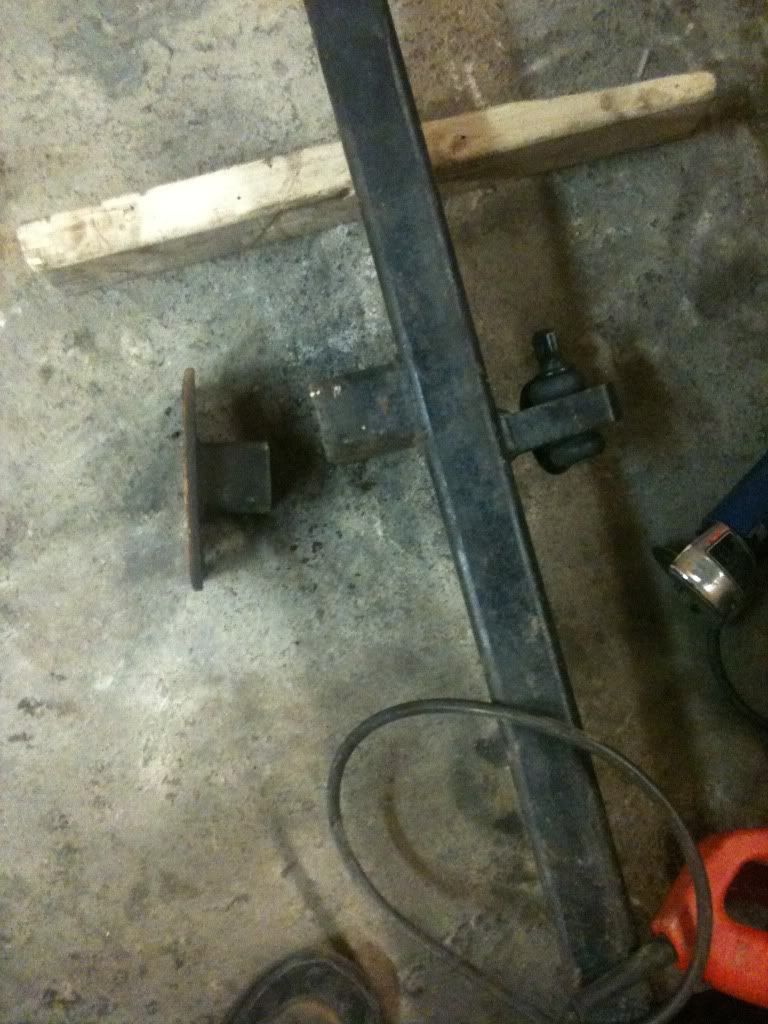
This trip resulted in my steering box exploding on the trail. I decided to put a Durango box in it.
Stock box on top.
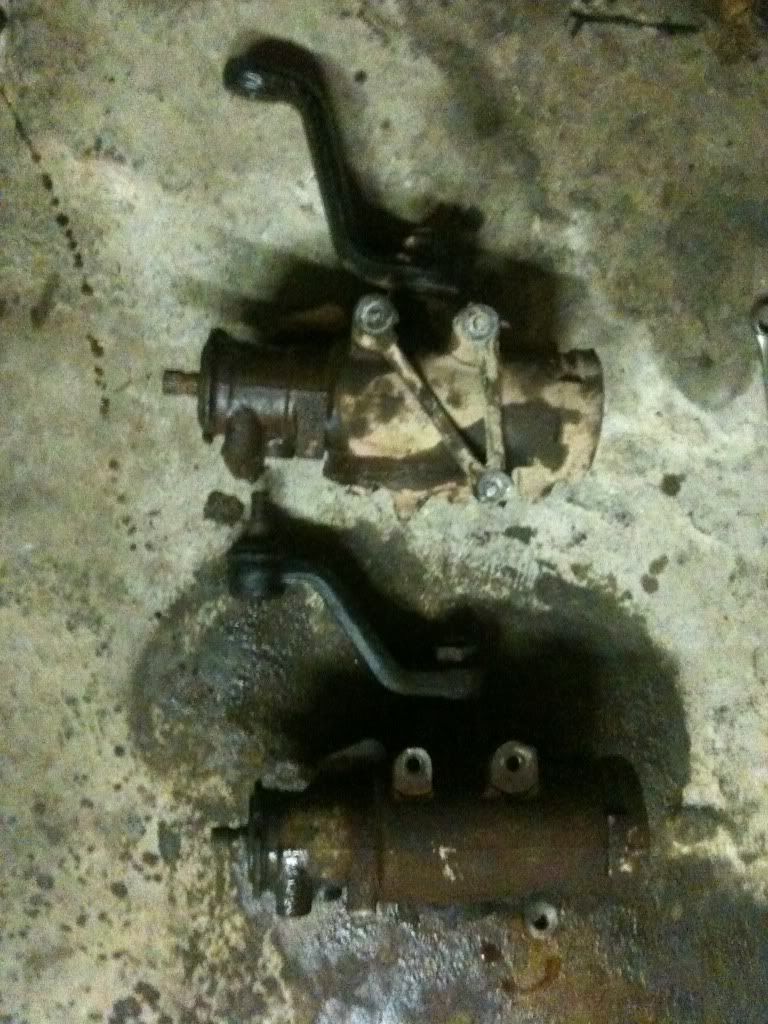
Swapping the pitman arms was a huge pain. After 3 pitman arm pullers and a lot of heat they came off.
I'm planning on an OTK conversion soon.
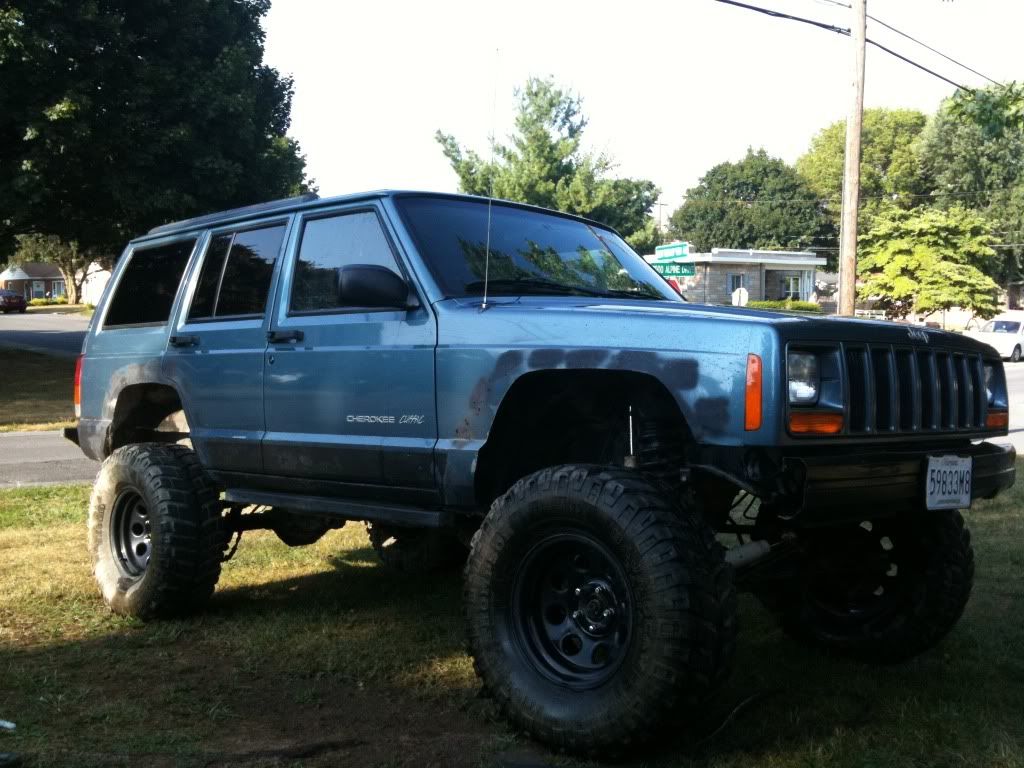
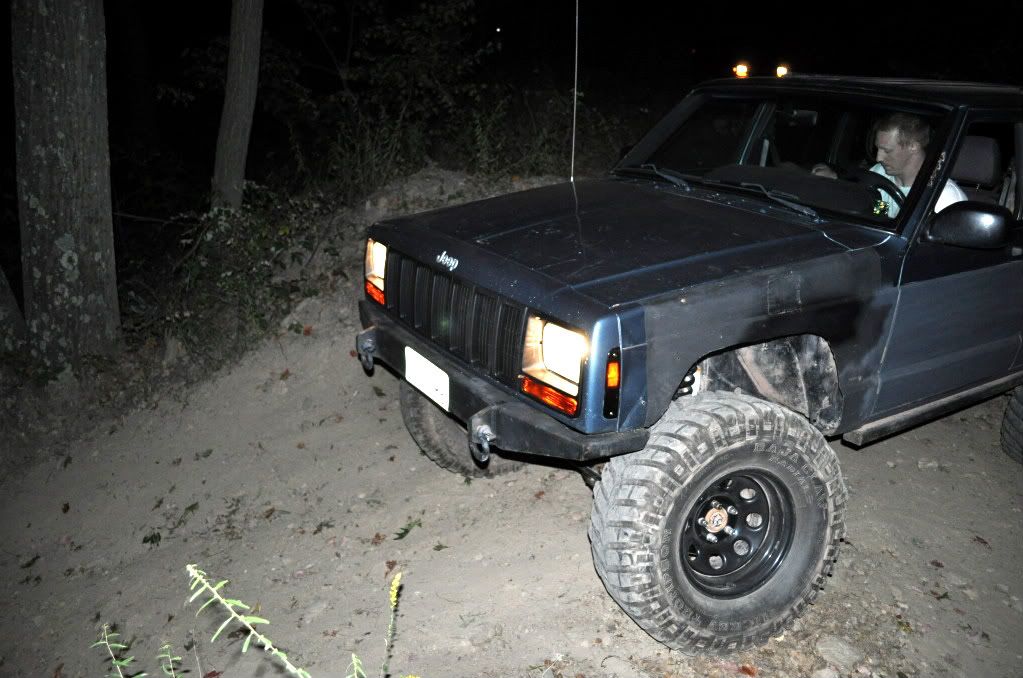
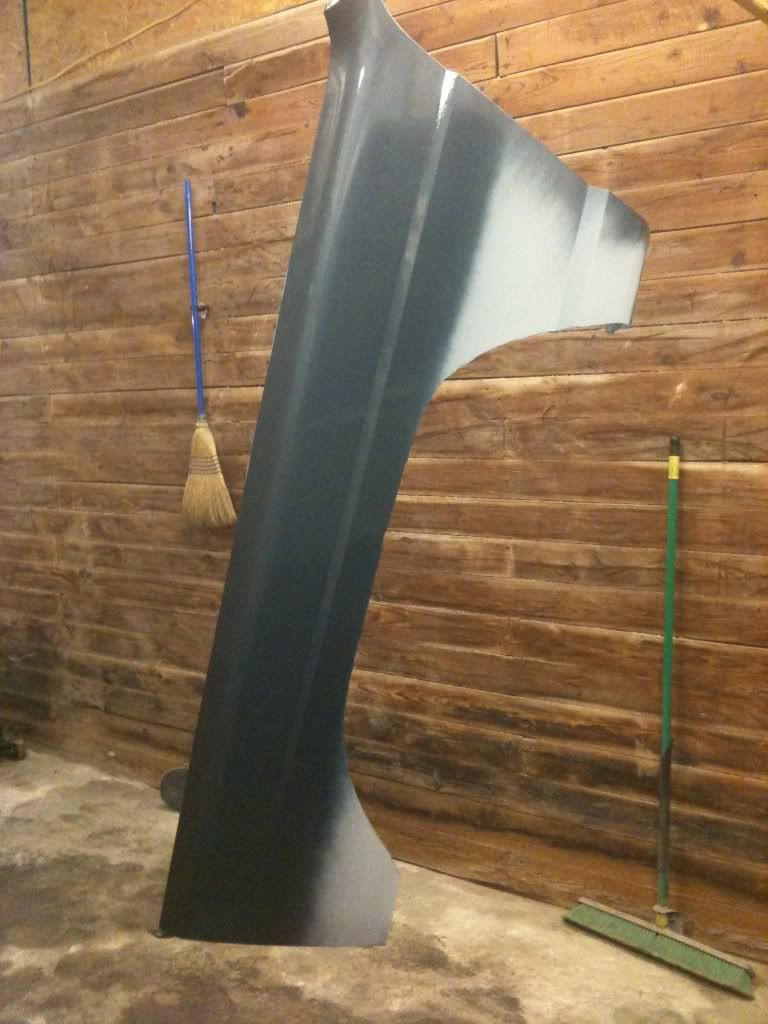
I then decided to replace the patched up fender on the drivers side you can see in the one pic above. I spray painted it with a color matched can I got from a local paint shop for $14. Came out great
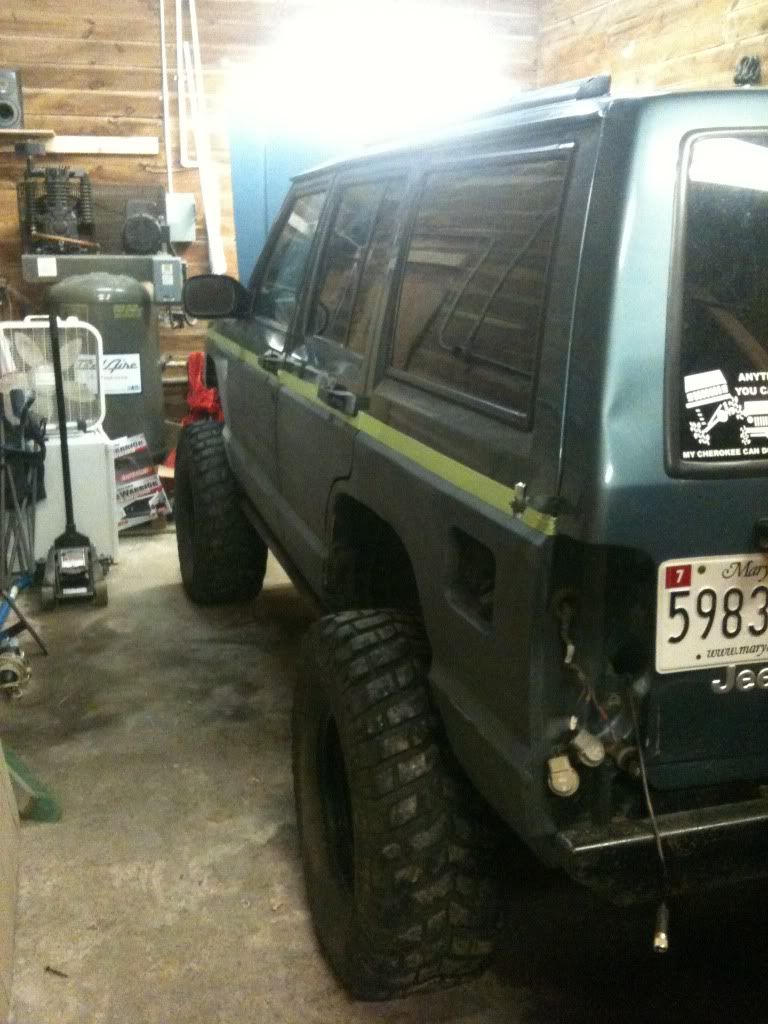
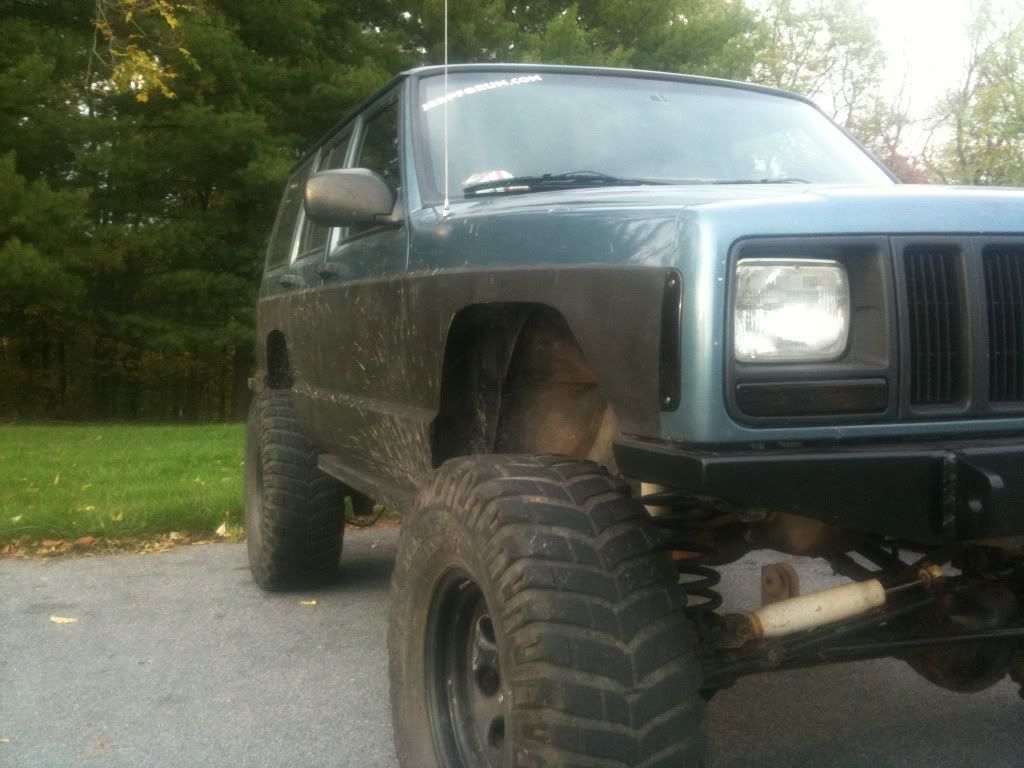
Then I finished prepping for bedliner and tinted all my lights except for my headlights. I bedlined the sides from the body line down with Rustoleum Road Warrior roll on bedliner and painted the grille and headlight bezels with Rustoleum spray on bedliner. I also painted the front bumper wirh Rustoleum Semi-Gloss black paint. It all came out great.
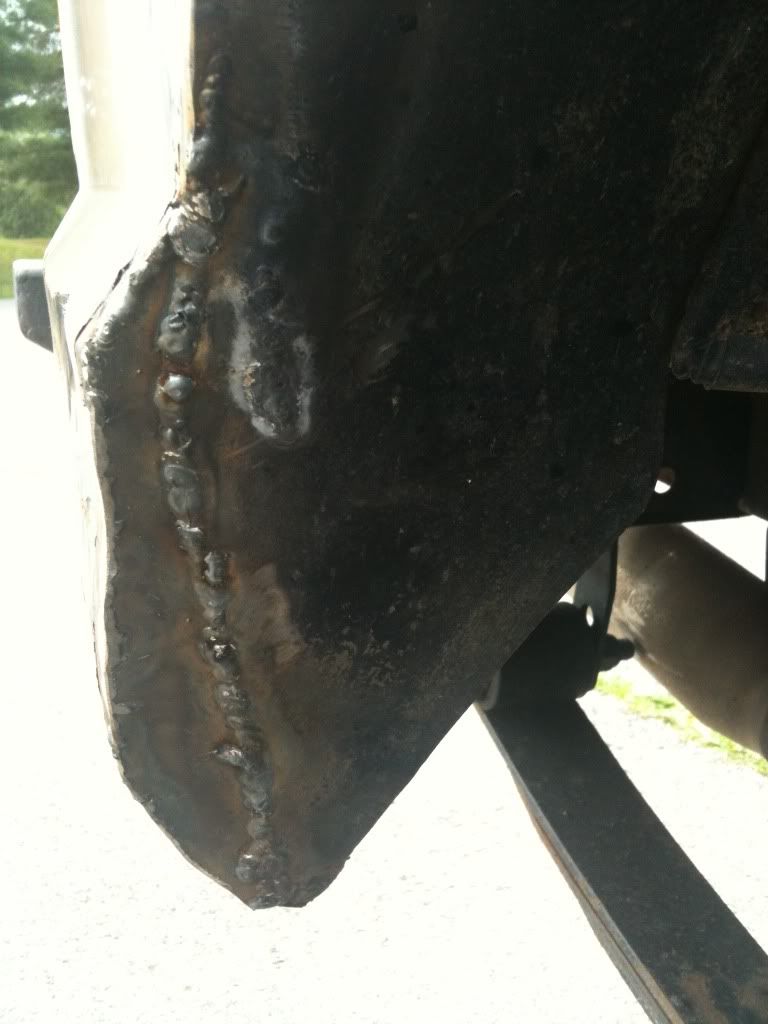
After a few days of driving it after the steering box upgrade my steering started to pop real bad and I had a tough time tracking it down. I finally realized it was the track bar bracket that's bolted to the body. I just decided to weld the seam of the bracket to the unibody to strengthen it.
No more popping!
Any questions about anything, just ask.
This trip resulted in my steering box exploding on the trail. I decided to put a Durango box in it.
Stock box on top.
Swapping the pitman arms was a huge pain. After 3 pitman arm pullers and a lot of heat they came off.
I'm planning on an OTK conversion soon.
I then decided to replace the patched up fender on the drivers side you can see in the one pic above. I spray painted it with a color matched can I got from a local paint shop for $14. Came out great
Then I finished prepping for bedliner and tinted all my lights except for my headlights. I bedlined the sides from the body line down with Rustoleum Road Warrior roll on bedliner and painted the grille and headlight bezels with Rustoleum spray on bedliner. I also painted the front bumper wirh Rustoleum Semi-Gloss black paint. It all came out great.
After a few days of driving it after the steering box upgrade my steering started to pop real bad and I had a tough time tracking it down. I finally realized it was the track bar bracket that's bolted to the body. I just decided to weld the seam of the bracket to the unibody to strengthen it.
No more popping!
Any questions about anything, just ask.
10-12-2010, 01:14 AM
#4
Member
Thread Starter
Join Date: Oct 2009
Posts: 120
Likes: 0
Received 0 Likes
on
0 Posts
Year: 1999
Model: Cherokee
Engine: 4.0 I6
10-12-2010, 06:21 PM
#5
Newbie

Join Date: Sep 2010
Posts: 9
Likes: 0
Received 0 Likes
on
0 Posts
Model: Cherokee
wow at first i was totally skeptical of what you were "gonna do" when you bought it. but the more i read on and the more i see i really like the look of your jeep. it is slick . i think i am going to two tone mine the same way with bed liner once i get a chance. what do you think about the liner you used? i have seen it for very cheap and was tempted to get it but cant seem so find some sustinet reviews.
. i think i am going to two tone mine the same way with bed liner once i get a chance. what do you think about the liner you used? i have seen it for very cheap and was tempted to get it but cant seem so find some sustinet reviews.
 10-12-2010, 06:51 PM
#7
Member
Thread Starter
Join Date: Oct 2009
Posts: 120
Likes: 0
Received 0 Likes
on
0 Posts
Year: 1999
Model: Cherokee
Engine: 4.0 I6
wow at first i was totally skeptical of what you were "gonna do" when you bought it. but the more i read on and the more i see i really like the look of your jeep. it is slick. i think i am going to two tone mine the same way with bed liner once i get a chance. what do you think about the liner you used? i have seen it for very cheap and was tempted to get it but cant seem so find some sustinet reviews.
. i think i am going to two tone mine the same way with bed liner once i get a chance. what do you think about the liner you used? i have seen it for very cheap and was tempted to get it but cant seem so find some sustinet reviews.Thanks. I love it too.
Trending Topics
10-18-2010, 07:09 PM
#8
Member
Thread Starter
Join Date: Oct 2009
Posts: 120
Likes: 0
Received 0 Likes
on
0 Posts
Year: 1999
Model: Cherokee
Engine: 4.0 I6
Sooo, I ended up at Rausch Creek this weekend and it was a blast.
Pics here:
http://s202.photobucket.com/albums/a...2016th%202010/
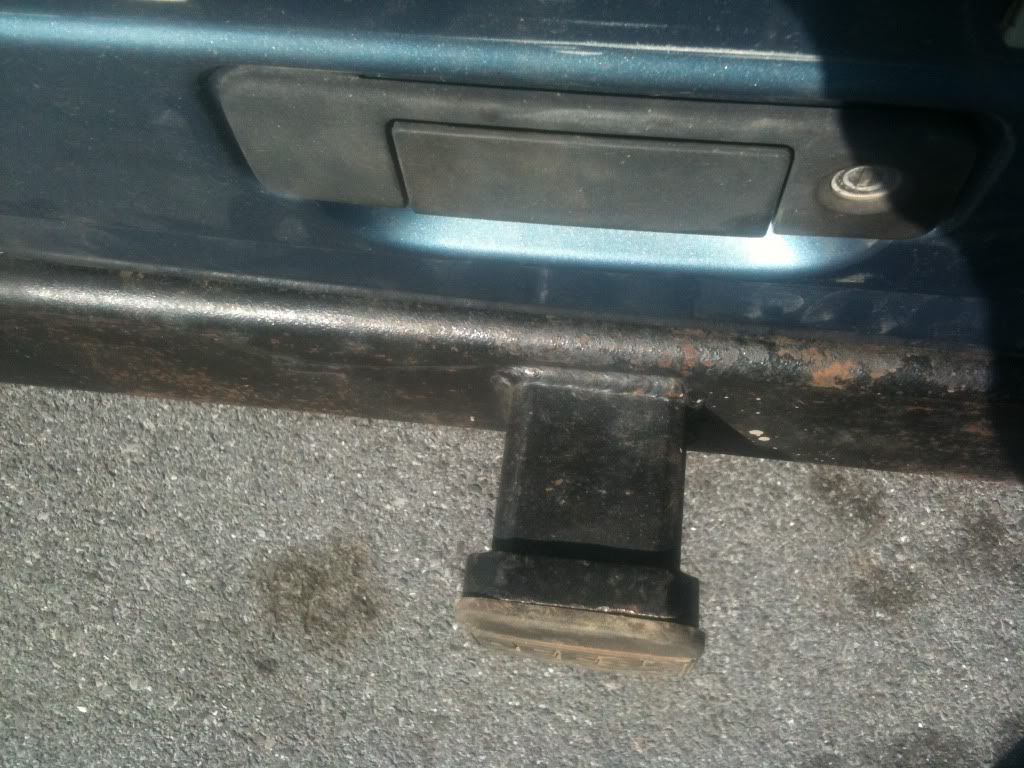
Before we went to Rausch i figured it'd be a good idea to tie in my rear bumper to the unibody, while at the same time making the rear bumper almost flush to the hatch instead of it sticking out too far, since the tire carrier was removed.*
First I cut the old bumper mounts off the bumper to see how far I wanted to draw the bumper into the body.*
Then I cut the rear body panel that covered up the unibody rails so I could slide in the pieces for the tie ins.*
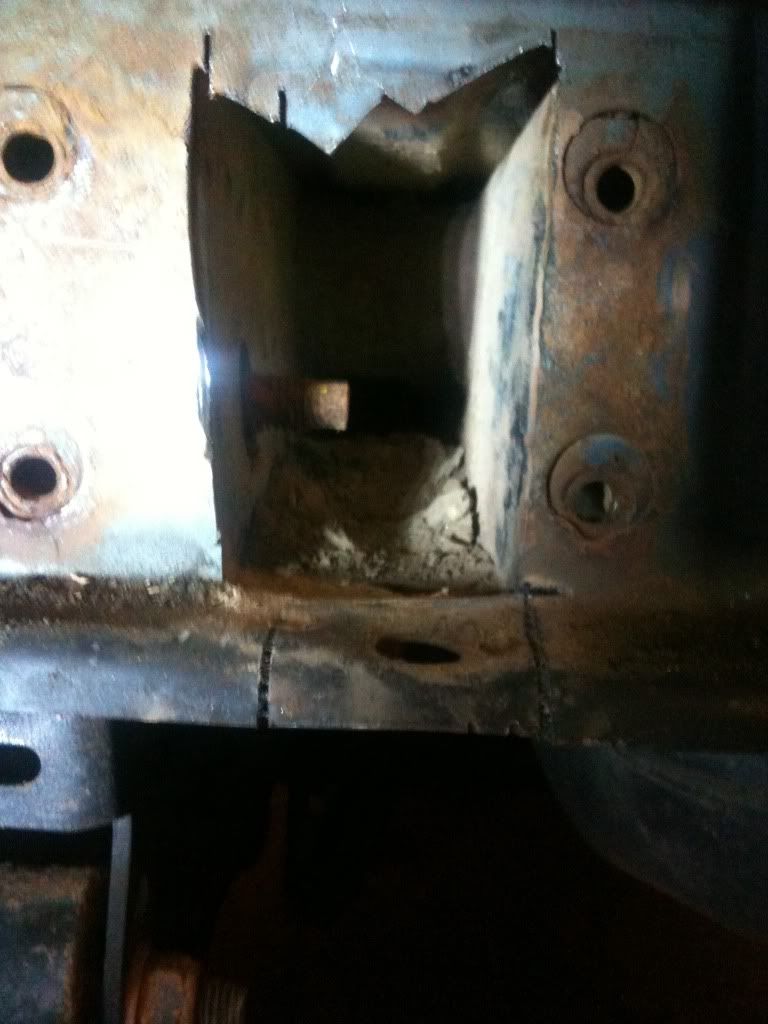
Then I measured into the frame rail to see how far I wanted to run the 2"x4" box steel in. I decided on 7" due to the filler neck for the fuel tank being 7" in the rail and not wanting to mess with that.*
I then decided on just attaching the 2"x4" box steel directly to the bumper so I cut the rest of the bumper mounts off the bumper.*
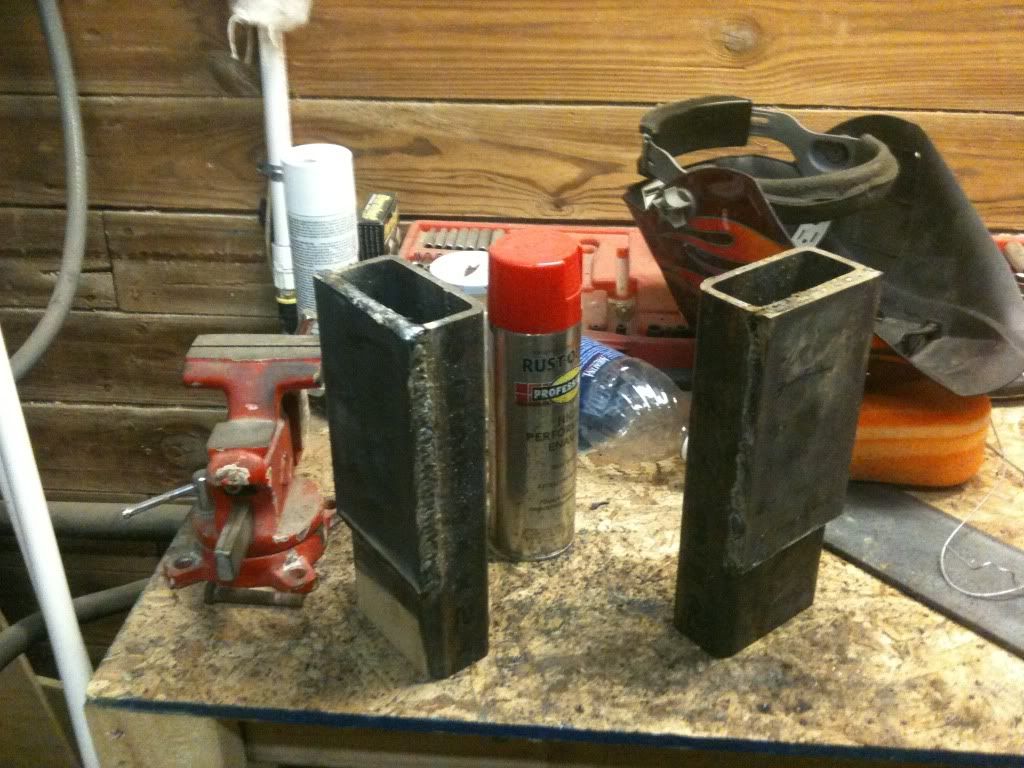
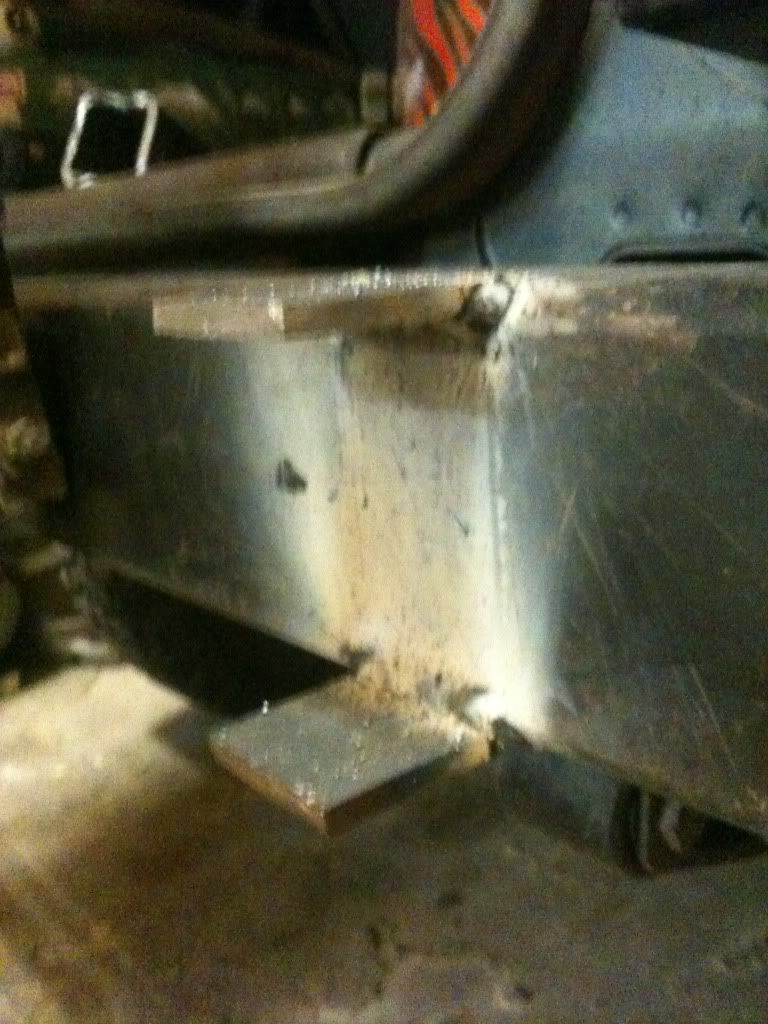
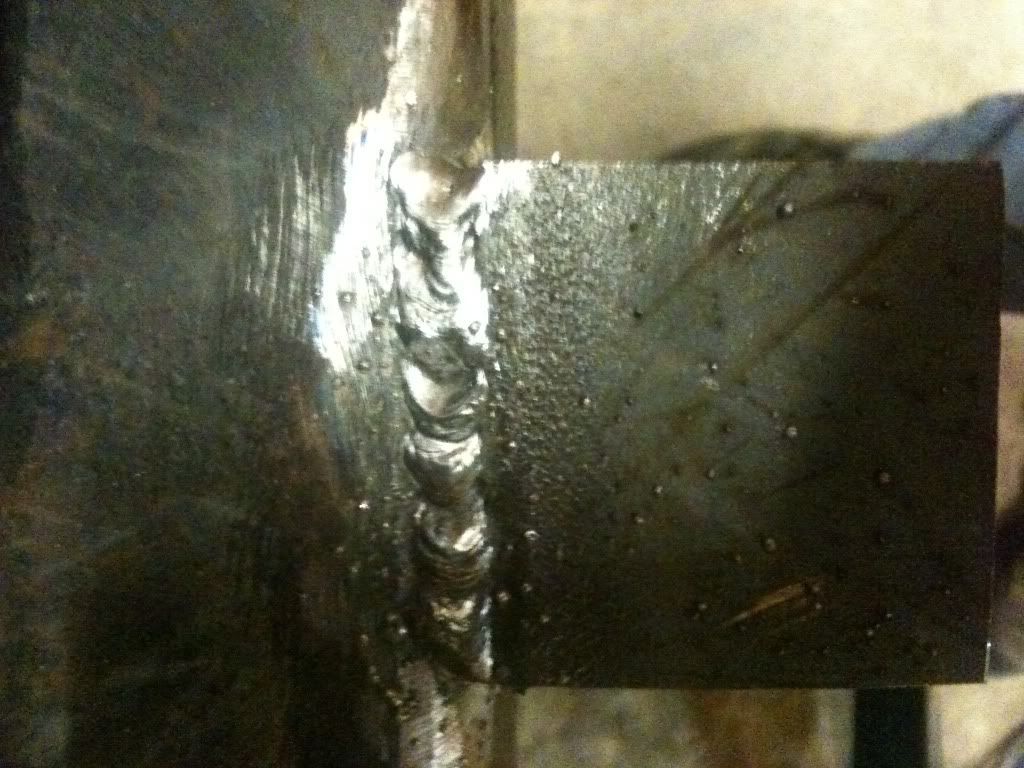
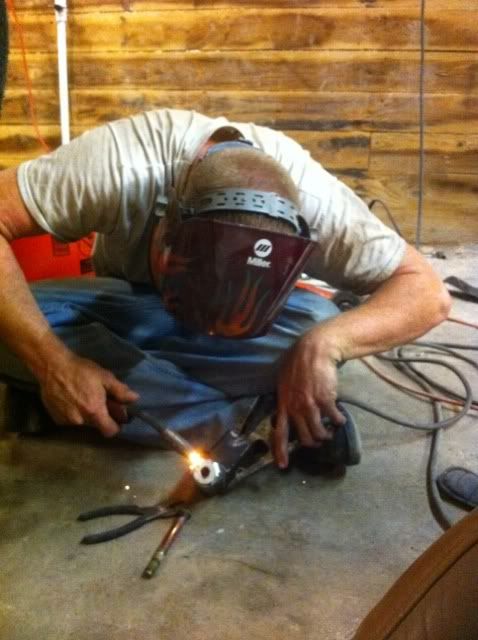
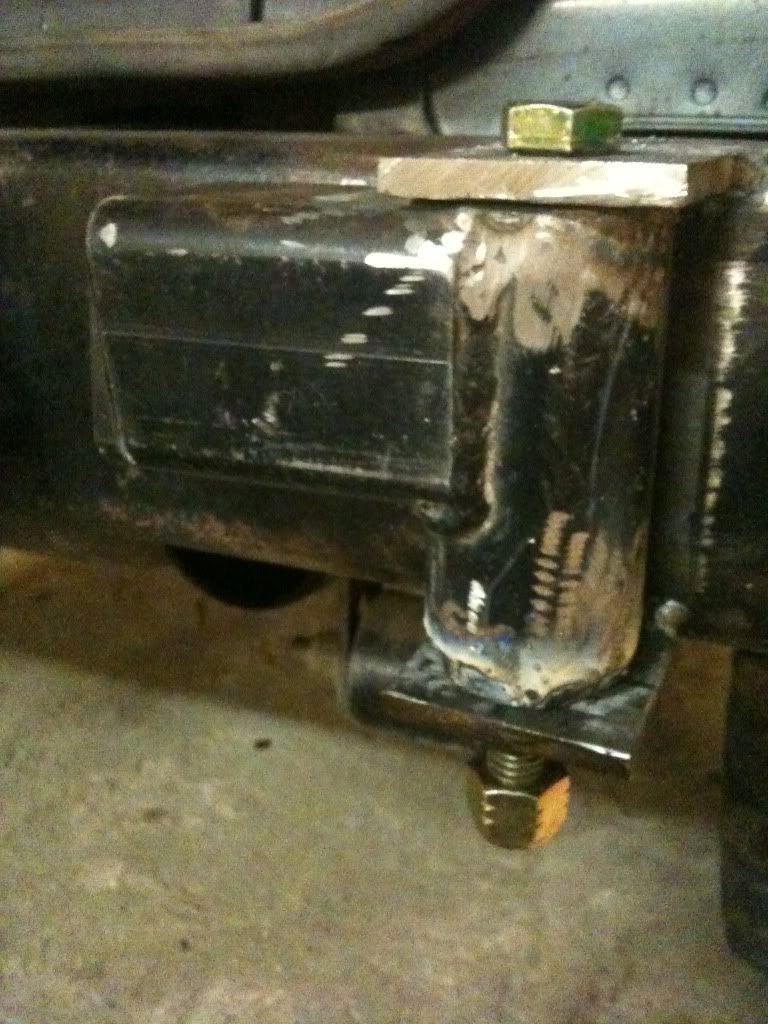
I then took a 2"x4"x10" piece of box steel and slid it into the frame rail to test fit it. It was loose and wobbled a bit so I slid a flat piece of 1/4" by 4" steel in with it and it fit perfectly. So I welded the flat plate to the side of the box steel.*

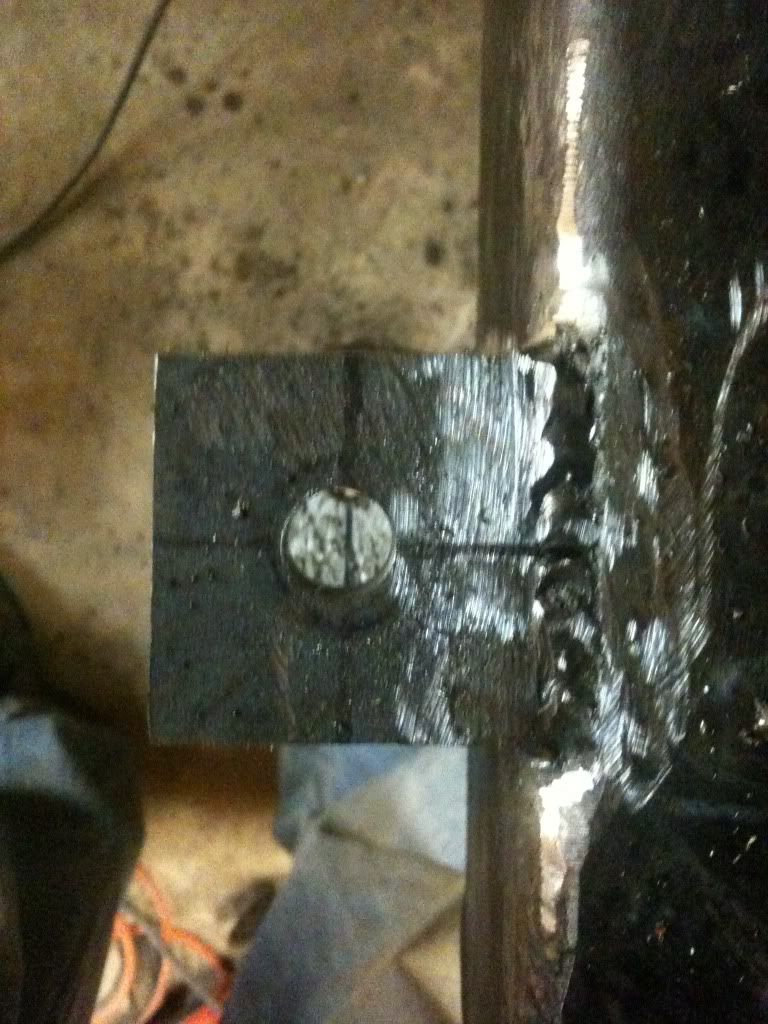
Then I marked 4 holes to drill, 3 to go up from below the unibody and 1 to go in the side so the shackle bolt could slide through it. I used two existing holes in the unibody from the factory nut strip and enlarged one other hole.*
Then I did the same thing for the other unibody rail.*
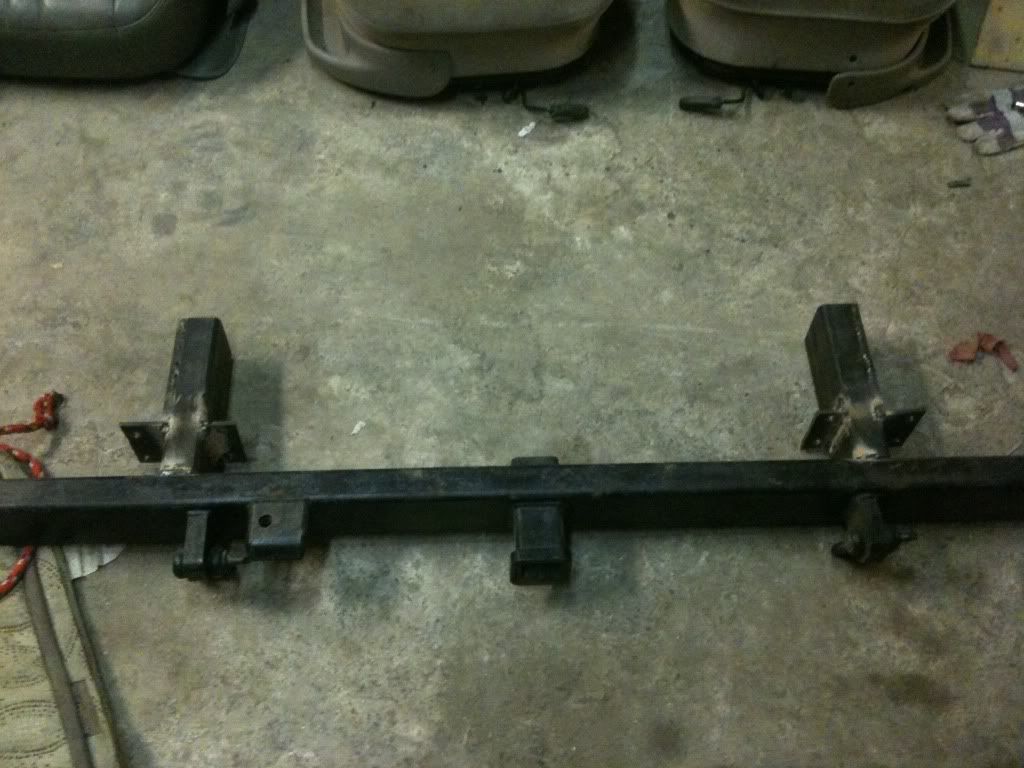
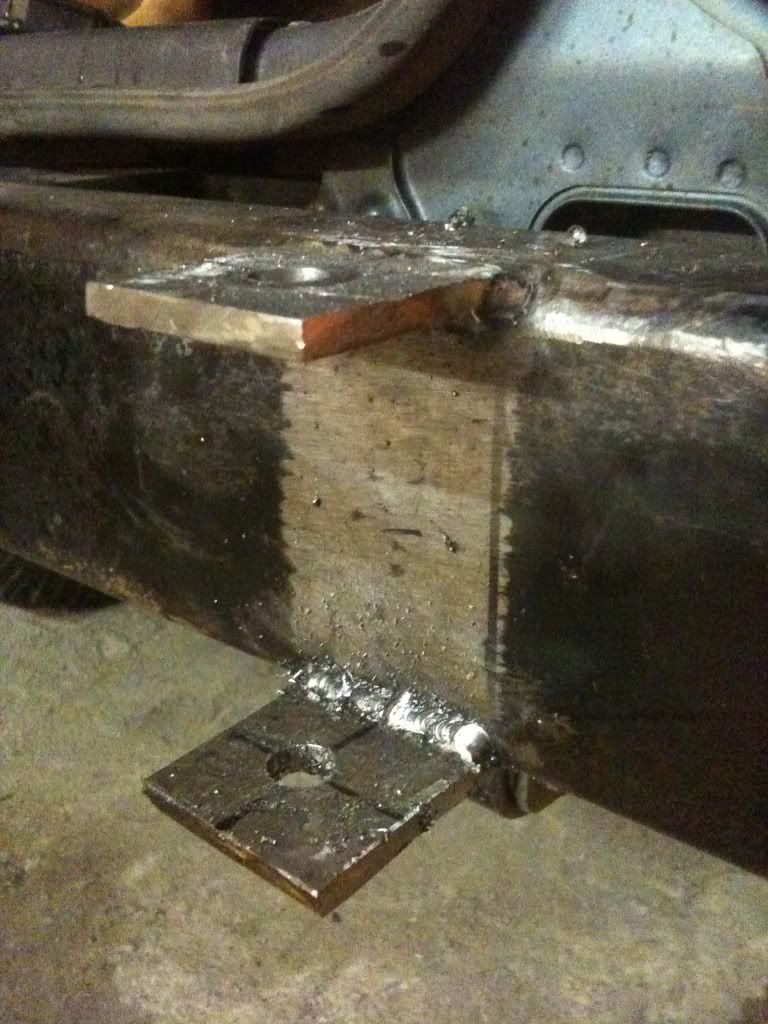
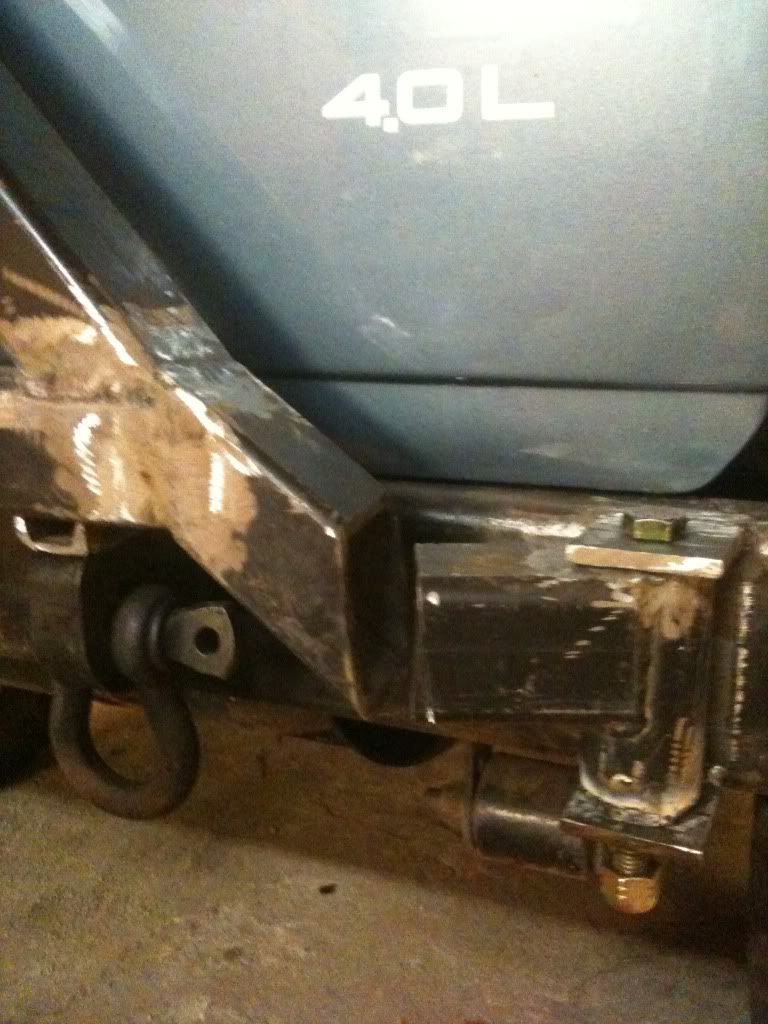
Next I used 1/4"x4" flat steel to make plates to weld to the tie ins to allow the bumper to also use the factory mounting locations for a little extra strength.
Then I welded the tie ins to the bumper itself.*
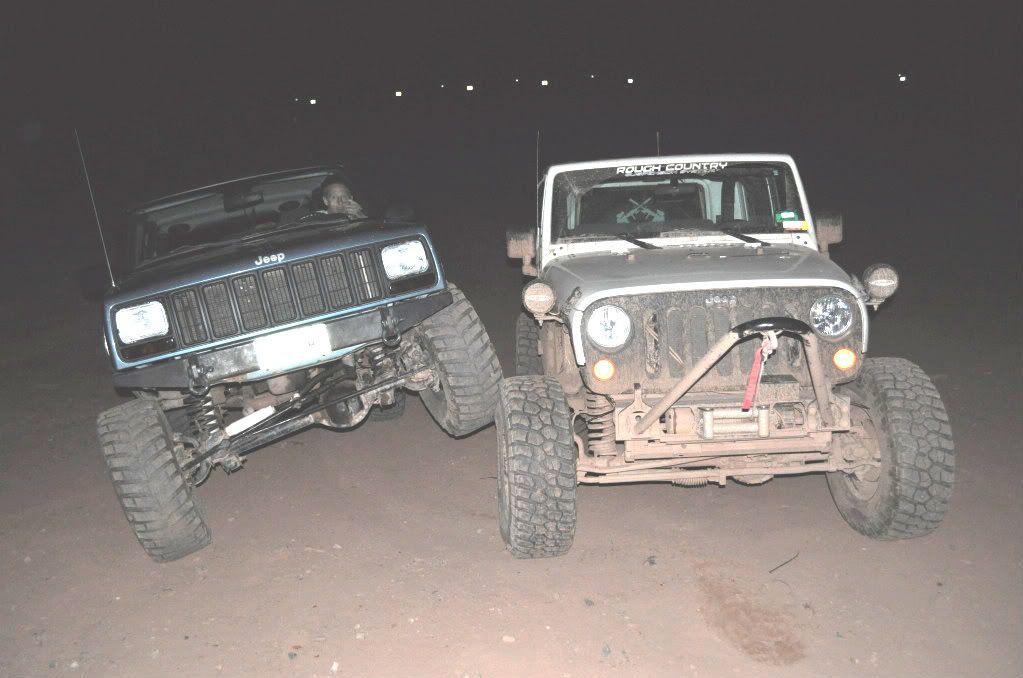
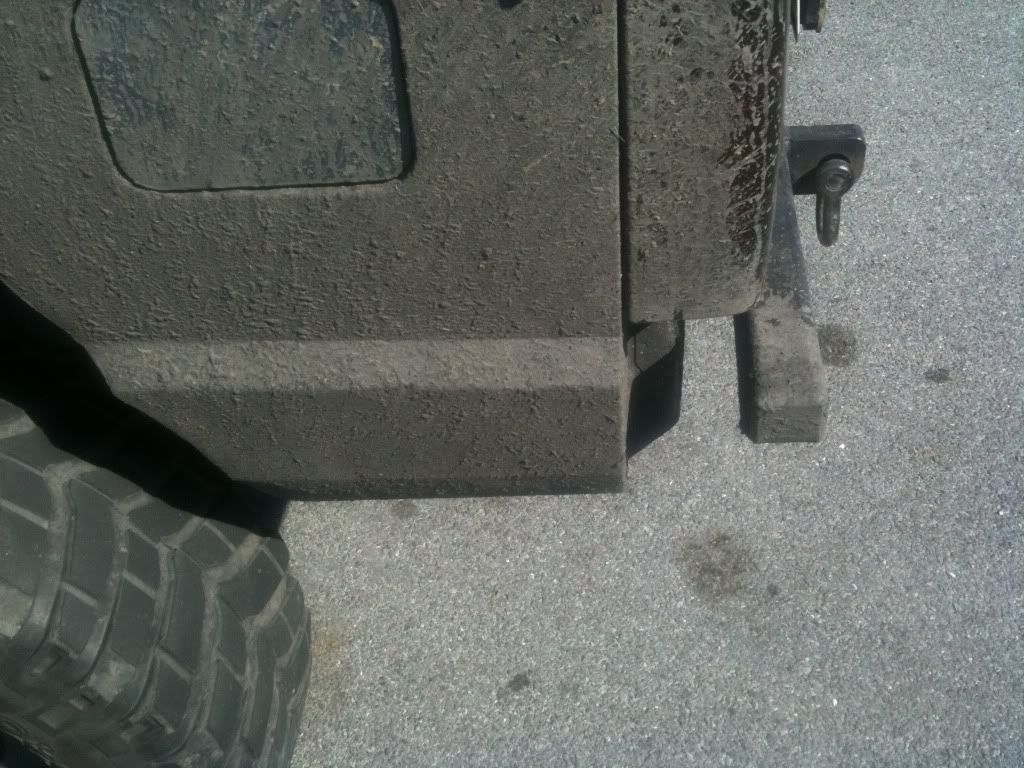
Mounted it up and got to test it at Rausch thanks to Jon lol.*
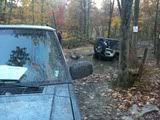
This is Frog Hole, it's a little deep considering Jon's JK is on 4" of lift and 35" tires.*
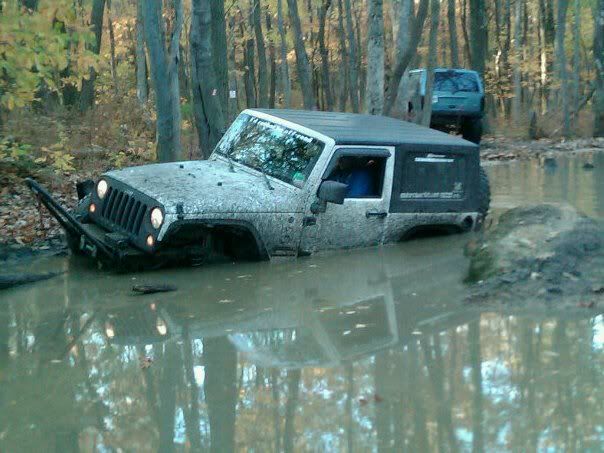
And me pulling him out
The bumper did great, no movement or noises at all. I'm happy!
Pics here:
http://s202.photobucket.com/albums/a...2016th%202010/
Before we went to Rausch i figured it'd be a good idea to tie in my rear bumper to the unibody, while at the same time making the rear bumper almost flush to the hatch instead of it sticking out too far, since the tire carrier was removed.*
First I cut the old bumper mounts off the bumper to see how far I wanted to draw the bumper into the body.*
Then I cut the rear body panel that covered up the unibody rails so I could slide in the pieces for the tie ins.*
Then I measured into the frame rail to see how far I wanted to run the 2"x4" box steel in. I decided on 7" due to the filler neck for the fuel tank being 7" in the rail and not wanting to mess with that.*
I then decided on just attaching the 2"x4" box steel directly to the bumper so I cut the rest of the bumper mounts off the bumper.*
I then took a 2"x4"x10" piece of box steel and slid it into the frame rail to test fit it. It was loose and wobbled a bit so I slid a flat piece of 1/4" by 4" steel in with it and it fit perfectly. So I welded the flat plate to the side of the box steel.*
Then I marked 4 holes to drill, 3 to go up from below the unibody and 1 to go in the side so the shackle bolt could slide through it. I used two existing holes in the unibody from the factory nut strip and enlarged one other hole.*
Then I did the same thing for the other unibody rail.*
Next I used 1/4"x4" flat steel to make plates to weld to the tie ins to allow the bumper to also use the factory mounting locations for a little extra strength.
Then I welded the tie ins to the bumper itself.*
Mounted it up and got to test it at Rausch thanks to Jon lol.*
This is Frog Hole, it's a little deep considering Jon's JK is on 4" of lift and 35" tires.*
And me pulling him out
The bumper did great, no movement or noises at all. I'm happy!
 10-18-2010, 10:57 PM
#12
Member
Thread Starter
Join Date: Oct 2009
Posts: 120
Likes: 0
Received 0 Likes
on
0 Posts
Year: 1999
Model: Cherokee
Engine: 4.0 I6
10-19-2010, 09:17 PM
#13
Member
Thread Starter
Join Date: Oct 2009
Posts: 120
Likes: 0
Received 0 Likes
on
0 Posts
Year: 1999
Model: Cherokee
Engine: 4.0 I6
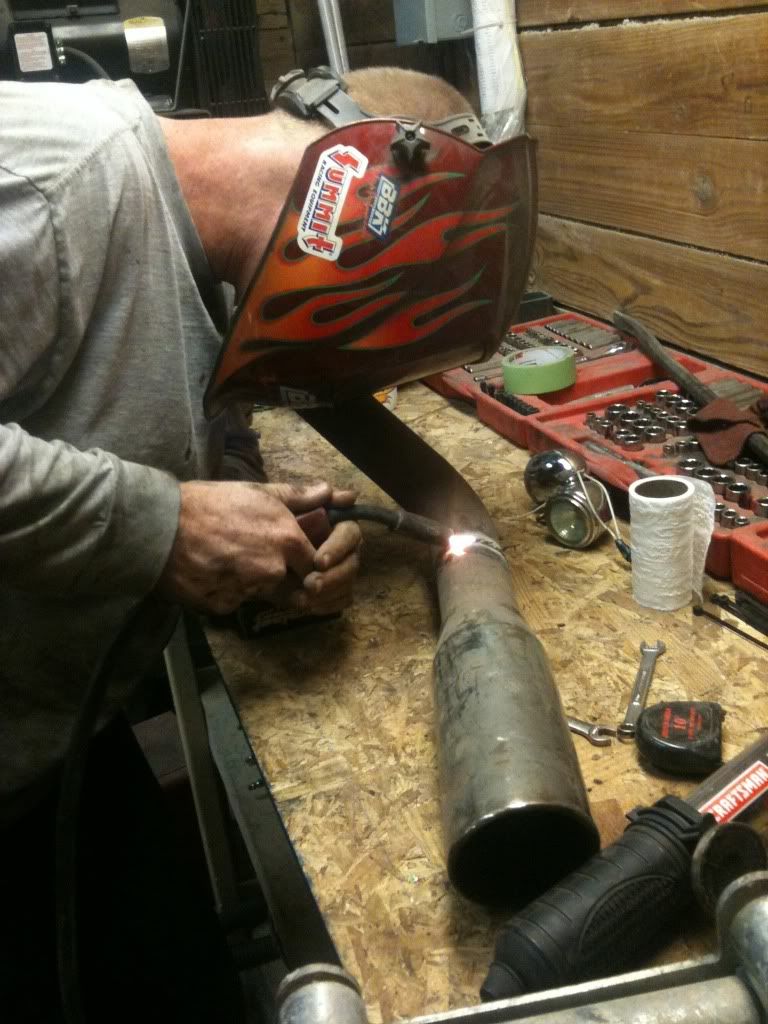
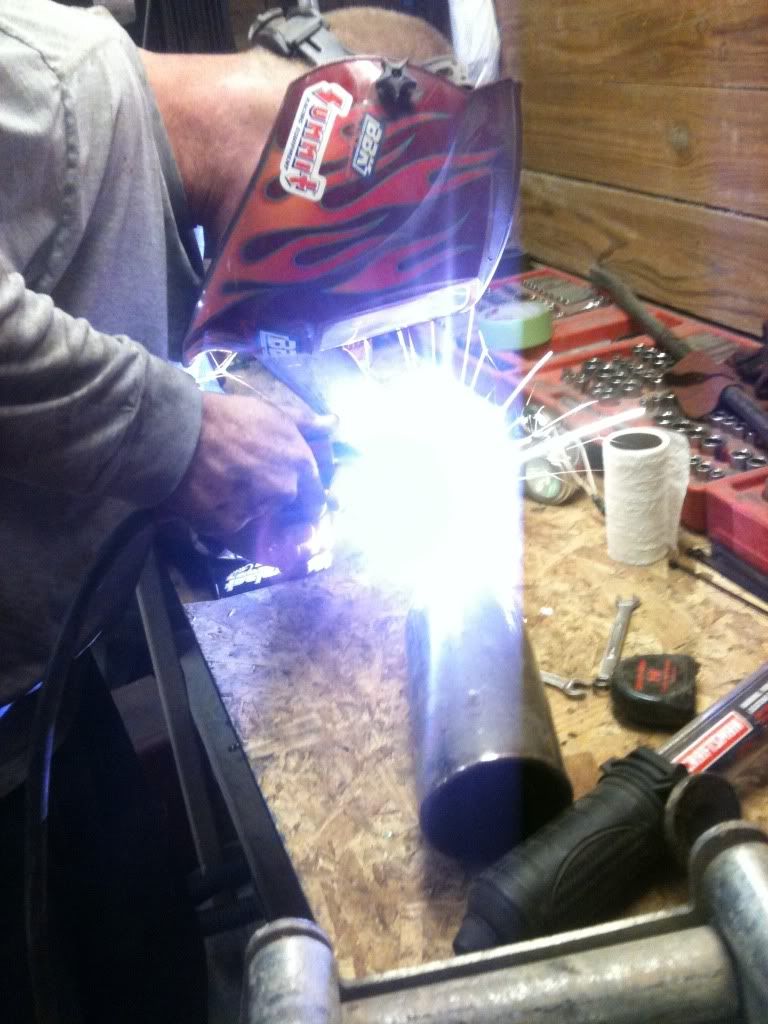
My exhaust stuck out about 4" past the bumper after my modifications to it, so i cut a 7" section of the tailpipe out and welded it back together. The extra 3" helps keep my D ring on the bumper cool since it's further from the exhaust now.
10-24-2010, 09:13 AM
#14
Member
Thread Starter
Join Date: Oct 2009
Posts: 120
Likes: 0
Received 0 Likes
on
0 Posts
Year: 1999
Model: Cherokee
Engine: 4.0 I6
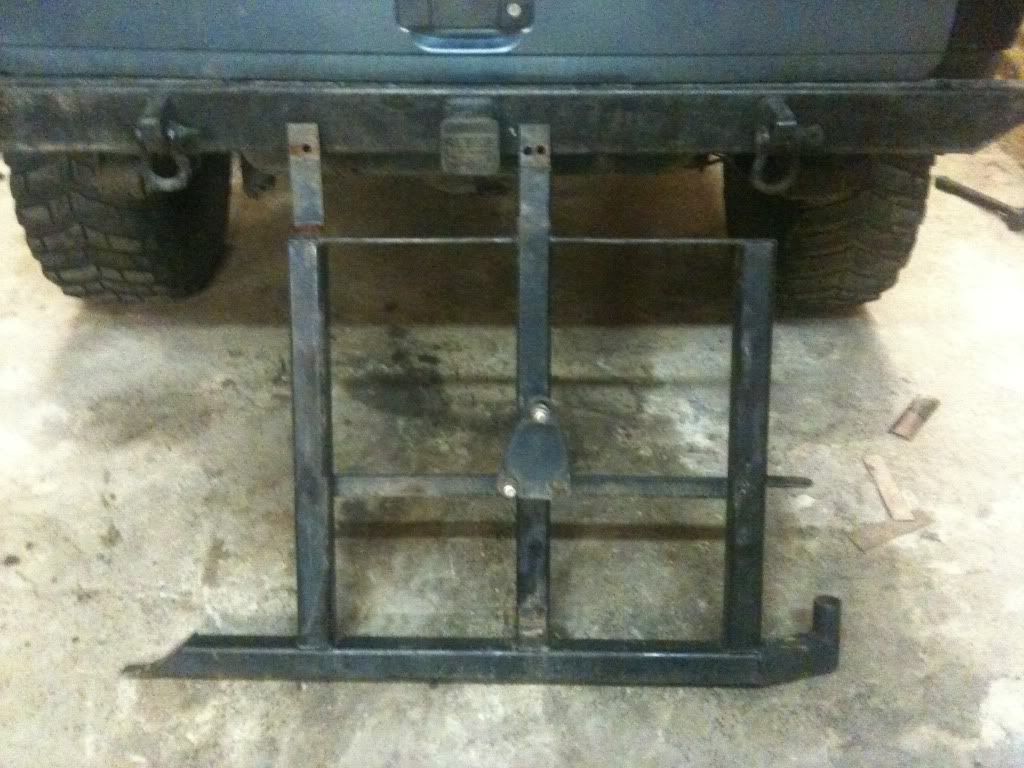
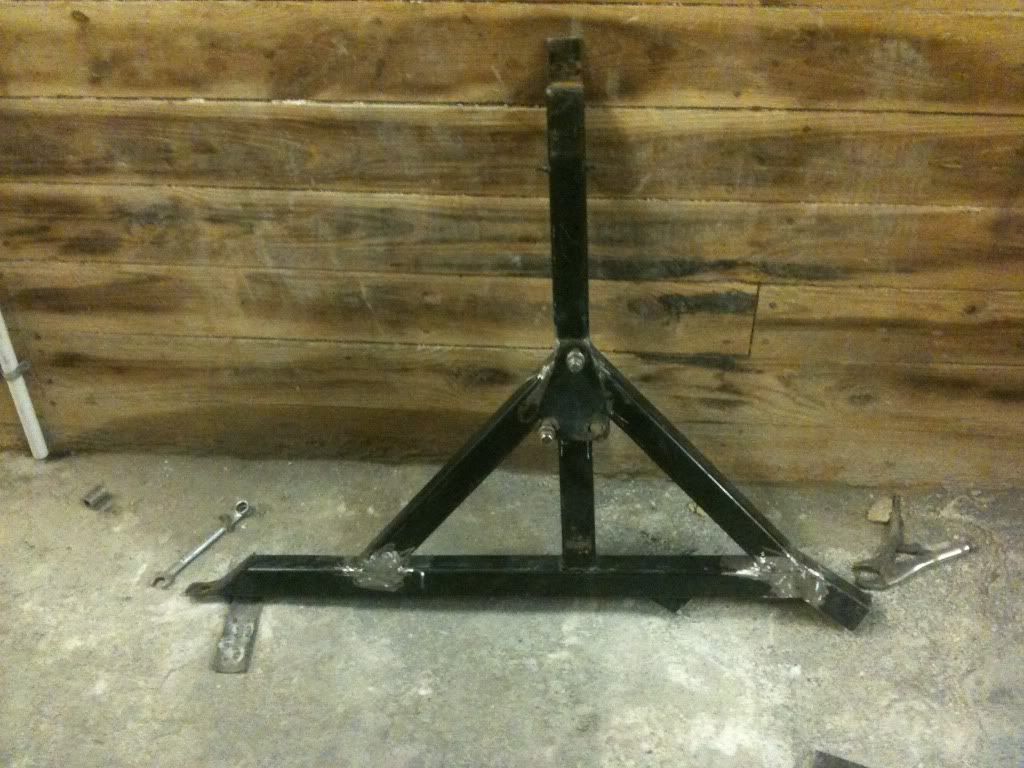
I got bored yesterday and decided I wanted a tire carrier on my Jeep again. A 33" spare takes up a lot of room in the cargo area, so I took the old tire carrier that was on the bumper and modified it to strengthen it and allow it to attach to the face of the bumper rather than the top.*
What I started with:
Then I started disassembling the old carrier.*
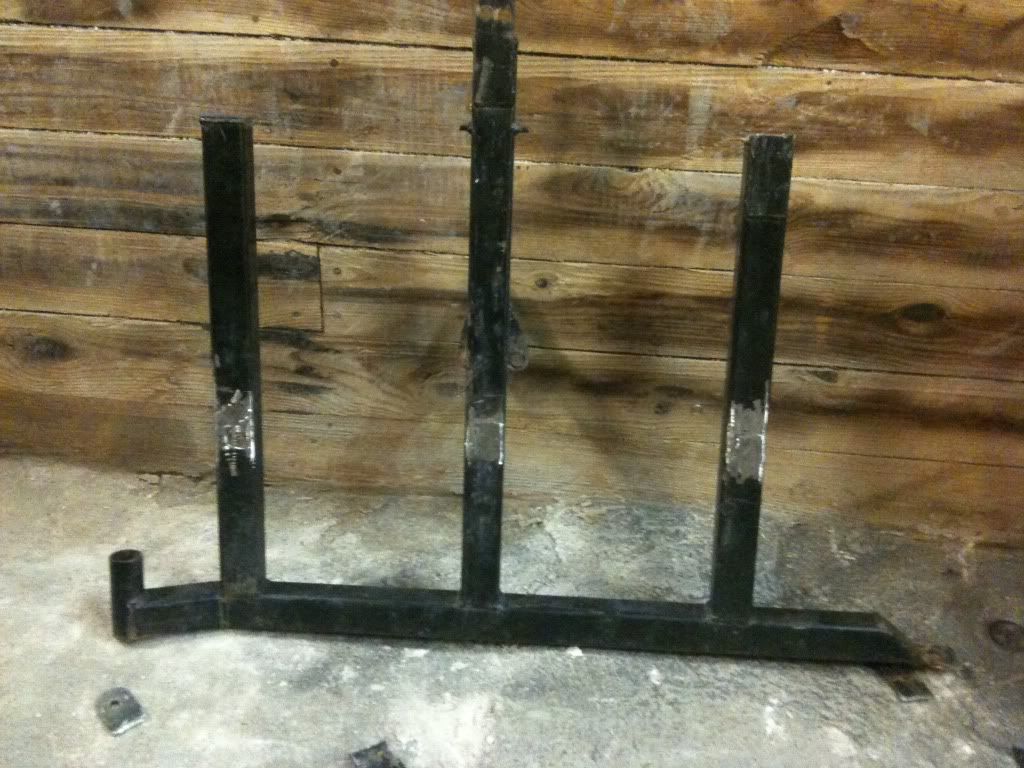
I decided to keep the bottom tube and the middle tube and work off of that.*
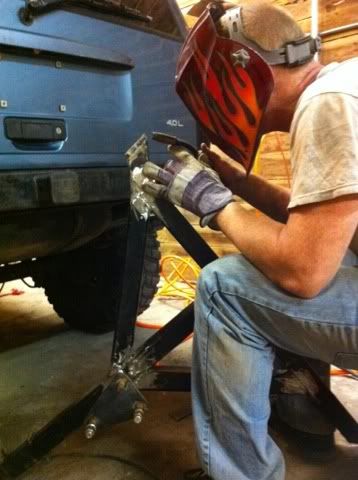
Then I measured the lengths I wanted and cut 45 degree angles for the side tubes.*
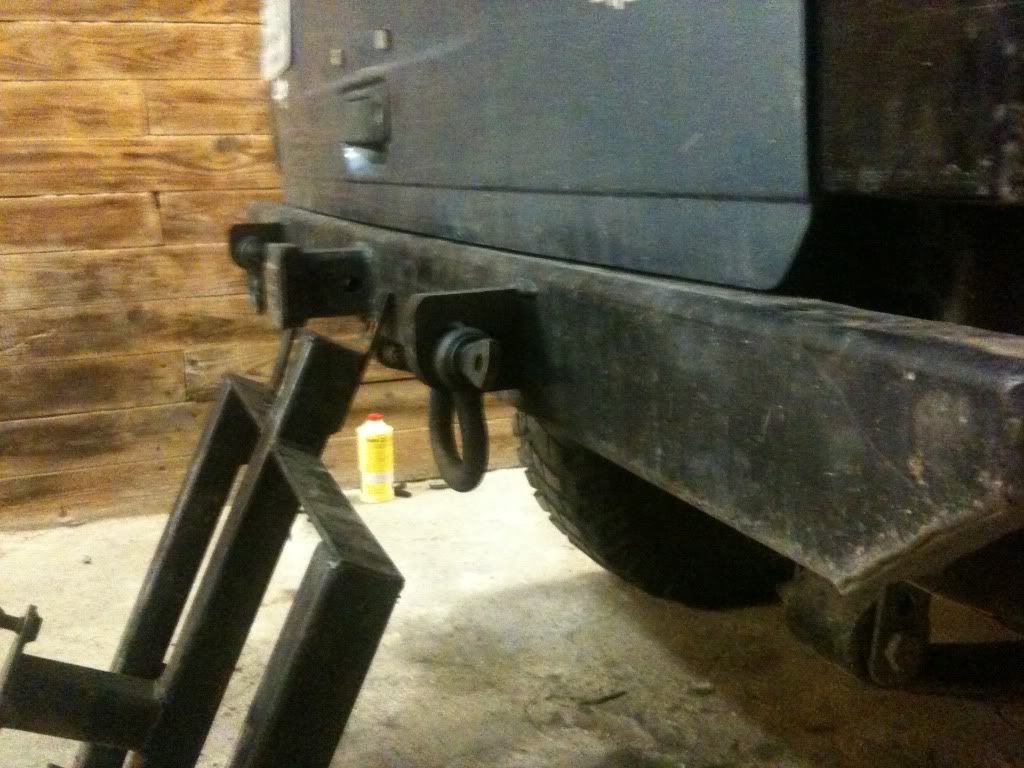
After the supervisors checked my work I moved to making the bracket to attach the tire carrier to the bumper.*
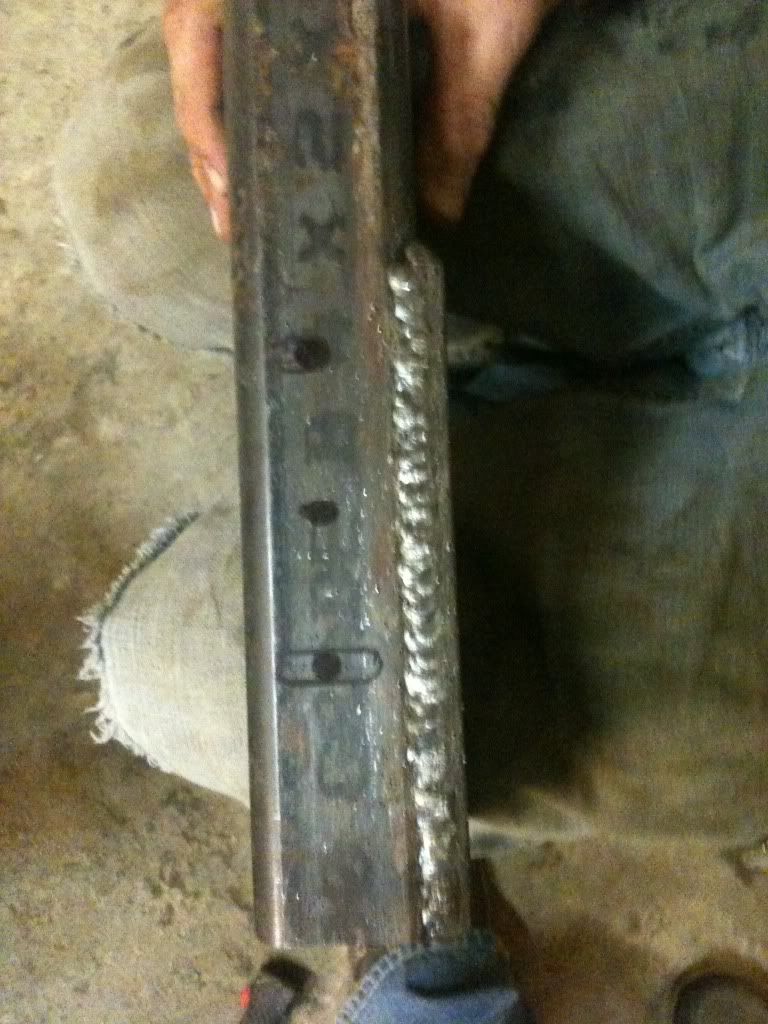
I used 1/4" flat steel to make the top and bottom plates.*
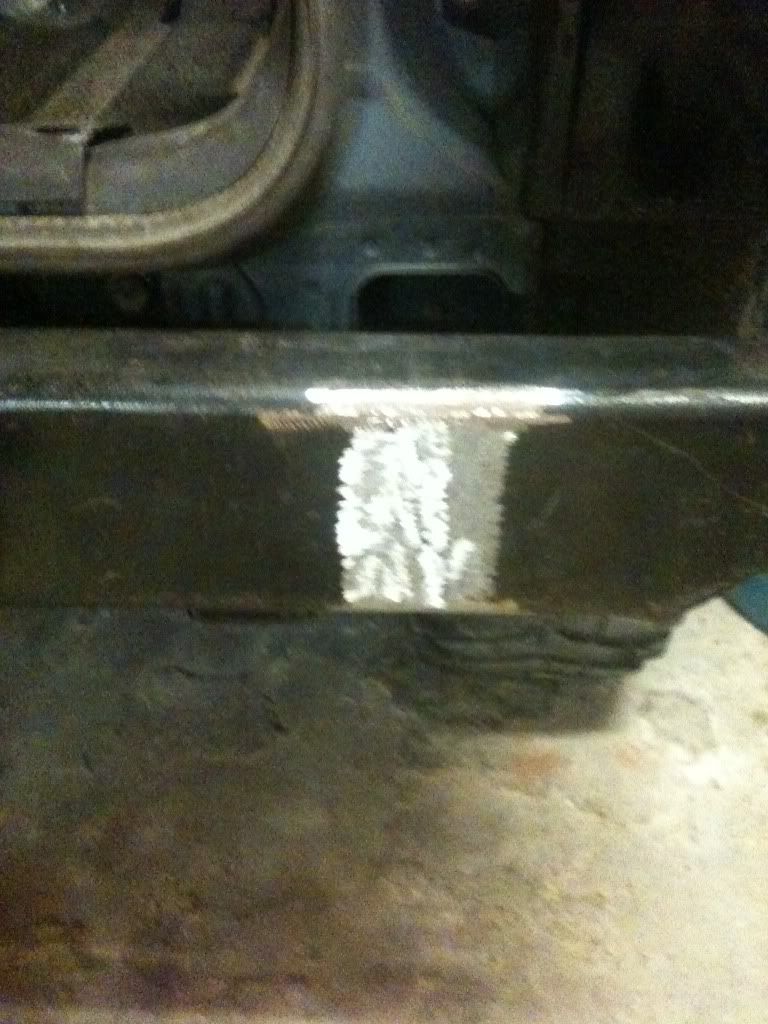
Not too bad for flux core welds.*
Then I marked and drilled the holes
for the bolt to hold the carrier.*
Cleaned up.*
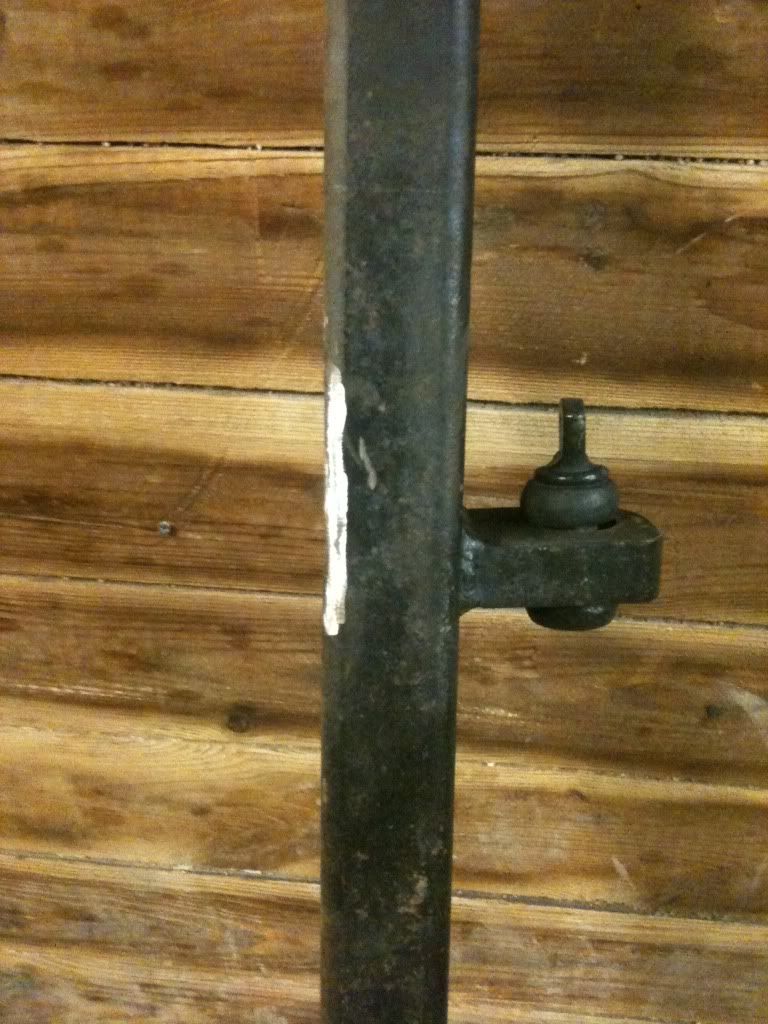
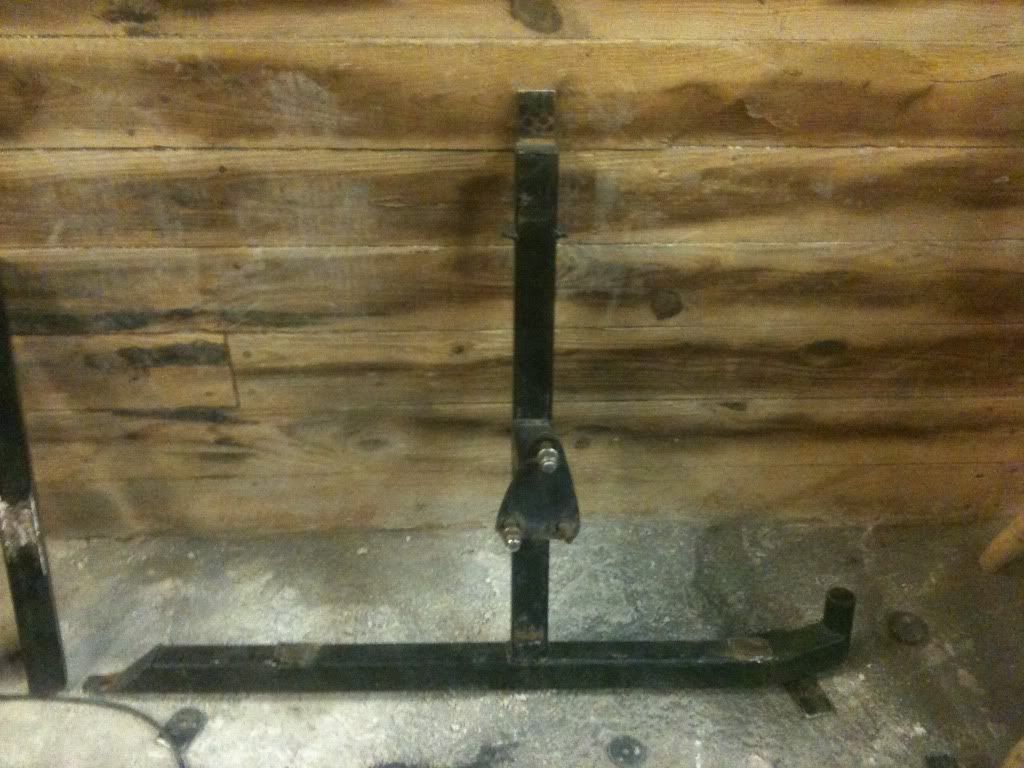
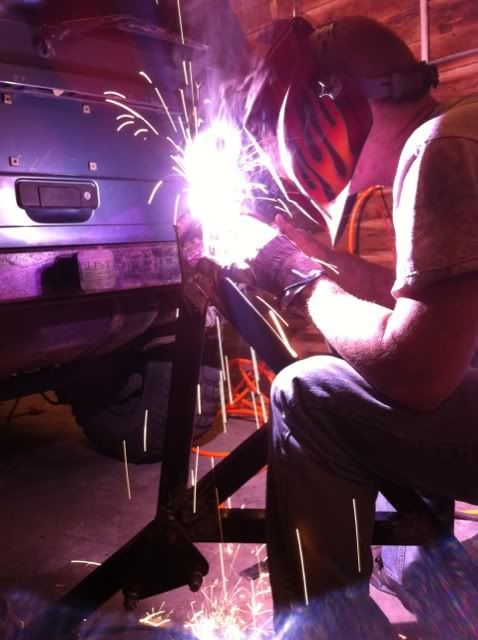
Welding steel washers to a steel tube to use fora hinge type thing.*
Mocked up to ensure proper fit.*
Tire carrier mocked up to figure out proper angles to weld it to the hinge.*
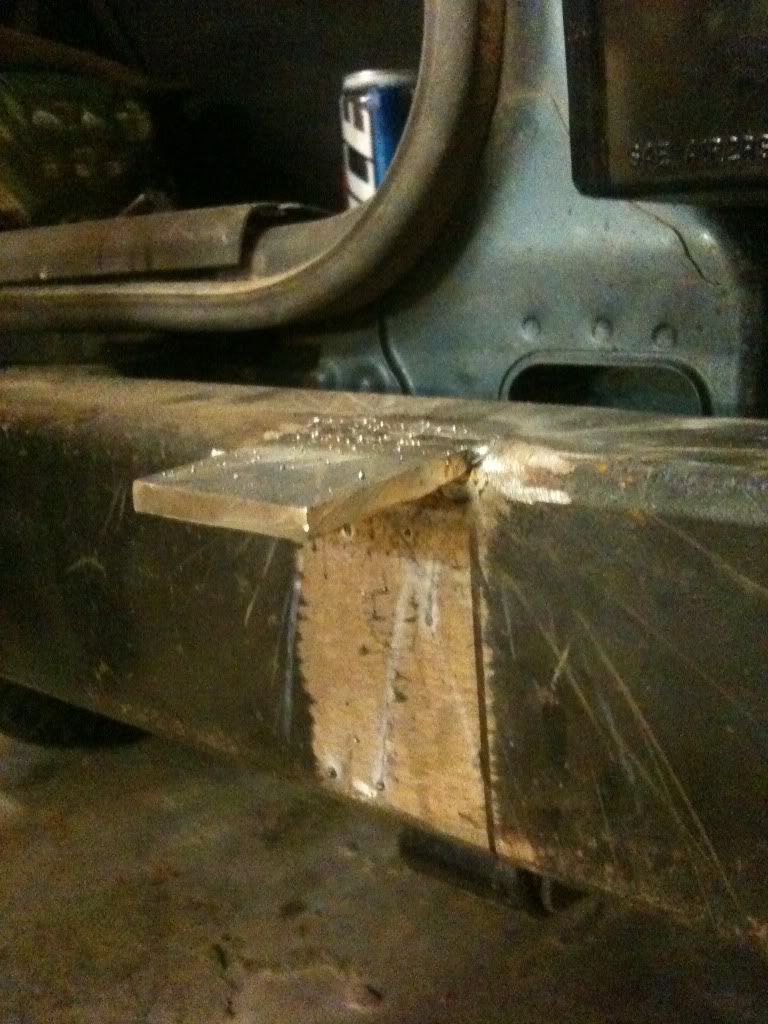
Then I decided to weld a 1/4" steel flat plate to the tire carrier to fill the gap between the carrier and the hinge.*
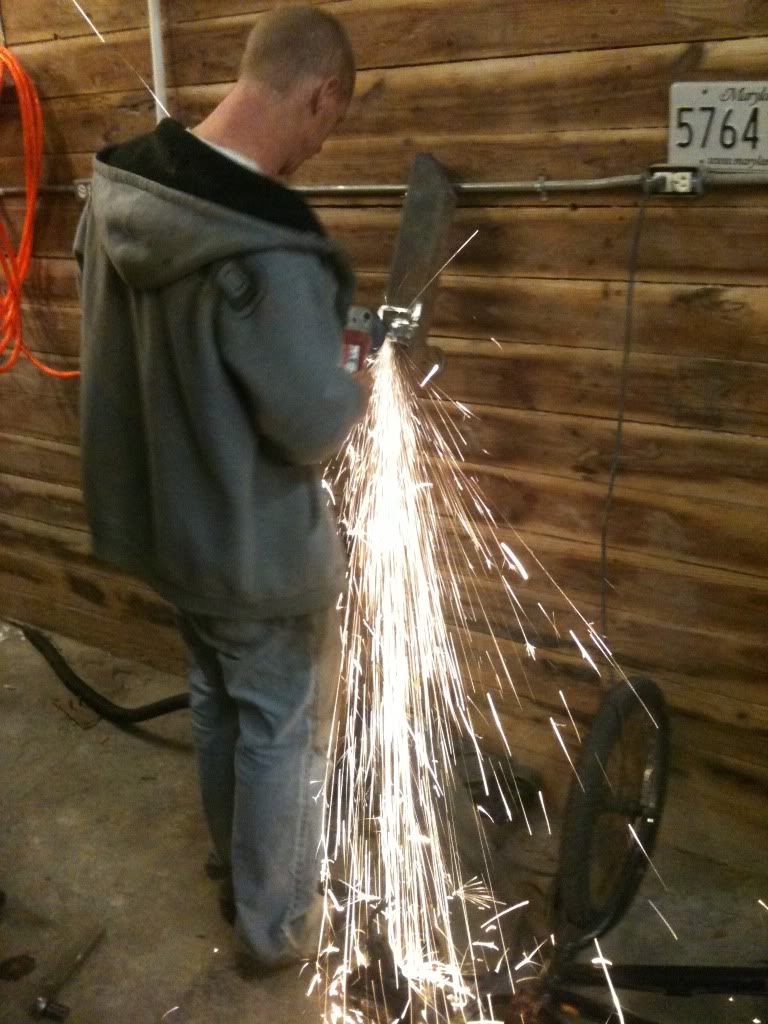
Then my angle grinder stopped working, lol. I'm getting a new one today and will finish the write up then.
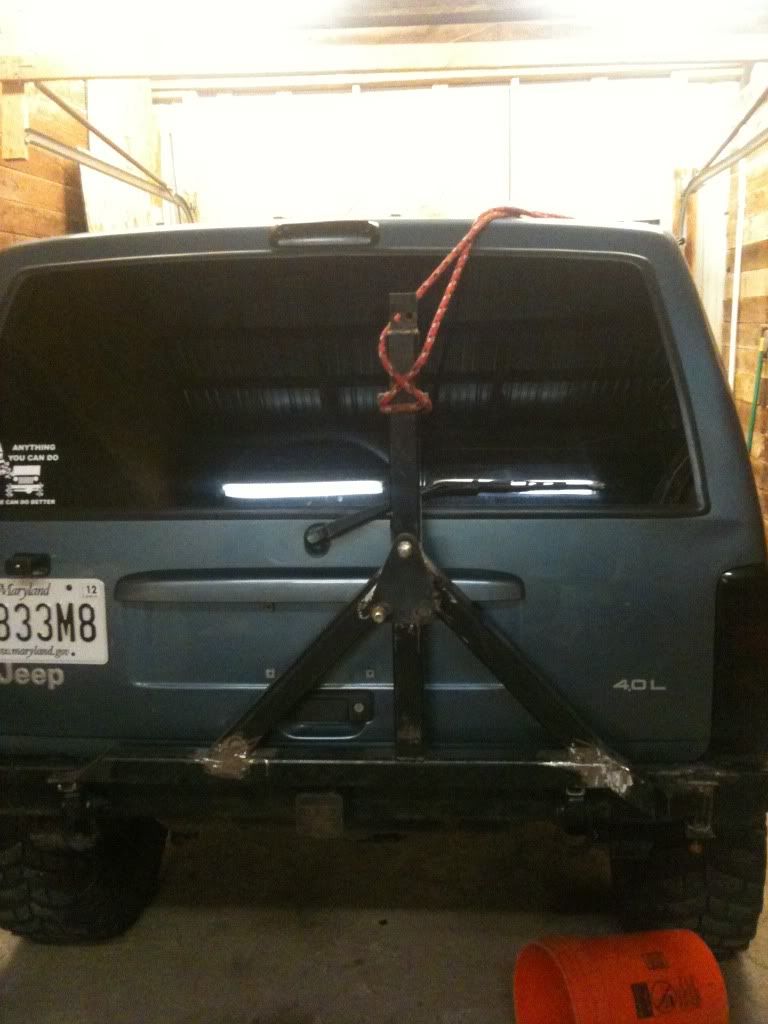
The way it sits now.
I still need to figure out how I'm going to do the latch, I have a few ideas that should work.*
To be continued...
What I started with:
Then I started disassembling the old carrier.*
I decided to keep the bottom tube and the middle tube and work off of that.*
Then I measured the lengths I wanted and cut 45 degree angles for the side tubes.*
After the supervisors checked my work I moved to making the bracket to attach the tire carrier to the bumper.*
I used 1/4" flat steel to make the top and bottom plates.*
Not too bad for flux core welds.*
Then I marked and drilled the holes
for the bolt to hold the carrier.*
Cleaned up.*
Welding steel washers to a steel tube to use fora hinge type thing.*
Mocked up to ensure proper fit.*
Tire carrier mocked up to figure out proper angles to weld it to the hinge.*
Then I decided to weld a 1/4" steel flat plate to the tire carrier to fill the gap between the carrier and the hinge.*
Then my angle grinder stopped working, lol. I'm getting a new one today and will finish the write up then.
The way it sits now.
I still need to figure out how I'm going to do the latch, I have a few ideas that should work.*
To be continued...