When you click on links to various merchants on this site and make a purchase, this can result in this site earning a commission. Affiliate programs and affiliations include, but are not limited to, the eBay Partner Network.
Figured I would do a photo dump, and detailed build thread of my 99 XJ project finally.
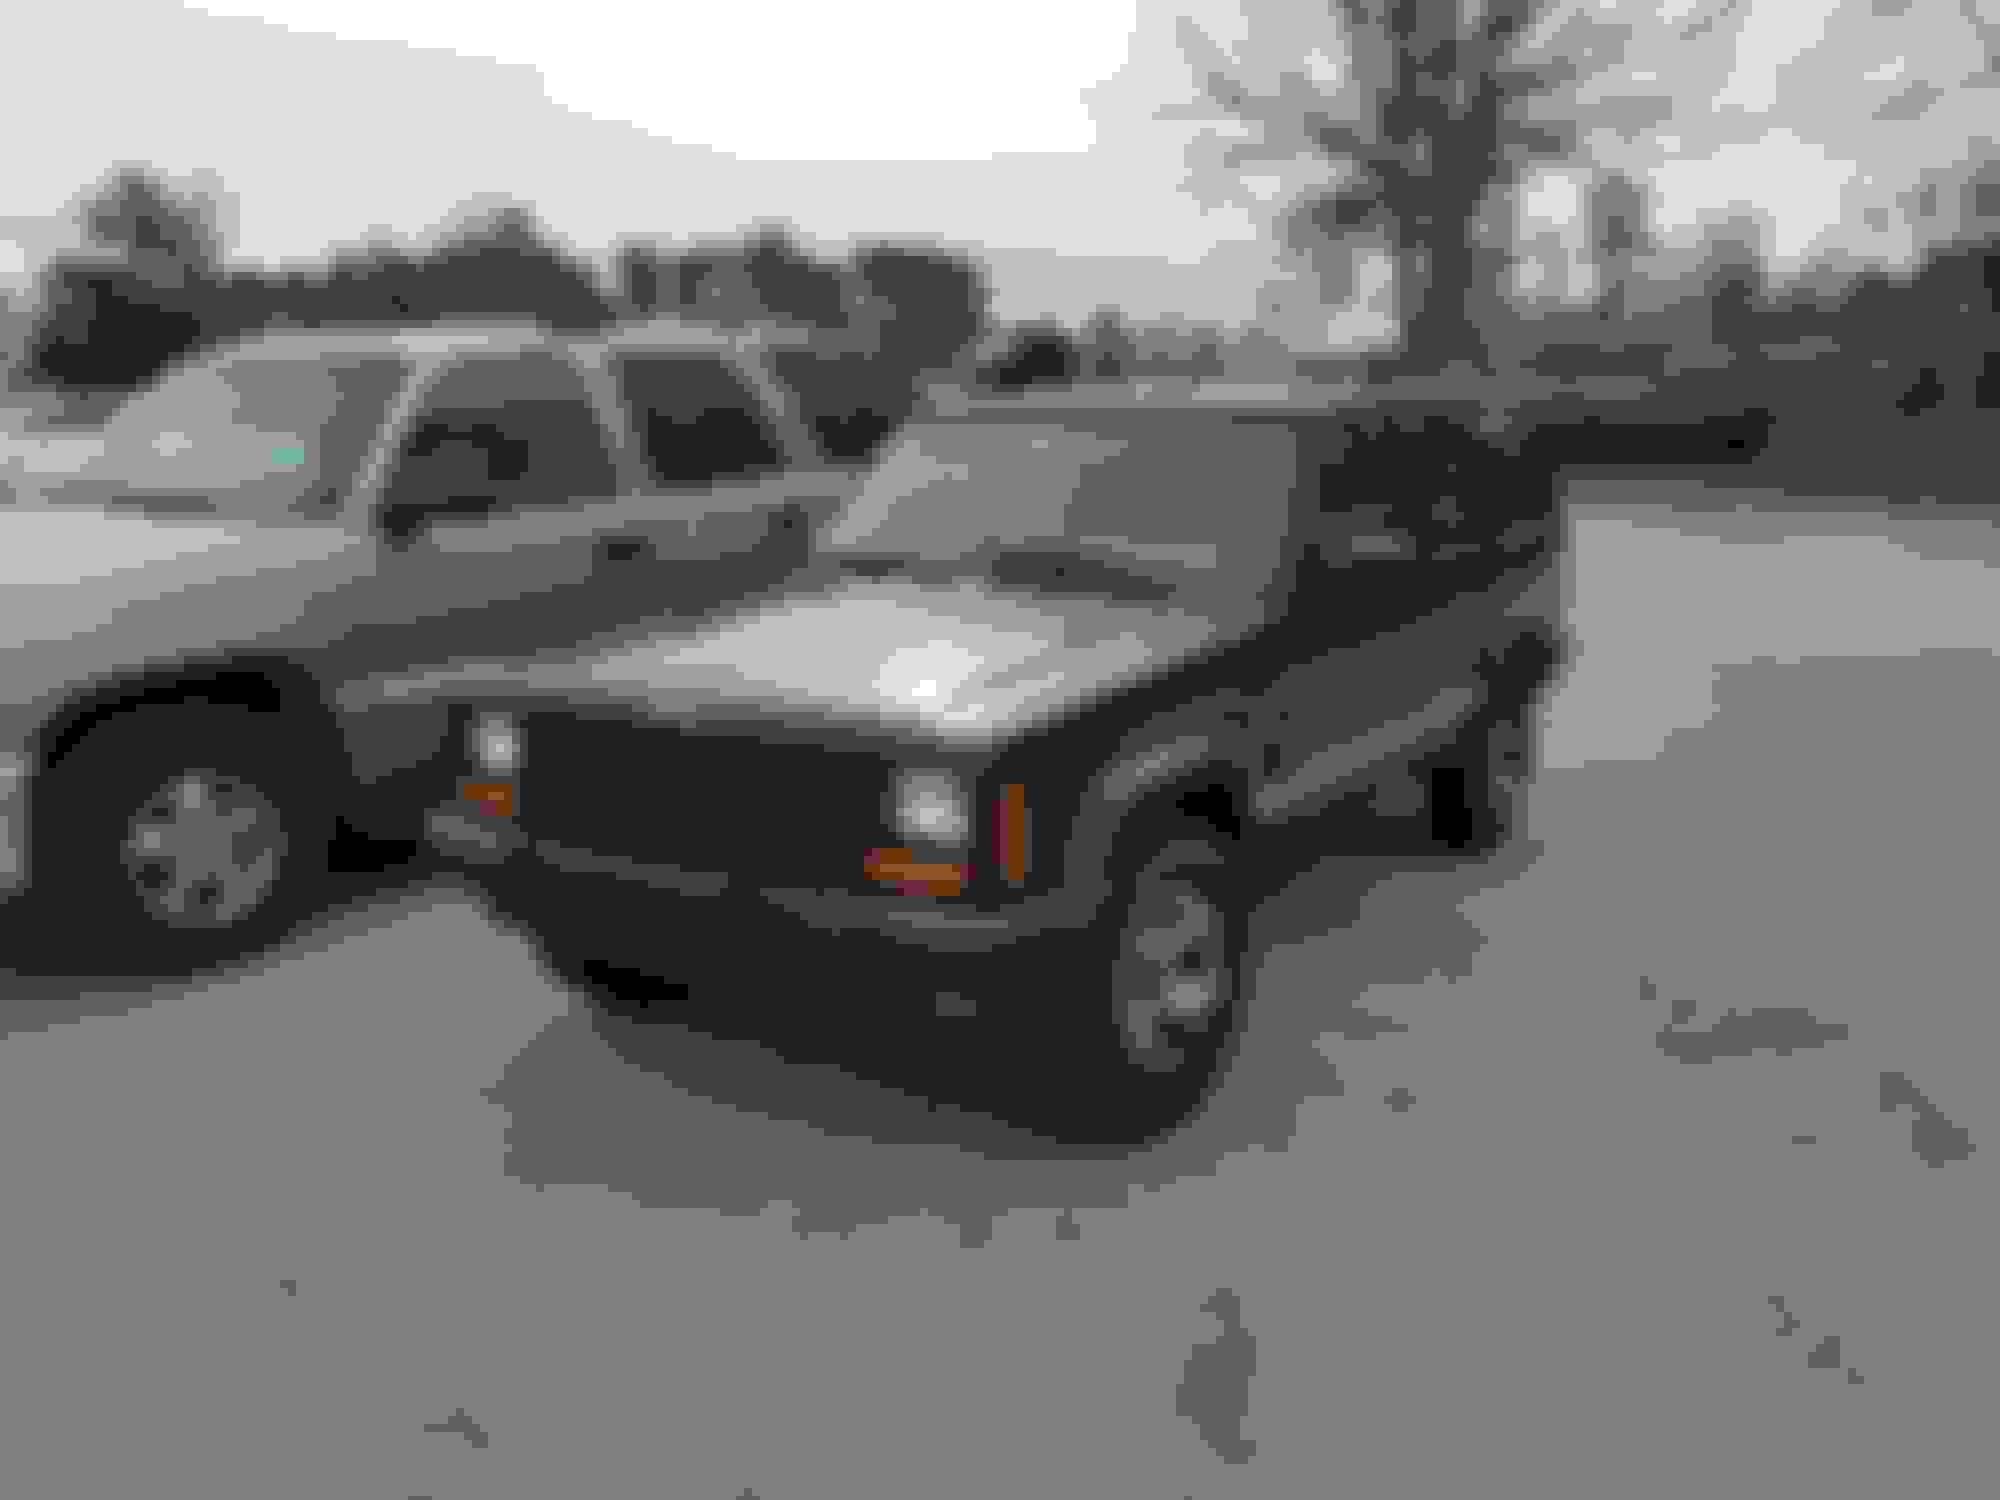
Picked this Jeep up in January of 2017, and was my daily driver for a few months while I was working at East Coast Gear Supply in Raleigh, NC.
Did a little work on the paint, and installed some Icon wheels. This was at an local exhaust shop getting a Magnaflow muffler installed.
Basic maintenance completed.
Got the 35s mounted and balanced and figured I'd put them next to the XJ to see the difference.
Typical XJ, heater core started leaking. So new heater core and AC evaporator core going in.
Was having some Heat Soak issues at start up occasionally so I ordered this Mopar heat shield(part #53013669AA) off of eBay, and picked up some heat sheath from the auto store to wrap the 784 Neon injectors.
Finally started on the lift. Decided to piece my own lift together and ended up with Clayton long arms, IRO Leafs, Rubicon Express 5.5in coils, Bilstein 5100 shocks, some RC quick disconnects, shackles, and shackle relocation brackets.
Trimmed the fenders along the factory body line with an angle grinder and cutoff wheels for clearance
Installed some RodLouvers to help the heat escape also.
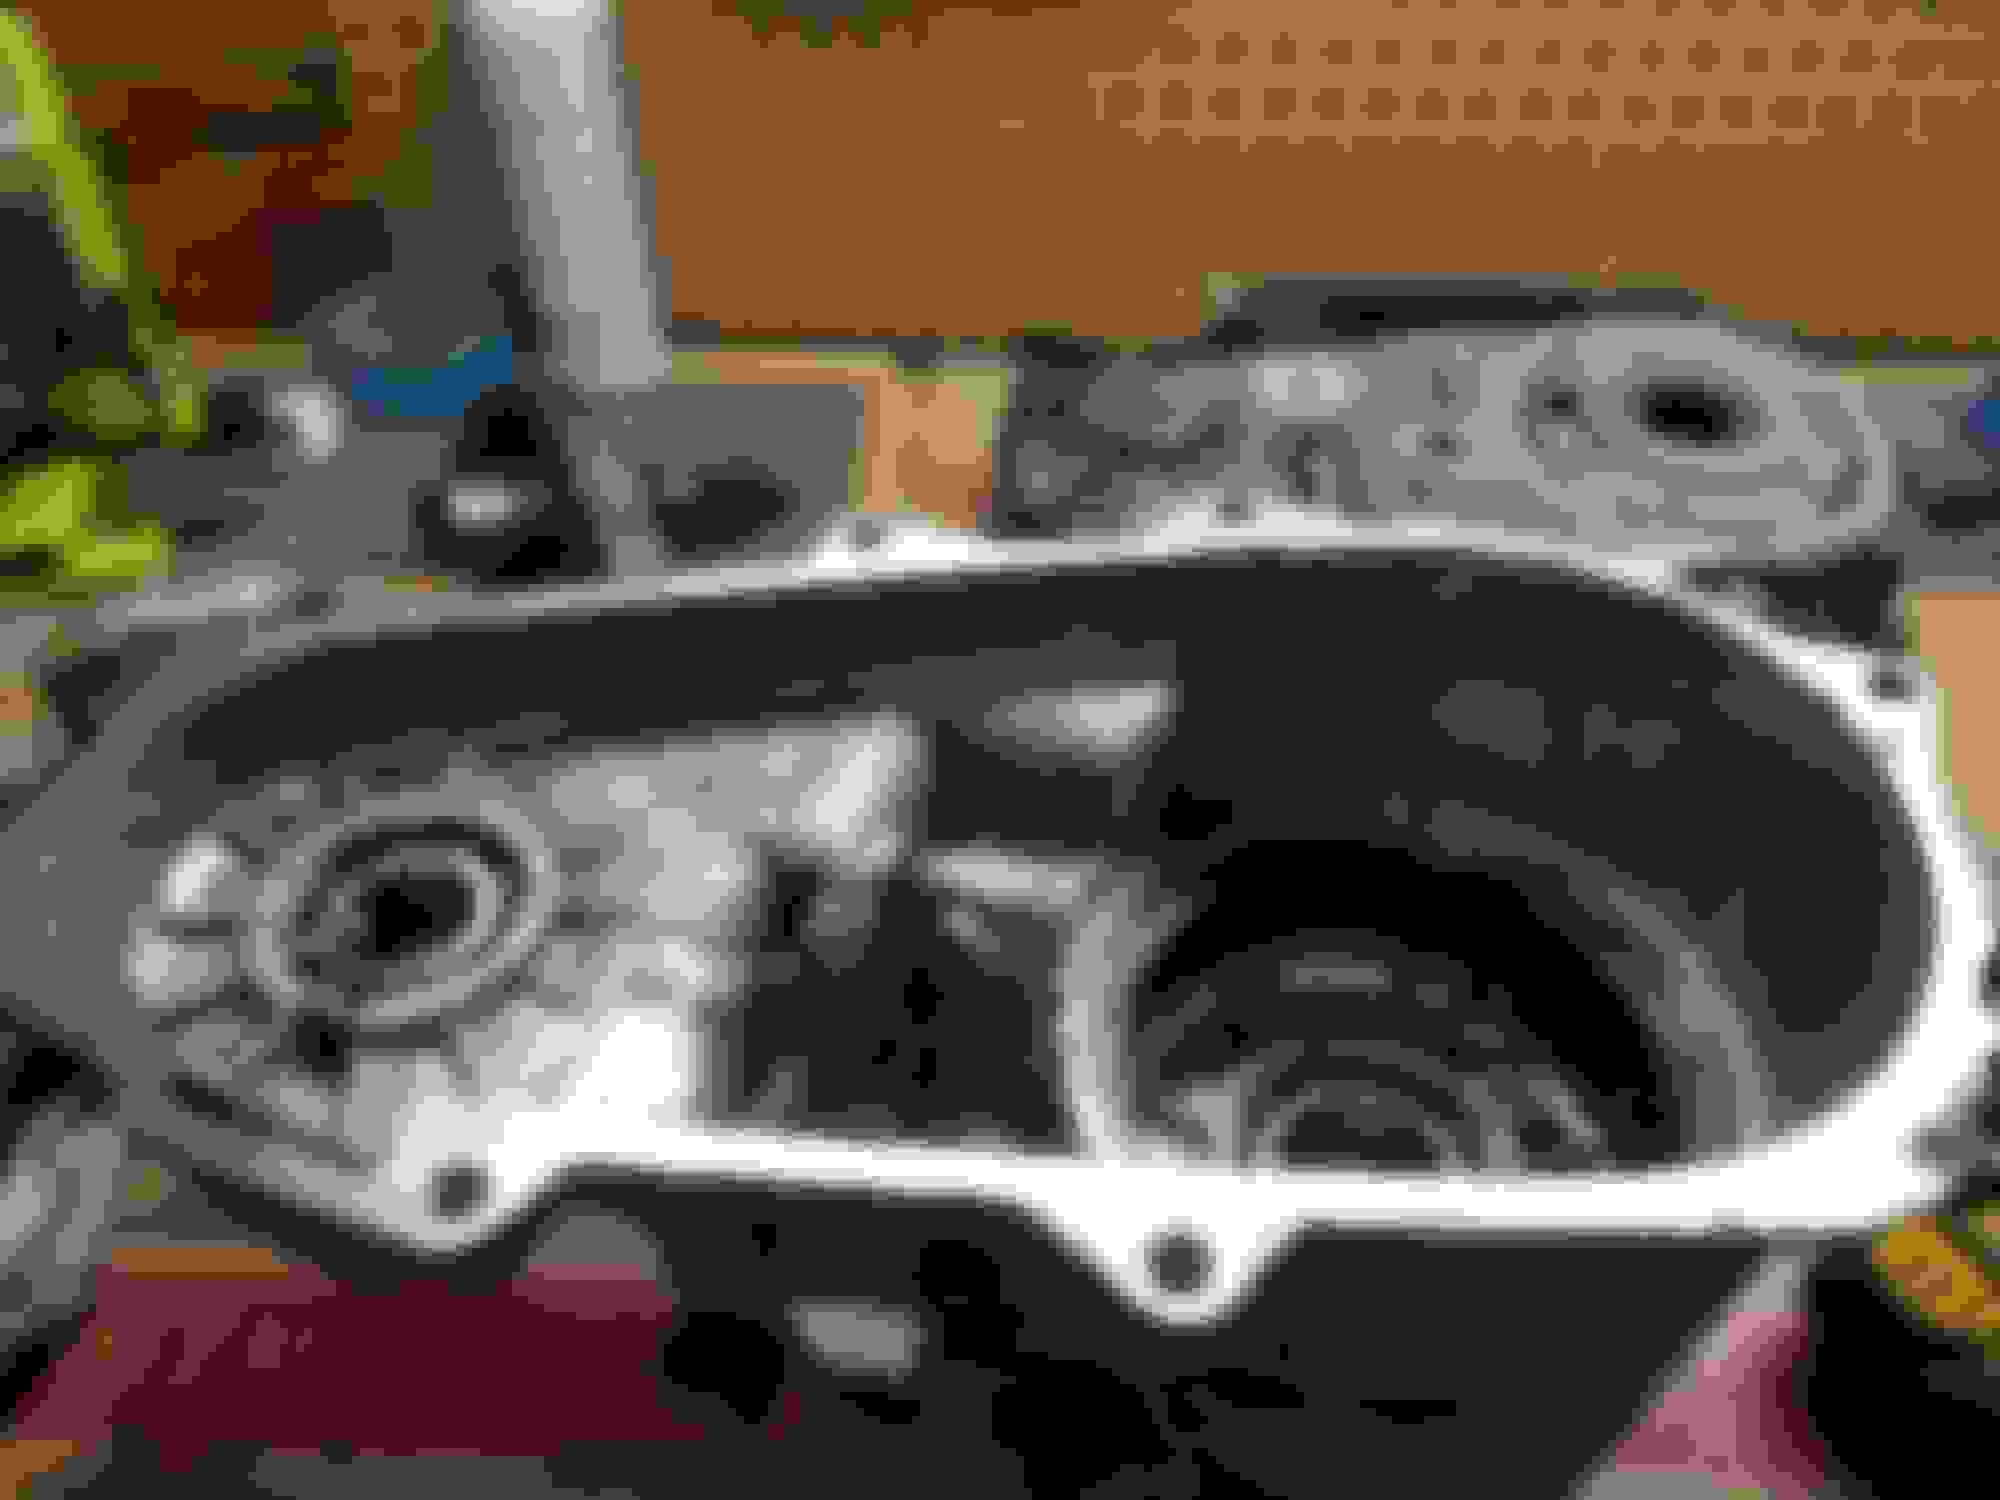
Installed a Azzys Design Works tcase linkage with a rebuilt NP231 with an SYE that I picked up from work.
Got some JCR DIY bumpers to get rid of those weak factory ones
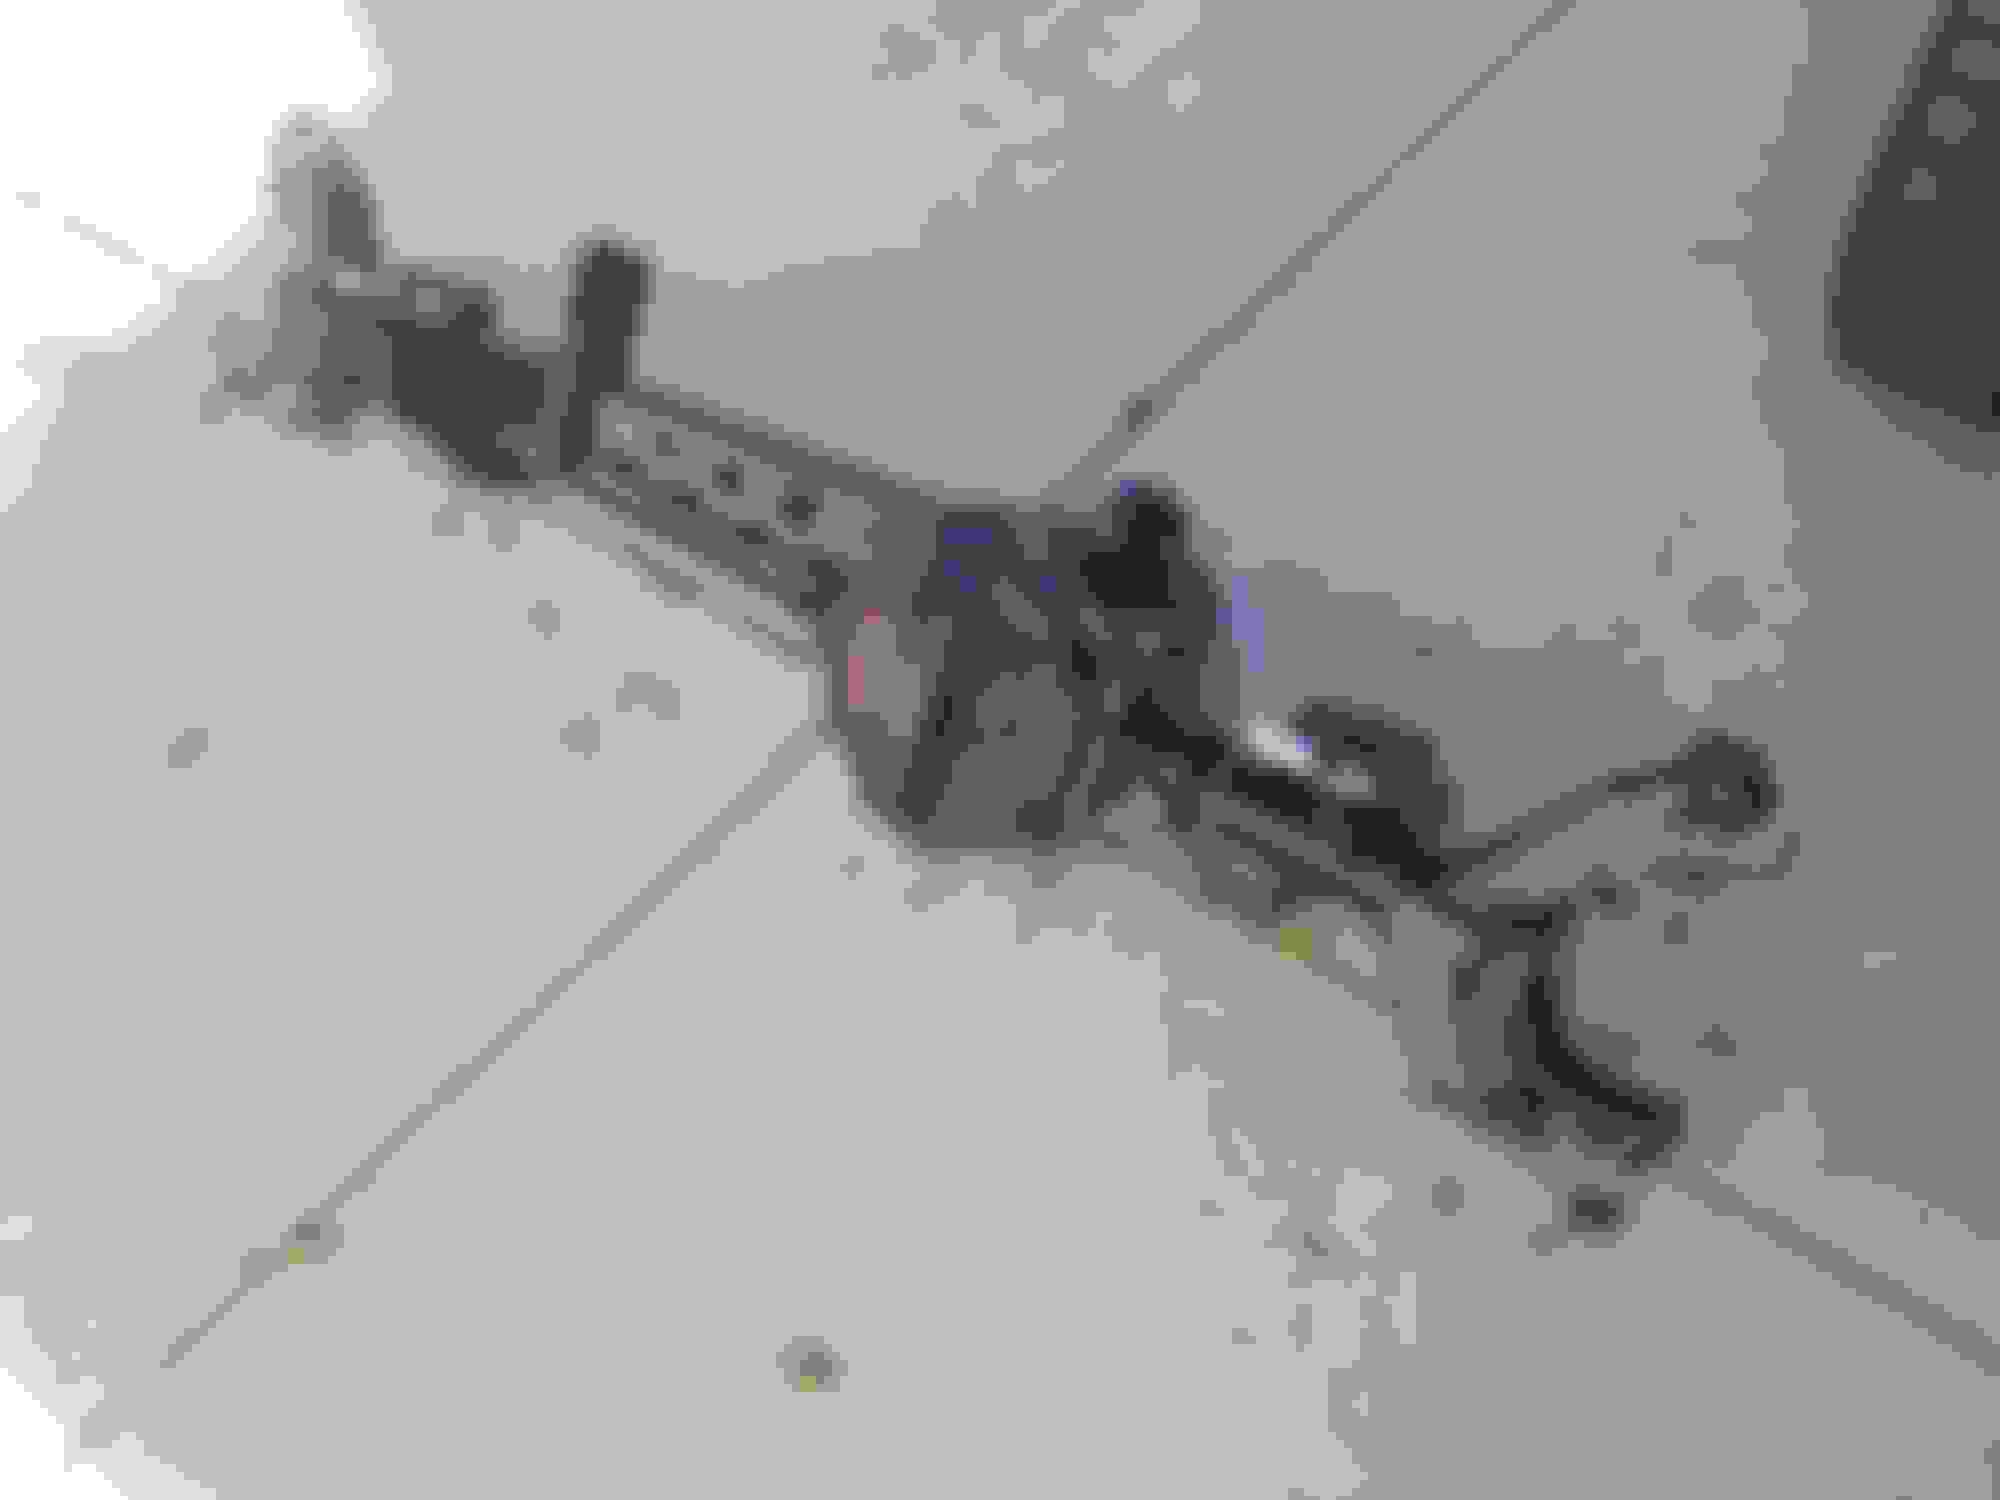
Now onto the axles. Decided to build the Dana 30 for the time being. Gusseted, sleeved, Synergy HD ball joints, Timken hubs, chromolly axle shafts. Scored a factory XJ rear 44 also, Did a rear disc brake conversion on it, and some chromolly axle shafts as well. Both were geared 4.88 with Detroit True Tracs.
Made a custom 1 ton steering setup at work. Pretty much the same as the JCR one.
Measuring for bump stops
Changed out the battery terminals and installed a Optima Yellow Top
Shakedown run completed at Uwharrie National Forest. At the top of Daniel.
Time to get the AC working so I can bring my son home from the hospital in the XJ. Replaced the AC compressor, orifice tube, accumulator, condenser, and of course the evaporator core back when I did the heater core. Time to vacuum, and charge the system.
His chariot awaits!
The wife let me sneak in a wheelin trip!
Installed some JCR Classic sliders.
Replaced the cracked stock exhaust manifold finally. After ordering 3 different eBay and Amazon ones at all different prices I learned that they were all the exact same so I just settled for this $60 eBay one (It only lasted a little over a year before it cracked and currently needs to be replaced again)
Gutted the interior, shampooed the carpet, installed a JCR center console bracket, and I scored a mint drivers seat so of course that went in.
Moved to Michigan in early 2018, once spring came I pressure washed, scrubbed, prepped and painted the underside with Rustoleum Professional Grade paint to protect it from the harsh elements up here.
Made some custom front inner wheel well panels to keep dirt and sand out of the door hinges. Made them out of some scrap 22 gauge aluminum.
Couple more skids added for underside protection. The tcase skid was a custom one that a coworker designed and cut for me to work with my Clayton crossmember.
Last edited by JeepinXJallDay; Jul 18, 2019 at 06:37 PM.
That’s a great build...just about gone thru everything. No mention of work on the transfer case. A man that worked at East Coast Gear is highly sought after...too bad you moved up North. How do you like the true tracs?
That�s a great build...just about gone thru everything. No mention of work on the transfer case. A man that worked at East Coast Gear is highly sought after...too bad you moved up North. How do you like the true tracs?
Stay tuned to the thread for more updates soon, including the transfer case upgrades and rebuild. And the True Tracs were fine. Didn't notice them on the road which was important for me, and Offroad if you needed them to lock in all you had to do is drag the brake a little.
Now it was time to take the build to the next level! Dana 44s, 37s, Beadlocks, and a Anti-Rock sway bar!
Before I left North Carolina I scored a set of JK Dana 44s complete rotor to rotor. The front of course is a Rubicon 44 with factory e-locker and 4.10s. The rear was a standard JK 44 with 3.21s and open carrier.
With my other set of axles I had one of the guys from ECGS set the gears up after hours, but being fairly new to the area here in Michigan I couldnt find anyone to set the gears up in the housings. So I went on amazon and ordered about $250 worth of "Special" tools, used some knowledge I gained from working at East Coast Gear Supply, and leaned on a couple old coworkers for advice to tackle the project myself. I previously had 4.88s but honestly didnt really like them, the Jeep was turning too many RPMs on the interstate so I decided to step down to 4.56s.
The rings were heated up evenly on top of my space heater then seated on the lockers, where all of the ring gear bolts were loctited, and torqued to spec in a star pattern, pinion preload was set, and a thin layer of RTV around the pinion seals was applied. These were the final patterns I believe. The front one was a hair deep on the "drive side" but the "coast side" was spot on. The rear was a real pain but was eventually dialed in.
Last edited by JeepinXJallDay; Jul 19, 2019 at 08:54 PM.
I figured before I installed the new rear axle, I would replace the IRO leafs with these much better OME ones. The IRO ones were far to stiff, and wouldn't allow the rear tires to stuff in the wheel wells like I wanted.
I called up my friends at Barnes 4wd for a DIY JK steering kit, and some hardware to make my track bar. I am also running their U-bolt eliminators on the rear axle and love them!
Once the front end was together and the Jeep was on its own weight I started on the front end geometry. For whatever reason with the JK 44 housing I had to extend my long arms quite a bit to get the axle centered in the wheel well, and axle castor dialed in. The shank on my Johnny Joints weren't long enough, and after a lot of research I located some similar joints with a longer threaded shank from Teraflex (part# 4116260) Heres a comparison.
There was a lot of trial and error during this swap. One of which was learning that heim joints on both ends of the track bar was not suitable. There is entirely too much play in them, and they are noisy. I ended up ordering this Poly bushing from Barnes 4wd for the axle side, and this eBay "Johnny Joint" for the frame side of the track bar. SO MUCH BETTER!
First time out of the garage in months! I ended up going with 37" Kanati Trail Hogs, and Battleborn Gatekeeper beadlocks initially.
Now that I was able to shake some of the bugs out of the new setup it was time to pull the transfer case and see what I broke in it during my trip to the Badlands Offroad Park right before I started on the axle swap. Of course I figured it would be a good time to upgrade it to prevent any future issues. After a quick google search I found that I can install a 1 1/4" wide chain and gear set out of a 90s model Chevy pickup/SUV NP231C, and a 6 planetary gear set out of a 90s model Dodge Durango/Dakota NP231DHD and that would increase its strength by over 30%. I couldn't find any part numbers for the parts but found a seller on eBay that sold the wide chain kit and 6 planetary gear as a set for a very reasonable price. Looks like a loose chain was the culprit.
Last edited by JeepinXJallDay; Jul 19, 2019 at 04:24 PM.
Next up on the list was to make some room for the 37s. After a fairly easy search it was apparent that Dirtbound Offroad was going to get my business. I opted for their Stump front stubby winch bumper, and Rock Bruiser rear cut n fold bumper. And let me tell you, the quality and fitment is second to none!
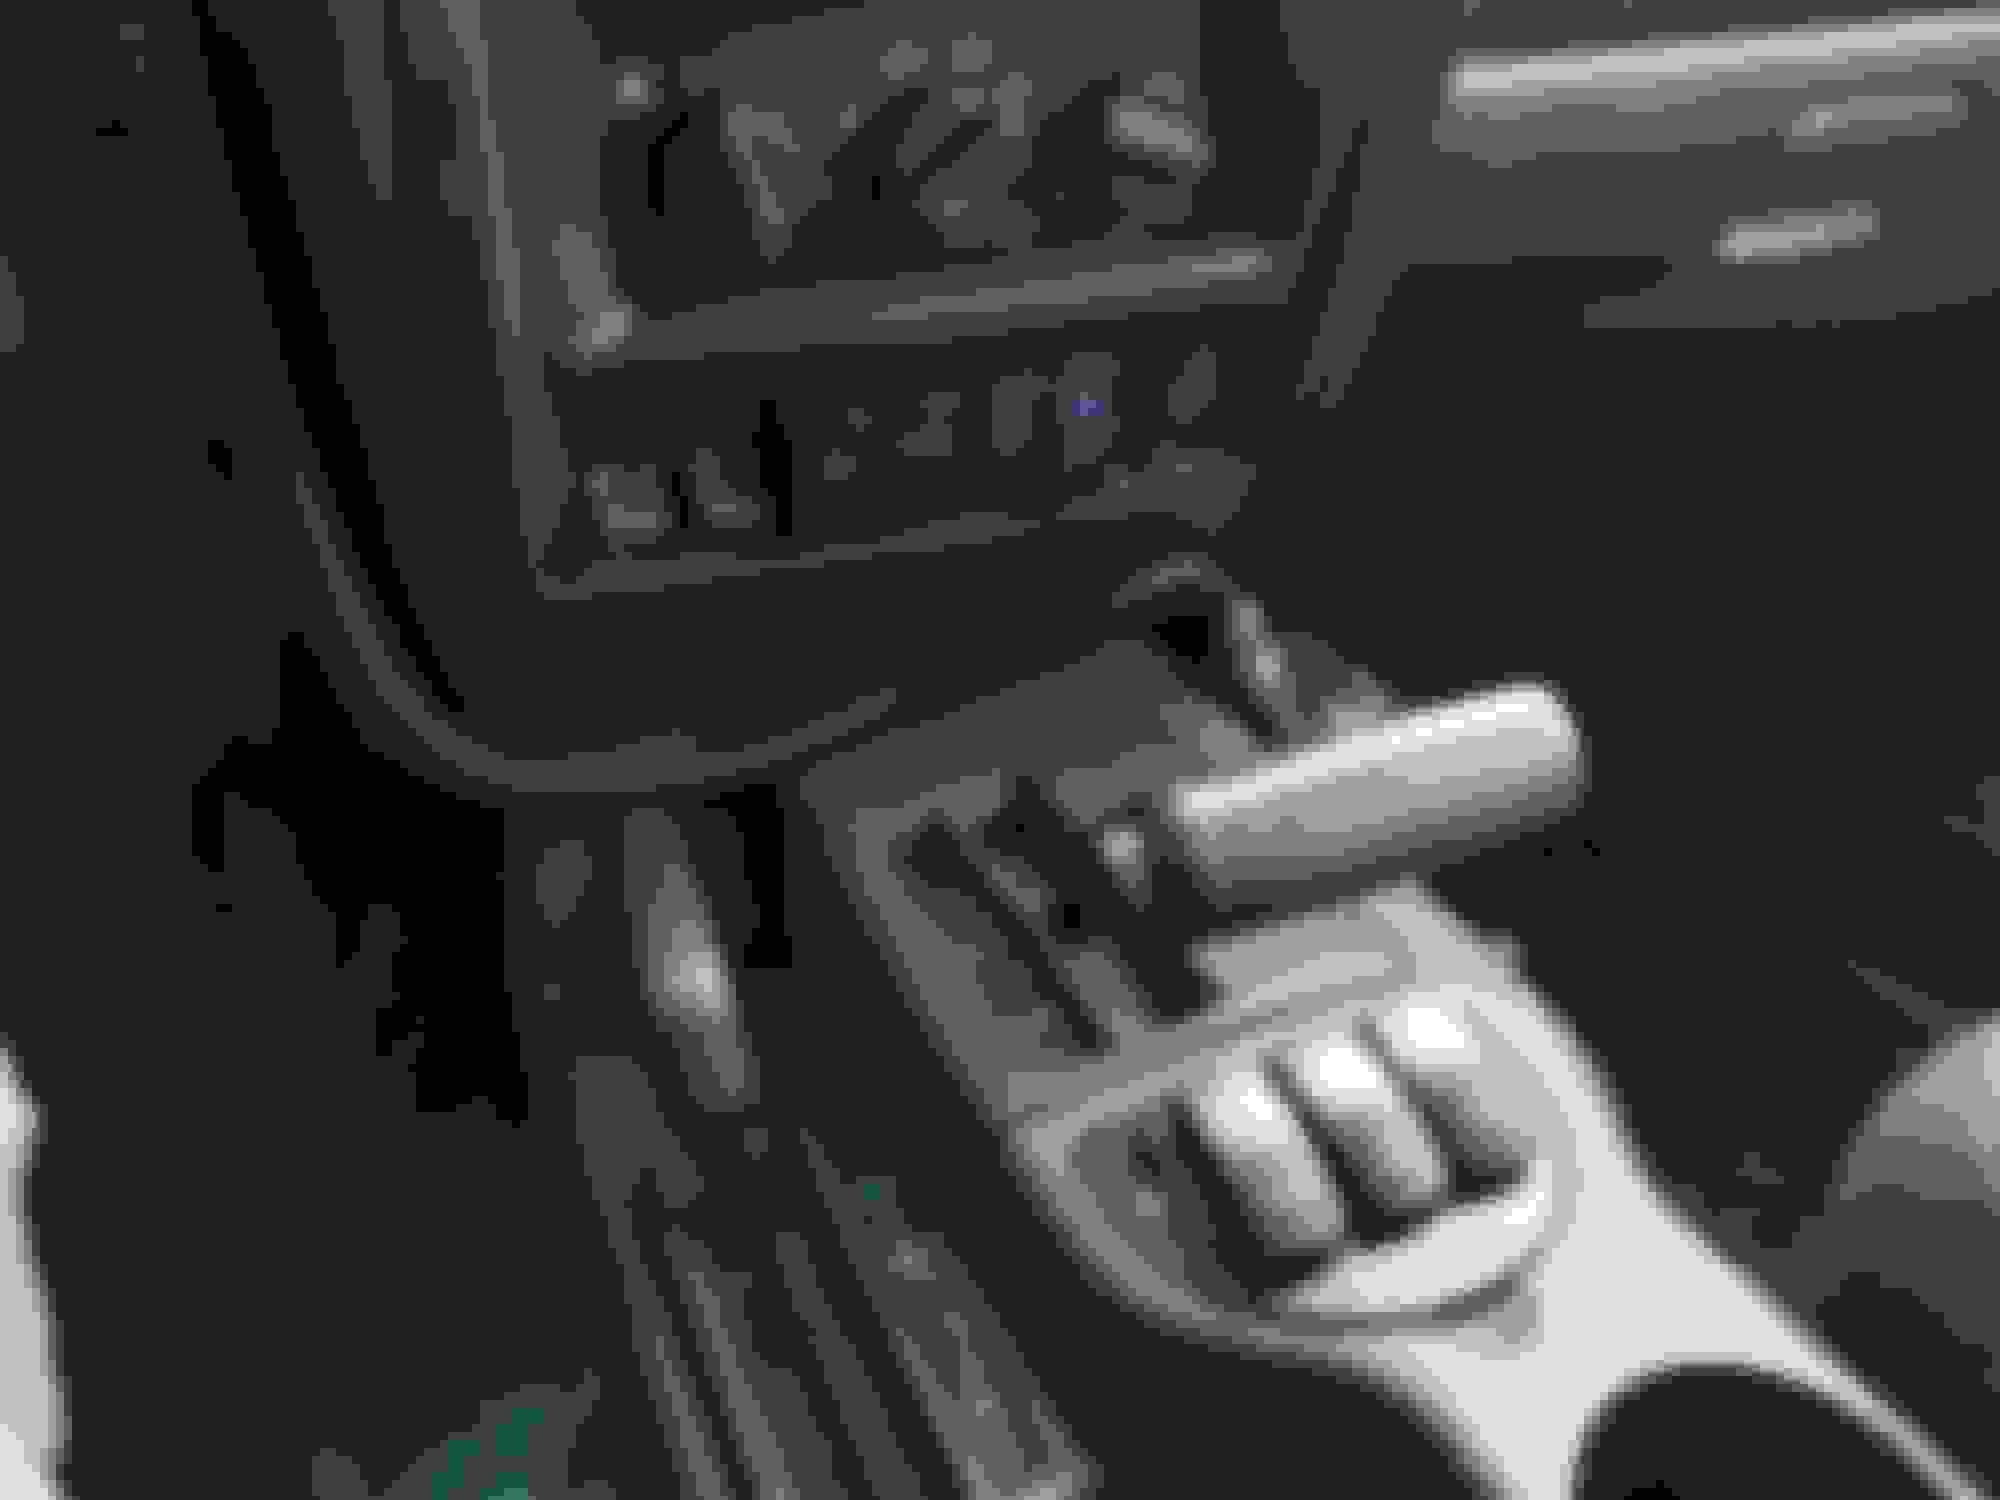
Now it was time for a project that I had been dreading, and putting off for over a year.......wiring. Of course no one really makes a sPod style kit for the XJ without some janky switch panel, so I decided to make my own. The idea was to wire up all of the accessories (small front light bar, rear bumper pods, rock lights, front locker, and efan override switch) as cleanly as possible, with all soldered and heat shrinked connections, and covered in braided wire loom. I ordered different colors of wire so I could use 1 color for each accessory, which would make troubleshooting down the road easier if need be. The switch panels came from @wizardpc ( xjswitchpanels.com ). The ARB style switches came from eBay, I chose these over others simply for fact that the descriptions on the switches light up with your dash lights so you can read them at night, and I found a same style dummy switch that is a dual USB port that puts out 3 amps of output for "fast charging" devices . I also ordered some blue led dash lights to match. The rock lights are nothing fancy just some "Eagle Eye" LEDS from Amazon, and I wired the rear bumper pods into the reverse lights so you can see behind the Jeep when backing up.
Last edited by JeepinXJallDay; Jul 19, 2019 at 09:03 PM.
Adams Driveshaft showed up! Probably one of the best companies I have ever done business with. Exceptional customer service, top notch quality, and really fast turn around time.
For once I didnt have any parts to install on the Jeep!
After driving the Jeep around for about a month, and double triple checking all of my angles and work that I've done. The Jeep was having some highway driving issues (above 70mph). And for me that wasn't going to work as I currently drive it to go wheeling and the closest place with rocks is 3.5 hours away each direction.
Ended up selling the beadlocks and 37s as a package deal, and went back down 35s for comfortably and drivability. I also ended up lowering the Jeep to around 4.5in of lift so the jeep looked more proportional height and width wise.
The tires are Cooper Discoverer STT Pros in a 315/70/17 and the wheels are Vision Nemesis 17x9s. I absolutely love these tires, and the wheels are sharp looking too. This change solved my handling issues, and with the 4.56s she cruises 85 mph smooth all day.
If you've made it this far, then THANK YOU!
I am sure some of you noticed that the wheels and tires changed more than whats mentioned in this thread, as well as the bumpers. Of course the Jeep still isn't "finished" but its really close. I'll try to update this thread as I make further progress.
Last edited by JeepinXJallDay; Jul 19, 2019 at 08:10 PM.
AWESOME! These recent JK44 builds really make my think about a possible swap down the road over D60s when I don't think I need them or want to run a LP44 waggy axle.