When you click on links to various merchants on this site and make a purchase, this can result in this site earning a commission. Affiliate programs and affiliations include, but are not limited to, the eBay Partner Network.
I have been on the forum a few weeks now, drooling over everyone else's Jeep builds, so i figured i'd throw mine in here too. Its a '92 xj 6.0l 4x4, I picked it up for 1500 in Daytona Beach, FL where it came already lifted, with the bumpers, roof rack, cb radio, bedlinen paint job, spare tire, easy door removal mod, and a lot of crappy wiring.
I picked it up during the day because the tail lights and brake lights weren't working, I replaced the tail light fuse with a new one and its been working ever since. For the brake lights I ended up using a relay to reverse the polarity to the bulbs and now they work just fine. The wife and I took it onto the beach for a few minutes just for some quick fun, and then I ripped the poorly installed headliner that would rest on my head as i drove. PO used some kind of foam board with black headliner material, but it was poorly duct taped in place on the roof. I finally drove it home and notice that the steering wheel felt very loose and a bit all over the place. Nonetheless, I made it the hour and a half home to Downtown Orlando with no issues.
That night i started ripping out all of the crappy wiring jobs, which included the 6x9 pioneer speakers that were zip tied in place in the rear cargo area, the 6.5" infinity coaxial speakers that were missing the tweeters and were wired from the front using the wires that would normally go to the built in tweeters. I removed the rear defrost wires because they had fully snapped off the window, and we really don't use it in Central Florida. I then electrical taped as much factory wiring as I could find to help it look a lot cleaner.
Day 2 was removing the center console, running the 14" light bar, fixing the turn signal housings, removing some dents in the front fenders, checking and replacing fuses, running the 3rd brake light, cleaning up my brake light wiring, and cleaning up the cb radio install.
That evening i decided to take it 9mi to my in-laws house to show it off. On the way there it starts to overheat, about 2/3 of the way there i can finally pull into a CVS and buy some distilled water. Its at this point of letting the engine cool that I find the belt has completely slipped off, but remained intact. Throw the belt in the front seat, fill up as much water as I could and set off. The return home was a combination of shutting the car off at traffic lights, and using highway speeds to try to help cool the engine off. I was about halfway home when it dawned on me that that singular belt runs not only the cooling fans, but the alt, water pump, and a/c. I just barely managed to make it home without having it shut off on me, and let it sit until day 3.
Day 3 was spent picking up a Haynes manual (which is like a gift from the Car Gods), finding out that the bolt head holding the power steering pump was snapped, and that the lower tensioner bolt seemed very loose (see below pics). I re-ran the serpentine belt, managed to rig a nut onto the bolt for the power steering pump, and tightened the tensioner bolt. Turned the jeep on and all was dandy........or so i thought. It was still running quite a bit hot.
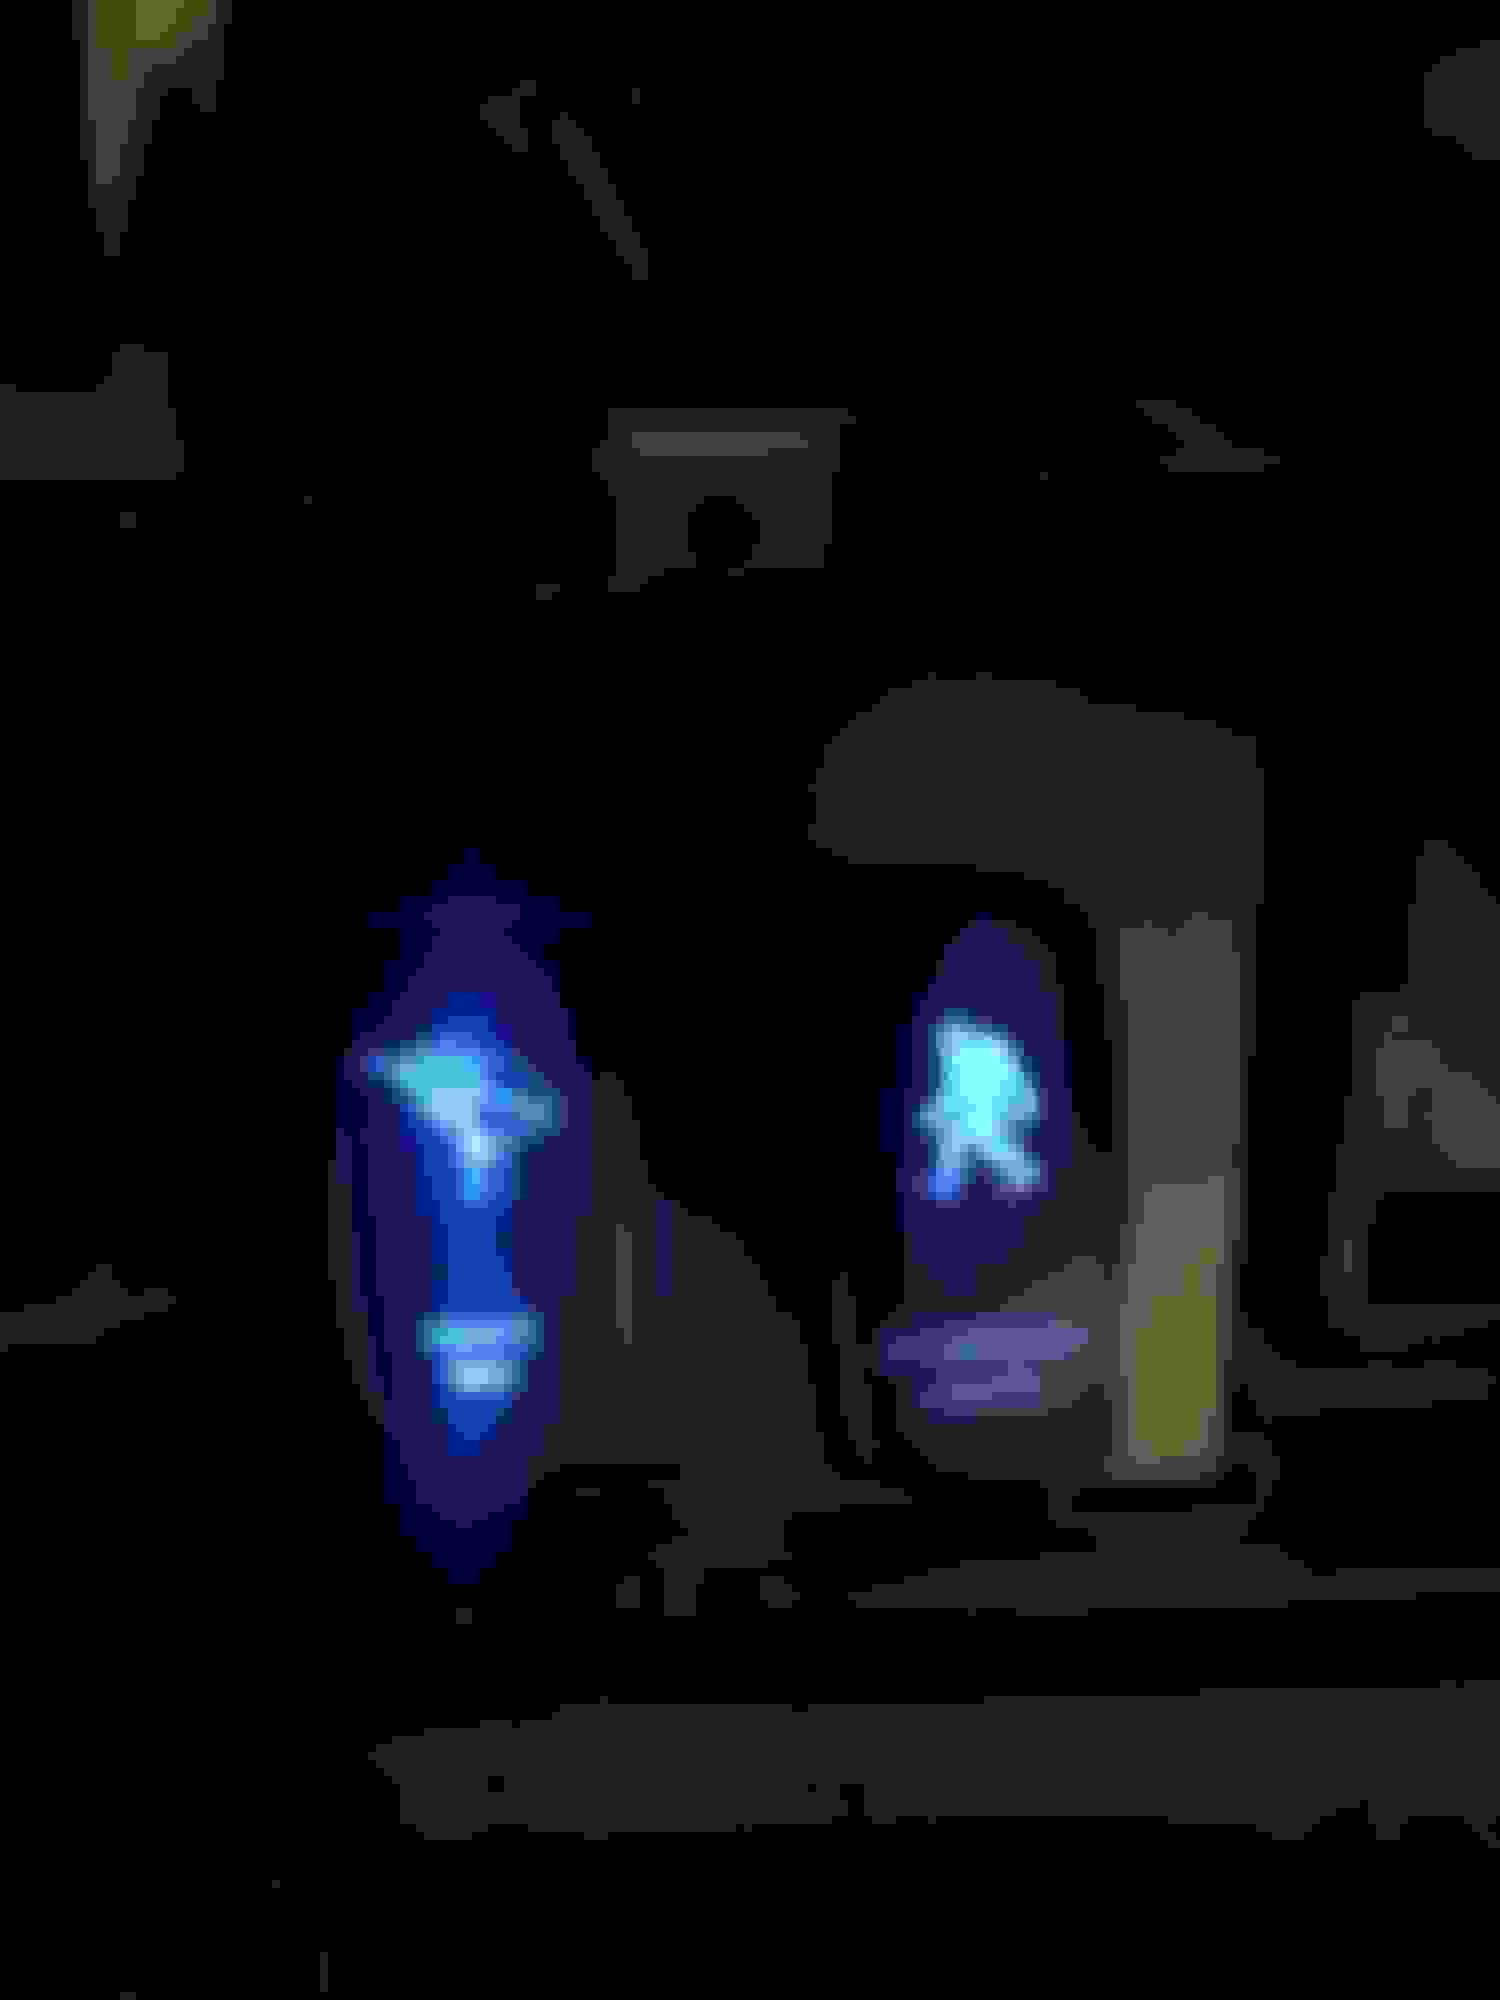
Day 4, after some reading and determining, i figured that out of the 12.5qts of coolant, it was probably a bit low. So i got 2 huge bottles from the auto parts store and filled her up and then burped the system. All seemed pretty well, temperature seemed to be holding pretty decently, got to drive it around the neighborhood and didn't see it overheat. I went inside feeling pretty accomplished. Sweet, time to order some parts. I started with the Sasquatch Lights switch, a 50" 288w curved LED light bar, and the jeep mounts for it.
Day 5, which was actually a few days later, time to install the top light bar. Pretty simple and straightforward. Everything pretty much bolted right up and wired in nicely to the switch. I used the illumination wire for the bulb at the rear defrost button so that the light bars will only come on with the parking lights on. I will be adding some relays to help with amperage.
I went to check under the hood for any leaks aaaaaaand I found one *forehead meets palm*. There was a small drip coming from the thermostat housing. Great. Next paycheck and it was time to order the thermostat housing, felpro gasket, fail safe 195* thermostat, side view mirrors, rear light and spot light switch, and a 4 piece 45w 4" LED light cube set.
(See below pics for the fun of the t-stat) New parts came in, finally waited for my days off (i'm off every wednesday and thursday). Started with draining a little bit of coolant, removed both upper hoses from the thermostat housing, the top bolt, the bottom bo-oh, theres no bolt there. Thats rather curious, probably why its leaking slowly from the bottom of the housing. I managed to get the side view mirrors installed, rear lights mounted, and thermostat housing removed. I carefully chipped off all of the corroded gasket, and removed the old thermostat. Got the new thermostat, gasket and housing semi installed, and attempted to remove the coolant temp sensor aaaaaaand its seized. Off to the auto parts store and the hardware store to get some bolts and a new sensor. I came home with a new bolt that would fit correctly in the power steering pump location, and one that i figured should fit into the lower location on the t-stat housing. I test fit it prior to having the housing back in place and it seemed like it would work. Except it didn't. when the housing would get put back in, the bolt never seemed to really catch and tighten into place. By this time it was too late to get a replacement, it'll have to wait until the morning.
In the morning i managed to grab some new bolts of various length thinking maybe that was the problem. Nope. No matter what length i used it never seemed to truly catch, and never seemed to really bottom out, it would just keep spinning.
This is pretty much where i'm sitting now, this week i'm going to try a self tapping bolt and then wire in the front and rear spot lights, as well as the switch and relays for them.
This is the picture used to advertise the Jeep when I purchased it.
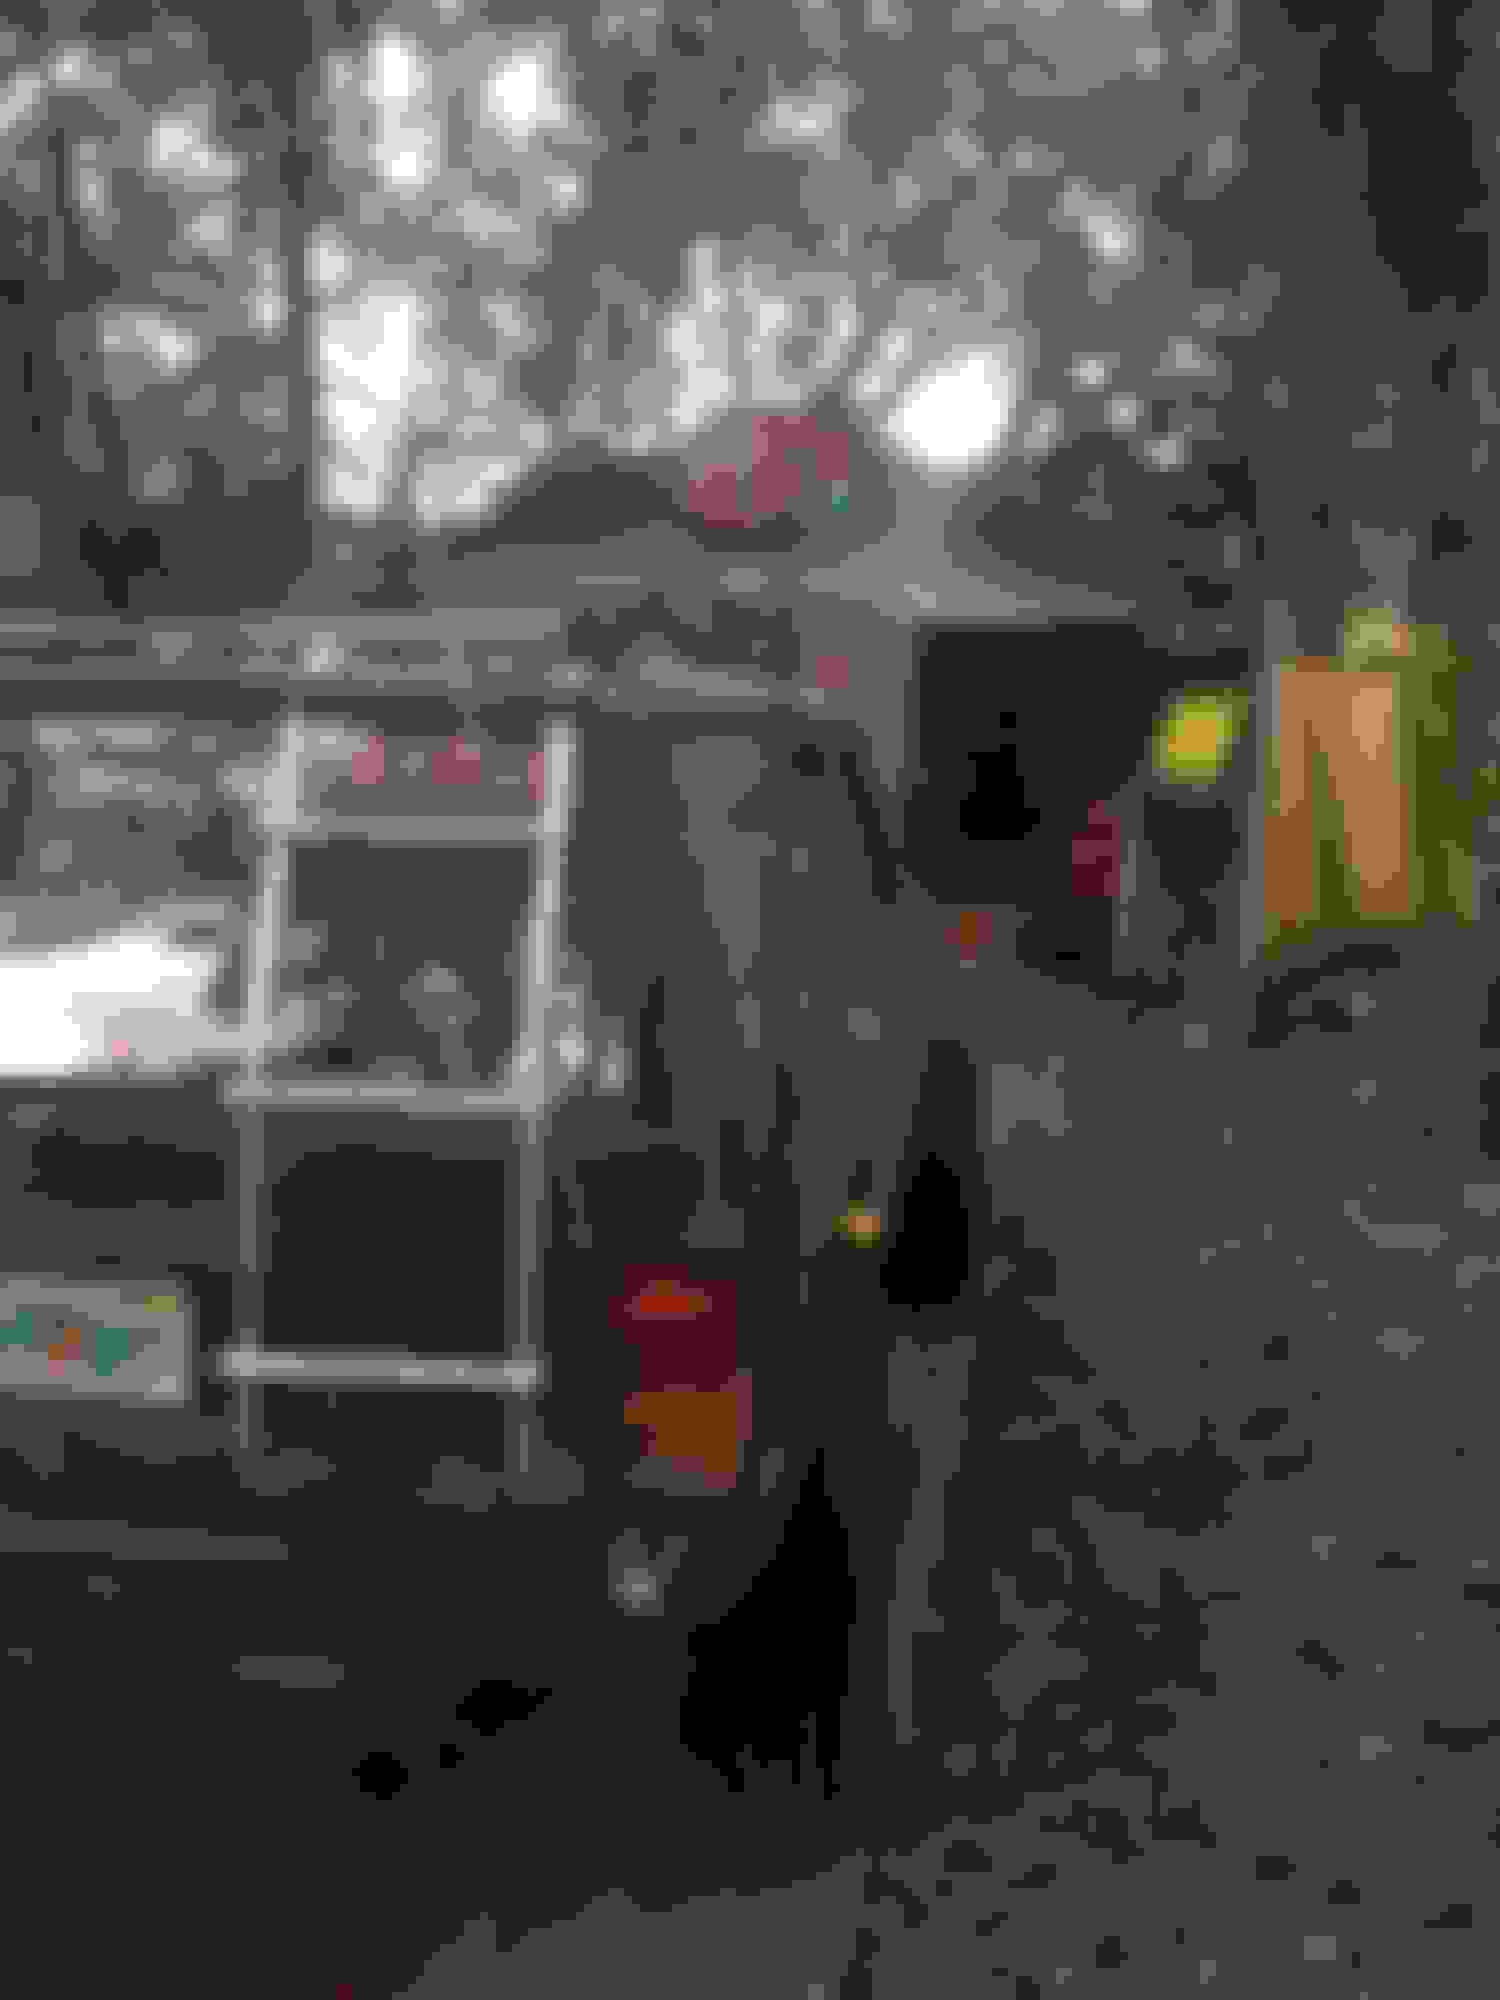
Nice pic of all 4 doors off
First switch added (I removed the heated rear window switch, pulled off the plastic labeling, and used 1/8" black abs plastic to cover it, then cut out the slot for the switch..It fits perfectly)
-Switch the OE hood light from the bulb to a white led strip<br/>-14" 75w LED bar under the bumper<br/>-Blacked out turn signal housings (the OE housings were terribly cracked so I used black tinted play to make my own covers)
Custom 3rd Brake Light and Sound Dampen the rear door because the cover trim was missing and I didn't want the wires showing
Added a ladder from a Ford Econoline camper van, shortened and test fit. Will weld it together when I get my welder
Second switch was added, better pic of the trim cover used
Upgraded Ground to 4awg OFC cable, and upgraded the cable to the PDC
Yes that unpleasant site under the vehicle is a small pool of coolant, we'll get there in a minute
Vehicle came with only the driver side mirror, which was cracked and barely hanging on, so I used golf cart mirrors and mounted them just next to the hood vents so when I take the doors off they will remain. I can also fold them flat when off roading. Will probably build small mounts for them to bring them out just a hair
I got tired of poor drivers so I figured i'd add some 45w 4" Rear lights to the bumper
Relocated the CB antenna, looped it up and zip tied it to the roof rack
This is a picture of the bolt thats supposed to hold the top of the power steering pump in place, and a nut that I used to help as temporary fix until i could go to ACE hardware and get some new bolts
This is where it was located
I was getting a slow drip from the thermostat housing region so I decided it'd be a good idea to change it, especially looking like this
Old t-stat housing versus new t-stat housing
Housing removed, all the corrosion built up around the old gasket and thermostat
Of course the Coolant Temp Sensor would remain seized in place
Future plans are to install the following:
-Smittybuilt xj XRC bumper w/stinger (will sell the current one)
-Relocate CB radio to the ceiling
-install a fire extinguisher mount under the rear seats
-I plan on building the storage from the center console into a mini cooler with a drain
-A nicer and more legit tie down for the spare battery on the roof rack
-I need to close the gaps in the sheet metal in the rear wheel wells
-Upgrade all 4 door lock actuators
-New return hose for the power steering (looks like there might be a leak)
-Sound dampen the roof using black material
-Weld some custom rear quarter panel armor
-New rear bumper (haven't decided which one)
-Front winch
-Bed liner the whole interior floor after its been thoroughly scrubbed clean.
-Hi-lift jack
This is not going to be the fastest of builds, but i hope to keep a steady pace on updates with pictures as well as modifications. I will upload some pictures of the lighting once its all installed this week. Should have an estimated 450w of LED light bars shining forward in a combination of spot and flood lighting.
I should be getting a welder for xmas as well as some other parts.
There are some decals that I added to the rear too, the first is a sasquatch silhouette and it says snuggle monster, the next says don't follow me you won't make it, next is the cutout of the word problem and its upside down, followed by some various other jeep decals that the PO added. I have my own vinyl cutter so I will be more than likely adding more as well as able to make some if people are interested.
Over the past week I managed to make it to ACE hardware and pick up some new bolts, and one screw that did not have the fine thread like the bolts did, just in case it was weird.
I was still having issues with reaching the back of the opening, so I used my phone and confirmed what I was afraid of but already knew. There was the stem of a bolt broken off in there. I ran out and "rented" a right angle drill from harbor freight so that I could attempt to extract the screw.
As expected it did not go smoothly. I would start with the drill bit and do a little bit and then check the depth of what I drilled, then I'd attempt to extract it. It was a lot of back and forth with little to no result. I switched to a slightly larger drill bit to attempt to drill out more of the surface area of the stem in hopes that I could just kind of use a pick tool to bend the front of it and slowly twist it out. This too didn't really work and I got to the point of being concerned with how deep I was actually going.
What i'll probably end up doing is removing the grill, radiator and cooling fan to attempt a straight in approach for removing this. This will also give me a direct view of what I'm dealing with.
On a positive note though I should definitely be getting some new toys and parts for xmas. My list includes: a new welder, rear quarter panel armor, a jerry can with mount, a snorkel kit, and a galleon of Herculiner to do the floors of interior so that it actually looks clean inside. I am missing a bunch of the plastic trim inside, sop what i'll probably do is weld in some plates in the rear to cover the empty gaps that are there now (they can be seen in the pic of the 3rd brake light)