When you click on links to various merchants on this site and make a purchase, this can result in this site earning a commission. Affiliate programs and affiliations include, but are not limited to, the eBay Partner Network.
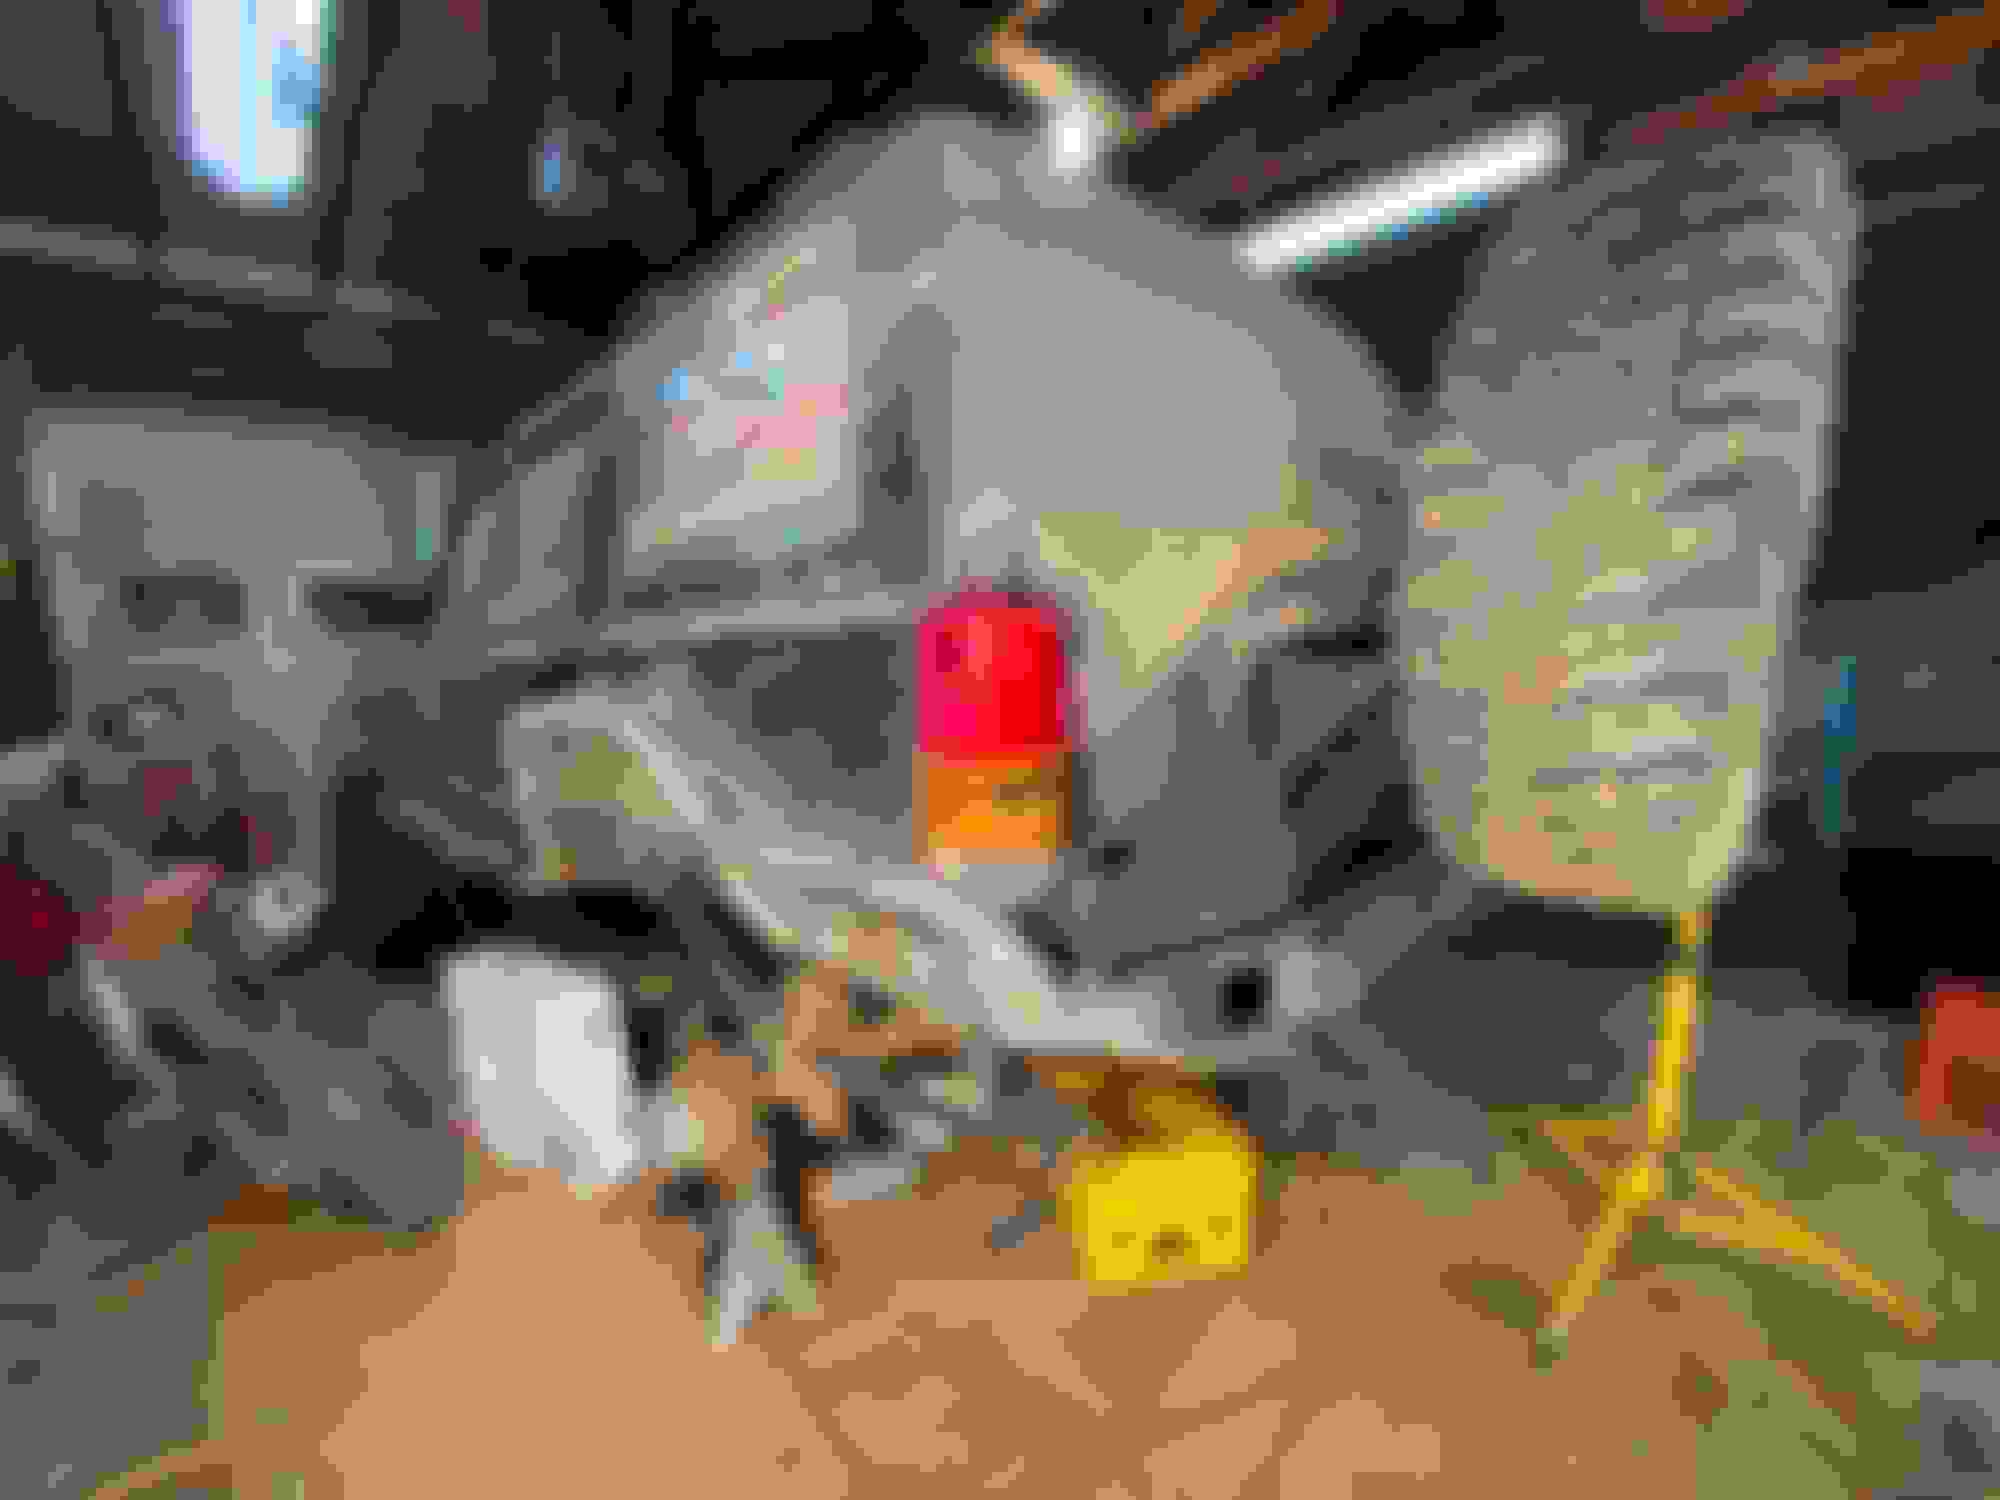
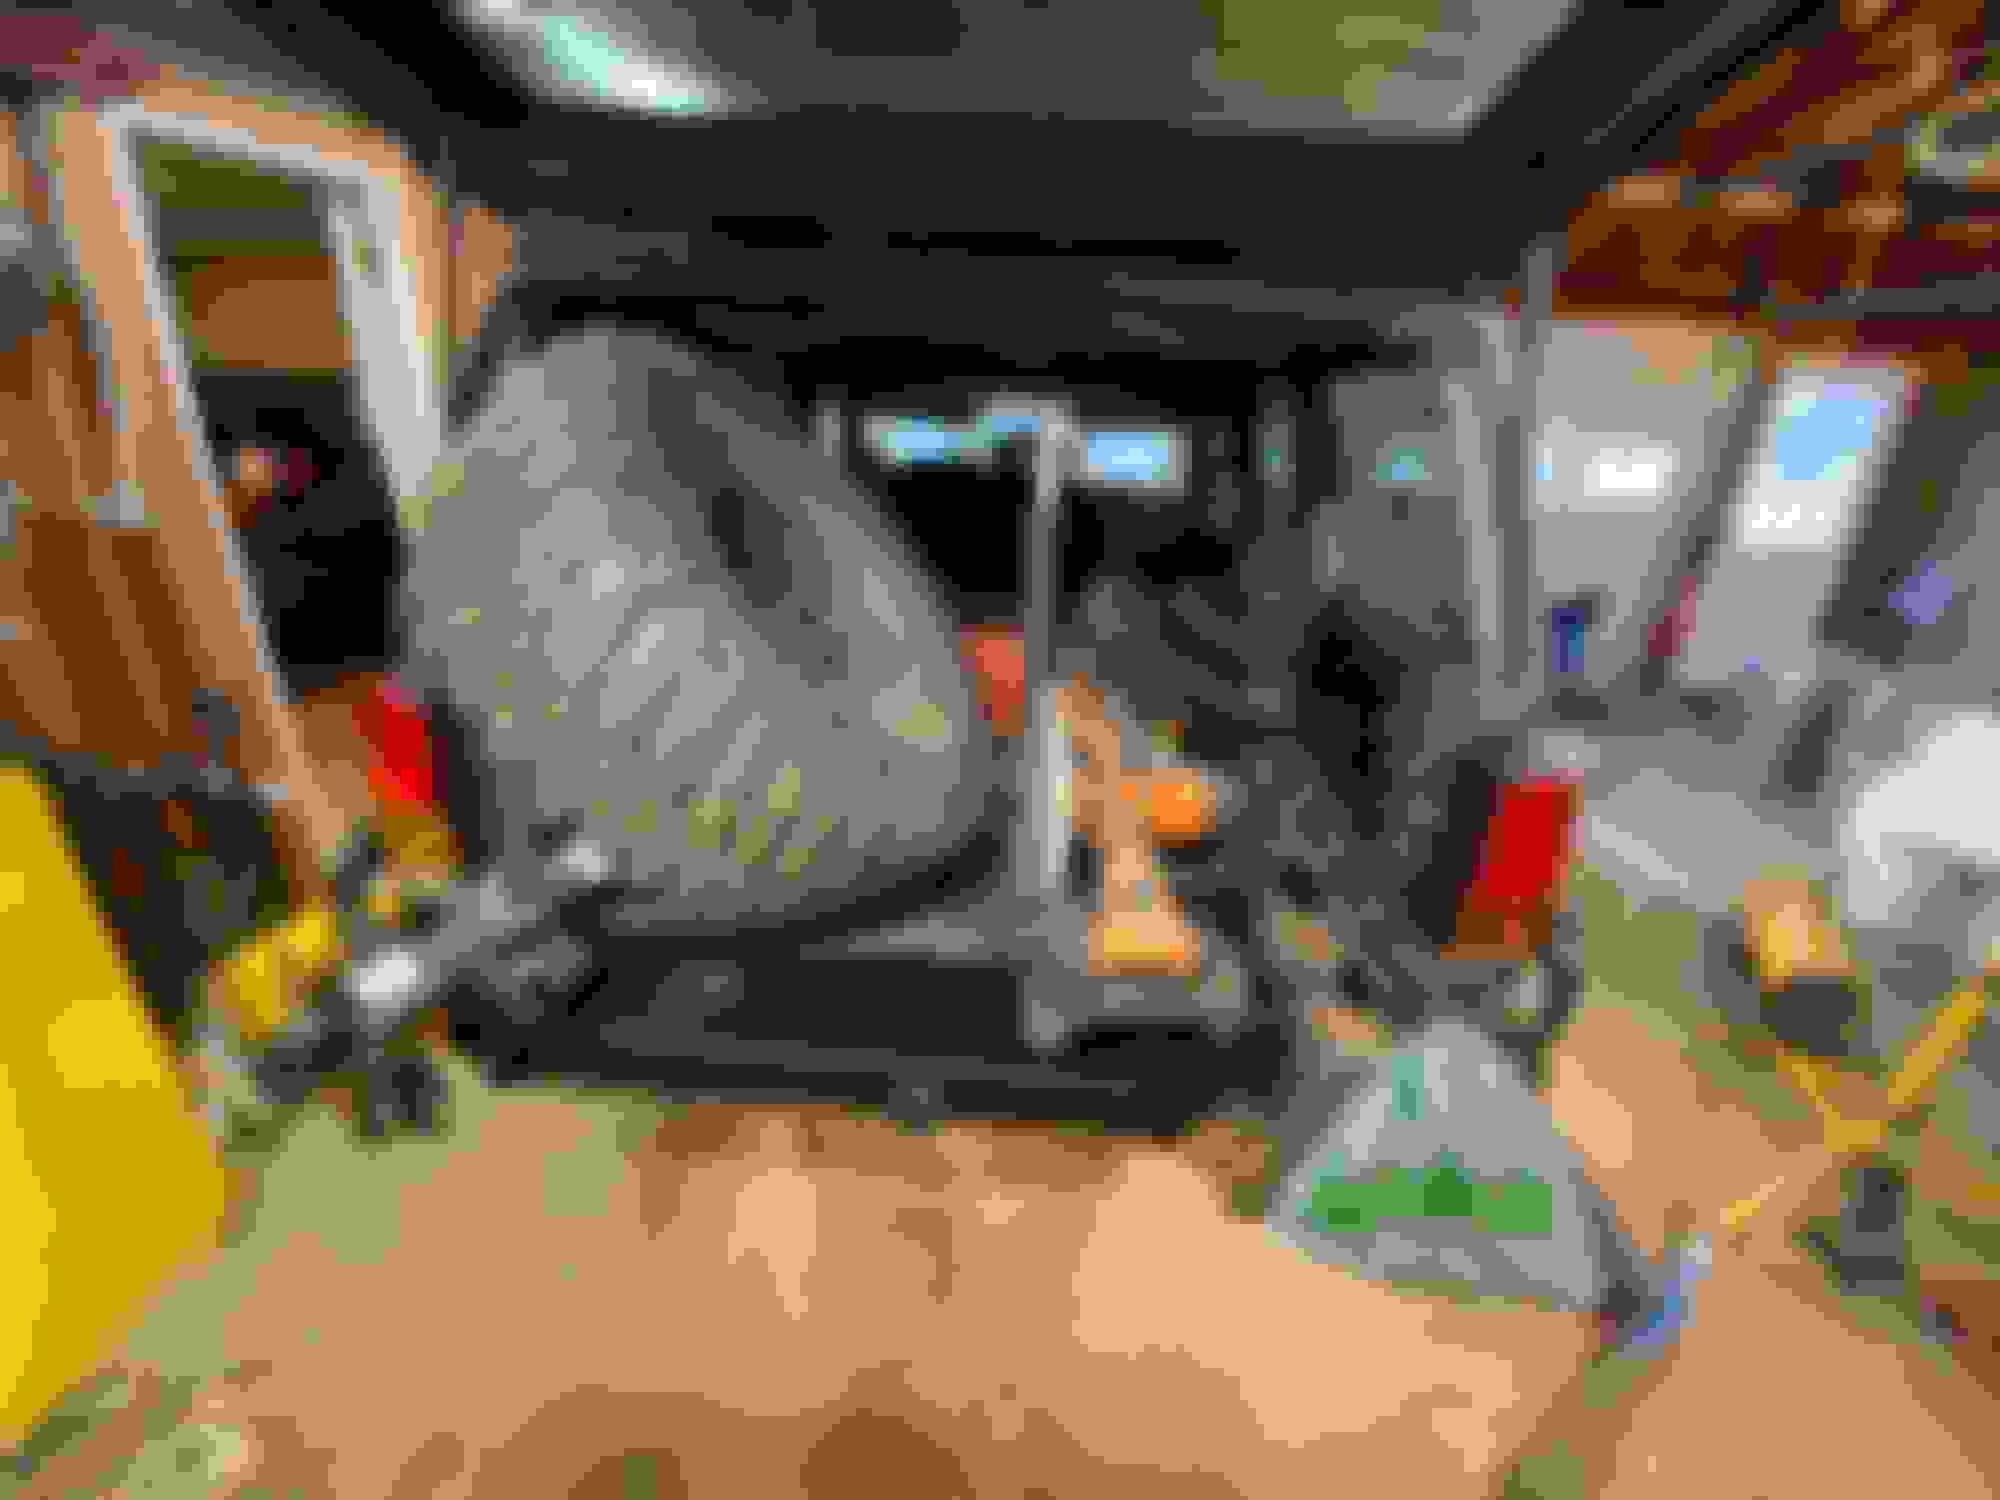
I'm happy to say that I am over the hump on this project. Now I just need to check off the other 100 line-items on the list to get the Jeep out of the garage.
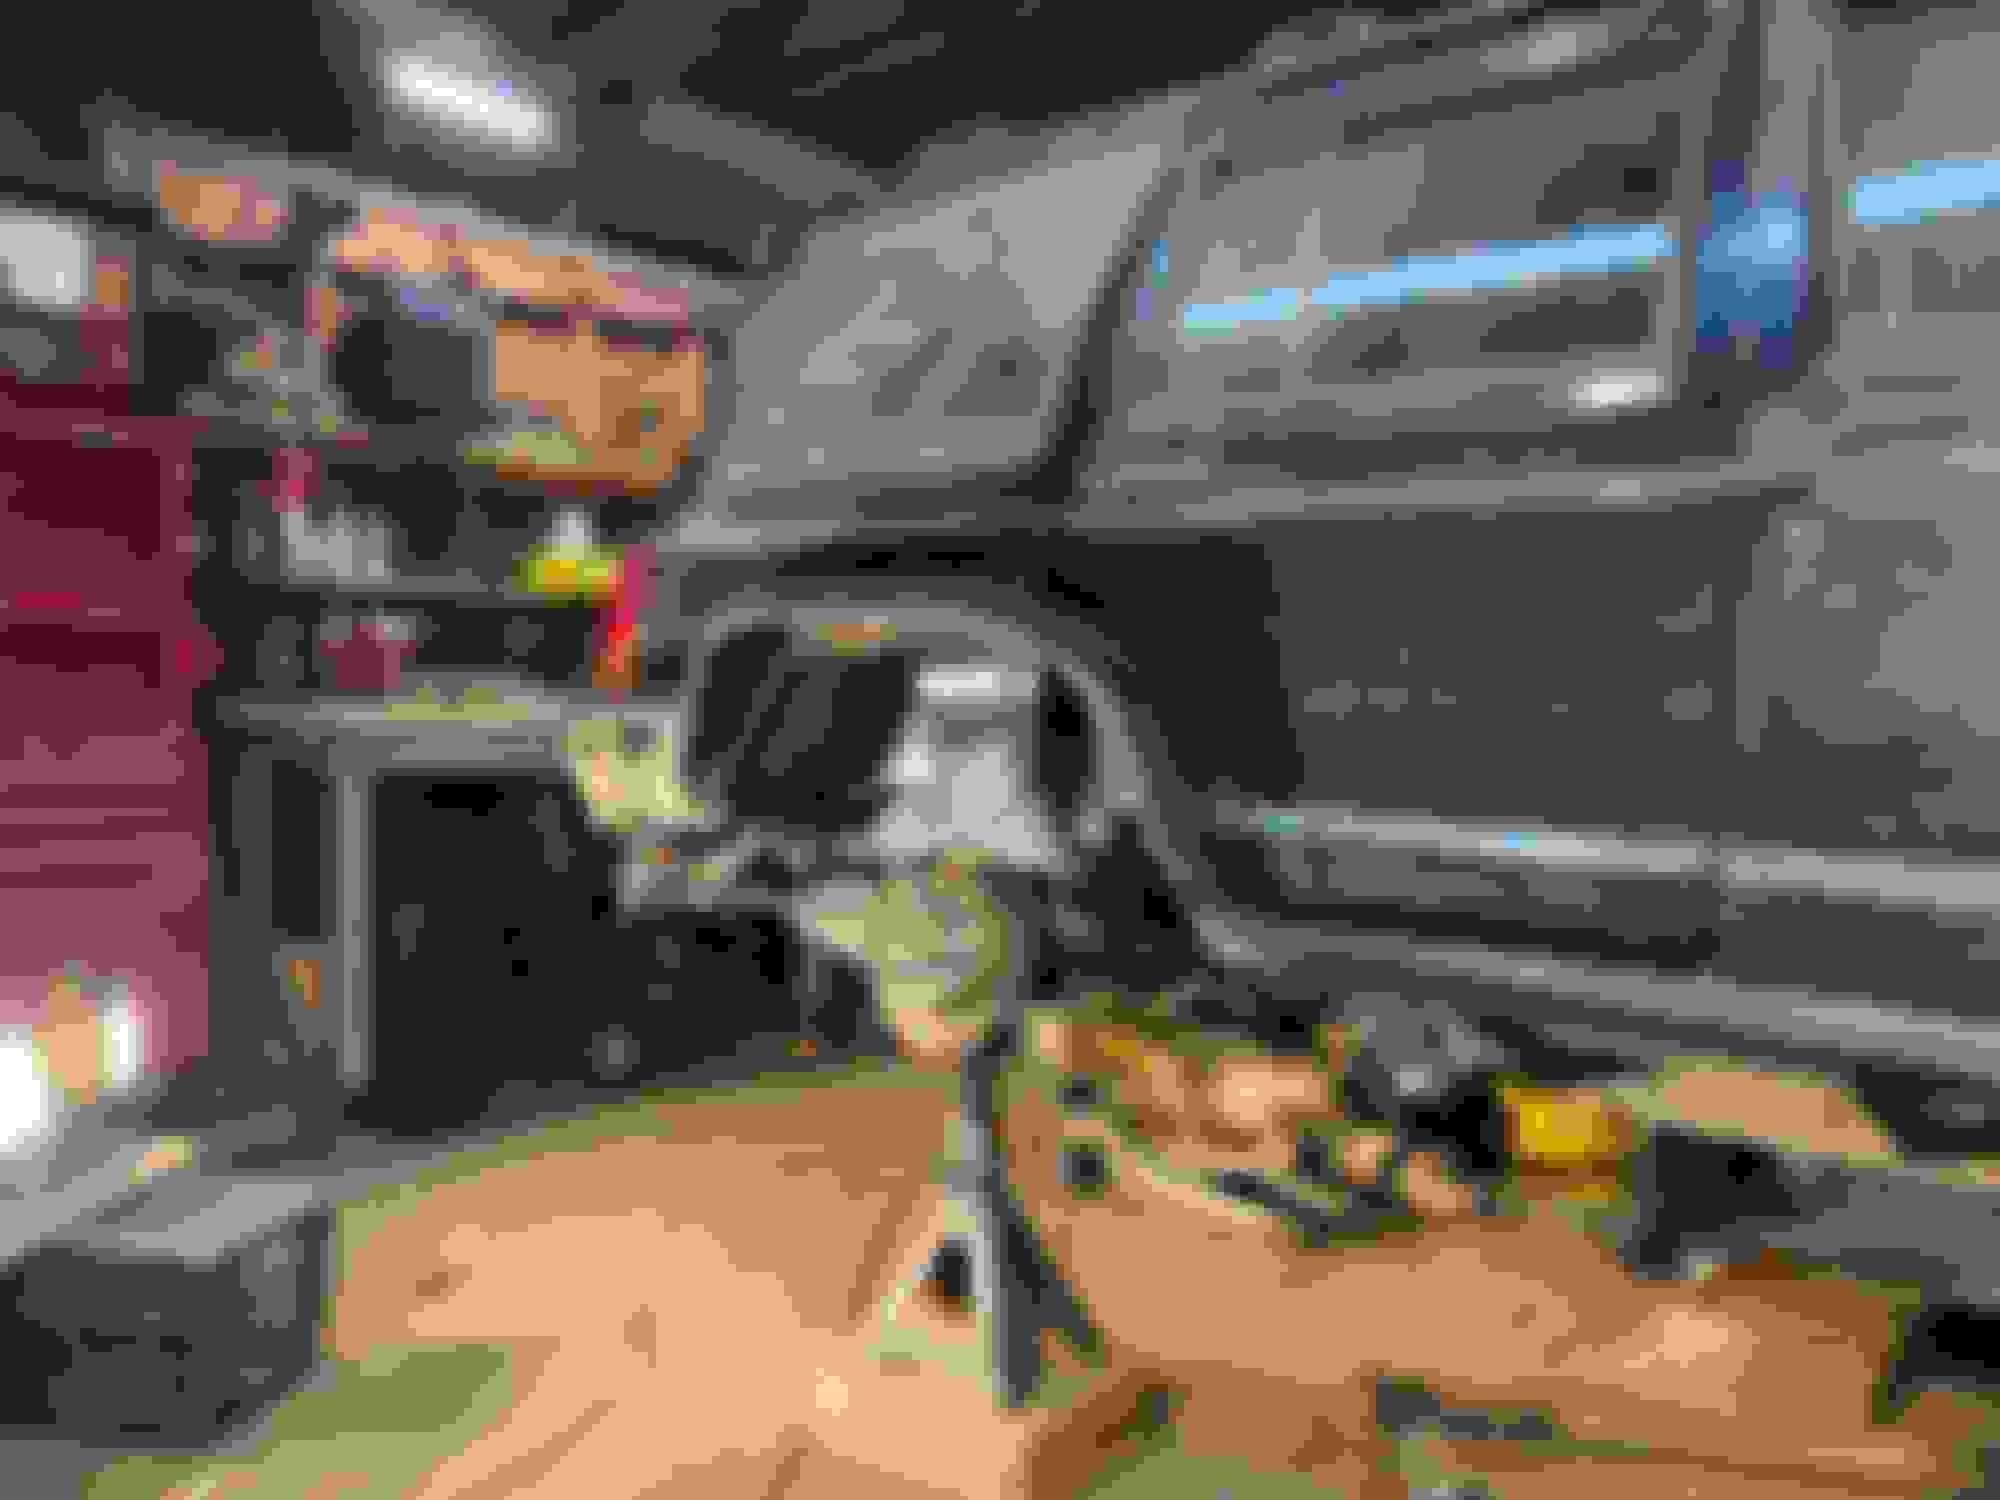
I skinned over the flares with some thinner gauge material. I had a hard time deciding if I wanted to make the middle section flat so I could set tools and beer non-alcoholic beverages on them, or angled down to match the braces. I ultimately decided angled because they hide most of the wavyness in the fender from welding. I also cut the quarter panel sliders in half and added flanges so I can remove the bumper, as well as adding additional vertical supports to tie the sliders into the lower quarter panels.
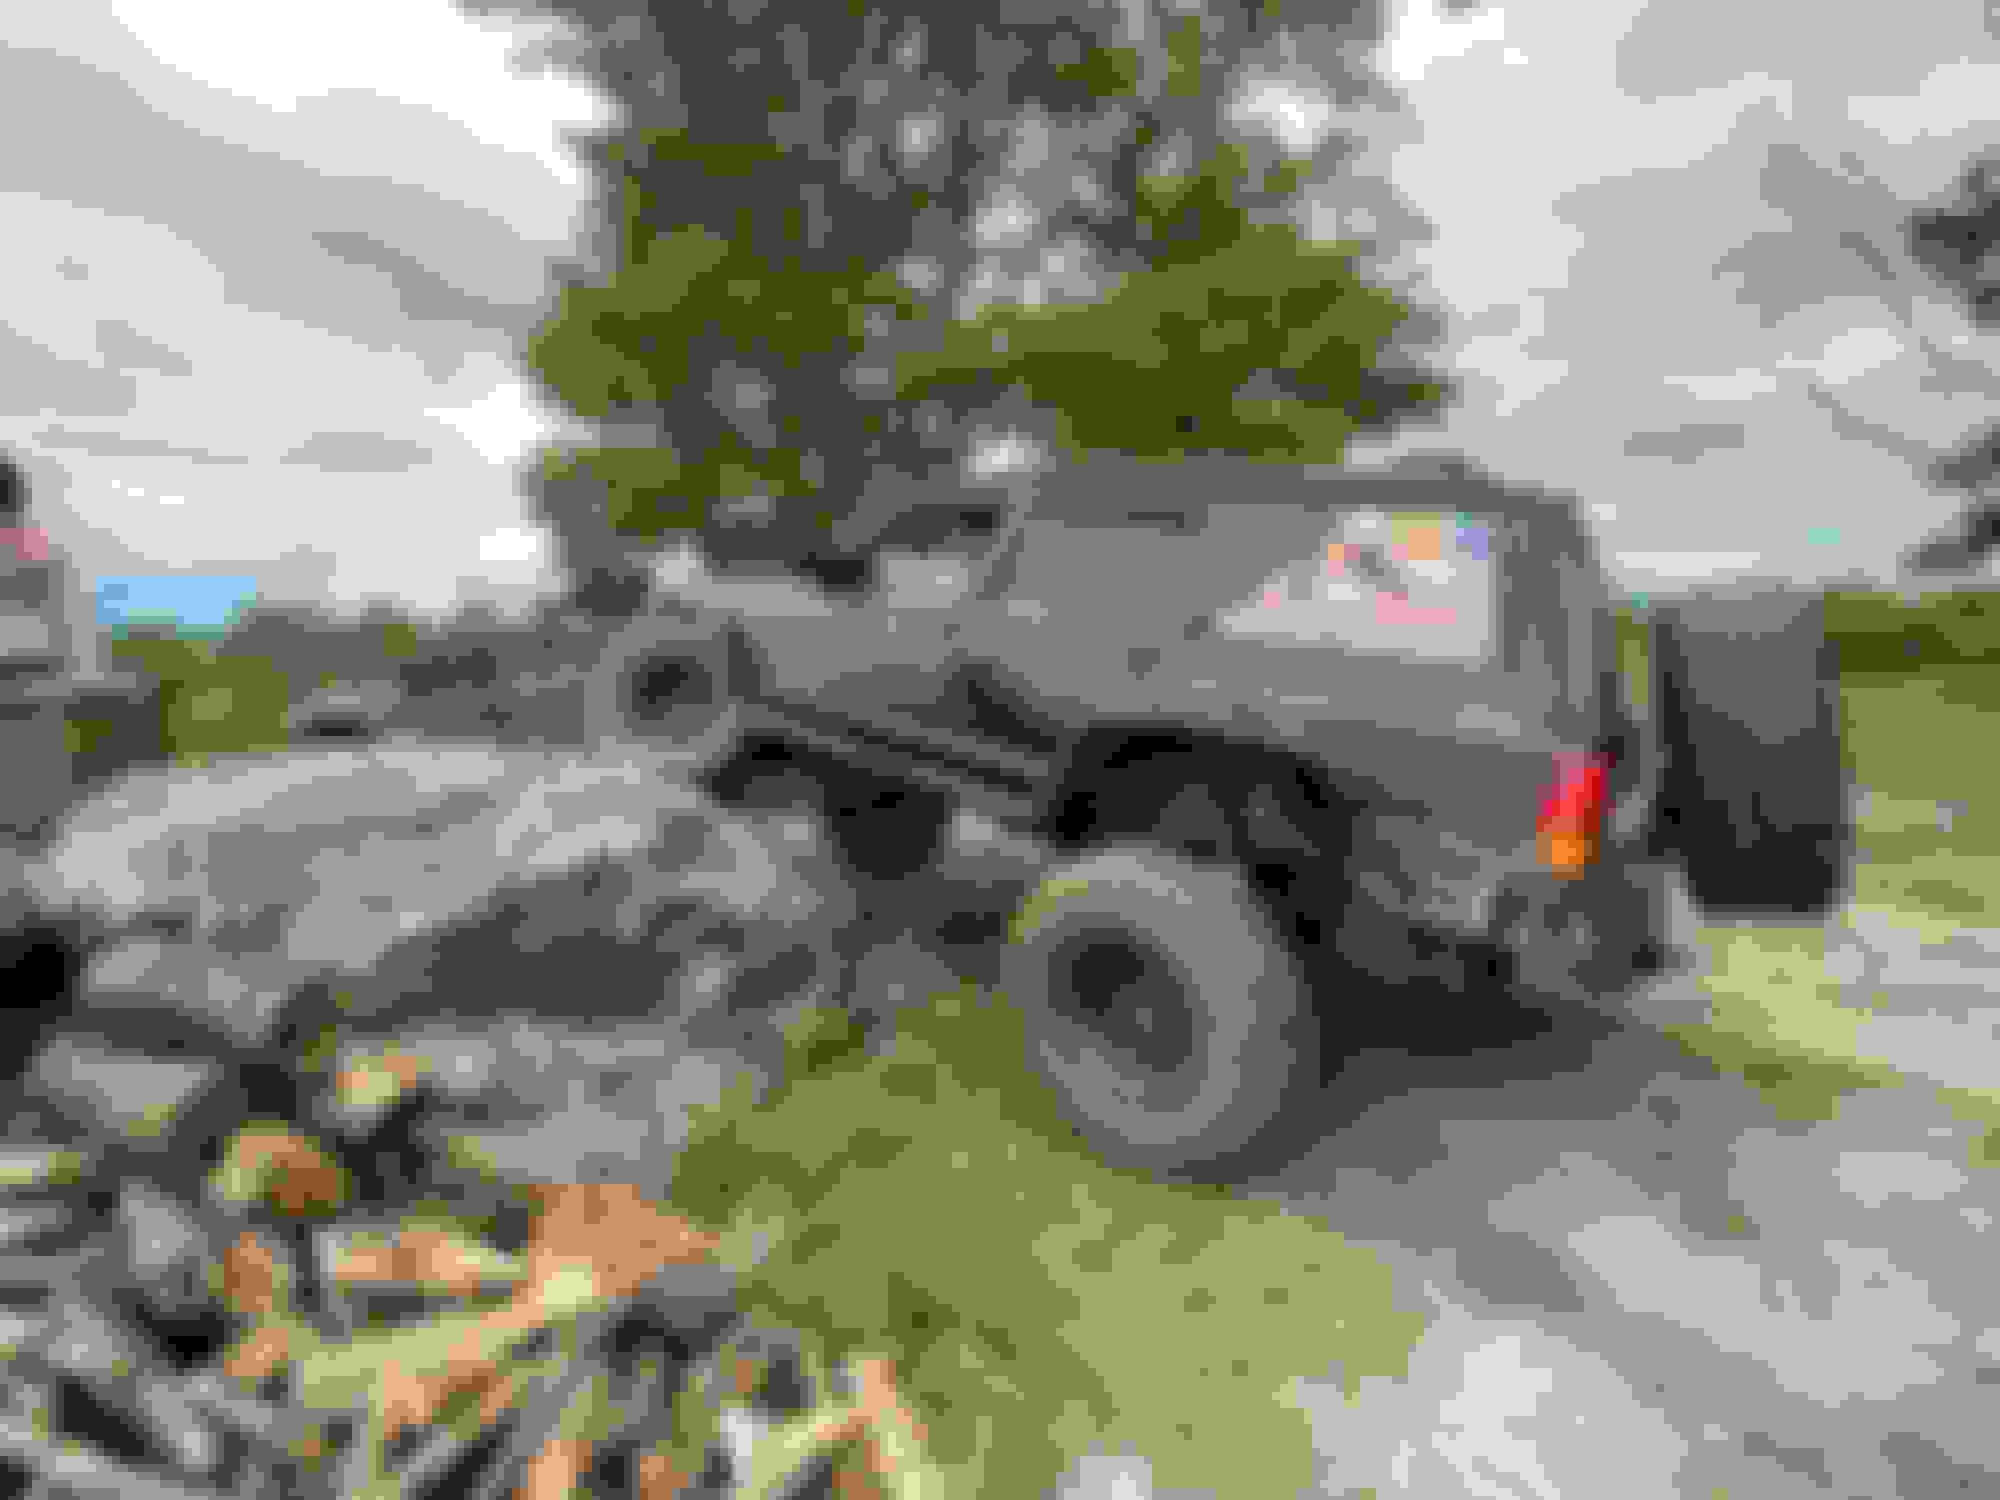
From there, the last thing I wanted to do was to angle my spare tire to match the angle of the rear window and get it sucked in as close to the body as I could. Thought I would just be able to angle the tire, but this was the result from just angling with it adjusted all the way in.
Didn't like that at all, so I modified it more to bring it in another few inches. Its not quite as tight as I wanted it, but its pretty darn good. I could pull some strings and cheat another inch or so out of it, but I like it.
And that was that! Fab work for this project is done. Just need to get some paint on all of this. Its exactly how I envision it. Its beautiful. Can't wait to smash it on rocks.
In other news, I no longer have a hole in my roof!
This didn't turn out wonderful. We'll see how it looks all said an done. Hopefully its hard to notice with it being on the roof. I'm concerned that from grinding and welding on the panel it took on some concavity that could potentially hold water. I need to weld in one of the OEM support braces underneath this panel, so I'm hoping I'll be able to jack this back to its intended shape and weld the support in underneath it. We'll see. My gears are turning about some other things I could do with the roof, so this might not be 100% permanent
I noticed you posted on facebook in some cherokee group. I commented about how you'll love those shackles. keep it going! That looks great and i'm jealous of your welding to the sheet metal
Been cranking away at this thing. Trying to keep the updates more densely packed.
I hit a bit of a roadblock after the last update because the next step I needed to complete was paint, but it was still very cold. I really needed to paint above the gas tank so I could install the tank, skid, and shackle brackets. I was less concerned about the paint in this area because it is not visible, it just needed to stick enough for rust protection. I ended up buying a couple infrared heaters and painting this all in a day where I could maintain the garage temperature around 50 degrees for most of the day.
Got to installing my ZJ gas tank after that. Funny enough, a failing fuel pump was the catalyst to most of this project. It all started with "well, since I'm already dropping the tank..." Scope creep is real.
The ZJ tank is 23 gallons vs the XJ's 20. Not much bigger, but fits with no mods. A welcome addition.
Did some more painting and seam sealing. Also welded in the roof brace that was removed for the sunroof.
Man, I hate paint prep. A lot of hours into sanding and cleaning everything. Always a welcomed step to get through. I did some of the less-critical spots with brush-on paint that I had laying around, and the exterior spots with spray. The paint came out pretty good.
And the list got shorter!
I put my suspension back together with the full leaf packs to see where the ride height would sit. This was with Iron Rock Offroad's 3.5" springs, which I am very happy and impressed with. The springs are very soft and flexy, which ended up not being great for my set up.
I loaded everything heavy I own (~500 lb) into the back of the Jeep to simulate a full tank of gas, spare tire, and gear.
With my shackles at their shortest position and mounted in the position I want to use on the relocation brackets, I was sitting at about 2" of lift. A bit low compared to where I wanted to be.
My shackle angle was quite a bit more shallow than I wanted as well. It was sitting around 45 degrees. Earlier in this thread I mentioned I want to keep the shackle a bit more vertical to reduce jacking forces. The rig will handle the best with the shackles at a 90 degree angle (perpendicular to the springs), but this limits droop travel. I feel the best compromise is somewhere between the two in the ballpark of ~65-70 degrees.
To compensate for the lack of lift via the springs, I moved both the position of the shackle in the hangers and also the leaf spring in the shackle. This brought me to about 3.5" of lift and a shackle angle of about 55 degrees.
This was looking better. I still had very limited up travel until I hit the bump stops. Regardless, at this point everything was back together enough for me to get the Jeep out of the garage for the first time in about a year and half! Talk about a boost in energy to finish the project.
Sitting on a block of wood, no rear shocks, and open cat, I bombed it around my field a bit even though I said I wasn't going to get it muddy. oops, LOL. It felt great.
When I decided on the placement of the tube flares, I did everything under the assumption that I would be stretching the axle back ~1" from the factory position, thinking that when I swap a rear axle in I will use the 1" stretch hole on the RuffStuff leaf perches. At this time, I had the current 8.25 axle setup at the factory position. I had intended to leave it there, but it looked funny, so I made the decision to drill the leaf perches for a 1.5" stretch by drilling the existing holes on the leaf perches out to the correct size.
Had to "mill" my new u-bolt plates to oblong the hole to work with a 1.5" stretch rather than a 1". I bought new plates because my old ones were bent pretty bad either from over-torqueing my u-bolts or from using my bump stops mounted on them.
From here, I tore my leaf springs back down to the main leaves so I could measure for shock and driveshaft lengths, as well as get my bump stops tuned in. I lifted the entire weight of the Jeep from the rear axle, then put a jack stand under one side of the axle, allowing the full weight of the rig to compress the bump stop and push the opposite side down. I got some pretty crazy flex out of this. I measured about 13" of shock travel.
After seeing how far the spring inverted at full stuff, I contacted IRO to ask them what is acceptable/unacceptable for travel. They told me that going negative is okay, but I still felt as if I wanted to use the upper hole on my shackle hangers rather than the current one. Also, IRO expressed to me I probably should have the add-a-leaf kit because of the weight of my rear bumper and how much gear I'm expecting to carry compared to a factory XJ.
So I ordered the IRO AAL kit, as well as some shorter progressive bump stops.
Got my shock tabs welded on. Made them in 3 positions so I can use my existing 10" Bilsteins for awhile in the top hole and buy longer shocks later.
After getting everything assembled, I installed a tire and again flexed the suspension with the new bump stops. The tire just barely rubbed, so I moved the new bump stops up 1". This is effectively 1" shorter than the long ones by themselves.
Finally got everything back together and torqued with new u-bolts and the shocks installed for the first time. Its sitting around 4.5"-5" of lift with a 65 degree shackle angle.
I'm very happy with the results and can't wait to see how it performs. I do want to bring the lift down another inch or so. Gonna need to see where the heights end up with it on flat ground loaded down. I did remove 1" of lift in the front by replacing my 2" coil spacers with 1" spacers. It will be easy enough to bring the rear down by moving my springs up to the shorter position on the shackle to achieve that. Downside would be my shackle would lay down flatter. I wish I had another position rearward on my relocation brackets. The IRO springs are actually the perfect length to use the OEM shackle position, but I no longer have that option available with these brackets. I can see myself wanting an addition inch of stretch in the future, so I may end up replacing the brackets with something else. I am slightly concerned about spring wrap by placing the axle behind the leaf spring center pin. I figure an inch will be okay, but it really cant go much more then that because the u-bolts tighten down on the wrong part of the spring. We'll see how it does this year. Might end up wanting a traction bar.
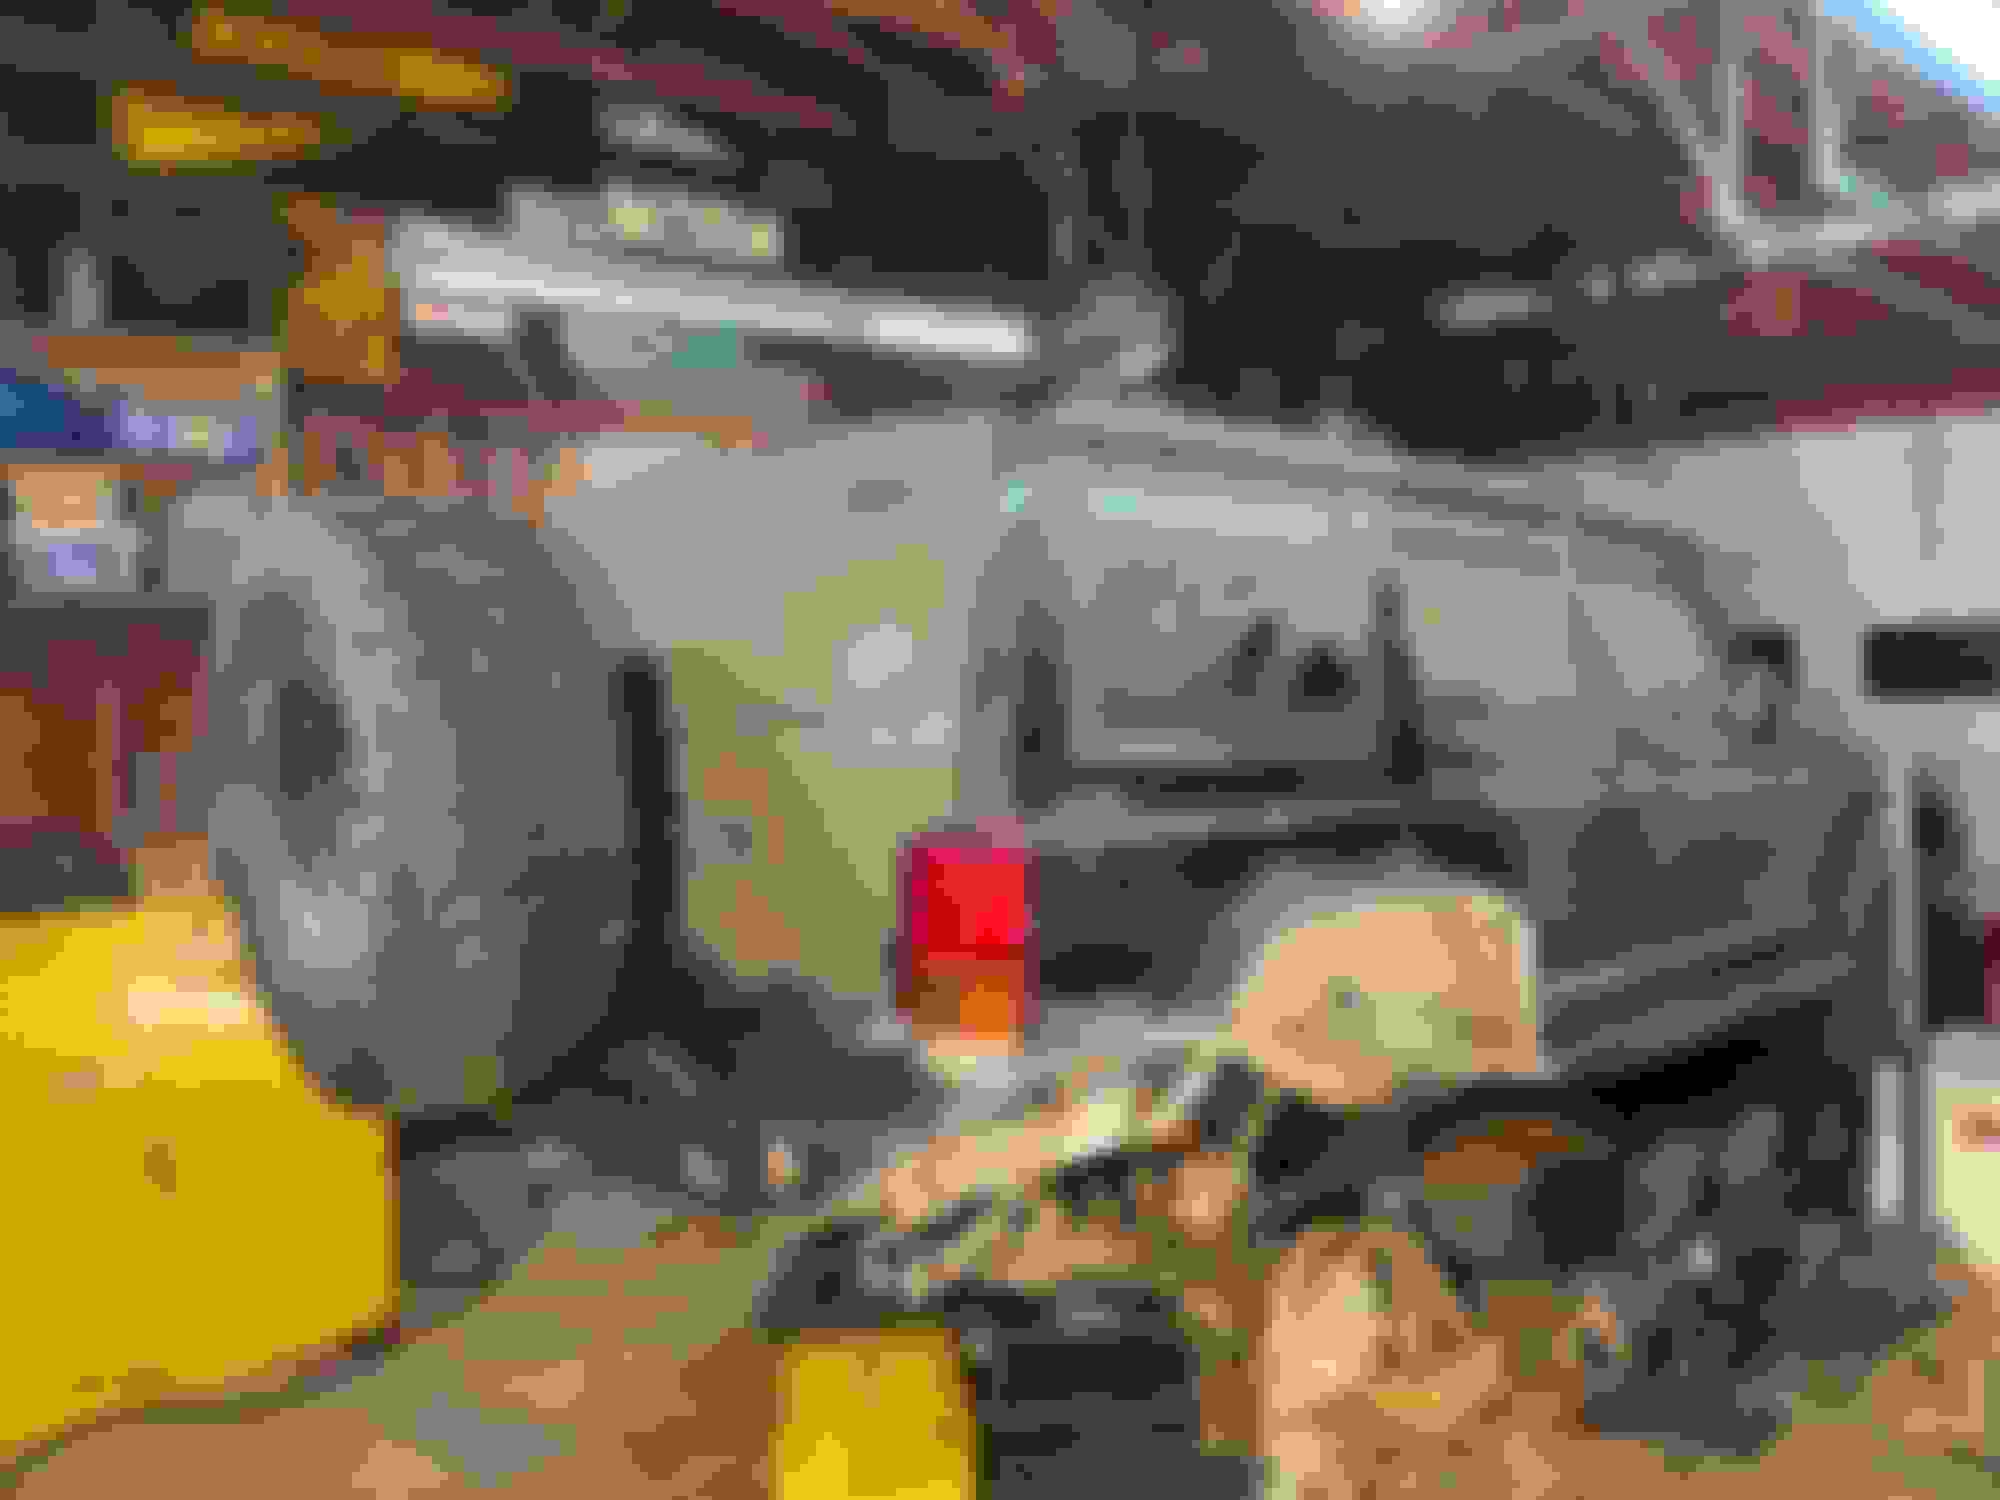
Last thing for this update is I got my exhaust reinstalled, as well as heat shields over the cat and muffler (which I apparently don't have a picture of. I'll get one). I used Airbake cookie sheets bolted to the bottom of the floor over the cat and the muffler to mitigate the heat issues I've seen in the past. I also ditched the Flowmaster for a Walker Quiet Flow because I wanted to quiet the rig down a bit. I rewelded the whole system from the cat-back and hit it with some high temp paint. Looks and sounds great. Seems to be sealed up well. I'm very curious to see how the interior heat changes.
I'm real close to having this back in commission!
Last items on the punch list are a longer driveshaft and reinstalling the interior. I'm having a local driveshaft shop make me a custom length shaft (hopefully should have it back today), and the necessary parts of the interior should go back in quick. I do have some front seats I want to swap in, but will need custom brackets. I also really want to get a headliner back in this, but that can wait for now as well. I am itching to get this thing out!
Last edited by XJlimitedx99; 05-24-2023 at 11:33 AM.
Promised image of my Airbake cookie sheet exhaust heat shields, as well as my new driveshaft and Walker Quietflow muffler. The heat sheilds are spaced down off the floor about 1/2".
Pinion angle ended up exactly where it needed to be
Found this wonderful surprise. Guess that's what I get for running a radius arm kit with an unbraced UCA mount. I just cleaned this up and welded it back together for now.
With that taken care of, I reinstalled the important part of the interior, then took the maiden voyage down to the gas station. Still covered in dust from a year and a half of being in the garage.
Booooom! She's back baby! Even Benji is psyched!
Departure angle shot:
Holy crap, I forgot how awful this thing is to drive lol. All this time driving a newer nicer vehicle has made me sensitive to the boat-like steering, awful brakes, terrible gearing, loud noises, and all the other wonderful things about driving these.
Then, yesterday, I finally got the Jeep out to stretch its legs and give a shakedown on trail. Nothing too difficult, but felt so so good to be back out. All the Jeep problems seem to go away once it gets put in low gear.
After half a day riding the Jeep, I am SO happy with how everything performs in the rear. The springs are much flexier than before, and everything feels very stable and comfortable. In those flex shots, the rear bump stop on the other side was fully compressed and working exactly how I wanted it to. Shocks working great. Tire carrier works great. Everything looks awesome. I'm pumped.
I do want to bring the ride height down an inch in the rear, and I wish I didn't make the rear fenders so wavy from welding (worse in pictures than in person). Also now the rear end vastly outperforms the front. Front axle feels like its gonna fall out rolling down the road. Plenty of clunks and bangs. Things just aren't happy up there. Not to mention my abysmal brakes and gearing. I added a bunch of weight to this and with 35's and 3.55 gears this thing just flat out hates life. I am going to run it like this for the summer (because its been like this for years already and I really want to do some wheeling), but I am chompin' at the bit to address these issues. It would really transform the Jeep.
I'm just now realizing I never shared this with the class: I bought another axle for the Jeep lol (at one point I had 4 extra axles laying around). This one I'm pretty certain will end up under the Jeep. Its a 2015 JK Rubicon Dana 44 front with 5.13 gears, the factory e-locker, Artec truss, Dynatrac ball joints, and RCV's. I drove like 5 hours one way to pick this up and paid a fair amount of money for it. When I pulled the cover it looked brand new inside. This is exactly the axle I want under my Jeep (short of a ProRock).
Of course, this will not be a straightforward swap. Pretty much all the brackets other than the upper control arm mounts need to come off this axle. Also, the real kicker, The C gussets need to come off to rotate the C's. These JK axles have very low pinion/caster separation. It won't work without it. I'm not looking forward to hacking this apart, but it will be better after. I'm going to do everything I can to get my steering geometry dialed-in. Hoping for it to be a next winter project.
This begs the question for which rear axle. The JK front is about 5" wider than my current 8.25 and has a 5x5 bolt pattern rather than 5x4.5. I was dead-set on doing a 9", but after getting one in front of me and tearing it down, I had second thoughts. I have a bare JK non-rubicon 44 rear housing that I'd like to build to match. Only issue is I really want to go 35 spline rather than the stock 30, but the only lockers available are ARB's or OX's. Not really an issue, just more expensive. I'm leaning ARB. Its only money, right? Sunk-cost fallacy who?
In the meantime, I'd like to spend some time this summer getting the Jeep cleaned up. Its starting to look and drive like a poopbox. I would like to get some sound deadening down in the rear and on the roof, reinstall my headliner, get the interior looking acceptable, fix some of the clunks, squeaks, and rattles, and just keep up with general maintenance.
We'll see how that goes lol. Good chance I just wheel it.
Last edited by XJlimitedx99; 06-05-2023 at 05:18 PM.
That exhaust shield looks just like the cookie sheet shield I made
$20 for a 2 pack, and they basically mounted themselves right there!
My girlfriend still commented the floor was getting hot under her feet. Think I might need to do something up front also. Maybe something crazy like put some padding under the carpet like it was factory or something.
Quick video of a little climb from yesterday. Definitely got the hops a little bit. Probably wrapping the springs. Makes sense with softer springs and mounting the axle behind the centering pins. I don't think the radius arms help here either.
Engine: 4.3L with headers and full 3" exhaust system
Here is something I am considering. I have a 98 ZJ parts rig that has a tow piece full length heat shield. One of them is completely flat and shows lots of promise for my future exhaust project
What was the turn off for the 9" rear end? Thats what I was planning on using when I burn through my current 31"s and can leave jeep on jackstands for months
What was the turn off for the 9" rear end? Thats what I was planning on using when I burn through my current 31"s and can leave jeep on jackstands for months
A few reasons that all added together to send me looking for other options:
-The pinion on a truck-width 9" (~65" WMS) is laterally offset 2.25" from the centerline of the axle, and therefore offset from the centerline of the transfer case. This will put the u-joint at the pinion at about a 4� angle (plan view, i.e. top view) from the lateral offset alone, plus whatever angle is produced from the traditionally viewed (side view) pinion angle. This is acceptable when using a driveshaft with 2 u-joints, however when using a double-cardan (cv style) shaft like many of us do, it will cause driveline vibrations because the pinion u-joint is outside of an acceptable range.
-The pinion offset issue could be negated by using a single cardan (2 u-joint) driveshaft. The issue I had with doing so is the pinion on the 9" is super low compared to other axles. The large hypoid offset is one reason the gearset is so strong on a 9", but it also puts the pinion snout way down in the rocks on an offroad rig. You can get beefy pinion guards, but I did not want to run a 9" without pointing the pinion up at the transfer case.
-9" housings are very thin. Like, blows my mind they are so strong, thin. I think they are all 3/16" steel. They are great for racecars because that means very low unsprung weight, and they're great for welding brackets on because there is no concern of the cast center section, but I was nervous about how little structure was there. I would definitely want to plate the bottom and rear of the housing, as well as a full length top truss, and probably a back truss too. It would need a lot of fab work to get the housing to a point where I would be comfortable thrashing on it. With all that welding comes the concern of warping the thin housing. A professional would do all the housing work first, then would weld the bearing cups onto the end of the housing as the last step to ensure the bearings were true to the center section.
-Everything previously mentioned could be negated by purchasing a custom aftermarket housing. There are a bunch of big dollar fabricated housings out there. Most of them are tailored to race cars, but some have offroad in mind. Regardless, they range from expensive to JFC expensive. Benefits of custom housings include the ability to center the pinion, additional internal bracing, thicker wall tubes, added drain and fill holes, skid plate on the bottom, trusses installed by the builder, etc. One downside is a custom width housing means custom width shafts. That's not a huge problem with 9" stuff because many vendors do custom work on 9's. The aftermarket support is unparalleled. One vendor that caught my eye for this custom setup was Quick Performance. They're more for race cars, but they're prices are good compared to others. See here: https://www.quickperformance.com/QP-...e_p_15999.html
-If I'm ordering a custom width housing that requires custom width shafts, I am absolutely going to get shafts that I am confident will hold up so I don't need to carry a spare set of expensive custom shafts. No problem, Quick Performance includes shafts in the kit I linked above. The issue then becomes the factory third member. First problem is the factory bearing size (3.062") cannot support 35 spline shafts. You must upgrade to an aftermarket case with 3.25" bearings. Second problem is the factory cases are known for blowing the pinion support out under high shock load. This steers the decision into purchasing an aftermarket nodular iron case that can take the beating, such as this: https://www.quickperformance.com/For...mber_p_37.html
-The last point being brakes. The only easy kit for 9" disc brakes with a drum-style parking brake inside the hat of the rotor is using Explorer 8.8 brakes. This works out pretty well, but does require a custom spacer to be installed on the axle shaft (pressed on behind the retaining collar). The brakes are decent, but from my research there is no good option to go bigger while retaining a parking brake. See this kit: https://www.quickperformance.com/For...ke_p_4023.html
So my final thoughts are a badass 9 inch axle can totally work under an offroad rig, it just requires a lot of money and custom components to make it happen. Those three links above total about $3k, plus all the other nickel and dime parts. The benefits of a 9 inch are the high strength to weight ratio, and high aftermarket support. You can get damn near anything you want on a 9 inch platform. 40 spline gun drilled axles with a heat-treated chromoly housing? Sure! What color? Open your wallet...
This led me to looking at the JK 44 rears, Correct width and bolt pattern, plus plenty of aftermarket because how popular they are with the JK crowd. If you're not familiar with these axles, you should know that the JK 44's are very different than the older XJ/Waggy/other 44's. The gearsets are much larger and the bearings are different. The only reason these ended up being called Dana 44's was for marketing. The gears on these axles are very strong. I'd argue they are in between an old style 44 and a Dana 60 in terms of strength.
An important thing to know about the JK 44 rears are that the Rubicon and non-Rubicon housings are different. Rubicon housings use metric bearings and inequal length axle shafts, whereas the non-Rubicon housings use standard bearings and equal length shafts. There are many more aftermarket choices for lockers and shafts for the non-Rubicon housings, which is the housing I have and would like to build.
The housings on these axles do not have the same issue as the fronts with people cracking tubes. The tubes are beefier than the front 44's. I still intend to truss it, but really just to be thorough. One common issue people have with these axles is bending axle shaft flanges. Many people report bent flanges even with alloy 30 spline axles. That is one reason why I very much want to go 35 spline. That, and also going from my 29 spline 8.25 to a 30 spline 44 doesn't seem like much of an upgrade. The one big glaring issue with this is there are limited options for 35 spline lockers in these axles, being ARB or OX. I really don't want to go selectable in the rear because of added cost and complexity, but I think I'll appreciate the added on-road dirveability once its done.
Another benefit of the newer 44 is large options for brake upgrades. JK big brake kits are everywhere, and the JL/JT stuff can be bolted straight onto these axles. The largest option uses a huge 14" rotor. I also would like to stick with the pinion companion flange setup rather than the usual yoke style. I like the idea of the ujoint being contained by the flange adapter rather than u-joint straps.
One thing that has stuck with me through all this research and getting my hands on stuff is that the 9 inch design and components are all 50+ years old. The technology is old. Designs have been improved since then, and I feel some level of comfort sticking with Dana stuff that was designed to go under a vehicle that sees offroad use. This was much more apparent to me when comparing older Ford 44 fronts with the JK 44 front, but I think the point still stands. Also, these parts aren't going away any time soon. I know I can get seals, bearings, brakes, and other parts at any store. More than anything, I just feel better about using Dana parts rather than 9 inch stuff.
Honestly there is a 50% chance my opinion changes by the time I get around to doing any actual work towards the swap lol.
Edit: Visual demonstration that a 9" is light enough for me to carry around by myself lol
Last edited by XJlimitedx99; 06-06-2023 at 08:44 AM.
Great response, thanks.
Makes sense why you definitely see a lot more JK 44s in the rear of xjs then you do 9''s. And yeah, the bigger gear on the JK axle, like 8.89 inches or something should be plenty strong.
Those are some really great points about the 9". Many I have not heard about. For me, I'm on 33s and dont see the need to go to 35s where I'm at currently. If I were to go up it would be to 37s. Then the JKd44 axles would make sense. 1 tons are really heavy and just seem a bit overkill for 37s.
Here is something I am considering. I have a 98 ZJ parts rig that has a tow piece full length heat shield. One of them is completely flat and shows lots of promise for my future exhaust project
Now that's an idea..
I'd love to be able to shield the exhaust from the downpipe to the cat. That's where most of my exhaust heat problems are coming from now that I am no longer melting milkcrates in my back seat.
Originally Posted by TeXJ
Those are some really great points about the 9". Many I have not heard about. For me, I'm on 33s and dont see the need to go to 35s where I'm at currently. If I were to go up it would be to 37s. Then the JKd44 axles would make sense. 1 tons are really heavy and just seem a bit overkill for 37s.
I agree. I don't think tons belong under an XJ that is anything more than an XJ shaped buggy. They really only start being good at 37" and bigger tires. In my neck of the woods, 35's will take you almost everywhere (short of private property purpose built trails such as Field and Forest). I could see myself moving up to 37's someday, but that is the max I would ever want to go. I'm super happy with 35's right now. I feel some well built JK axles that are stout for 35's will be a great setup. I really want to be overbuilt so I can have some confidence to push it a bit when I'm in less than ideal circumstances such as being in remote areas or by myself, or even just so I'm not the one holding up the group while I change out a broken shaft after smoking a u-joint.
Last edited by XJlimitedx99; 06-07-2023 at 08:02 AM.
Last weekend I took the Jeep out wheeling both Saturday and Sunday. Drove 1.5 hours into New Hampshire to drive some of the more-challenging class 6 roads in the state, then the next day drove an hour north to hit the most well known class 4 road in Vermont, Chateauguay Rd. The Jeep did awesome both days. I am very impressed with how well it climbs and stays planted. It just feels very stable and works well. Also it poured rain for awhile one day and I stayed dry now that there is no longer a hole in the roof!
Early in the day Saturday I was coming down a rather treacherous boulder and slid off to the side which caused me to slam down hard on my gas tank skid. I sure am glad I installed it because it would've been straight tank if I hadn't, but the ZJ skid didn't fare so well. It bent the skid up significantly. Before the hit, there was a 1"-2" gap between the skid and the tank. Now the skid is touching the tank. I was joking that it is better now than it was before because there is more clearance lol. Truthfully, I'm lucky I didn't damage my brand new fuel module, and am now less confident in the skid. I knew it was a bit thin when I installed it, but figured its better than nothing. Its now on the list to beef it up a bit. I am loving the ability to drag this thing through rocks and not need to worry about damaging stuff. I am now a firm believer that armor, high clearance bumpers/sliders/belly, and LCOG is the formula for the best possible rig.
 02-03-2023, 02:25 PM


 oops, LOL. It felt great.