When you click on links to various merchants on this site and make a purchase, this can result in this site earning a commission. Affiliate programs and affiliations include, but are not limited to, the eBay Partner Network.
Alright, alright, alright; been gettin **** done. Here's how the patch came out before plating: not the best but it'll work.
This is the plate I put over the patch. Also made this out of 16 gauge. I swiss-cheesed it to plug weld it to the patch and also to the frame around the patch.
Got caught waking up from a nap in "the garage.."
Also got the rear stiffiners burned in on both sides
My welds are starting to look much better. I'm definitely getting the hang of it!
And the most rewarding part of any project, a nice fresh coat of paint to top it all off. I did this in Rustoleum truck bed liner.
Next step is the Ruffstuff mid stiffiners. This proved to be a bit of a task just to set up because I realized I cannot have the Jeep sitting on jack stands on the frame nor can I have the front under the axle because the crossmember is dropped so there's nothing holding the axle in place. At first I tried to put the rear axle on stands and put the other two under the frame rail up front, right behind the bumper mounts. This didn't work because the Jeep was sitting face down, a$$ up, not to mention my driveway slopes down slightly towards the front of the Jeep. I ran out to HF and bought some of the small jack stands to put under the rear axle and a 2x12 board from Lowes which I cut up and will stack under the jack stands in the front. This will lower the rear about 3" and raise the front about 6". Hopefully enough to get the Jeep sitting level and not fall over and kill me. Nothing is easy!
Last edited by XJlimitedx99; Jun 26, 2017 at 07:04 AM.
Do you remember the welding settings you used? Which welder? I have a HH140 115v welder that I'm using .035 flux core.
I'm using an Eastwood MIG 135 which is 110v with C-25 gas and 0.030" Hobart wire. The settings I used were voltage "I" (range goes A-J) and wire feed 4 out of 10.
Figuring out how to get this thing on the stands like this felt like a project by itself! I had to cut shims out of the 1/8" sheet to get the wood and jack stands sitting level. I gave it some real good pushes to try to knock it over and it didn't fall but I'm still not 100% confident in it being stable. I'll leave the other jack stands in there just in case.
Next steps: completely remove lower control arm mounts (they're half assed cut off now), remove ebrake bracket, drill holes in the bottom of the frame to fix broken captive nuts for the crossmember, and drill holes in the stiffiners for the crossmember bolts.
Still chippin away. The other day I removed my lower control arm mounts completely. My original plan was to drill the spot welds but I had a hard time seeing them all so I went to town with a sawzall and an air hammer. I basically would slide the sawzall blade between the frame frame and mount to cut the spot welds then use the air hammer to pry the mount away. Worked pretty well. However, it did tear the welds out and left holes that will need to be filled. On one side it actually tore a large crack. I also accidentally cut into it with the grinder so I'll need to fill that.
I also prepped my drivers floor floor to be patched. I was going to use the 16gauge to patch it with. It ended up ordering some 22 gauge because it will be much easier to work with.
Last edited by XJlimitedx99; Jul 3, 2017 at 05:05 PM.
Haven't been workin on the Jeep too much. I spent some time enjoying my summer. Went hiking, spent some days on the lake, and bought a new motorcycle! 1995 Honda CB1000, the "big one." 16k miles, showroom floor condition. Picked it up for $2,700. I've already put about 400 miles on it this week.
Here's what I have done:
Got the floor pan mostly patched up. I'll probably make another round with the welder before painting it because alot of those tacks aren't in there too well. Like I've said before, I've never done any repairs like this before so its a learning process for me. I kinda screwed myself because I did not clean the gooey undercoating off as far up as I should have and was basically trying to burn through it on some spots. I did my best to avoid getting high from breathing the fumes of burning rubber undercoating..
As you can see in this picture, many of those tacks at the top are pretty cold and not in there too well. I bumped up the voltage after and burned through several times. Thin stuff is hard! Also shown is the cracks caused from removing the LCA brackets welded up.
Also, I started drilling these holes into the bottom of the frame rail so I can weld some washers and nuts to my frame stiffeners to mount my crossmember to.
If you remember, I stripped out/broke off several of the captive nuts for the crossmember on install and had to drill holes through the floor to drop bolts in from the top. With this I am required to pull my seats and carpet every time I want to drop my crossmember. PITA! With the new captive nuts welded to the stiffeners I won't have to do that anymore. Only problem is drilling six 1-3/8" holes into the bottom of the frame rail with a hand drill while laying on your back is damn near impossible! So far I only have one drilled out to the size I want, which can be seen above where I am holding the washer up. The other two I think I went a little crazy with the step drill and work-hardened the steel because the drill won't bite anymore.
I've been getting pretty frustrated with these holes because I've been taking a beating from the drill. When it catches on the burr in the hole the drill just about breaks my wrist every time. Just gotta walk away when hiccups like this presents themselves and come back with patience and persevere. It'll be much better once complete.
So, this is what I have on the agenda:
-Complete welding in floor patch. Prime. Paint.
-Drill holes in frame rail for nuts/washers to fit into.
-Mock up stiffener with nuts/washers in place. Drill holes in stiffeners for bolt holes.
Drill holes for the crossmember's thru bolts.
-Clean areas to weld, burn in the stiffies.
Last edited by XJlimitedx99; Jul 19, 2017 at 04:51 PM.
On this one I've got you beat. Quick story. My wife came home from work one day to me scrubbing the bath tub. She was so happy.... Until I told her why I was scrubbing it. I could have took the brownie points and walked, but the look on her face was priceless when I told her why.
At the time I was replacing the clutch in my Camaro. The bell housing was greasy, so I took it into the bathtub to scrub it up.
Bath tub, parts washer, what's the difference? Gotta do what you gotta do!
Have you seen the BleepinJeep commercial where he is in the bath with his transfer case? That one had my dying laughing.
Wow if I did that I would be dead. She gets mad enough about all the black fingerprints I leave on the doors (white doors at that). For some reason I never use the handle...
Had a great day on the Jeep. Put in about 7 hours to get one side of the mid stiffeners burned in.
Started off by drilling the thru holes for the crossmember bolts. I did this by mocking up the stiffener and spraying paint through the hole to mark where the hole was. One of them landed right on the edge of a hole which was problematic because I couldn't just drill it. I had to use my angle grinder and die grinder to enlarge that hole. Side note; do not buy the HF die grinder because all of the attachments that come with it break immediately.
With those holes drilled I welded the nuts onto the stiffener. I decided not to use washers under them so I could avoid drilling those giant holes in the bottom of the unibody rail like I have previously mentioned. I wasn't pleased with the welds but I wailed on them with a sledge and they didn't break off so they must be on there good enough.
Next was weld prep. Used a flap disc to remove the mill scale and rust from where I would be welding on the inside of the stiffener and on the entire outside surface to prep for paint. I also used a dremel to grind out the inside of all the holes.
I used a 40 grit flap disc to prep the unibody rail. It worked pretty damn good to chew through the undercoating. Made quick work of it.
A few words about the fitment of the Ruffstuff stiffeners; they fit pretty good but I was not impressed. The crossmember bolts almost lined up with the cutouts on the bottom of the stiffener but not quite. When the stiffener was slid as far back as it could go against the leaf spring mount the bends lined up very well with the unibody rail but the bolt holes were off.
Instead of opening those holes I opted to line the stiffener up with the bolt holes. This lead to it being slightly out of alignment but made my life much easier. Enlarging holes in 3/16 steel with an inadequate die grinder sucks.
Even after moving it forward a bit the stiffener still fit pretty well. The bolt holes all lined up. I jacked and clamped it to the body and started runnin bead. It went pretty well. I laid some real nice ones where I was in a comfortable position and could see the puddle well. I had trouble in some spots where it was hard to see and/or get the gun into.
I ran into this issue, and I'm not really sure how it happened. Towards the front the stiffener pulled away from the body a bit and left a large gap. I already had it tacked on by the time I noticed so I said screw it, its on there well enough.
Hit it with some primer and a coat of paint to finish off the day.
Now I just have a whole other side to do.. and the fronts....
Last edited by XJlimitedx99; Jul 22, 2017 at 07:39 PM.
Pouring rain here yesterday. I kept myself busy with a side project: converting this dirt bike to a dual sport. Can you say wheelies?
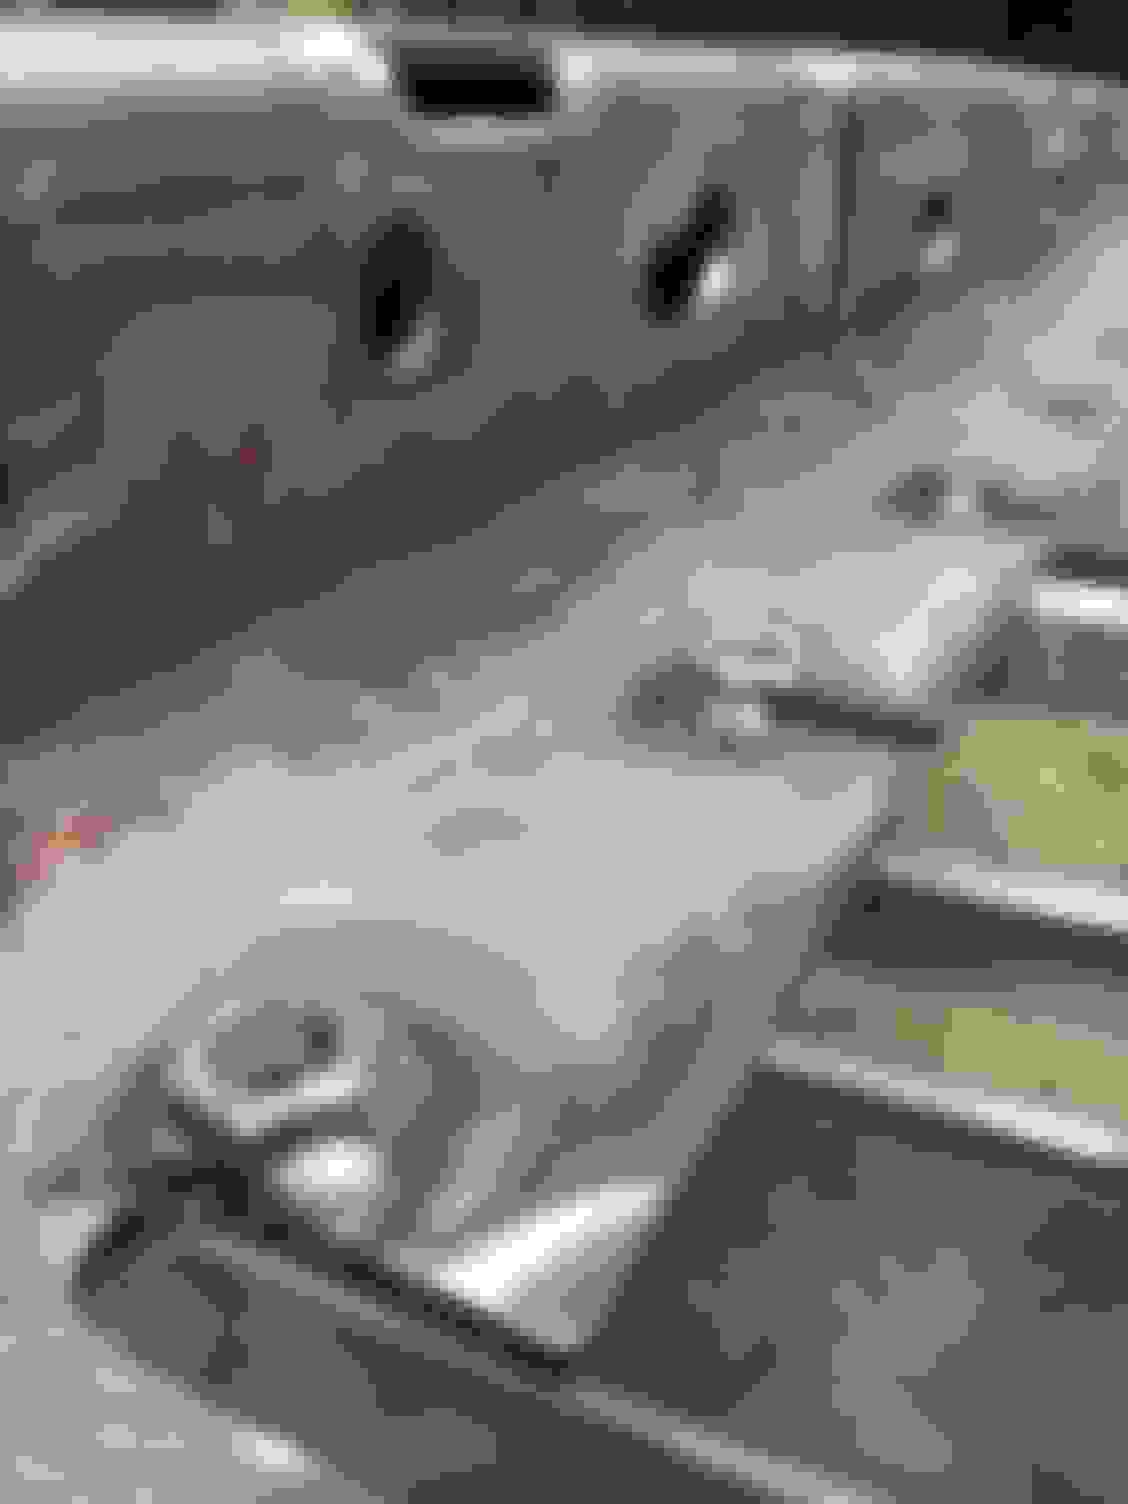
Today was absolutely beautiful. I was pretty low on welding gas so I started with the goal of getting my other mid stiffiner tacked in.
First step was burning in the cross-member nuts. Had to fight a bit with the die grinder to get the location just right but all worked out.
Everything lined up and ready to go. You can see the four crush sleeves hanging out of their holes to ensure everything stays aligned.
This is where I left it off for the day. All tacked up and ready to be burned in.
I move back to school in three weeks. I really really would like to have the Jeep back on the road and bring it to school. I absolutely do not want it to sit over the winter. I have a fair amount of work to get done to accomplish that task. This is the list:
-Burn in the mid stiffiner and paint it. -Drain and fill trans and tcase fluids.
-Adjust tcase linkage. -Mount crossmember.
-Install fuel tank.
-Start the dang thing!
-Weld up the front stiffiners.
-Replace bent tie rod. Not gunna have time for the WJ swap so just gunna do ZJ for now.
-DIY alignment.
-Diff fluids and engine oil.
-Put the interior back in.
Yikes, that list just scared me. I got some work to do. If its not done by move in day I can come home on the weekends to work if it is nice out but I'll only be able to do that for the first couple weeks.
Also, I still have a vacuum leak that causes my heat to come out from my defrost vents. I've put up with it for two winters, hopefully it won't be a third. Along with that, I need to slap some bondo on my rockers to make sure I pass inspection. Those are issues I can deal with at school.
Bonus picture; the delivery guys have learned to just leave stuff by the Jeep now.
Last edited by XJlimitedx99; Jun 20, 2018 at 08:54 AM.