
Project Do work - 2001 XJ Build (Pic intensive)


Member
Joined: Jun 2011
Posts: 181
Likes: 0
From: Ferron Utah
Year: 1987
Model: Cherokee
Engine: 4.0 Litre I6
Great thread man. I am the same as you were starting off pretty new to this whole thing other than working on all my friends rigs. Your build is turning out great.
Member
Joined: May 2011
Posts: 122
Likes: 0
From: Central Valley, CA.
Year: 2000
Model: Cherokee
Engine: 4.0 I6
your rig looks nice all polished up man. I need to get me a buffer wheel, trim looks clean too.
question for ya, i notice your driver side door is missing a couple letters in your cherokee badge, are those mounting holes I see in the door panel? I've been thinking about going badgeless but i don't want to start digging into them if they're not just adhesive mounted.
question for ya, i notice your driver side door is missing a couple letters in your cherokee badge, are those mounting holes I see in the door panel? I've been thinking about going badgeless but i don't want to start digging into them if they're not just adhesive mounted.

Seasoned Member
Joined: Jan 2011
Posts: 430
Likes: 2
From: Sacramento, CA
Year: 2000
Model: Cherokee
Engine: 4.0
Clean rig! You should grab a 99 cent can of flat black spray paint from walmart and pain the inside of your front fenders. It does wonders for the look!
Will
Will
Thread Starter
Seasoned Member
Joined: May 2010
Posts: 415
Likes: 0
From: Columbus, OH
Year: 2001
Model: Cherokee
Engine: 4.0 I6

your rig looks nice all polished up man. I need to get me a buffer wheel, trim looks clean too.
question for ya, i notice your driver side door is missing a couple letters in your cherokee badge, are those mounting holes I see in the door panel? I've been thinking about going badgeless but i don't want to start digging into them if they're not just adhesive mounted.
question for ya, i notice your driver side door is missing a couple letters in your cherokee badge, are those mounting holes I see in the door panel? I've been thinking about going badgeless but i don't want to start digging into them if they're not just adhesive mounted.
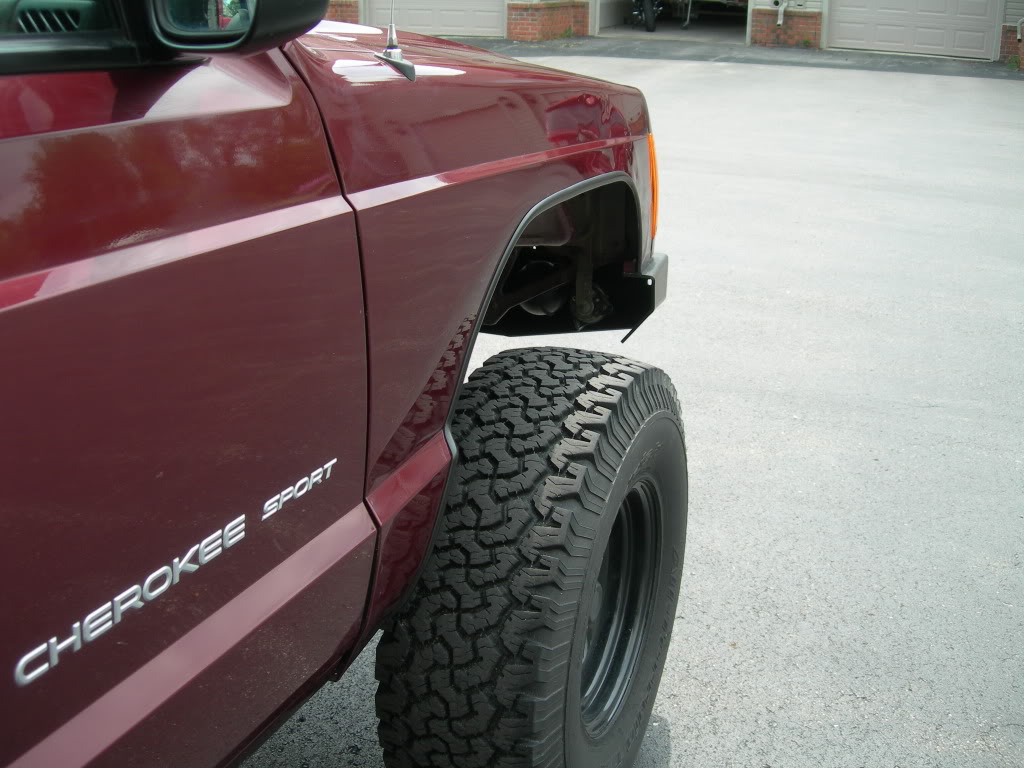
As for the driver door emblems, they are secured by an adhesive backing. There are no mounting holes, my door just has some deep gouges/scratches where the letters used to be. Not sure why the scratches are there... it's not the original door as I recently had to replace it due to a break-in.
Thanks. I will look into the idea of painting/covering the inner wheel wells. I think you're right, it would look sharp. Probably offer some corrosion resistance as well.

Thread Starter
Seasoned Member
Joined: May 2010
Posts: 415
Likes: 0
From: Columbus, OH
Year: 2001
Model: Cherokee
Engine: 4.0 I6
I wondered how long it would take until someone chimed in

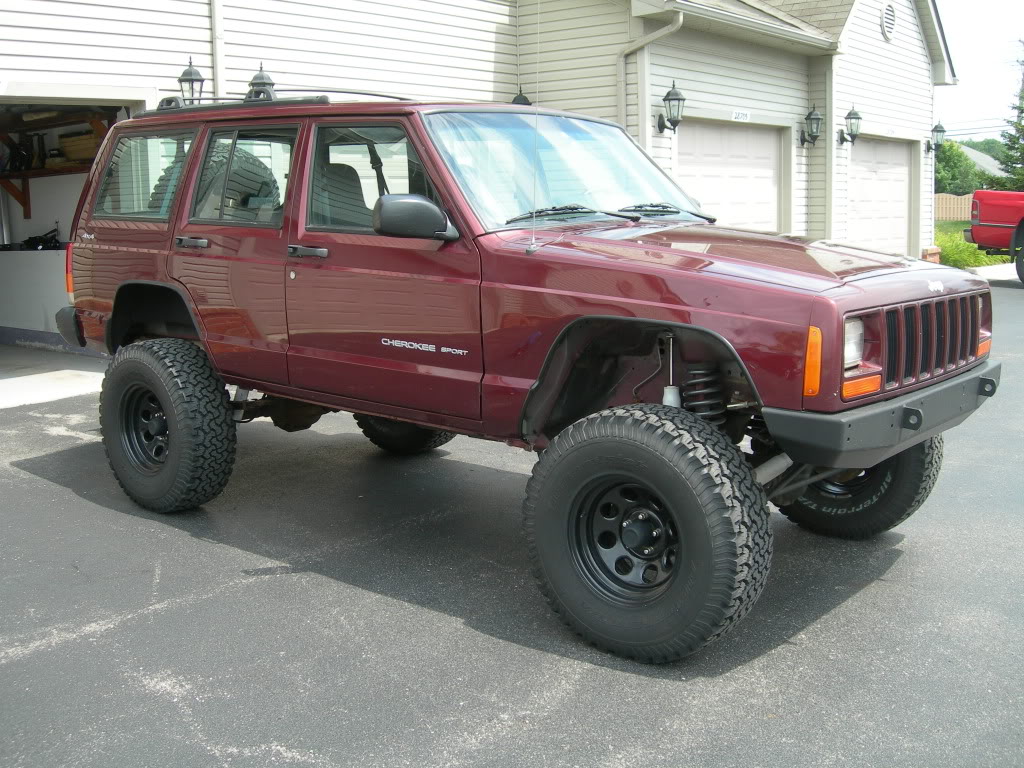
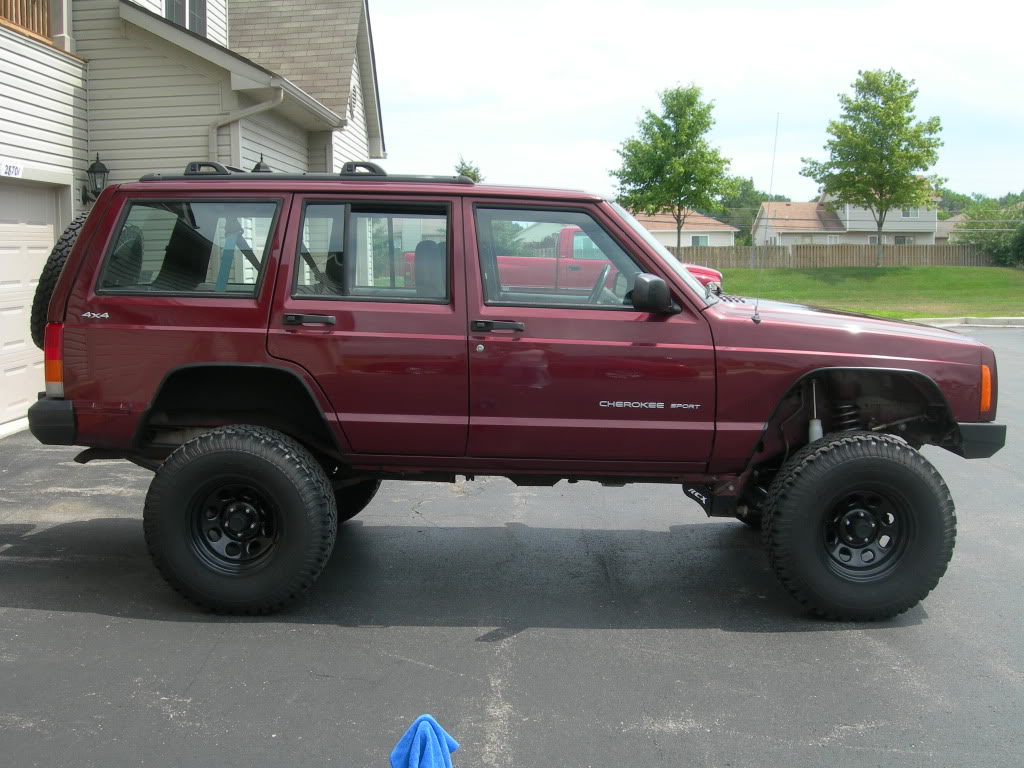
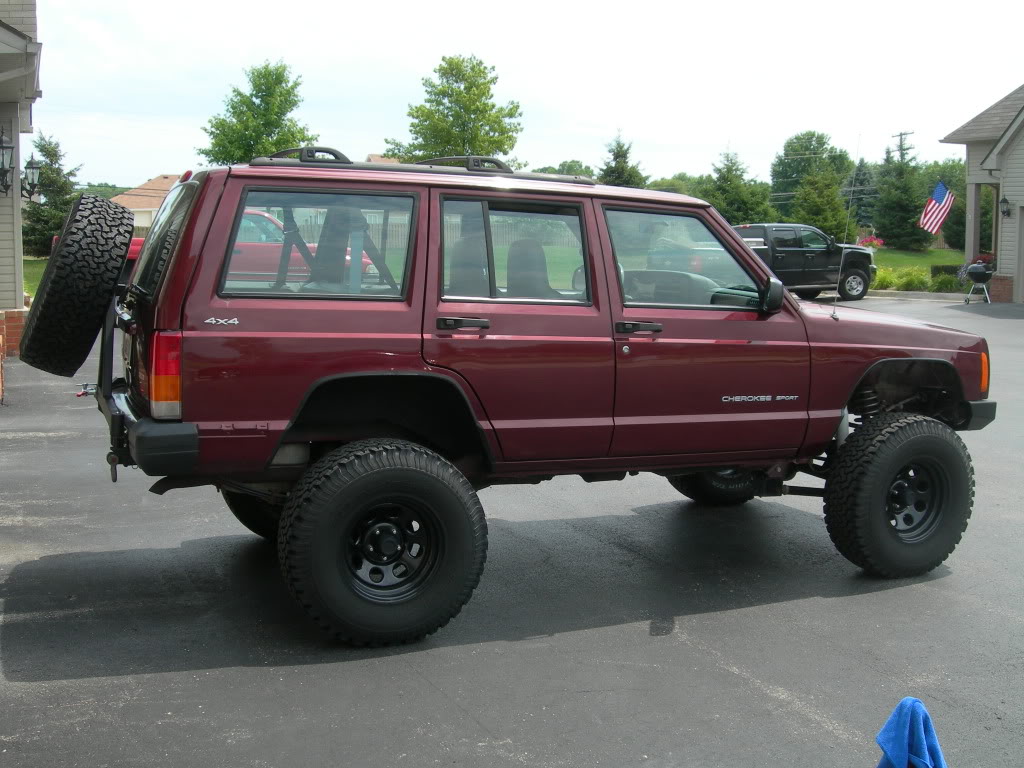
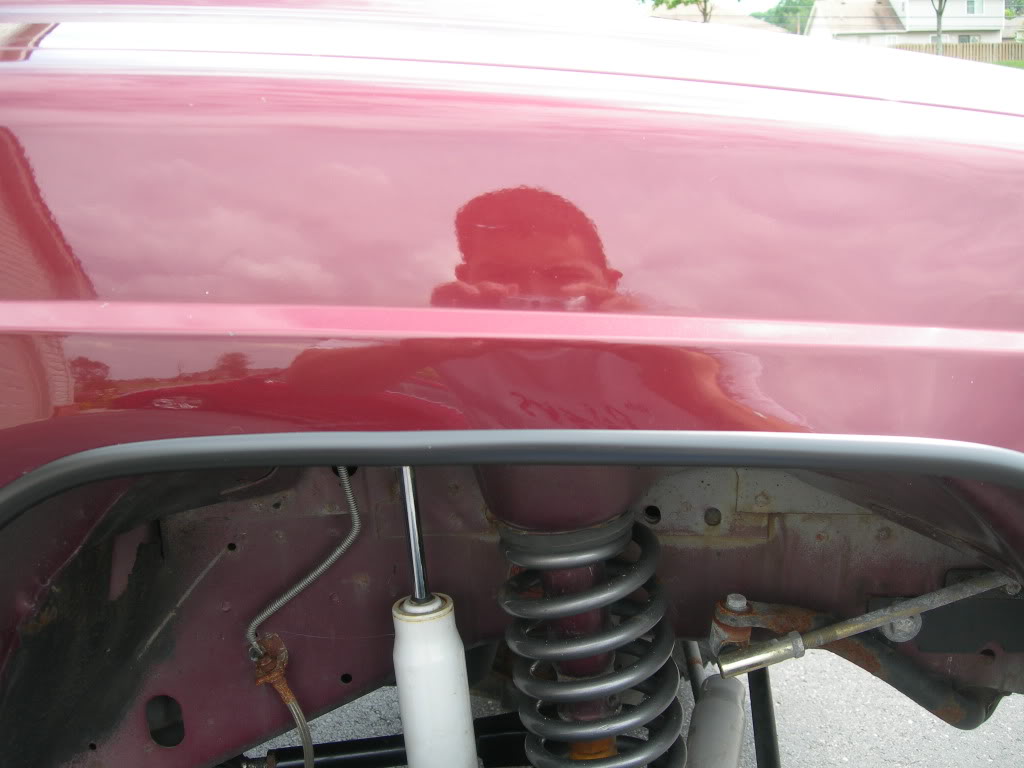
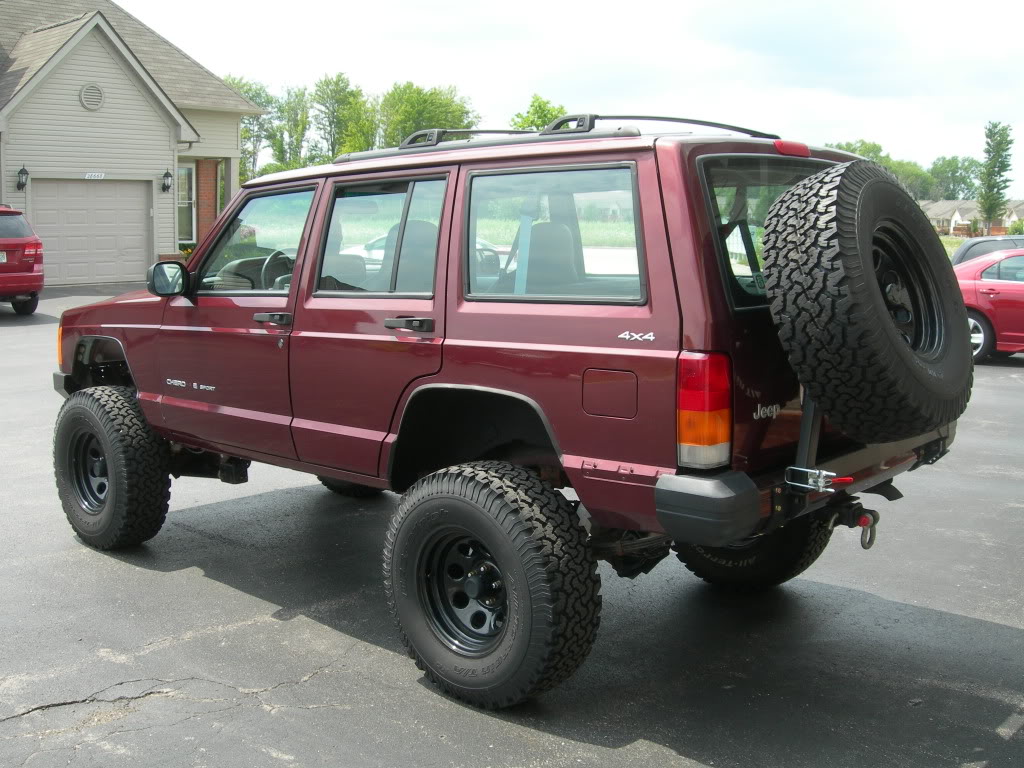
In my defense, it hasn't been that clean while under my ownership until today. Come on, it's nice to look outside and see a nice shiny vehicle every once in a while.
Last edited by sanchezcruz_20; Jul 24, 2011 at 11:35 PM. Reason: typo
Thread Starter
Seasoned Member
Joined: May 2010
Posts: 415
Likes: 0
From: Columbus, OH
Year: 2001
Model: Cherokee
Engine: 4.0 I6

Thread Starter
Seasoned Member
Joined: May 2010
Posts: 415
Likes: 0
From: Columbus, OH
Year: 2001
Model: Cherokee
Engine: 4.0 I6
Place your rig on jackstands and support the rear axle with a jack.
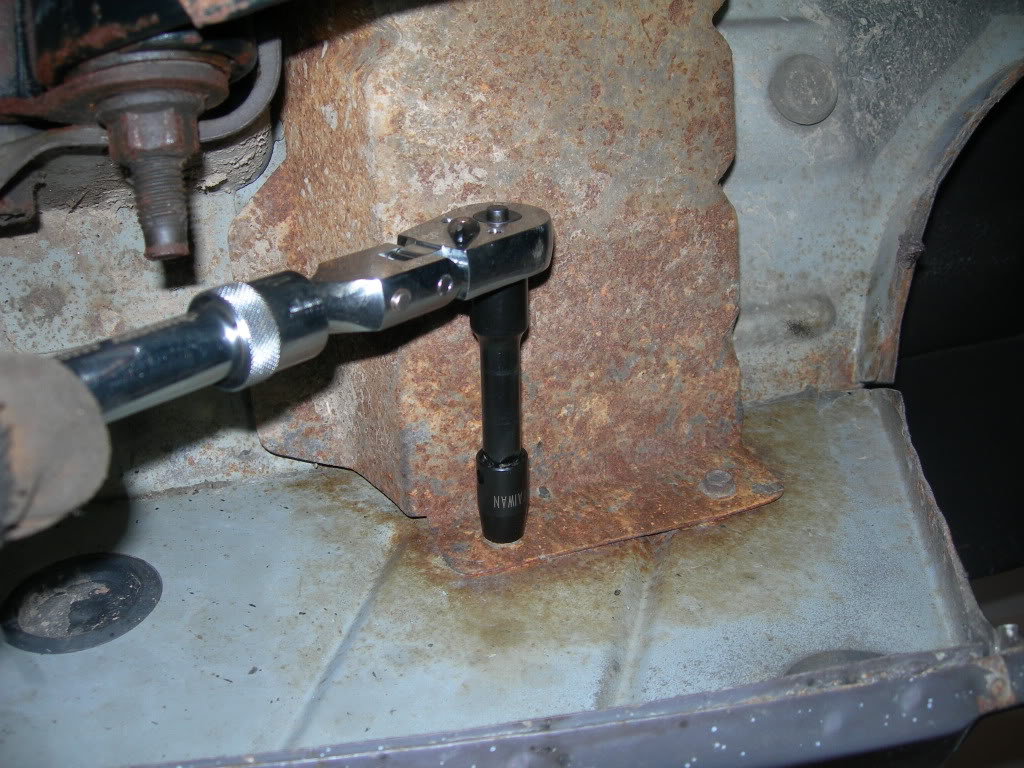
Remove the fuel-filler neck guard by removing the four 10mm bolts:
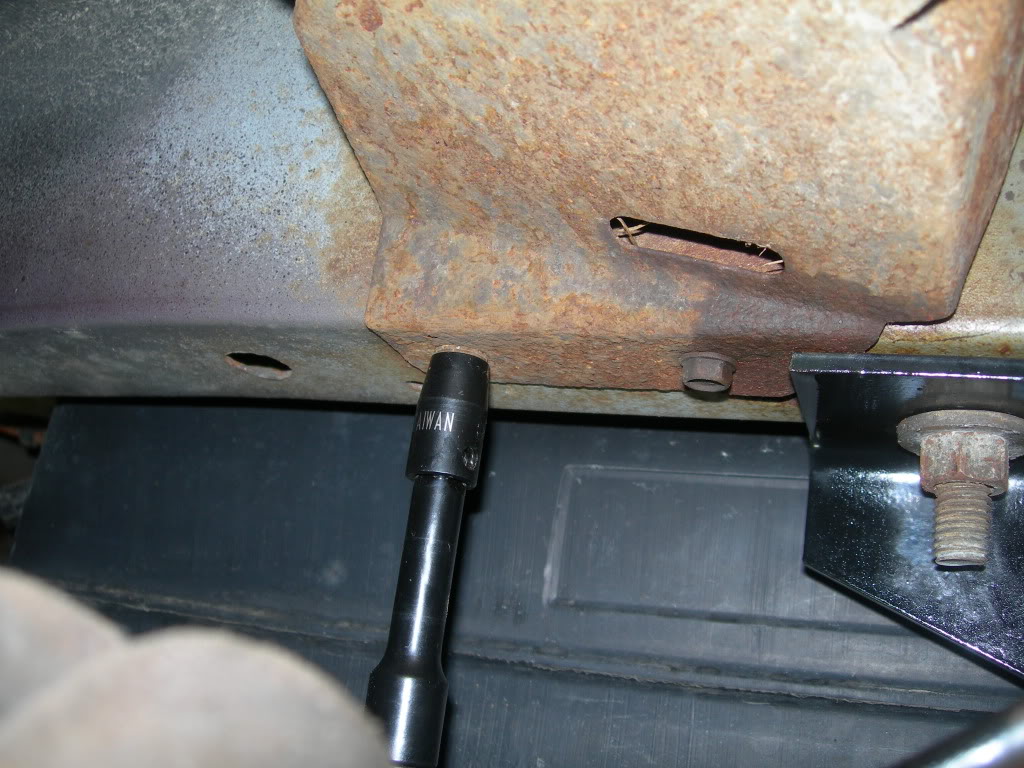
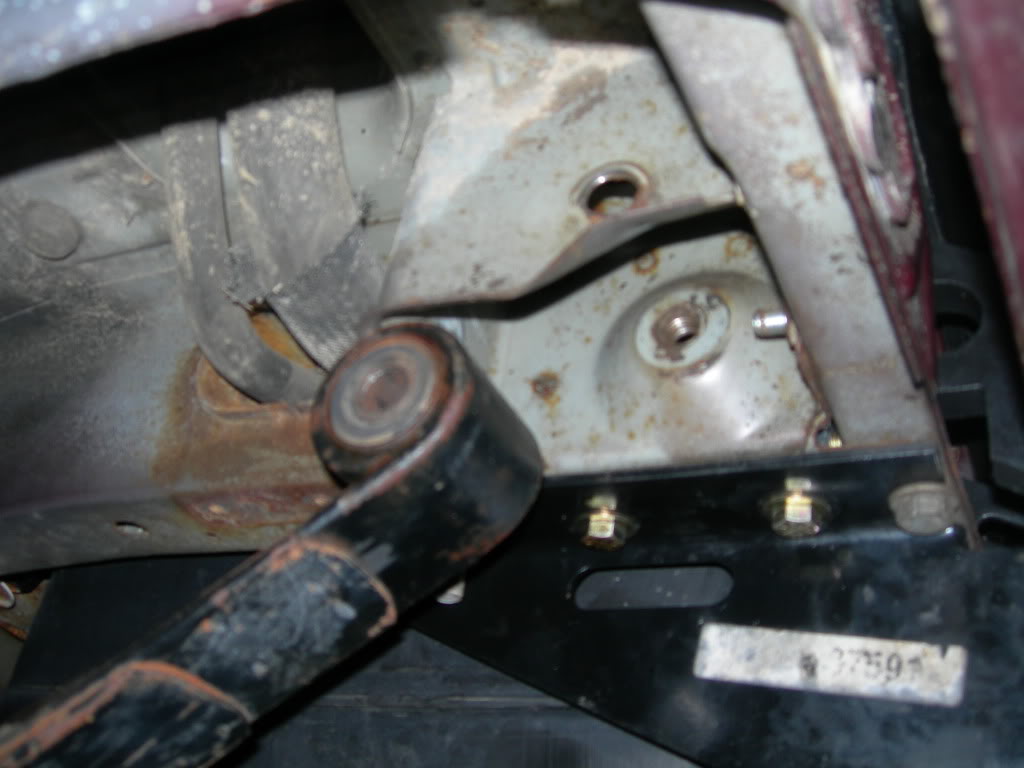
Removing the fuel-filler neck guard affords a little more access to the leafspring hanger box:
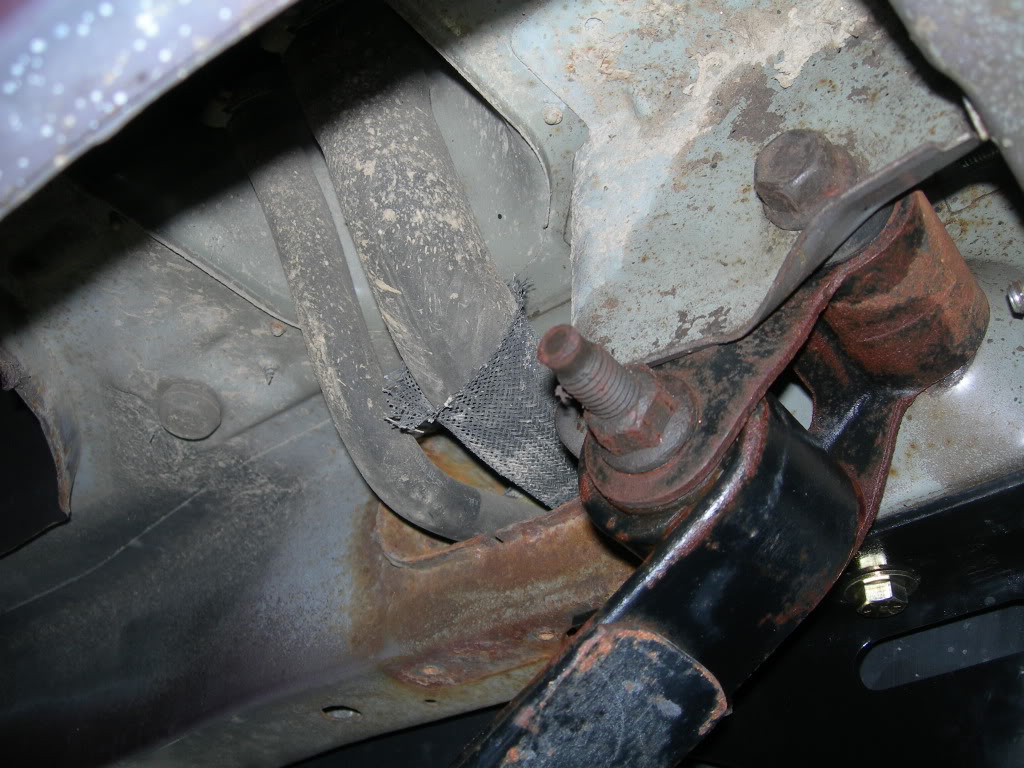
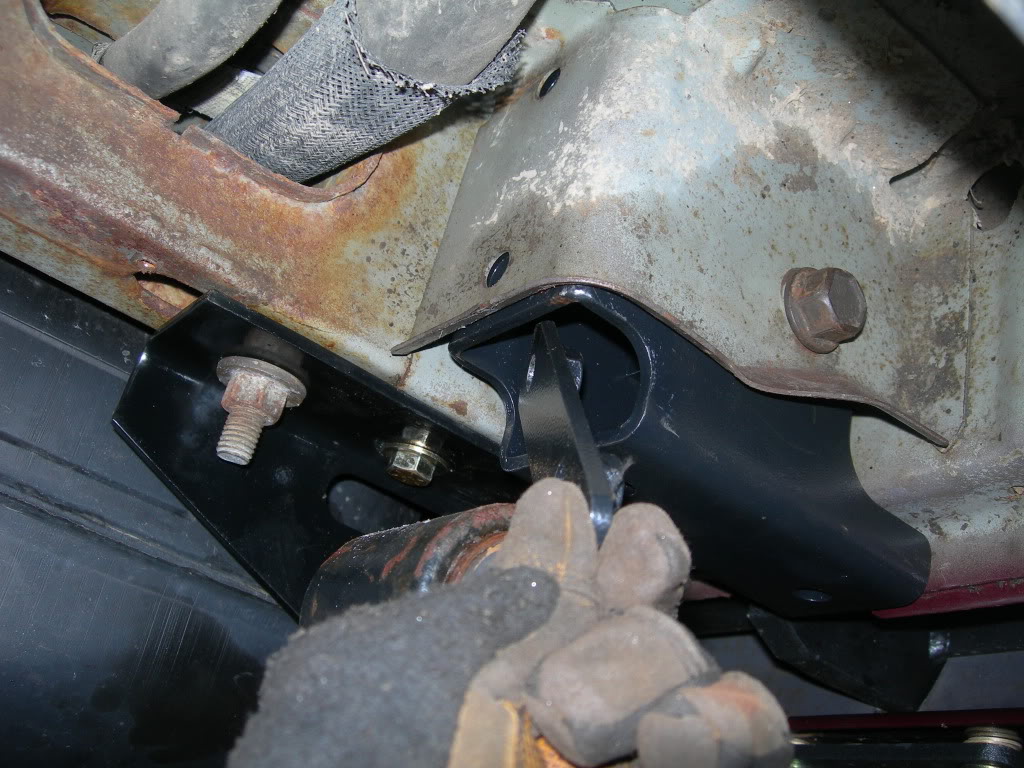
Remove the upper shackle bolt:
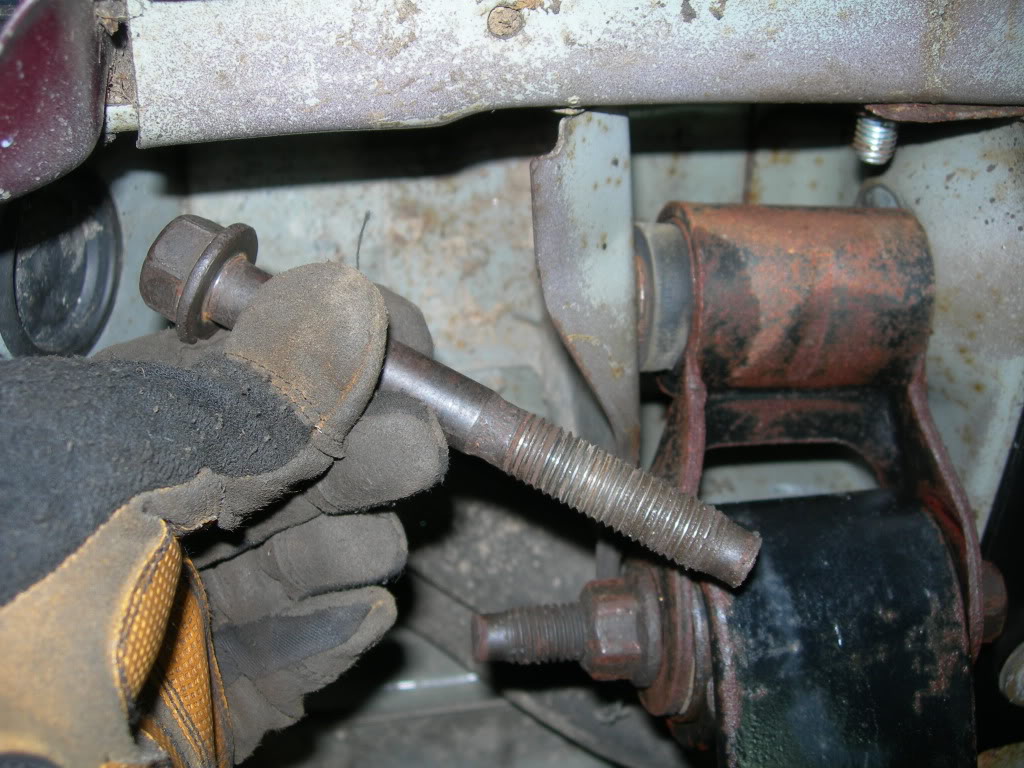
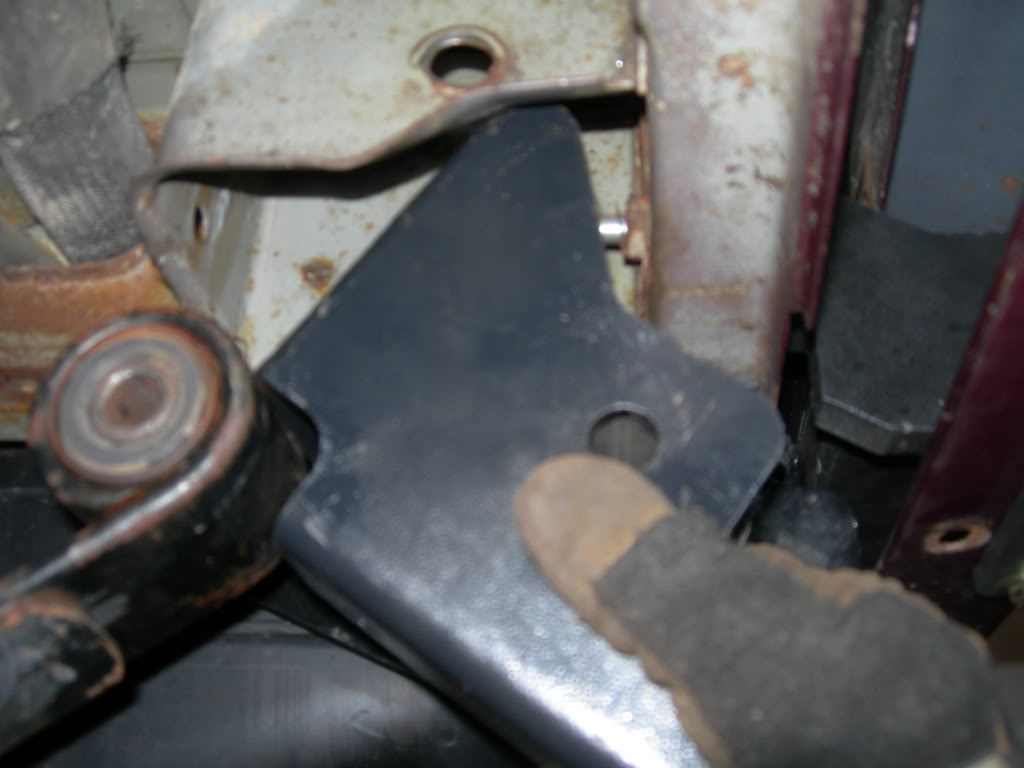
Remove the shackle from the hanger box:
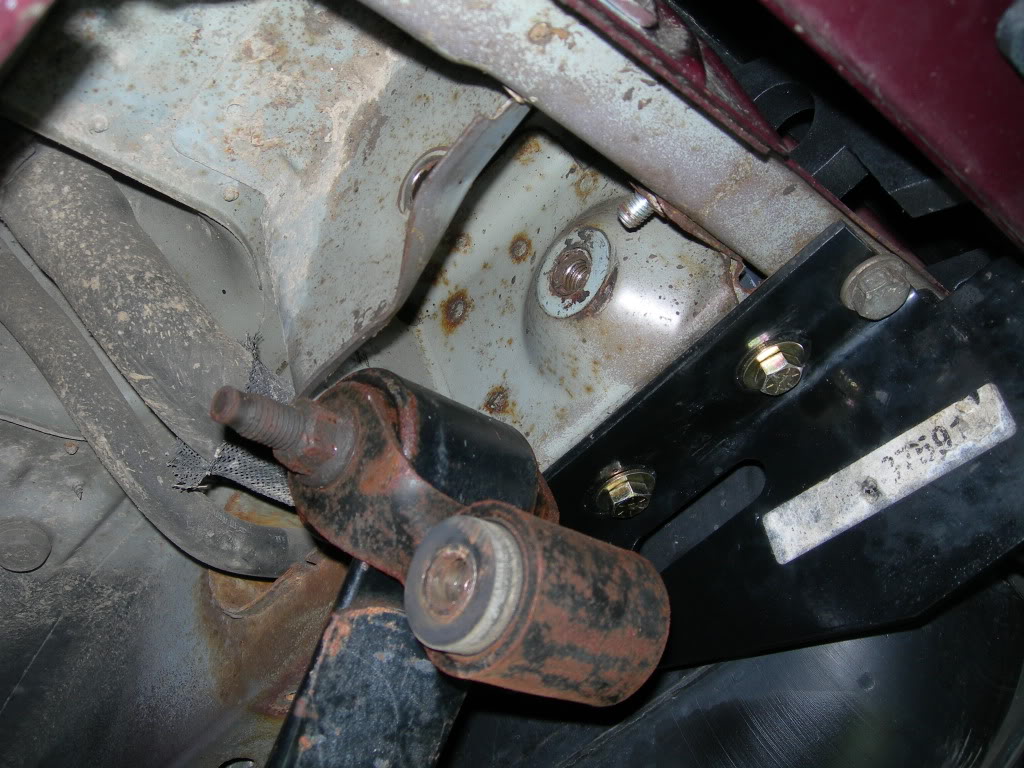
Then, remove the lower shackle bolt from the leafspring:
Remove the fuel-filler neck guard by removing the four 10mm bolts:
Removing the fuel-filler neck guard affords a little more access to the leafspring hanger box:
Remove the upper shackle bolt:
Remove the shackle from the hanger box:
Then, remove the lower shackle bolt from the leafspring:
Thread Starter
Seasoned Member
Joined: May 2010
Posts: 415
Likes: 0
From: Columbus, OH
Year: 2001
Model: Cherokee
Engine: 4.0 I6
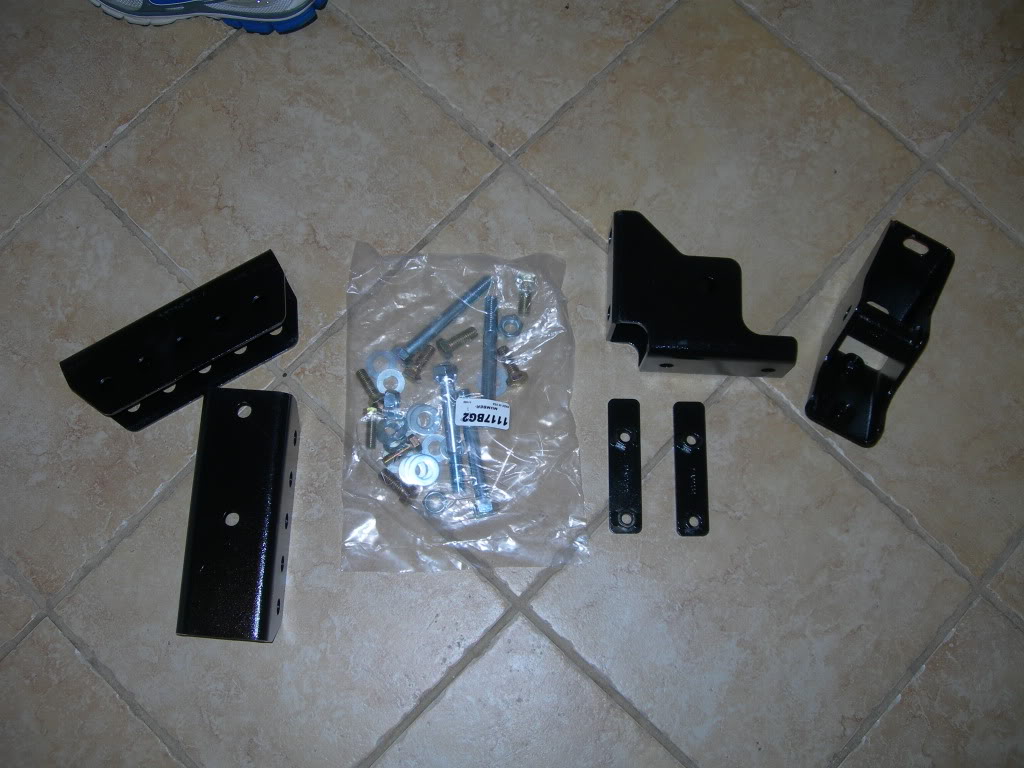
Now it's time to start installing new parts.
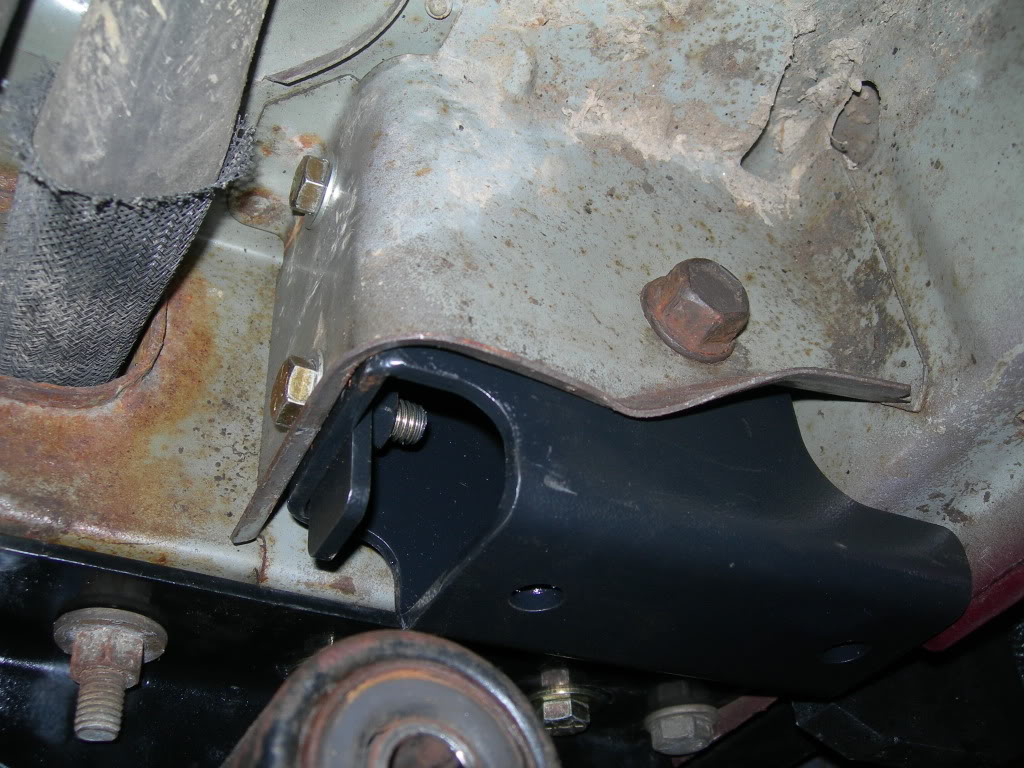
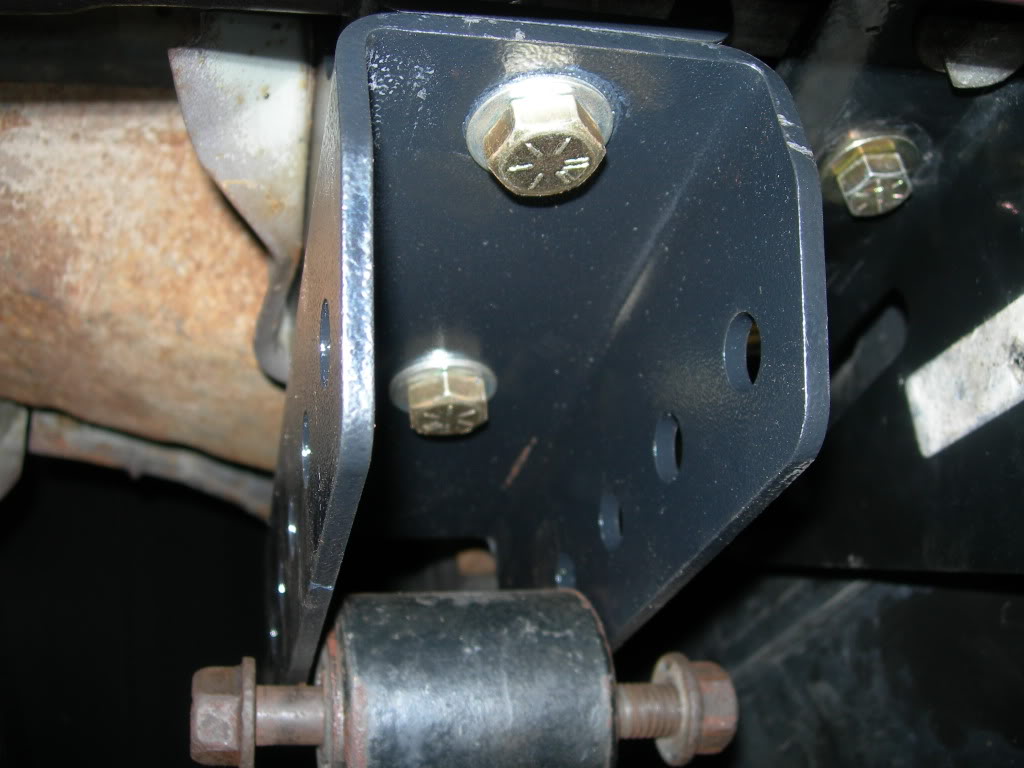
Install the frame hanger bracket and secure with factory bolt:
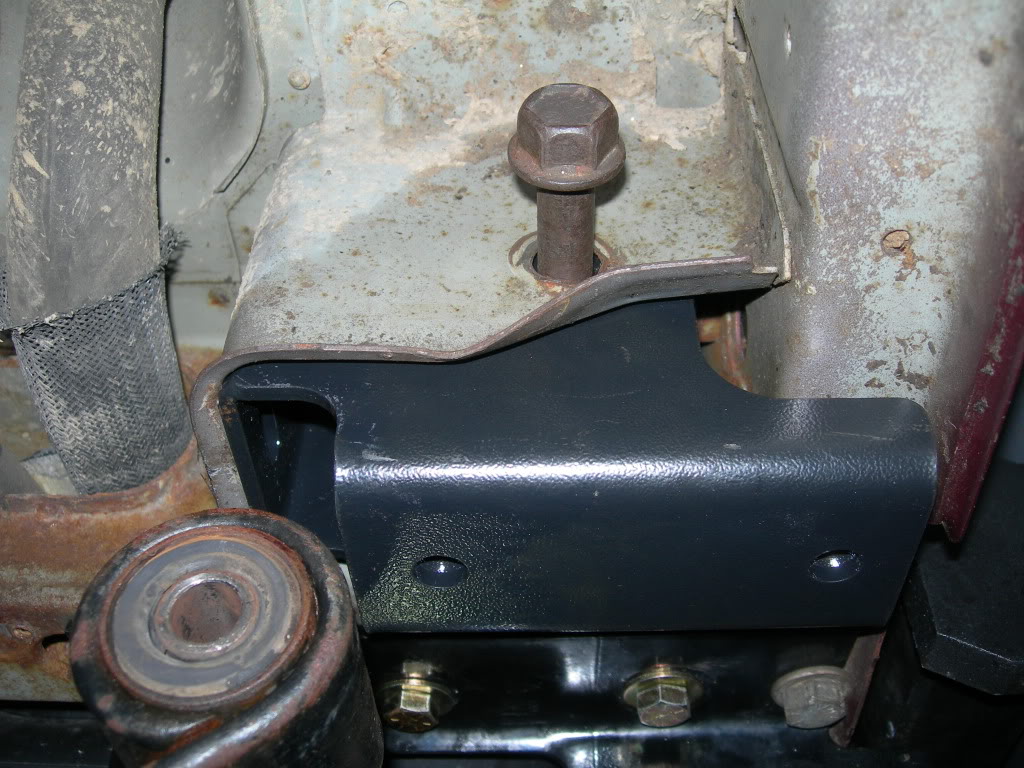
Install the flag nut and bolts:
Tighten down:
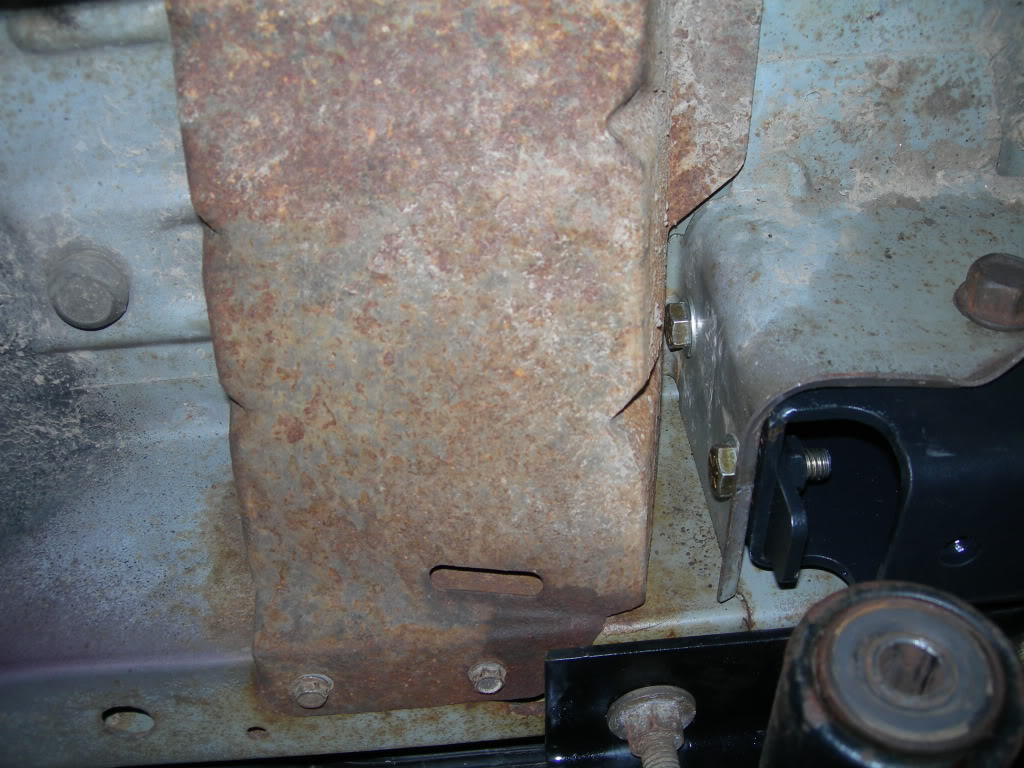
Now's a good time to reinstall the fuel-filler neck guard:
Install shackle hanger:
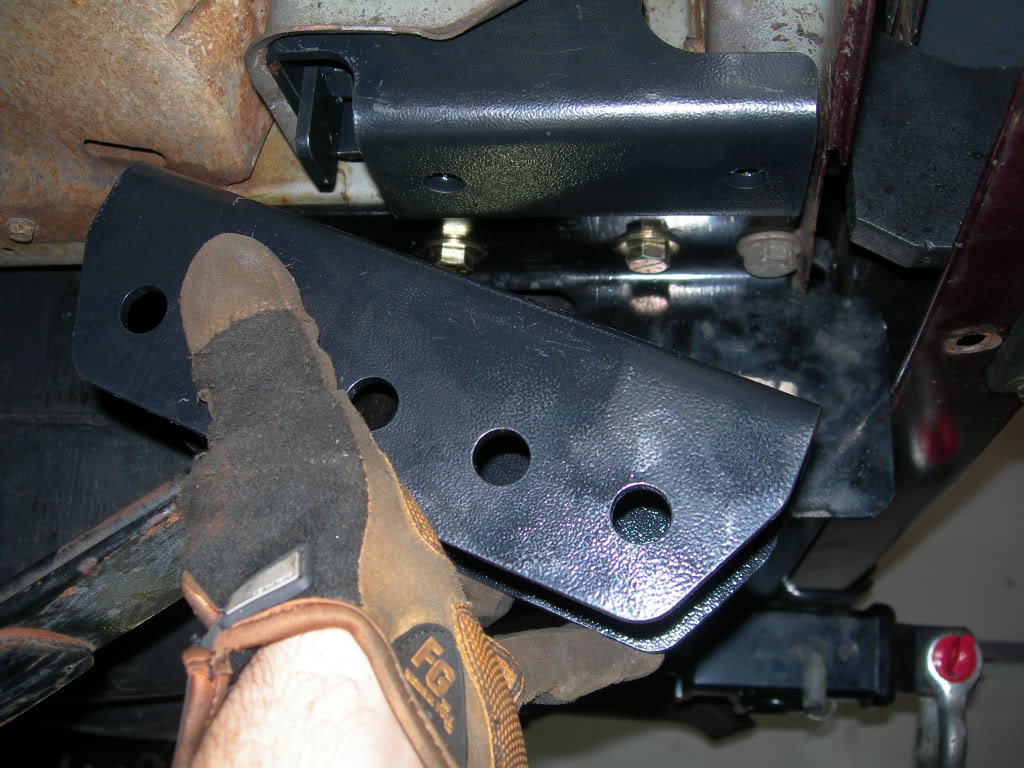
Secure with hardware:

Now, at this time, you would normally reinstall your shackles to complete the installation. But, after seeing the condition of my shackle bushings I decided to go ahead and purchase some aftermarket greasable units. I'm hoping newer, greasable shackles will help quiet down some of the squeaking in the rear suspension that was probably due to the low quality bushings in my current set up.
Here's the condition of my current shackles:
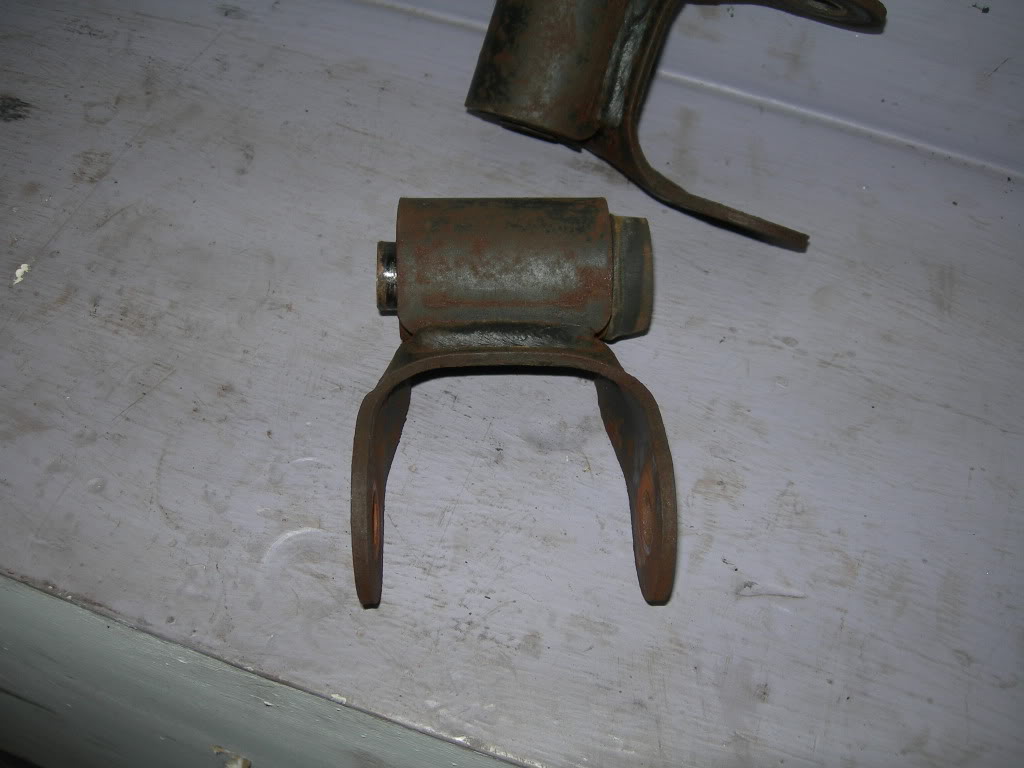
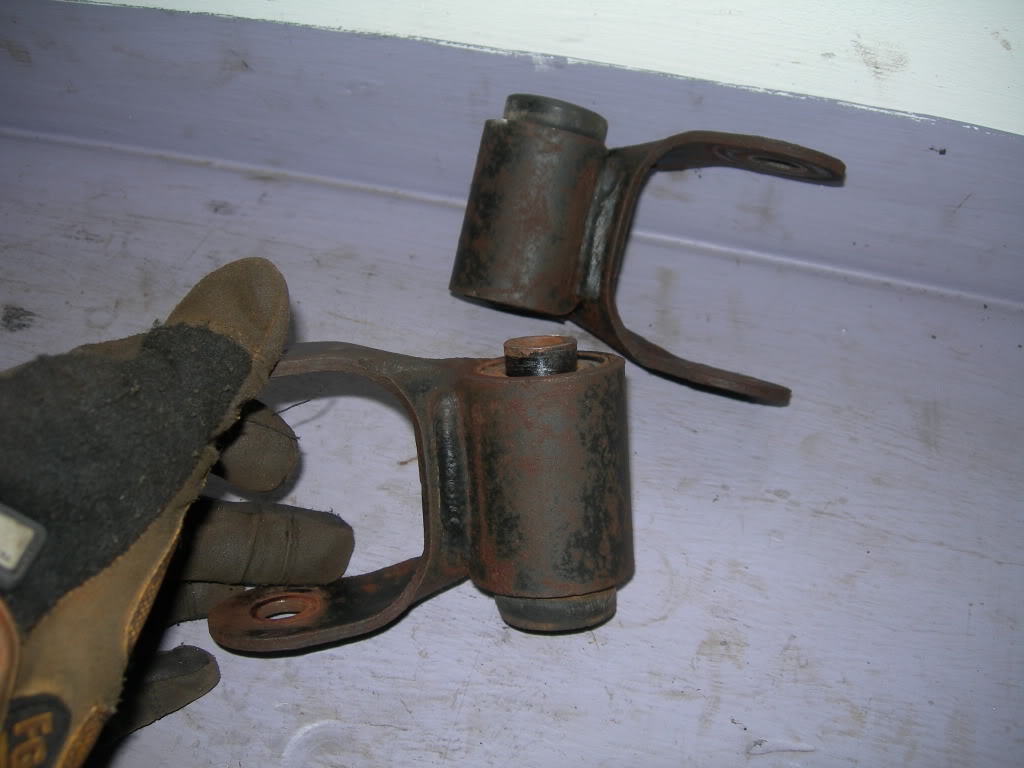
When the new shackles come in, I'll be sure to post up the completion of the install and some final pics.
Install the frame hanger bracket and secure with factory bolt:
Install the flag nut and bolts:
Tighten down:
Now's a good time to reinstall the fuel-filler neck guard:
Install shackle hanger:
Secure with hardware:
Now, at this time, you would normally reinstall your shackles to complete the installation. But, after seeing the condition of my shackle bushings I decided to go ahead and purchase some aftermarket greasable units. I'm hoping newer, greasable shackles will help quiet down some of the squeaking in the rear suspension that was probably due to the low quality bushings in my current set up.
Here's the condition of my current shackles:
When the new shackles come in, I'll be sure to post up the completion of the install and some final pics.