
Project Do work - 2001 XJ Build (Pic intensive)

Thread Starter
Seasoned Member
Joined: May 2010
Posts: 415
Likes: 0
From: Columbus, OH
Year: 2001
Model: Cherokee
Engine: 4.0 I6
Alright, I officially live in the garage. Luckily the fiancee is out of town, otherwise she'd be complaining about lack of "quality time".
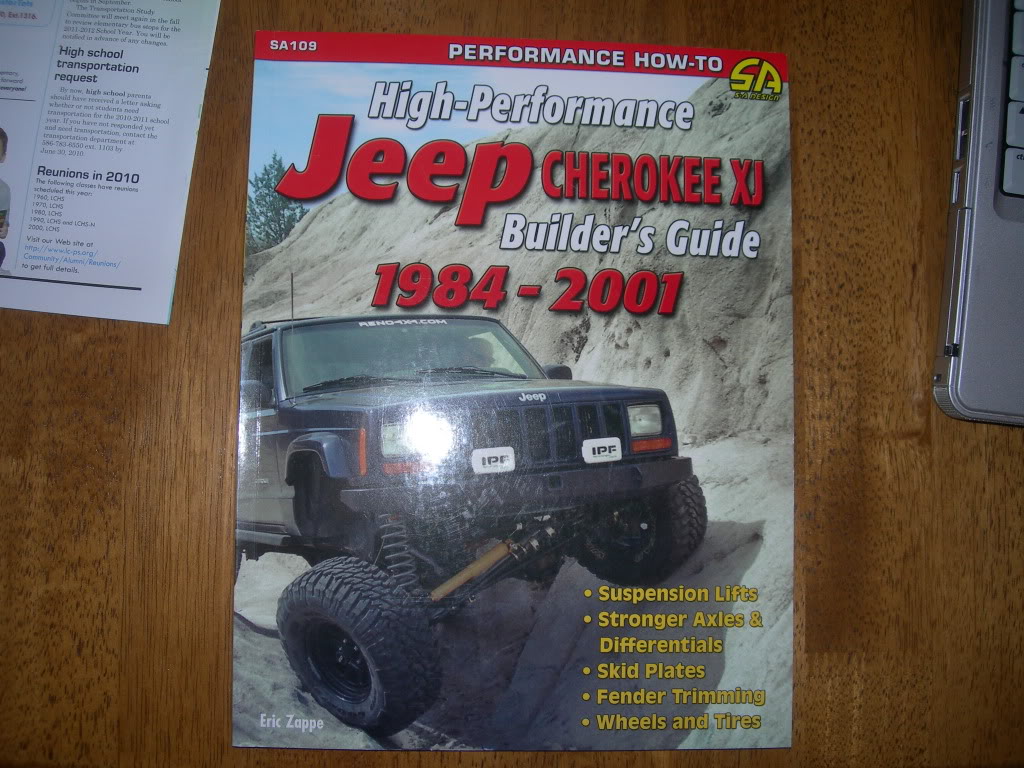
By the way, this is on my recommended reading list. Definitely good reading for those of us who are new to the XJ platform.
By the way, this is on my recommended reading list. Definitely good reading for those of us who are new to the XJ platform.
Thread Starter
Seasoned Member
Joined: May 2010
Posts: 415
Likes: 0
From: Columbus, OH
Year: 2001
Model: Cherokee
Engine: 4.0 I6
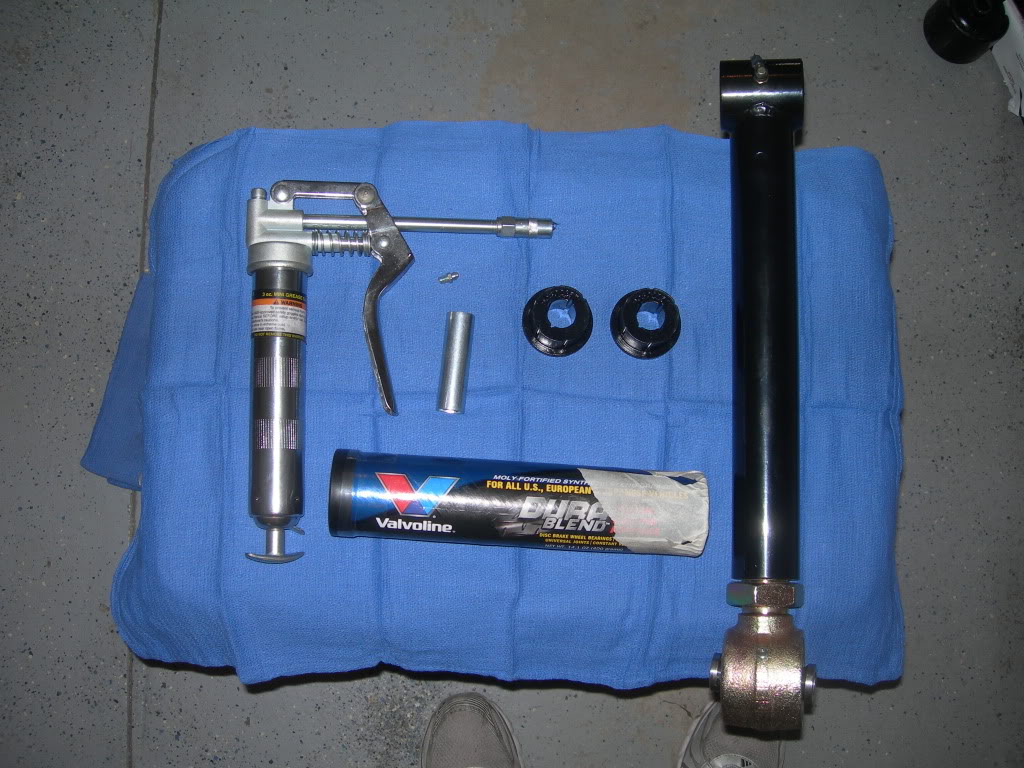
I started today off with assembly and greasing of he LCA's. The instructions don't really detail this procedure, but it's fairly straightforward once you see the parts.
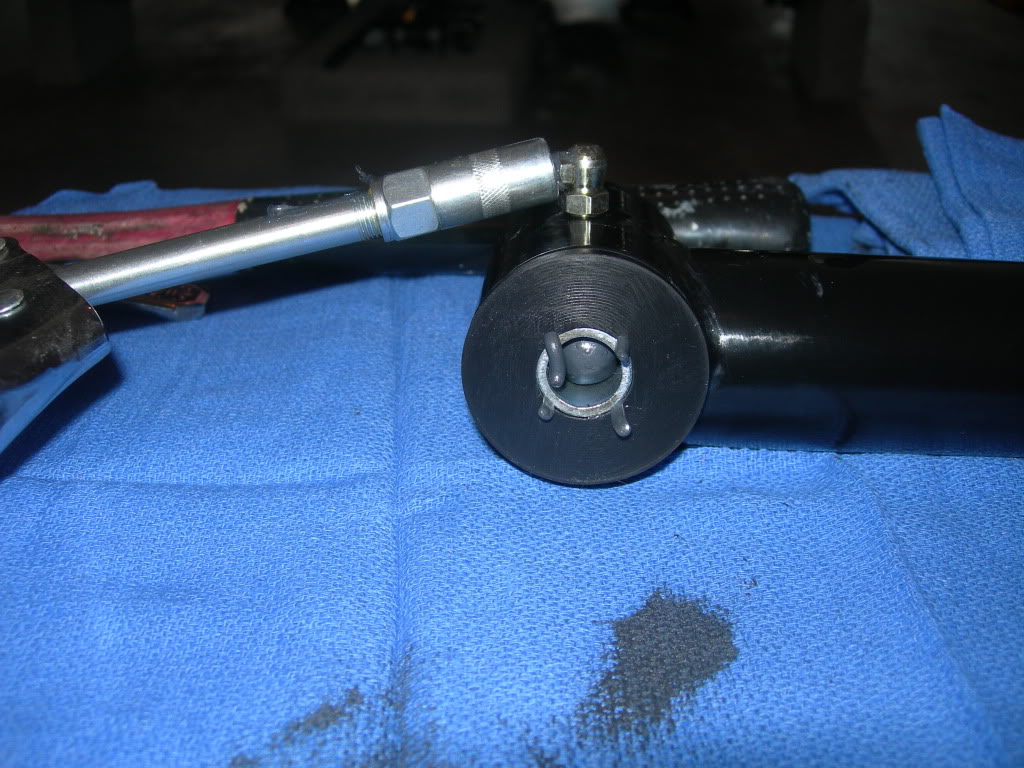
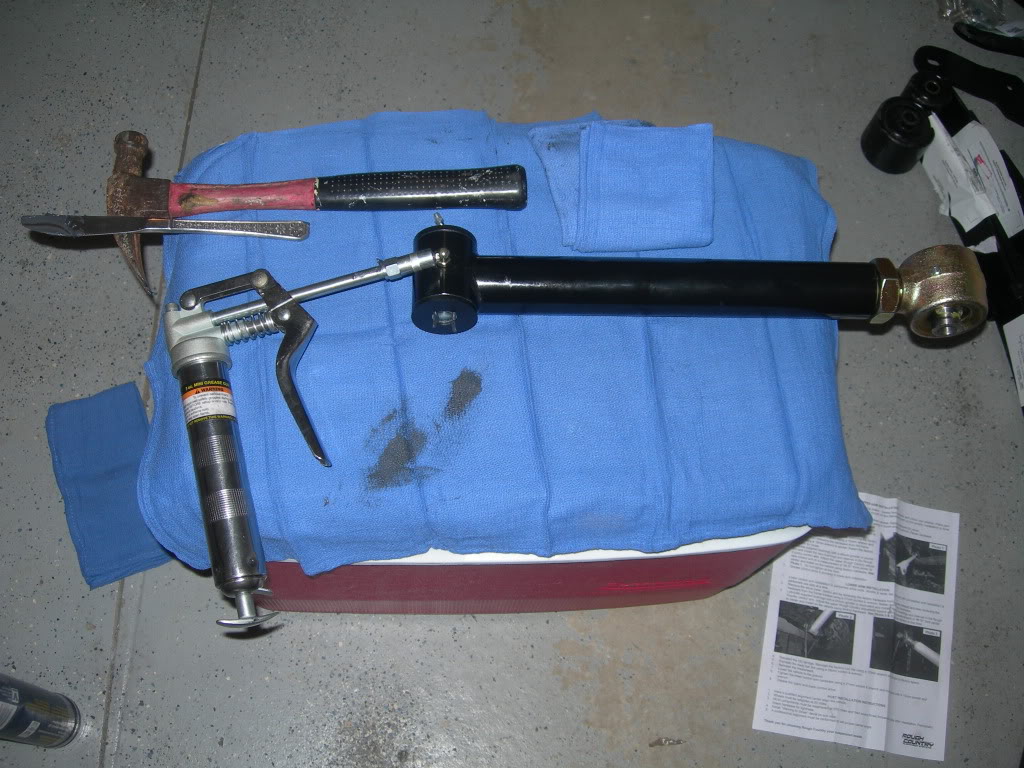
The bushings are inserted on both sides of the CA. I greased them to help them slide in and plopped a little grease into the center as well. After seating both halves of the bushing I then used a grease gun to further ensure adequate greasing. Quick wipe down and ready for install.
I picked up the grease gun at Harbor Freight and bought some lithium-based grease from Autozone.
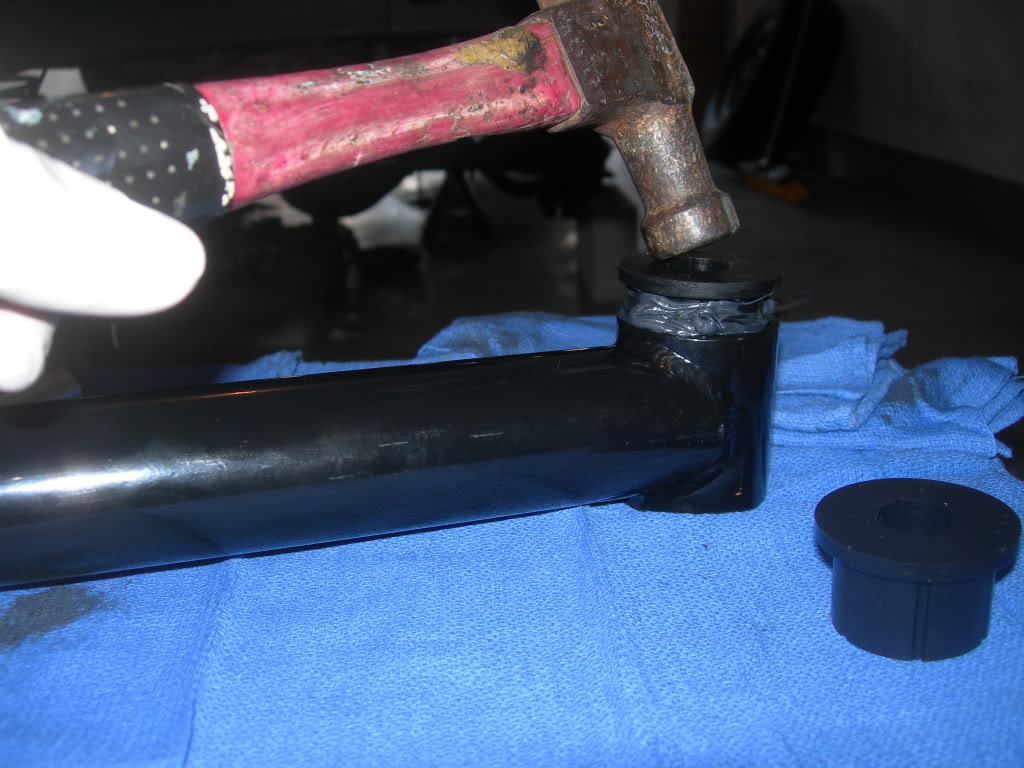
Tapping the bushing in:
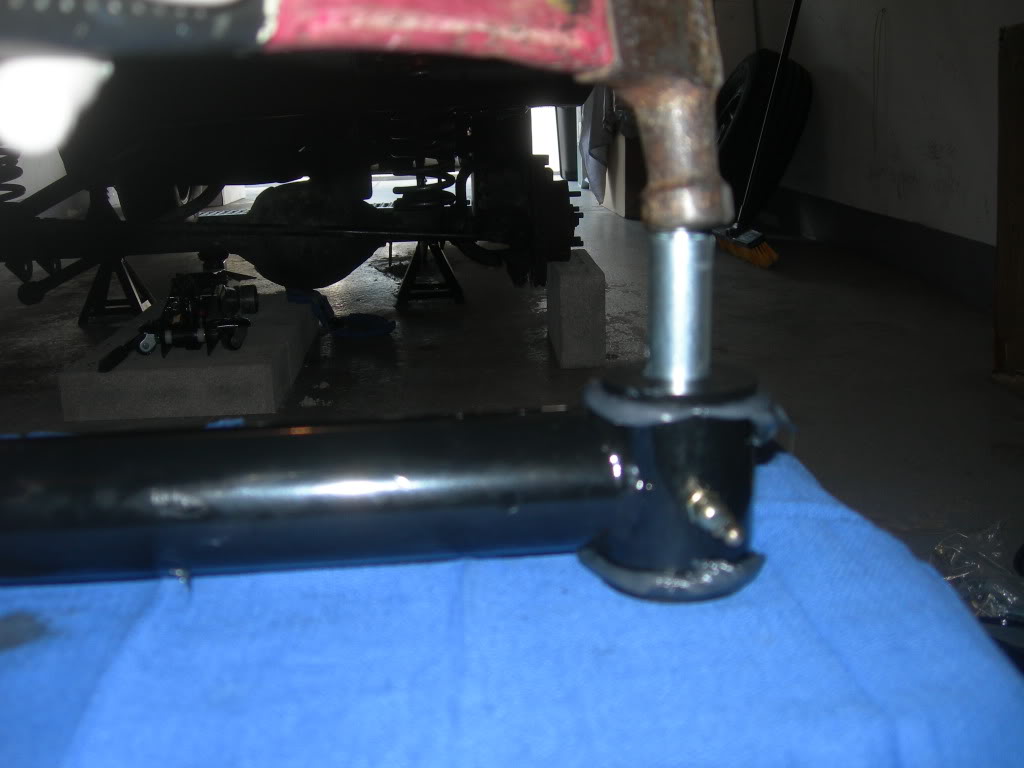
And the metal sleeve:
You can see the grease expelling from the channels in the bushing:
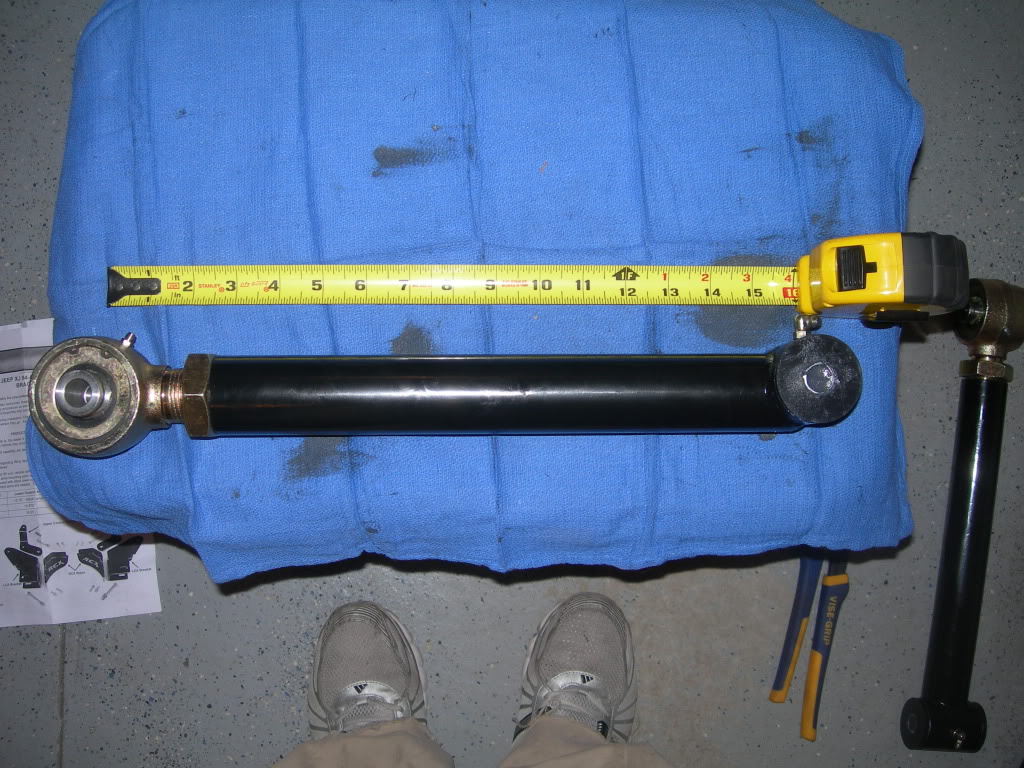
Lastly, adjusting the arm length:
The bushings are inserted on both sides of the CA. I greased them to help them slide in and plopped a little grease into the center as well. After seating both halves of the bushing I then used a grease gun to further ensure adequate greasing. Quick wipe down and ready for install.
I picked up the grease gun at Harbor Freight and bought some lithium-based grease from Autozone.
Tapping the bushing in:
And the metal sleeve:
You can see the grease expelling from the channels in the bushing:
Lastly, adjusting the arm length:
Thread Starter
Seasoned Member
Joined: May 2010
Posts: 415
Likes: 0
From: Columbus, OH
Year: 2001
Model: Cherokee
Engine: 4.0 I6
Ok, so the control arms are ready for installation, but since I opted for the CA relocation bracket it was time to set that up beforehand.
After removal of the factory control arms, the bracket is a simple bolt in procedure. The main bracket bolts to the lower control arm body mounting position as seen here:
Actually, before you bolt it in, don't forget to remove the caster adjustment shoe:

Viewed from the front:
And with the upper control arm mounting bracket bolted in:
Figuring out how to position the upper mounting bracket was a little tricky. It's kind of like putting together a puzzle, but if you stare at the pics long enough and try enough bolt-in combinations it'll eventually work out.
After removal of the factory control arms, the bracket is a simple bolt in procedure. The main bracket bolts to the lower control arm body mounting position as seen here:
Actually, before you bolt it in, don't forget to remove the caster adjustment shoe:
Viewed from the front:
And with the upper control arm mounting bracket bolted in:
Figuring out how to position the upper mounting bracket was a little tricky. It's kind of like putting together a puzzle, but if you stare at the pics long enough and try enough bolt-in combinations it'll eventually work out.
Thread Starter
Seasoned Member
Joined: May 2010
Posts: 415
Likes: 0
From: Columbus, OH
Year: 2001
Model: Cherokee
Engine: 4.0 I6
Then just bolt the upper and lower CA's in using the factory hardware.
Passenger:
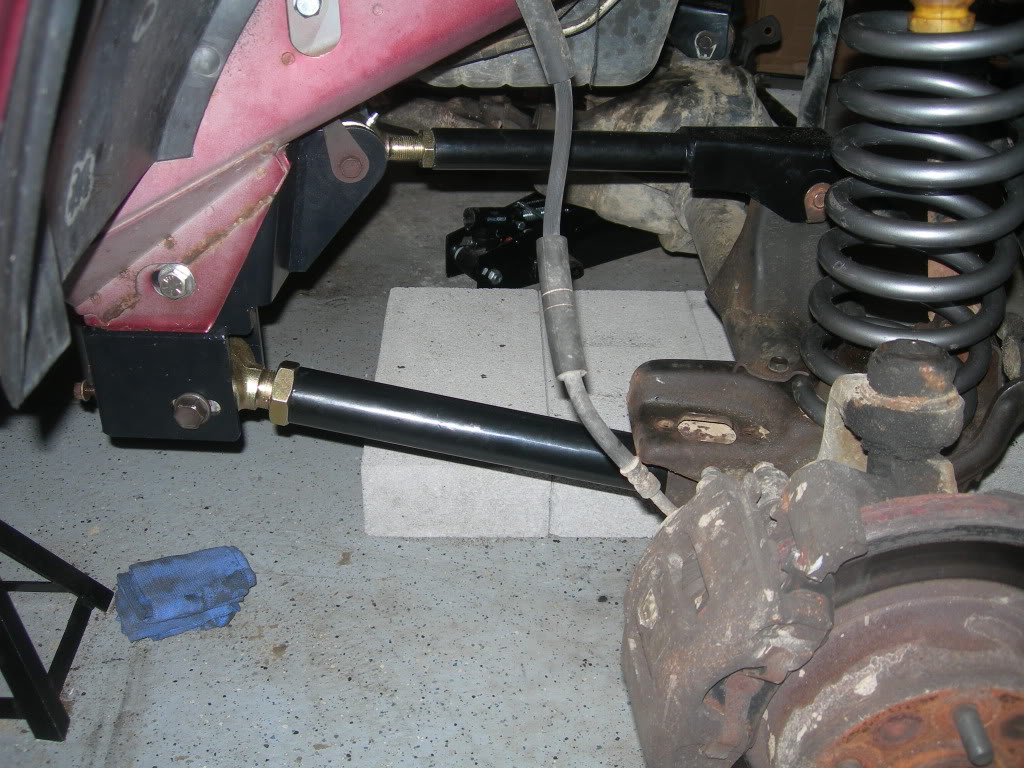
Driver:
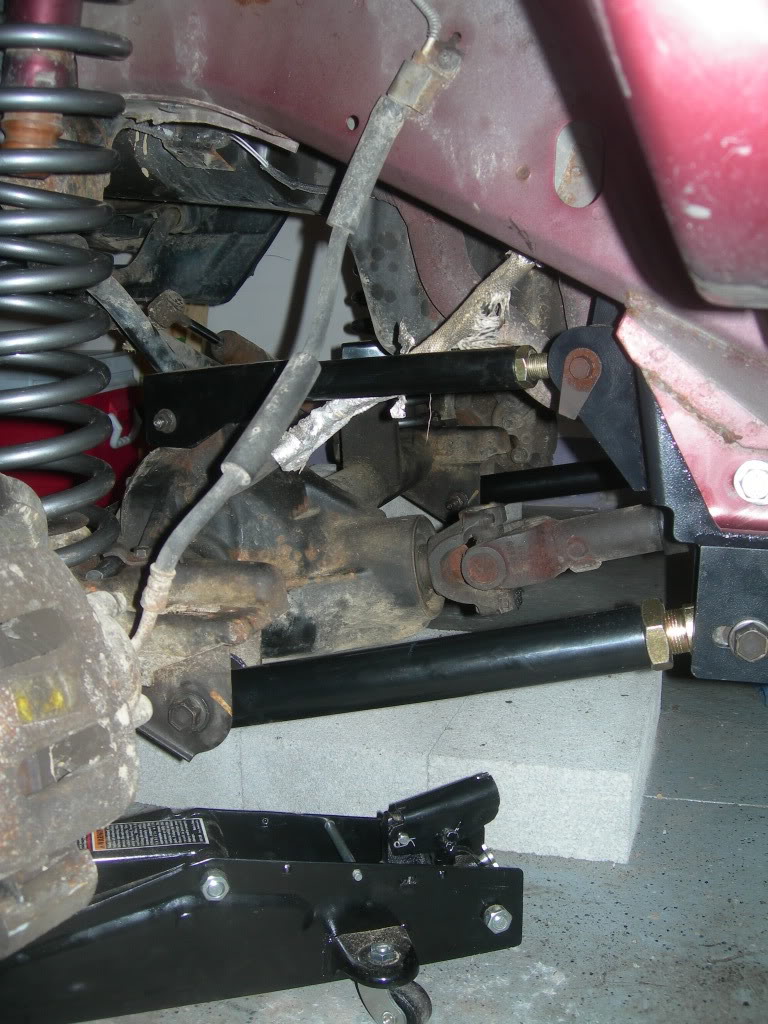
This was a little more difficult than I had planned. I hadn't read the instructions carefully enough, and I realized later that you aren't supposed to remove the control arms from both sides at once. Rather, you should complete one side and then move on to the other. Since I had removed all control arms and with all the movement from the jack and spring installation the axle had been slowly relocating itself. I didn't realize this until it was time to line everything back up with the new stuff. It took a lot of jacking, prying, and positioning to get the axle back in line enough to bolt everything down. And even though it looks ok to the eye, I'm sure the alignment is WAY off. Luckily, there's an alignment shop a half mile from my house.
Passenger:
Driver:
This was a little more difficult than I had planned. I hadn't read the instructions carefully enough, and I realized later that you aren't supposed to remove the control arms from both sides at once. Rather, you should complete one side and then move on to the other. Since I had removed all control arms and with all the movement from the jack and spring installation the axle had been slowly relocating itself. I didn't realize this until it was time to line everything back up with the new stuff. It took a lot of jacking, prying, and positioning to get the axle back in line enough to bolt everything down. And even though it looks ok to the eye, I'm sure the alignment is WAY off. Luckily, there's an alignment shop a half mile from my house.
Thread Starter
Seasoned Member
Joined: May 2010
Posts: 415
Likes: 0
From: Columbus, OH
Year: 2001
Model: Cherokee
Engine: 4.0 I6
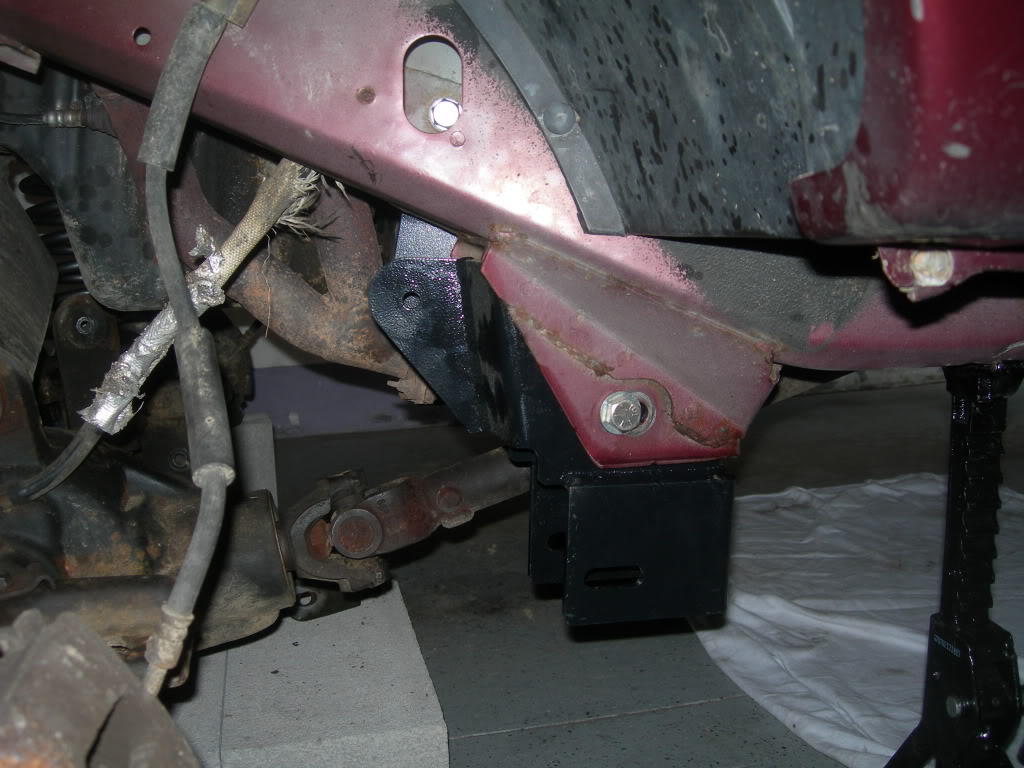
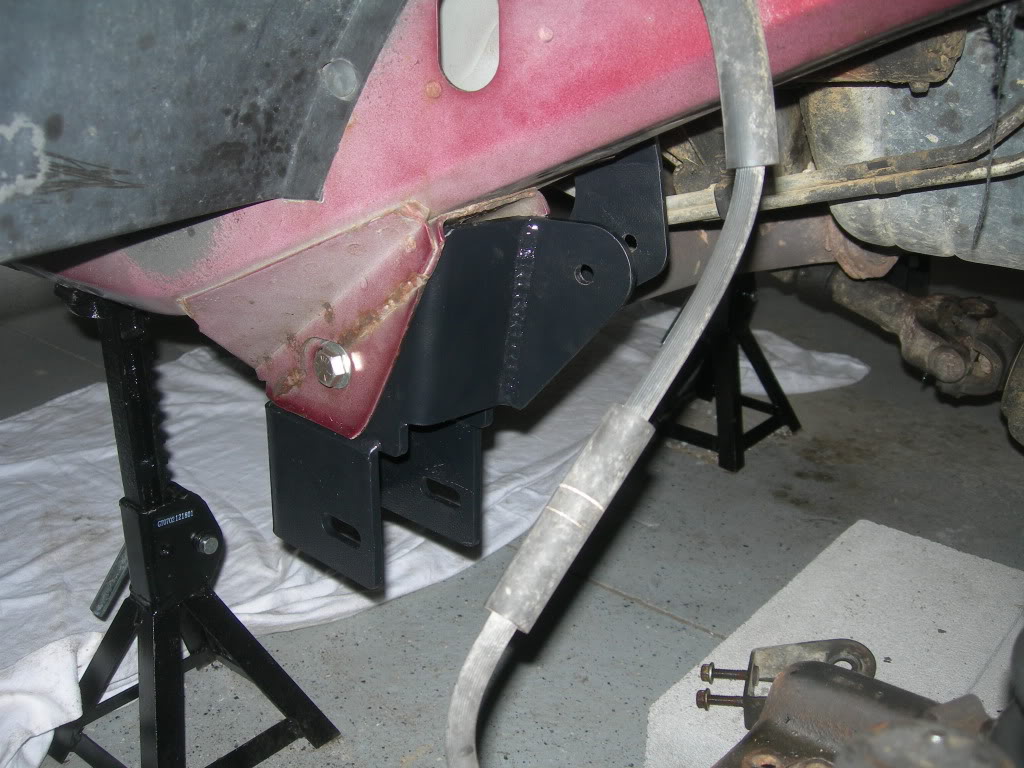
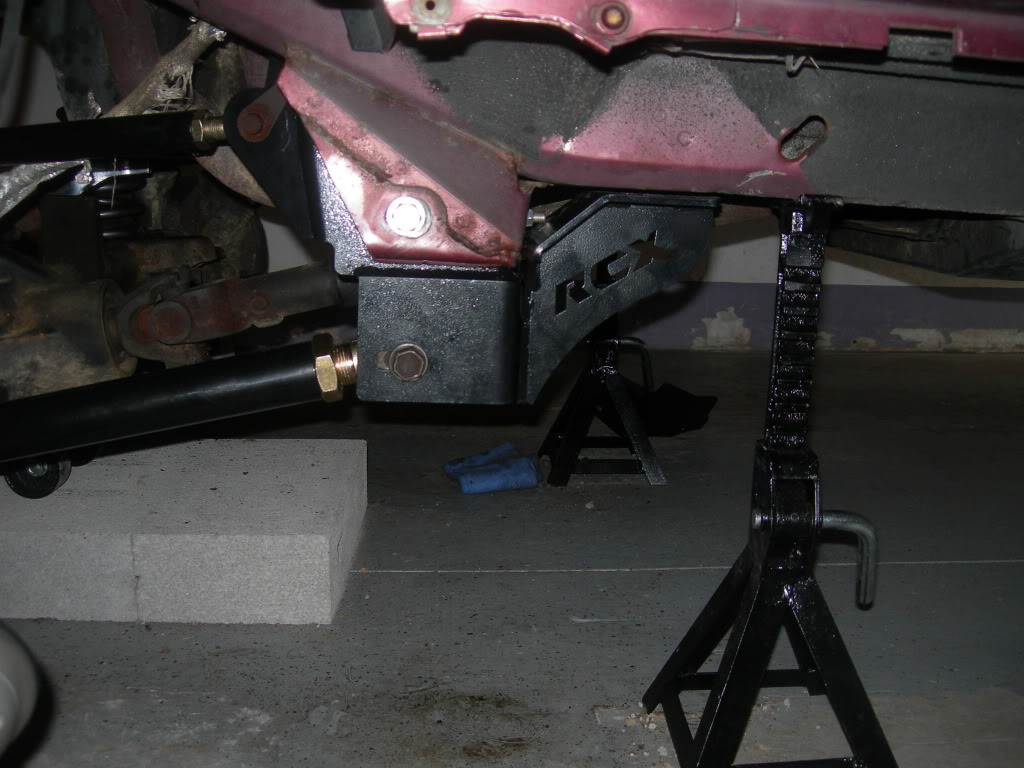
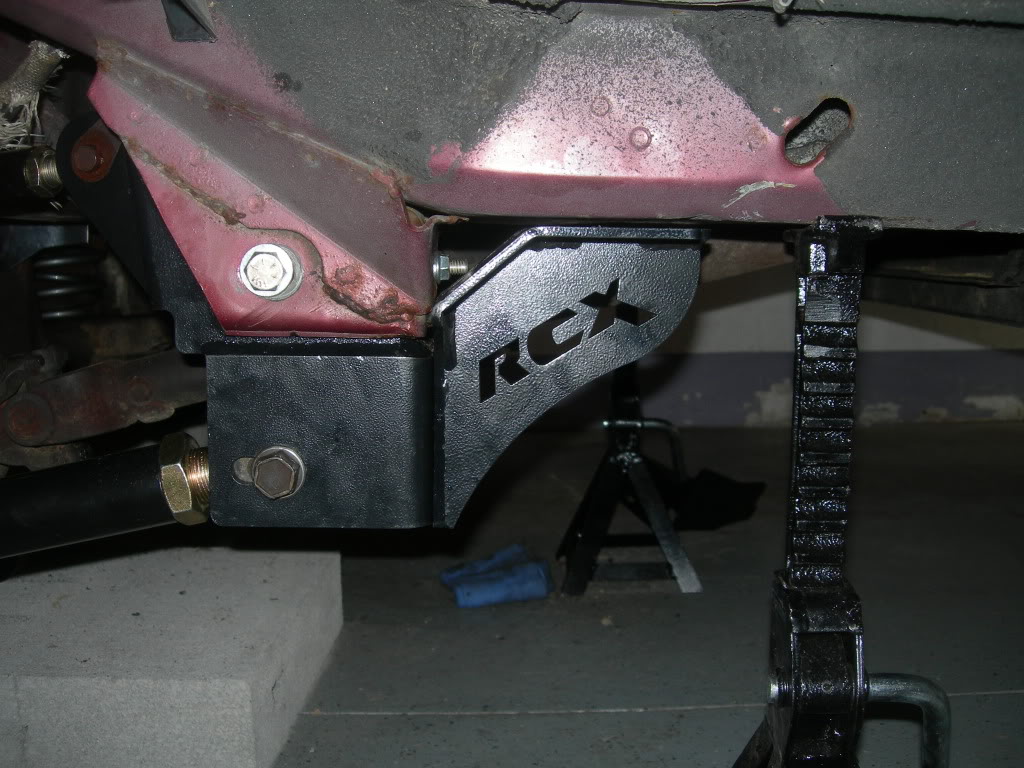
Support brackets were fairly easy to install. 2 bolts down low and 2 up top. You have to drill the holes yourself for up top though.
Last edited by sanchezcruz_20; Jun 21, 2010 at 01:11 AM. Reason: Typo
Thread Starter
Seasoned Member
Joined: May 2010
Posts: 415
Likes: 0
From: Columbus, OH
Year: 2001
Model: Cherokee
Engine: 4.0 I6
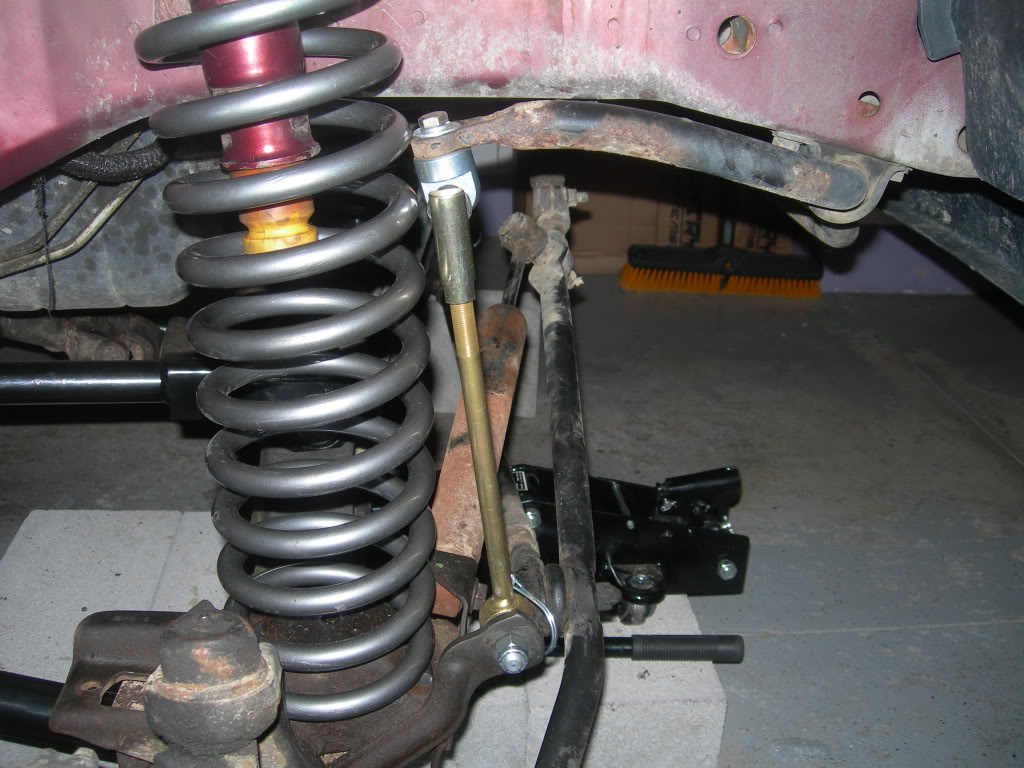
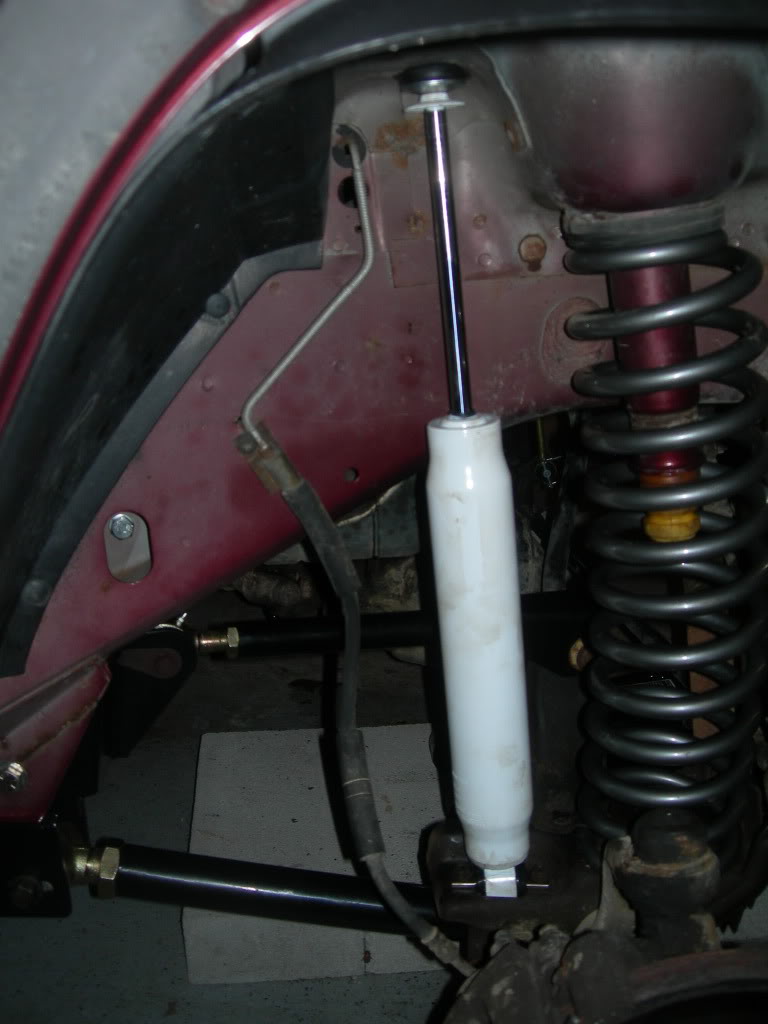
Had to work today so I didn't get much time to work on the Jeep. The only thing I really have left for the front end is installation of the new track bar, so I thought I'd do that tonight.
There are 2 bolts that secure the track to the vehicle, one at the frame and one at the axle. I had removed the bolt securing the bar to the axle earlier in the install so all I had to do was remove the bolt connecting it to the frame. I managed to persuade the cotter pin out with some needle nose pliers but the bolt is located in an awkward place. I did manage to get a wrench and socket on it:
It actually came off easier than I expected. I think it helped that I soaked it in WD-40 over night.
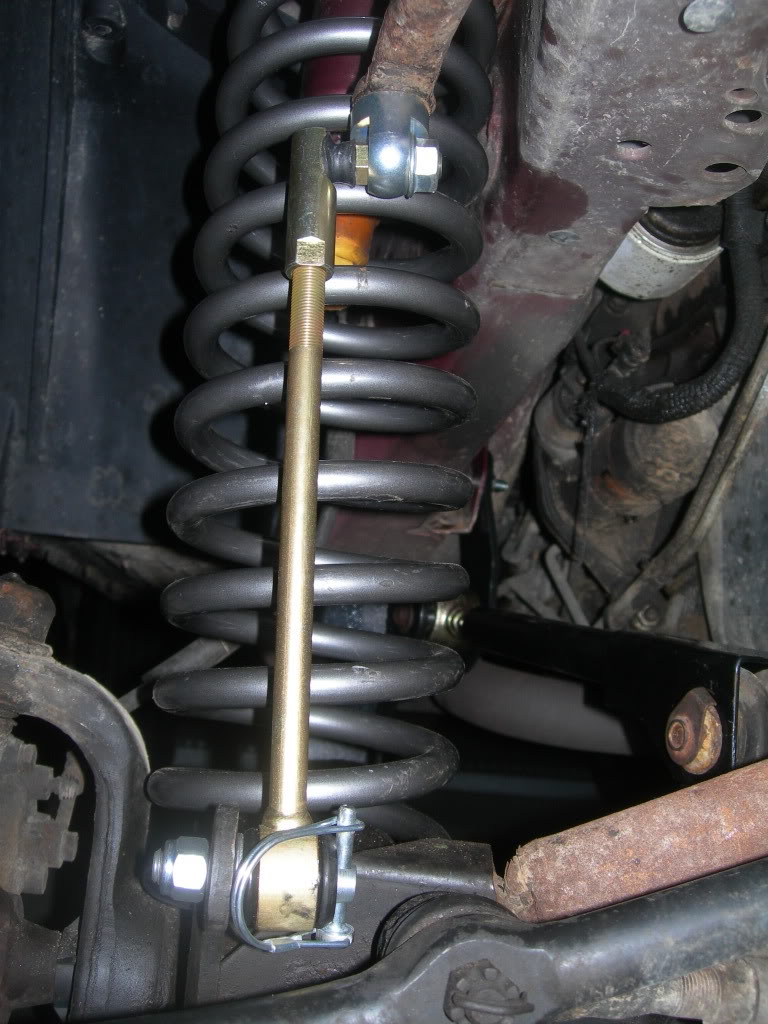
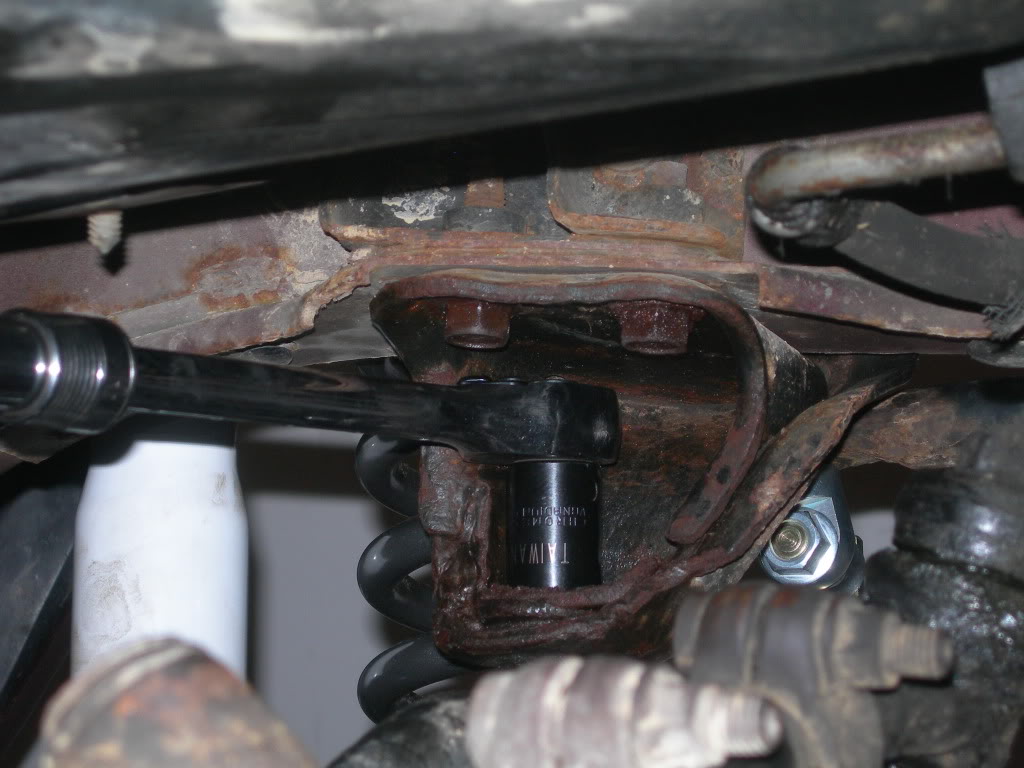
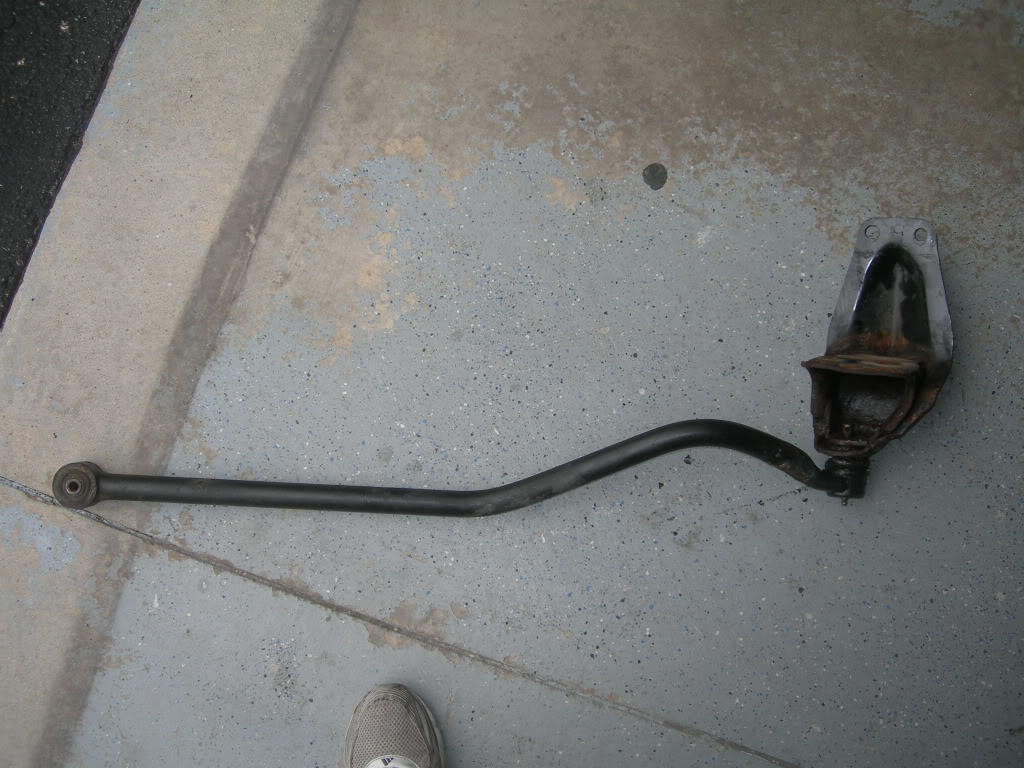
But that's where my luck ended. Even with the bolt off, the bar would not come loose from the bracket. I tried banging it, pulling it, prying it, etc. Finally, I decided to remove the entire bracket from the frame thinking I could get some better leverage for prying since it's located in such a hard to reach spot under the Jeep.
Here's what I'm dealing with:
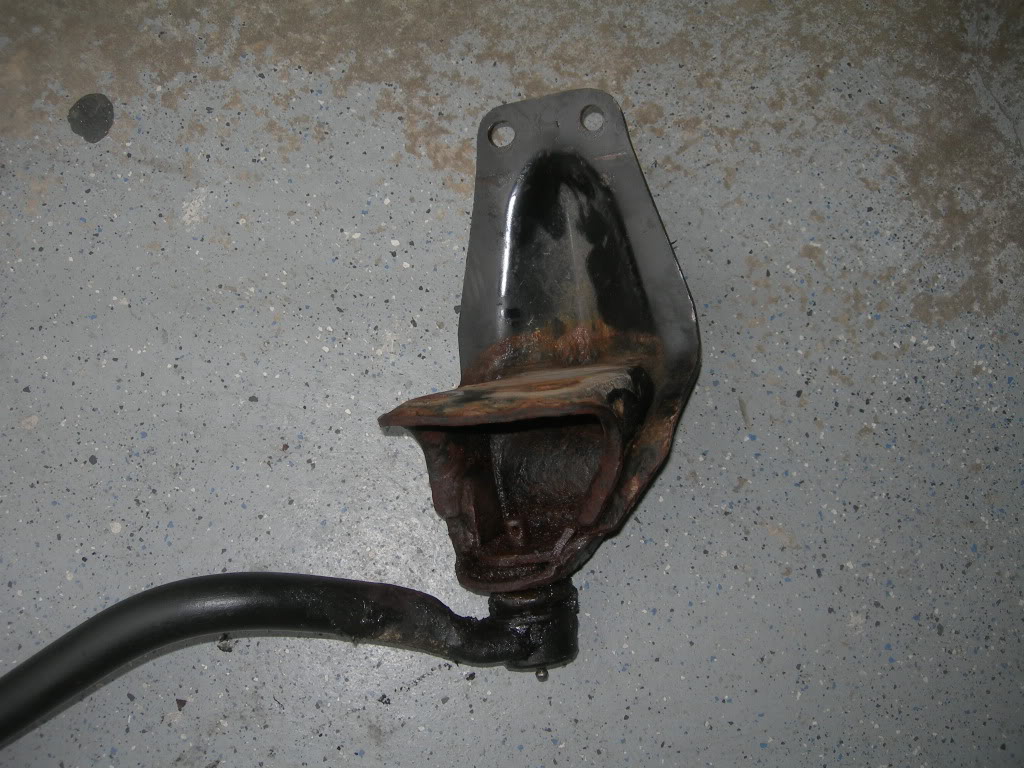
I thought about cutting the bolt so that I could get rid of the track bar and at least be able to pound on the bolt with a hammer, but after talking with my step-dad about it he said I should try a pickle fork. So tomorrow after work, I'll be going back to autozone yet again for another tool.
I'll keep you posted.
There are 2 bolts that secure the track to the vehicle, one at the frame and one at the axle. I had removed the bolt securing the bar to the axle earlier in the install so all I had to do was remove the bolt connecting it to the frame. I managed to persuade the cotter pin out with some needle nose pliers but the bolt is located in an awkward place. I did manage to get a wrench and socket on it:
It actually came off easier than I expected. I think it helped that I soaked it in WD-40 over night.
But that's where my luck ended. Even with the bolt off, the bar would not come loose from the bracket. I tried banging it, pulling it, prying it, etc. Finally, I decided to remove the entire bracket from the frame thinking I could get some better leverage for prying since it's located in such a hard to reach spot under the Jeep.
Here's what I'm dealing with:
I thought about cutting the bolt so that I could get rid of the track bar and at least be able to pound on the bolt with a hammer, but after talking with my step-dad about it he said I should try a pickle fork. So tomorrow after work, I'll be going back to autozone yet again for another tool.
I'll keep you posted.

Thread Starter
Seasoned Member
Joined: May 2010
Posts: 415
Likes: 0
From: Columbus, OH
Year: 2001
Model: Cherokee
Engine: 4.0 I6
Thread Starter
Seasoned Member
Joined: May 2010
Posts: 415
Likes: 0
From: Columbus, OH
Year: 2001
Model: Cherokee
Engine: 4.0 I6
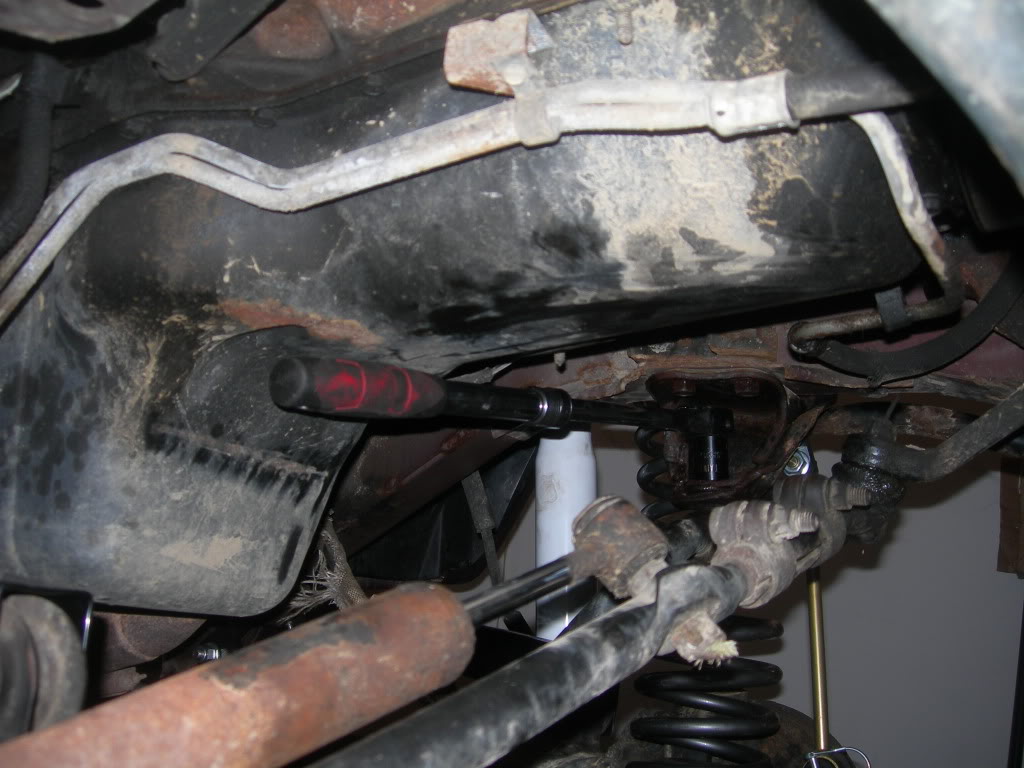
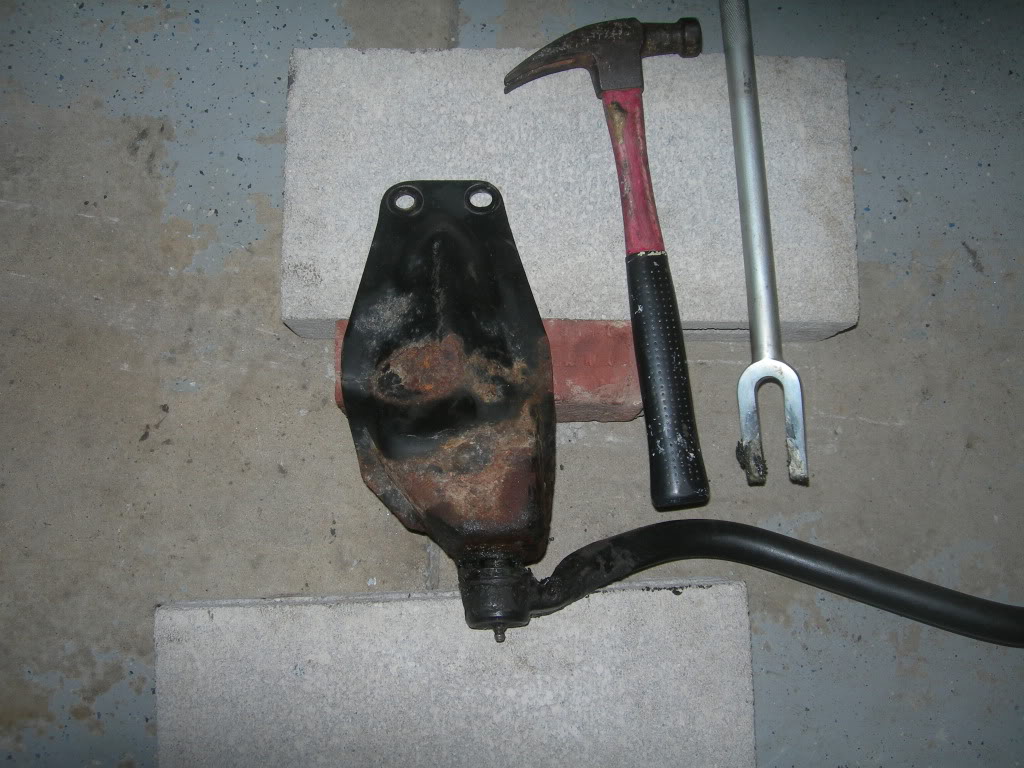
Went to autozone and rented a pickle fork/ball joint separator. It's still amazing to me how much easier your life can be with the right tools. This thing did in 5 seconds what I was fooling around with for 2 hours yesterday.
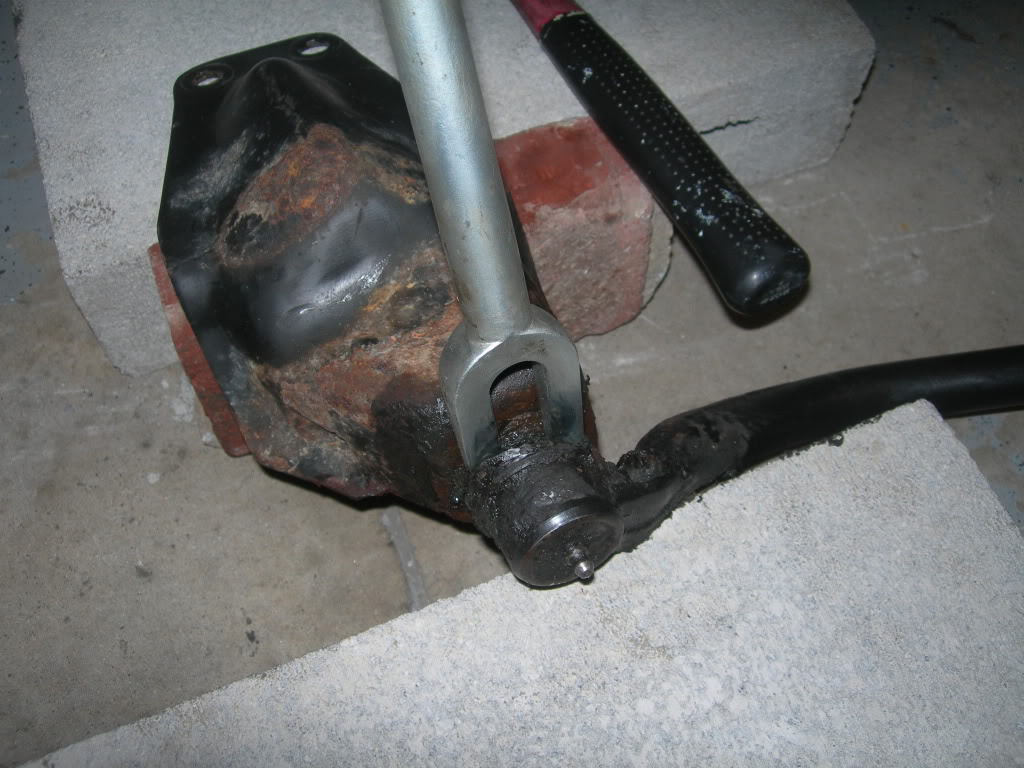
The pickle fork is wedge shaped. As it is advanced, it slowly separates the pieces as shown:
Ding, ding, ding...
Taking a beating...
Out for the count...
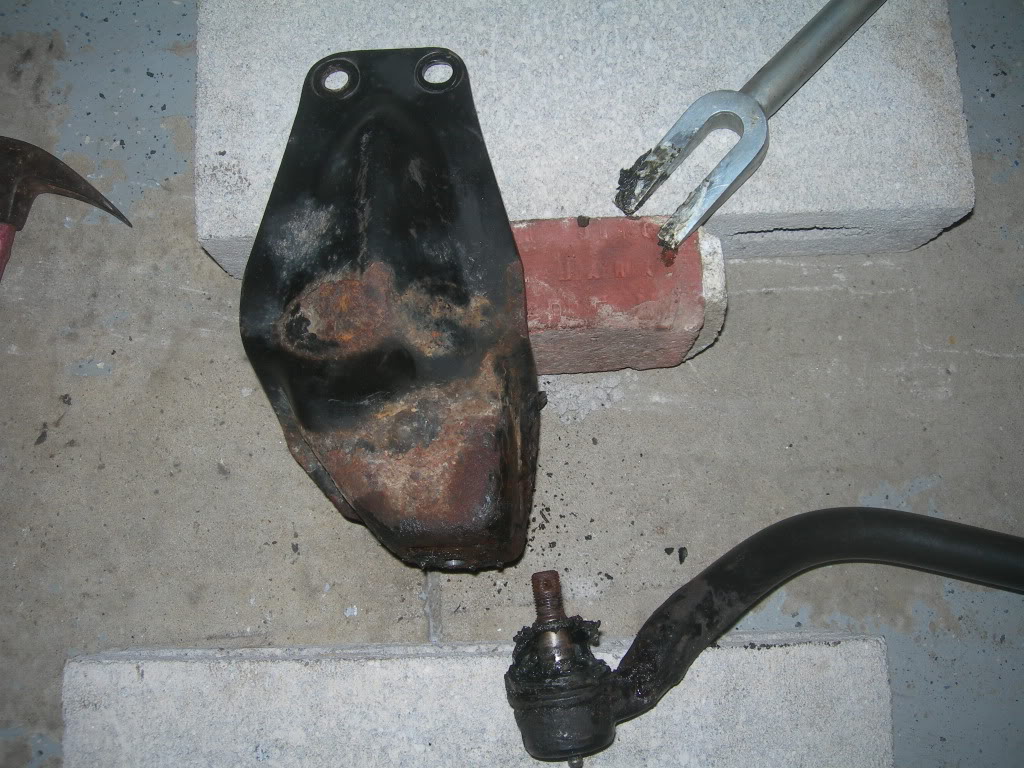
Then all I had to do is install the aftermarket piece.
The pickle fork is wedge shaped. As it is advanced, it slowly separates the pieces as shown:
Ding, ding, ding...
Taking a beating...
Out for the count...
Then all I had to do is install the aftermarket piece.
Thread Starter
Seasoned Member
Joined: May 2010
Posts: 415
Likes: 0
From: Columbus, OH
Year: 2001
Model: Cherokee
Engine: 4.0 I6
The kit came with brake line extension for the front and rear. There is no bracket relocation since the lines are longer which means no drilling. I really like the way they turned out, looks great and functional. The fitting on the hardline is screwed into the new line and then connected to the caliper. I need to bleed the brakes, but I'm going to wait until the rear brakes are done and do it all at once.
Stock setup:
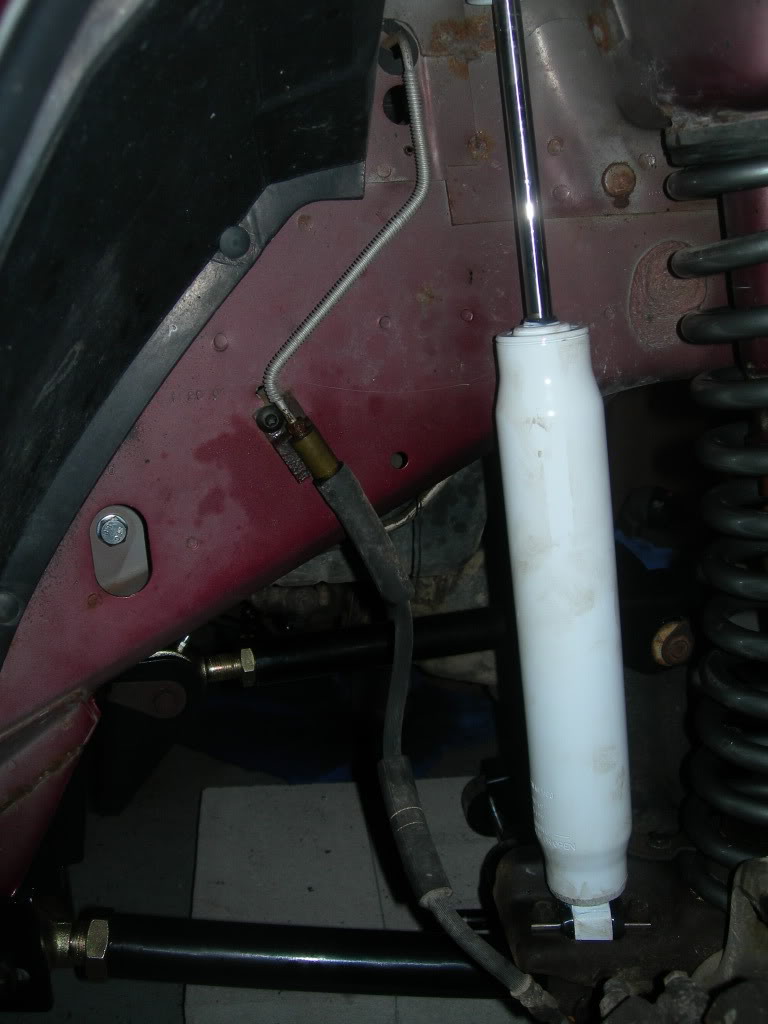
Sweet:
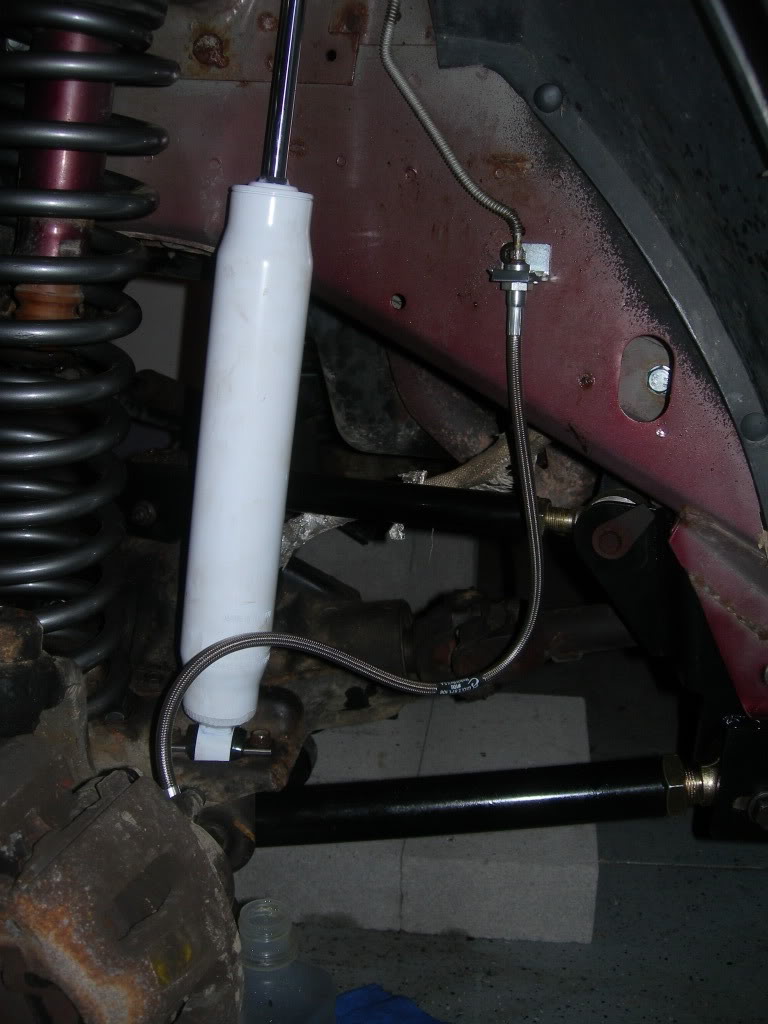
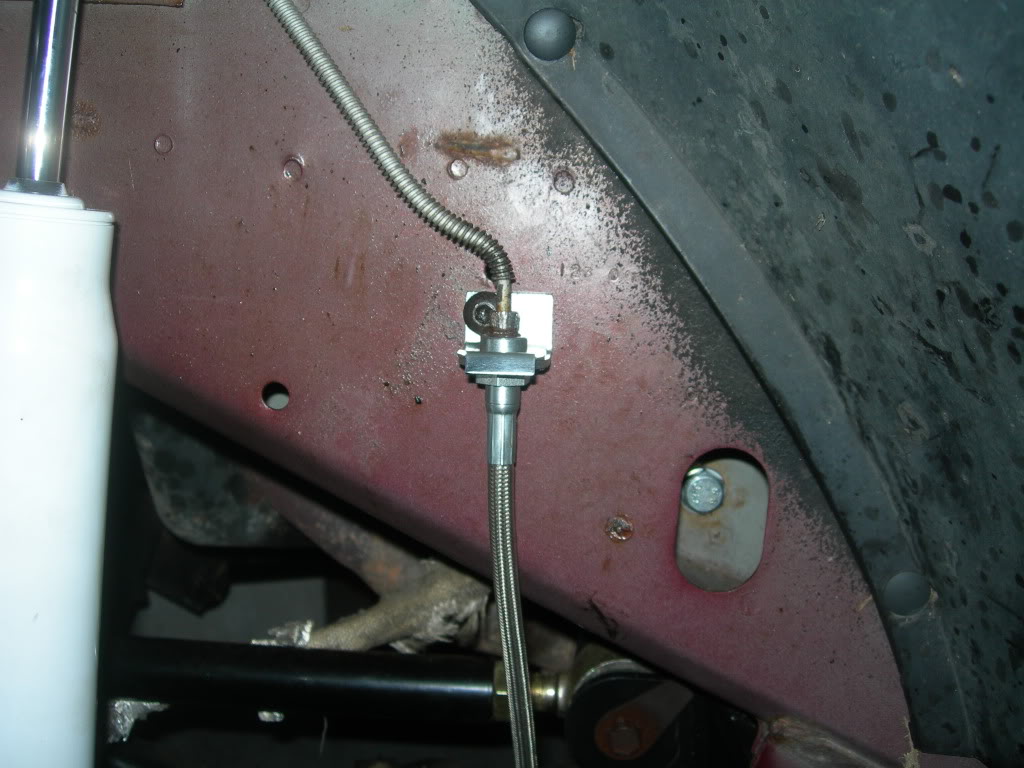
This basically finishes up the front end. Now onto the back end.
Stock setup:
Sweet:
This basically finishes up the front end. Now onto the back end.
Thread Starter
Seasoned Member
Joined: May 2010
Posts: 415
Likes: 0
From: Columbus, OH
Year: 2001
Model: Cherokee
Engine: 4.0 I6
Started on the rear suspension tonight.
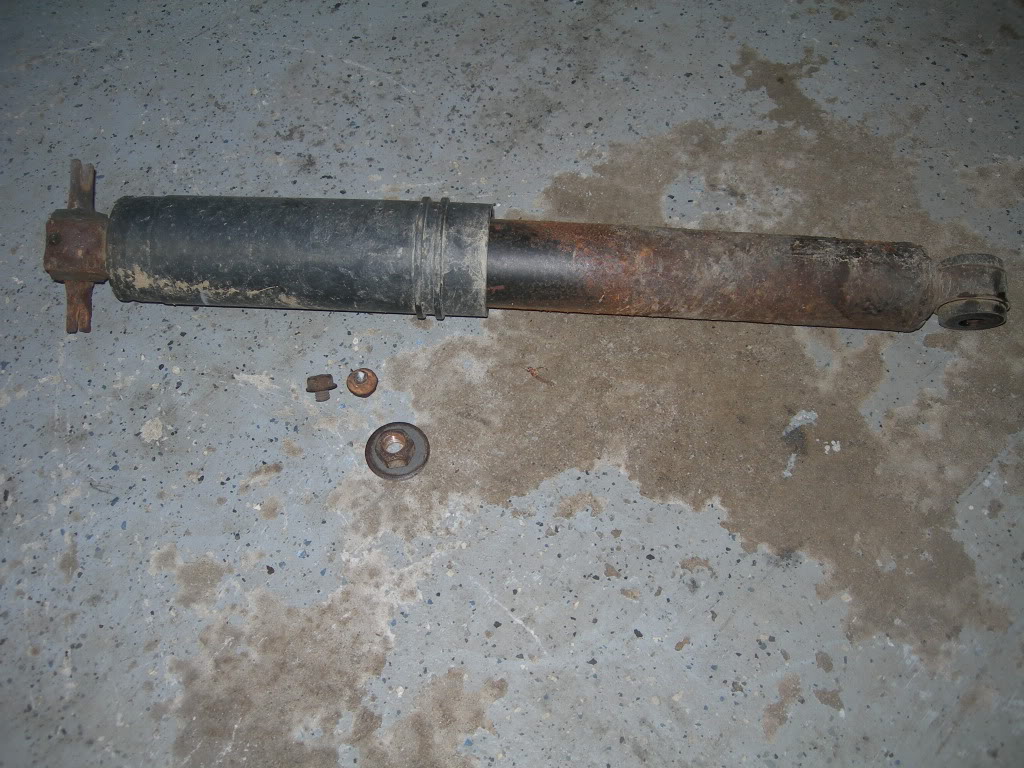
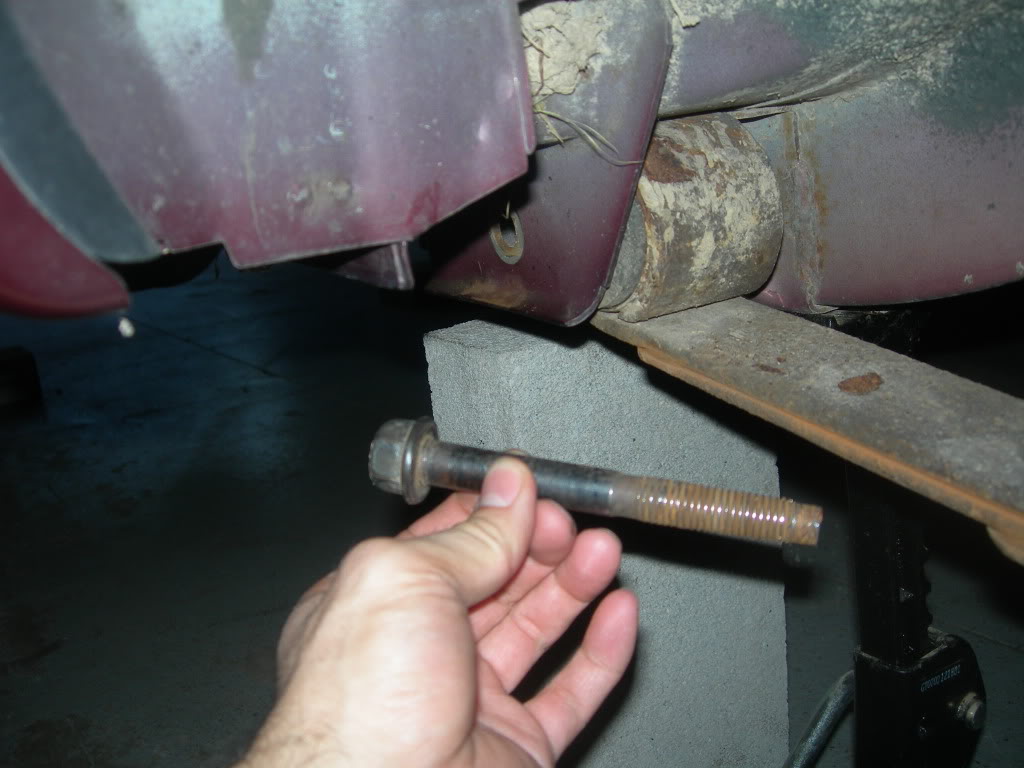
Started with the shocks. I was hoping to get lucky with the top shock bolts, but not so much....
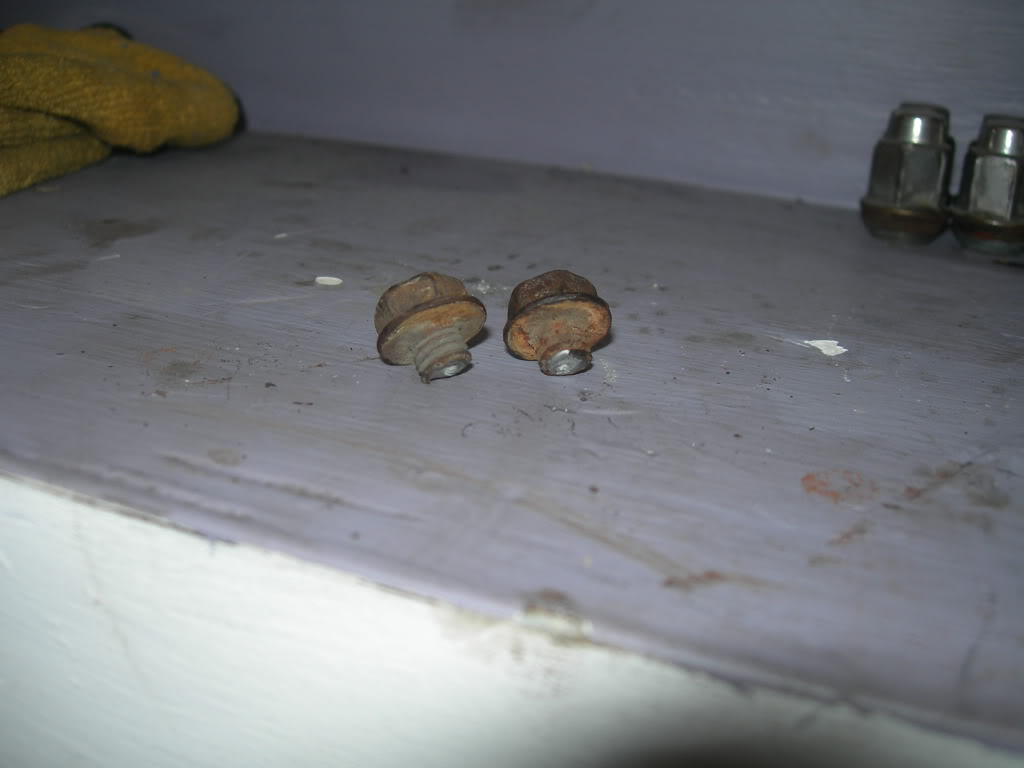
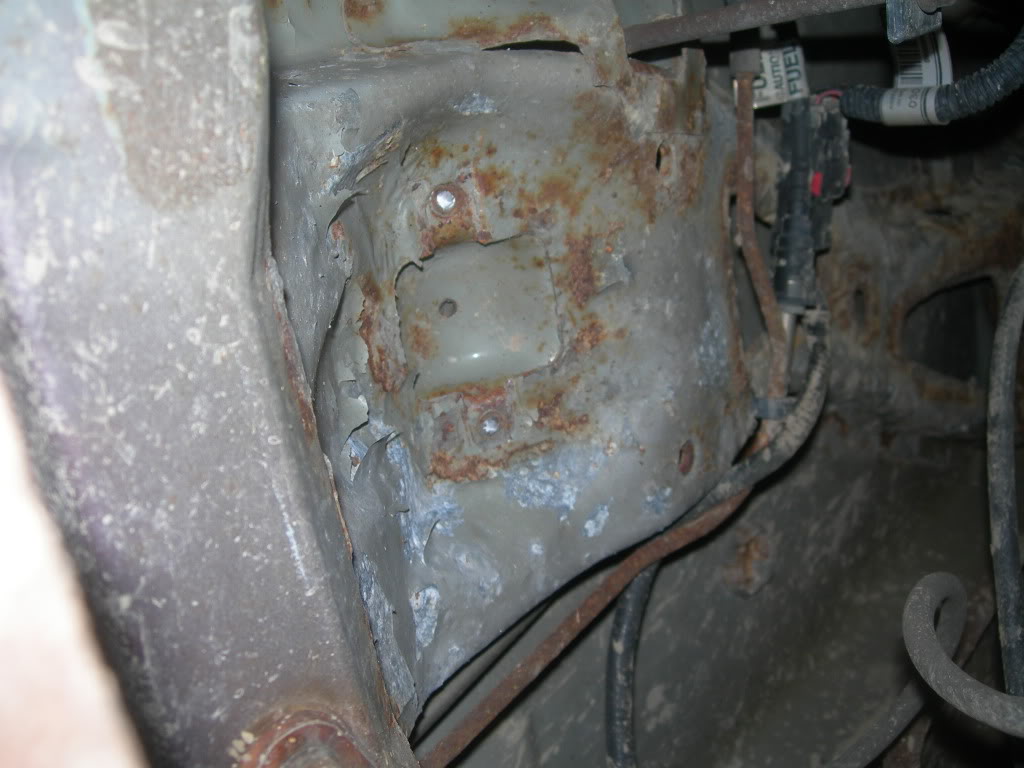
All four snapped off. I wasn't even wrenching on them that hard! Guess I'll be looking at my options for dealing with this.
At least they're out:
Also went ahead and removed the U-bolts from both sides
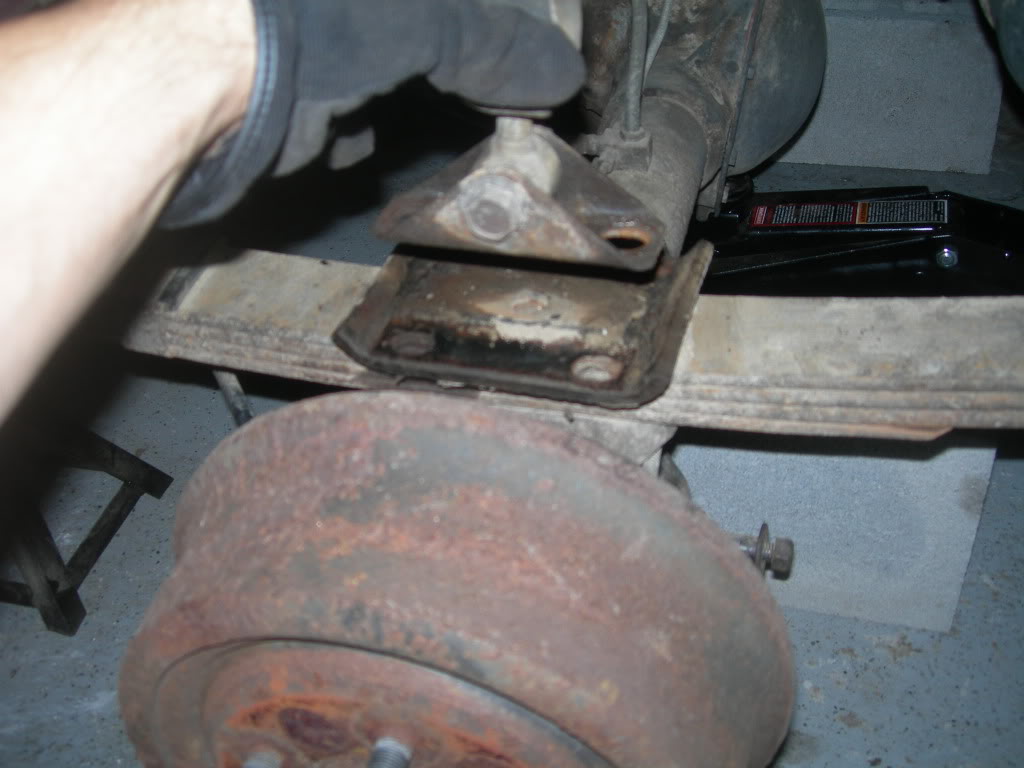
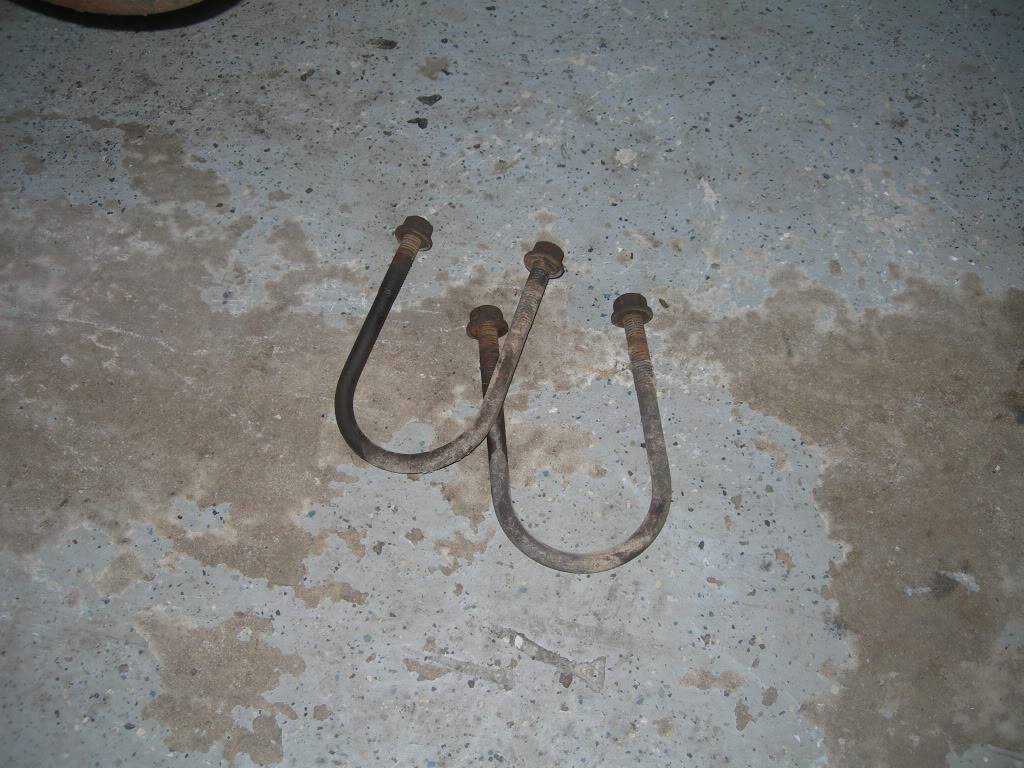
and removed the front bolt from each leaf spring
I need to buy another 21mm socket/wrench for the rear mount of the leaf spring so I'll work on that tomorrow.
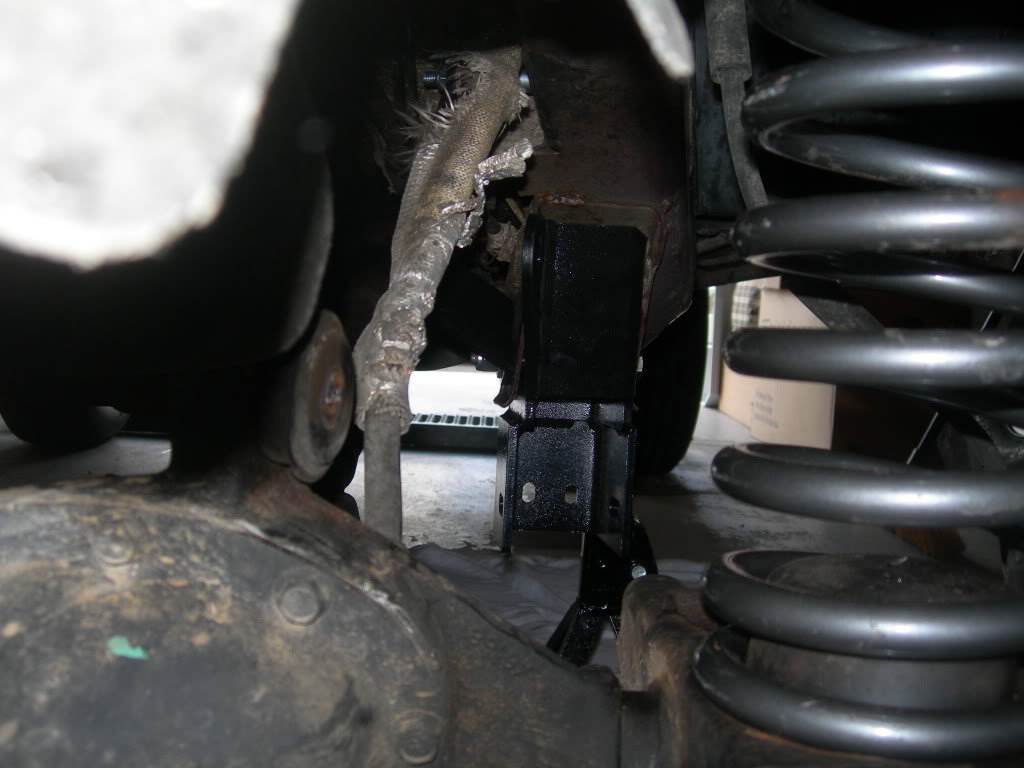
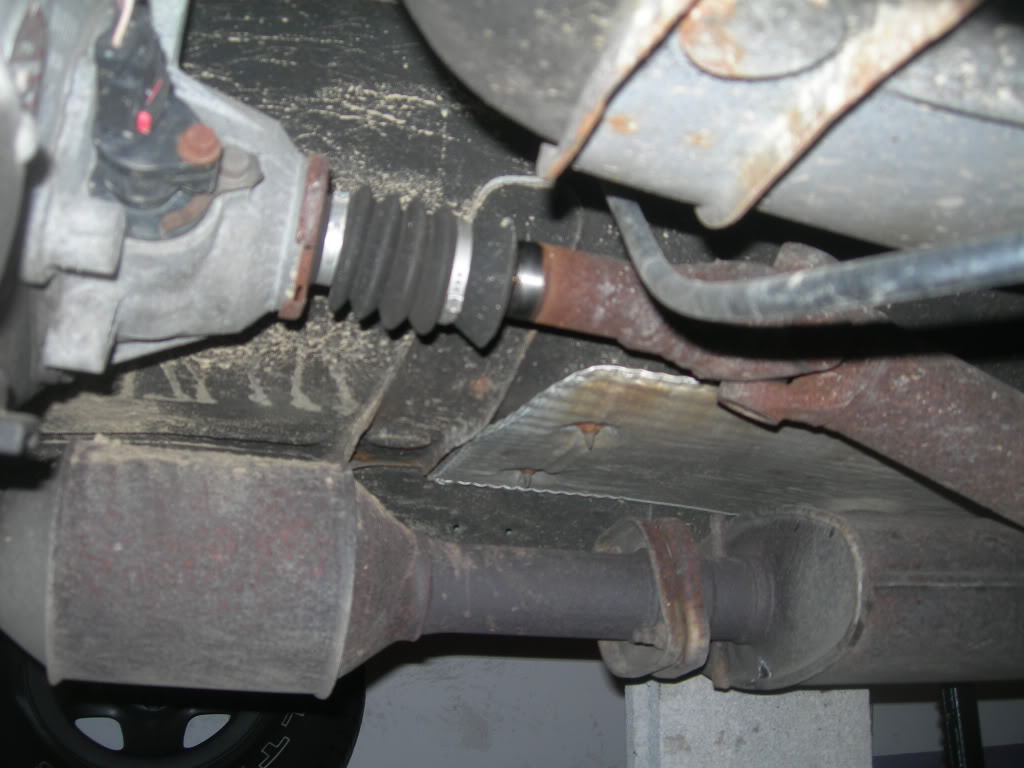
By the way, is it bad that when I dropped my rear axle I heard a pop? Upon checking it out, I noticed the rubber boot coming from the transfer case had been pulled back a bit.... enough to see some splines... here's what I'm talking about:
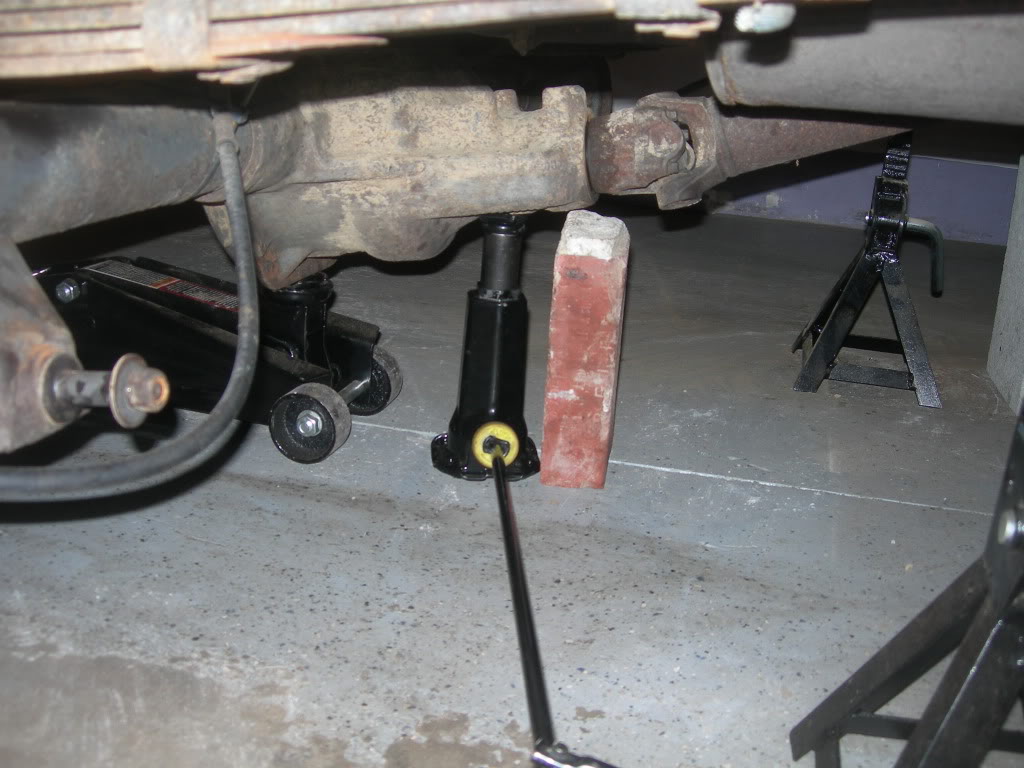
So to remedy that, I just propped up the pumpkin to relieve the angle until I'm done with the install
In the meantime, any recommendations for the busted shock bolts? Should I just bite the bullet and cut the floor up?
Started with the shocks. I was hoping to get lucky with the top shock bolts, but not so much....
All four snapped off. I wasn't even wrenching on them that hard! Guess I'll be looking at my options for dealing with this.
At least they're out:
Also went ahead and removed the U-bolts from both sides
and removed the front bolt from each leaf spring
I need to buy another 21mm socket/wrench for the rear mount of the leaf spring so I'll work on that tomorrow.
By the way, is it bad that when I dropped my rear axle I heard a pop? Upon checking it out, I noticed the rubber boot coming from the transfer case had been pulled back a bit.... enough to see some splines... here's what I'm talking about:
So to remedy that, I just propped up the pumpkin to relieve the angle until I'm done with the install
In the meantime, any recommendations for the busted shock bolts? Should I just bite the bullet and cut the floor up?

