When you click on links to various merchants on this site and make a purchase, this can result in this site earning a commission. Affiliate programs and affiliations include, but are not limited to, the eBay Partner Network.
I'm moving my build thread from NAXJA to CherokeeForum.com with hopes in getting some feedback and help. Anyway here is my build so far.
(April 24, 2016)
I'm getting out of the car scene since everyone is going too low and far away from functional.
I picked myself up a 1999 XJ Sport in Forest Green Pearl with the two tone interior.
I wanted a spot to put all my photos and updates, and also be able to receive some feedback and help along the way. So I figured I'd start with a build thread.
Here are some photos from the craigslist ad.
I replaced the water pump and thermostat, since the old pump was leaking from the weep hole.
Got the oil pan gasket and rear main seal, but haven't had enough energy to tackle that job yet.
Got a set of led pods to replace the hella lights. Along with some flush mount switches that will be going where the ash tray is.
I will keep this updated as best as I can.
Any input will be appreciated.
Thanks
(April 25, 2016)
Well got a chance today to start the oil pan gasket and rear main seal.
A side not to anyone with a stock height xj, removing the track bar is necessary to get the oil pan down.
Here's the leak at the rear of the pan.
Looks to be in okay shape for having 176k on it. No metallic flecks in the oil.
Gotta clean up before moving onto the girdle so I don't get any of this grease up inside.
Been a long process to get this thing out,
(Go grab a soda. There's a good amount more.)
(April 25, 2016 cont.)
Well I got the girdle off and everything a little bit cleaner. I started to hit the upper part of the rear main seal thats in the block with a punch, but the punch is too small and keeps slipping off the metal in the seal and just making holes in the rubber. I'm going to get a better punch set tomorrow and try again.
I also ordered the wrong rear main from Quadratec, I got the one for the cj, yj. The lower half of the seal that goes in the bearing cap doesn't have ears on it, so looks like I need another one of those.
(April 26th, 2016)
Went to harbor freight today and got a set of punches. The one I used for the rear main seal is the 3/16th.
Needless to say, with the right tools the rear main came out in 2 taps of the hammer.
While I wait for the correct rear main seal to get here I got a had a set of infinity reference component speakers laying around, so figured if get them set up in the front doors.
The tweeters actually came out pretty cool. I need to get a new stereo soon however since the screen on the factory one doesn't light up.
Looking for a decent head unit with a sub out, USB, and bluetooth streaming. Any one have any recommendations?
(April 30, 2016)
Well I got it all back together, and it's still leaking.
Only thing I can think went wrong is when I put the pan back on, maybe the rear part that wraps around the end of the block wasn't seated properly.
There was no way I could see up there once the pan was in. Anyone have experience with an oil pan gasket?
Such a pain in the rear (no pun intended) to do it on the ground with the axle in place still.
(May 1, 2016)
Well I think I figured it out. (Knocking on wood as I'm typing this though.) I got underneath and removed the transmission inspection cover and got my mirror and looked up at the top of the seal in the back of the pan. Couldn't see much but I saw some RTV and a little blue from the gasket. I also noticed that the fly wheel was bone dry, so the rear main seal I put in was doing fine.
Looked around a little more and a drip of oil came off the wire on the starter and hit me in the forehead. So I looked up and sure enough the filter was dripping. Went to Napa got a new gasket for the oil filter adapter and a T60 torx bit and changed that.
So far just had some residual oil coming out of the trans inspection shield, but I think I got it. No new oil has come out.
(May 4, 2016)
Well found another oil leak on the back side of the valve cover. So I got another fell to gasket and changed that.
Still not sure if the rear of the oil pan gasket is messed up, but replaced the oil filter adapter o-ring too.
Everything was going great until this happened. But luckily I could get it out easily. Didn't even need vice grips. Literally backed it out with my fingers.
Once I get these leaks straightened out, I'll be able to get my money in order for the fun stuff.
(I was 22 about to finish College at this point. I have since graduated with my Bachelor's in Business Management.)
(May 6, 2016)
All the leaks are fixed.
Now onto some better things. I made a pod out of some plastic I got from a steel supply for switches for external lights.
The plan is to do a 20 inch light bar on the front bumper two pods in the rear bumper later on, and two in the front later on. Looking at the JCR Bumpers or OR Fab not sure yet though.
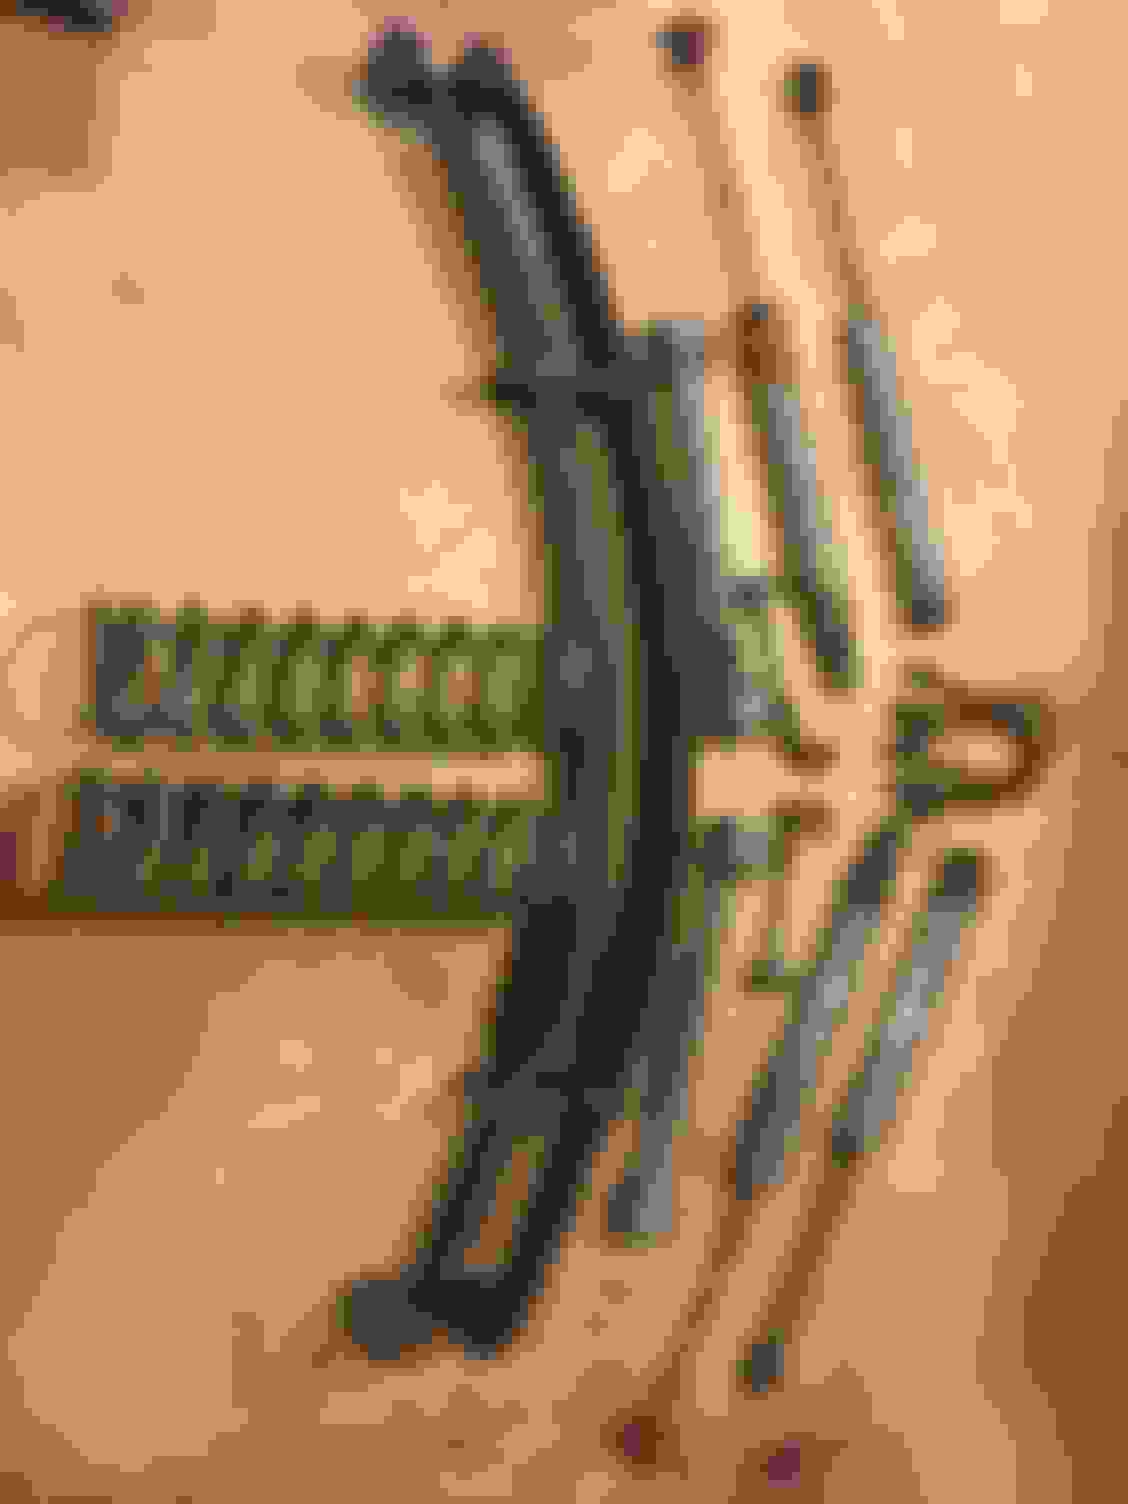
Here's the wiring and pod I made.
(May 11, 2016)
Got the switches mounted in the ash tray and also some Quick Fist clamps for my mag light.
(May 14, 2016)
Got some housings about to be baked. DIY RETROFITS FTW.
275 for 3 minutes and a little prying and they came right off.
Painted everything black, went with the mini h1 projectors for TRS, Apollo 3 shrouds, 110mm Morimoto RGB halos for behind the shrouds, 55w innovited 6000k HIDs and Amazon housings.
Got some trimming and mounting to do this weekend.
I'm stuck with not knowing what direction I want to go in for my lift and tire setup, so if anyone has any good advice I'm all ears. Way too many choices out there it's quite overwhelming. I don't want it to look small next to my girlfriends JK on 35's with a 4" lift.
(May 22, 2016)
Got the headlights all finished up but have a small issue with the driver side. I got some moisture in it but other than that they're awesome. I think when I was blowing out the dust before sealing them, my compressor might have sprayed out some water. But here's some more photos of the process.
Used a cut off wheel to get most of the shroud cut, then clamped my belt sander in a work table and used that to get the finished product.
Here's a front shot with the shrouds fitted to the projectors.
Had to seal most of the gaps with some aluminum tape this way the jb weld didn't leak through to the inside of the projector bowl.
Here's a rough cut of the headlight bowl to fit the projector. I also had to cut the fire wall a bit to get the rear of the projector to clear. I didn't have anything but my 1 1/8" hole saw so had to just cut a bunch of small holes and grind them smooth with my die grinder.
HID ballasts tucked up nice the slim ones are so nice to work with.
And here's the finished product with some output photos as well down a trail.
The cut off is insane on these things! I'm very happy with the result.
I also had to remove the delay relay behind the dash in order for the HIDs to function properly without freaking out after turning my key off.
If anyone has any questions on anything, feel free to ask.
Forgot to take a picture, but I used Morimoto 100mm RGB angel eyes behind the shrouds and demon eyes as well, and the quality is awesome. I really liked how it all fit together.
(October 13, 2016)
Not much exciting going on yet. Took my sagging headliner out and scraped the foam off then painted the board all black.
Installed my light bar. And clear corners and am waiting on my amber led turn signals to come in.
The LOWCOG setups seem pretty sick, so that is the way I'm leaning. Anyone for or against that?
Wow that took about an hour. This was my entire build thread minus the 5 or 6 responses from NAXJA members.
Have some more updates I will post in a few. Need a beer after typing all of this.
Thanks for your interest like I said any recommendations or tips/ input is greatly appreciated.
So I finally made up my mind and found a killer deal on wheels and tires from 4wheelparts. Went with 33x12.5 Dick Cepek Extreme Country with 15x8 procomps. Got a $100 rebate on the tires!
Then I found a local deal on a 3.5" Rubicon Express Superflex Kit that needed some TLC for $175. With a little sandblasting, wire wheeling and paint, it cleaned right up. I tossed the shocks as I'm going with Bilstein 51xx.
I want to be able to have the most droop as possible. Any one have the correct part number for the Bilstein 5100's for this setup? I'm looking to buy shocks once (if possible) with the intent on getting the BLee long arms.
Bilstein 24-188197 should work up front, I think that's what I have. Pretty nice looking build so far, how much money do you think you spent on those headlights overall, if you don't mind me asking.
This is a sweet build! Nice work on the headlights, I'm jealous of the output. The cutoff looks sick!
If you could, just post up the questions you are looking to have answered. I pretty much get distracted by all the pretty pictures and don't read too much into the dialogue
Bilstein 24-188197 should work up front, I think that's what I have. Pretty nice looking build so far, how much money do you think you spent on those headlights overall, if you don't mind me asking.
I have between 3-4 hundred into them. If I didn't get the color change halos and demon eyes, it would've been a lot less.
If you're interested in the parts I used send me a dm and I'll send you some links.
Nice build. I have a 97 in the same color and have a 3.5" lift that is almost ready to install. My plan is flat flares with 32x11.5 tares. But I'm in a state where the tares have to be covered. What is your plan to fit the 33s?
Nice build. I have a 97 in the same color and have a 3.5" lift that is almost ready to install. My plan is flat flares with 32x11.5 tares. But I'm in a state where the tares have to be covered. What is your plan to fit the 33s?
I'm not sure yet, but I don't want my tires sticking out far.
Plan change with the lift too, I sold the Rubicon Express one because I wasn't sure how I felt about a used lift. I'll be getting something new. Probably going to piece something together.
Alright ordered a lot of stuff today. Hopefully should have my wheels on by the end of the week.
So after selling the RE lift, I called up Zone and talked to Travis and he was able to get me an awesome deal on a 3 inch kit without shocks! So I did that and got a stabilizer and t-case drop.
I ordered 2x Bilstein 24-188197 for the front, and 2x Bilstein 33-066868 for the rear.
Fronts are: 14.98" collapsed and 24.61" extended.
Rears are: 14.88" collapsed and 23.84" extended.
After I save up a little bit more, I'm going to get upper & lower arms, an adjustable track bar, the JKS ACOS for the fronts as well as either a shackle, or a shackle relocation system for the rear. (Not sure what would be better, and honestly haven't done much research on either. Any advice?)
The guy I work with has a '98 Country with a RC 6.5" Long Arm kit as a toy, and he gave me his still sealed in the box disconnects, so thats one more thing off the list.
As far as the lift, I honestly have to question why you went from an RE kit to a zone kit besides the fact the RE kit was used. Does the zone kit have aal or full leaf packs?
As far as shackles, I would just replace them with a better set, like some boomerangs, and be done with that. If you plan to increase your lift height at all, you'll definitely benefit from an SYE and ditch that Tcase drop.
Be sure to bumpstop properly, to keep from bottoming out the shocks till you go higher.
For sure! Gotta take care of a few things first and measure how much of a bump stop I'll need. My girlfriend has a forklift, so it'll be super easy for me to flex it all the way out to get my measurements.
As far as the lift, I honestly have to question why you went from an RE kit to a zone kit besides the fact the RE kit was used. Does the zone kit have aal or full leaf packs?
As far as shackles, I would just replace them with a better set, like some boomerangs, and be done with that. If you plan to increase your lift height at all, you'll definitely benefit from an SYE and ditch that Tcase drop.
I'm in Vineland.
The RE kit needed bushings for one, and after talking to some others on Instagram, Naxja, and here, I really wanted to have the Zone rear springs because they'd be a little softer ride. For the coils, either of them would give me close to the same ride. So Zone was in the price range and came with the rear springs I want.
I'm not familiar with boomerang shackles, this is my first time building an offroad vehicle. Wouldn't the relocators be better to get the leaves more flat?
An SYE will be put in as soon as I can save up the money for it.
The relocation brackets shouldn't be needed if the zone leafs are the right length, boomerang shackles have a bend in them to allow them to clear the back of the oem shackle boxes without bottoming out as soon. The whole idea of relocaters is to get the shackle forward a couple inches to compensate for the added arch in some leafs without added length, essentially you just want a 45� shackle angle so you get the most articulation and best ride possible.