Project ASAT
 12-30-2013, 02:43 PM
#1
Member
Thread Starter

Join Date: May 2013
Location: Martinsburg, IL
Posts: 156
Likes: 0
Received 0 Likes
on
0 Posts
Year: 1997
Model: Cherokee
Engine: 4.0
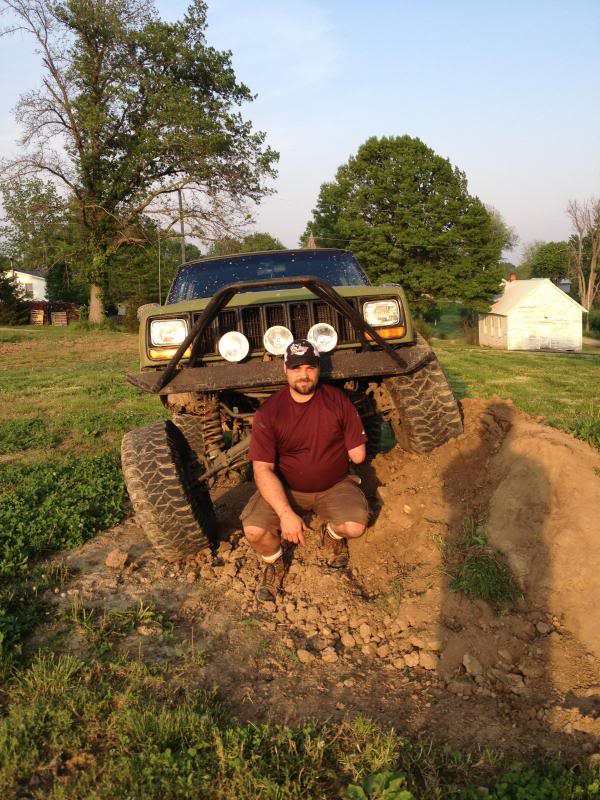
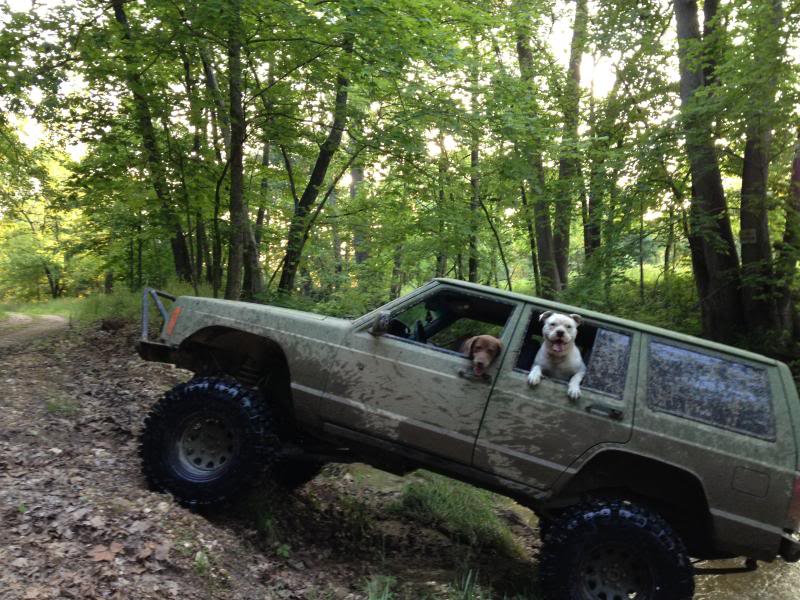
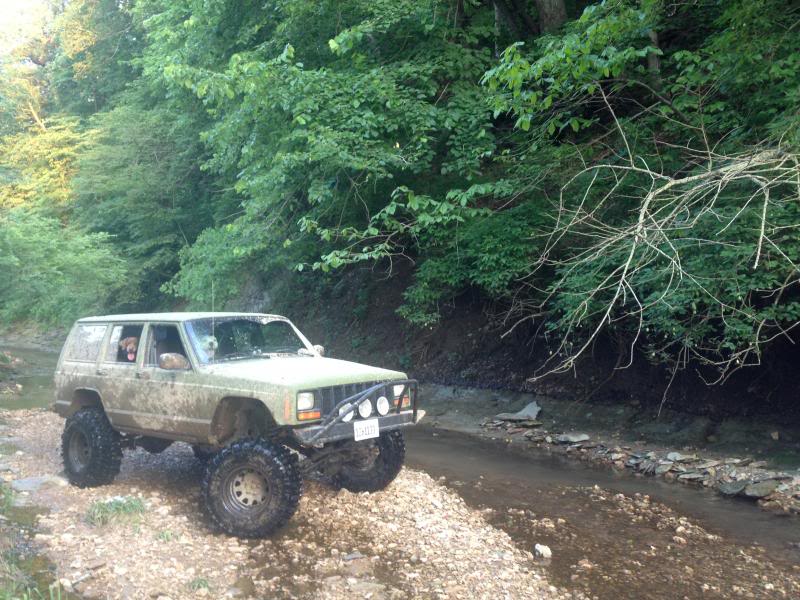
Well, I figured I would post my continous build that I'm calling ASAT, or All Seasons, All Terrain after my favorite camo pattern and the goal behind my machine. I have no specific "wheeling style" except find the skinny pedal, hang on and give a good ol' Redneck yell! So I figured ASAT was appropriate. I traded my tricked out Honda FL400 for the XJ pretty much the way it is.
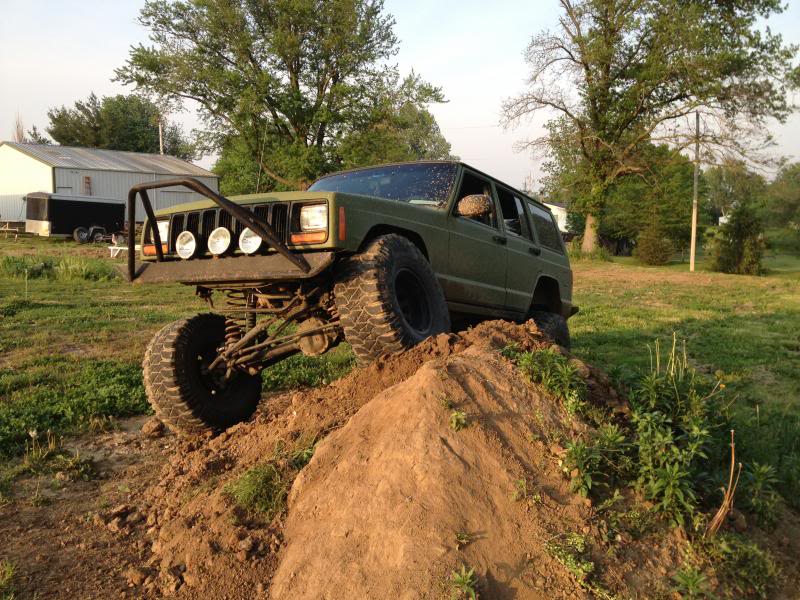
6.5" lift
LCA
Ford 8.8
SYE
4.0, 5spd, 143xxx on odo
Loading up
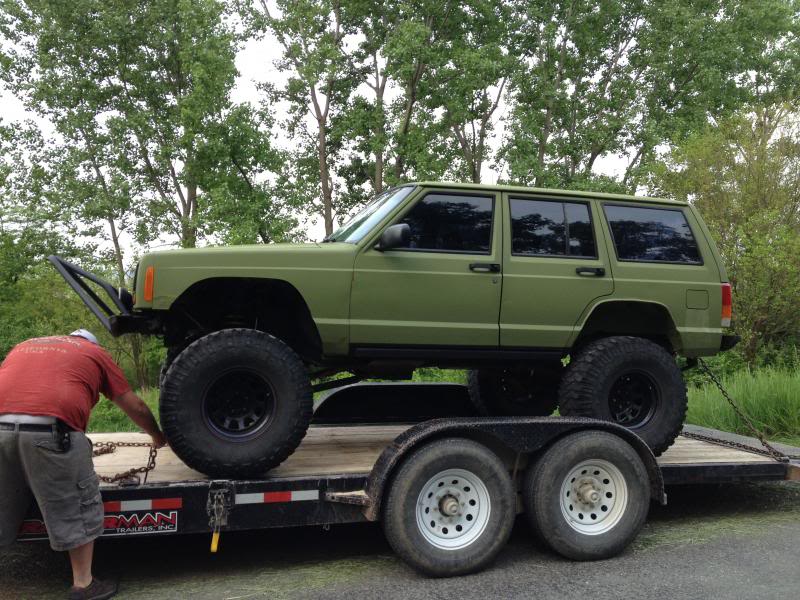
New home
6.5" lift
LCA
Ford 8.8
SYE
4.0, 5spd, 143xxx on odo
Loading up
New home
 12-30-2013, 03:00 PM
#2
Member
Thread Starter
Join Date: May 2013
Location: Martinsburg, IL
Posts: 156
Likes: 0
Received 0 Likes
on
0 Posts
Year: 1997
Model: Cherokee
Engine: 4.0
First thing I did was take off the 35x12.50x15 MT's and put on a set of 33x12.50x15 Boggers. But before they went on I cut the tread some.
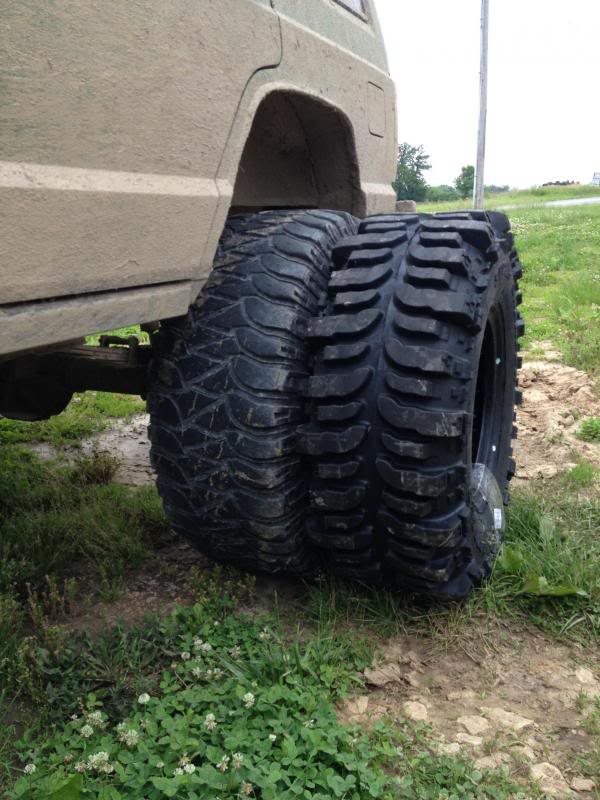
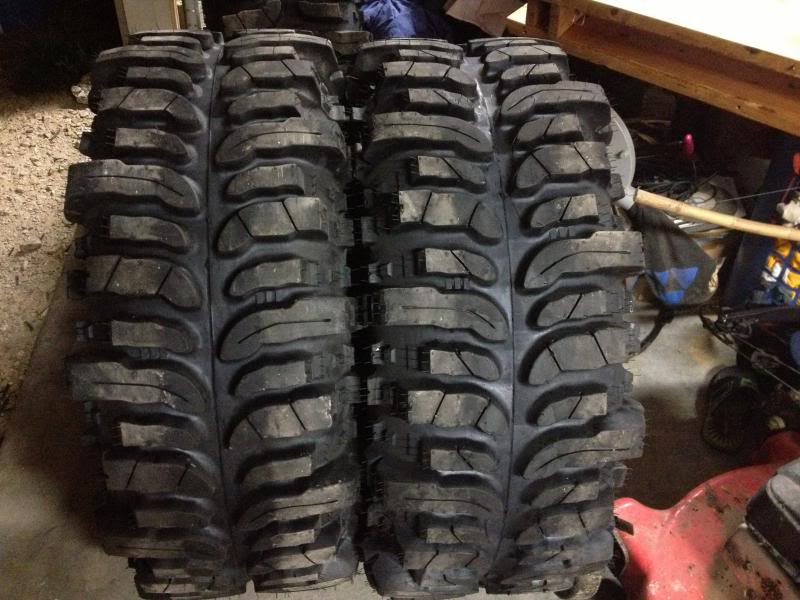 did all 4 like the one on the right
first trip out after
did all 4 like the one on the rightfirst trip out after
12-30-2013, 03:43 PM
#3
Member
Thread Starter
Join Date: May 2013
Location: Martinsburg, IL
Posts: 156
Likes: 0
Received 0 Likes
on
0 Posts
Year: 1997
Model: Cherokee
Engine: 4.0
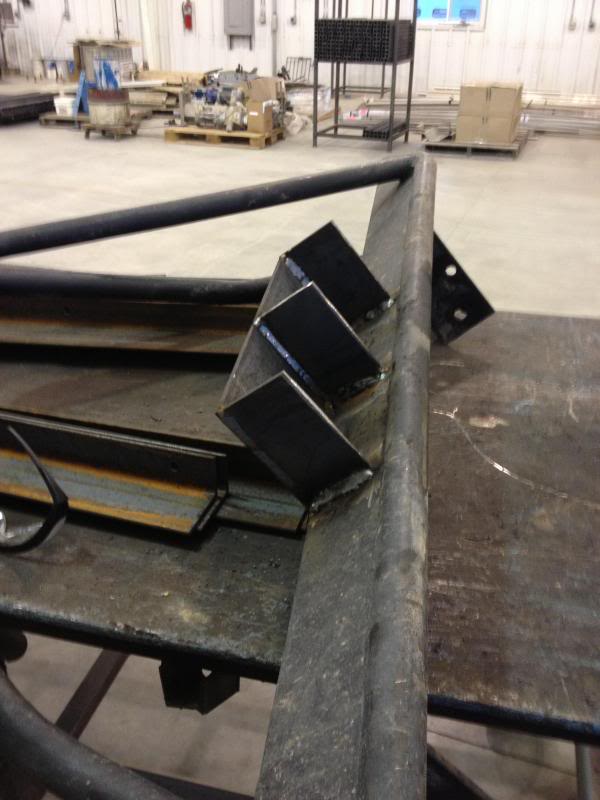
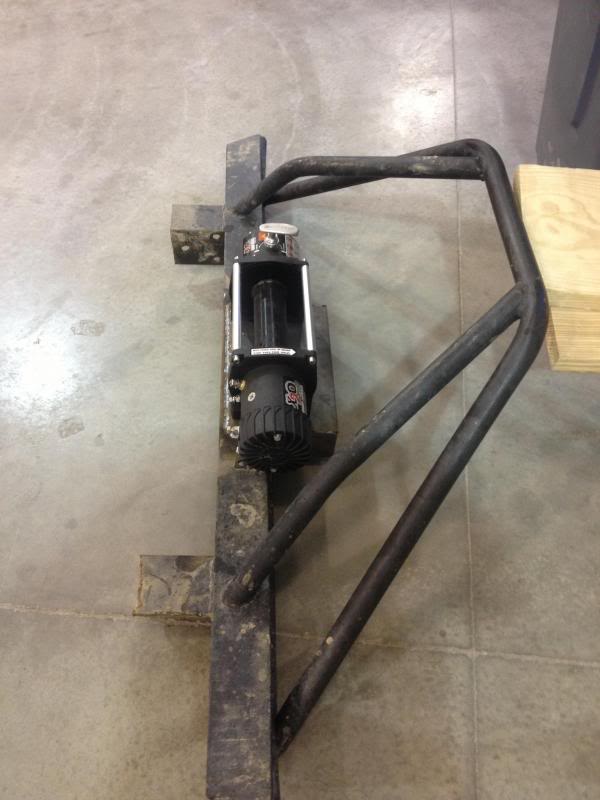
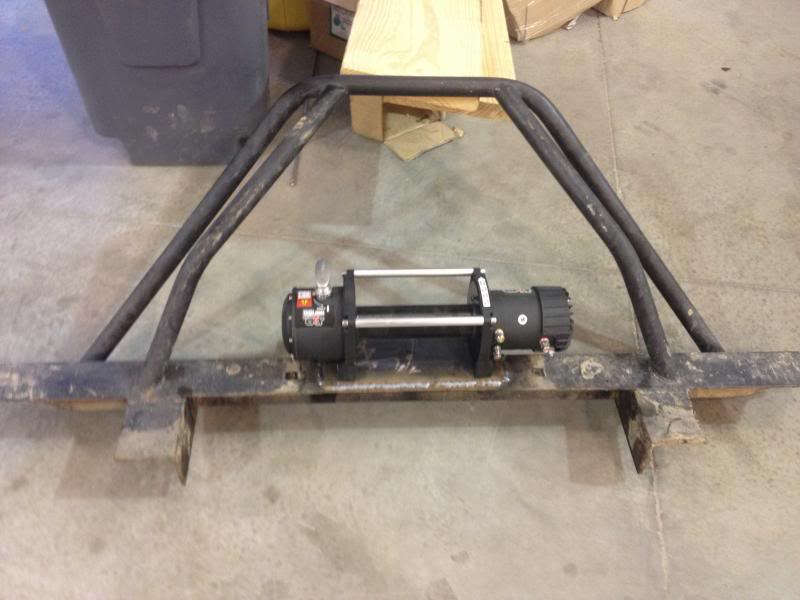
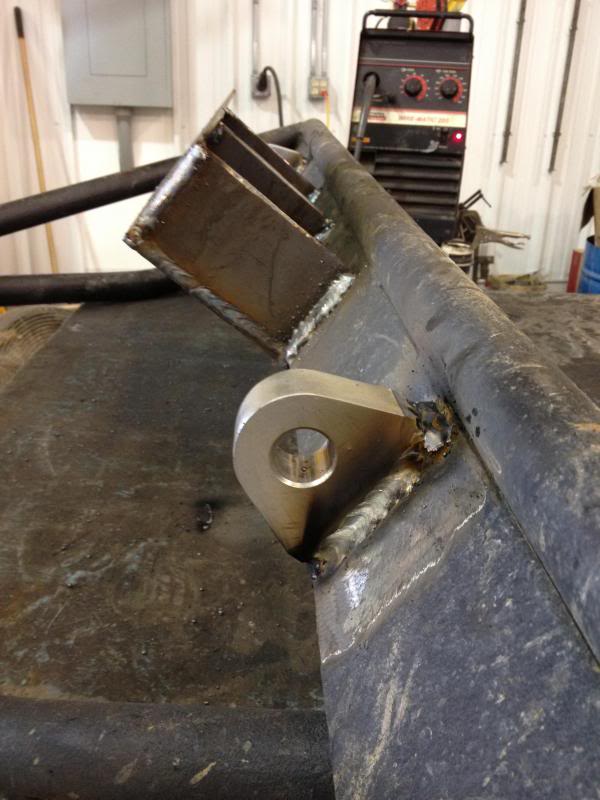
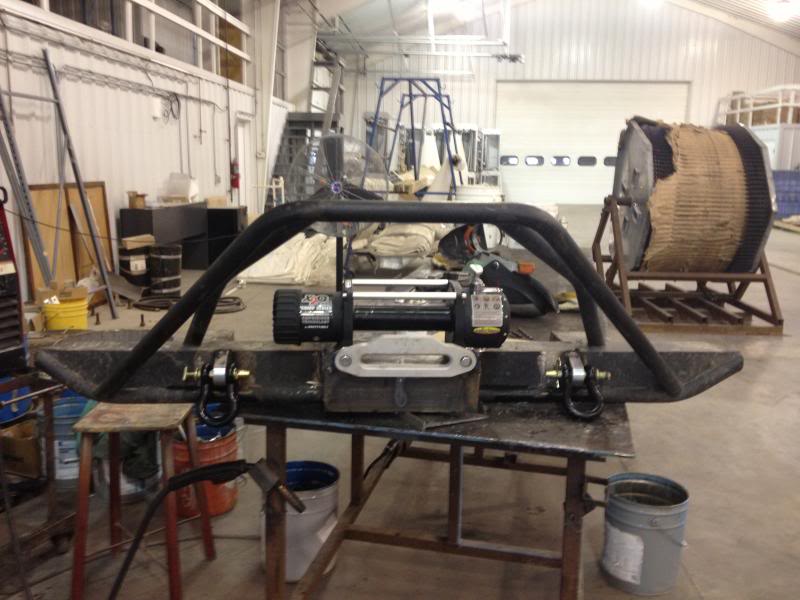
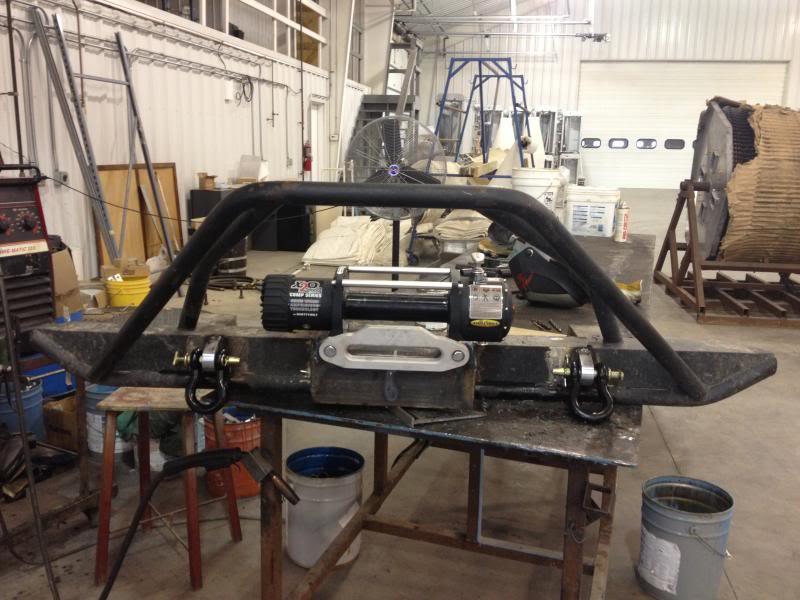
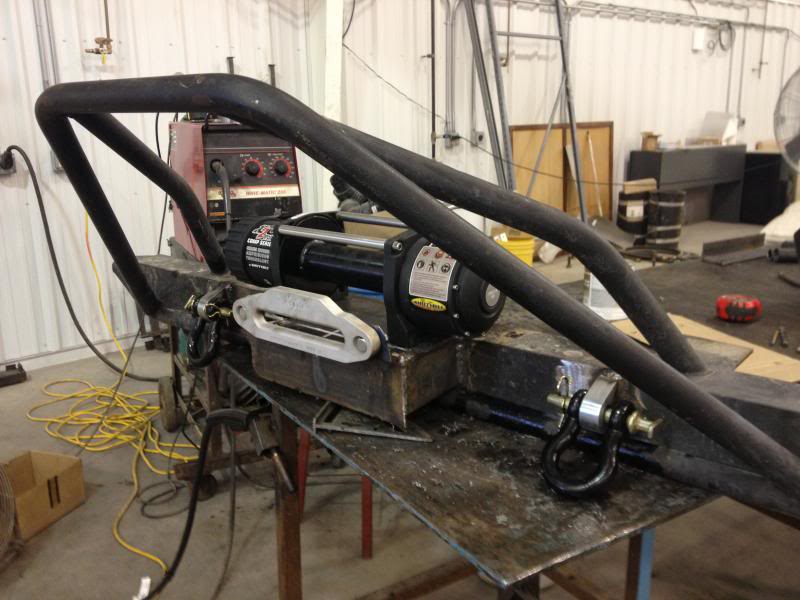
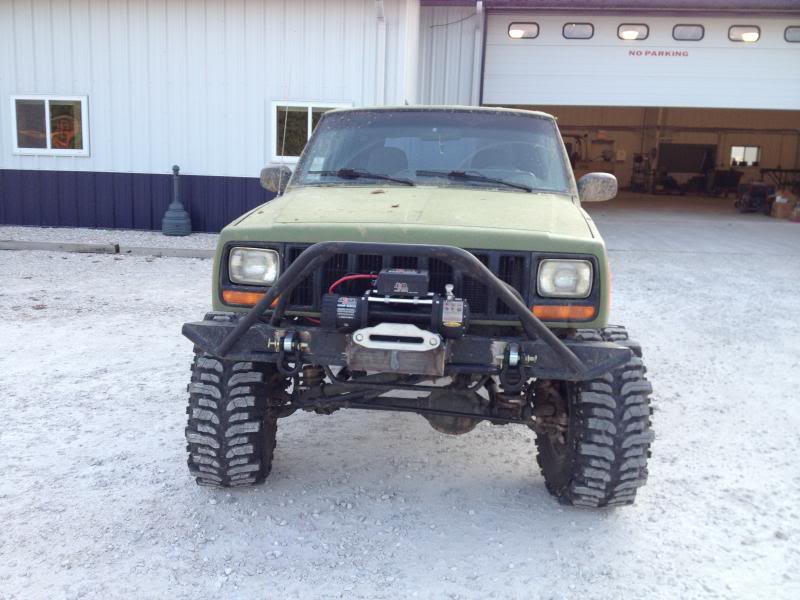
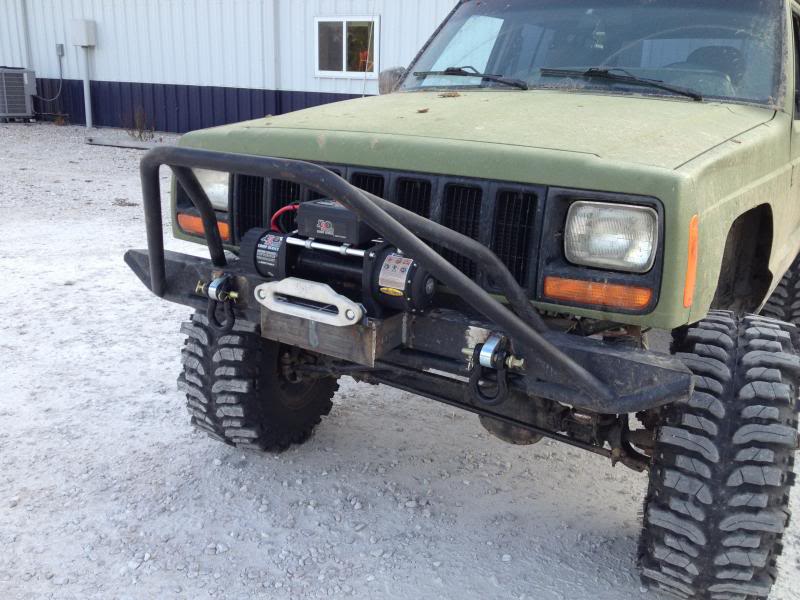
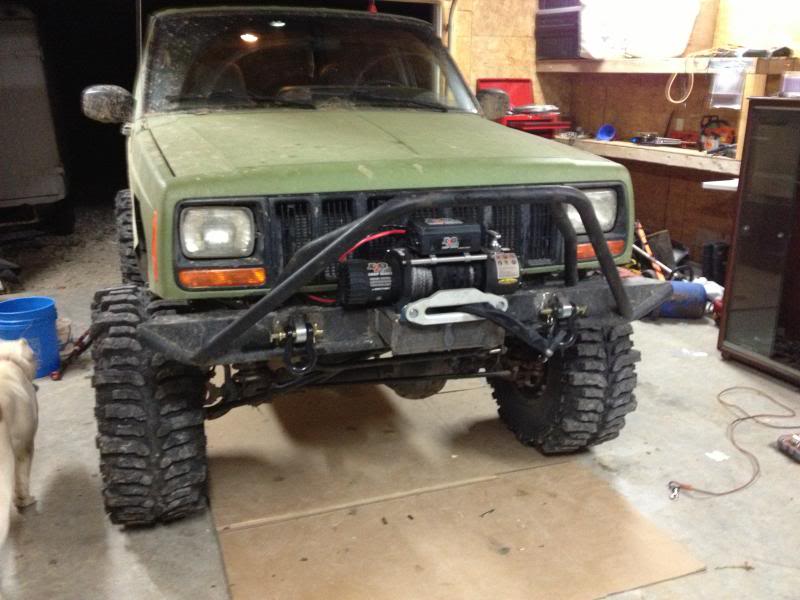
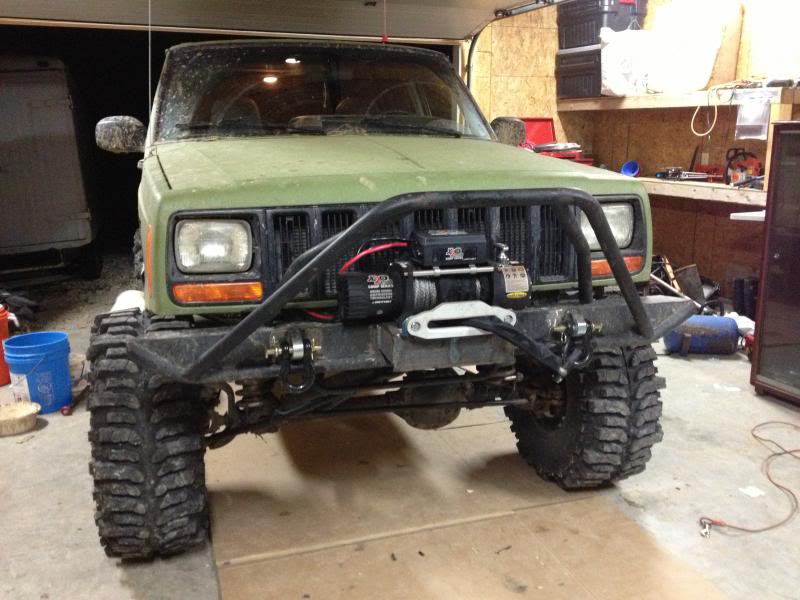
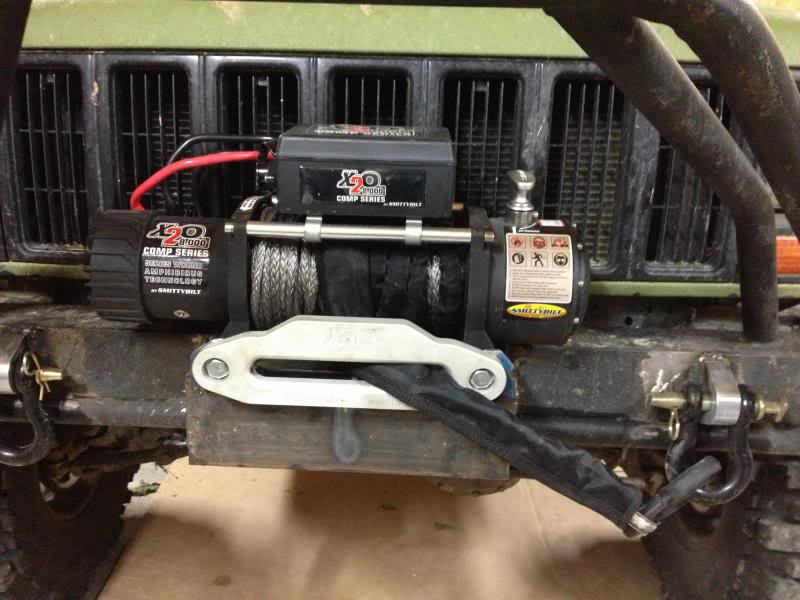
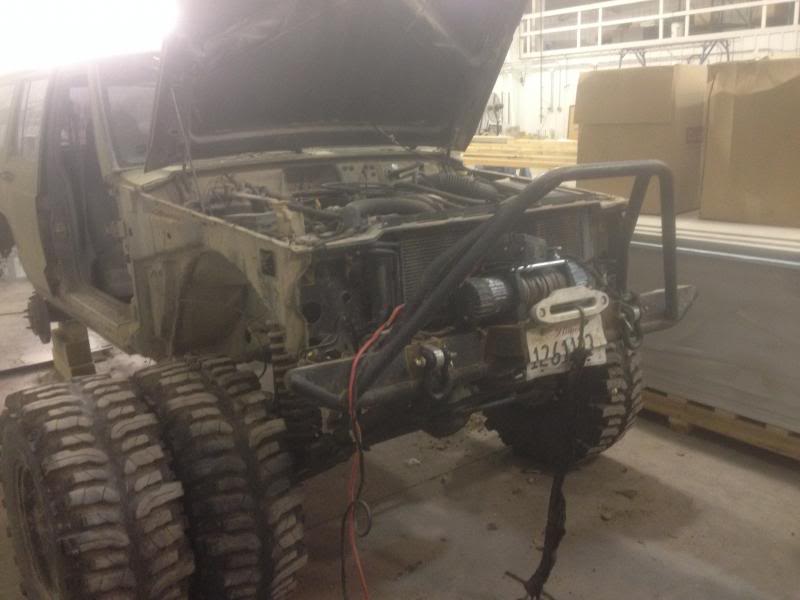
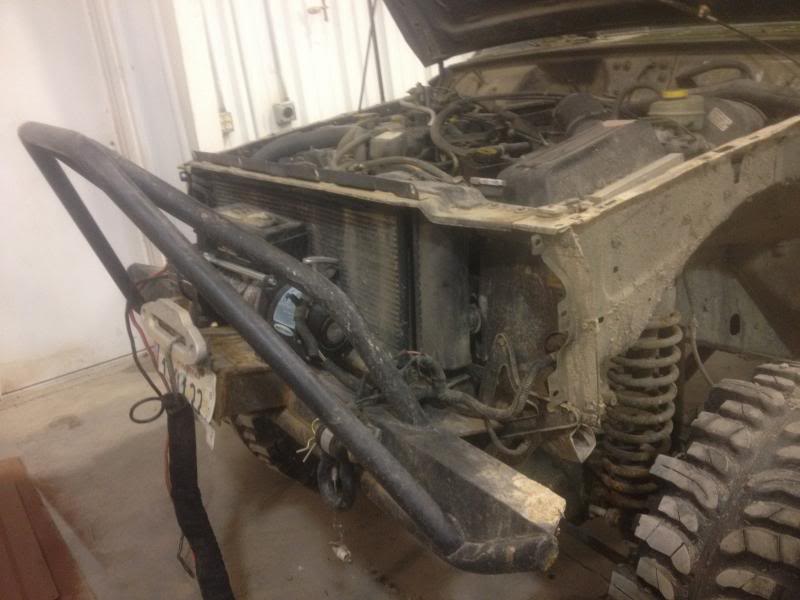
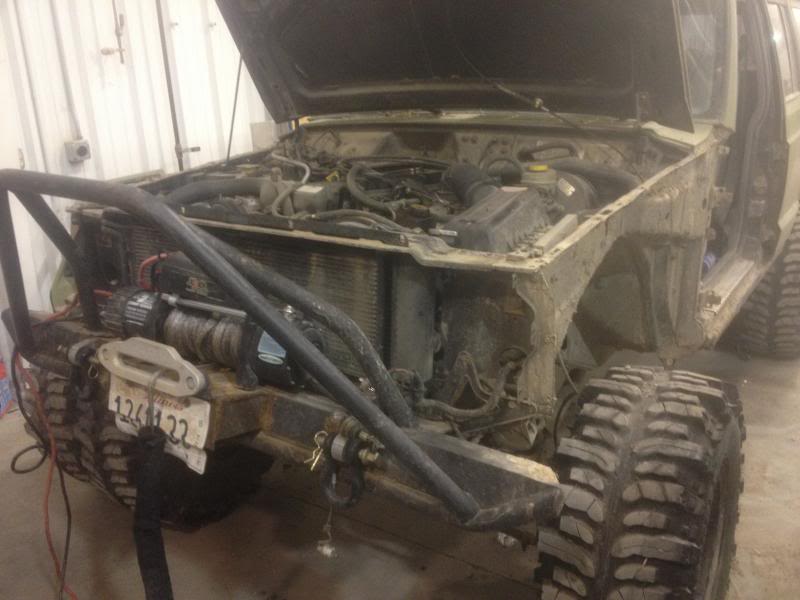
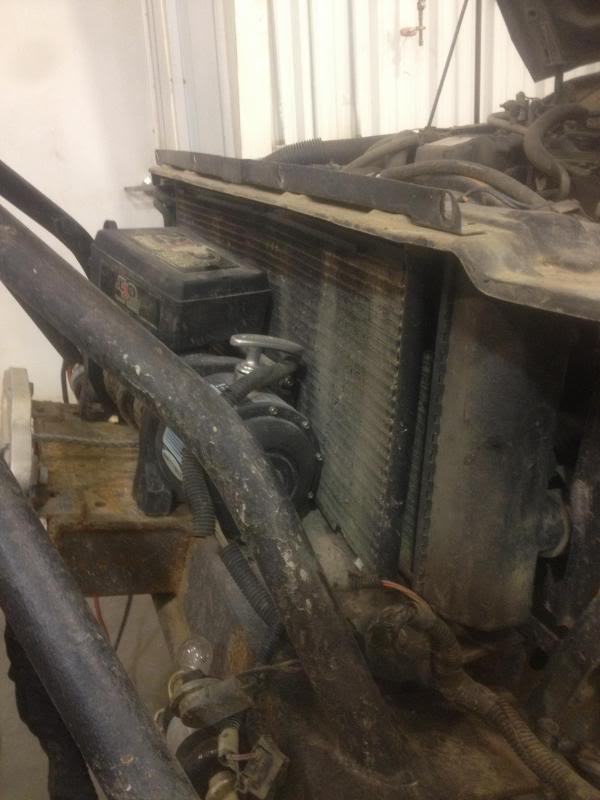
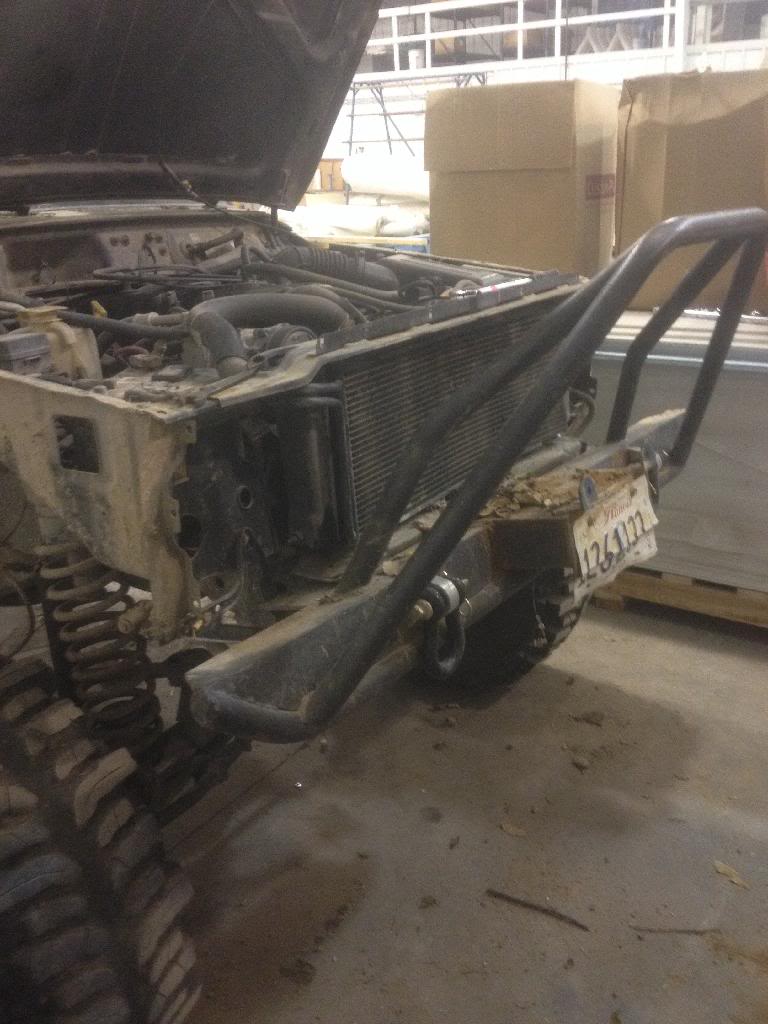
I don't care to get stuck by myself so next I put on a winch, a Smittybilt X2O, 8000# w/ synthetic line. Adapted my front bumper in the shop at work. Didn't get fancy since I'm going to build something a little nicer this winter, just wanted to keep the winch on the bumper. Used 1/4" plate & MIG welded into place. Also added front tow points. Welded around the front then drilled 2 holes through back of bumper & plug welded.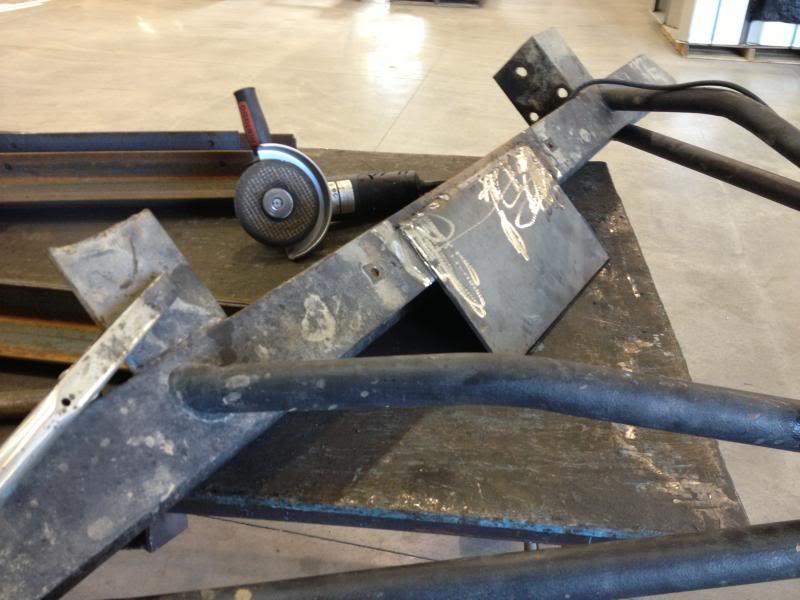
12-30-2013, 05:07 PM
#4
Member
Thread Starter
Join Date: May 2013
Location: Martinsburg, IL
Posts: 156
Likes: 0
Received 0 Likes
on
0 Posts
Year: 1997
Model: Cherokee
Engine: 4.0
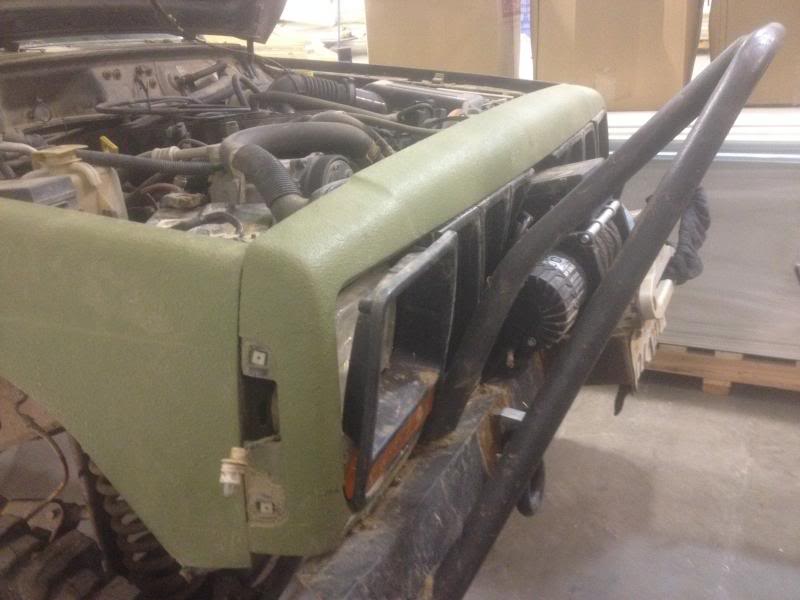
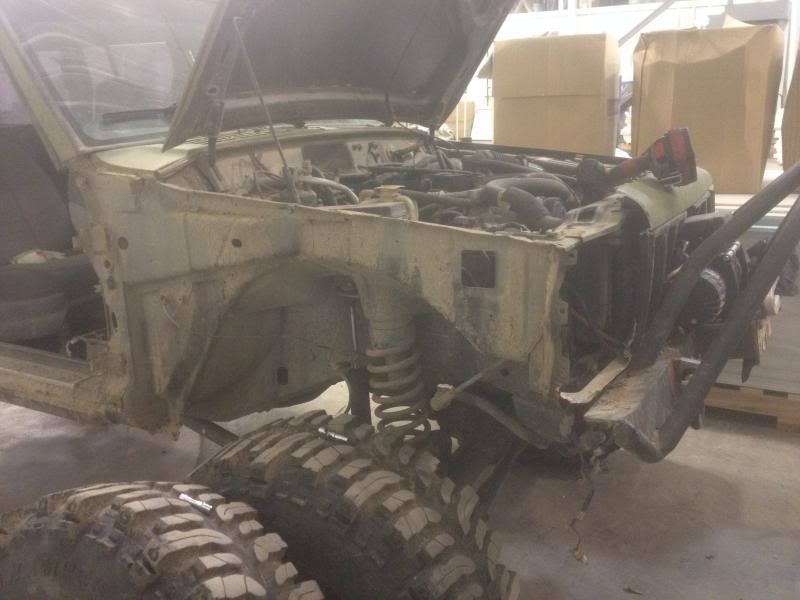
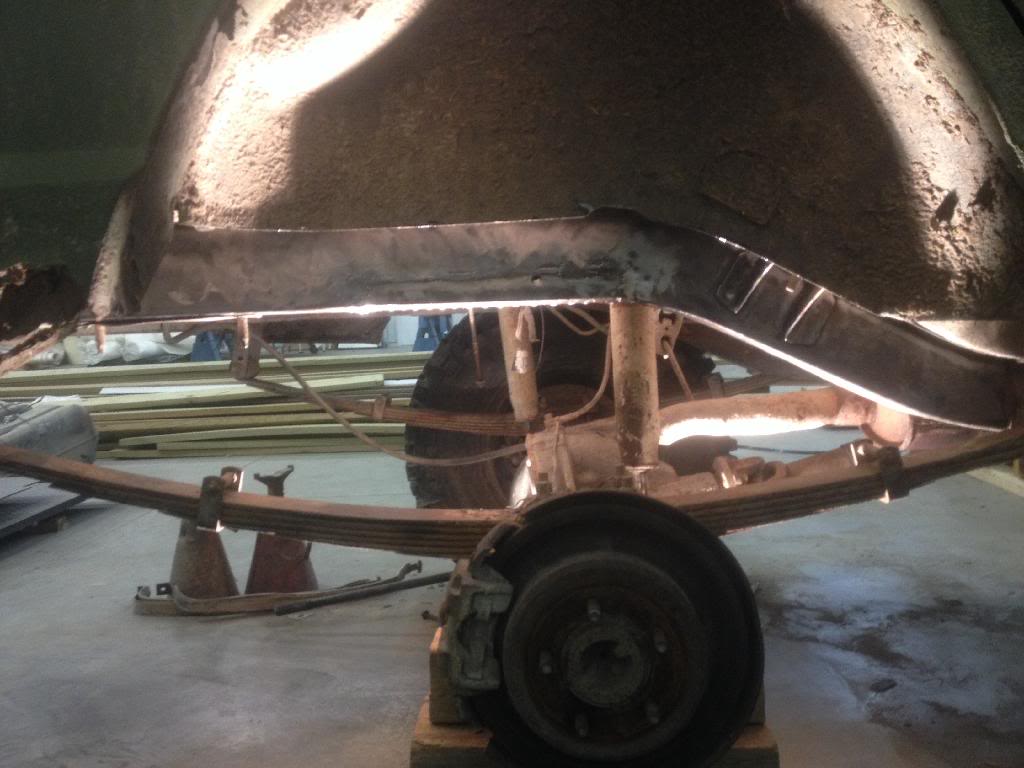
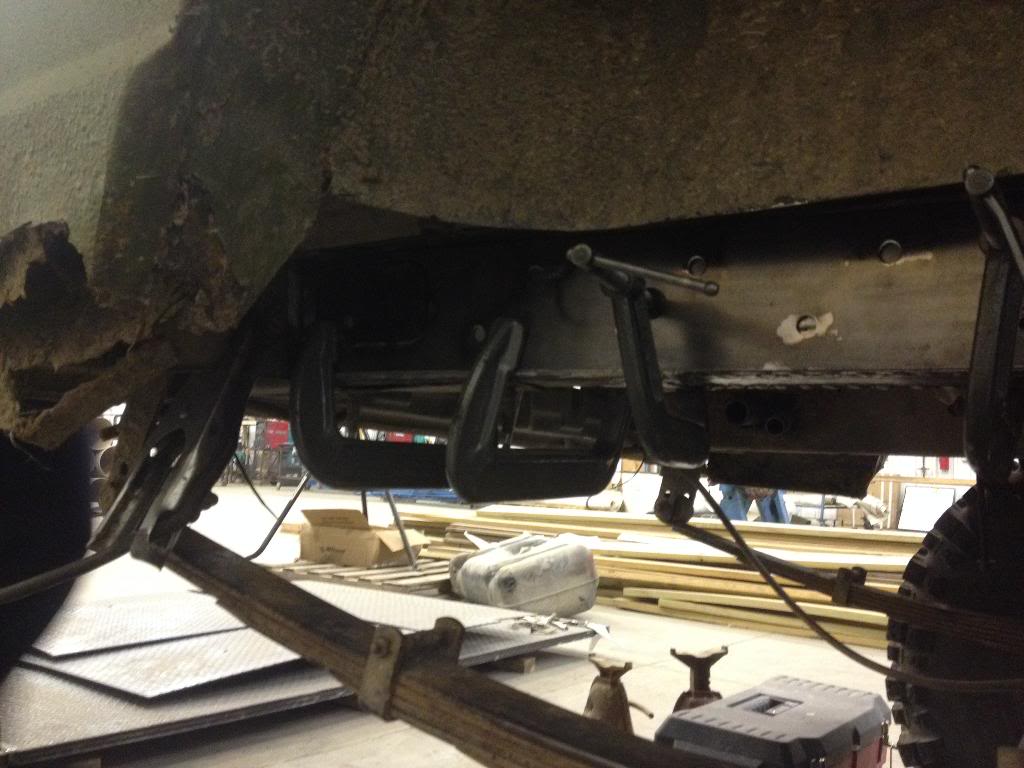
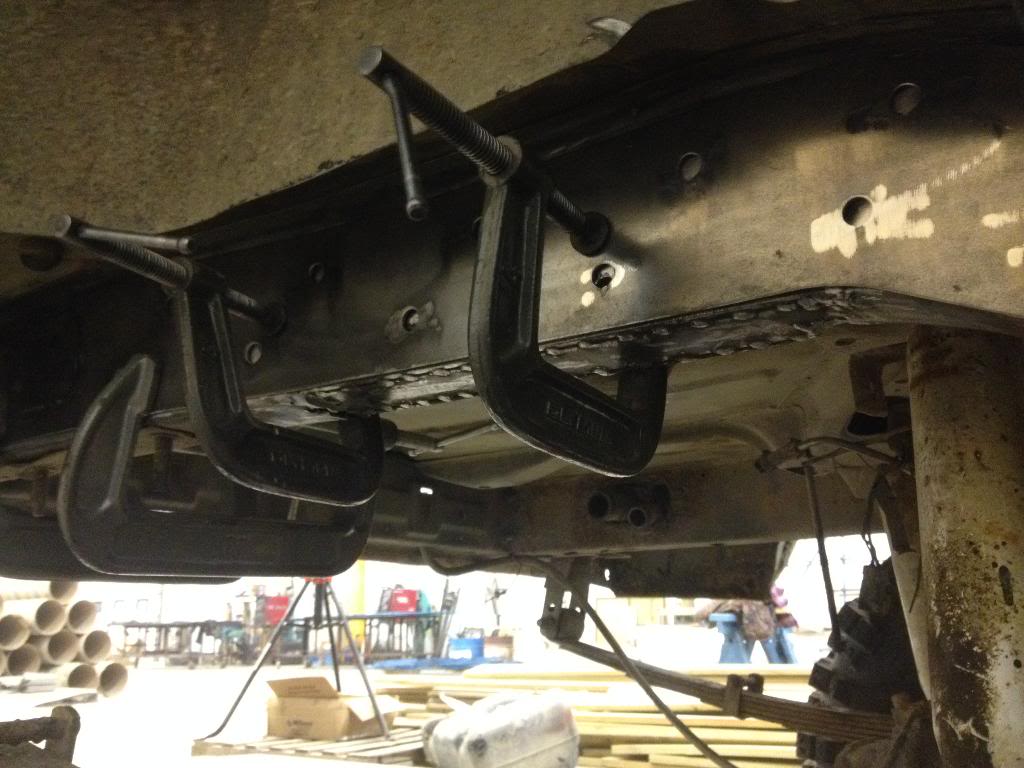
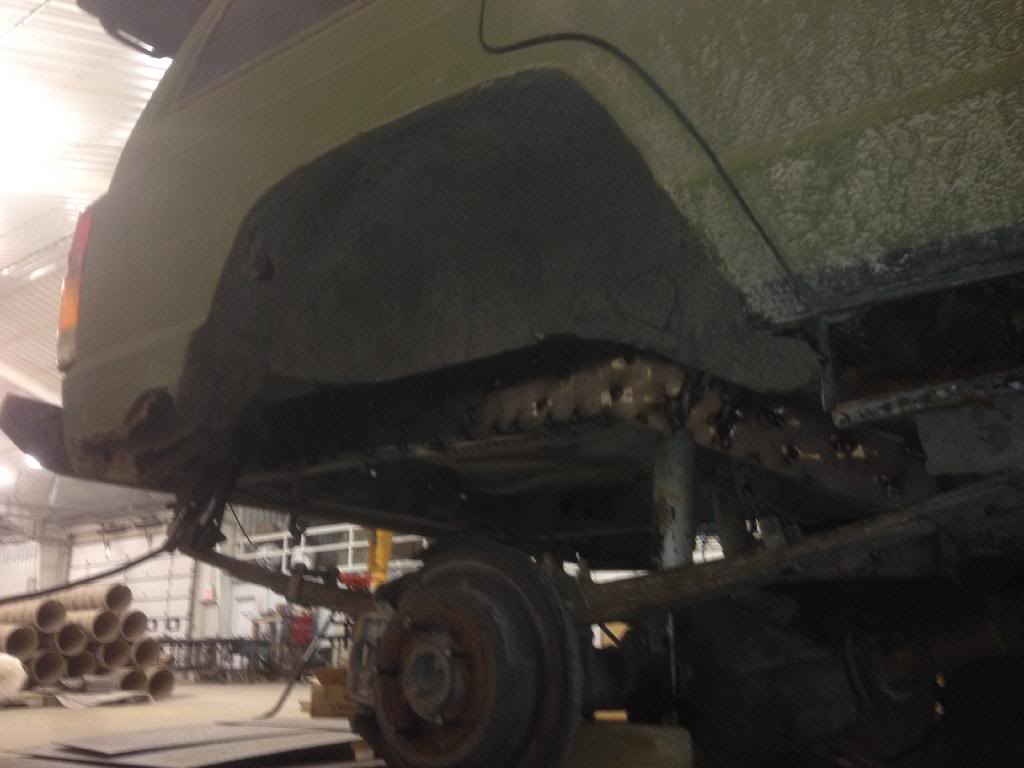
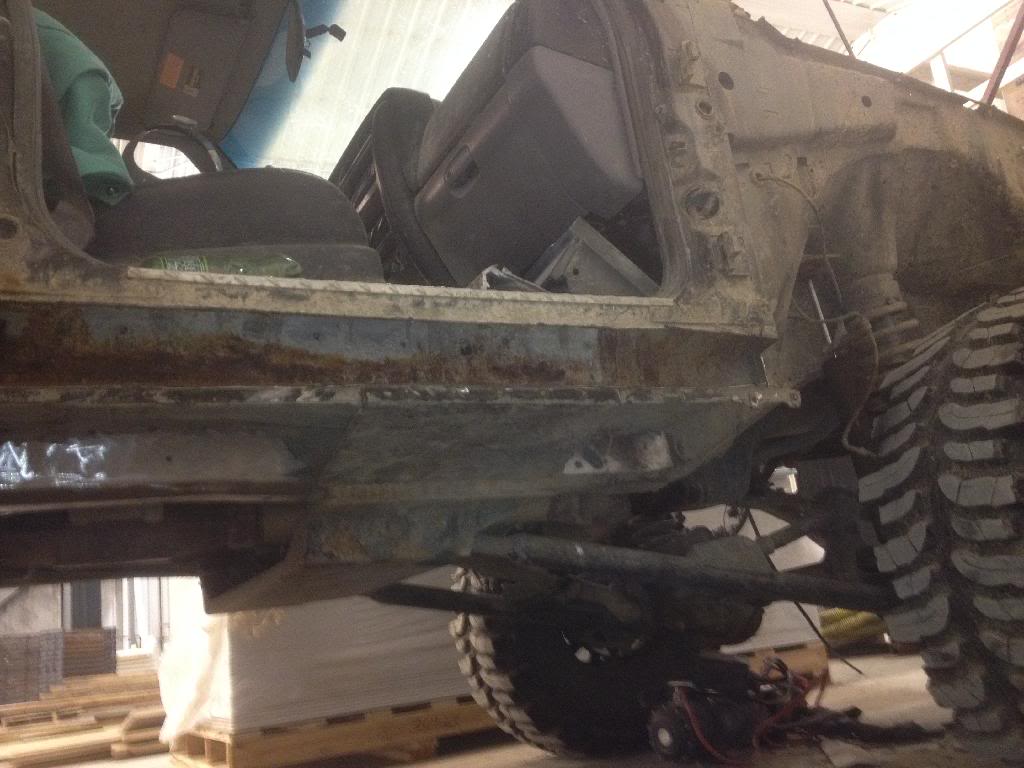
I have also put in a hand throttle and I did the removable front door mod that was on here (super easy BTW) but no pics. As of this past weekend I drove her back to my shop & cleared the back corner. Now that its winter, time to start in on some changes I want to make. First thing I'm doing is prepping the unibody for frame stiffeners from HD Offroad. Have some frame rot to take care of.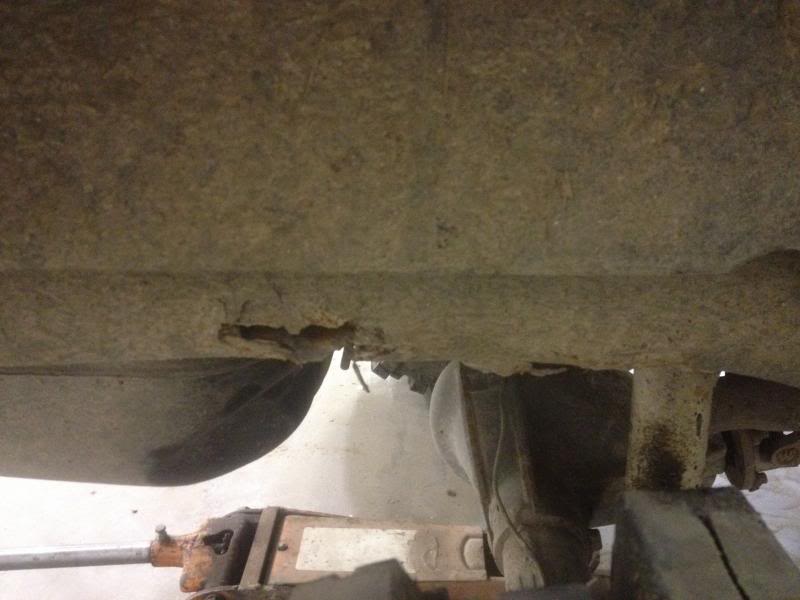
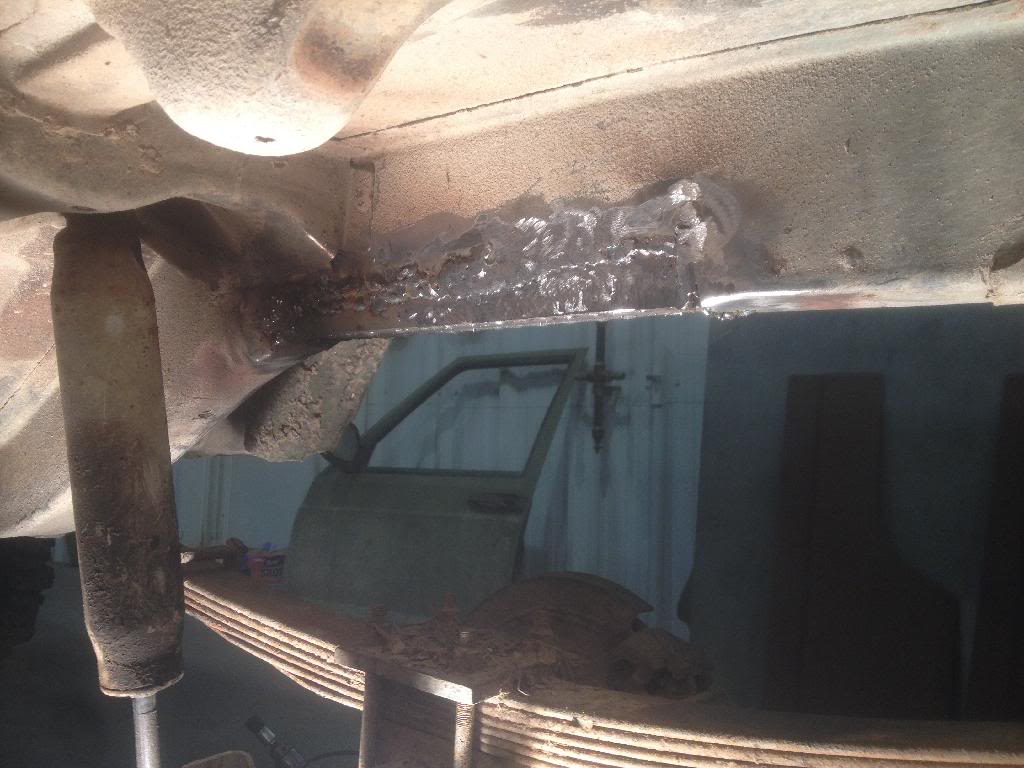
I took hammer drill and knocked out rust.
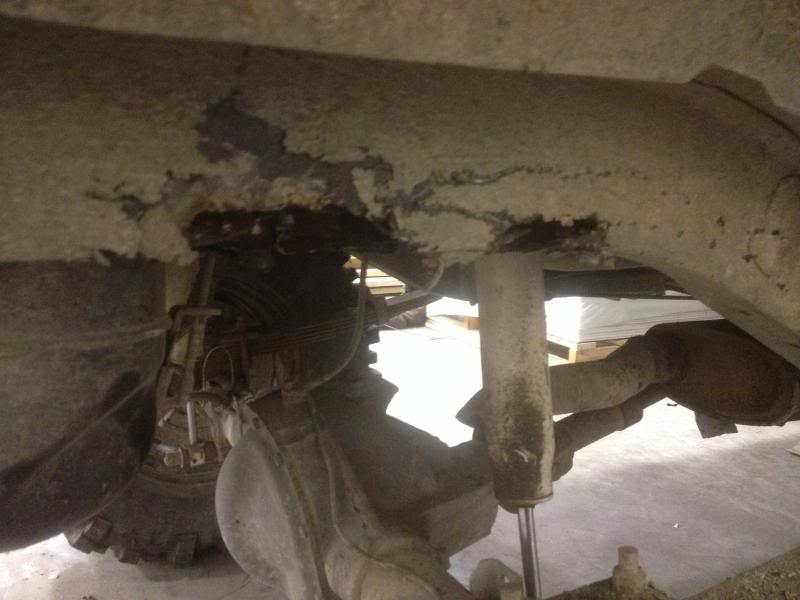
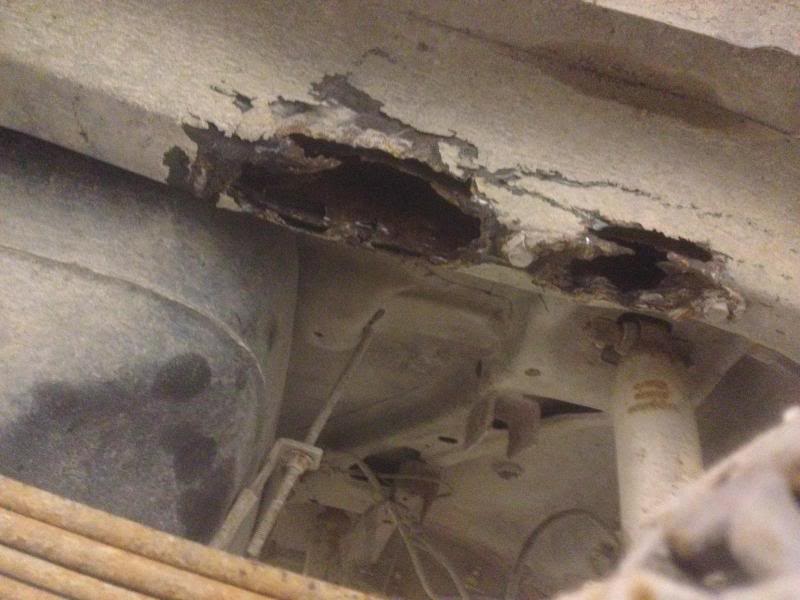
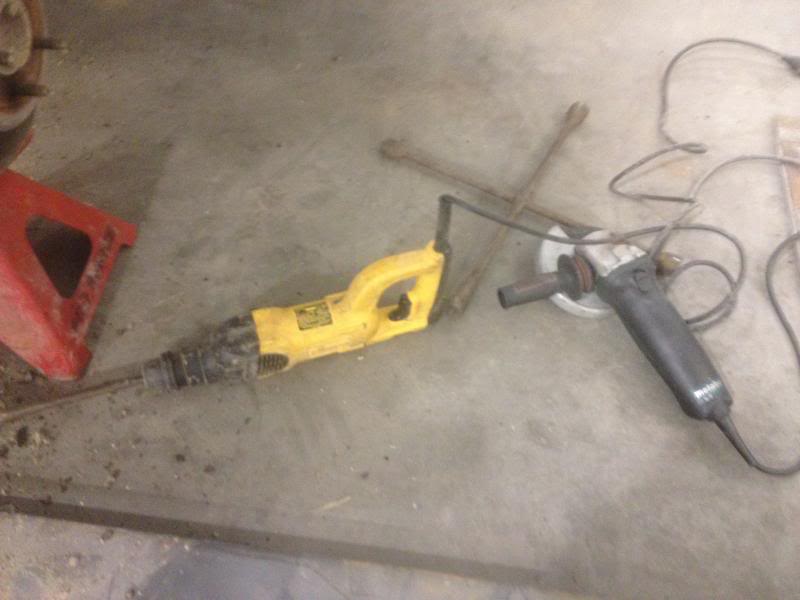
Then used angle grinder w/ cutoff disc to remove junk and I cleaned up w/ cutoff disc and wire wheel on grinder. Then I shot it w/ rust inhibiting primer.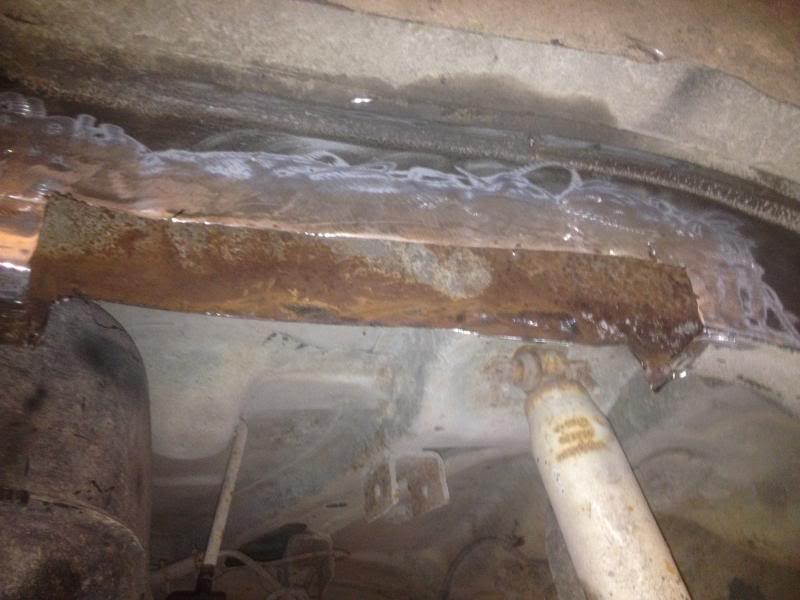

I've cut a 2x2 piece of tube to use as the backbone of the section removed although I will also need to add some flat stock.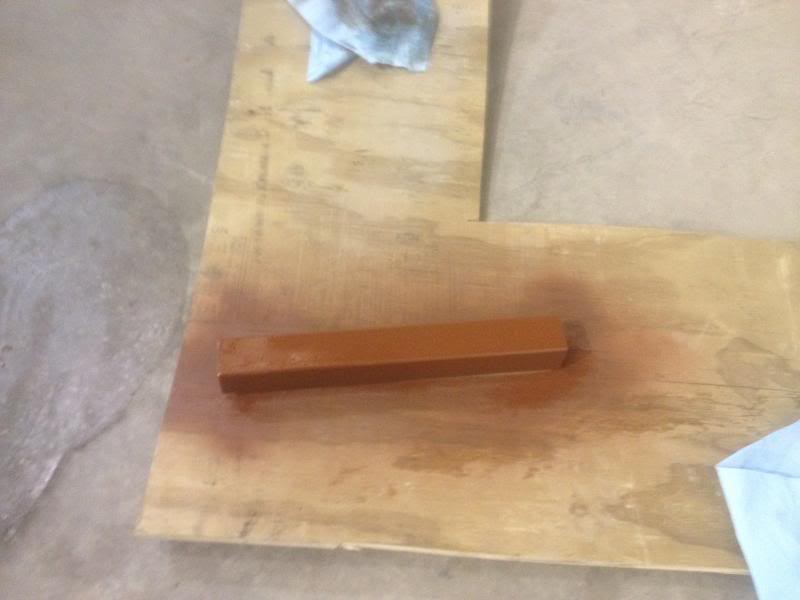
I've also started to take apart front clip to do a little body repair. Long story short, parking brake doesn't work better than gravity, haha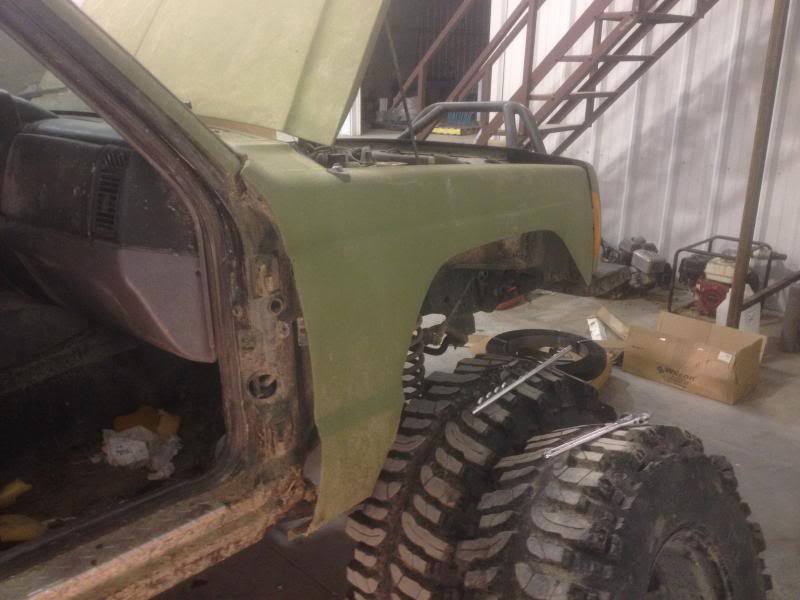
I took hammer drill and knocked out rust.
Then used angle grinder w/ cutoff disc to remove junk and I cleaned up w/ cutoff disc and wire wheel on grinder. Then I shot it w/ rust inhibiting primer.
I've cut a 2x2 piece of tube to use as the backbone of the section removed although I will also need to add some flat stock.
I've also started to take apart front clip to do a little body repair. Long story short, parking brake doesn't work better than gravity, haha
12-30-2013, 06:47 PM
#6
Seasoned Member
Join Date: Dec 2011
Location: Southern Maine
Posts: 437
Likes: 0
Received 0 Likes
on
0 Posts
Year: 1999
Model: Cherokee
Engine: 4.0L
Awesome jeep man! Really lovin that green! And excellent job on those tires I like how you added the sipes were the tires brand new to start then you added that or did you re tread them and do that? Really cool build so far I'll be keeping an eye on this!
12-30-2013, 08:52 PM
#7
Member
Thread Starter
Join Date: May 2013
Location: Martinsburg, IL
Posts: 156
Likes: 0
Received 0 Likes
on
0 Posts
Year: 1997
Model: Cherokee
Engine: 4.0
Thanks man!
Thanks, I'm a big fan of the color as well. Its actually bedliner and has been lined inside w/ black as well. The tires were brand new, used my uncles tire cutter & went to town. Talk about nervous at first but I really like how they turned out.
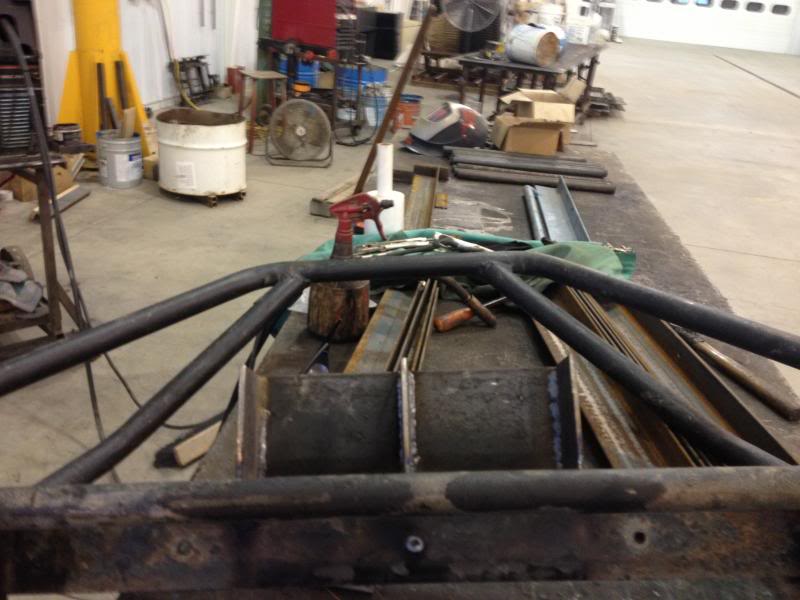
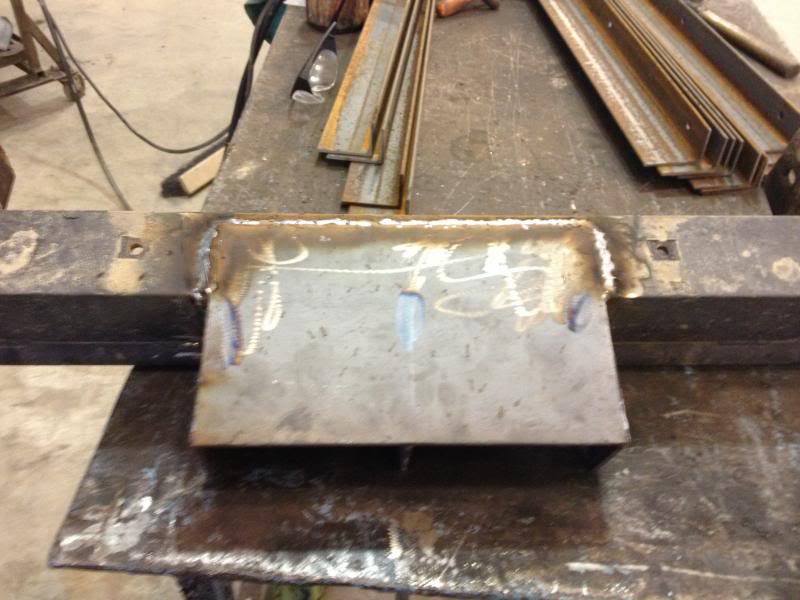
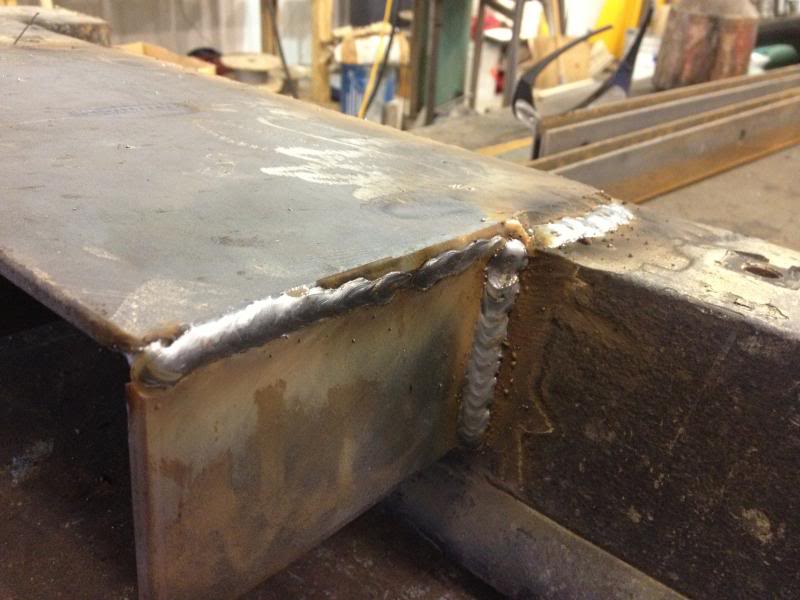
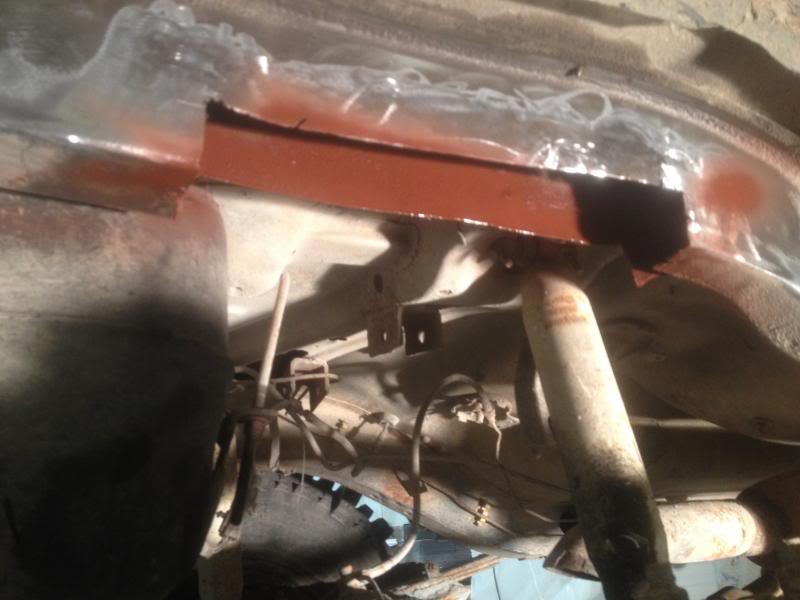
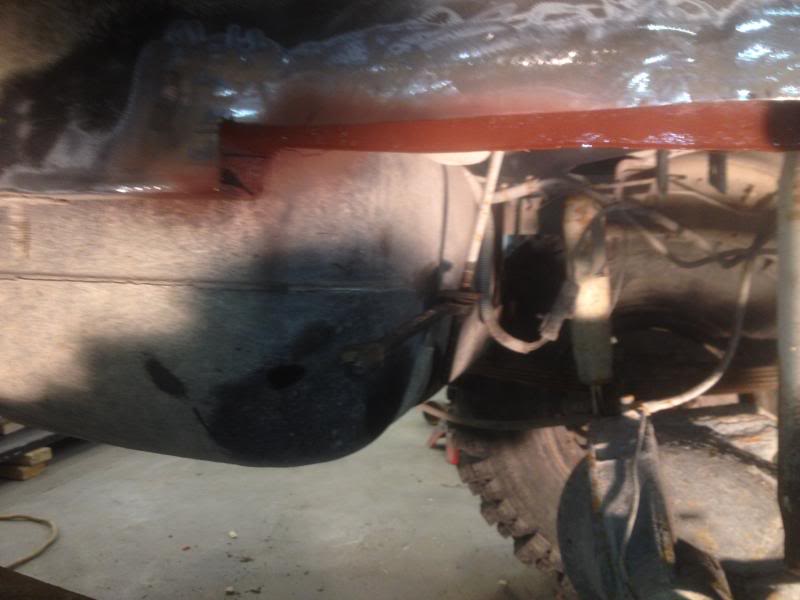
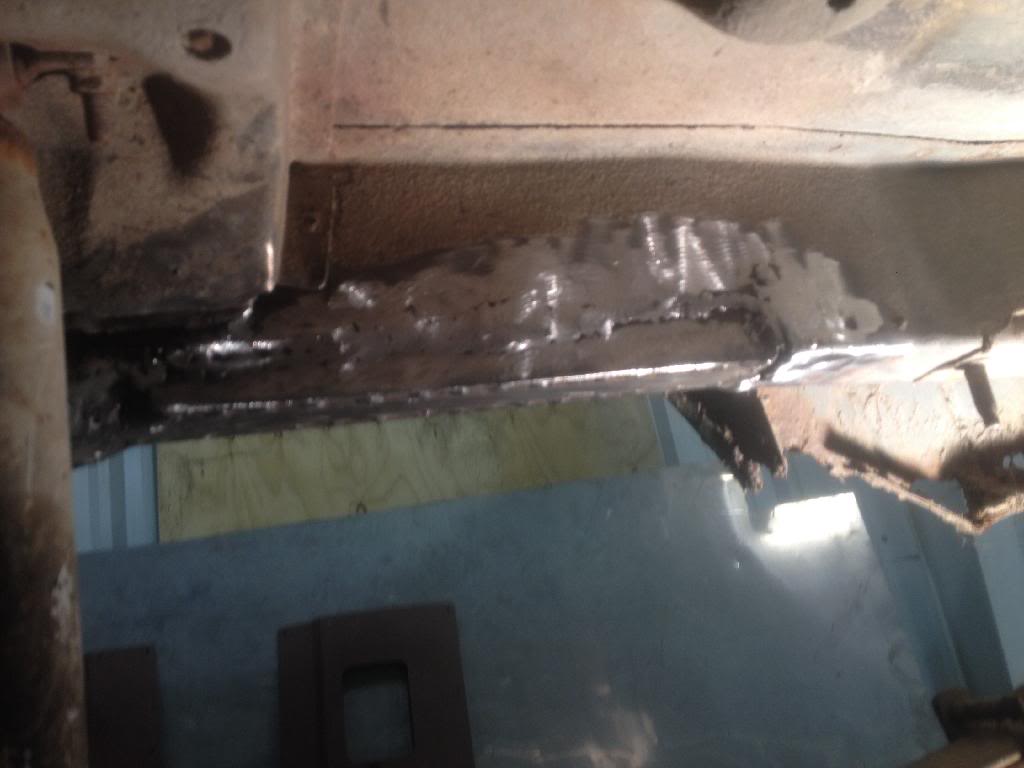
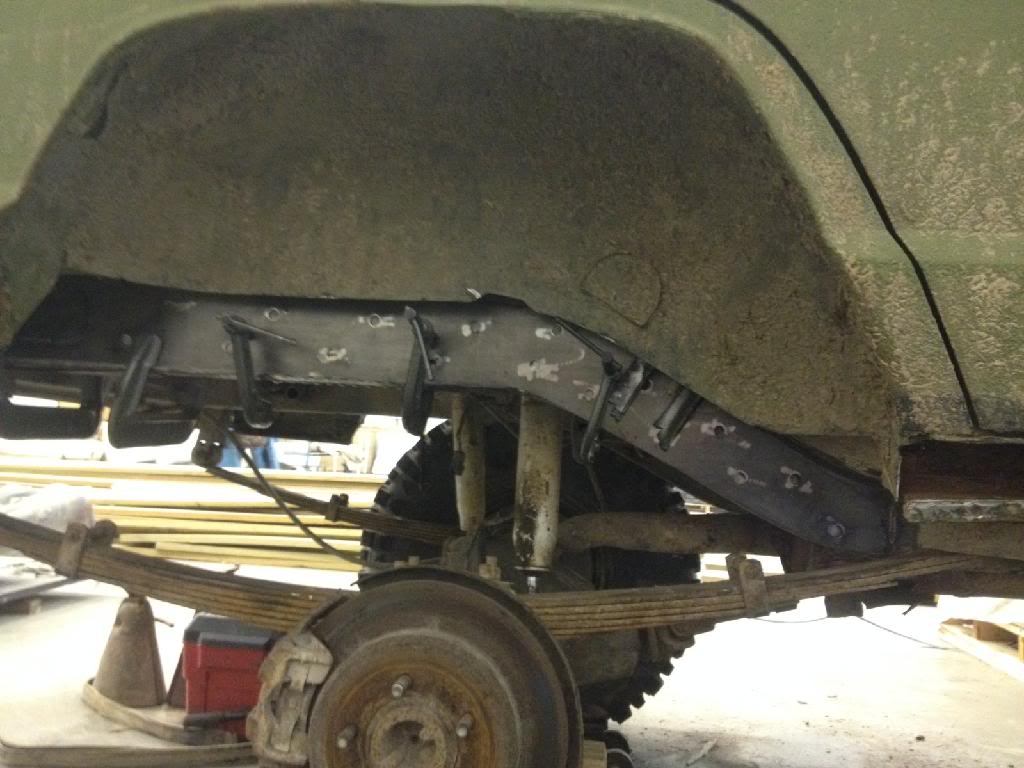
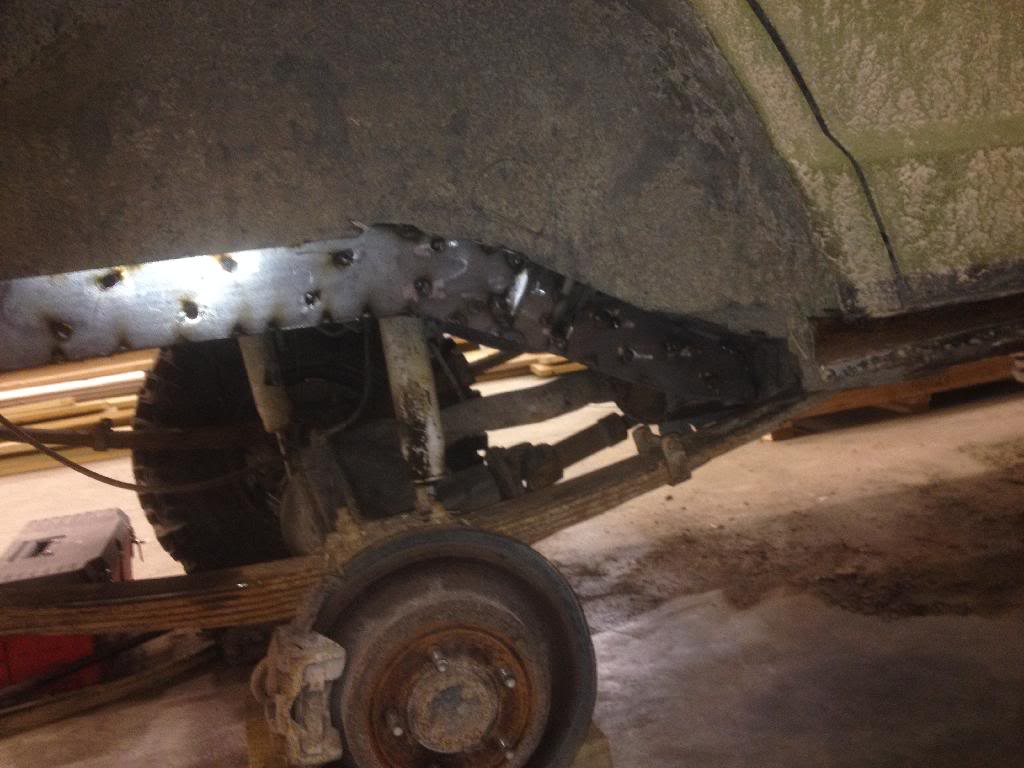
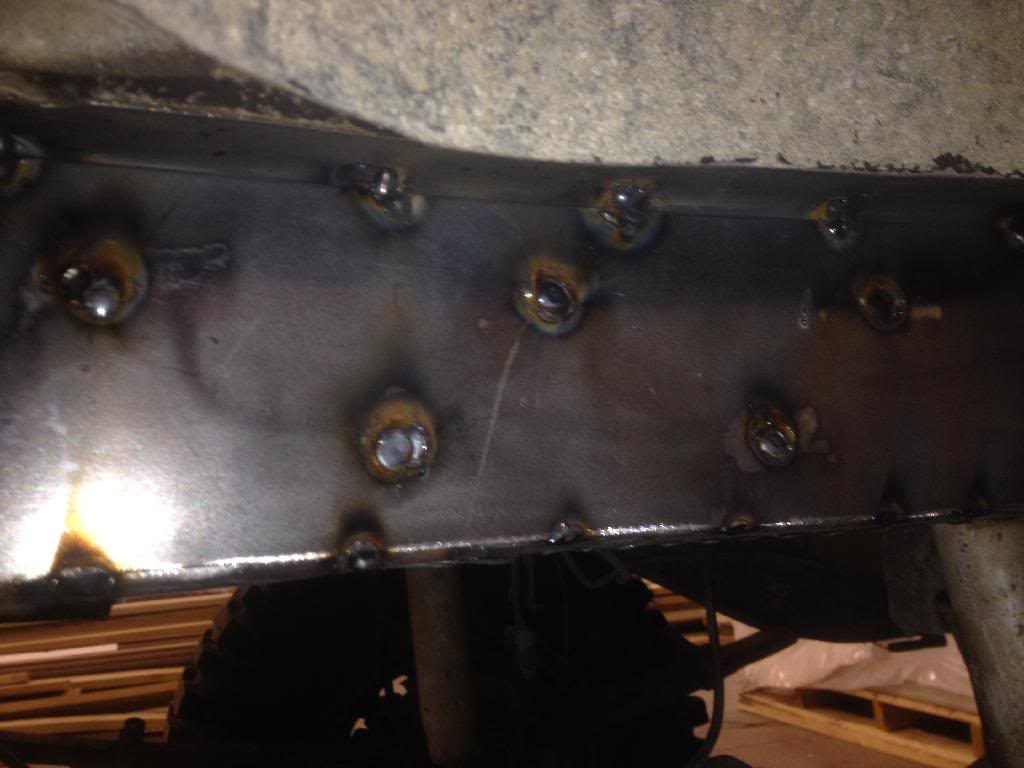
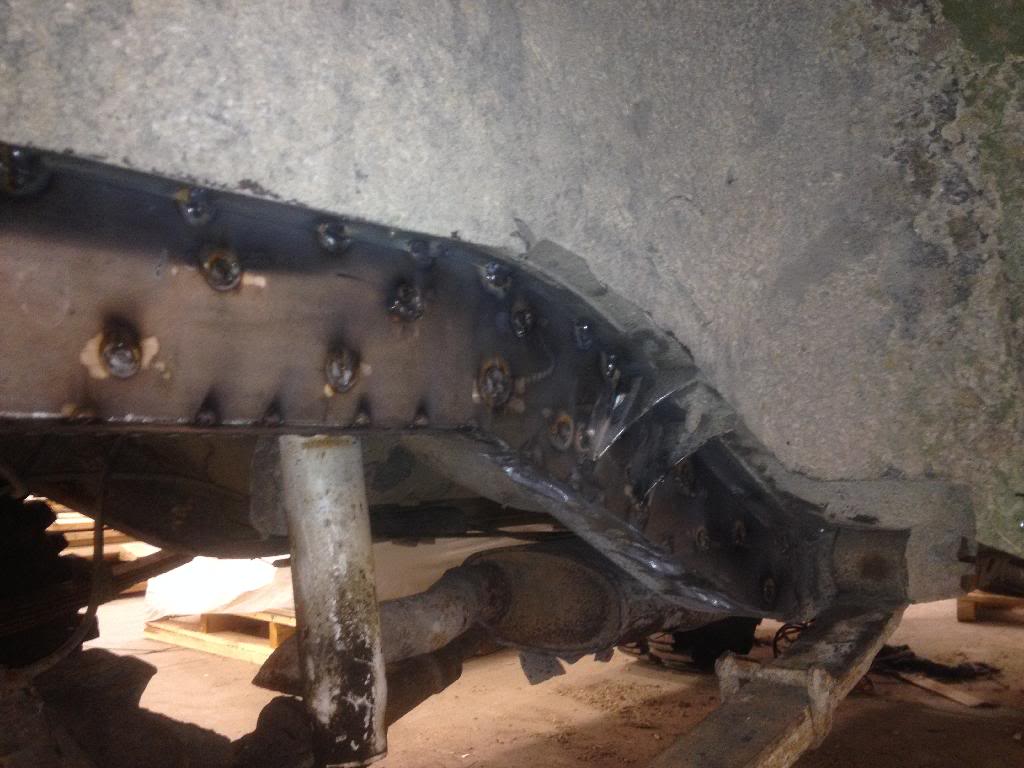
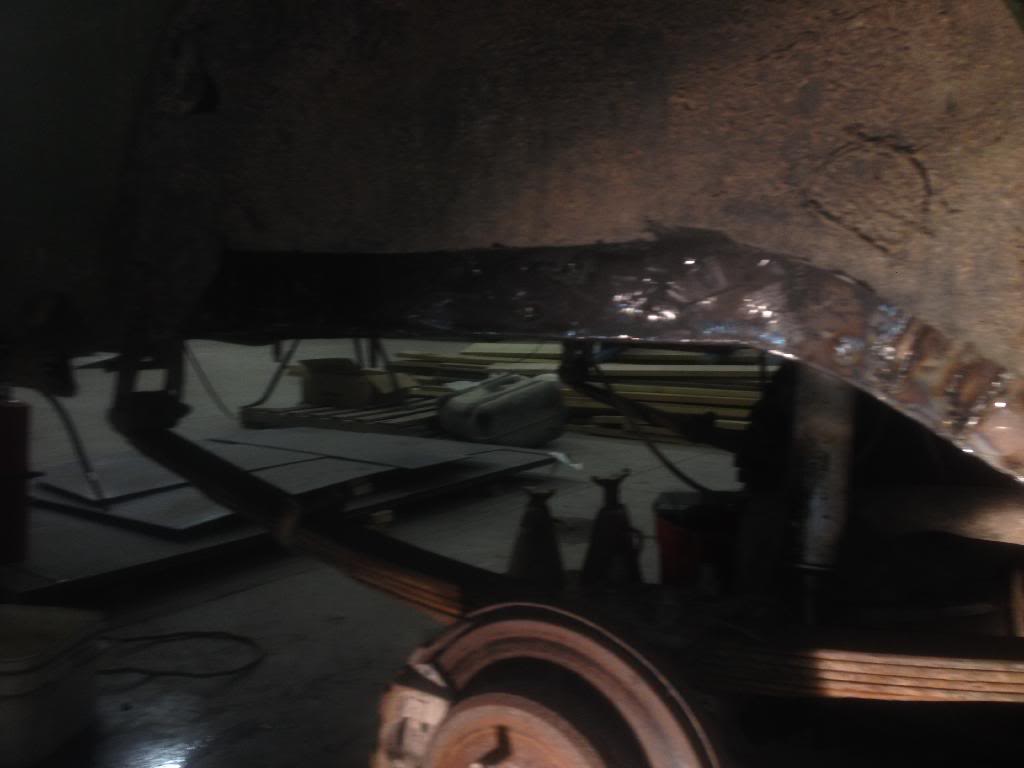
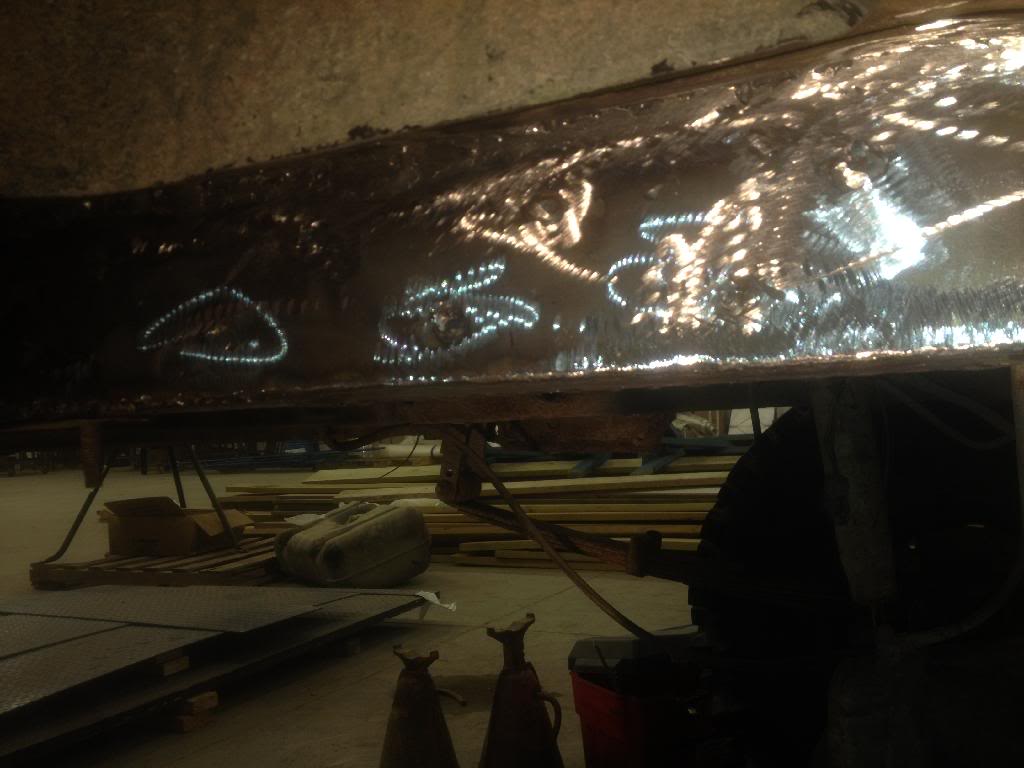
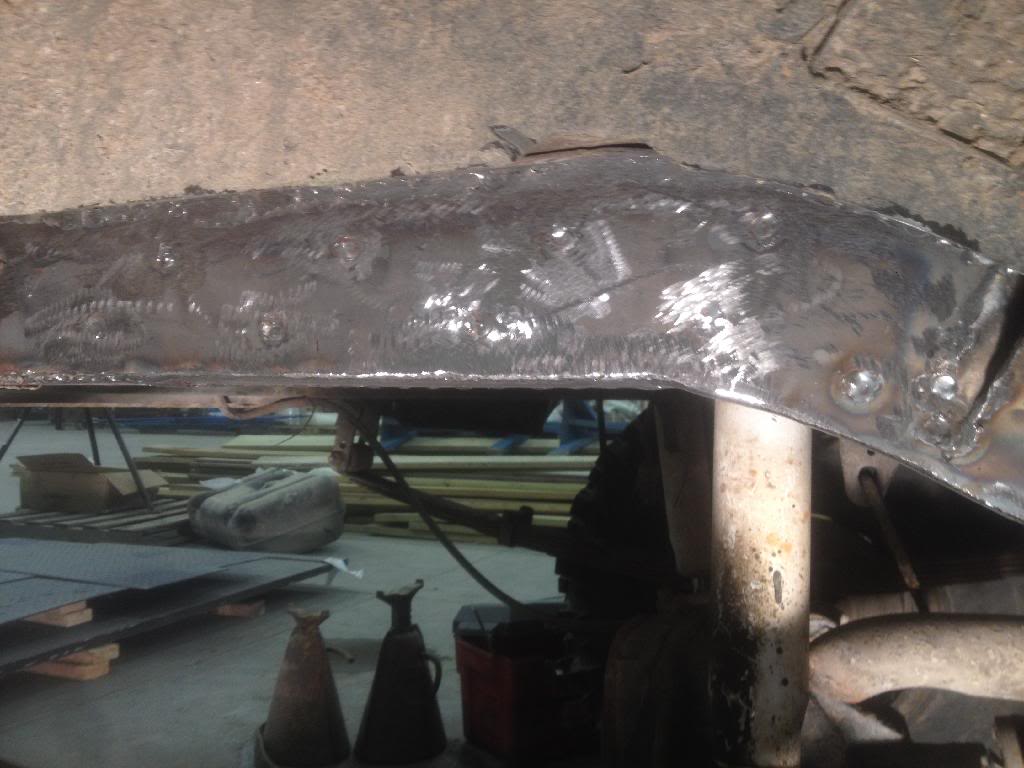
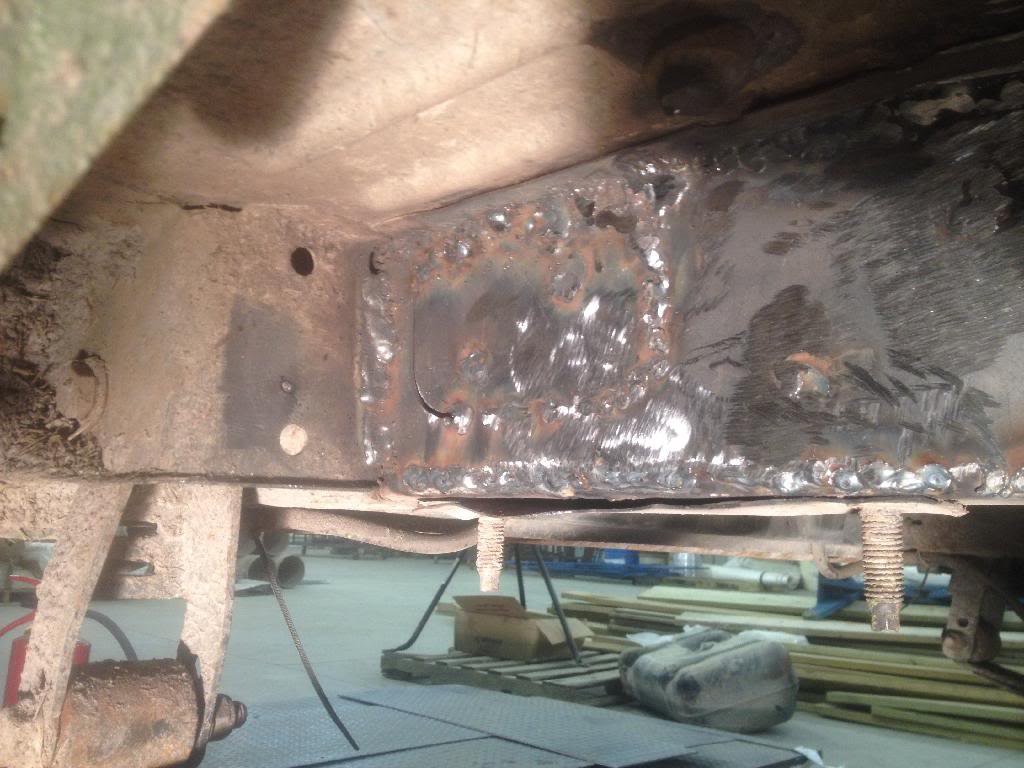
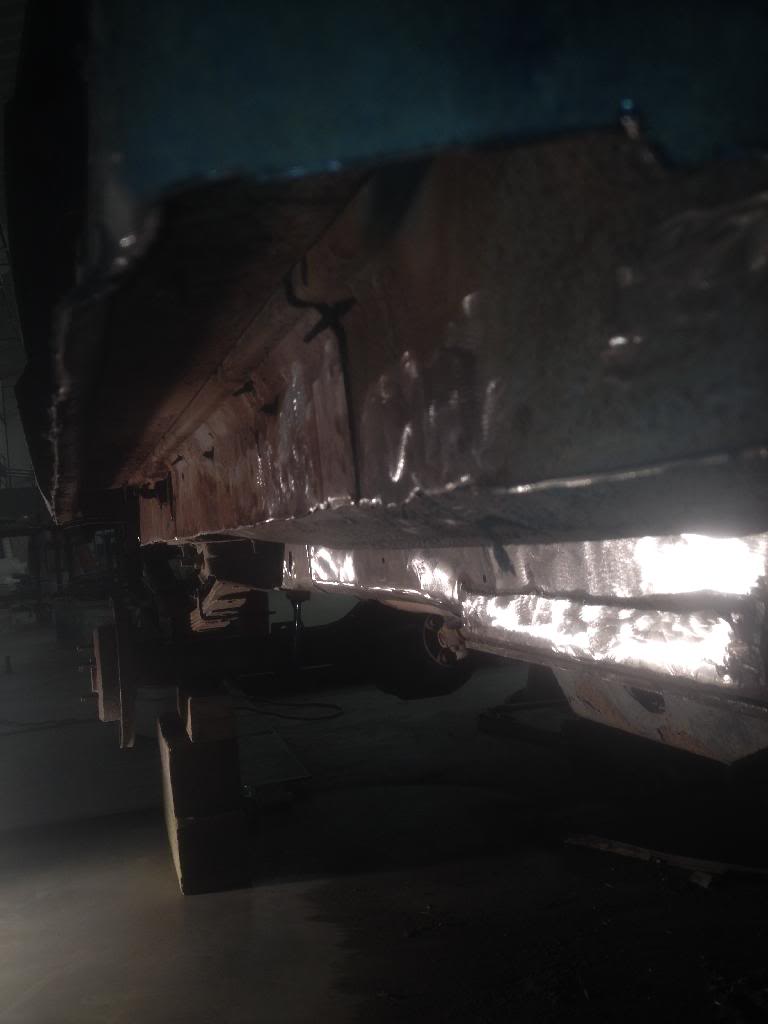
Well, been out in the shop welding tonight on the backbone that is going in my frame rail. Used a piece of 2"x2" tube and had to weld a piece of 1/4"x2" flat stock onto each side of the tube to make it wide and strong enough to replace the section I took out. I'll clean up the welds here soon and plate the bottom and inside after I put the frame stiffeners on.
{bottom}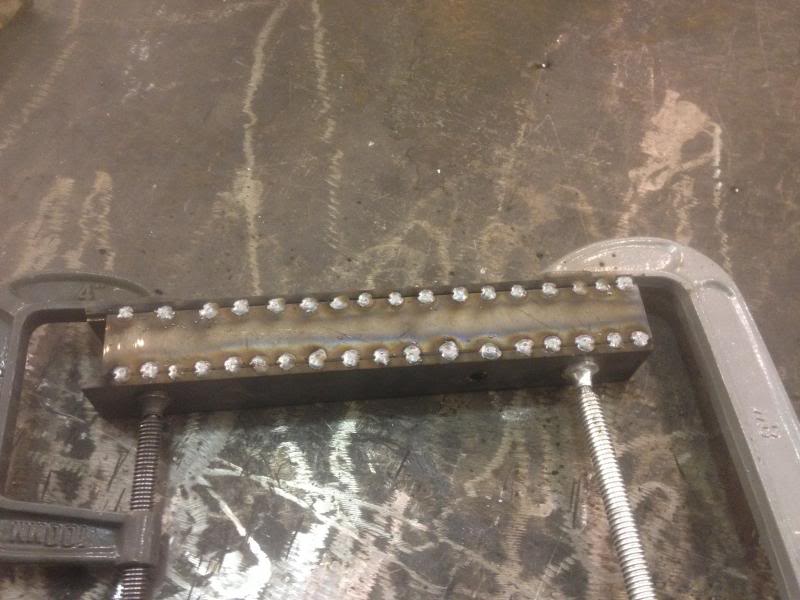
{top}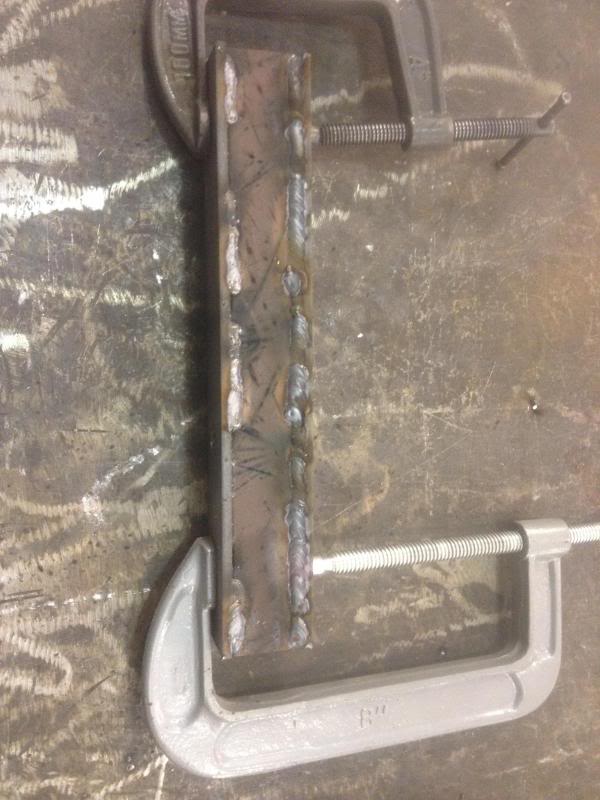
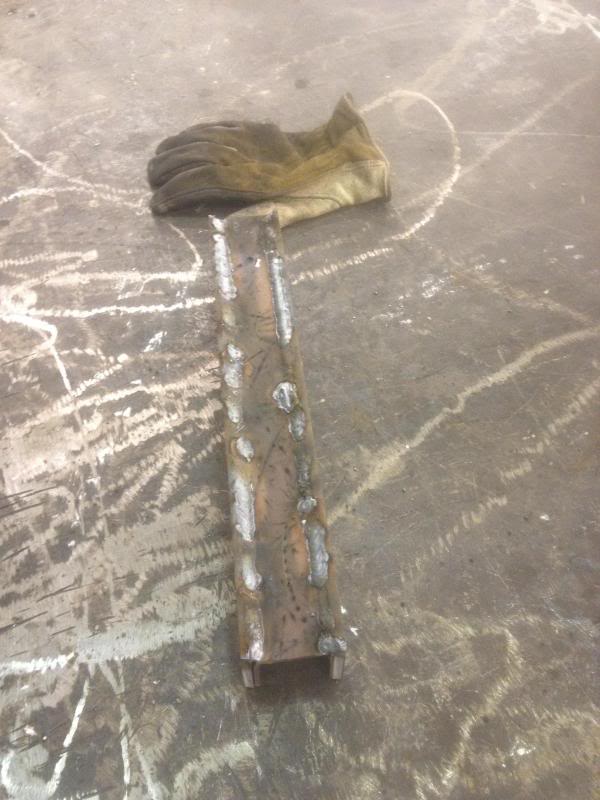
Had to do a little trimming here & there to get it to fit perfect but I got it where I wanted then tacked in and stitch welded.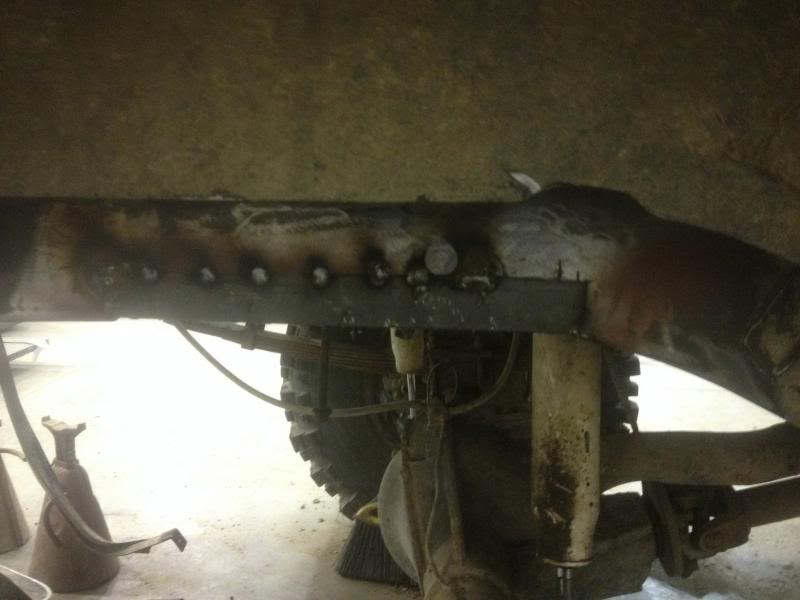
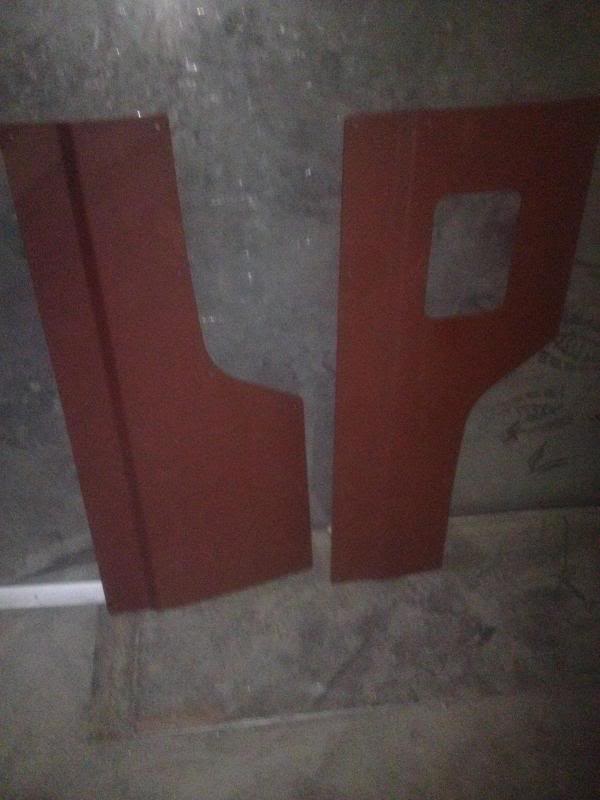
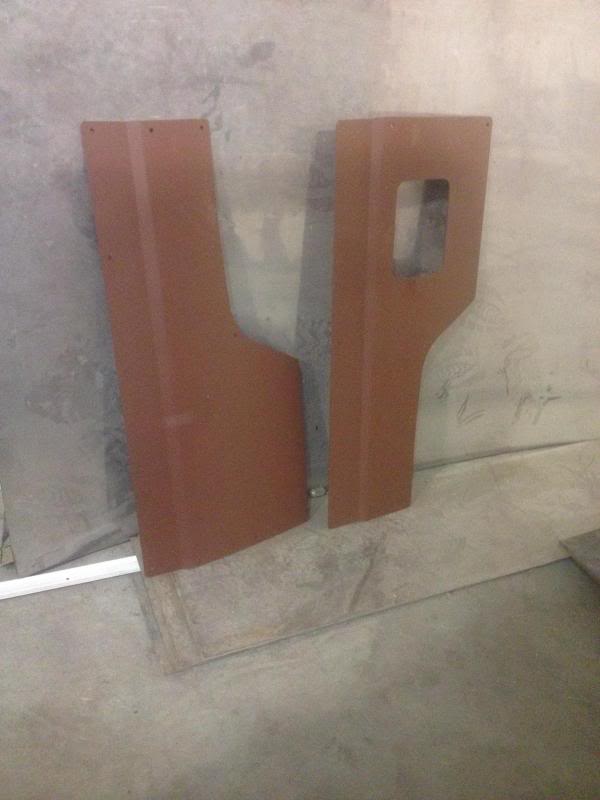
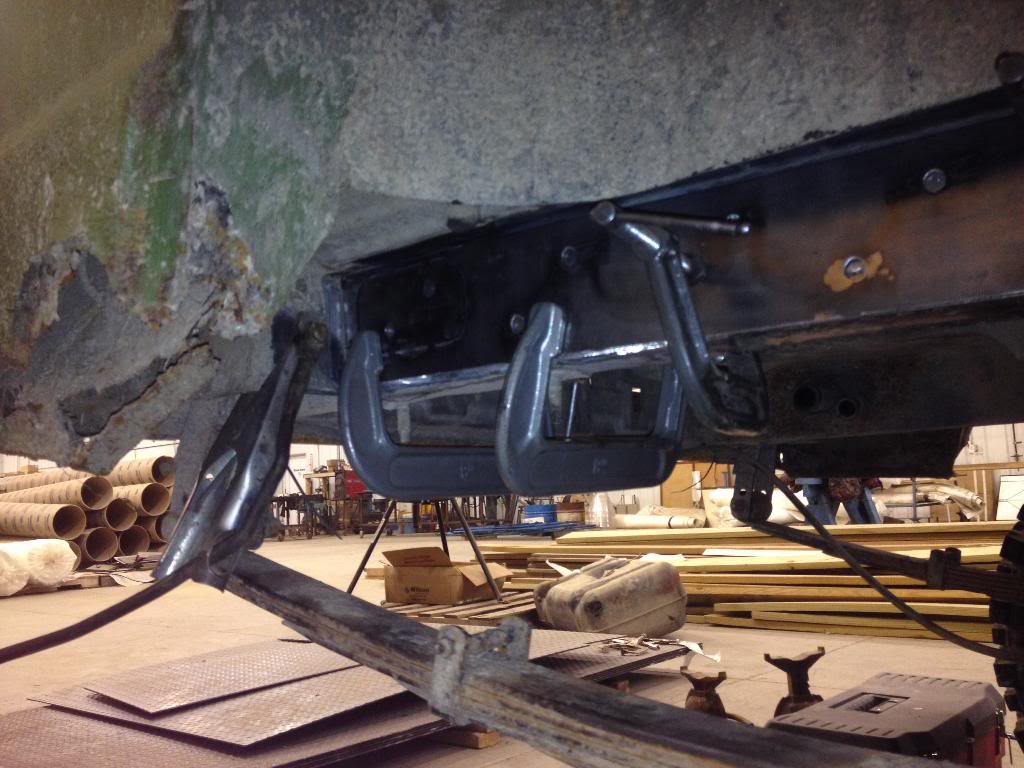
I also primed some quarter panel armor from JCR Offroad.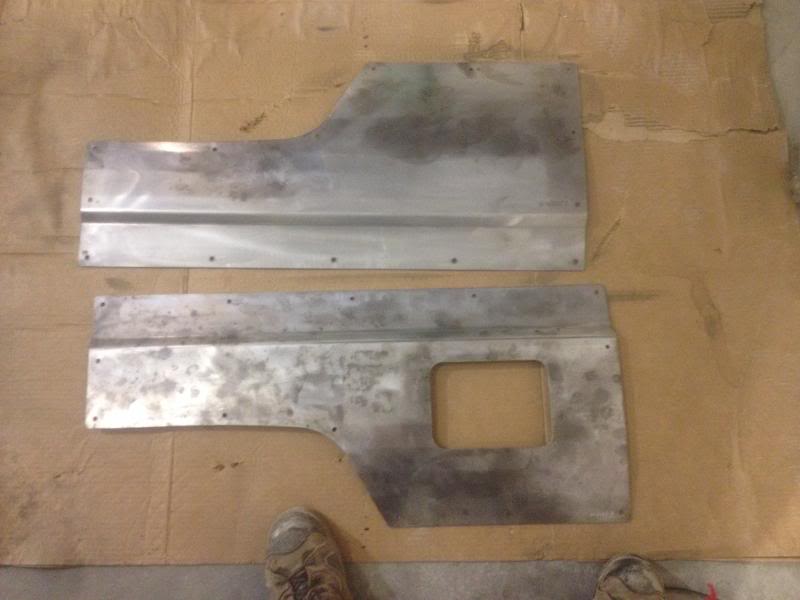
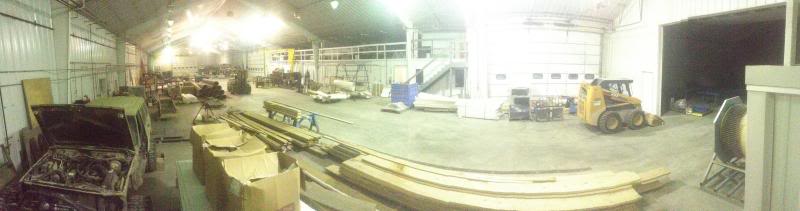
I thought I'd snap a couple pics of the shop since I was here alone. The second one is almost a full 180 panoramic shot.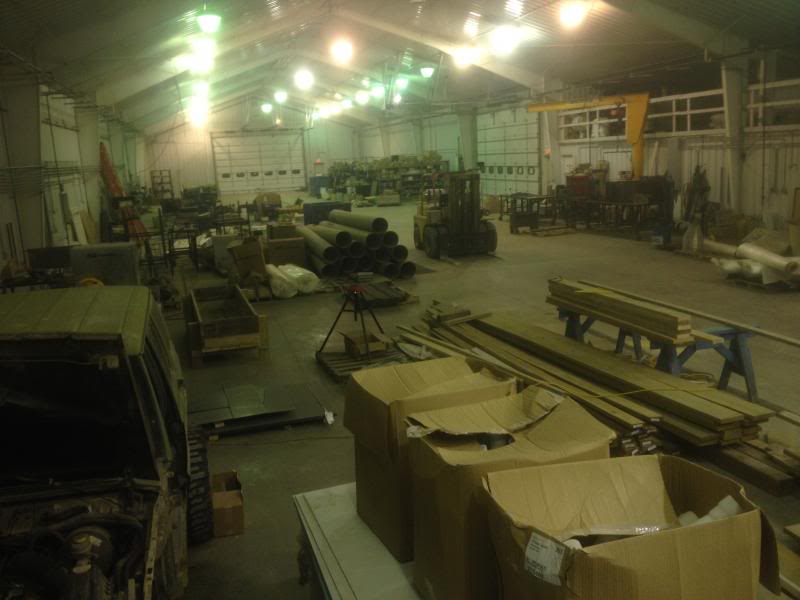
Well, been out in the shop welding tonight on the backbone that is going in my frame rail. Used a piece of 2"x2" tube and had to weld a piece of 1/4"x2" flat stock onto each side of the tube to make it wide and strong enough to replace the section I took out. I'll clean up the welds here soon and plate the bottom and inside after I put the frame stiffeners on.
{bottom}
{top}
Had to do a little trimming here & there to get it to fit perfect but I got it where I wanted then tacked in and stitch welded.
I also primed some quarter panel armor from JCR Offroad.
I thought I'd snap a couple pics of the shop since I was here alone. The second one is almost a full 180 panoramic shot.
Trending Topics
12-30-2013, 10:03 PM
#9
Member
Thread Starter
Join Date: May 2013
Location: Martinsburg, IL
Posts: 156
Likes: 0
Received 0 Likes
on
0 Posts
Year: 1997
Model: Cherokee
Engine: 4.0
It's a pretty sweet shop and as operations manager I get free reign. We don't have every tool but if we can't do it there are a couple specialty shops close. Thank you for the compliments and following!
Last edited by OneArmRedneck; 12-30-2013 at 10:50 PM.
12-31-2013, 06:37 PM
#10
Member
Thread Starter
Join Date: May 2013
Location: Martinsburg, IL
Posts: 156
Likes: 0
Received 0 Likes
on
0 Posts
Year: 1997
Model: Cherokee
Engine: 4.0
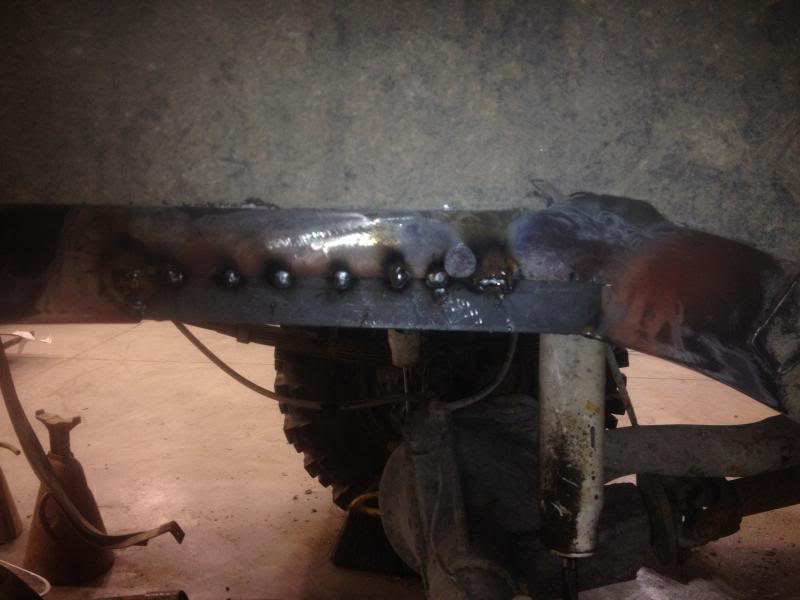
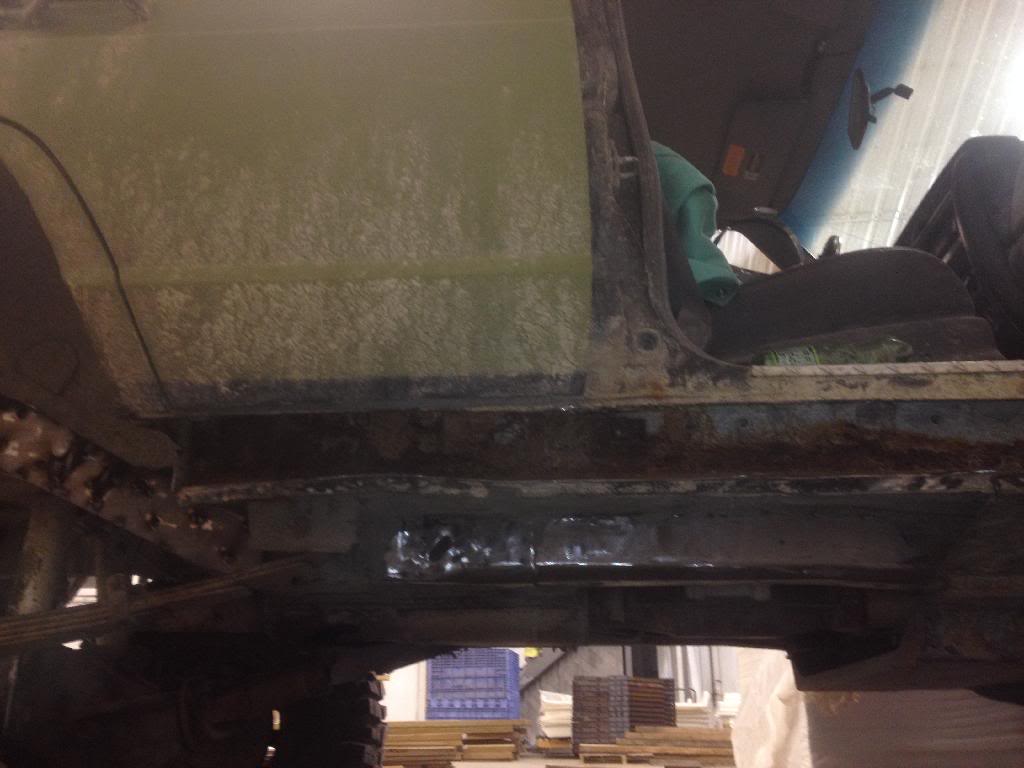
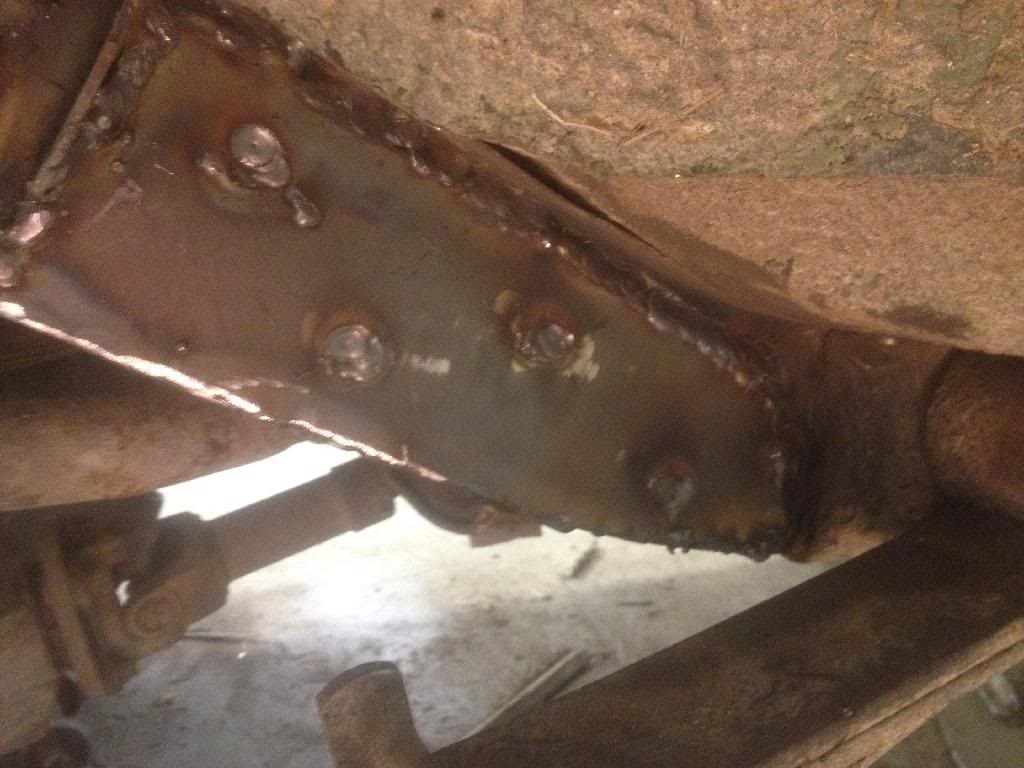
Cleaned up welds & prepped some for putting first section of stiffeners on frame rail, hopefully tomorrow. Not much time tonight, gonna head home & chill w/ the fam. Here's what I did get done though.


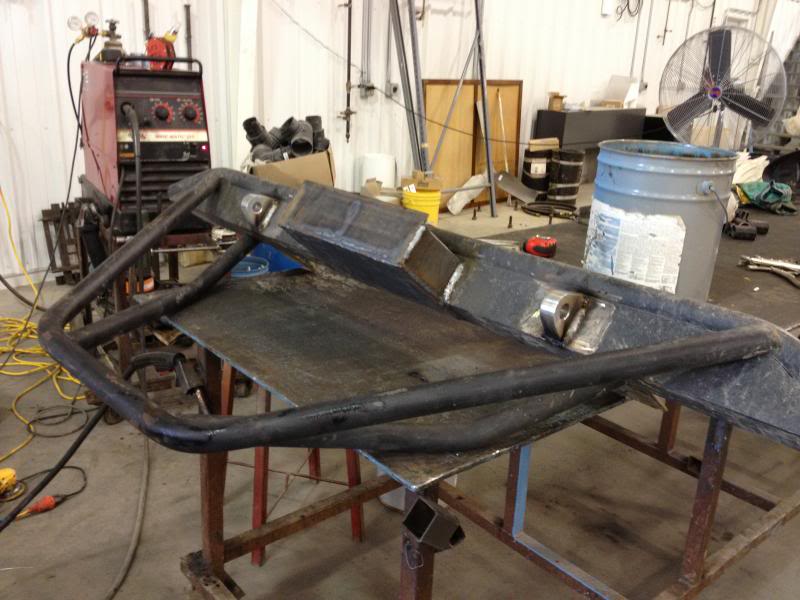
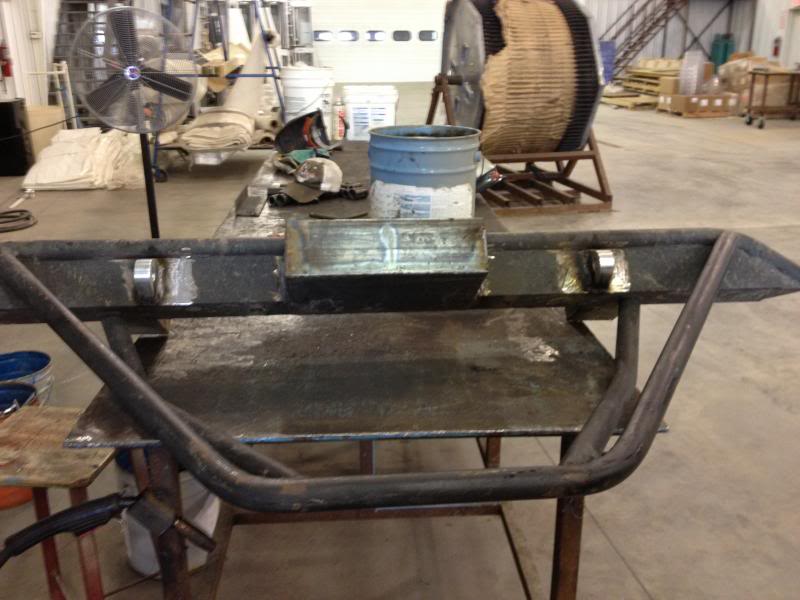
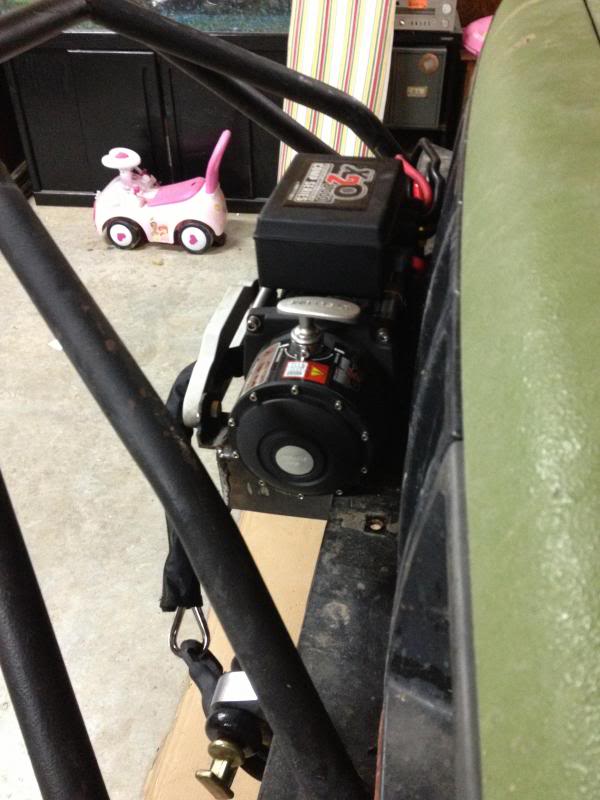
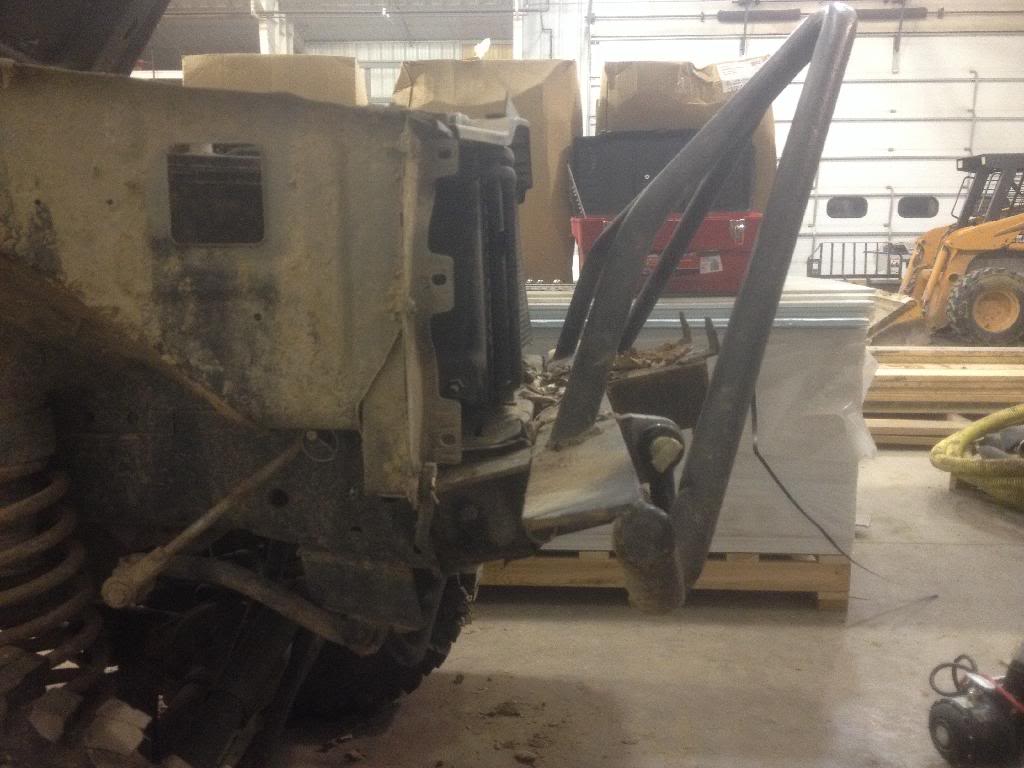
Also finished getting winch off tonight. You can really see I did a pretty good number on the front rails by the angle of the bumper.
Also finished getting winch off tonight. You can really see I did a pretty good number on the front rails by the angle of the bumper.
01-02-2014, 08:29 PM
#11
Member
Thread Starter
Join Date: May 2013
Location: Martinsburg, IL
Posts: 156
Likes: 0
Received 0 Likes
on
0 Posts
Year: 1997
Model: Cherokee
Engine: 4.0
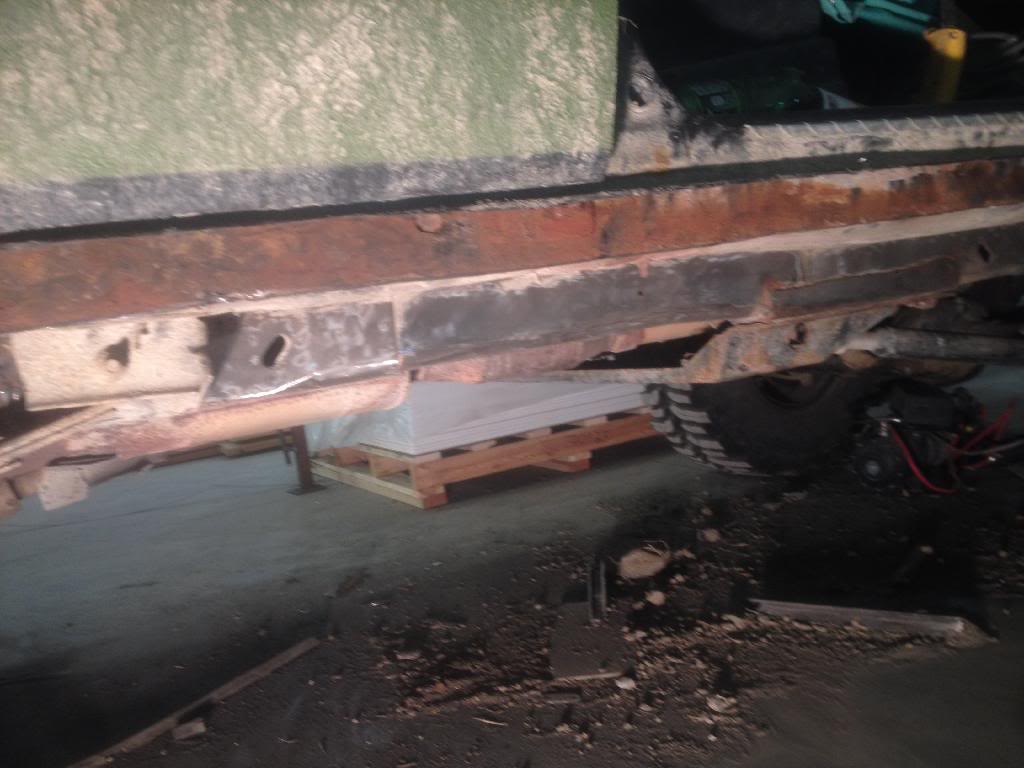
Was able to get back to work on the XJ tonight. Started cleaning the middle section of the frame rail, put on rear passenger frame stiffener (will finish welding tomorrow) and cut out passenger rocker all the way to the pinch seam to make room for my 2x6 rock slider rocker.
Opinions, tips, criticism or suggestion so far? Learning a lot as I go and don't claim to know it all, any info is always appreciative.
Opinions, tips, criticism or suggestion so far? Learning a lot as I go and don't claim to know it all, any info is always appreciative.
01-03-2014, 09:01 PM
#12
Member
Thread Starter
Join Date: May 2013
Location: Martinsburg, IL
Posts: 156
Likes: 0
Received 0 Likes
on
0 Posts
Year: 1997
Model: Cherokee
Engine: 4.0
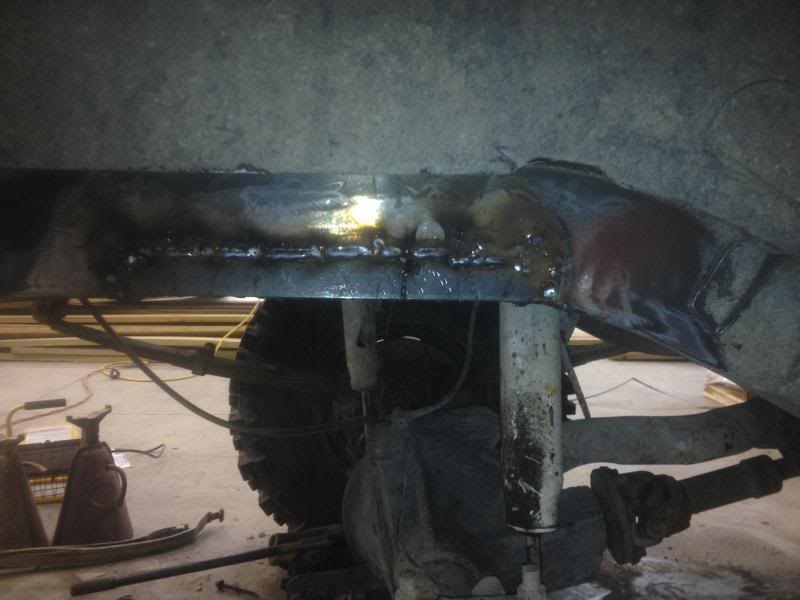
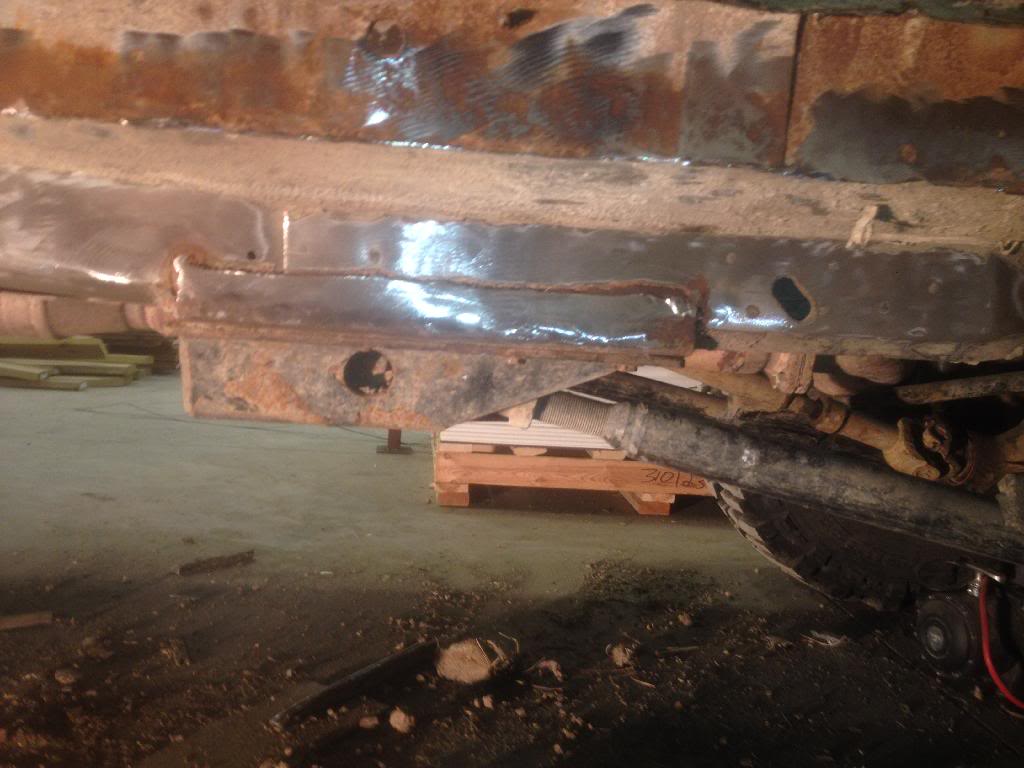
Well, got a little done today. Finished burning in the rear passenger stiffener. Let me tell you, this has been some of the most difficult welding i've ever done. Between the differences in metal thickness, some uncomfortable positions, and the multiple other things that make welding onto a 1997 unibody tough, I laid some of the ugliest welds in many years! lol Oh well, just makes me better I guess. I went ahead and did a little smoothing on the welds so they don't look as bad. I also finished cutting out my rocker at the pinch seam. That was made a little tougher due to the goofy looking boatside at the long control arm mount that the PO welded on. I then did some more prep work to the middle section of the frame rail.
01-04-2014, 10:18 AM
#14
Member
Thread Starter
Join Date: May 2013
Location: Martinsburg, IL
Posts: 156
Likes: 0
Received 0 Likes
on
0 Posts
Year: 1997
Model: Cherokee
Engine: 4.0
Thanks TSXJ. I'm at my 7 yr old sons first wrestling meet today so not much getting done right now but it's worth it! How are you doing your rockers? Do you have any pics or a build thread?
01-04-2014, 11:32 AM
#15
Seasoned Member
Join Date: Dec 2011
Location: Southern Maine
Posts: 437
Likes: 0
Received 0 Likes
on
0 Posts
Year: 1999
Model: Cherokee
Engine: 4.0L
For the time being I'm patching them with metal patches in the spring i want to cut them off and do 2x6x3/16 rock slider style rockers but inspection is due this month so i have to make sure it passes :-) next weekend im hoping to bedline from the body line down! im at my shop right now when i get home ill post some pics from today. I've got to start a build thread i have a ton of little threads from stuff ive done just have to put them all together...