When you click on links to various merchants on this site and make a purchase, this can result in this site earning a commission. Affiliate programs and affiliations include, but are not limited to, the eBay Partner Network.
(DISCLAIMER! - The "Newby" reference is to the fact that my family and I just moved here (ABQ) from S.F. in July 2014!)
After much hemming and hawing I found a deal on a half built 2001. Seeing how much other people's build threads have helped me out, thought I'd start my own to at least pay it forward.
She's a usual 2001 Sport with a stock 4.0, AW4 Transmission, NP231 TC, Dana 30 axle up front and Chrysler 8.25 in the back.
I got this "Stock" with 6.5" lift in the rear, 5" in the front (+ a 1" spacer up front), on Bilsteins up front and Pro-Comp 3000s in the rear, rolling on 35" with faux bead lockers all the way around and already geared up to 4.56. Inside, all the carpet has been removed from the floor pan, and the entire pan has been Rhino-lined. (A pair of Halogen lights was also already installed on the front bumper.)
As she sits the way I got her.
Also came with an updated Air Intake and throttle body spacer
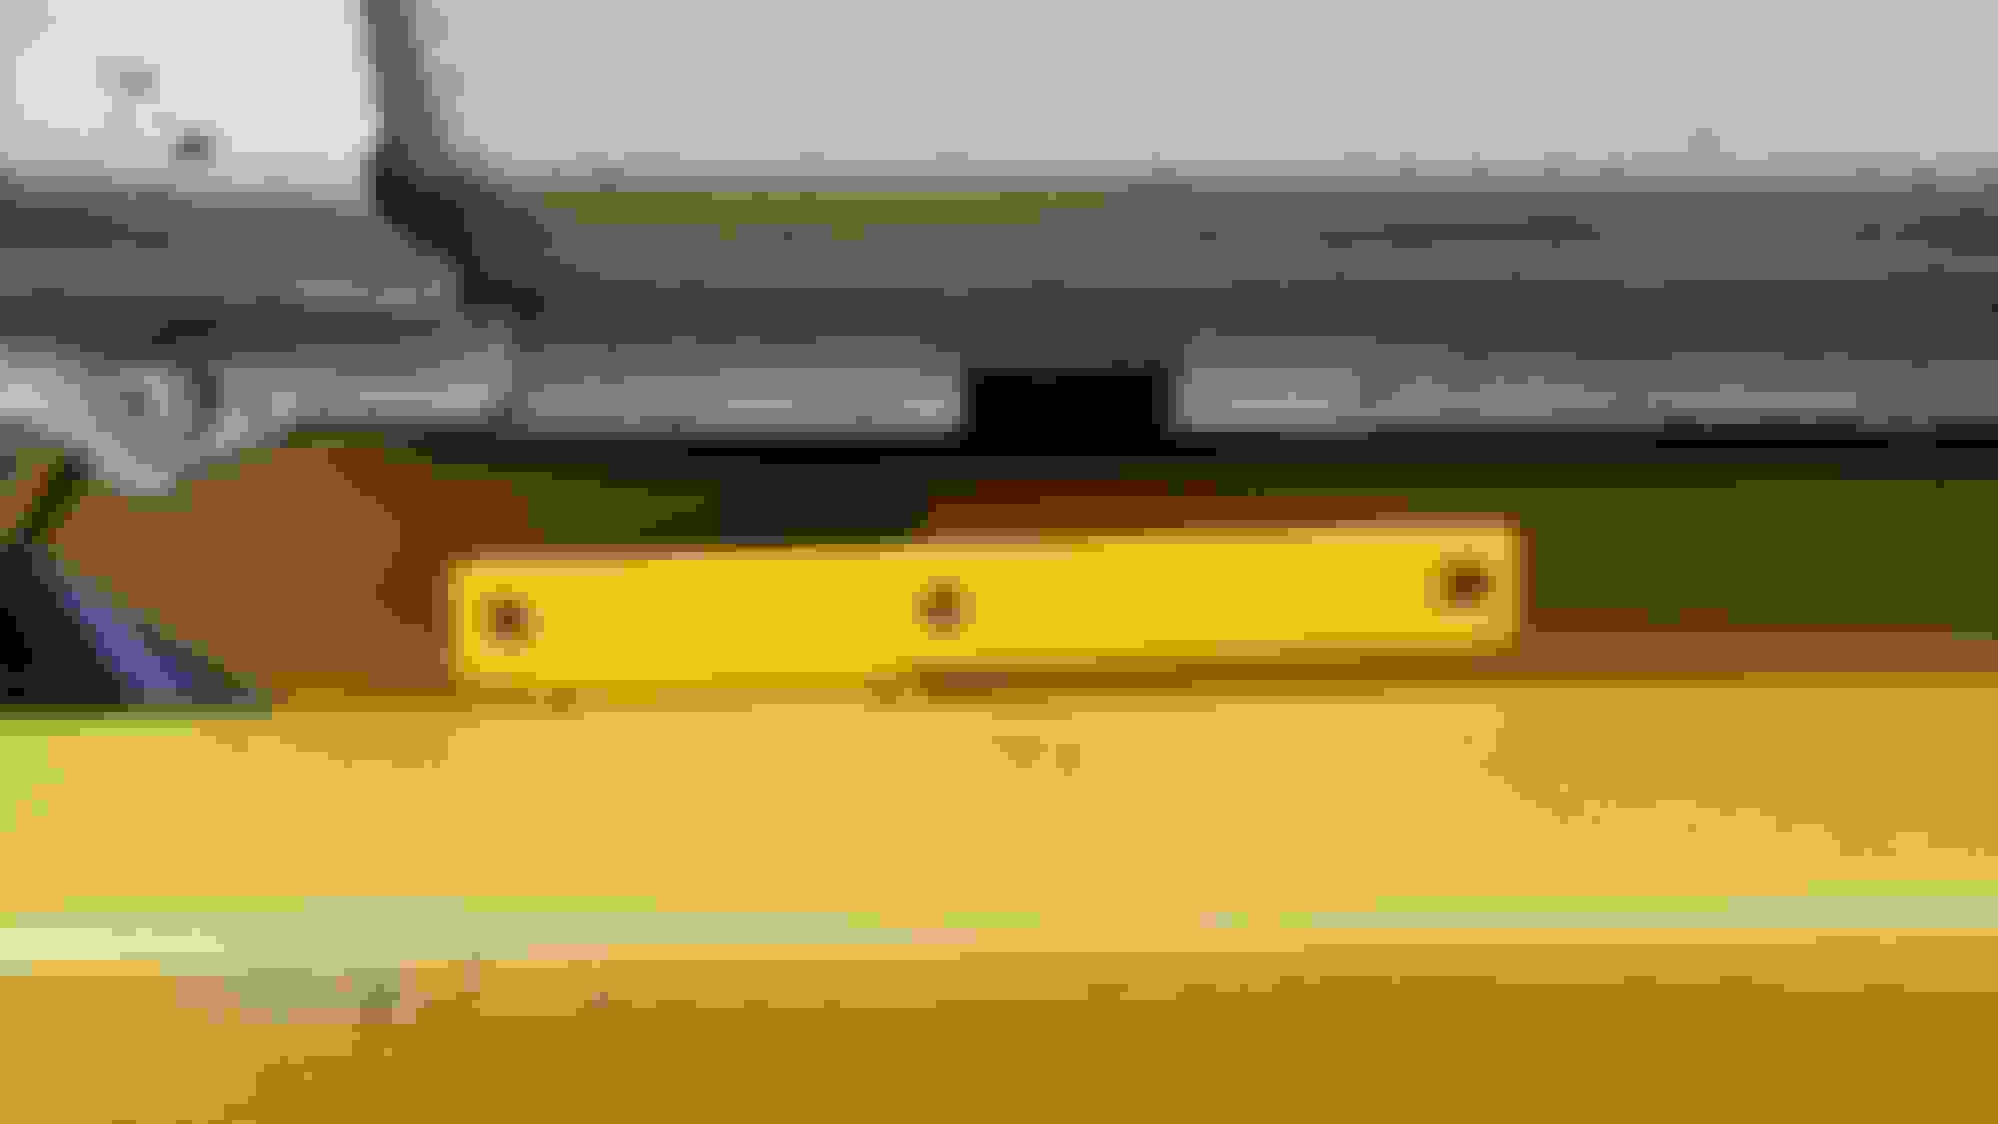
Engine box
and a swing away rear bumper.
As I said, it was a helluva' deal. The previous owner also used to be a mechanic, and this was his wife's DD for years, so it has 190k on the engine but not a nock, sag, or hitch to it.
This is NOT going to be a DD or anything like it, this is a TOY. Specifically went for the XJ over a TJ or something else so I can take the wife, kids and dog if I want, so some of the build will be directed at making sure they are safe/comfortable (i.e. not afraid they are going to die!)
Got a front bumper from nates4x4 and stiffeners and sliders from Detours coming next week.
Then -
Replace oil pan gasket
Rear main seal
Oil Pump (with Melling HV)
The CatConverter sometimes lights up the engine light, so that may need to get replaced, too, before too long.
Transfer Case Skid (probably SkidRow)
Gas Tank Skid (thinking JCR)
Front Axle Truss (Artec)
Backseat Headrests
OX Lockers front and rear
And probably a hybrid roll cage.
I use this thing to wheel and to crawl, but I'm on a bit of a budget, so the real toss up will be which comes first, the cage or the lockers. Cage means kids and wife are willing to come, lockers means I can get myself into positions where I will want/wish I had had the cage more easily. We'll see!
One of the things I like to do in the beast is throw the family in and join up with the local 4x4 group (NM4W.org) and explore some of the trails. (We just moved here a couple months ago, so still lots of exploring to do!) One of the group's rules is that everybody has to have a CB, so I figured I would install one so they'd keep letting us come on their trips.
First step was install the electric for the radio from the battery. I wanted an inline switch on the dash so I wouldn't end up forgetting to turn the damn thing off. Fortunately, the previous owner had already done me the favor of running just such a switch! (Looked it was for lights that originally mounted out of the hood instead of bumper.)
Pre-installed switch!
Simple matter to strip out the unnecessary wiring and reroute what I needed.
Next step was running the coax. Ran it through the same firewall through hole that the P.O. had run the electric for the switch.
Electric leading through firewall on left (red) coax on right.
Better view of leading wires through firewall
All closed back up
I decided I wanted to the mount the radio on the roof between the visors. Don't like a lot of the mounts you see where they are mounted on the side of the transmission tunnel. I'm 6'4" with long legs, and hate bumping stuff on the side, and I wanted any passenger (read "my wife") to not feel like they couldn't bang into the radio. So the next step was dissembling a chunk of the driver side of the dash under and to the left of the steering column to access the cable and electric, and then route them up through the dash and under the A pillar drivers side trim panel.
I ended up snapping a couple of the clips when I pulled the trim panel back to slide the wires behind, so a couple self tappers hold it on inconspicuously now.
I wasn't sure how to feed the wires to from the trim cover to the center without dangling, and was about to buy some clips to screw it into the headliner, when someone on a thread mentioned that it was actually quite easy to pull down the front of the headliner a bit and simply stick them on top. Turns out, they were right!
Tucked on top of headliner and ready for duty!
Next stop was a backing plate to mount the mounting bracket to. Some guys like just screw it into the double wall at the front of the hood, but I wanted something that wouldn't back out (I just don't trust self tappers that much!).
After scouring the forums, found that others were pulling the open end clips for the visors, using the screws as the mount for a piece of steel, and mounting the bracket to that. A quick trip to Metals Supermarket netted me a perfectly sized piece of scrap aluminum for $1.
I pulled the clips, shaved down the built in washer around the screw hole on, left the guide post on the clip, measured for the holes and drilled (and then re-measured and redrilled!)
Visor clip with built in washer beveled flat, but guide post still in tact.
Ready to attach with visor clips/screws
Ready to install radio
Ready to install radio
I did have to remove the rear view mirror, but after checking laws in N.M., I'm pretty sure I'm still legal. If I take this thing back to CA. I'll have to lower it.
. Pretty high end, but around here in the summer we get massive thunderstorms and I wanted to be able to keep abreast of weather and not get into trouble with flashfloods in canyons.
So now, that the inside was all taken care of, time to mount up the antenna.
Went for full Firestik with the antenna, 4' stick, mount, spring etc. Decided against the Lil' Wil because in the 2 months I've owned this thing, I've already worked it pretty hard, including a a couple times (read branches) I'm convinced the Lil' Wil would have stayed. Also decided against the 102" whip as it seems most places are banning them.
Decided on the front hood mount because I wanted to be able to see the state of my antenna, but didn't want it too high, or in the middle of my hood. I've wheeled with plenty of guys in other places (TJ's and YJ's mostly) who have their antenna on the rear, and they ALL have CRAPPY send/receive (I'm not sure any of them have ever had their radio tuned, but that's another story!) so front mount it was.
Pretty simple process -
Holes drilled.
Mount installed with ground attached.
After taking it out with the provided self tapping screws, the mount ended up wobbling because the sheet metal was getting worked. I ended up through-bolting it with upsized bolts, washers on both sides plus nylon lock-nuts. For anyone thinking about doing this DON'T, well, actually DO, but it is a P.I.T.A. Took 2 hours to install 3 bolts! The process involves masking tape, a box end wrench, and carefully finagling one hand up between the quarter panel and the engine box through the fender. (And for anyone thinking "take the quarter panel off" and make my life easier, this mount goes THROUGH the quarter panel lip that sits on top of the engine box, so you are actually bolting the quarter panel ON!)
Ground led to grounding strap on firewall.
When I installed it the first time, I grounded it with a piece of 18 gauge that I had used to run the electric for the radio, with the bare wire wrapped around the bolts on each end. I upgraded that to 10 gauge with proper ring and open ended connectors and MAN did the SWR reading like that!
Coax run to back corner to avoid abrasion with hood.
All mounted up and ready to ride.
After that, a little tuning with the Uniden's built in SWR meter (another reason I went a little higher end) and the Firestik's tuneable tip and it's good to go.
So I decided it was time to add some front recovery points. After going back and forth, the wallet ultimately dictated a winchless bumper, so after a couple weeks of scouring the interwebs, Nates4x4 came around as the most solid looking, price friendly model. (Looks like you can only get in a front/rear package deal now.)
A couple weeks later, I had a shiny new bumper waiting at my door!
New front bumper from Nates4x4
Old bumper came off with a screw driver, though I did end up wrecking a couple of the clips in the process.
Old bumper off
Test fitting
One of the things I liked about the Nates bumper was that it locked into the frame. At some point in the future, I have no worries about building out a shelf and adding a winch.
Front bumper mounts
Rear front bumper mounts
In order to fit the new bumper behind the fender support struts, the instructions say to remove the two lower steering box bolts.
Bumper and steering box bolts
Trolling the forums, I heard NIGHTMARE stories about people breaking their steering box bolts. A little more hunting found this stuff...
Best stuff for freeing bolts
Supposedly the only thing better at freeing stuck bolts is a 50/50 mix of ATF and acetone
Now it's on to priming. Before priming, I washed it, wet sanded it with some 300 grit wet/dry, washed again, dried, then right before the first coat, I wiped the whole thing down with acetone. Based on the results, this is the process I will be following from now on!
Ready to prime.
First coat
I used Self-Etching primer picked up from Autozone. It covered really well and set up for a great paint job.
Self Etching Primer
2nd coat. Primer covered GREAT!
For the top coat I wanted something different....
Yup, that's right, YELLOW!
First coat.
For anyone contemplating "Canary Yellow", let me save you a TON of time, use black. I didn't get why everyone paints their steel black...
2nd coat
3rd coat
4th coat, FINALLY!
Now I understand COMPLETELY. Yup, that's FOUR coats of yellow, three cans, and it still looks a little mottled if you know to look for it!
So I did the cheater test fit, and paid for it. Turns out that contrary to the instructions, to clear the fender support struts (and not remove them) you actually have to remove ALL 3 of the steering box bolts. Once again, trolled the forums and found horror story after horror story about not only broken bolts, but broken spacers, boxes falling down, or falling down just enough to make them a pain in the @$% to get back in. Some wise soul suggested blocking from below...
Blocking up steering box
as well as from the side so everything stays in place.
Side support for steering box
Whoever that wise soul was, THANK YOU! I won't say getting the steering box bolts back in was easy (it wasn't) but at least it was just fiddling, and not trying to lift/support the entire box.
Turns out the vacuum ball is also in the way to mount, so that had to be moved. Found a nice convenient perch on the fender support out of the way of the suspension.
Remount of vacuum ball
Included hardware layout with instructions
So get everything bolted up...
Front mounting bolts
Front bolts and new steering box bolts
Well almost everything. I could not get one set of bolts in the front, or the bahama mama 3/4" carriage bolt in the back to line up.
Doesn't quite line up.
Wasn't really worried about the 10mm bolts up front, but the 3/4" carriage bolt is the lynch pin of the whole operation, so had to employ a little bit of help.
Best Friend
Now it fits!
Clears the vacuum ball just fine
I used some stainless self-tappers to install the lights -
With lights installed
And hit the trail.
Testing it out!
Overall, a fine install. A couple places where the instructions didn't quite agree with reality. I left out the 10mm bolts in the front part of the mounting plate, just couldn't get them to fit. I ended up reusing one of the old steering box bolts sans an outside washer, just couldn't get the new to thread. Also had to dispense with the inside flat washer on the driver side carriage bolt, it forced the nut too far into the steering box to be able to seat it.
One other thing, the front bumpers from Nates have (or had) the option of wrap around sides, or not. I wanted the protection of the wrap around on the sides, but because of my lift and tires (6.5" with 35's) I asked them to trim them back form 11 inches to 5 inches. They came with the 11 inch wraps anyway. After a couple light trail tests, I am rubbing on some of the bigger dips,, so I'll end up trimming those those later.
Next on the list was a gas tank skid. After a ton of research, I went with the JCR tank skid.
Decided on JCR for a couple reasons.
1) They were one of the few that actually covered the entire tank- sides, back, etc. Too many assume that you have a hitch and so leave a gap below the rear bumper. My hitch is integrated into my rear bumper so I wanted the skid to cover everything up.
2) They are BURLY! Thought about the Tomken skid but it's only 1/8"! I've got a poly-plastic tank. 1/8" won't protect it! I'd be better with a ZJ skid. The JCR is 3/8"!
3) Everyone I talked to and and everything I read said JCR was quality.
So I ordered it up complete with Nutzerts.
How it showed up on my door.
Did I mention it was BURLY!
Nutzerts test fit
After a test fit - Ready for priming
First coat of primer
Second coat of primer
OEM gas tank heat shield
Heat shield removed!
Bare tank!
Purty!
This is coat 2 of 4! (Yellow Sucks! But it looks GOOD!)
Painted the nutzerts with some other random rattle can I had lying around. No one is going to see them!
Removing the rear bumper to install the nutzerts. Did it by myself, but had to jack the bumper up with a hydraulic jack.
Rear bumper off. You can see that I sprayed the inside of the skid with leftover rattle can. Again, no one is going to see it.
Already had one nutzert installed on passenger side for the support tab for the swing-away carrier. Wasn't sure about condition so I removed it.
Old nutzert was riveted into place.
Some quick drilling and the rivets are out!
Old nutzert out
New nutzerts going in.
Lifting skid into place
Installed
Skid on, bumper to go next.
Figured since I had the rear bumper off, I would Yellow it up too!
This is 5 coats of rattle can. Just could NOT get the coverage I was after.
Finally went down to Home Depot and picked up a gallon of Exterior Enamel (water based) and rolled it on. This is 4! more coats. Finally covered though!
You can see the passenger side support bracket mounted over the gas tank skid.
Unfortunately, by going over the skid, it made the outside passenger bolts not line up. I like the 3 bolts supporting underneath. But will throw some smaller diameter through bolts in until I can remove the bumper and ream out the holes. (And then I'll replace my busted fuel line check-valve!
One of the reasons the original owner sold me the XJ was because he hated wheeling it because of all the squeak and creaks. One of the first things I started checking out was stiffener setups. There really aren't too many out there for XJ's.
Finally decided to go with Detours XJ Unibody Slyders The stiffener part uses the front bolt on the rear suspension, and then a self tapper to line up next to the frame rail. The you rosette weld at 4 points on each to side to the frame rail. Attached to the stiffener is the slyder, which is supported by the stiffener on the inside and hangs from the pinch seem front and back.
If you are looking at sliders AND stiffeners it is hard to beat Detours on price. Plus they are not too bad to install.
Literally "on the doorstep!"
They come already primed, so that is nice.
Tried to brush on the yellow (Didn't want to blow my whole budget on rattle can yellow, after the bumper debacle!)
Just dipped the attachments.
2 coats on the front, 1 on the back.
I had sprayed up the front bolts on the rear suspension a couple weeks before, but I could NOT get them to budge. Even tried jacking it up to relieve some pressure, but wouldn't budge with the breaker.
Hit it liberally with this stuff, and then went inside to see how the Patriots were doing.
When I came back out, all I needed was a 10 inch ratchet handle to spin it! Love KB-88!
Back the bolts out about 1/2"
Detours Slyders come with specific right and left.
All the mounting hardware that comes with it!
Attaching the front tab to connect the front end. This allows for a lot of adjustment. I have short arms and drop brackets, but the mounting would have done fine with long arms, too.
Test mounted.
Just slide the fork under the bolt head.
Support it with a jack.
And seat it against the wheel well up front. I didn't like how it was positioned, so I slapped on a couple 12" C-clamps to hold it butted against the bottom of the floor pan. Much better!
Mark areas where you are going to weld...
Hit it with a grinder to take off the paint where you are going to weld...
I hit the insides of the rosette holes with a file just to make sure there was not reason the weld would not take.
Mount up the pinch lip hangers. (I forgot to this on BOTH sides, and ended up having to drop them to put them on. Total PITA!)
Lots of adjustment in the pinch lip hangers, too.
I ended up having to jack up the outside edge to get the pinch lip hangers to actually hit the pinch lip.
Tapped the provided self-tapper into place to hold up the front end.
A 12"x3/16" bit was definitely useful for punching through the pinch lip. After that you just bolt up the hangers and you are ready to weld.
I took it over to a buddies the next morning to weld up, but we could not get the internal piece to sit flush against the frame rail. In the middle, there was a 1/4" gap. He tried welding one of the rosettes, but it was crap. We put 3 C-clamps on but could not get it any closer. On both ends it was fine. So I drove home and took them off. I was just about to order up some steel to shim behind it when my wife and I decided we were going to take it to Baja, 12 hours each way. This entailed the conversation of what to do about the noise (this thing is LOUD! The P.O. installed a glass pack, which sounds cool, until you are cruising at 75MPH down the freeway and can't hear the person next to you yelling!). So, after thinking it over and running through the possibility of needing to install soundproofing and reinstall carpet, I decided I wanted to get a roll cage installed first so I wasn't having to tear out all the soundproofing/carpet, if a simple muffler replacement didn't fix it.
So now the rig and the sliders are in the shop getting a cage installed that will incorporate the sliders into the whole tie-together.
For anyone interested, here's a thread from XJ Talk, showing Mark at Detours mounting his own.
Decided it was time to put in some sound proofing and carpet in anticipation of a trip down to Baja for Christmas. The P.O. had pulled everything out and Rhino-Lined (actual Rhino Lining, not the cheap imitation crap!) the tub. It definitely had its advantages, but it was loud as #$%^! Only way I was getting my wife to agree to a 13 hour drive in the thing was to quiet it down some.
I also had been wanting to put in a cage, so figured I would get that taken care of before doing any of this, since I would just have to rip it all out later in order to put the cage in.
You can see the cage installed.
Before
Before
Replacement carpet out of an '88 at the JY
Cockpit piece
Trunk piece
Layer of FatMat RattleTrap 80mm throughout
This is what I used for heat shielding. Found someone on the forums that had good success with it. Less than $20 at Lowes
Heat shielding going in on the Transmission Tunnel
Not the best pic of the finished product
Overall, it came out pretty food. Made a TON of difference, you could actually drive at highway speed (read 75-80mph) for 3 or 4 hours without going completely deaf! I'll post up more pics when I get some that aren't blurry!
In anticipation of taking the heap to Baja for Christmas, I realized that if I wanted to do any wheeling down there, I need to take my tools. My father-in-law has a Wrangler down there, but he takes out his back seat to put in his tools, which means that if we wanted to take everybody (we had friends coming) wheeling, I had to have all my tools, so he could leave in his rear seat. PLUS, when trying to pack of family of 4 for 10 days to Mexico over Christmas AND bring the dog, there ain't a lot of extra room. Thus the need for low profile storage was born.
Scoured the forums for a couple weeks, checking out designs and finally decided I needed a double drawer no more than 6" high so the dog still fit.
Headed off to Lowes for 2 pieces of 1x6x8 and a sheet of 23/32 plywood. Also picked up two sets of heavy duty drawer sliders, some #6x1 1/4" screws, some bolts and fender washers, as well as a roll of automotive carpet from Autozone.
Sizing everything up
Going to use the tie downs to secure in the back
Rough in with the deck on.
Lined up well with the latch
1x6 with 23x32's ply on top
Ran the sides all the to the passenger seat, hoping to hit the rear tie downs, but no go. Ended up through bolting through the wheel wells.
Bottom support for the drawers. Didn't want to try screwing into the sidewall of the plywood
Added some wings to cover the spots behind the wheel wells so the dog wouldn't fall in. Hinges mean easy access.
Heavy duty drawer sliders from Lowes, and fender washers through bolted on the rear tie downs.
A roll of automotive carpet from Autozone covers the deck. I also added some sheeting between the rear seat and the C-pillar on the cage. The drawers don't extend that far, so I have more storage for things that don't get used that much (jack, chocks, etc). Only accessible by pulling the seat back forward.
Finished product.
Total build time was about two leisurely days. The thing works GREAT! Probably one of the best upgrades I've made. I fit EVERYTHING in there. All tools go on the right, air-up and recovery things on the left, tow strap under one of the flaps, jack and associated gear in the false compartment behind the rear seat, and I still have some room to spare.


 Took 2
  hours to install 3 bolts! The process involves masking tape, a box end wrench, and carefully finagling one hand up between the quarter panel and the engine box through the fender. (And for anyone thinking "take the quarter panel off" and make my life easier, this mount goes THROUGH the quarter panel lip that sits on top of the engine box, so you are actually bolting the quarter panel ON!)