When you click on links to various merchants on this site and make a purchase, this can result in this site earning a commission. Affiliate programs and affiliations include, but are not limited to, the eBay Partner Network.
I've been a member on CF for about 4 years now and since I'm starting to actually use my XJ like it wants to be used I figured I would start up a build thread. For the time being you won't see huge projects from me since the money is only trickling in, but I am in the process of building and repairing. Any input you guys have on what I've done or am doing is welcomed, especially if you think I'm doing something I shouldn't be. I don't expect this to be an extremely exciting thread, but its nice to have one.
I'm no historian, so the pictures from since I bought the Jeep aren't extremely comprehensive, but I promise to get better about it as I add more. The next few posts will be a history from my first day to now (April 2015).
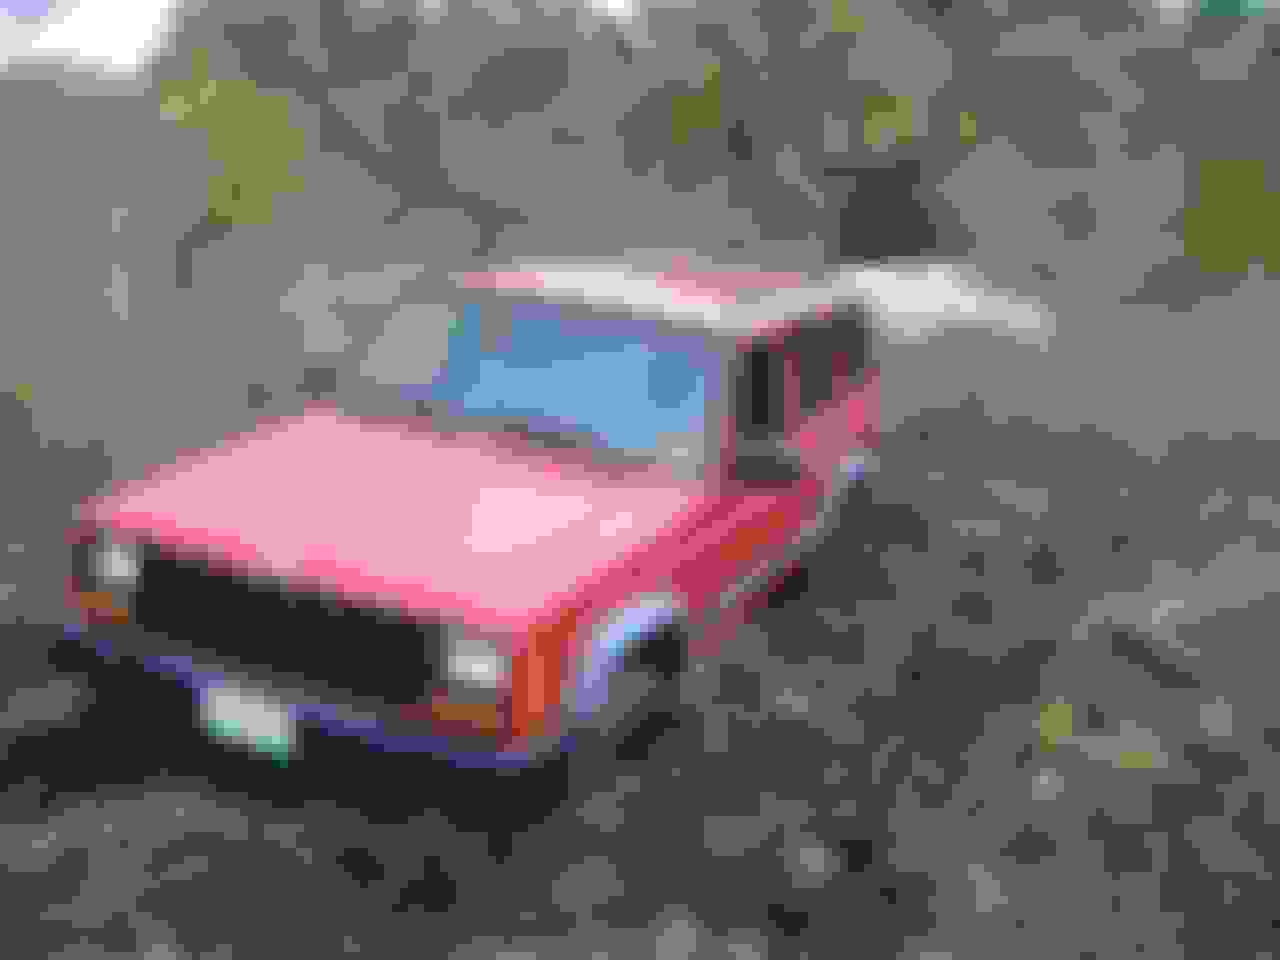
Summer 2006, I found a nice 1997 Cherokee Sport in decent condition. It was the first car that I owned so I was super excited, even though I had to drop about $500 into it within the first couple weeks to get it to college.
Specs:
1997 Jeep Cherokee Sport 4x4
AW4
Dana 30 High Pinion
Chrysler 8.25
Bone stock
I knew what Jeeps were capable of so I immediately took my friends out and found some mud. Which we quickly got stuck in...
This was the day I bought my first tow strap and had to find a guy with a truck to get me out. No harm done but I still find that stinky bog mud in places to this day
I also found out that I could hit triple digits (even if it did throw a code)
This is the day I bought my first "winch" after getting both my cherokee and my buddy's grand stuck in the same mudhole trying to rescue each other. It was a 6 foot come along, but with all the trees and a little muscle we eventually got out
If you look close you can see my first "upgrade"...window vents!
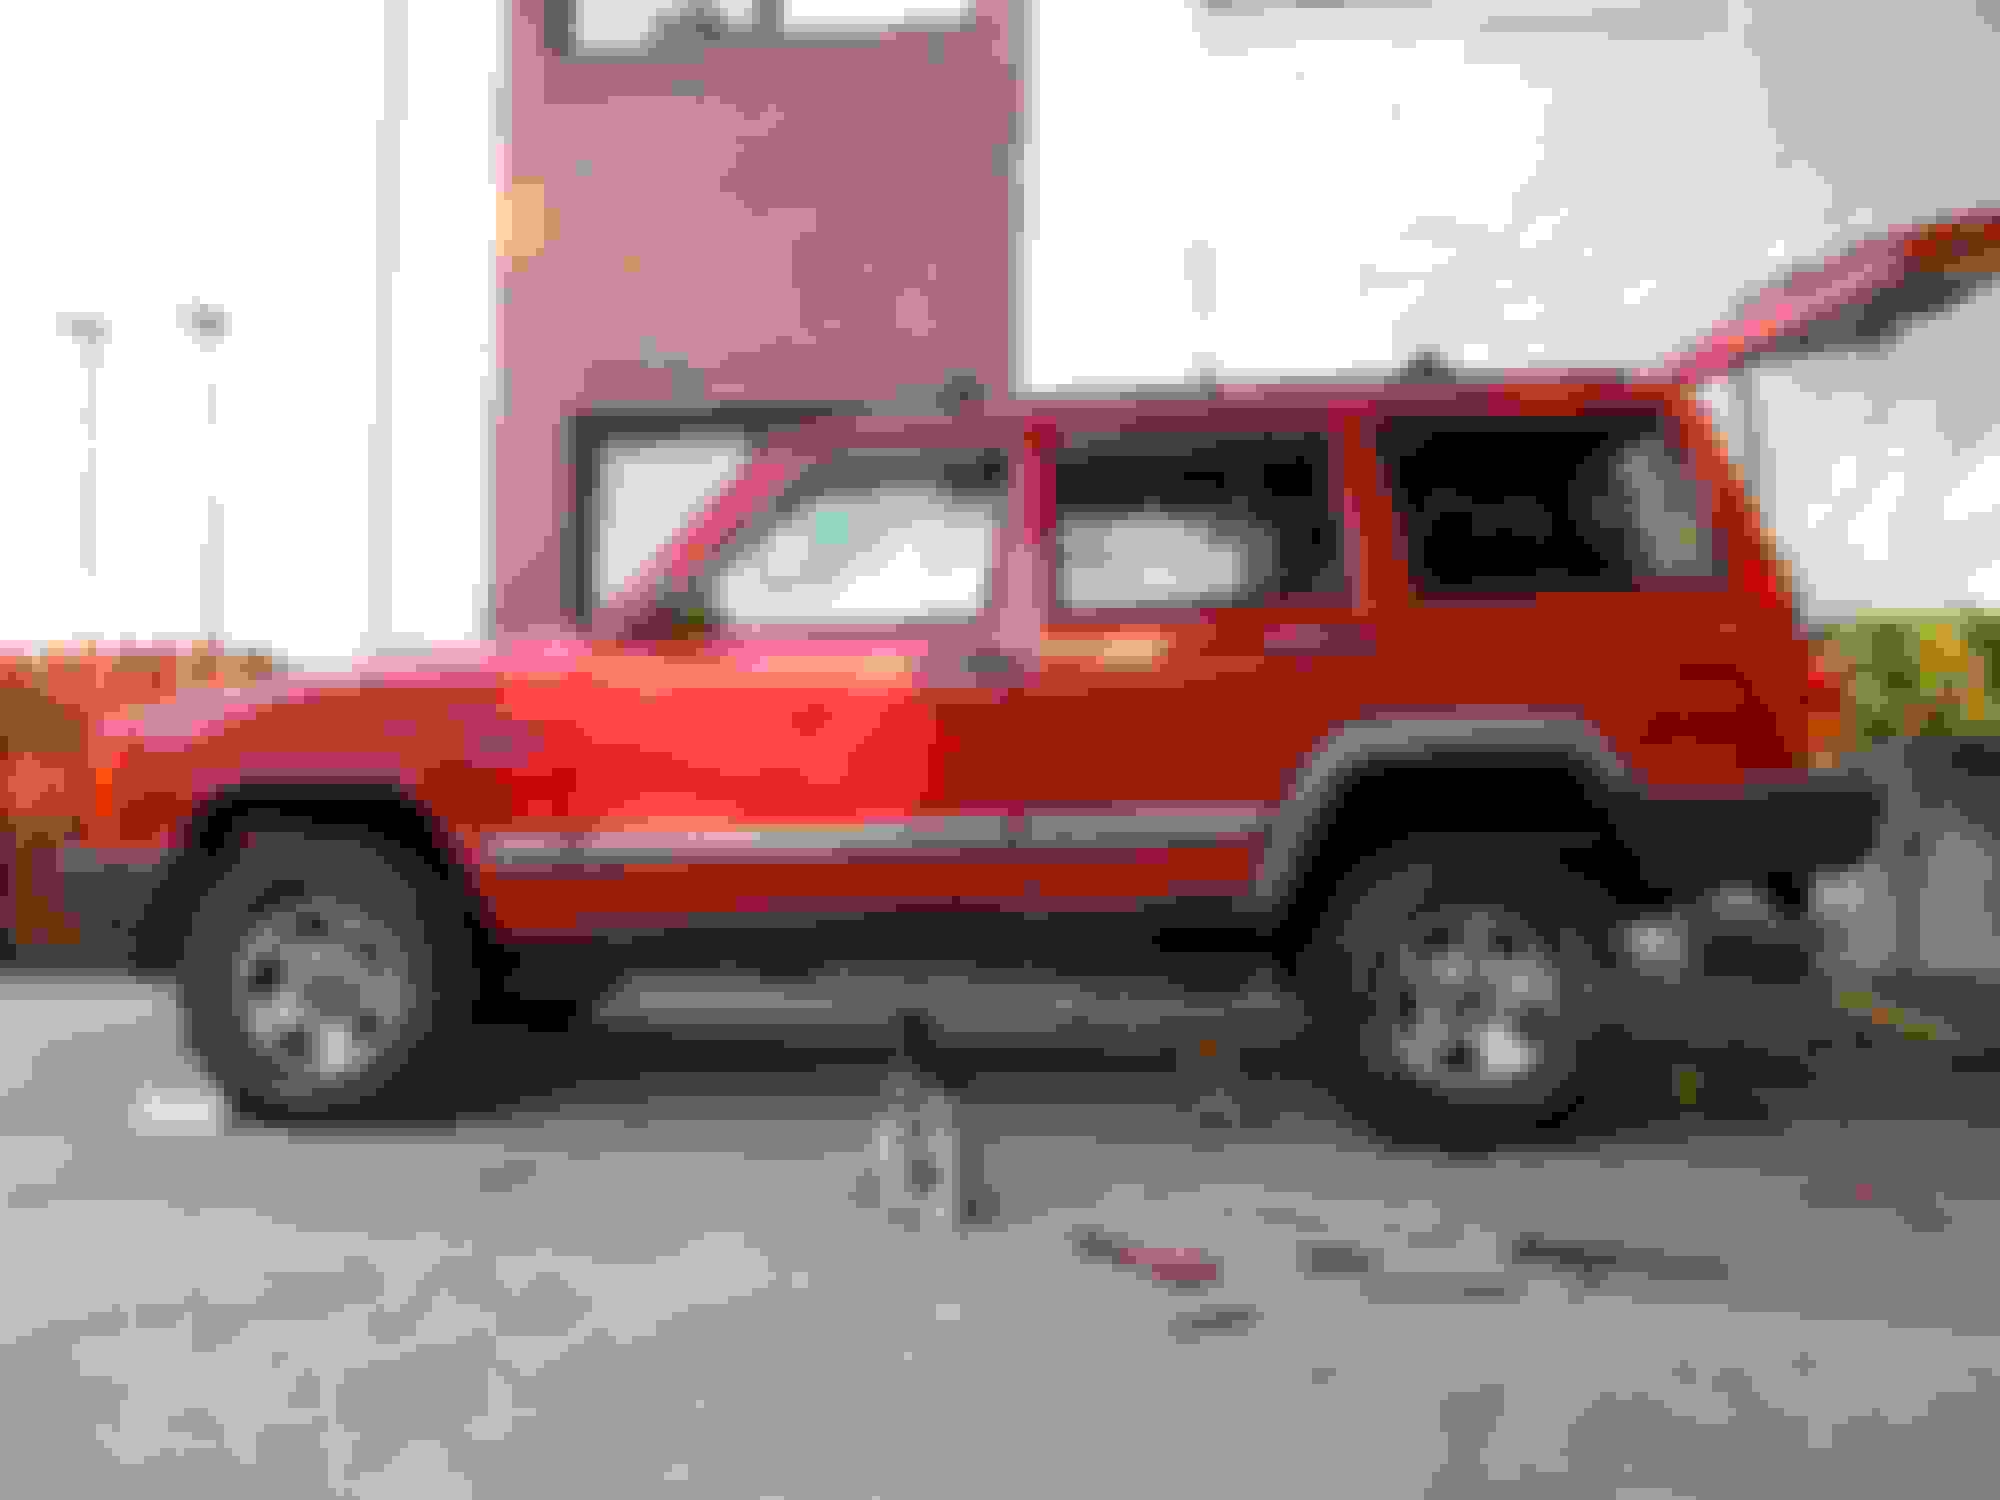
But ok, enough of the boring stuff. I finally saved up enough to get a lift! Rough Country 3" with AAL. I know I should have gone with the full pack, but I had just replaced the rear springs a few months back and couldn't justify completely replacing them.
Keep in mind I did this all in the driveway without most of the tools I should have had!
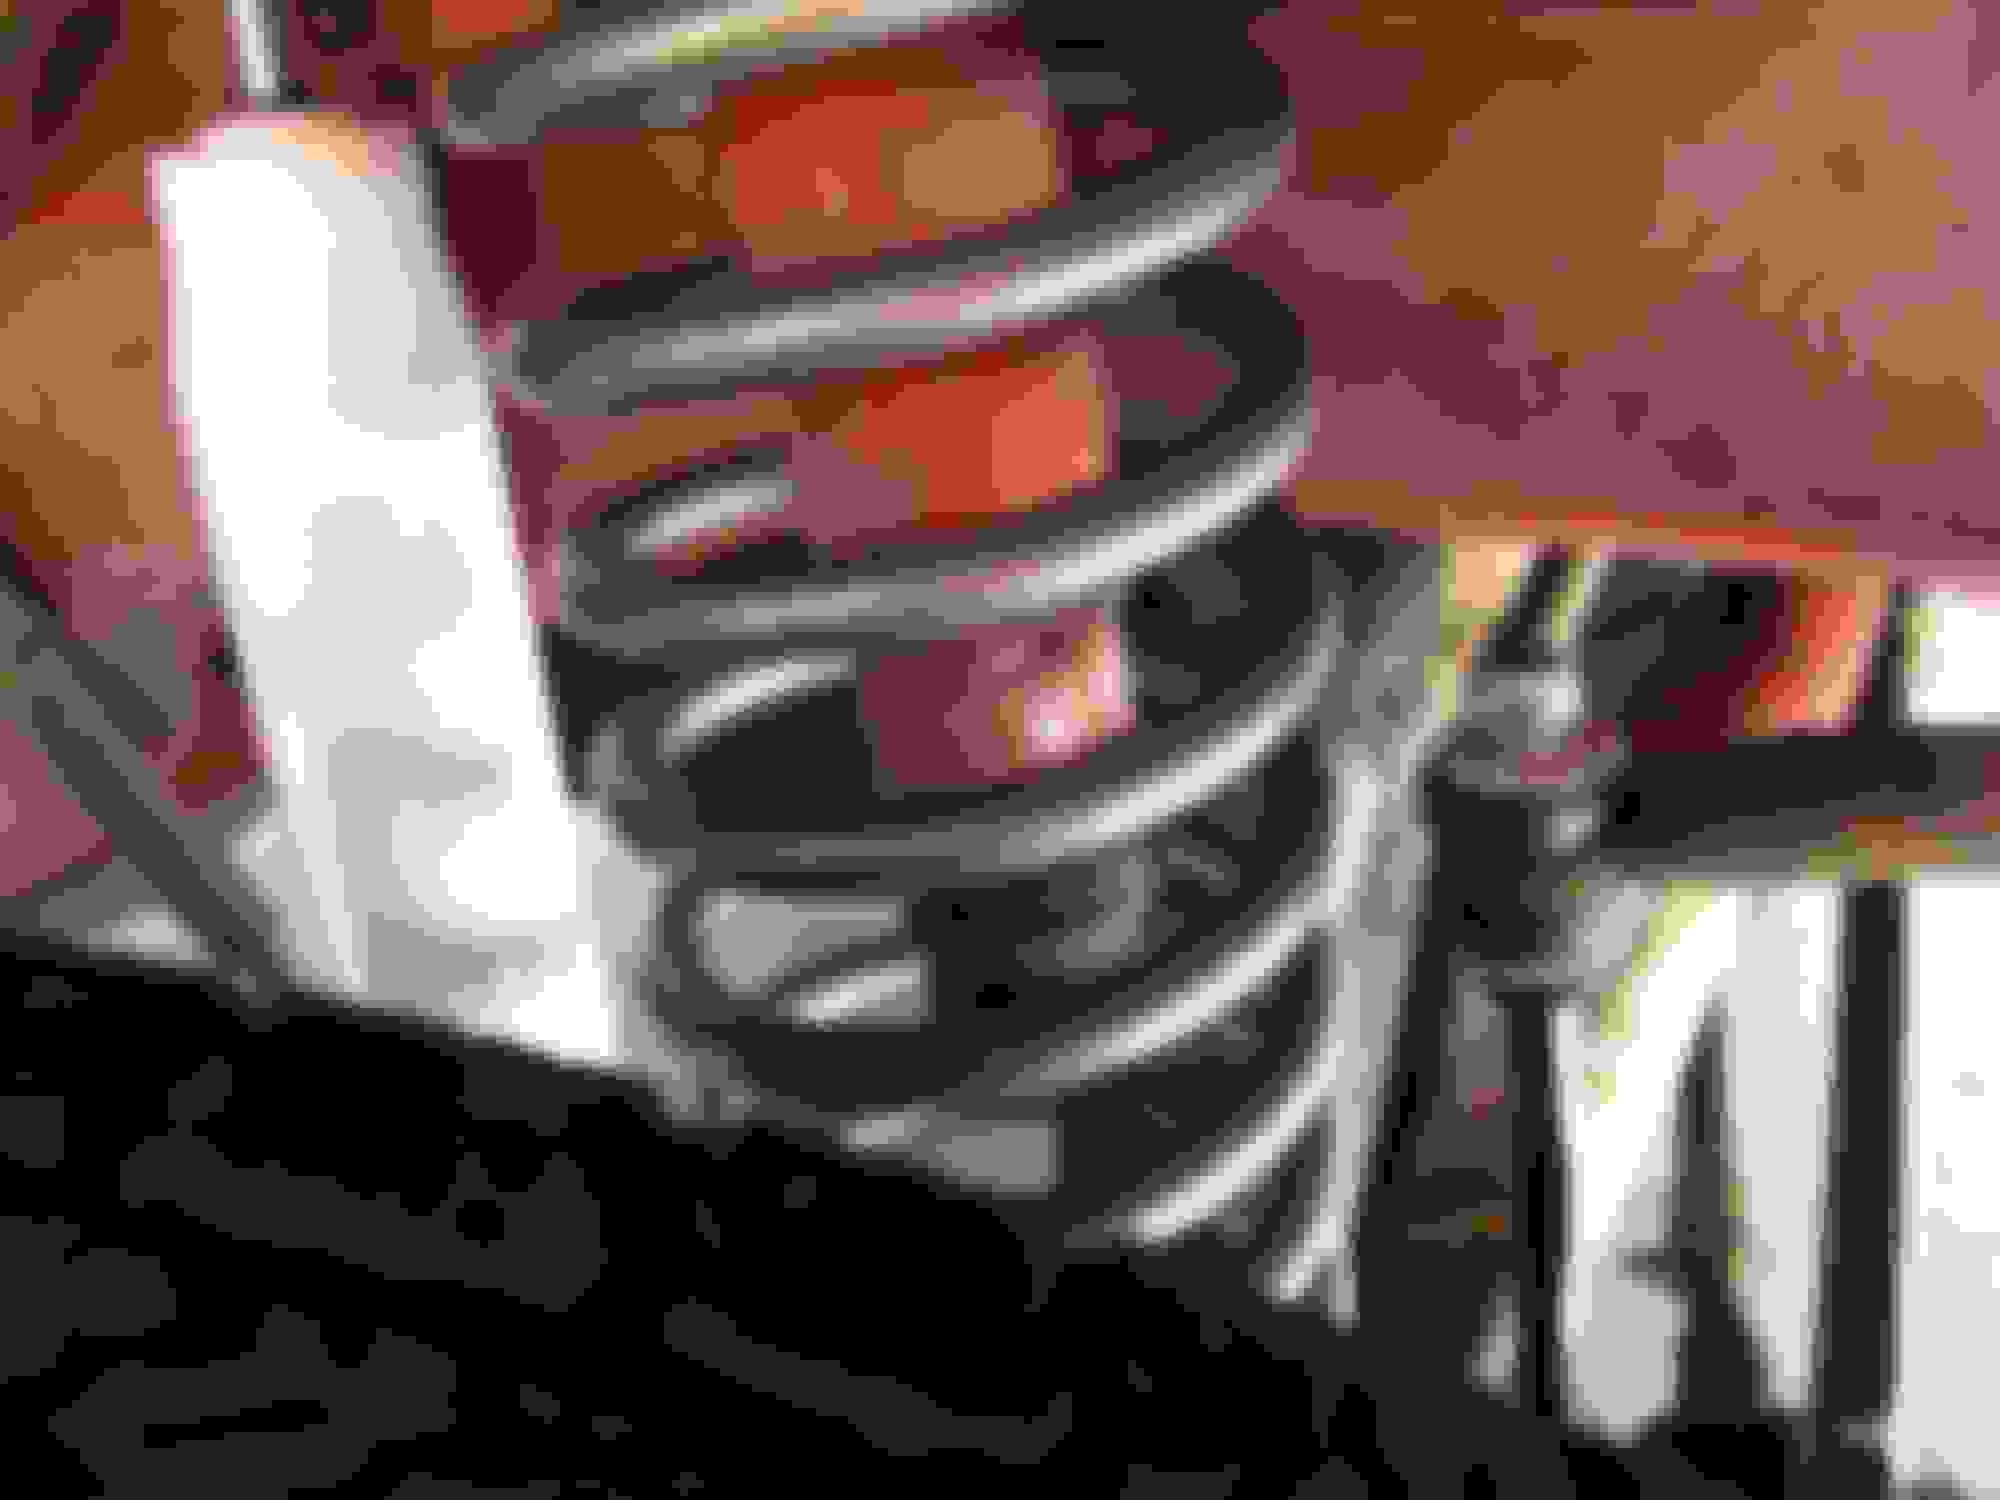
Getting the springs out was easy since I had just replaced them, and i got the new leaf packed in with a few clamps and a hammer.
Got the new rear shock in (yes I did break all 4 mounting bolts)
Finished the right rear first!
And moved on to the left rear
Finally got the rear done which gave it a nice rake
Finished the front (sorry, no during pictures...I was too frustrated to care at that point!)
New shocks, springs, and sway bar connectors (broke the original ones pretty quick). I wish I had bought disconnects but I was a stupid and broke college kid.
With the lift all in it looked pretty good!
Everything I killed during the build. Yes, 2 whole cans of PB blaster!
Remember how I said I broke all the shock mounting bolts? Here are the holes I used to drill out the old ones and put in the new ones. I cleaned them up and put plates over later.
I even scored one of these! It was a point of pride to finish it up before they came and towed me away
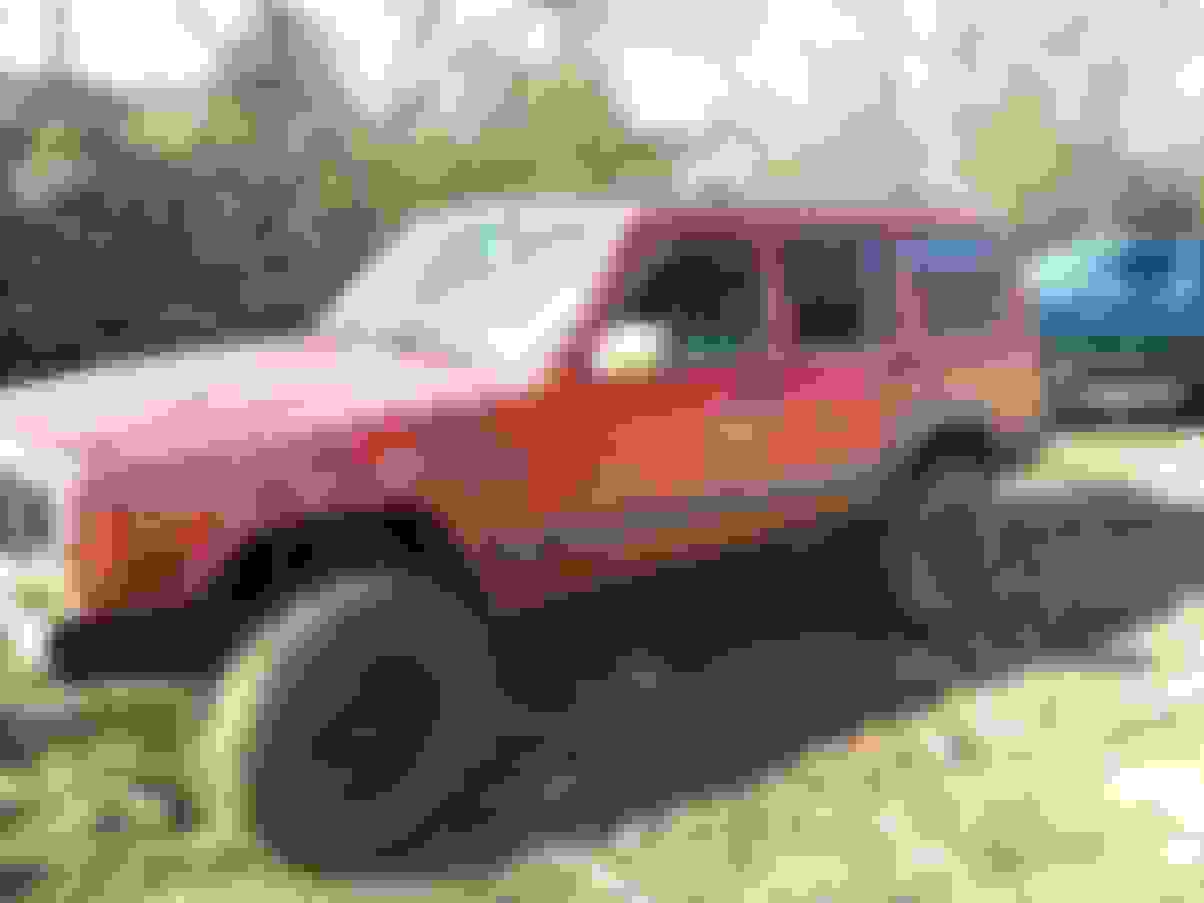
Cragar Soft 8 15x8 wheels and 31x10.5 Goodyear MT/R's came about a week later, but me being the idiot I am didn't take any pictures
A few months later I had a friend weld some tabs to the bottom of my bumper and I installed a couple new-to-me KC's. 100 watt long range. You can also see that I got those new tires on there.
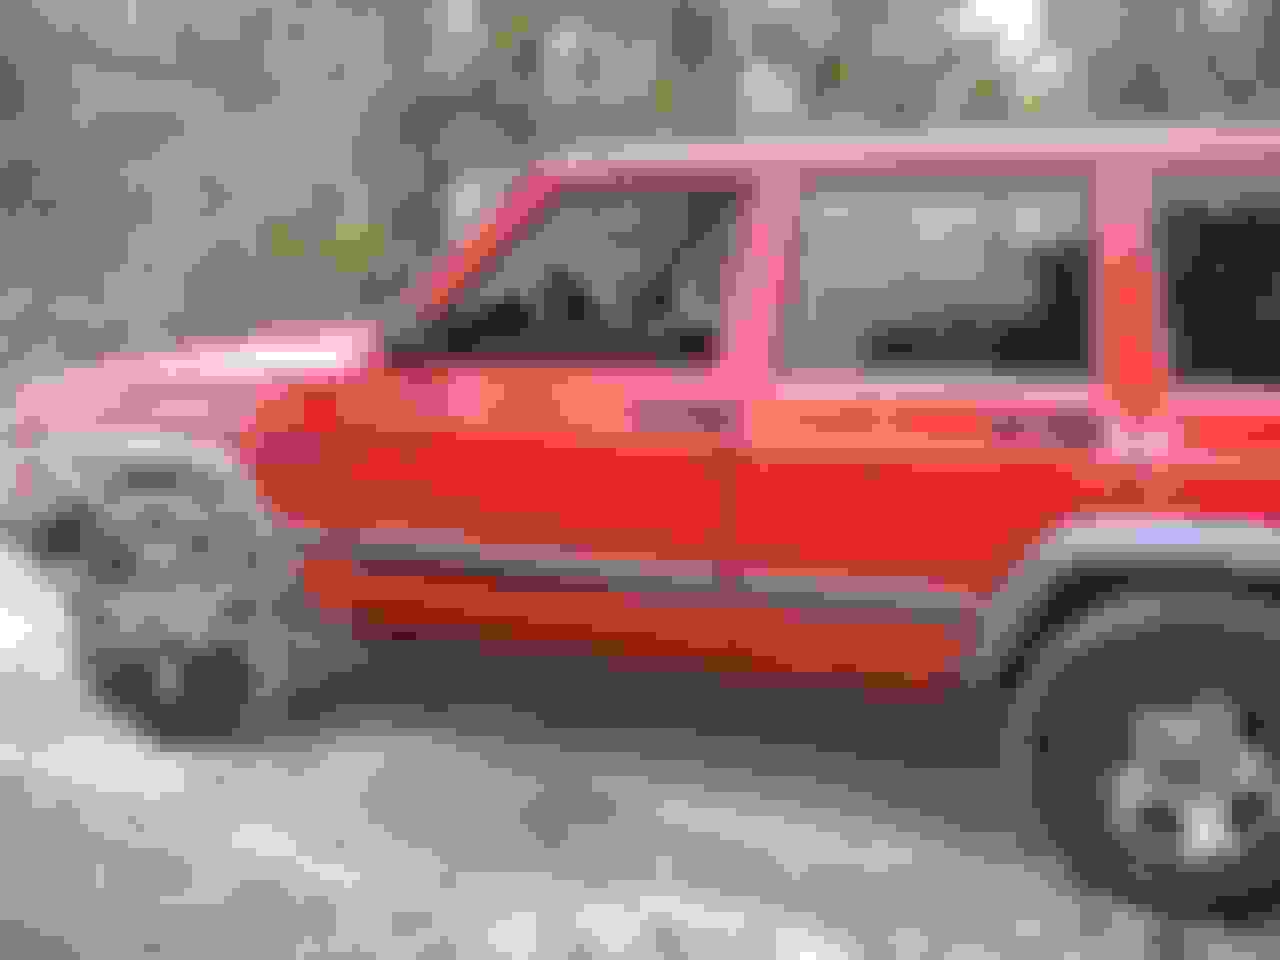
Decided to go doorless in the summer of 2014. I stripped almost every one of the torx bolts on the doors, so I had to cut the heads off and put them to the side for removing the rest of the bolt later
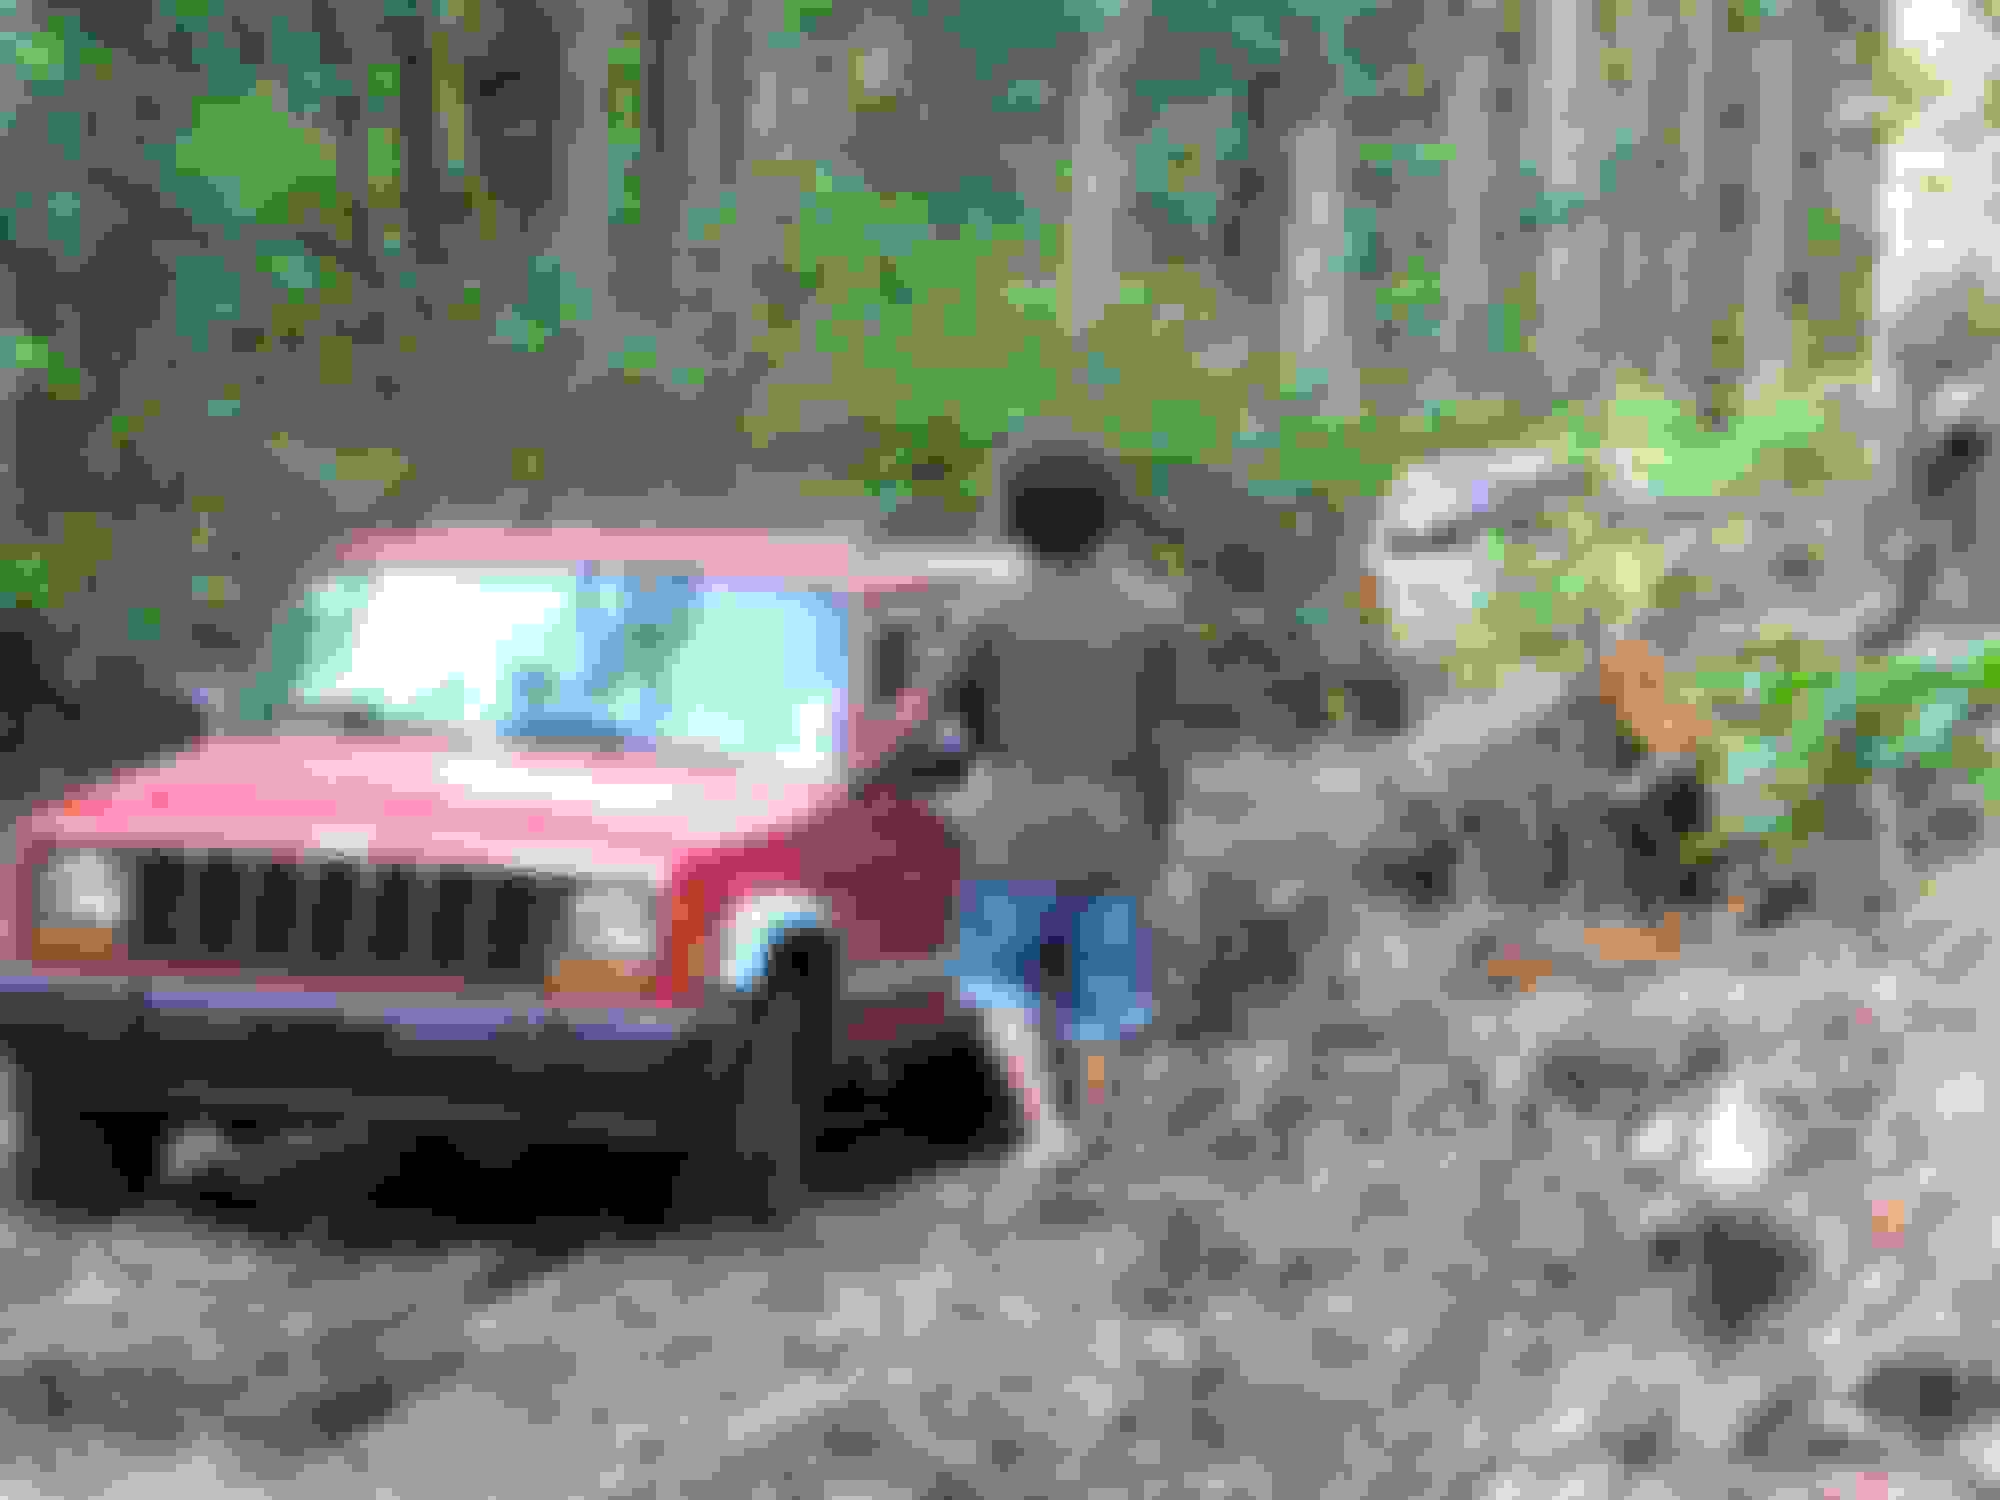
I found myself exploring Uwharrie (URE) National Forest and had a good time flexing it out on the rocks...
...until I realized that my flex sucks!
Oh, and I traded in my pickup for a 2014 Trailhawk V6, which followed my XJ on those trails at URE.
Remember those bolts I still had stuck in my doors? Well I decided that the best method of getting them off was to weld nuts on them and hope they would break loose. So instead of taking them to a shop or a friend, I went ahead and bought myself a small welder. Its nothing special, but it will work for the small stuff I'm doing now
Figured out how to put a couple pieces of metal together (not pretty, but effective)
I tacked the nuts on and after a couple soaks with WD-40, they came right out. Just in time for winter
Spring in NC means its time to get the XJ back up and ready for the trails. I had made quite the list of to-do's over the winter and I got right on them.
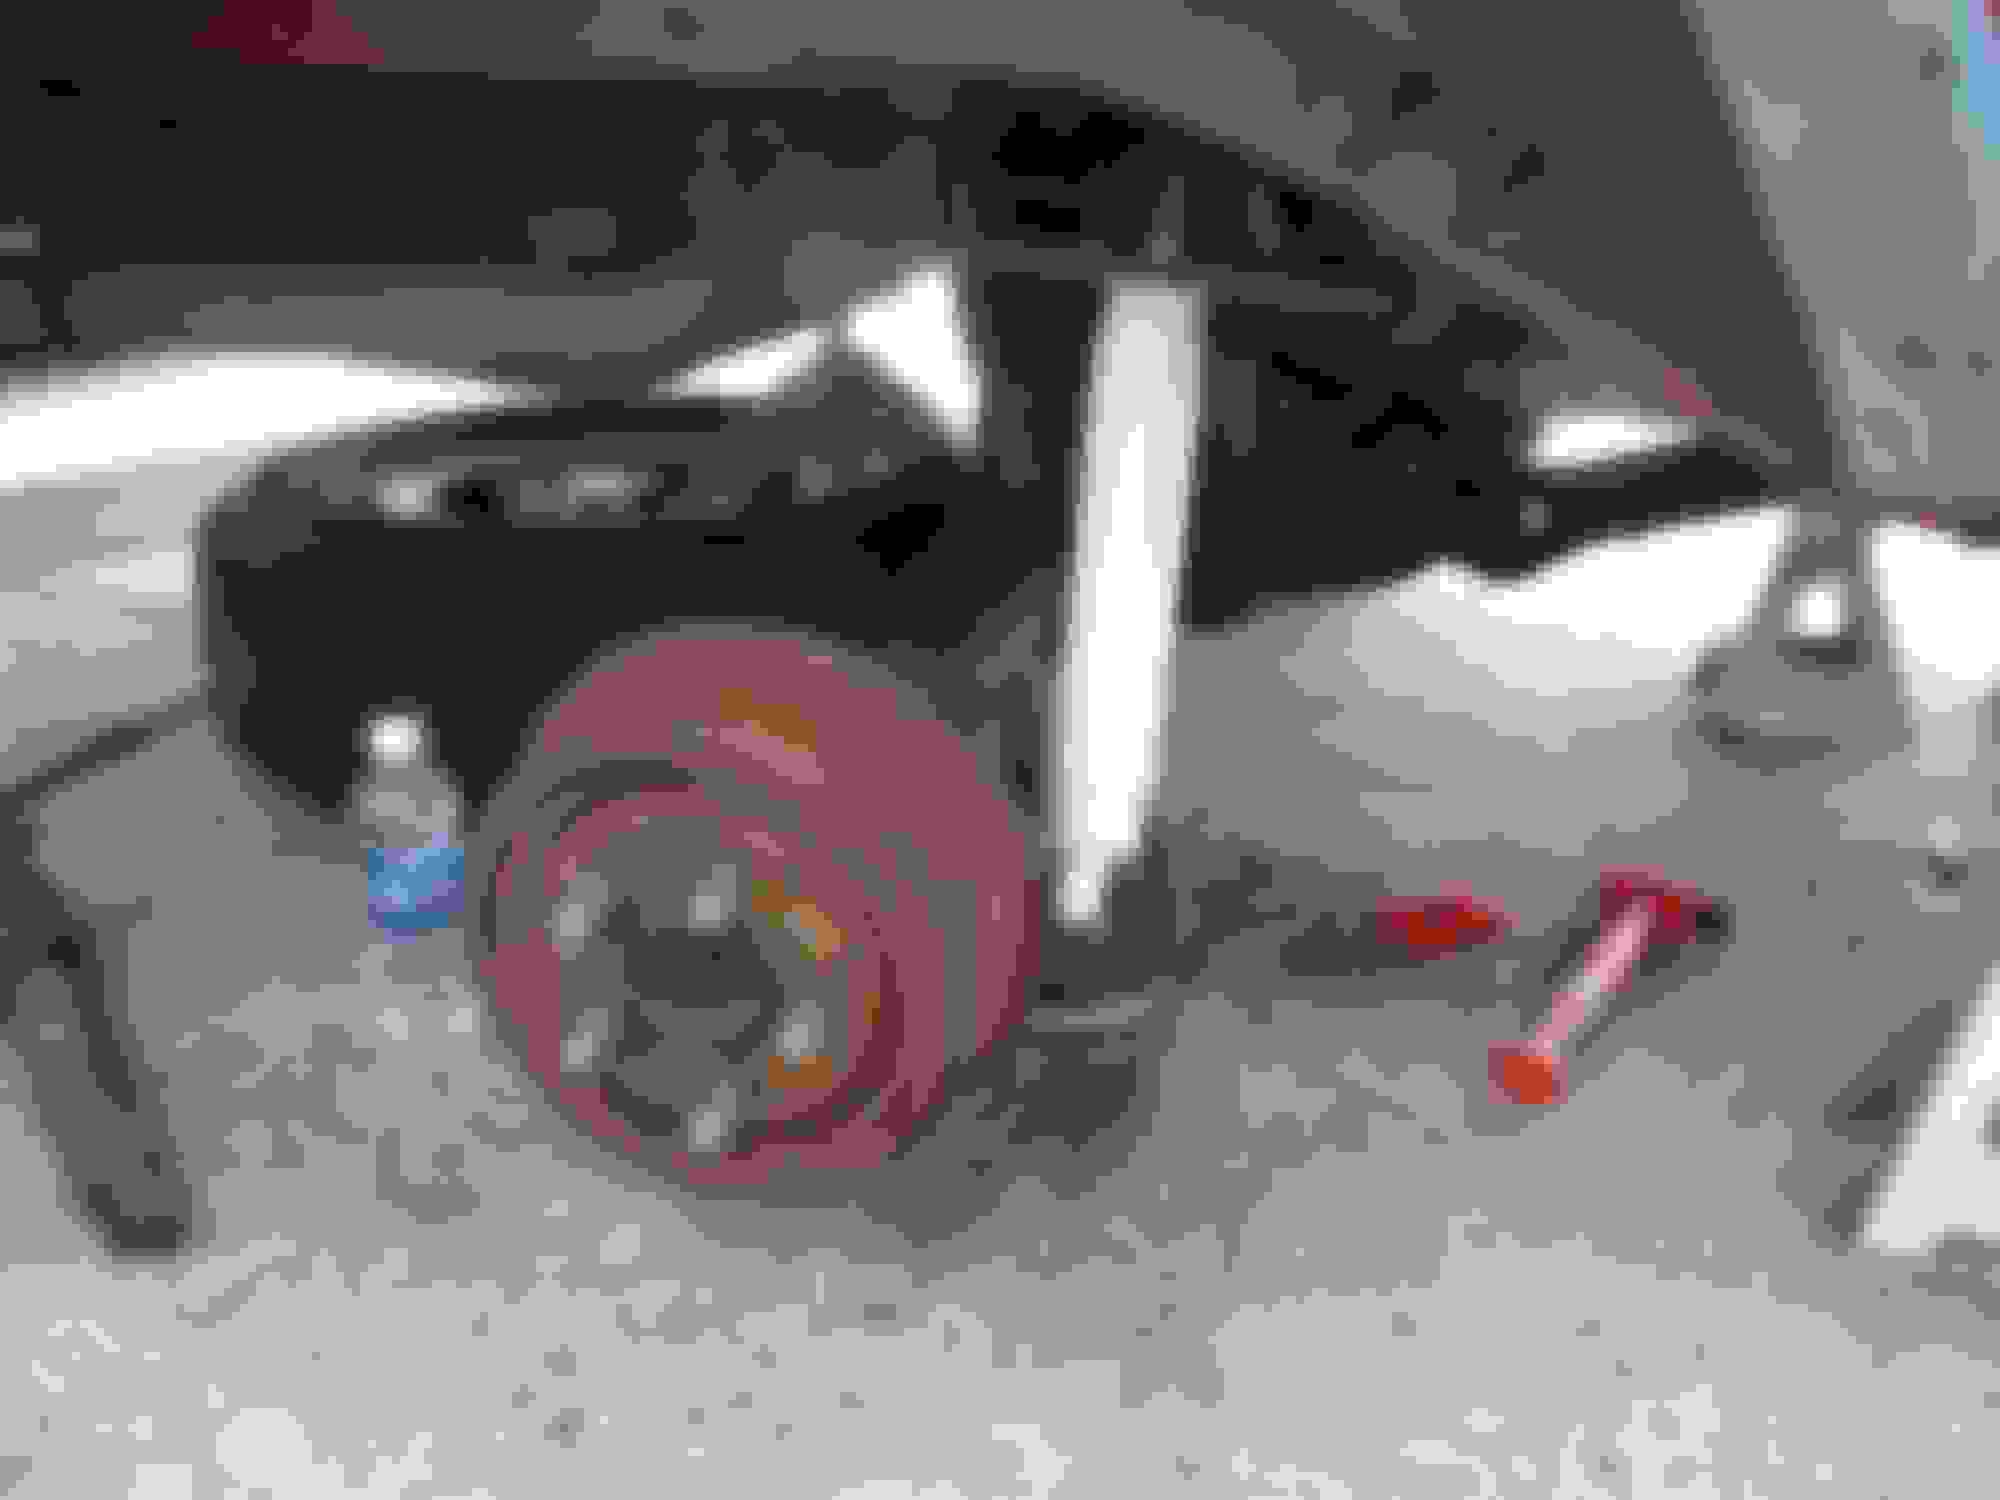
First, I found out that my steering box spacer was broken, so I replaced it with a stronger JCR spacer.
I took out my track bar (stock) and replaced it with an adjustable one from RE (which again I don't have a picture of)
I cleaned up and painted the mounting bracket before I put the new track bar in
Then it was on to removing some cancer. My passenger side had a couple small holes which was pretty easy to fix
First welds by me on the Jeep. Still not pretty and it took me all day trying to figure out the right voltage and feed setting along with the way to move the wire.
The driver's side on the other hand was really bad. I had to cut almost all of it out, including the front of the seat mount
I cleaned it up with a grinder and put some primer on until I could get some material
Got some 16 gauge and cut it to fit. I might be a little biased, but I think my welds are getting better. Still not pretty, but definitely cleaner
Painted the floor and put the seat back in
My mount is now 3/16" steel with tapped holes and no rust. I feel much more secure on it!
That's as far as I've gotten to date. I went out to URE again for the Spring Jamboree and hit the same trails. Removing the rear sway bar helped a little, but I'm still not happy with my flex. I'm sure it's due to the cheap lift that's in there, but until that starts to sag I don't think I'll be replacing it. I'll probably pick up some new bump stops to help and may even look into some different shocks.
I also realized on the trail that there were a lot of times (due to my bad flex) where a locker would have helped. So I know those are coming, but I want to do it right this time. Here's the list of what I plan on doing:
-ARB or Ox selectable lockers front and rear
-4.56 gears
-33" tires (fender cutting)
-Transmission armor (first, followed by more)
Those are the needs. I also want bumpers, a gutter mounted rack, onboard air, a proper CB antenna, side armor, and some half doors...to name a few
Since the first 3 have to happen together, it will be a while before I can do them. But I'll be posting updates to anything I work on as I do it. Hopefully by the end of the summer I can cross a couple things off the list. And be much better at welding.
Looks like a solid build so far, good luck! I'd recommend some disconnects for the front as well.
Thanks! Yeah. I do want some disconnects for the front. I also forgot to mention that I have new ball joints to put in and plan on getting the 1 Ton UTK steering from SeriousOffroad
 04-14-2015, 06:07 PM